No sir. It gets shipped back.
Navigation
Install the app
How to install the app on iOS
Follow along with the video below to see how to install our site as a web app on your home screen.
Note: This feature may not be available in some browsers.
More options
You are using an out of date browser. It may not display this or other websites correctly.
You should upgrade or use an alternative browser.
You should upgrade or use an alternative browser.
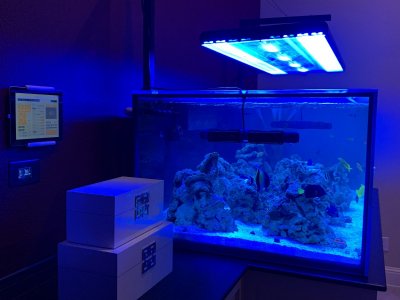
The flying Dutchman - My Ocean in a box!
- Large Build
- Thread starter xaflatoonx
- Start date
- Tagged users None
- Joined
- Jul 13, 2016
- Messages
- 5,348
- Reaction score
- 6,710
Man that would have been sweetNo sir. It gets shipped back.
Also nice looking build
Thank you all.
Can’t wait to get the ball rolling. Hoping to update this thread and you all next week.
Can’t wait to get the ball rolling. Hoping to update this thread and you all next week.
Give me this sump!Now -
this post is specifically to appreciate the absolutely superior product, service and support that i have received from @Crystal Reef Aquatics for their Sump, ATO and fuge setup.
As mentioned before i dealt with Mike who was great through out the process of ordering and delivering the product.
Not only is this superior craftsmanship but the support system to follow through with it.
I ended up using red carbon fiber vinyl based on inspiration from @Thanh Truong 's build. That would work really well with my plumbing scheme as well.
some pictures for you to feast your eyes.


Hello reef family.
So here is what happened and why i went missing.
After i got the tank up on the stand, i realized the tank was not sitting flush on the stand. One corner was too low.
I still went ahead and filled it with water to see if the stand would settle. But it didnt.
So i decided to make the right and tough choice of RE BUILDING it.
This time building the stand INSIDE the house. Turns out the garage floor wasnt exactly level where i built the first one - which is what caused the issue in the first place.
So - lesson learned kids. If you are building a stand you must do either of the three.
1. ensure where you are building it is AS LEVEL as where you will be installing it.
2. OR - build it WHERE you will install it.
3. OR - build a stand with adjustable feet.
Anyway - so i went back to the drawing board with a heavy heart and rebuilt the stand.
This time around - i took it slower. Took my time. Made all the cuts and planed all the wood in garage.
Brought the pieces in my formal where the tank was going to be. Built it at the spot. Happy to say everything turned out great.
this also gave me a chance to do the plumbing BEFORE the tank would go in place. Ensure no leaks, and be able to work the details. Primed and repainted. All is now in place.
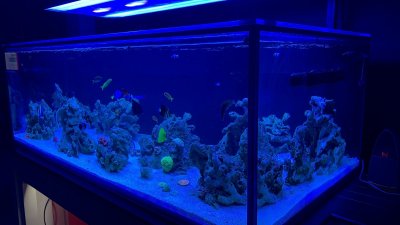
I then started working on the aquascape. Got some Haitian rock from a local supplier - and got to work.
For sand i used Argonite special grade dry sand. Its thicker than fiji, but smaller than pebbles. So its not really sand, but its not small rocks either. In the middle - which i really like. I plan to have 4 pumps in the tank pushing the water around so the sand had to be a little heavier. I washed the sand three times in a 5 gallon bucket to get ride of whatever it had - it was dry sand so its not like i lost anything.
I then hooked up my RODI filter and started filling in the tank. It took about 30 or so hours to fill.
Been working on the control cabinet as well while water rolls in.
Got like 3 lame pictures on my phone. But once i am get home tonight i will take a bunch more and update with something look at. What i am posting here is a close up of the 3 1.5" return pipes, the Manifold for two reactors, and a UV, and my refugium.
Glad to get things finally moving again. Been a long time since i have been at it. One hiccup after another - but i think we are finally ready to get the ball rolling again. Will get you guys those pictures tonight or tomorrow morning.
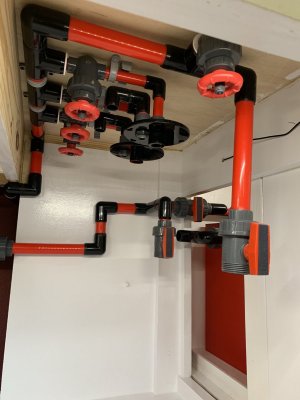
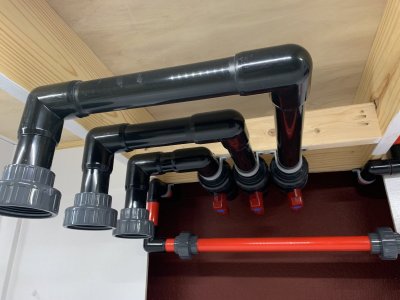
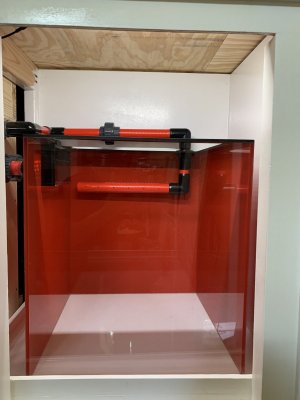


Following!
- Joined
- Dec 30, 2016
- Messages
- 3,321
- Reaction score
- 1,397
Bummer on the stand, I found that 4x4 and 2 x 6 were ususally better quality wood than 2x4, I also found that engineered wood was real good, holds a screw and is glueable. Does not warp. I use to cut down the 2x6 and 4x4 to make my lumber . Usually anything better than those 2X4's.
I actually ended up planing the wood in my second stand and had better luck. If I had jointer I would I have used that too.
then post that - the kreg jig was a life saver.
then post that - the kreg jig was a life saver.
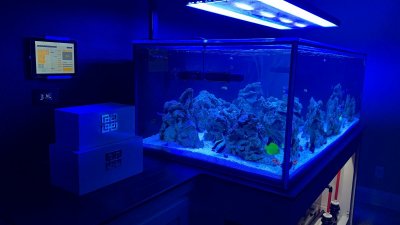
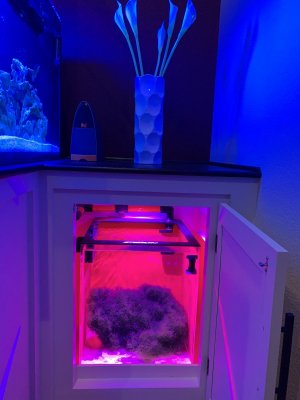
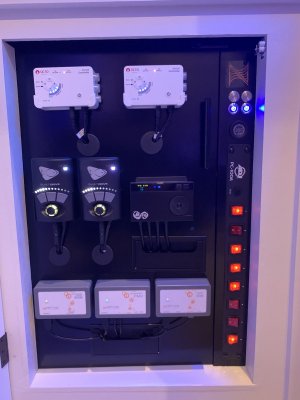
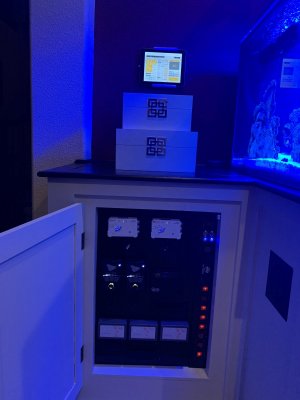
As i have stated before - the right side of the cabinetry is the control Panel. The left is the refugium.
i have the ATO connected and waiting on some tubing to connect the skimmate locker i was able to pick up during the blackfriday sale.
on the control panel side - i have 4 buttons. 2 momentary and 2 latching. these 4 are connected to the BOB.
the momentary switches would be feed mode buttons -
1. one for broad feeding for fish. (turning off return pump and ATO for 5 min)
2. second spot feeding for corals. (turning off gyres, MP40s and returns for 10 min)
latching buttons would be for
1. Water change to turn off pumps and returns, skimmer, ATO - till i push it again
2. Cabinet lighting
the last two spots of the BOB are
1. ATO water level alarm
2. Skimmate to deactivate the skimmer
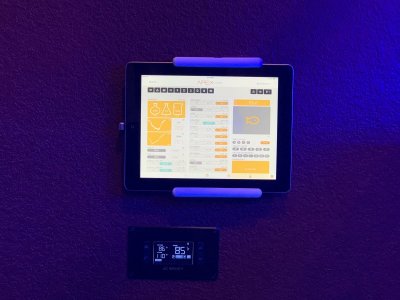
I have the ipad and the cabinet fans mounted and working properly.
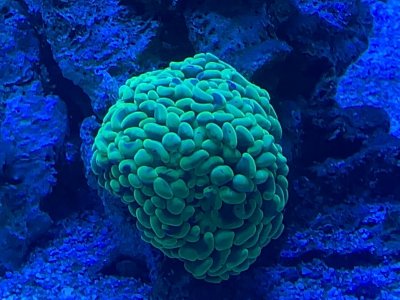
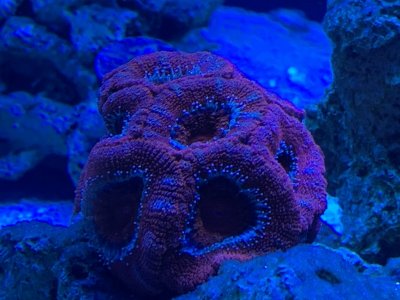
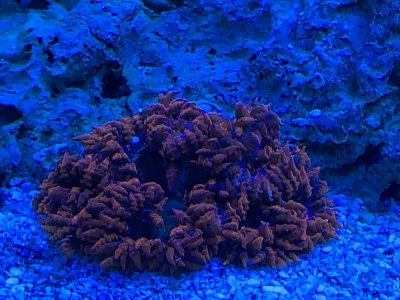
Now to the status of the tank. As that will be the update going forward.
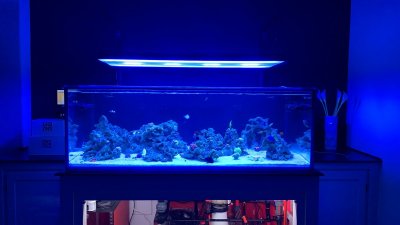
Following is the list of my livestock.
Tangs - Purple, Yellow, Blue, Convict, Kole
5 Lyretail Anthias
Blennies - Bicolor, Starry, Midas
2 Black Ice Snowflake Clowns
Moorish Idol
Flame Angel
Royal Gramma
Wrasses - Pintail Fairy, Melanarus, Blue pencil, 2X cleaners
Currently, i am working towards balancing my elements and getting my dosing in order.
The issue i am facing is a lowered PH level. Opening windows during the day and using pickling lime in the ATO is helping a bit. Planning to add a CO2 scrubber next week in order to help it further. I was hovering around 7.4 to 7.6 before. Now at 7.7-7.8. Need to get to 8.1-8.2.
thats all for now - hoepfully i can update sooner going forward.
Last edited:
Thank you sir. How’s your tank coming along?
Everything is going great, taking my time letting the tank do it’s thing. I’m kinda of jealous, I see in your fish list you have an idol! I’m planning on adding two in the new year!

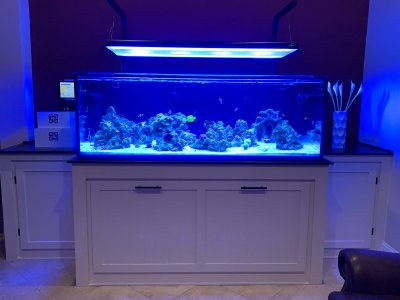
Such a clean install. I absolutely love in wall setups. I wish you had a build thread that I could have read up on.
Everything is going great, taking my time letting the tank do it’s thing. I’m kinda of jealous, I see in your fish list you have an idol! I’m planning on adding two in the new year!
Love the clean fish room. So much easier to work on everything. Awesome setup my friend.
Would love to see how the tank is coming along nowadays! Awesome build! Sucks you had problems with the first tank AND your original stand but oh boy did it turn out nice!
Similar threads
- Replies
- 2
- Views
- 84
- Replies
- 19
- Views
- 432


