The Shiro Tank

ryno212

Active Member
View Badges
Joined
Mar 13, 2007
Messages
201
Reaction score
4
Rating - 0%
0   0   0
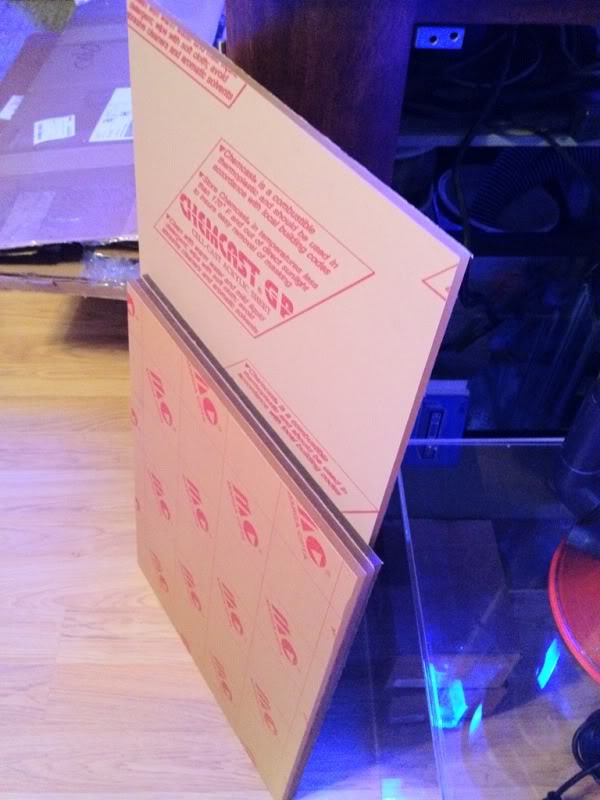
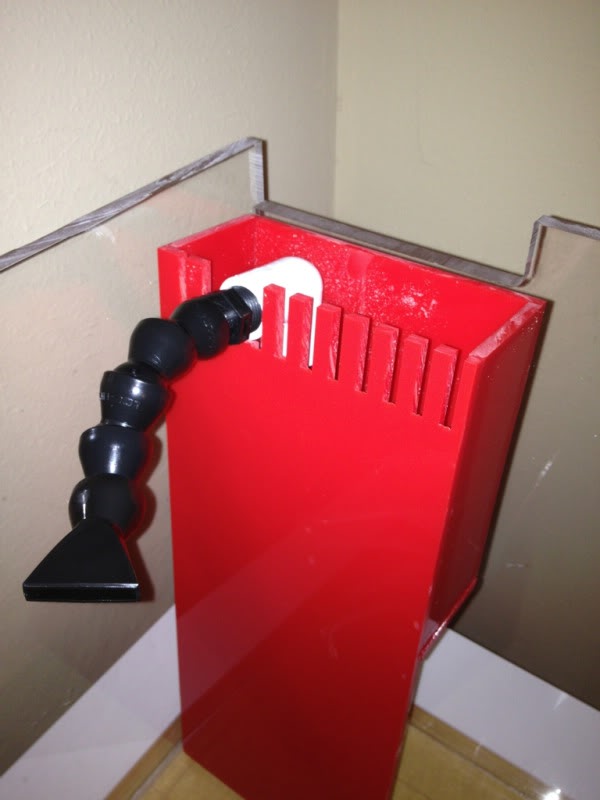
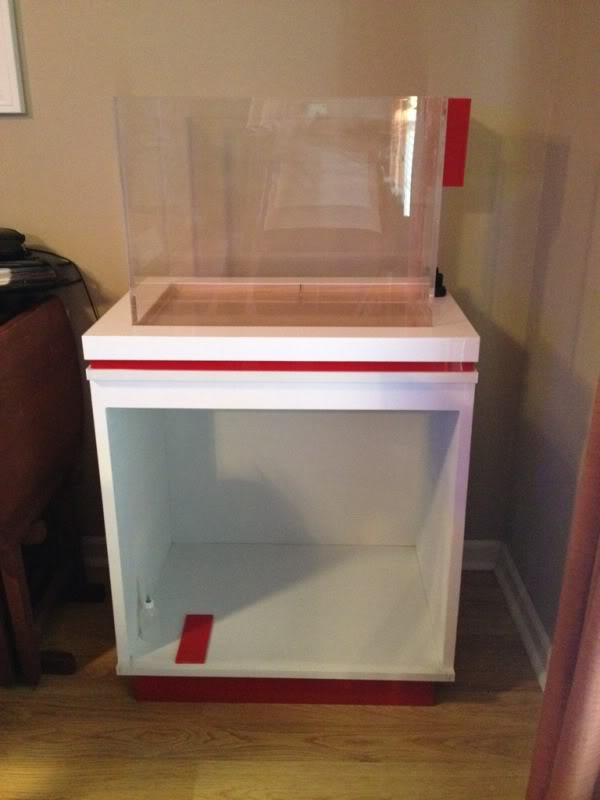
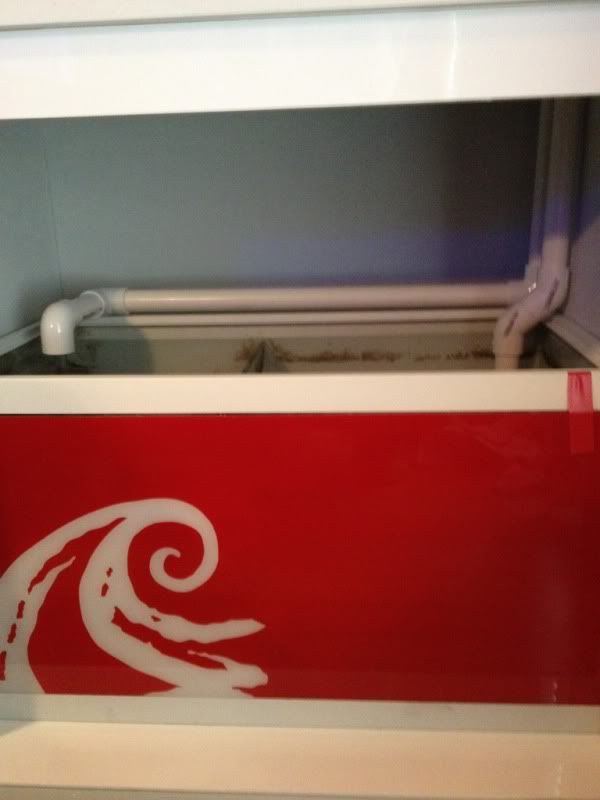
I have slowly have been putting together a nano in my spare time over the last 6 months. It is a ADA style stand that is white with red accent. I started to paint the stand and then went in a totally different way of covering it. I bought acrylic to skin the tank, which is something I would have never done, but I liked the challenge and look of something different. I will post pictures of what I have done so far and will update when ever I finish a step in the build process.

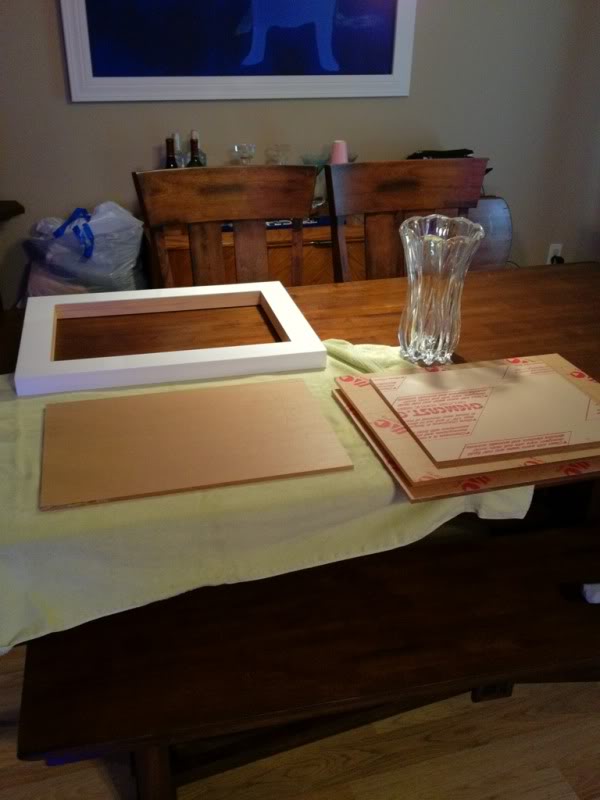
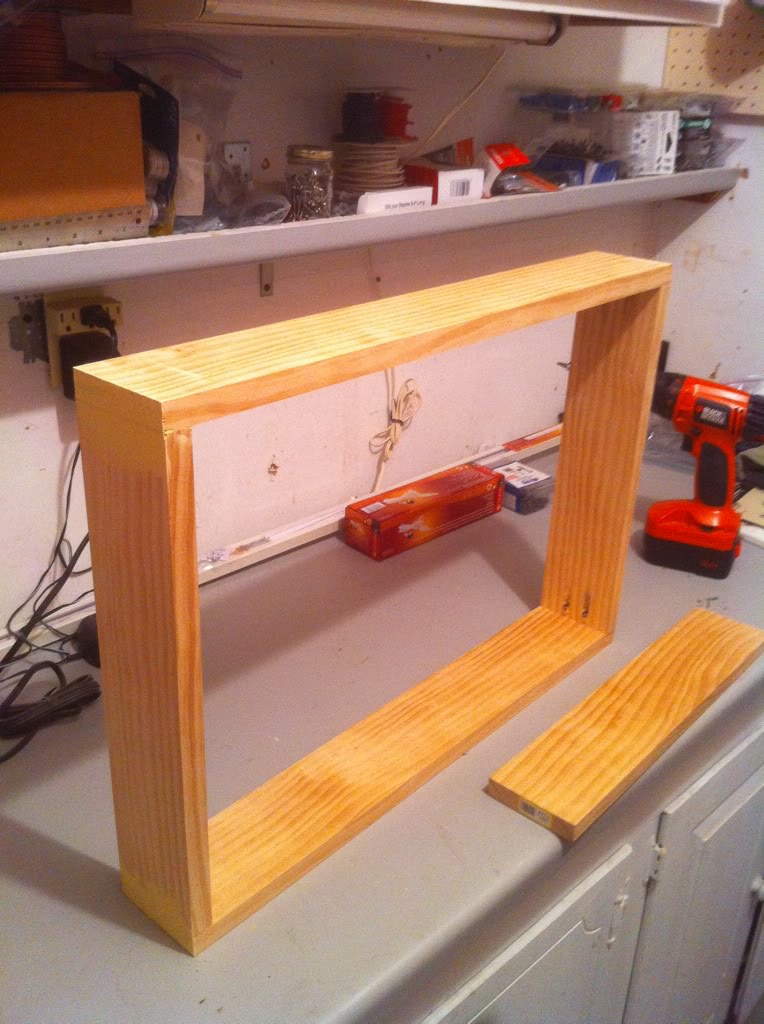
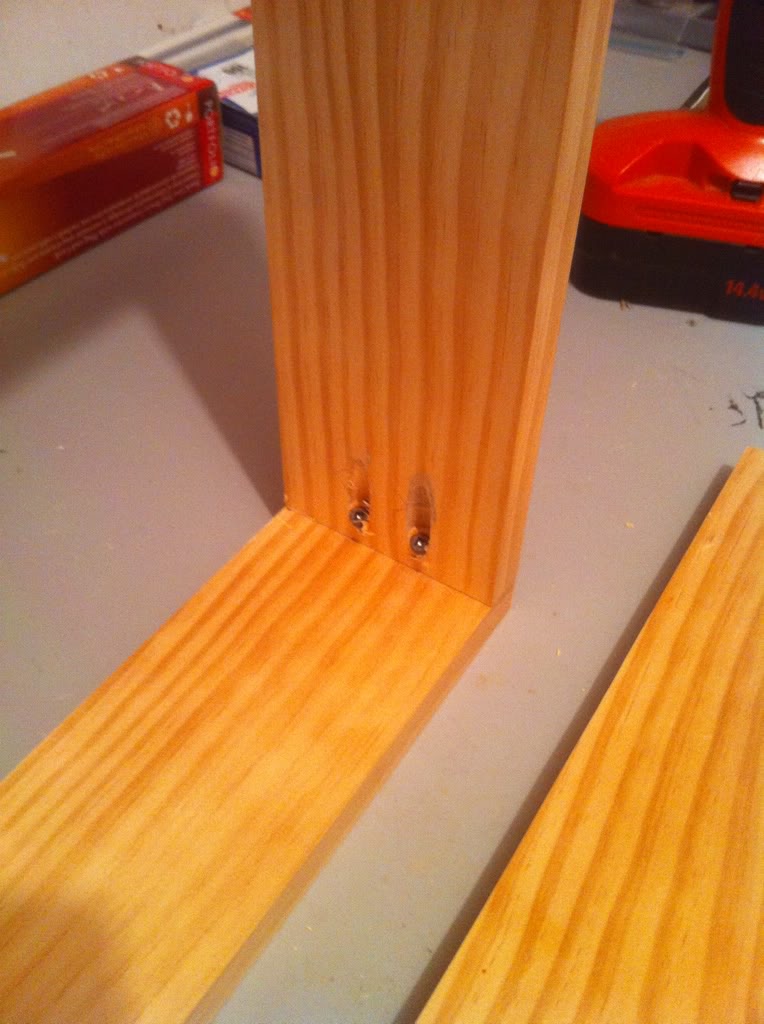
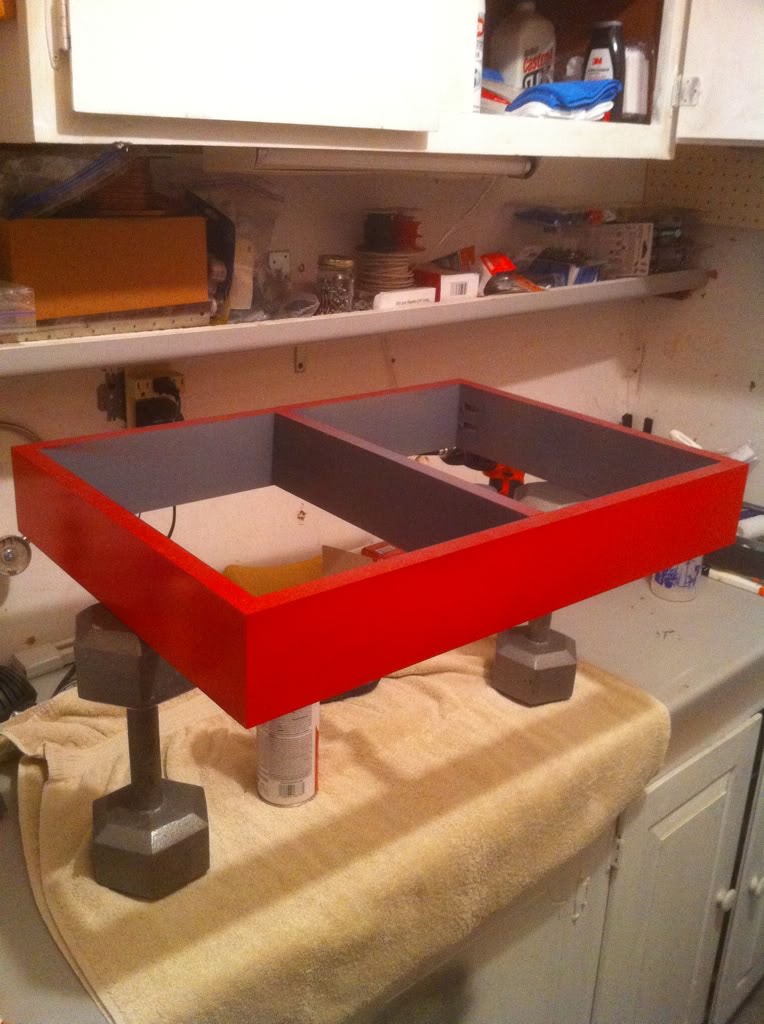
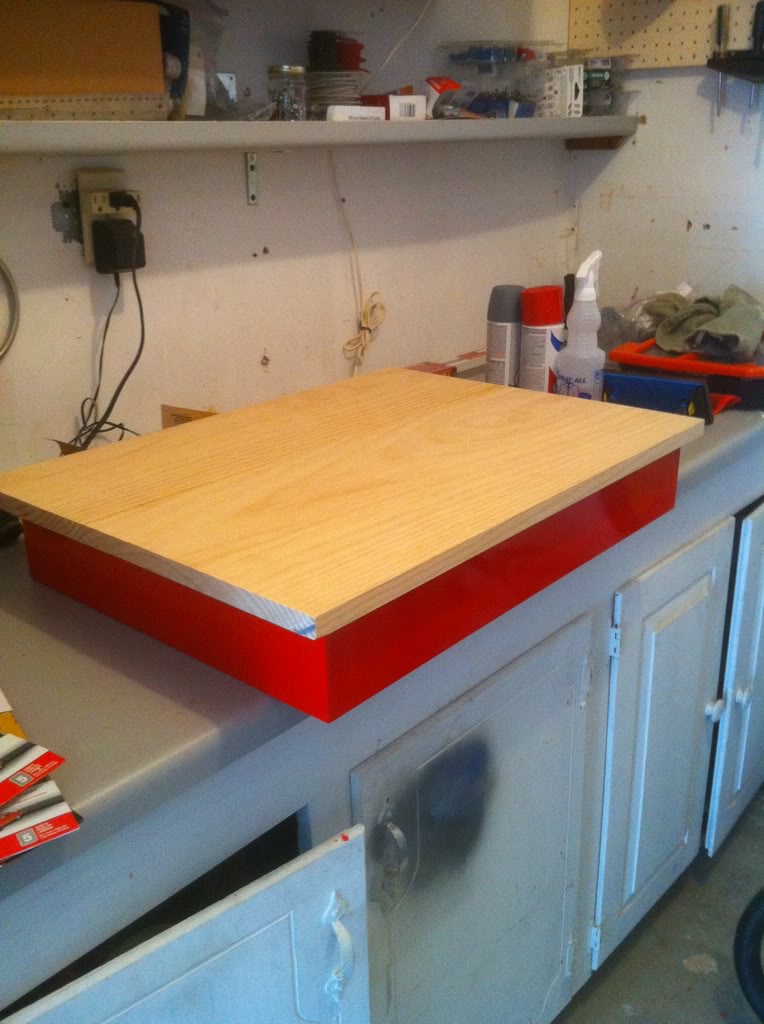
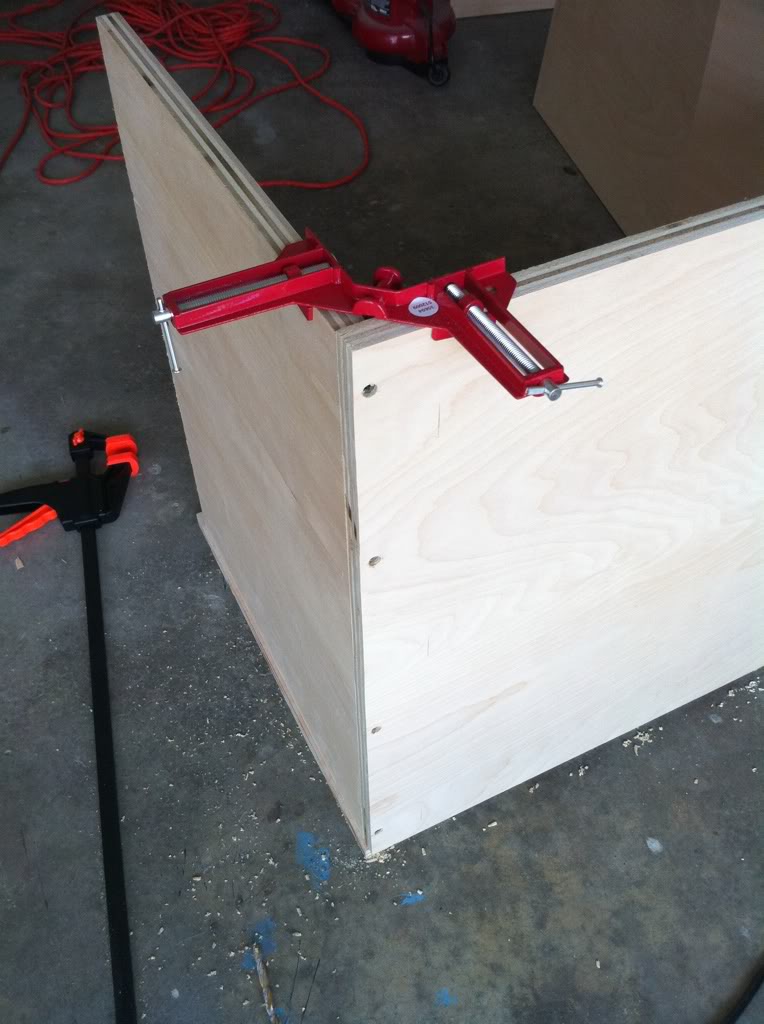
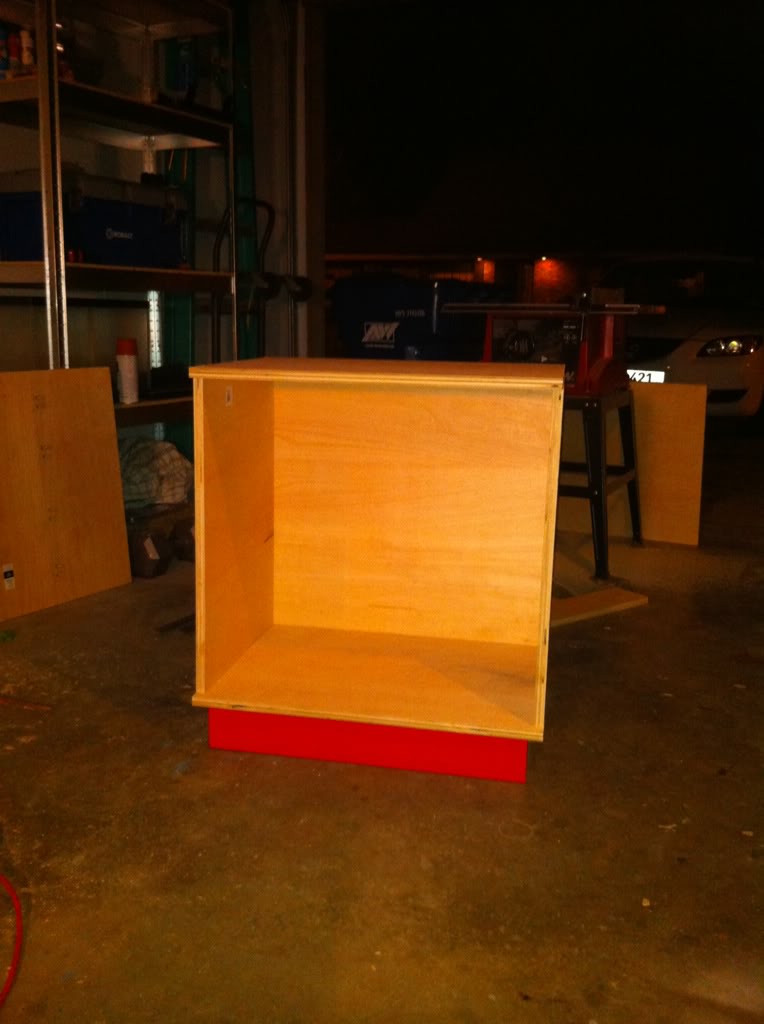
First the base frame
b8deceef.jpg

c9f4a898.jpg

bba9567b.jpg

9bacaee3.jpg

bc8a3e0e.jpg


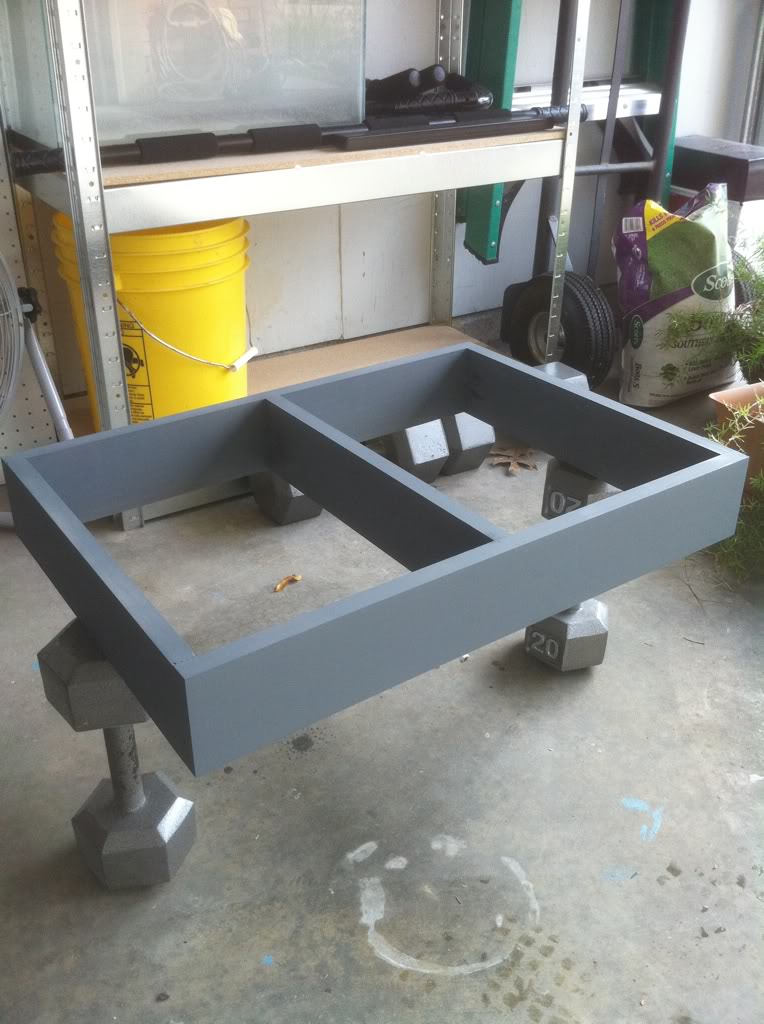
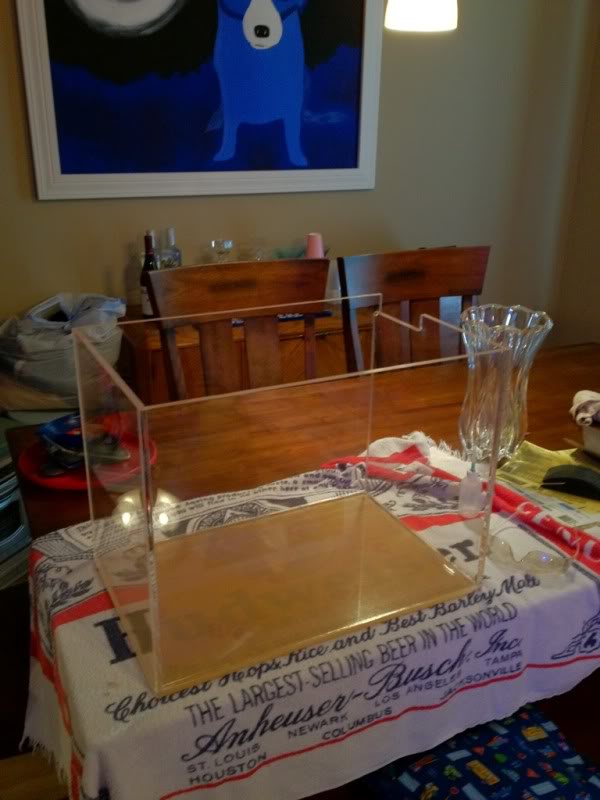
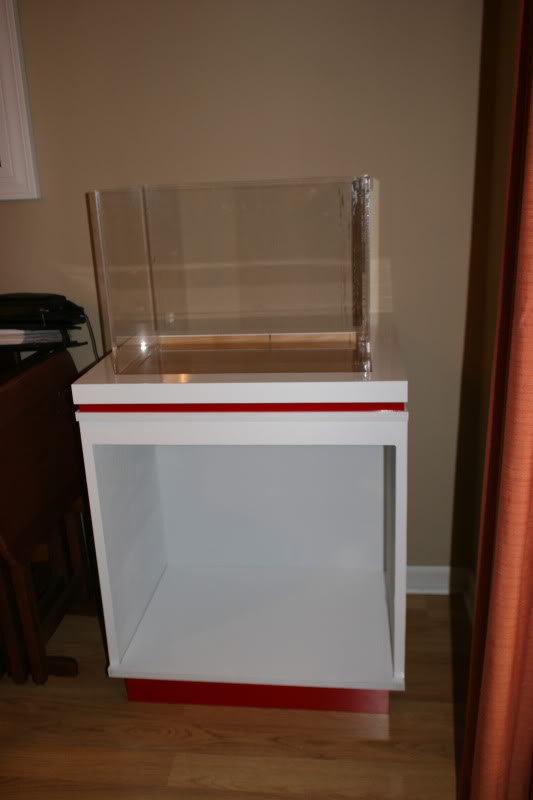
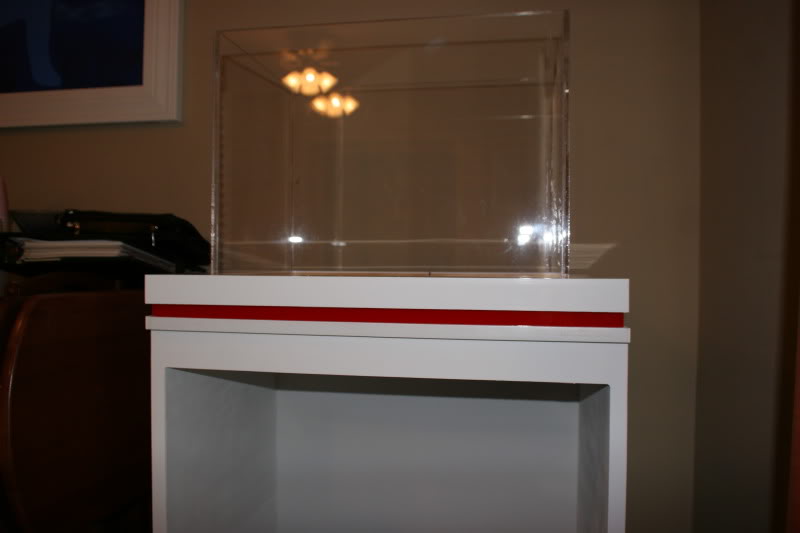
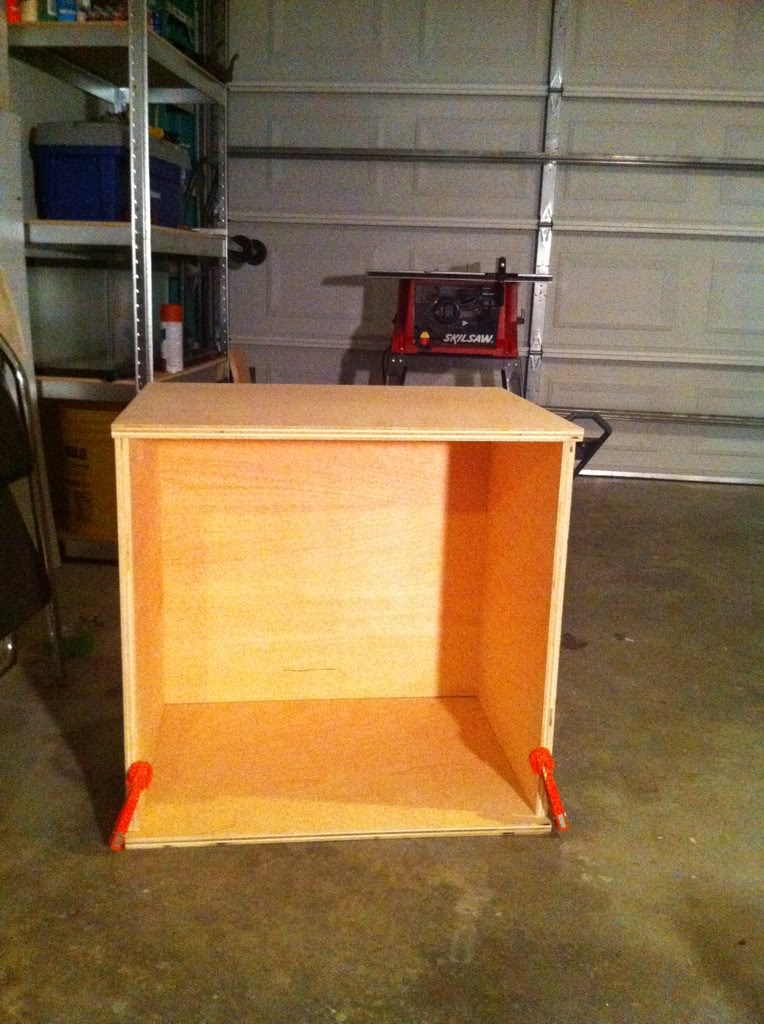
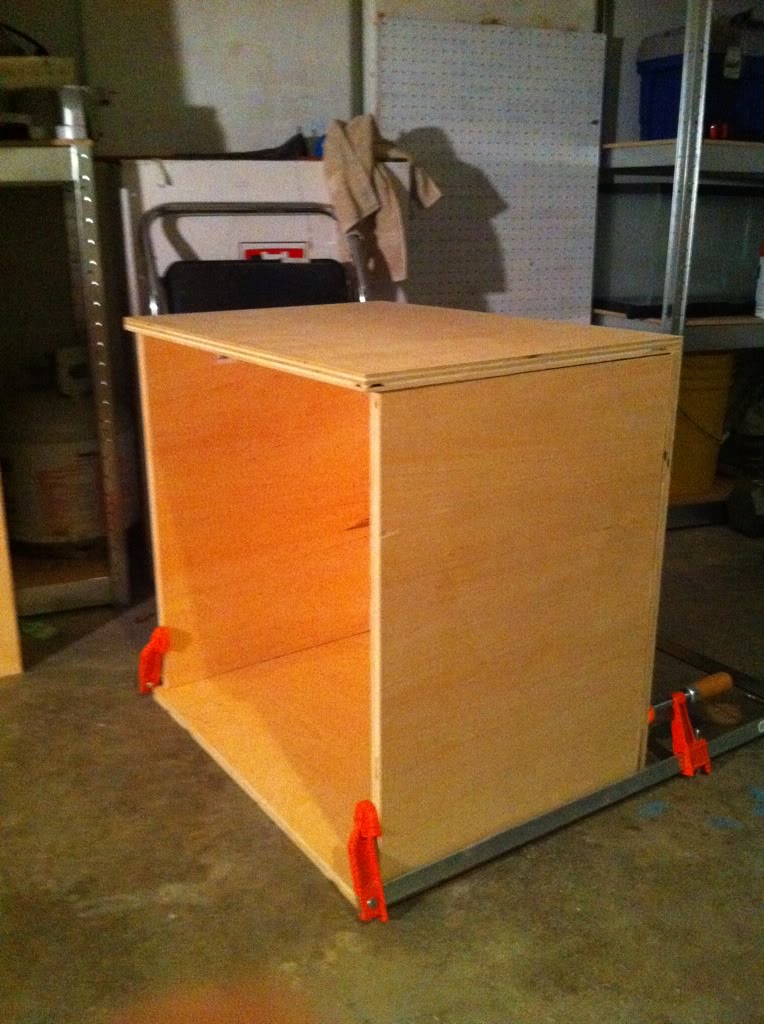
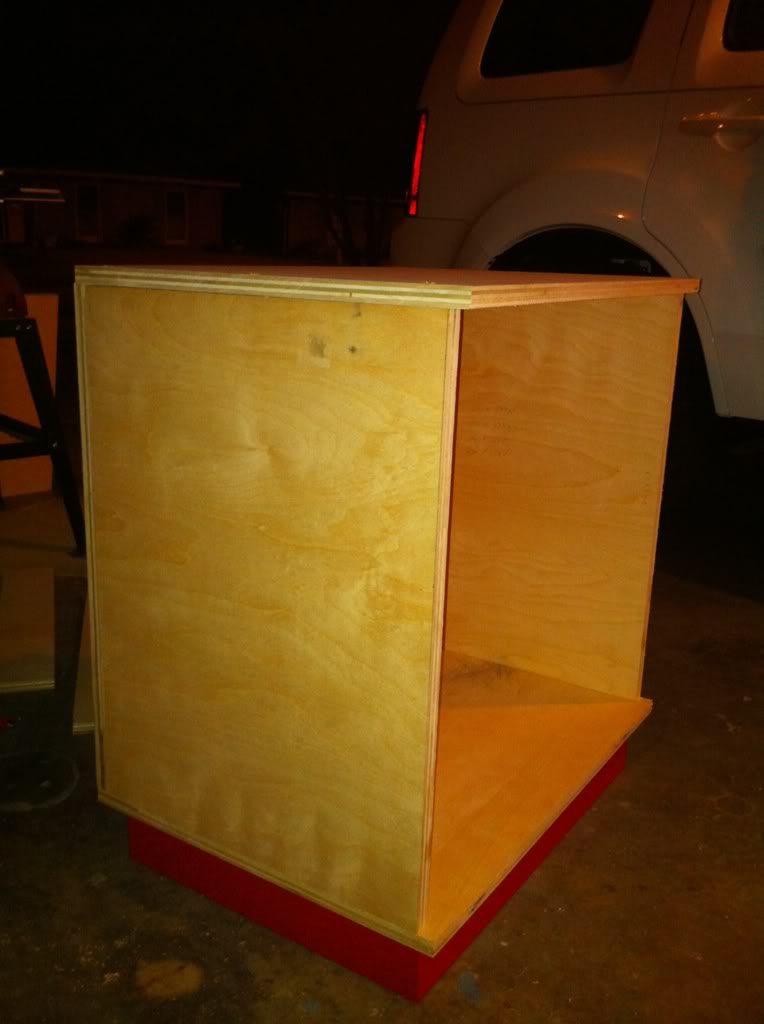
Next was the box part of the stand
dec9ea18.jpg

a94c279b.jpg

c408674a.jpg

0fa1afcc.jpg

79b0a6f8.jpg


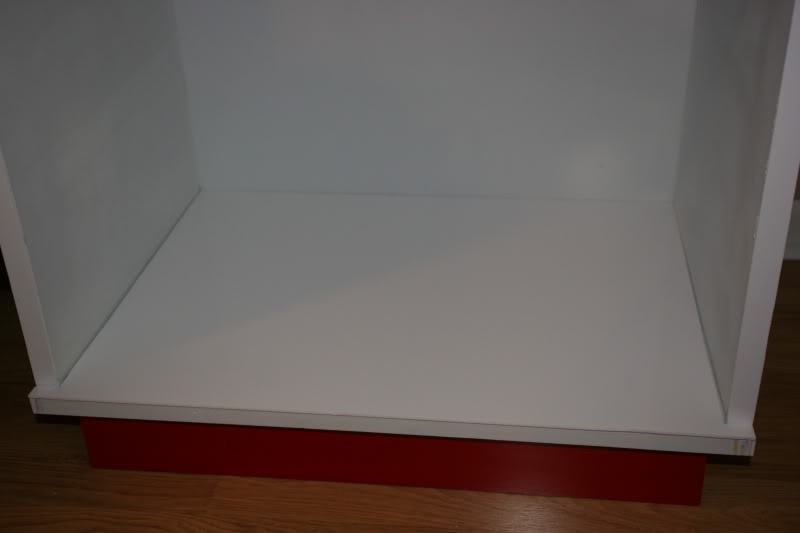
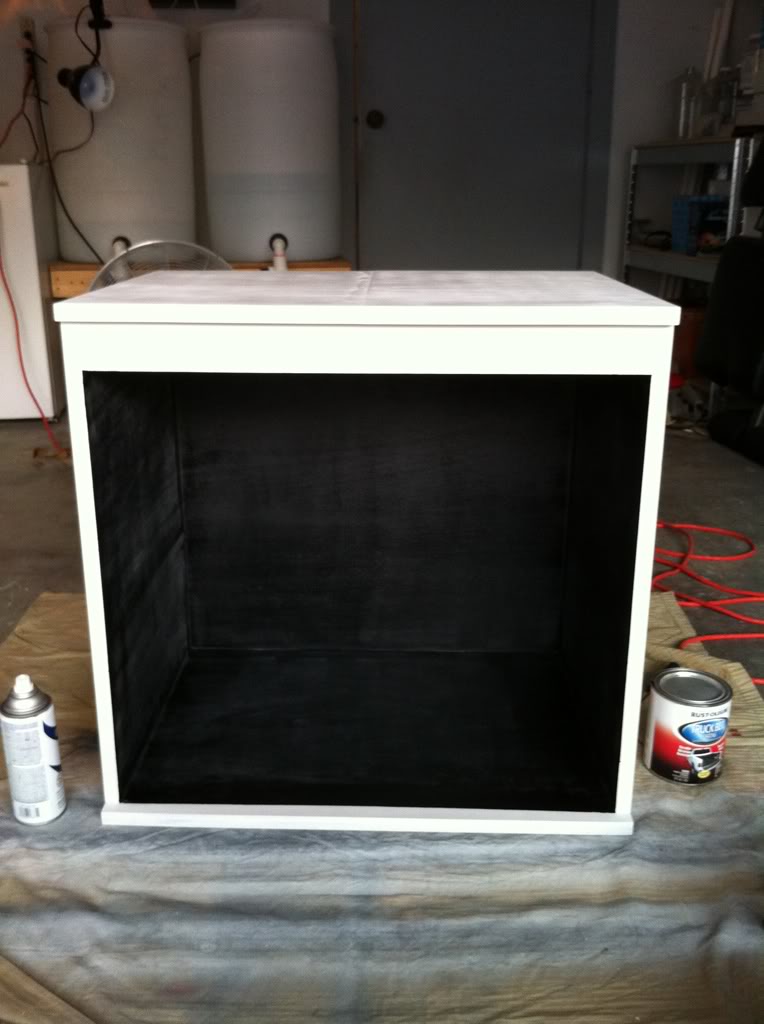
I then coated the inside with truck bed liner and painted it white
1bb9b710.jpg


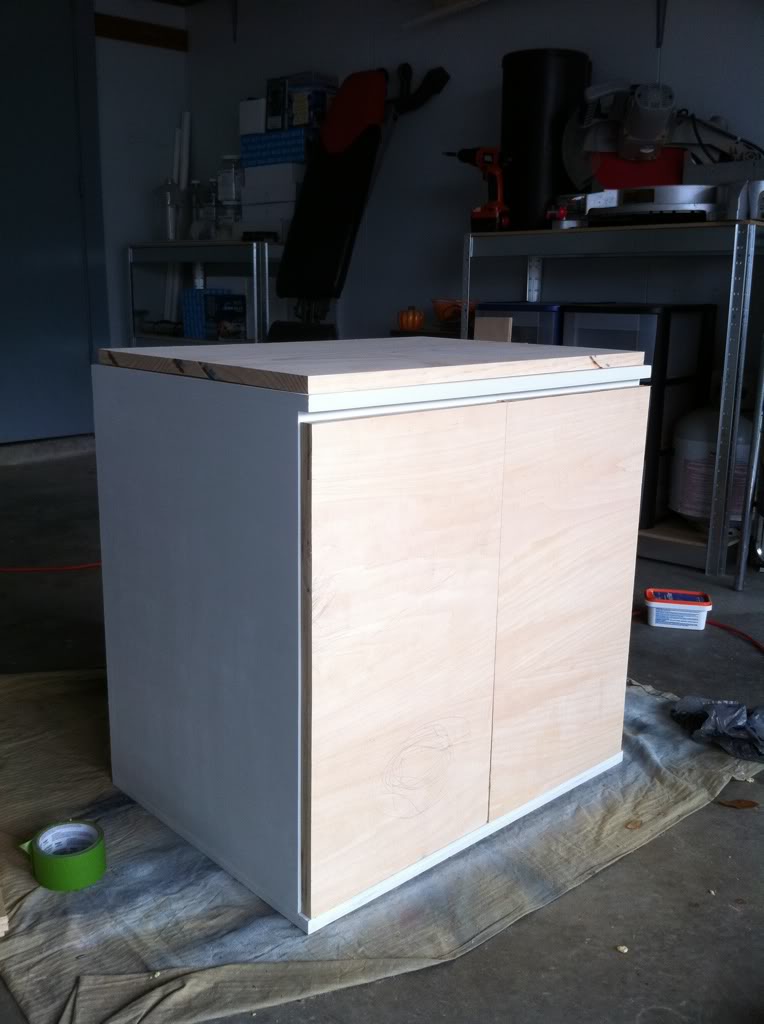
Here it is with the doors
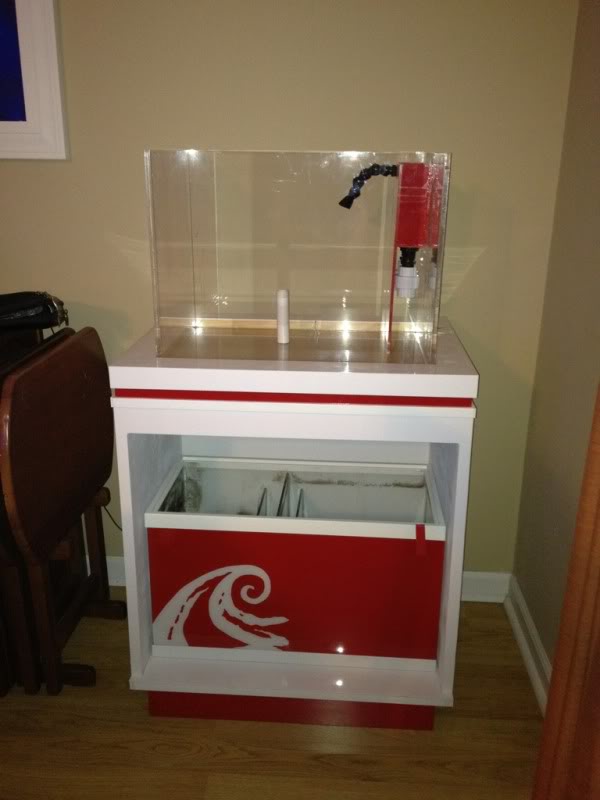
d7bae8bf.jpg
 

soccerbag

Chalices did this to me!!
View Badges
Joined
Nov 23, 2009
Messages
3,848
Reaction score
129
Location
Richmond, VA
Rating - 0%
0   0   0
Great looking stand! Off to a great start. Please keep us posted.
 
OP
OP
ryno212

ryno212

Active Member
View Badges
Joined
Mar 13, 2007
Messages
201
Reaction score
4
Rating - 0%
0   0   0
Then I took a old 20 gallon sump and cut down the glass to make it shorter and painted it to go with the theme of the tank.
9c89d462.jpg

648f8e4c.jpg

f9014240.jpg

818dec06.jpg

e9c4c794.jpg
 

reefkoi

Valuable Member
View Badges
Joined
Mar 6, 2009
Messages
1,175
Reaction score
38
Location
colorado
Rating - 0%
0   0   0
shouldnt it be the kohaku tank ;) looks cool, I like the bold red color and white combo very refreshing

C
 
OP
OP
ryno212

ryno212

Active Member
View Badges
Joined
Mar 13, 2007
Messages
201
Reaction score
4
Rating - 0%
0   0   0
next up was the tank itself. I used 3/8" acrylic and built the tank with a overflow notch on the side of the tank. I still haven't sanded and flame polished it yet until everything was fitted with the overflow box
91e274ff.jpg

9ae30380.jpg

538d0752.jpg

IMG_8942.jpg


I made a red overflow box to stick with the white and red colors
cd8f2b93.jpg

9a5a8c97.jpg

IMG_8948.jpg

fb023576.jpg

47a24ff1.jpg


here is a few shots of the tank on the stand, I have gotten most of the skinning done except for a few front panels and the doors. This is about where I am now with the tank. Next will be to get the sump fitted in and lay out the route of the plumping...
IMG_8940.jpg

IMG_8939.jpg

IMG_8950.jpg

a1ff5293.jpg
 

revsgirl

5000 Club Member
View Badges
Joined
Sep 16, 2009
Messages
7,468
Reaction score
190
Location
ga
Rating - 0%
0   0   0
Looks awesome!! Great job!
 

Mike&Terry

Wrasses, Angels, & Tangs, Oh My!
View Badges
Joined
Oct 7, 2011
Messages
6,124
Reaction score
1,834
Location
Chesterfield, VA
Rating - 0%
0   0   0
I'm diggin the red and white color combo...
 
OP
OP
ryno212

ryno212

Active Member
View Badges
Joined
Mar 13, 2007
Messages
201
Reaction score
4
Rating - 0%
0   0   0
Thanks all. It's nice to take my time and not rush it. Sunday I will try and get the flame polishing done and attach the overflow box and plumb the tank.
 

ToXIc

2500 Club Member
View Badges
Joined
Feb 27, 2011
Messages
4,002
Reaction score
67
Location
TN
Rating - 0%
0   0   0
now thats a total DIY build.. awesome!!!!
 

revhtree

Owner Administrator
View Badges
Joined
May 8, 2006
Messages
47,786
Reaction score
87,379
Rating - 100%
1   0   0
That is just awesome! Love the colors!
 
OP
OP
ryno212

ryno212

Active Member
View Badges
Joined
Mar 13, 2007
Messages
201
Reaction score
4
Rating - 0%
0   0   0
thanks everyone...the crazy part is that it is my temp tank until I get my 250 build done.... but it gives me something nice to look at until then....
 
OP
OP
ryno212

ryno212

Active Member
View Badges
Joined
Mar 13, 2007
Messages
201
Reaction score
4
Rating - 0%
0   0   0
Not much progress
Got the holes done for plumbing and put the sump back in to see how to run the pipes.
241386f4.jpg

fe6f3b20.jpg
 
OP
OP
ryno212

ryno212

Active Member
View Badges
Joined
Mar 13, 2007
Messages
201
Reaction score
4
Rating - 0%
0   0   0
Mocked up the plumbing today, don't mind the dirty sump.... Now that I have done this I can now sand the top edges and weld the over flow box onto the tank.
b08c8f1a.jpg

1910ec85.jpg
 
Back
Top