Navigation
Install the app
How to install the app on iOS
Follow along with the video below to see how to install our site as a web app on your home screen.
Note: This feature may not be available in some browsers.
More options
You are using an out of date browser. It may not display this or other websites correctly.
You should upgrade or use an alternative browser.
You should upgrade or use an alternative browser.
The Silver Linings Tank Thread, or "My 180G Build"
- Build Thread
- Thread starter PedroYoung
- Start date
- Tagged users None


OP
OP
HaHa, you can see the pilot hole we drilled in the center, was JUST too close. Be easy to fix it with a couple 45's. Going to set pipe clamp blocks behind the penetrations next to take the force off the overflow.Looks like you're doing it right! Looking great. Watch out for those floor joists!
Don't make me come down there and inspect it lol.... I can tell from your attention to detail that you will do it right! Seriously this is a really nice build. Looking forward to seeing it running. But if you're like me, then building it is most of the fun!

OP
OP
Actually it's a little stressful for me. High stakes with plenty of potential for catastropheDon't make me come down there and inspect it lol.... I can tell from your attention to detail that you will do it right! Seriously this is a really nice build. Looking forward to seeing it running. But if you're like me, then building it is most of the fun!
 , but it is rewarding when each little step gets me closer to getting it wet. I'll feel much better when everything's leak tested (successfully). Thanks for all your insight and tips Rick (and a kick butt sump)!!
OP
OP
Finished the penetrations for the lines from the return pump. Pic of the cabinet with all 5 holes.
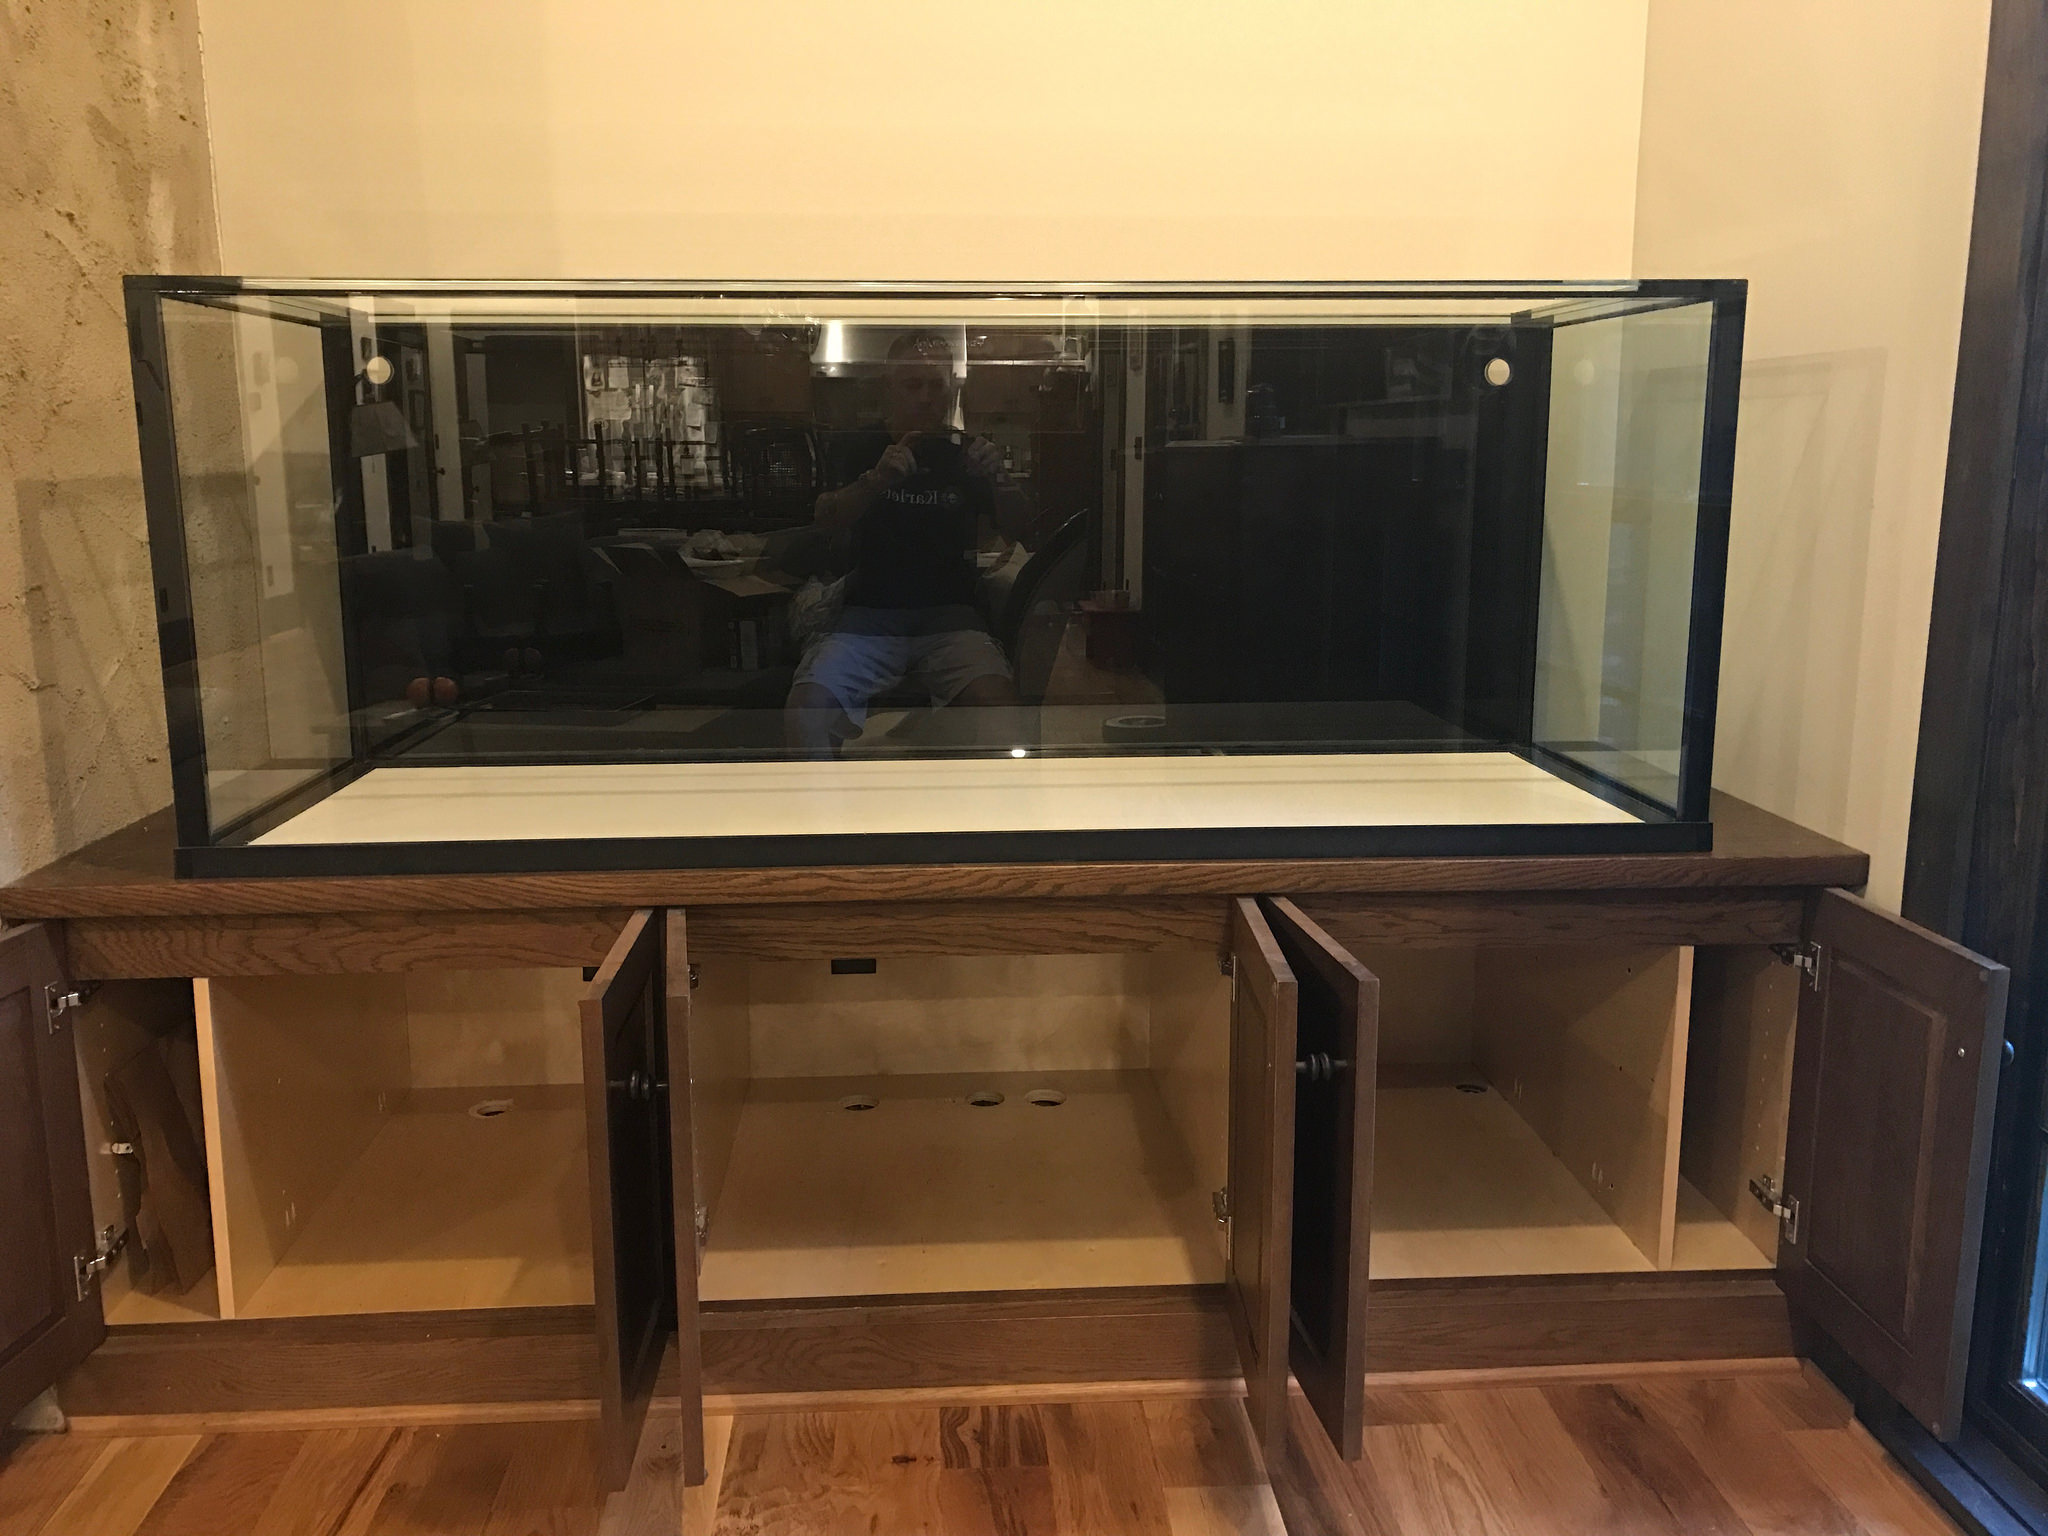 image by Peter Young, on Flickr
Basement side of the overflow plumbing. You can see why I had to shift the center hole in the cabinet bottom to miss the joist underneath. I'm going to use the left-most hole for the main siphon since it will have the straightest run to the sump (basically straight down, then 2 45's into the sump.
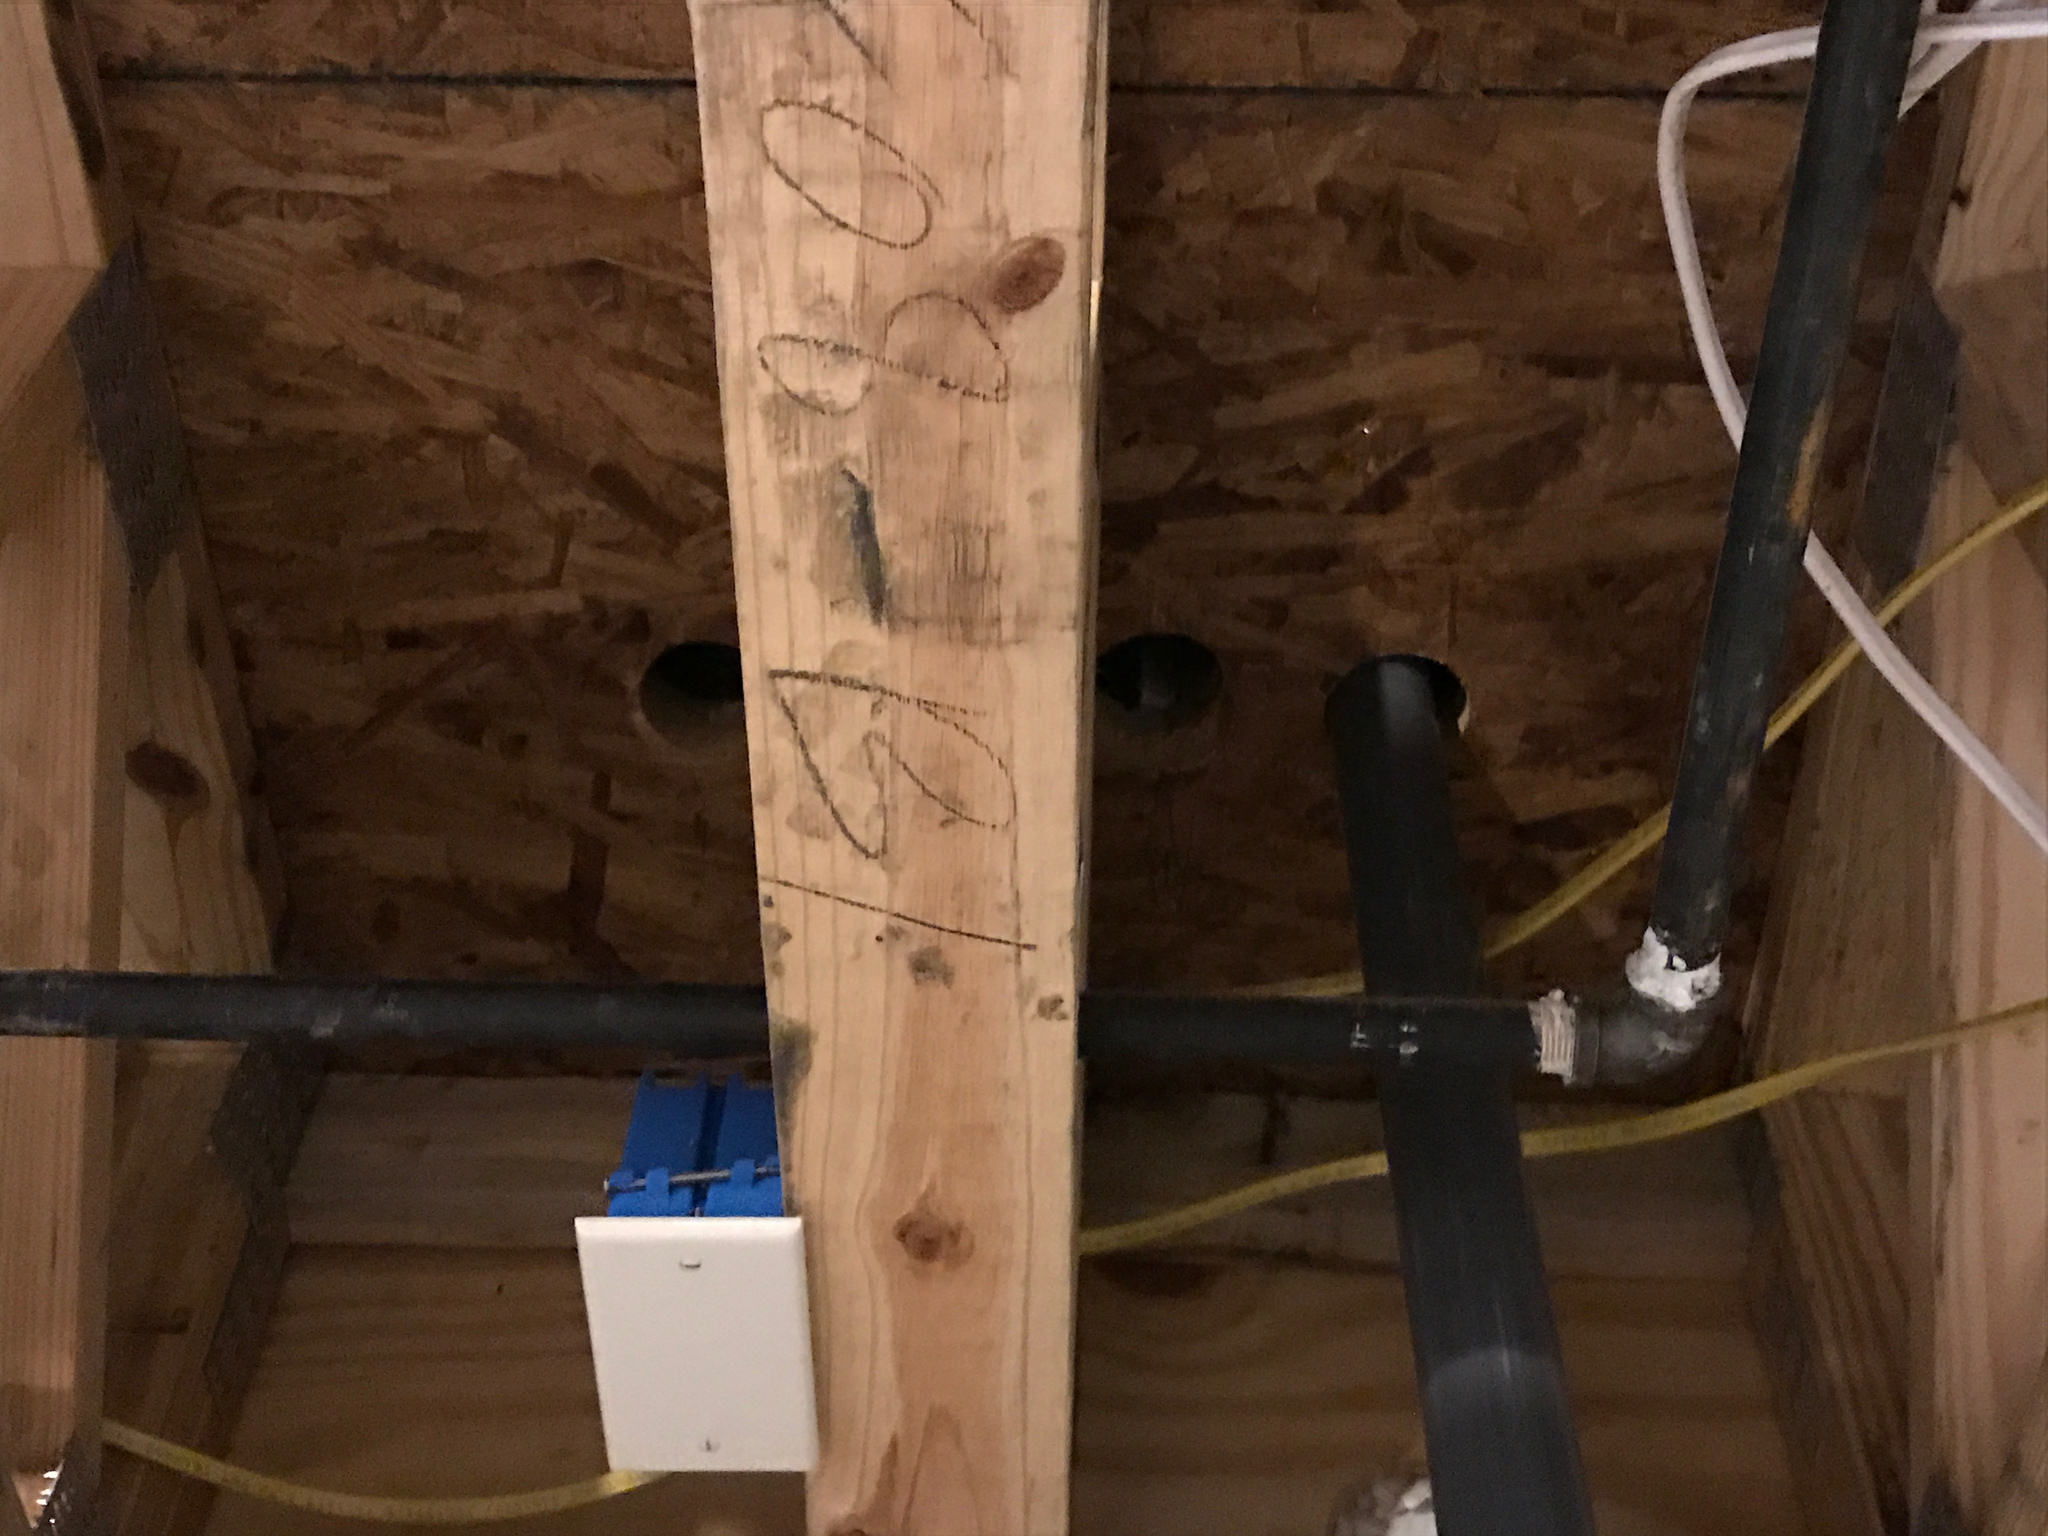 image by Peter Young, on Flickr
Full shot of the basement joists where I'll be coming down.
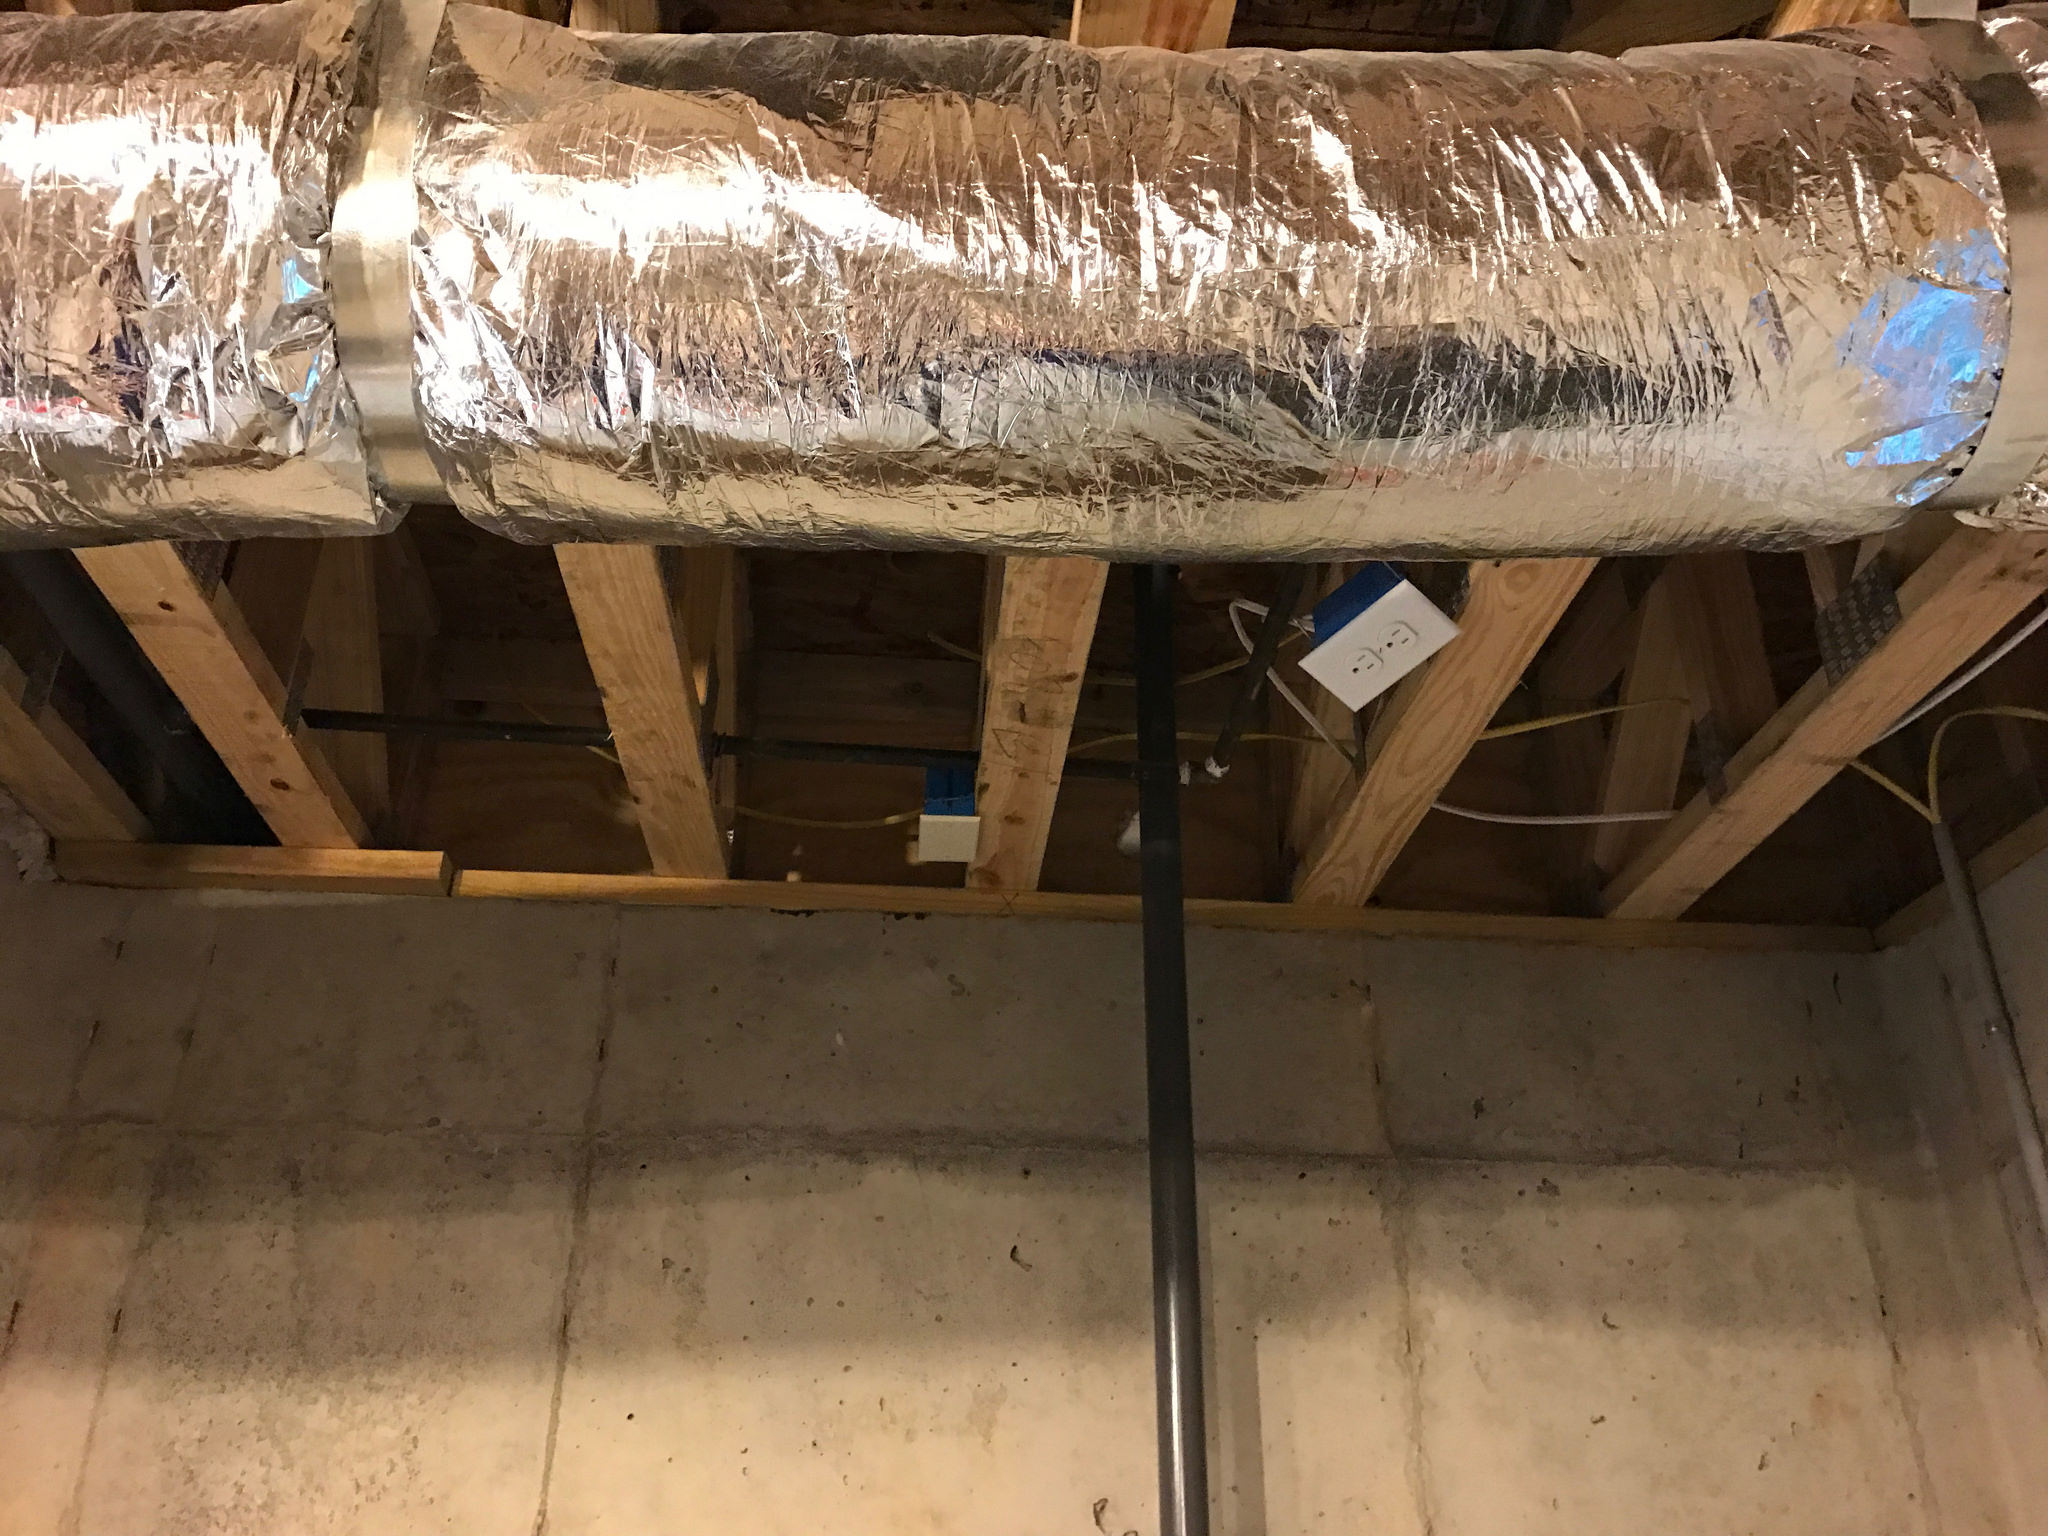 image by Peter Young, on Flickr
Rough layout of the plumbing on the return lines. I'm running 1.5" out of the sump up to a 1.5" Tee with 1" reducing bushings on both exits. Then through ball valve (in case I need to run on one line for some reason) then flow meters, then a pair of 45's then up to the cabinet.
 image by Peter Young, on Flickr
Going to try and get some of the plumbing actually set this weekend.
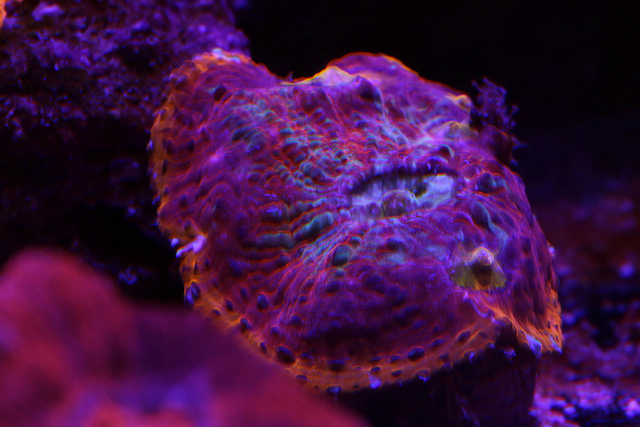
Here is another pic of my @WWC Maui Sunset chalice to keep you coming back
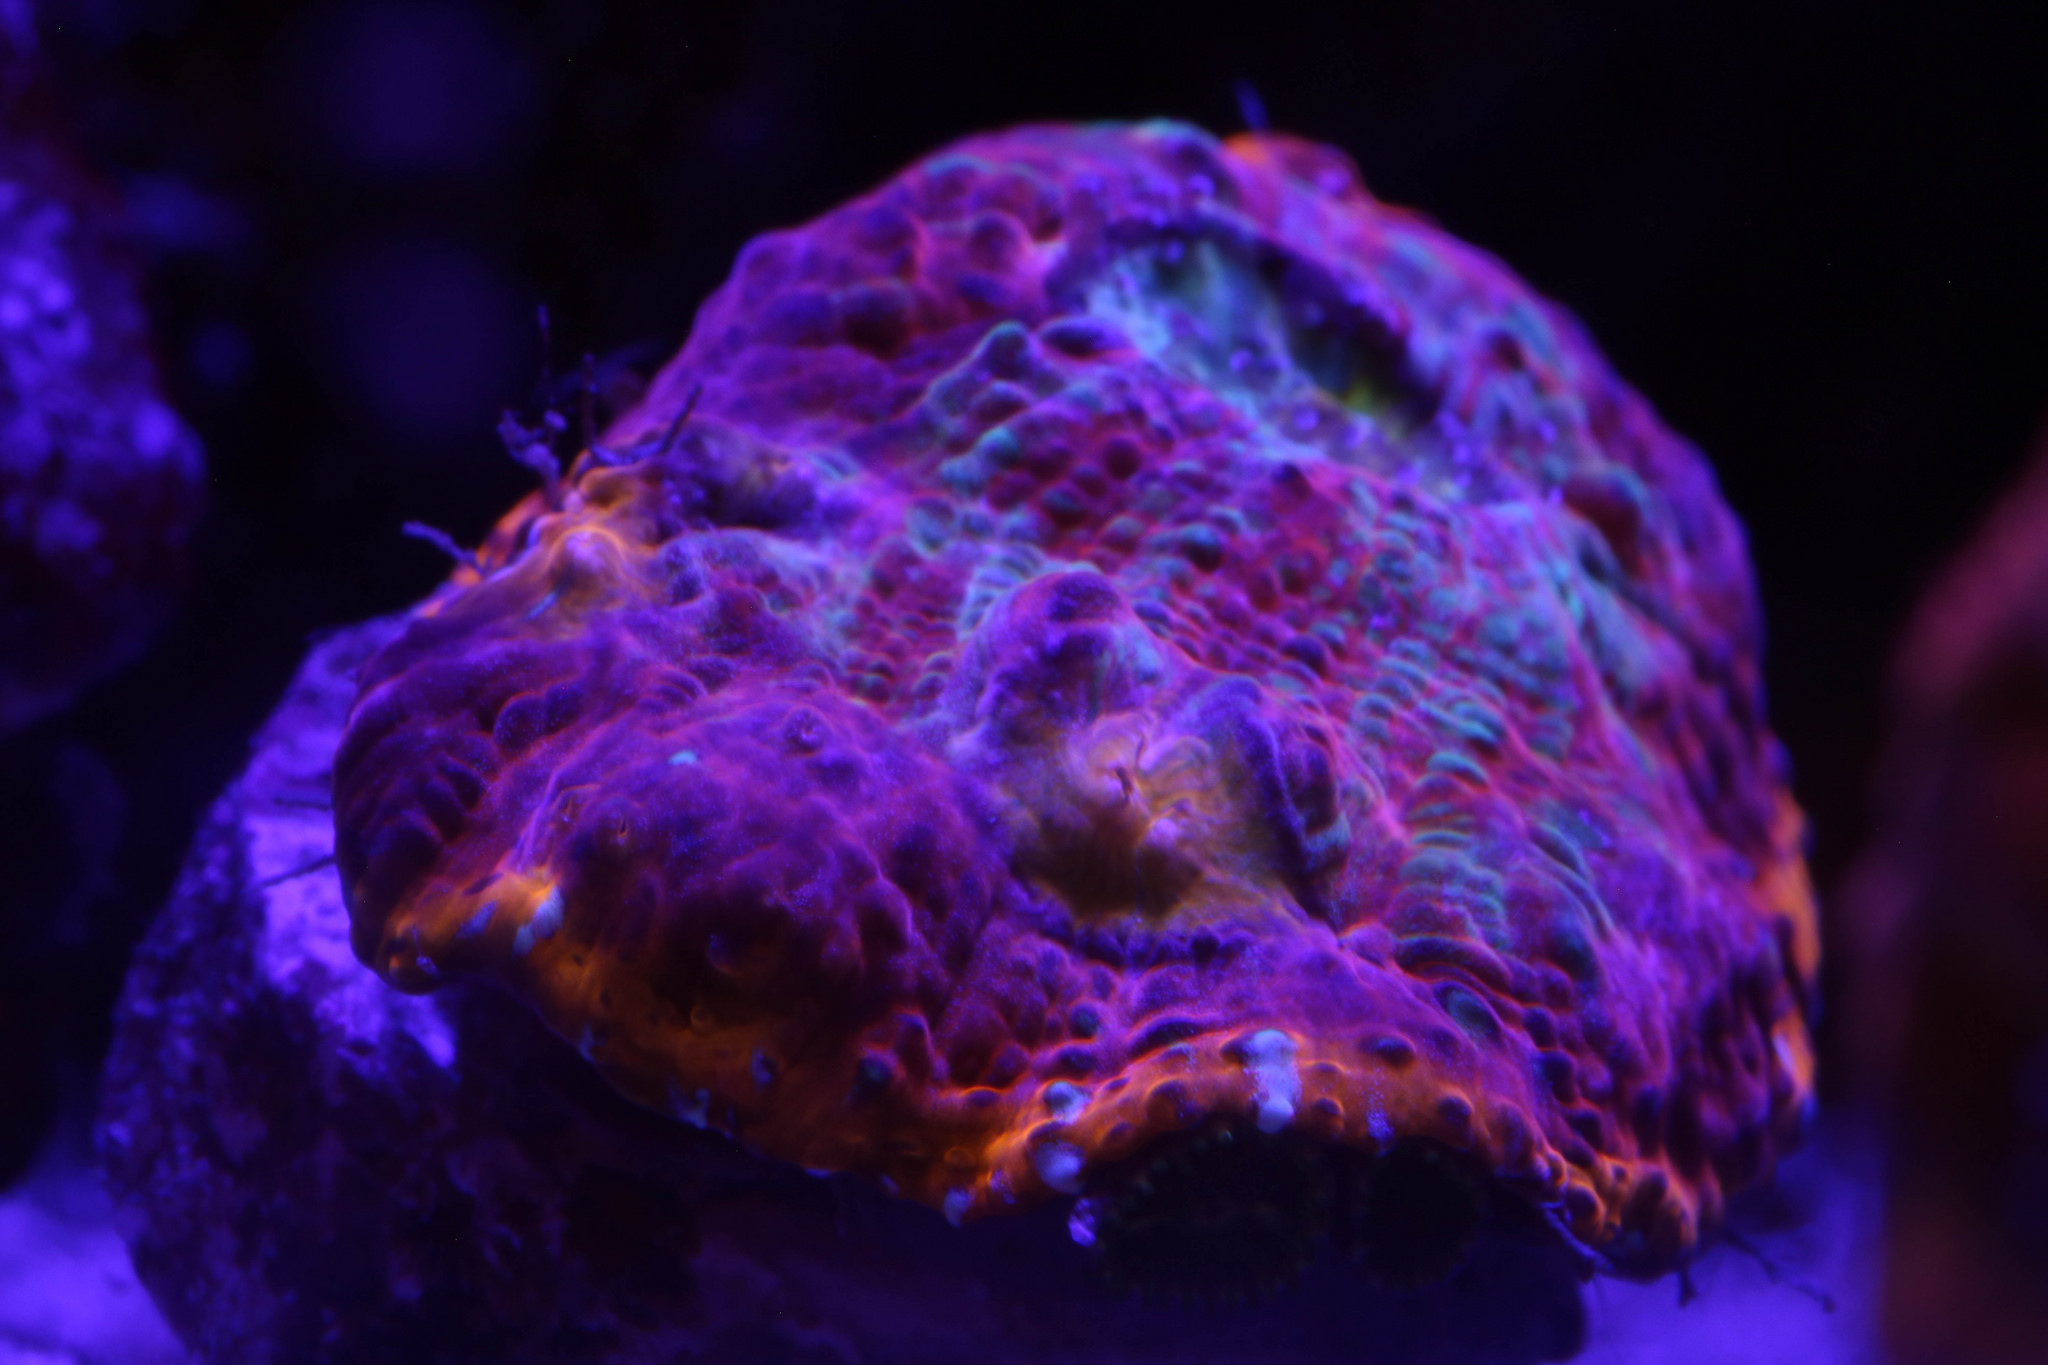 mauisunset by Peter Young, on Flickr
Thanks for stopping by.
image by Peter Young, on FlickrBasement side of the overflow plumbing. You can see why I had to shift the center hole in the cabinet bottom to miss the joist underneath. I'm going to use the left-most hole for the main siphon since it will have the straightest run to the sump (basically straight down, then 2 45's into the sump.
image by Peter Young, on FlickrFull shot of the basement joists where I'll be coming down.
image by Peter Young, on FlickrRough layout of the plumbing on the return lines. I'm running 1.5" out of the sump up to a 1.5" Tee with 1" reducing bushings on both exits. Then through ball valve (in case I need to run on one line for some reason) then flow meters, then a pair of 45's then up to the cabinet.
image by Peter Young, on FlickrGoing to try and get some of the plumbing actually set this weekend.
Here is another pic of my @WWC Maui Sunset chalice to keep you coming back
mauisunset by Peter Young, on FlickrThanks for stopping by.

sweet!

OP
OP
Thanks, things are finally starting to speed up. I need the space for more corals!! My 75G is jammed and I'm starting to get some losses from sweepers.Sorry for your losses from the fire. Glad to see you aren't letting it hold you back! Great build, awesome equipment and corals!
OP
OP
Thanks for the kind words.Nice setup!!

OP
OP
Making some slow progress on plumbing. Nerve wracking for me, not sure why . Got the Shadow set and the plumbing into the cabinet yesterday.
 image by Peter Young, on Flickr
I put in some pipe clamps into the cabinet just below the tank to relieve any stress on the overflow box. I just cut a section of 2x4 and screwed it into the underside of the cabinet top.
 image by Peter Young, on Flickr
 image by Peter Young, on Flickr
This morning I glued the unions onto the overflow outflow and set the gate valve for my main siphon.
 image by Peter Young, on Flickr
Man, that glue and primer in that cabinet space was STRONG!! I had to get a fan and blow the fumes out while I was working. "use in well ventilated area" for sure.
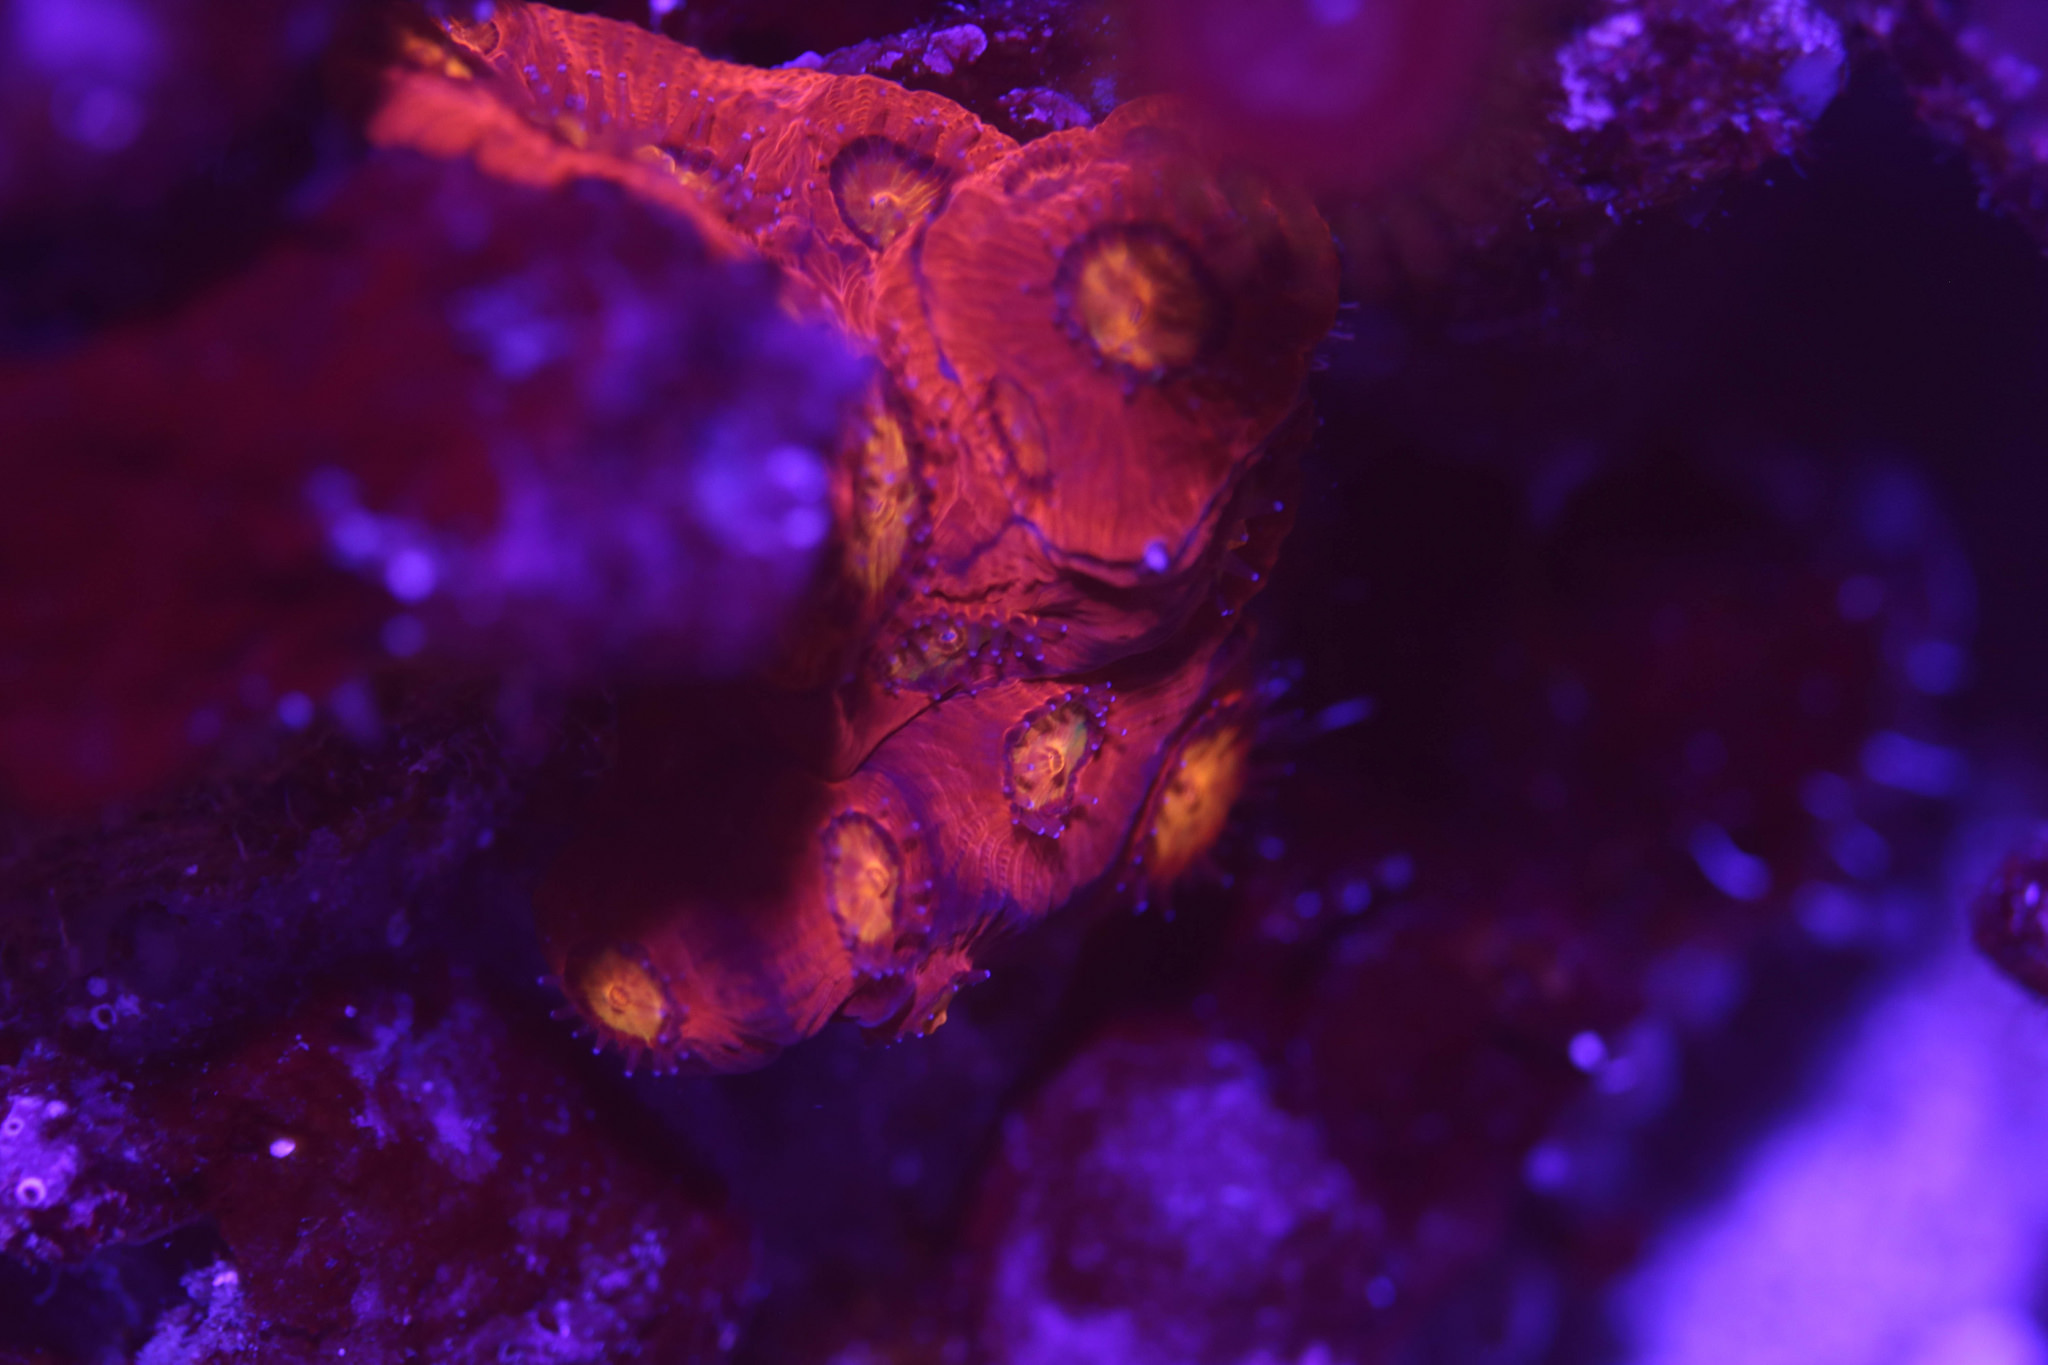
Then I celebrated with a little photography session on the 75G (been a week or so since I'd shot anything). Took several of my @WWC Maui Sunset then got the porthole out and shot some top downs.
 maui-11 by Peter Young, on Flickr
 mauisunset-2 by Peter Young, on Flickr
 poinsettia-6 by Peter Young, on Flickr
 goniastrea-2 by Peter Young, on Flickr
 mauitop by Peter Young, on Flickr
 sector001 by Peter Young, on Flickr
 raja-2 by Peter Young, on Flickr
As always, thanks for looking.
. Got the Shadow set and the plumbing into the cabinet yesterday.image by Peter Young, on FlickrI put in some pipe clamps into the cabinet just below the tank to relieve any stress on the overflow box. I just cut a section of 2x4 and screwed it into the underside of the cabinet top.
image by Peter Young, on Flickrimage by Peter Young, on FlickrThis morning I glued the unions onto the overflow outflow and set the gate valve for my main siphon.
image by Peter Young, on FlickrMan, that glue and primer in that cabinet space was STRONG!! I had to get a fan and blow the fumes out while I was working. "use in well ventilated area" for sure.
Then I celebrated with a little photography session on the 75G (been a week or so since I'd shot anything). Took several of my @WWC Maui Sunset then got the porthole out and shot some top downs.
maui-11 by Peter Young, on Flickrmauisunset-2 by Peter Young, on Flickrpoinsettia-6 by Peter Young, on Flickrgoniastrea-2 by Peter Young, on Flickrmauitop by Peter Young, on Flickrsector001 by Peter Young, on Flickrraja-2 by Peter Young, on FlickrAs always, thanks for looking.
revhtree
Owner Administrator
View Badges
Staff member
Super Moderator
Reef Squad
Partner Member 2024
Excellence Award
RGB
Photo of the Month
Article Contributor
R2R TV Featured
Hospitality Award
Article Administrator
Black Friday Sponsor
Partner Sponsor 2023
Industry Professional
My Aquarium Showcase
- Joined
- May 8, 2006
- Messages
- 47,771
- Reaction score
- 87,277
Love this story! Beautiful home, beautiful tank placement, beautiful equipment an all around great job!
Love this story! Beautiful home, beautiful tank placement, beautiful equipment an all around great job!
If you hadn't just said this I would have replied with basically the same thing.
Great work!

OP
OP
Love this story! Beautiful home, beautiful tank placement, beautiful equipment an all around great job!
If you hadn't just said this I would have replied with basically the same thing.
Great work!
Aw shucks, thanks for the kind words. I'm caught between wanting to hurry and wanting to be thoughtful and take my time. Guess I'm erring on the side of caution
OP
OP
Trying to get something done every day (or so). Got the return bulkheads, elbows and unions fitted yesterday
 image by Peter Young, on Flickr
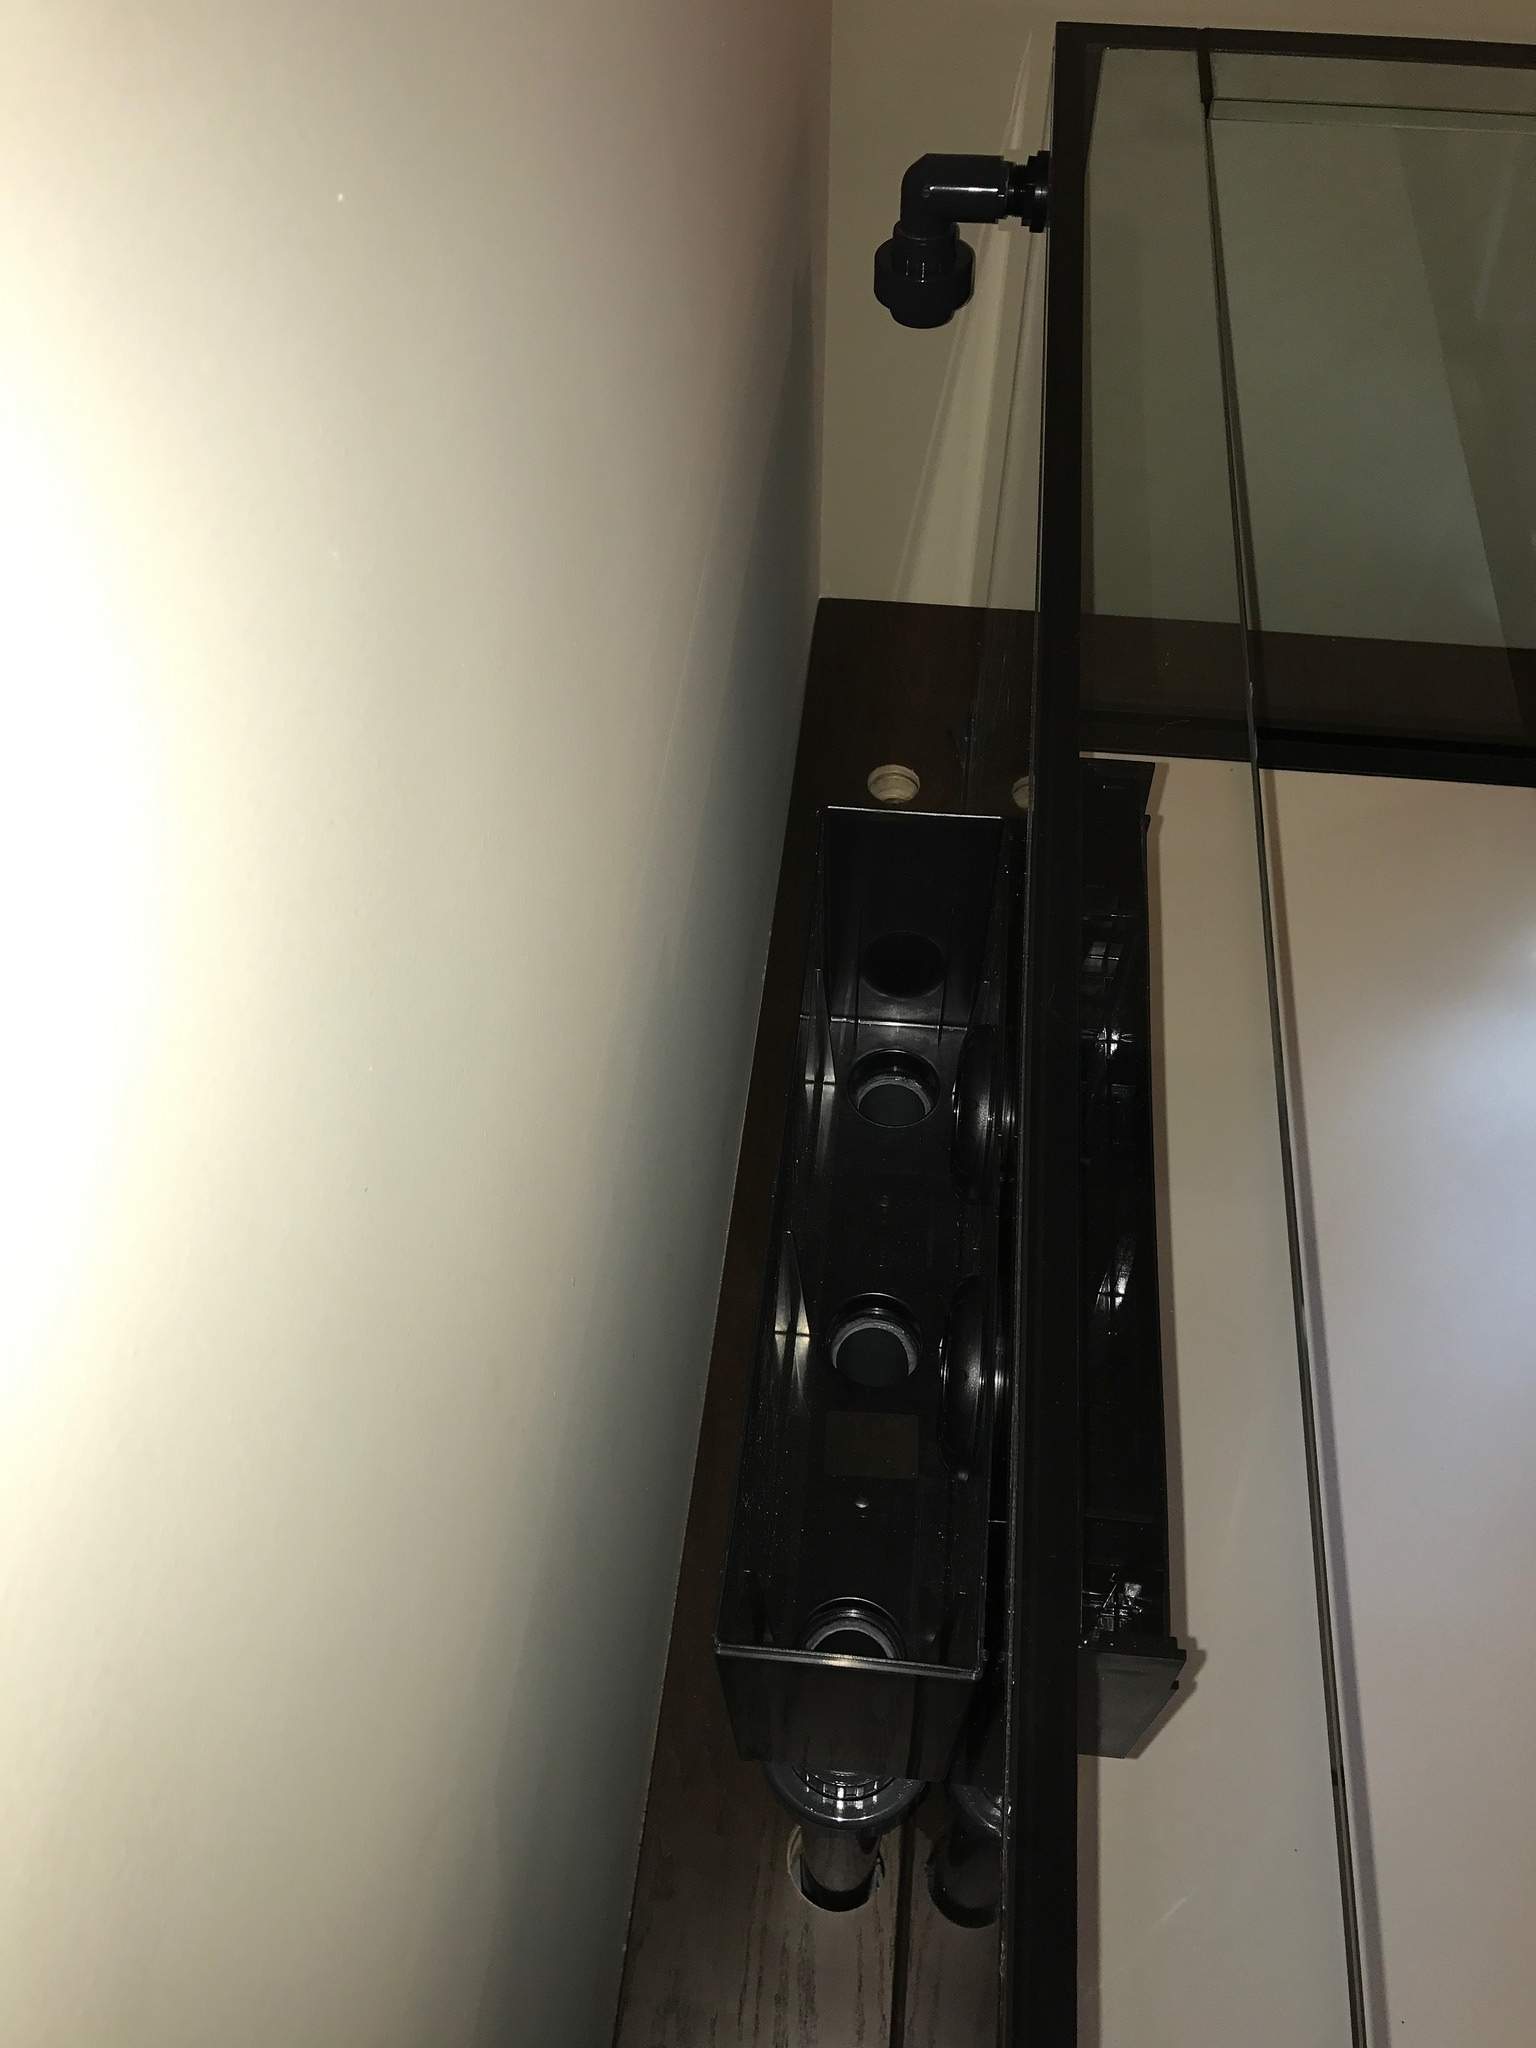 image by Peter Young, on Flickr
I will be running 1" to the elbow. The elbow is 1" with a 3/4" reducing bushing (street style). I used a short section of 3/4" to join the bulkhead and elbow as flush as I could.
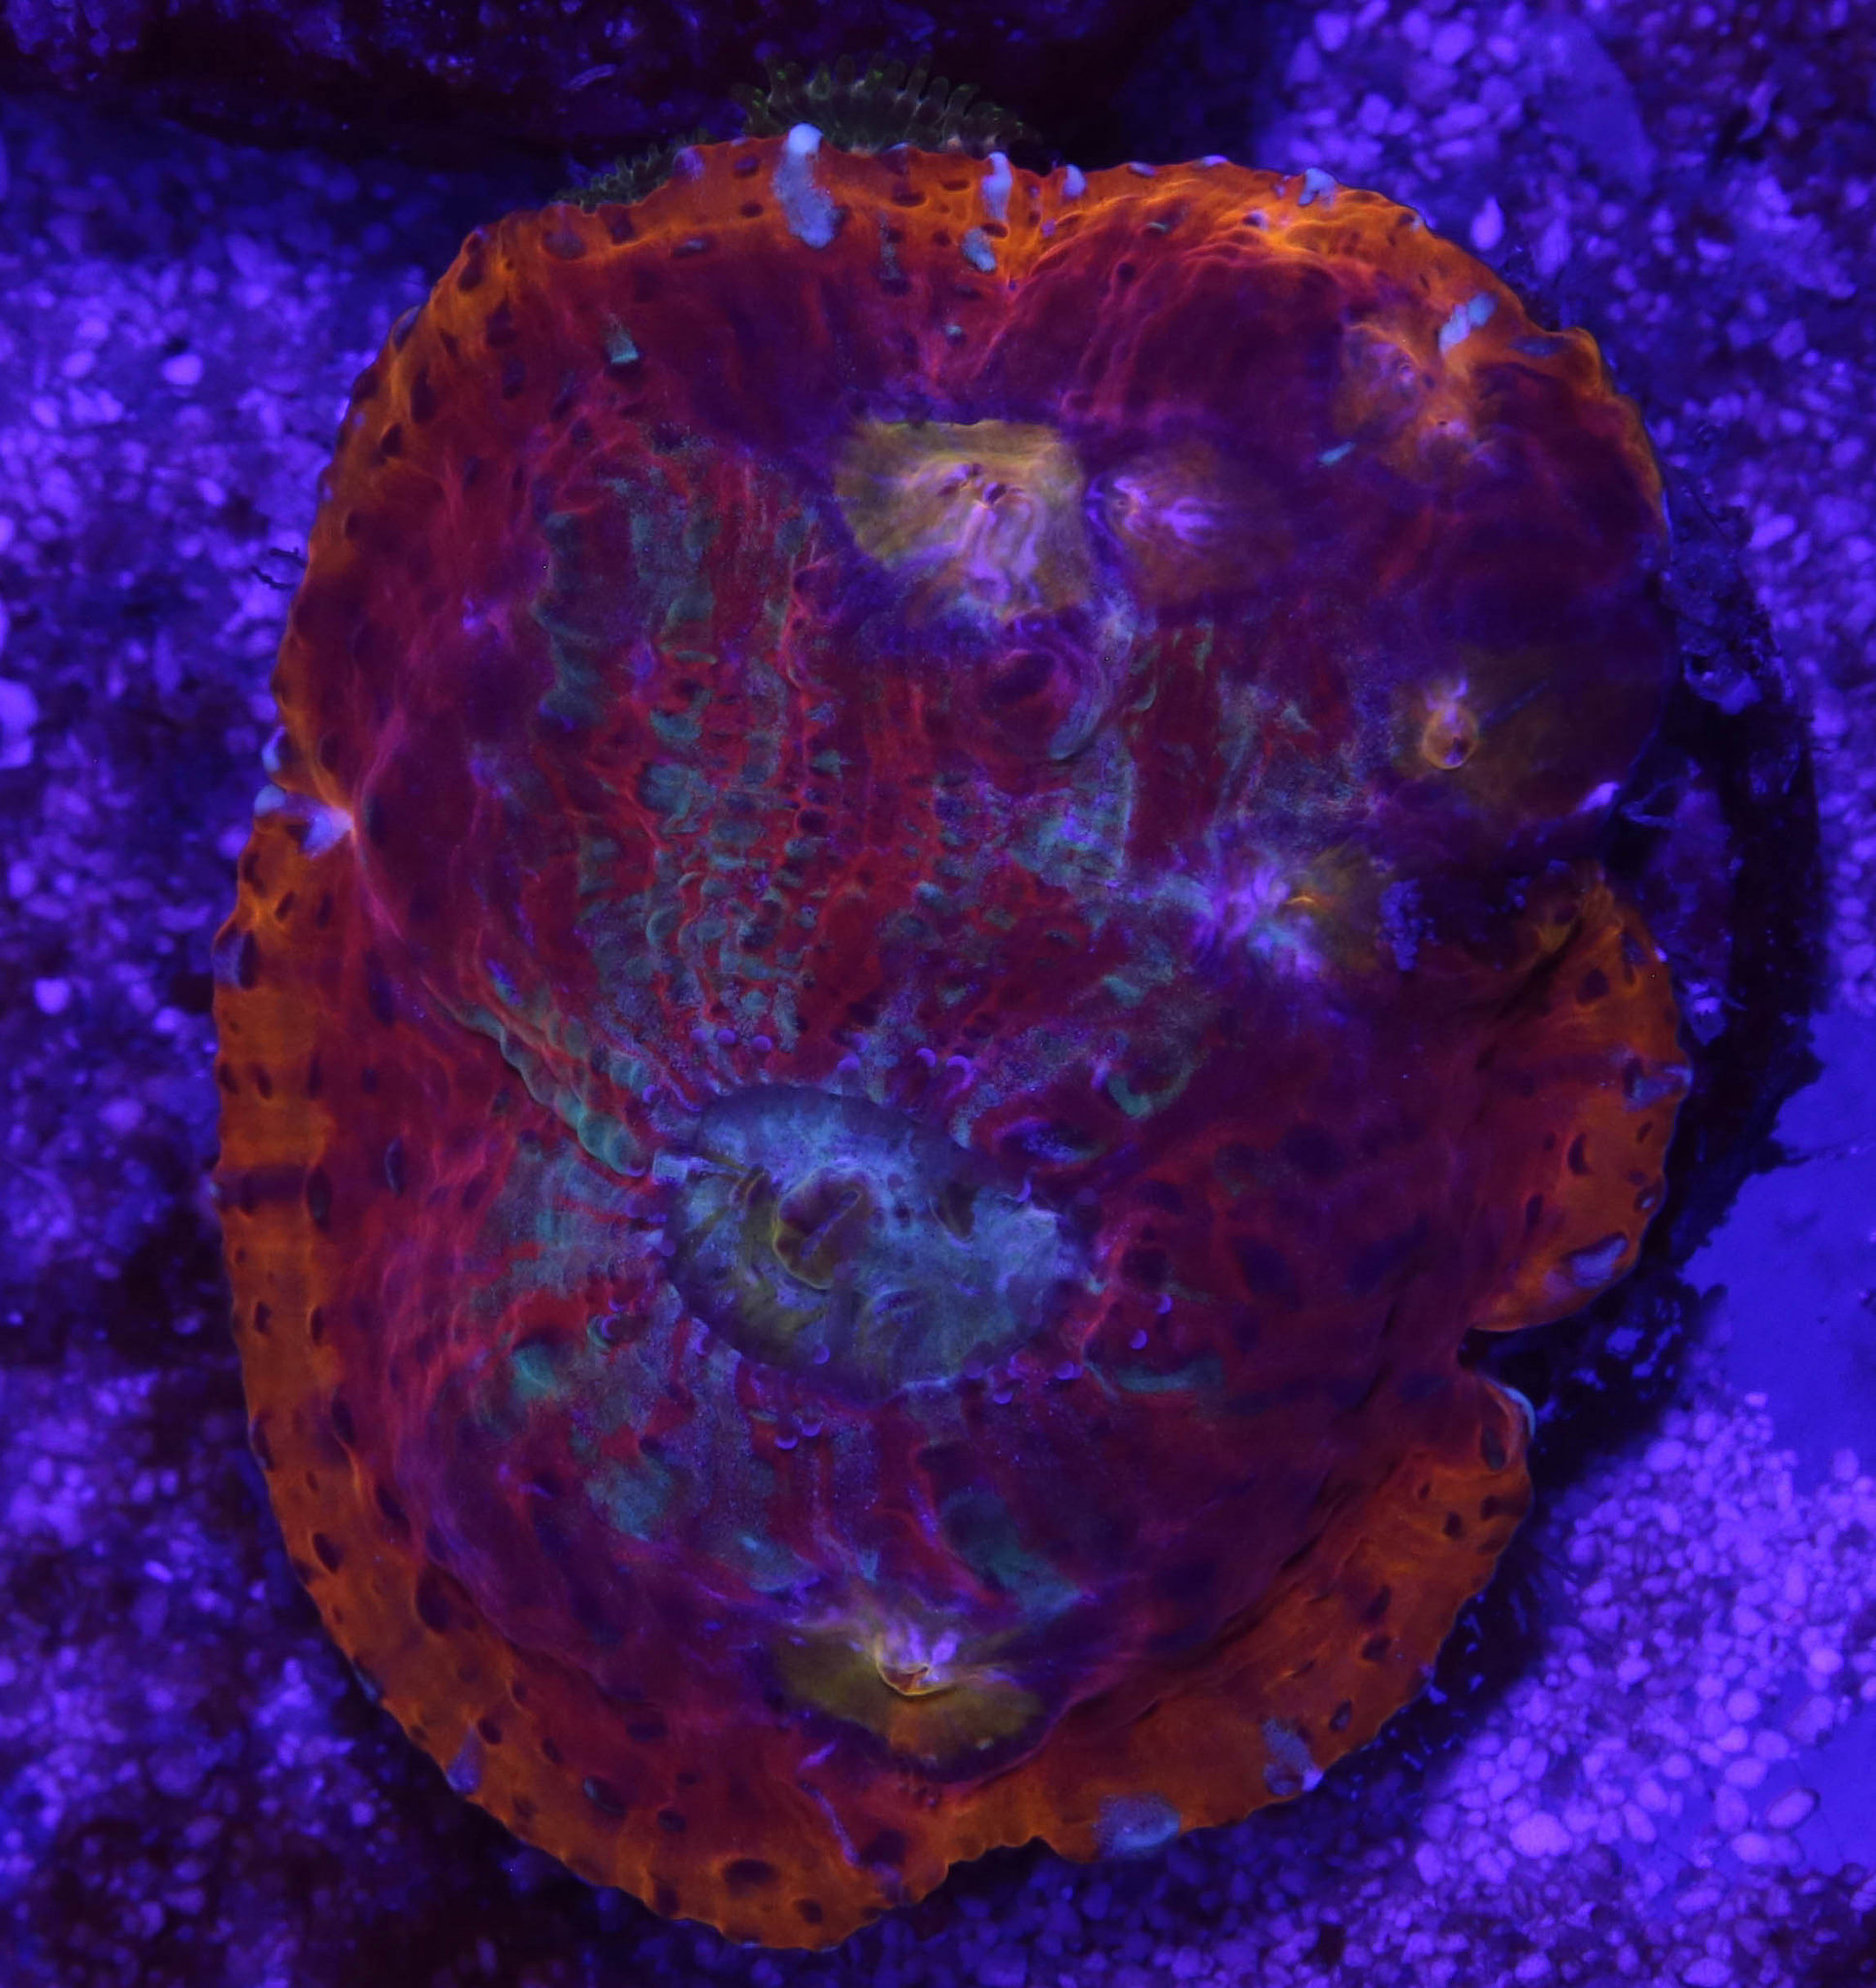
I'm going to have to shoot some more pics in my 75G to keep up with the posts
Here is a top down of my rainbow acan echinata.
 echinata top by Peter Young, on Flickr
image by Peter Young, on Flickrimage by Peter Young, on FlickrI will be running 1" to the elbow. The elbow is 1" with a 3/4" reducing bushing (street style). I used a short section of 3/4" to join the bulkhead and elbow as flush as I could.
I'm going to have to shoot some more pics in my 75G to keep up with the posts
Here is a top down of my rainbow acan echinata.
echinata top by Peter Young, on Flickr
OP
OP
Busy day yesterday (work, not tank) so didn't really get much done except moving some electrical boxes up higher on the wall. My plan is to have all the electronics mounted on the wall where those boxes were. Now the electrical is above so no worries if I get a leaky DOS connection or something.
Previous, you can see the 3 circuits on the wall at about 3.5' above the floor
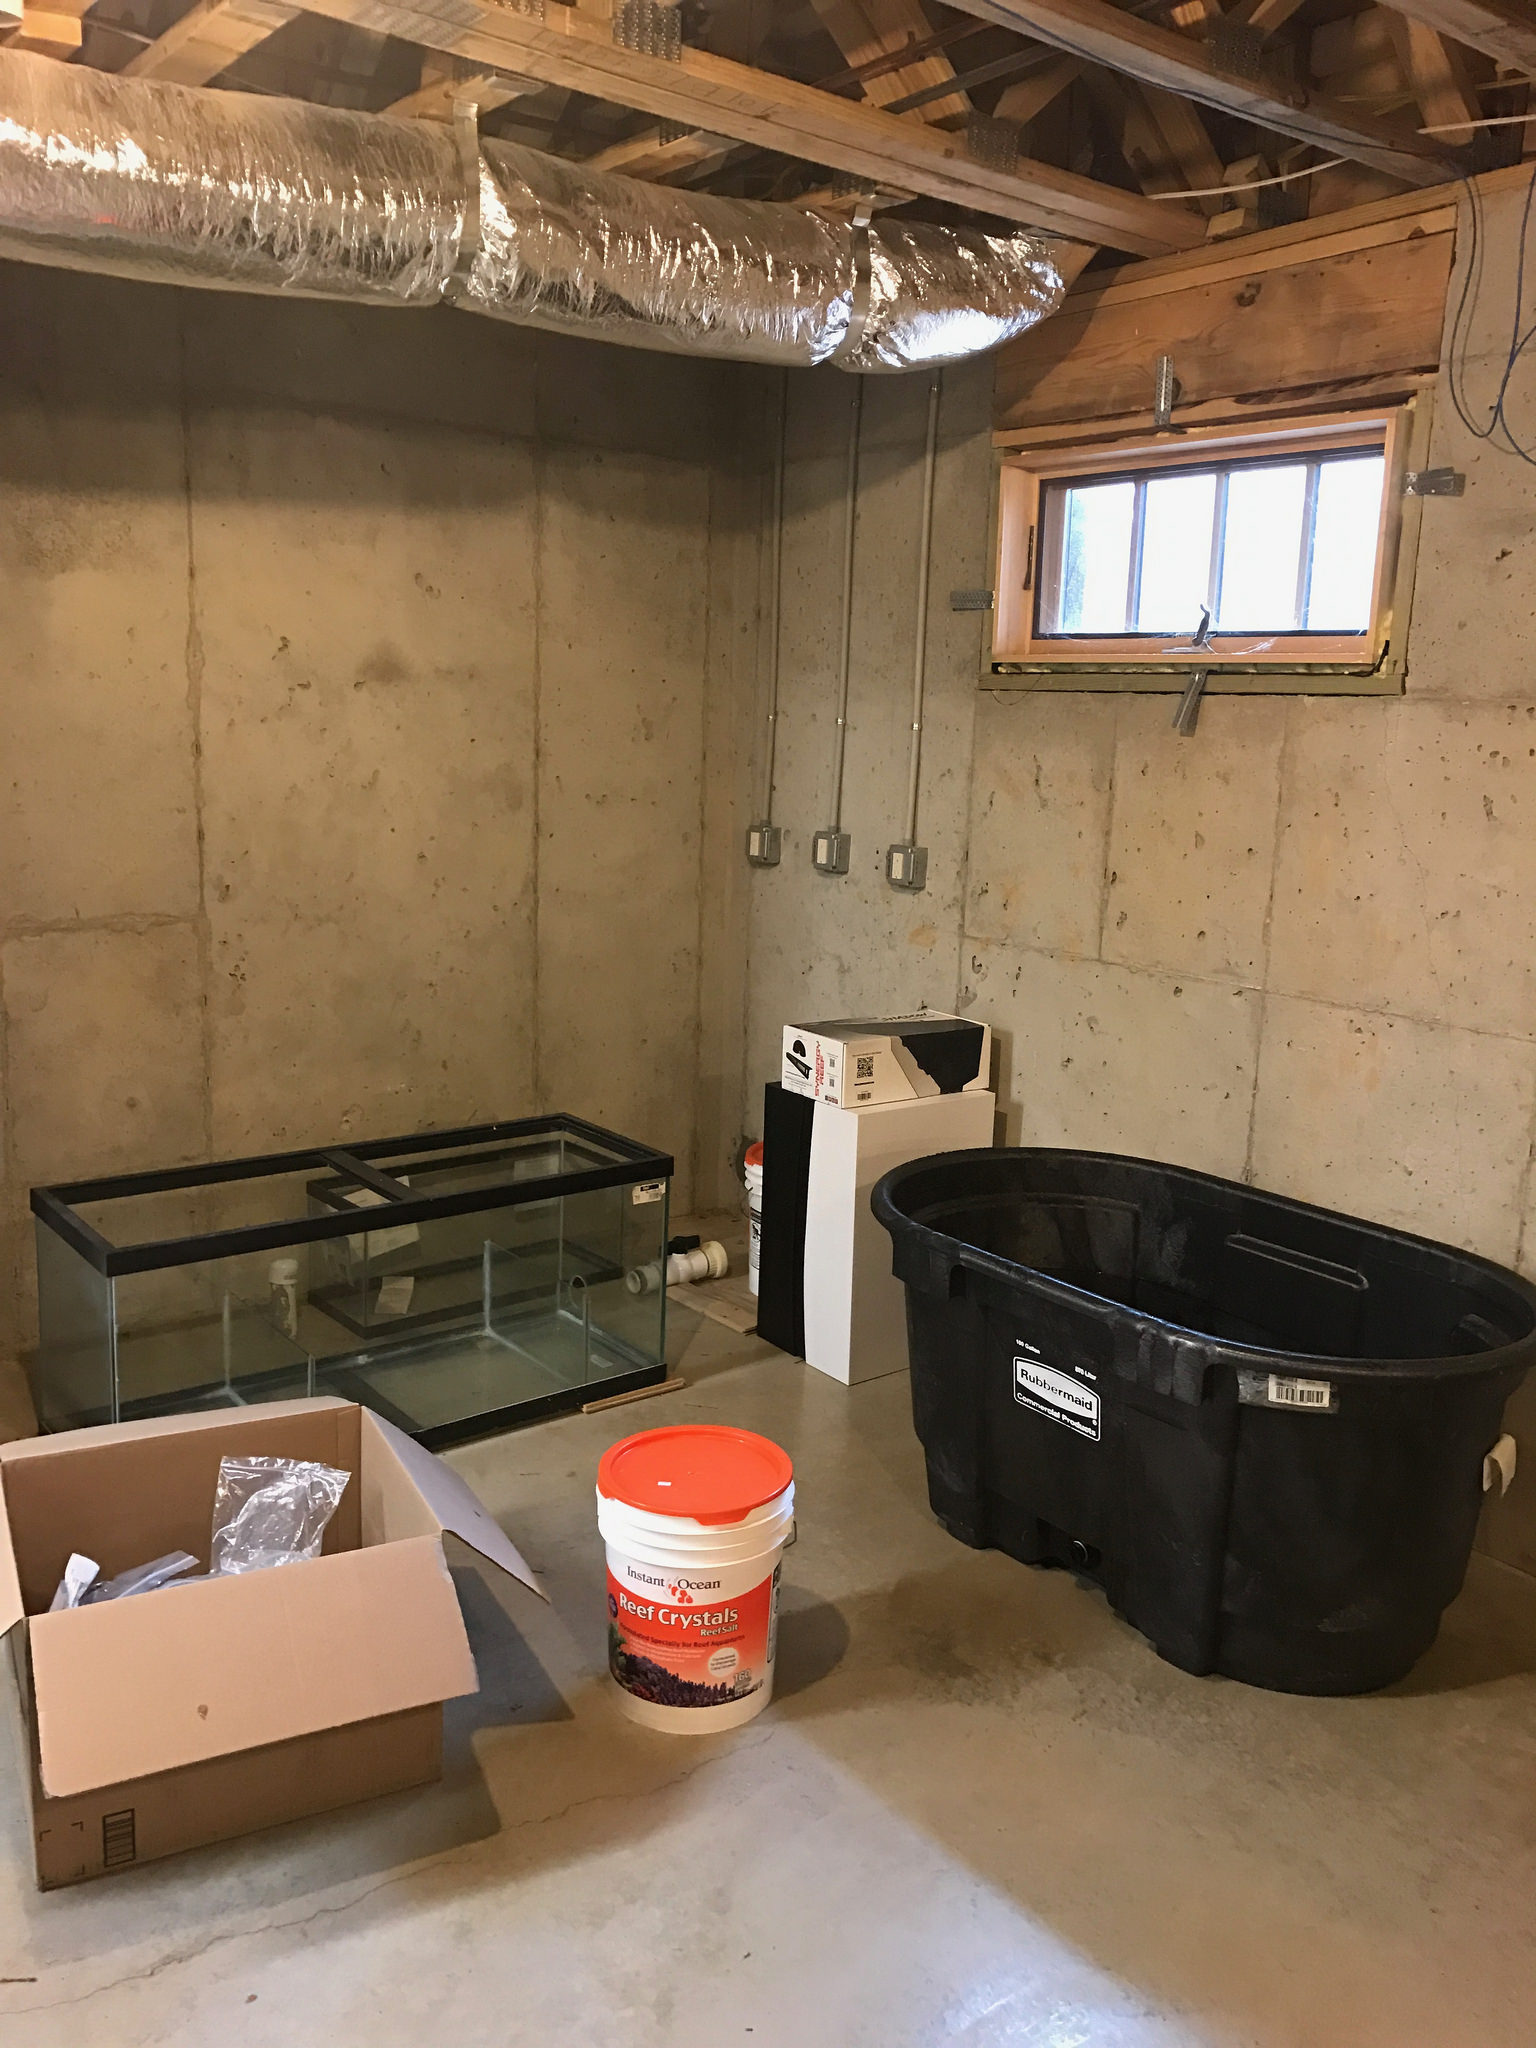 image by Peter Young, on Flickr
New, outlets now out of the way, but close enough to run EB8, Abyzz power etc.
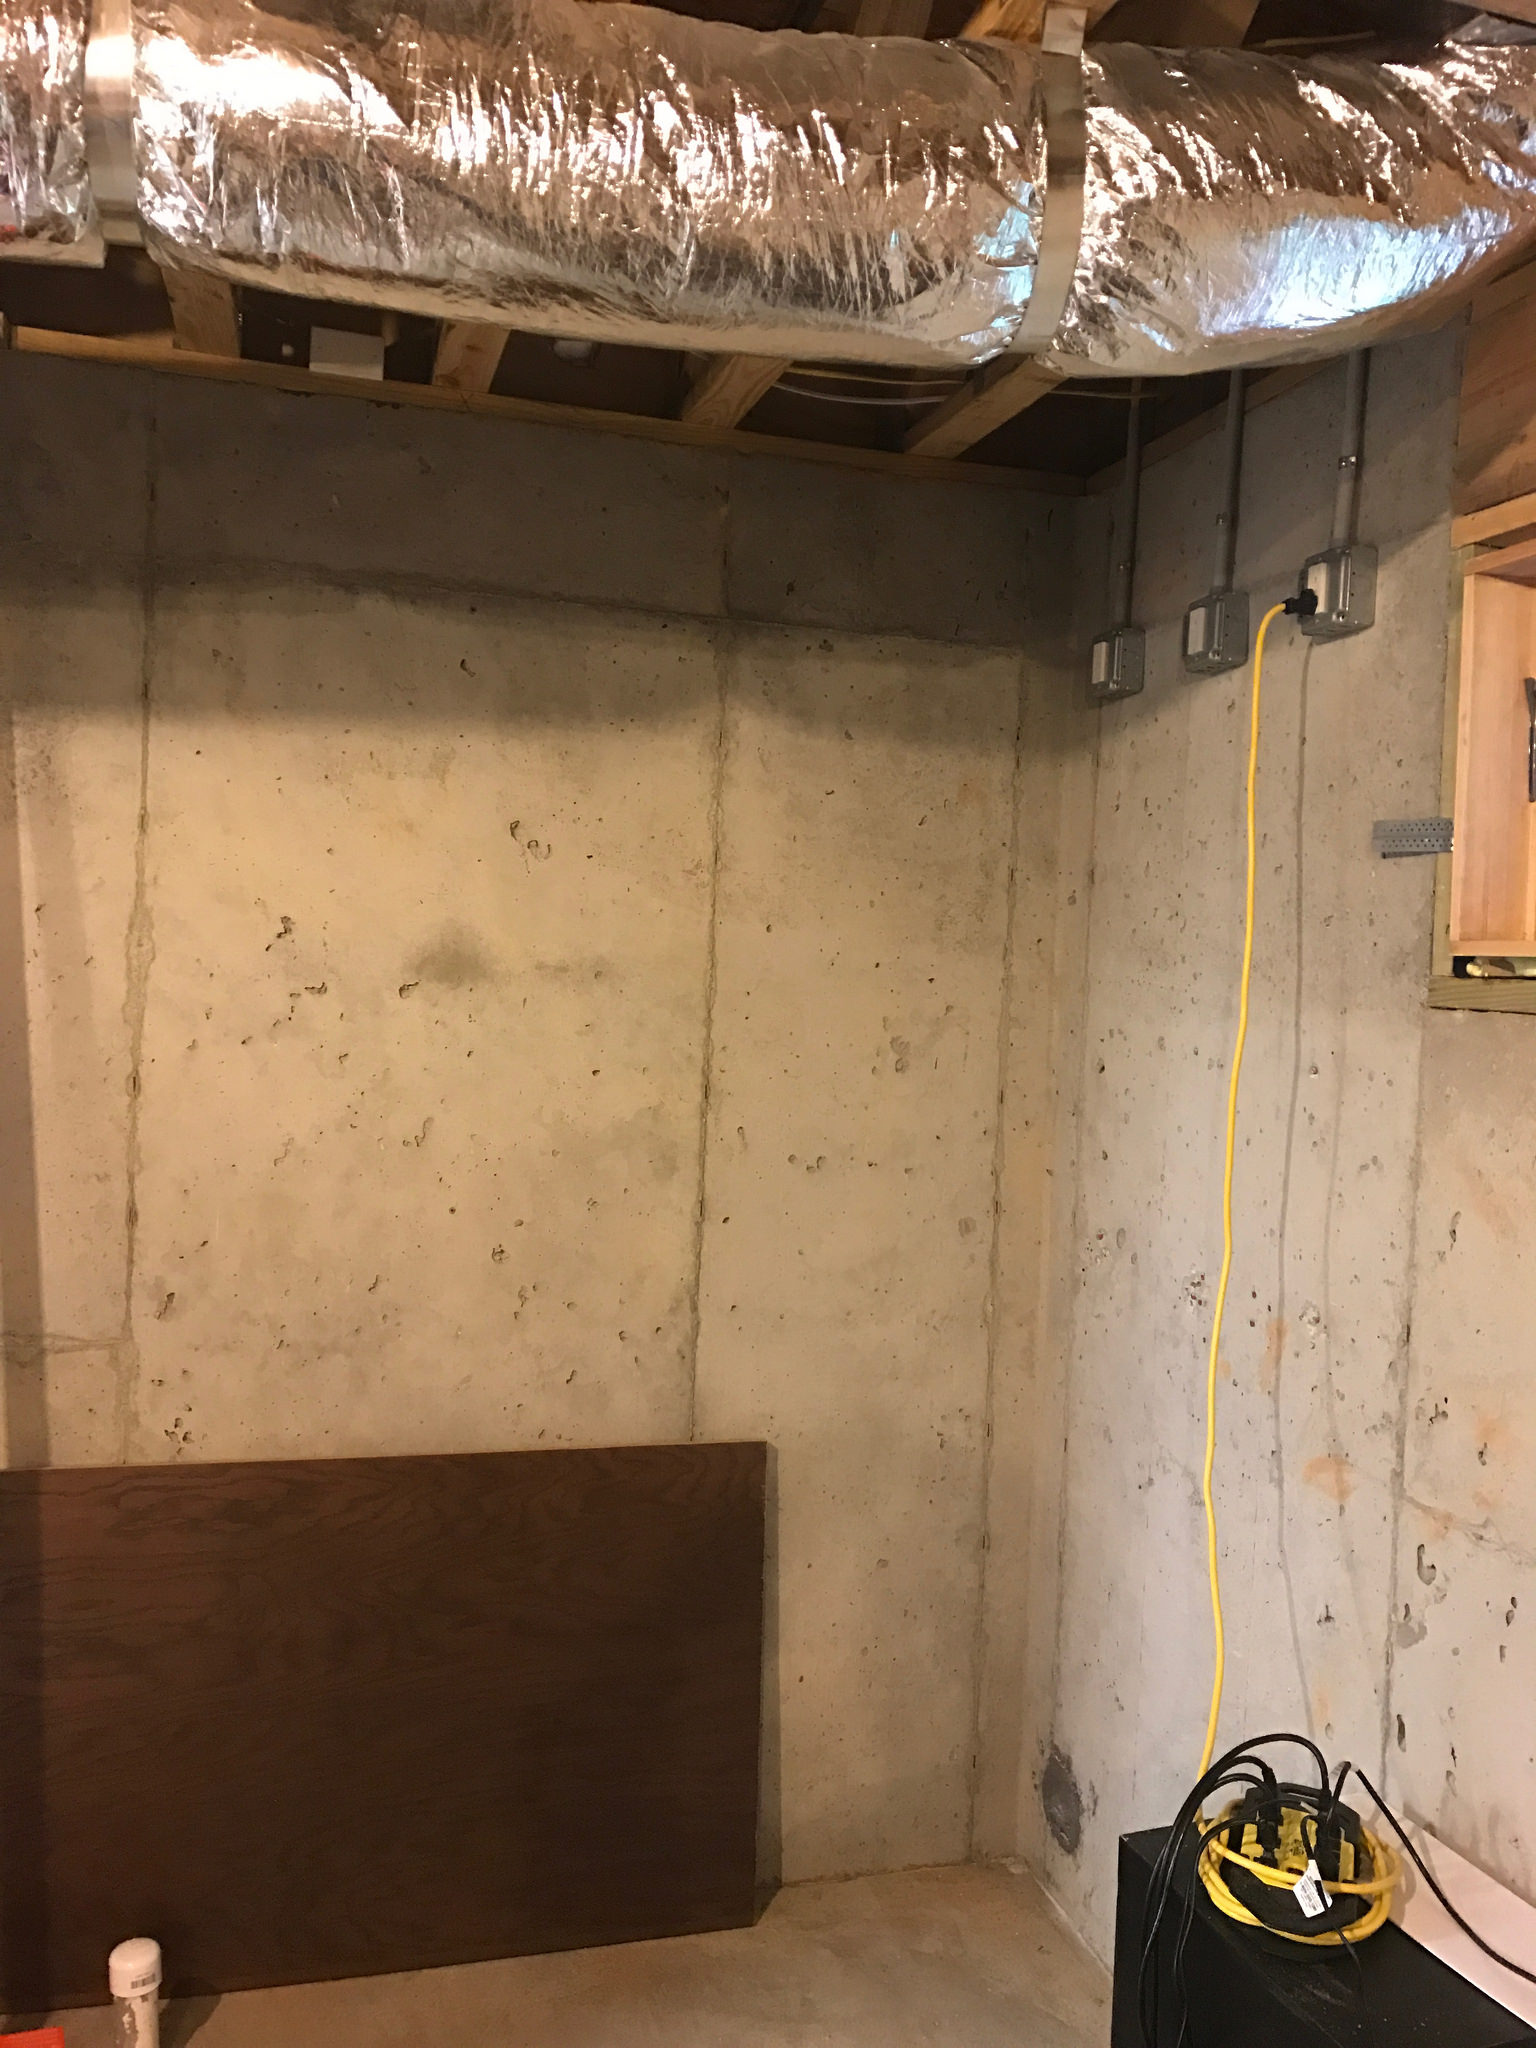 image by Peter Young, on Flickr
Previous, you can see the 3 circuits on the wall at about 3.5' above the floor
image by Peter Young, on FlickrNew, outlets now out of the way, but close enough to run EB8, Abyzz power etc.
image by Peter Young, on FlickrSimilar threads
- Replies
- 6
- Views
- 212


