
OP
OP

Chalice are encrusting corals (mostly) so their skeleton is pretty thin. Mine look thicker because they are on thick pieces of live rock. Some are more “fleshy” than others. The Hollywood stunner likes to shelf, like a monti cap, so just glue it to a piece of rock and let it rip.So I figured you would be the best person to answer this seeing as how you’re the chalice expert. Are these generally a very thin coral? Like potato chip thin? Yours don’t look thin at all. I got a 4” piece of Hollywood stunner (I know, too common for your taste ;Happy ) for $5 and it’s suuuuper thin all over. I set it on the sand after dipping/acclimating and my snail keeps knocking it over. I’m pretty sure it will crumble if I try to glue it to a rock. Did I get an unhealthy piece?

 Untitled
 Untitled
 stellaria-26
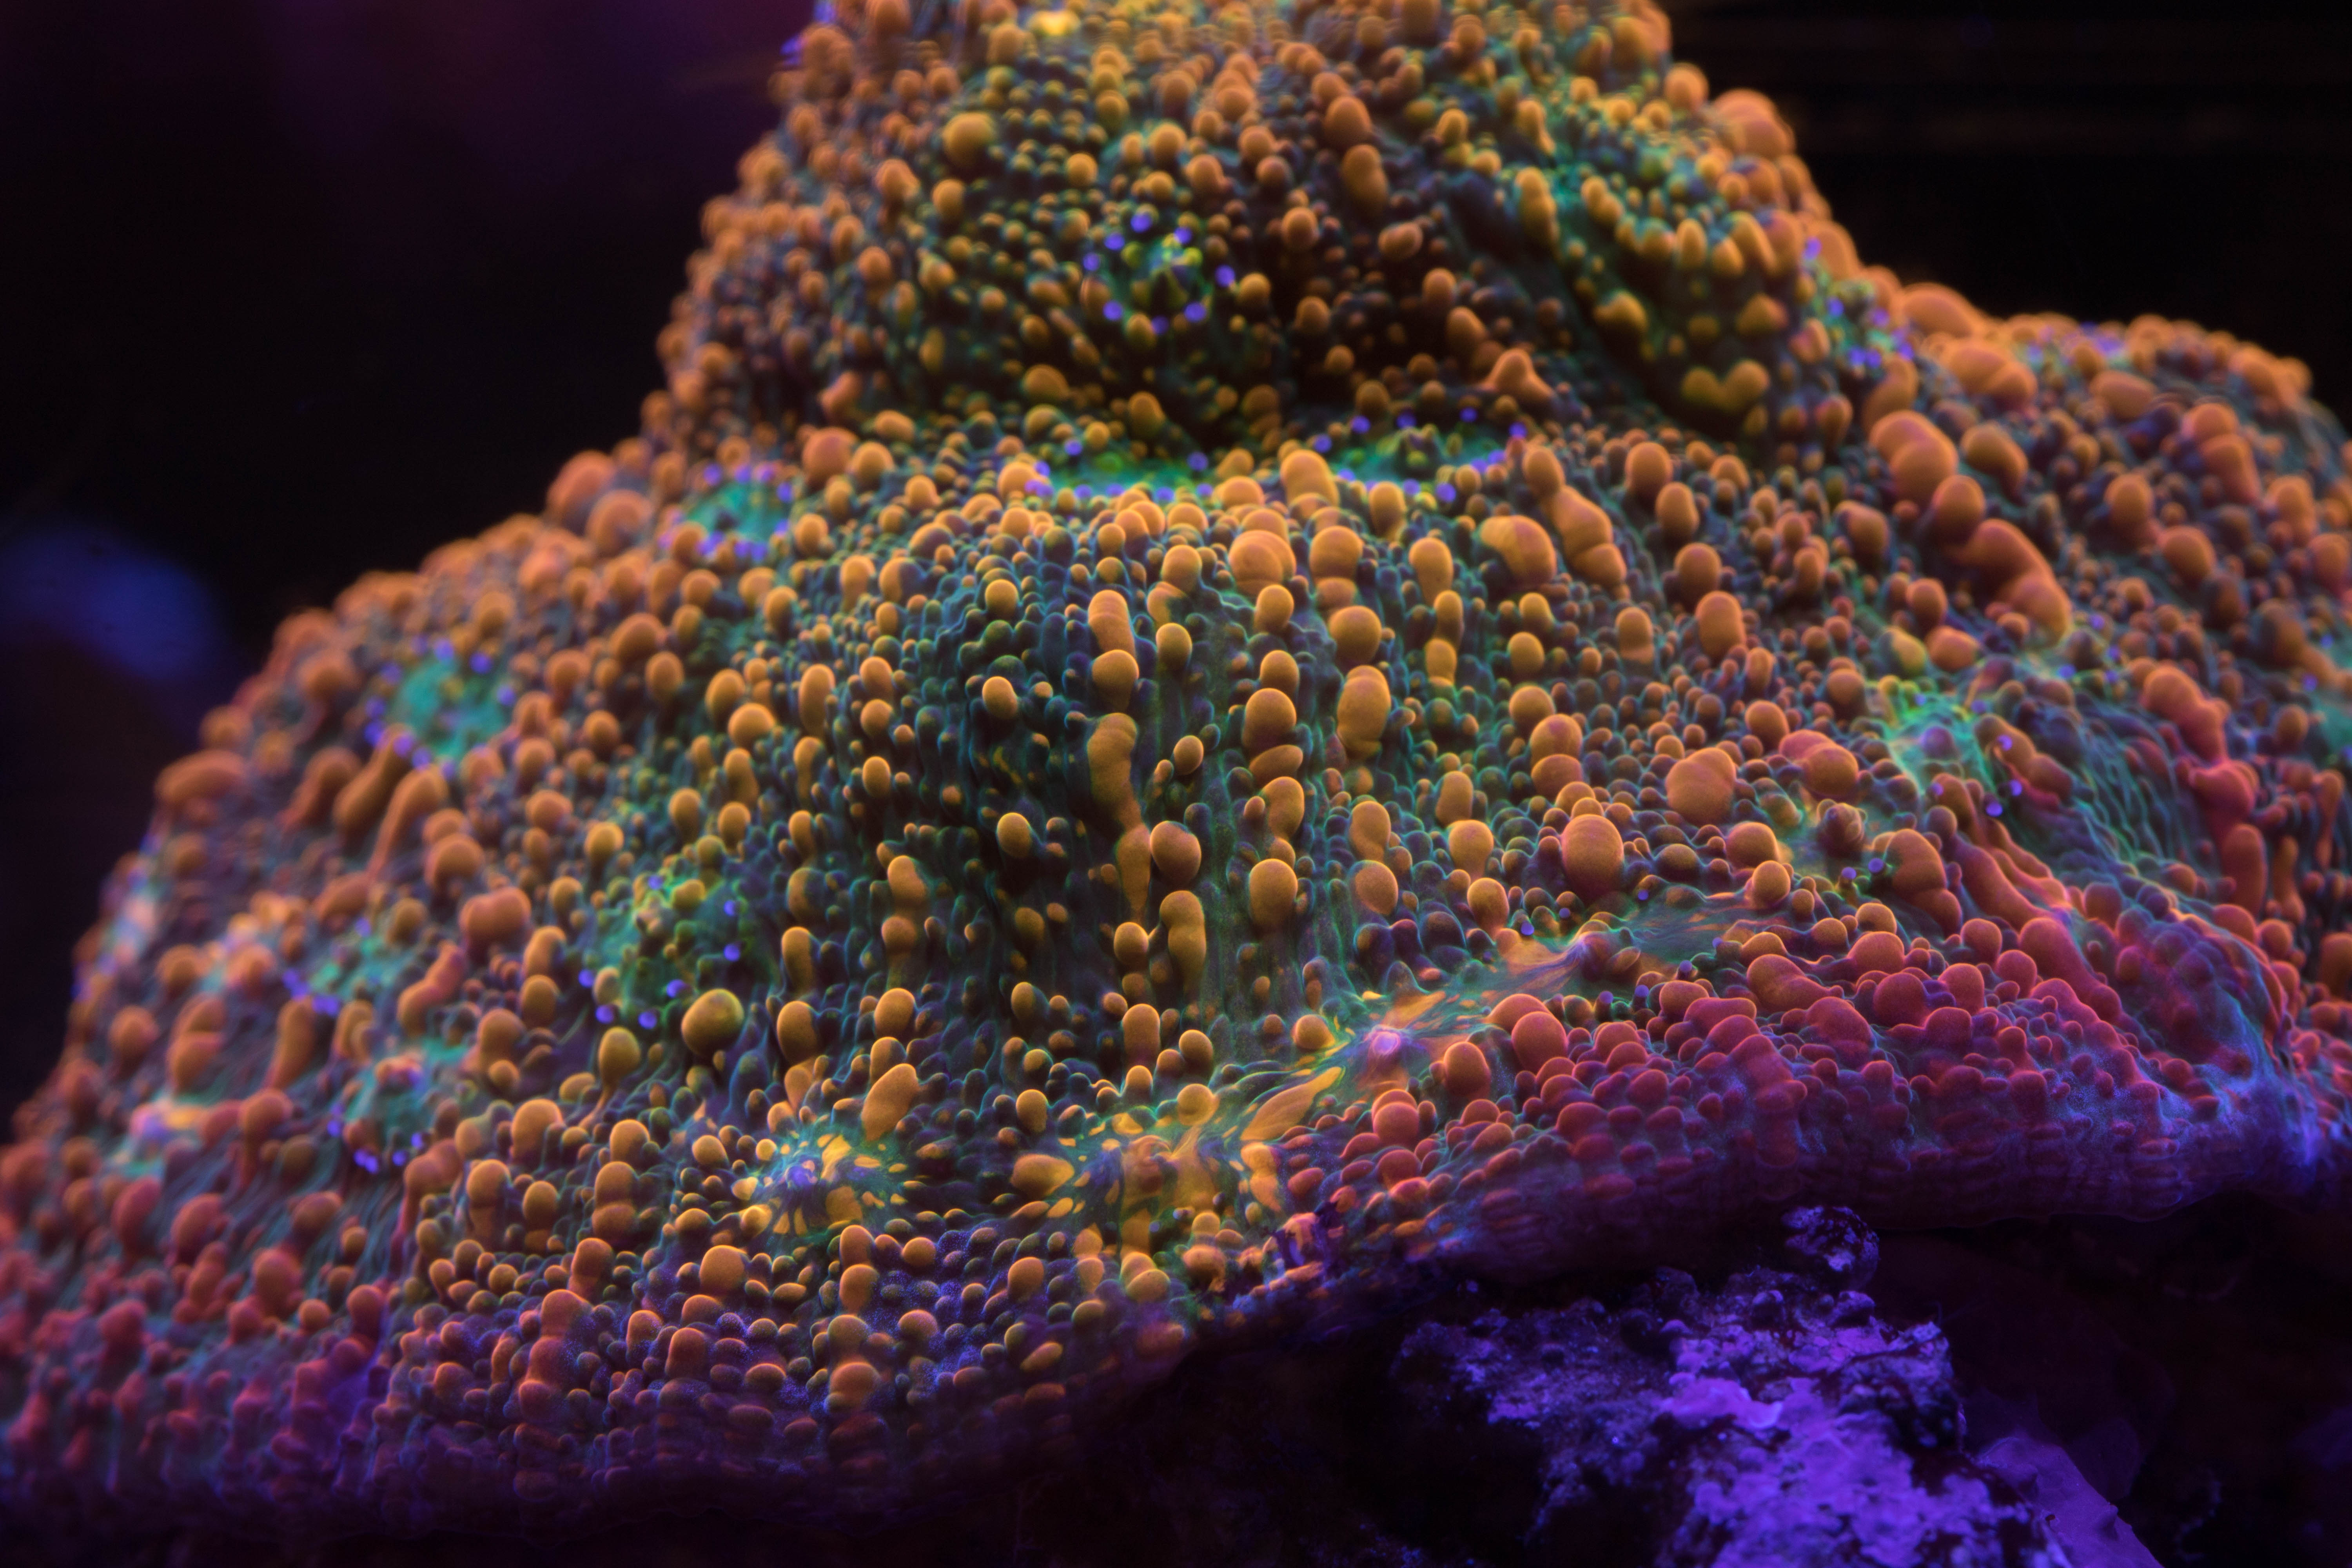 stellaria-31
 PC Rainbow-3
 Untitled
 Untitled
 maximafeed-6
 maximafeed-2
 maximafeed-7
") .
. Untitled
 Untitled
 fantasmo
 firemellon
 Untitled
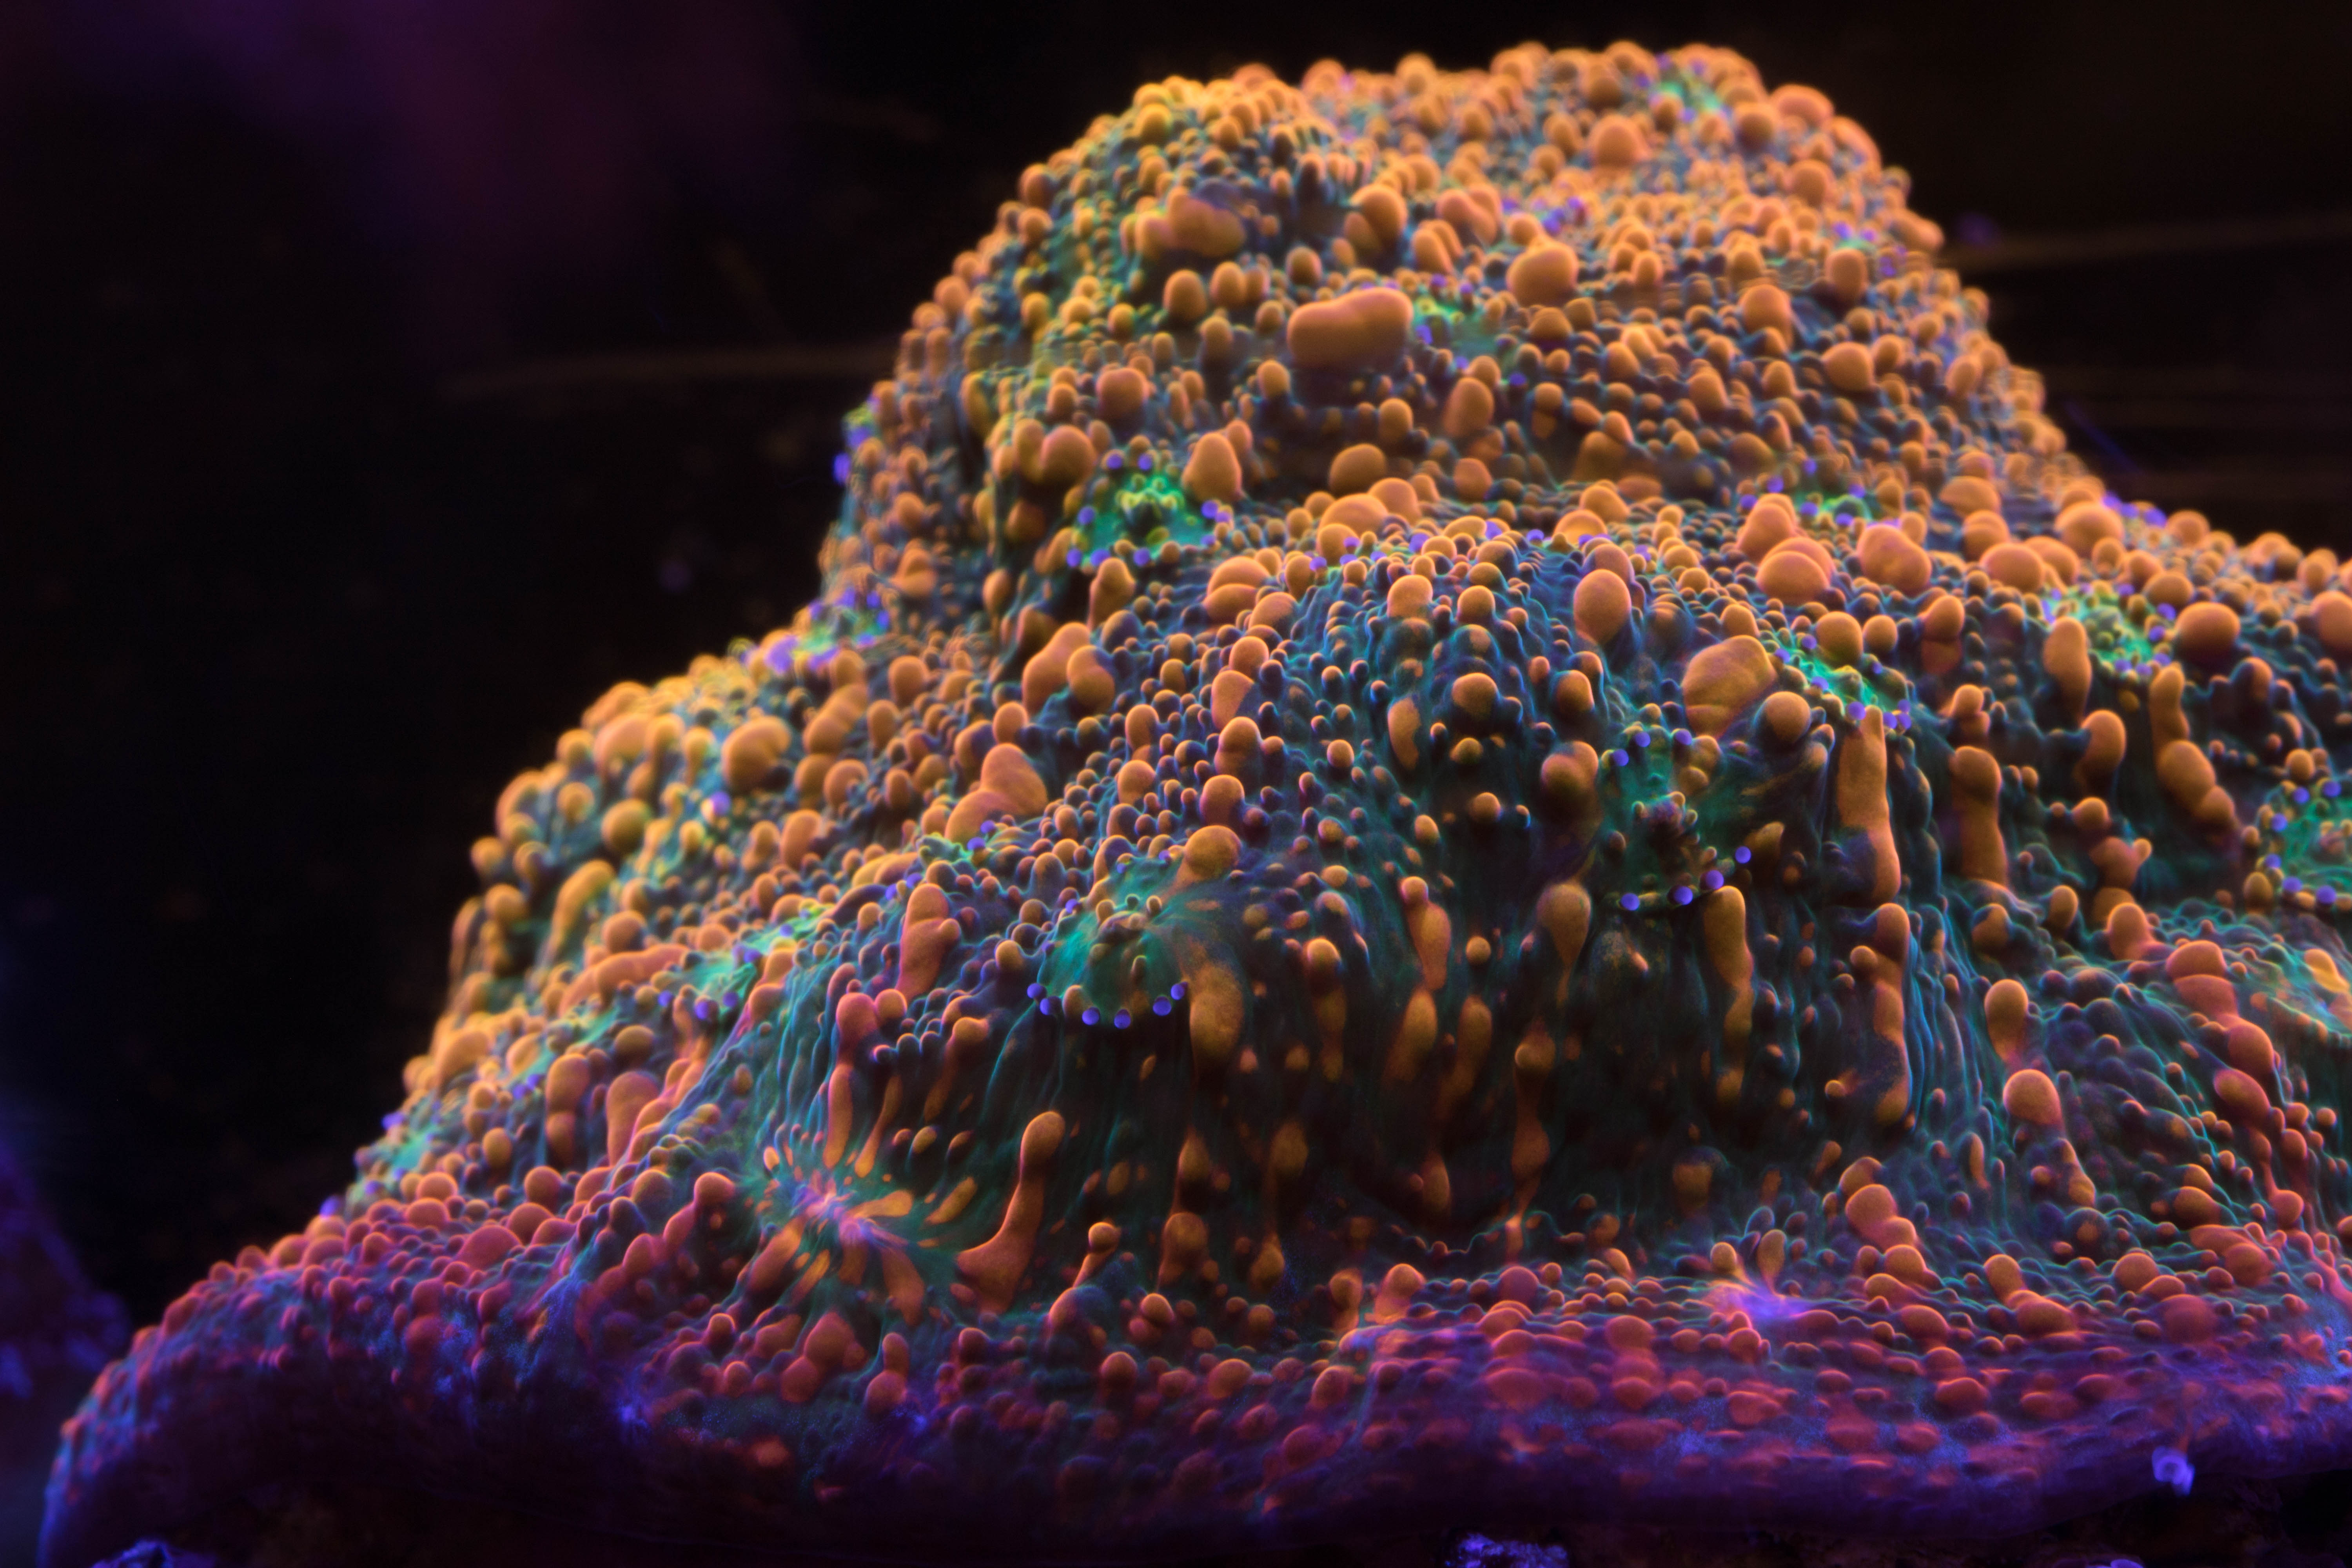 stellaria-36
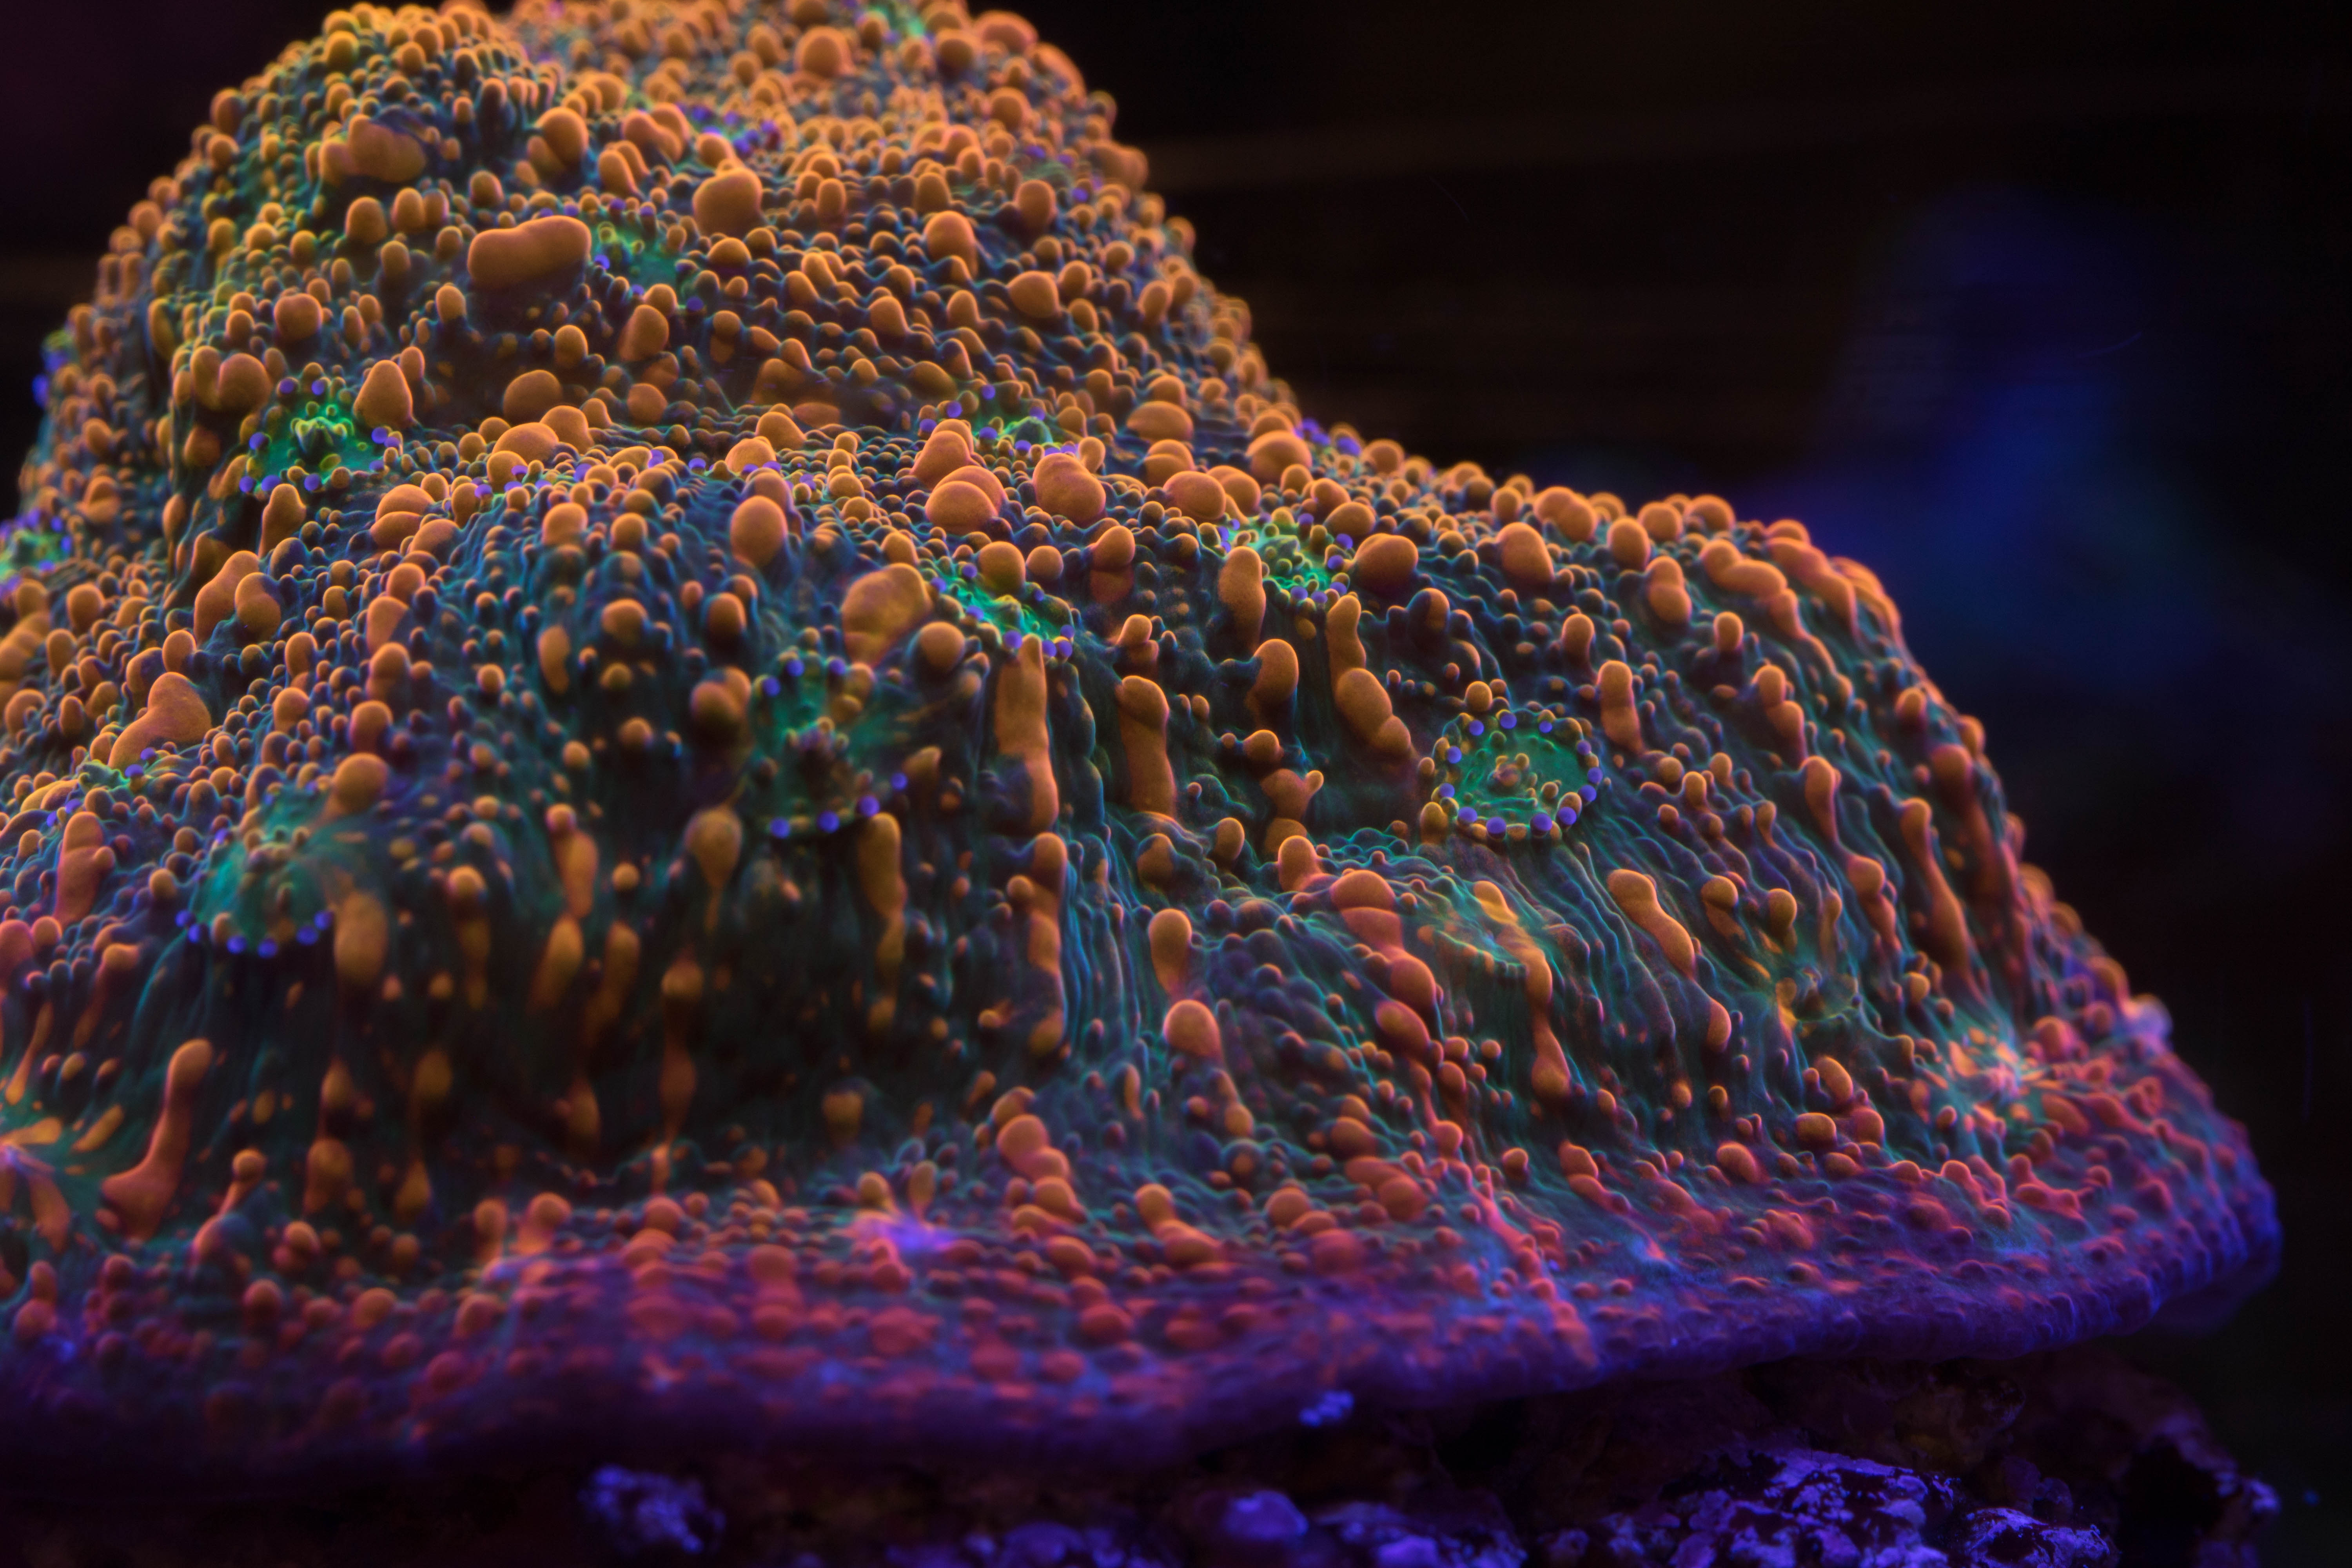 stellaria-34
 Untitled
 UC stellaria-2
 UC stellaria
 UC stellaria-3
 orangepeel-25
 orangepeel-24
 orangepeel-26
 jellybean lg-9
 jellybean sm-14
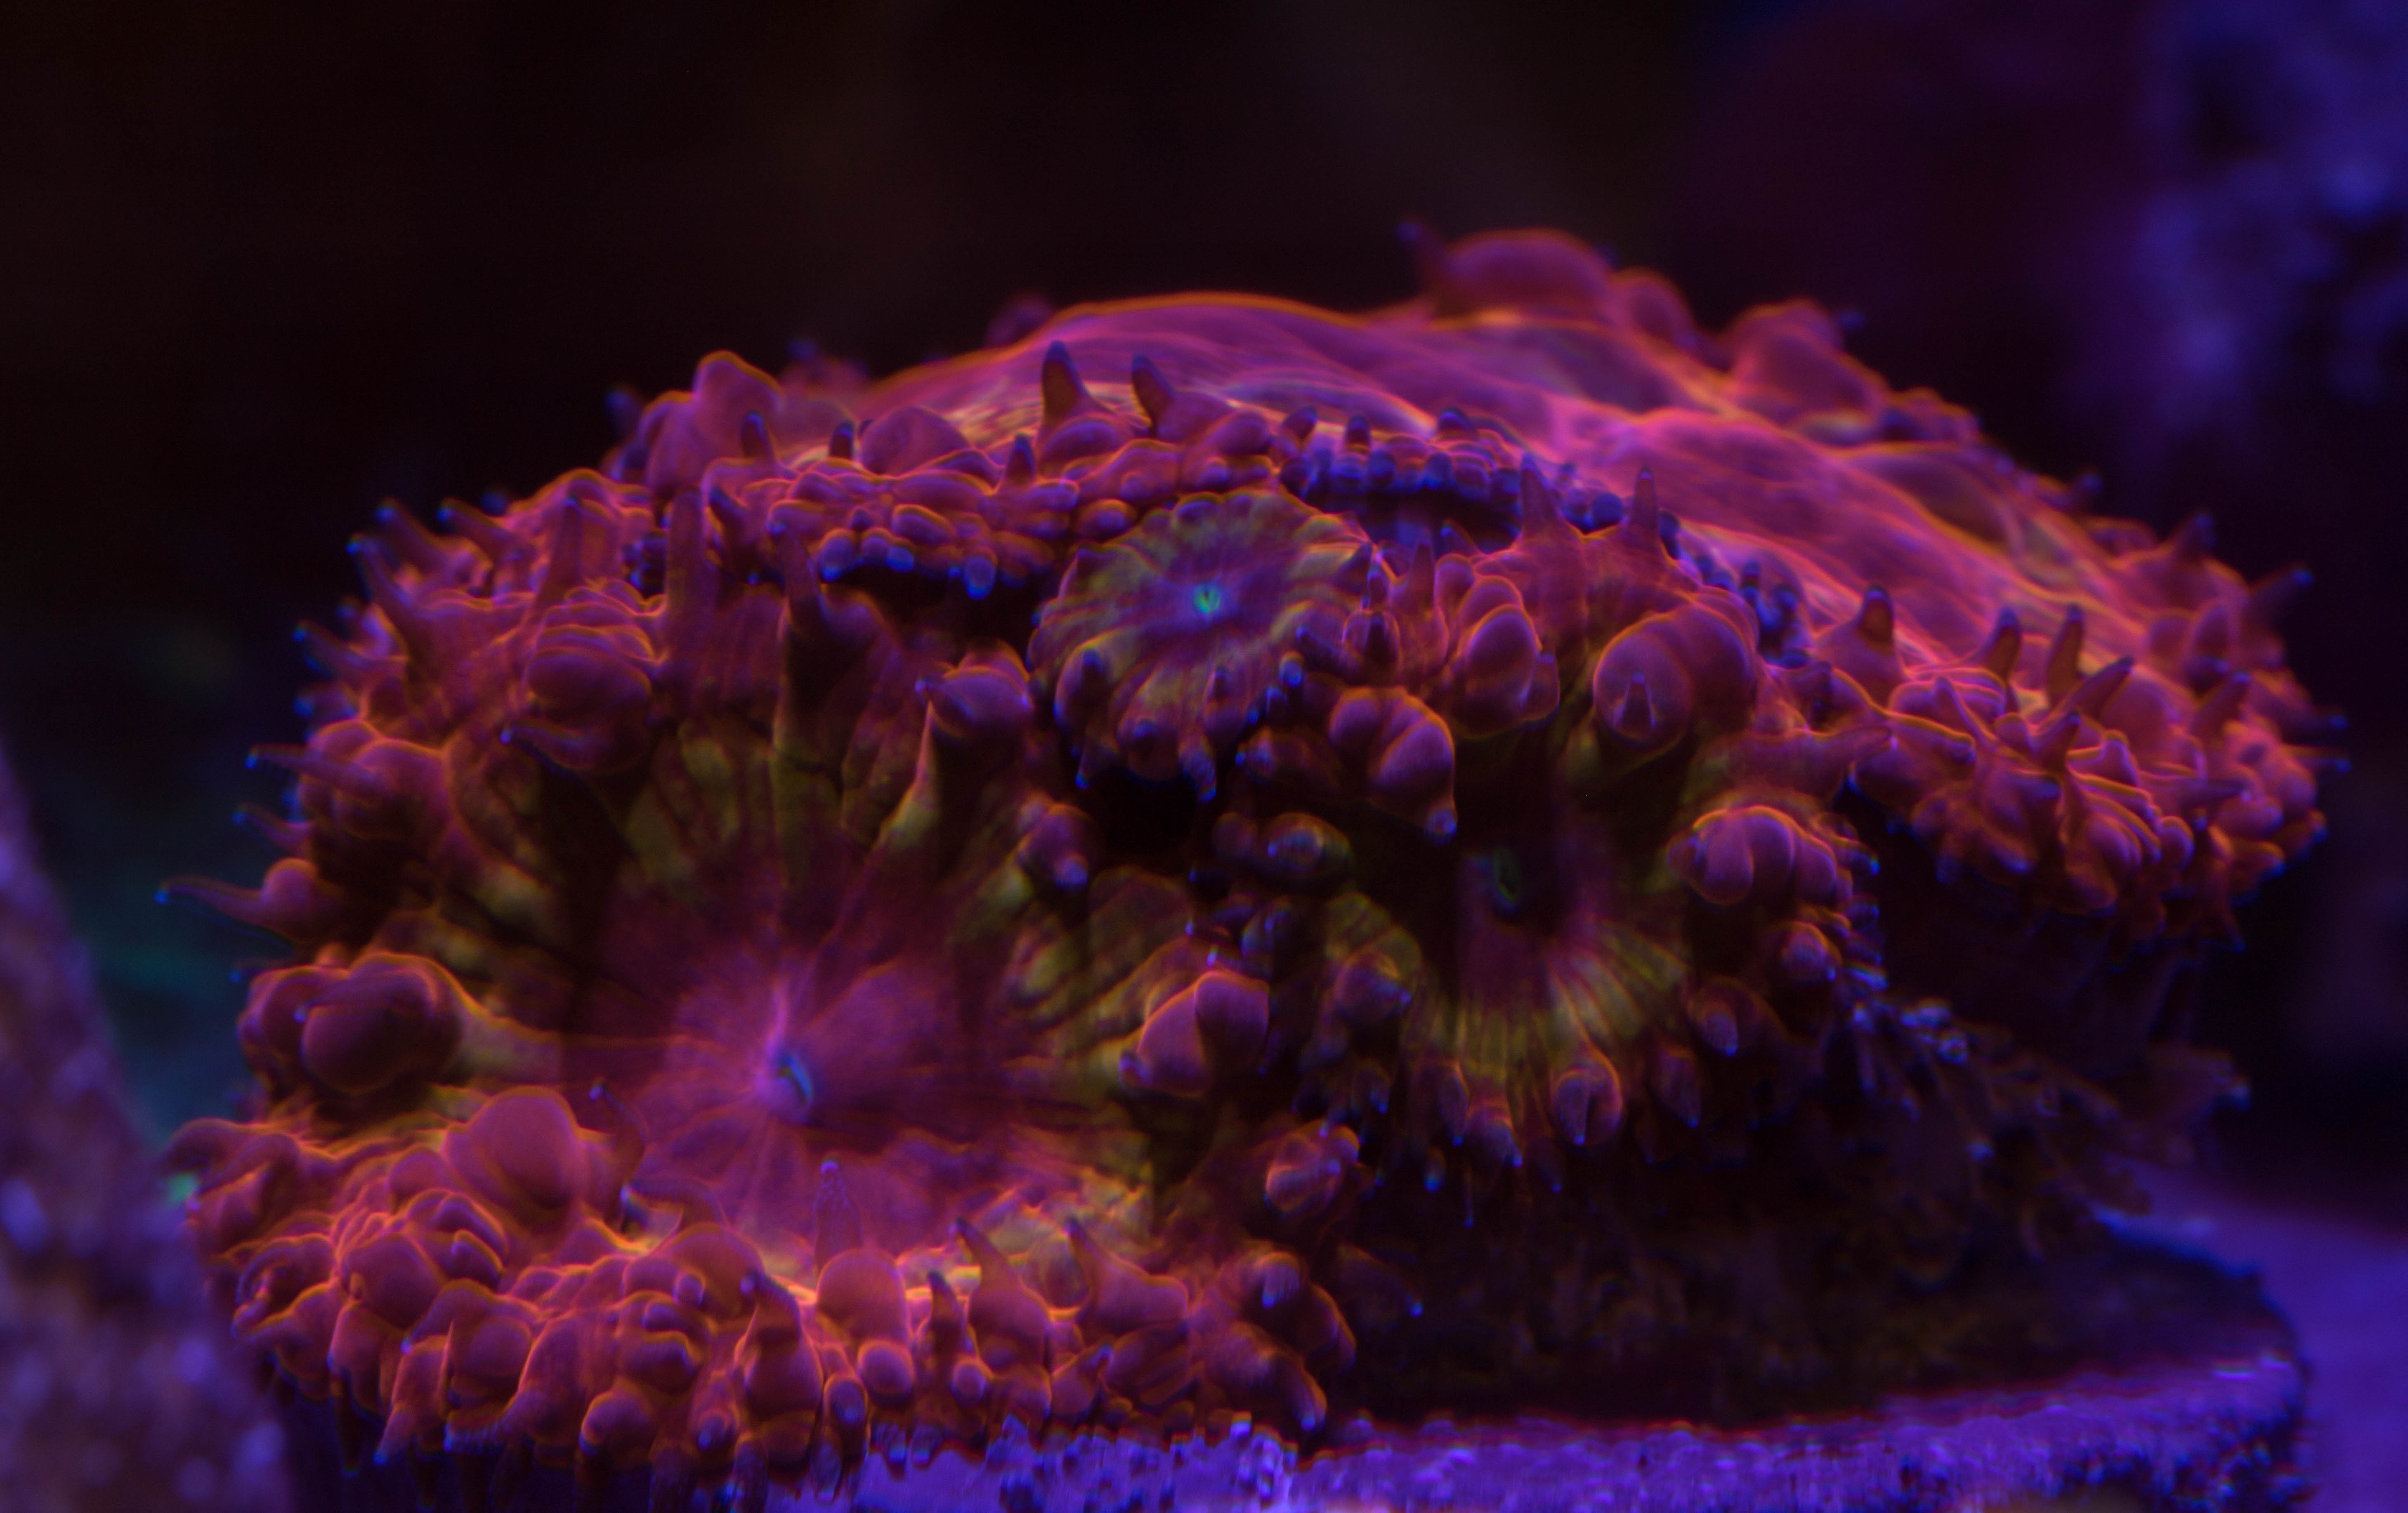 flamethrower-2
 Orangepeel-30
 Jellybean sm-16
 Untitled
 lil stellaria-2
 stellaria sm
 orangepeel-48
 lightningtip-2
 blueraven-3
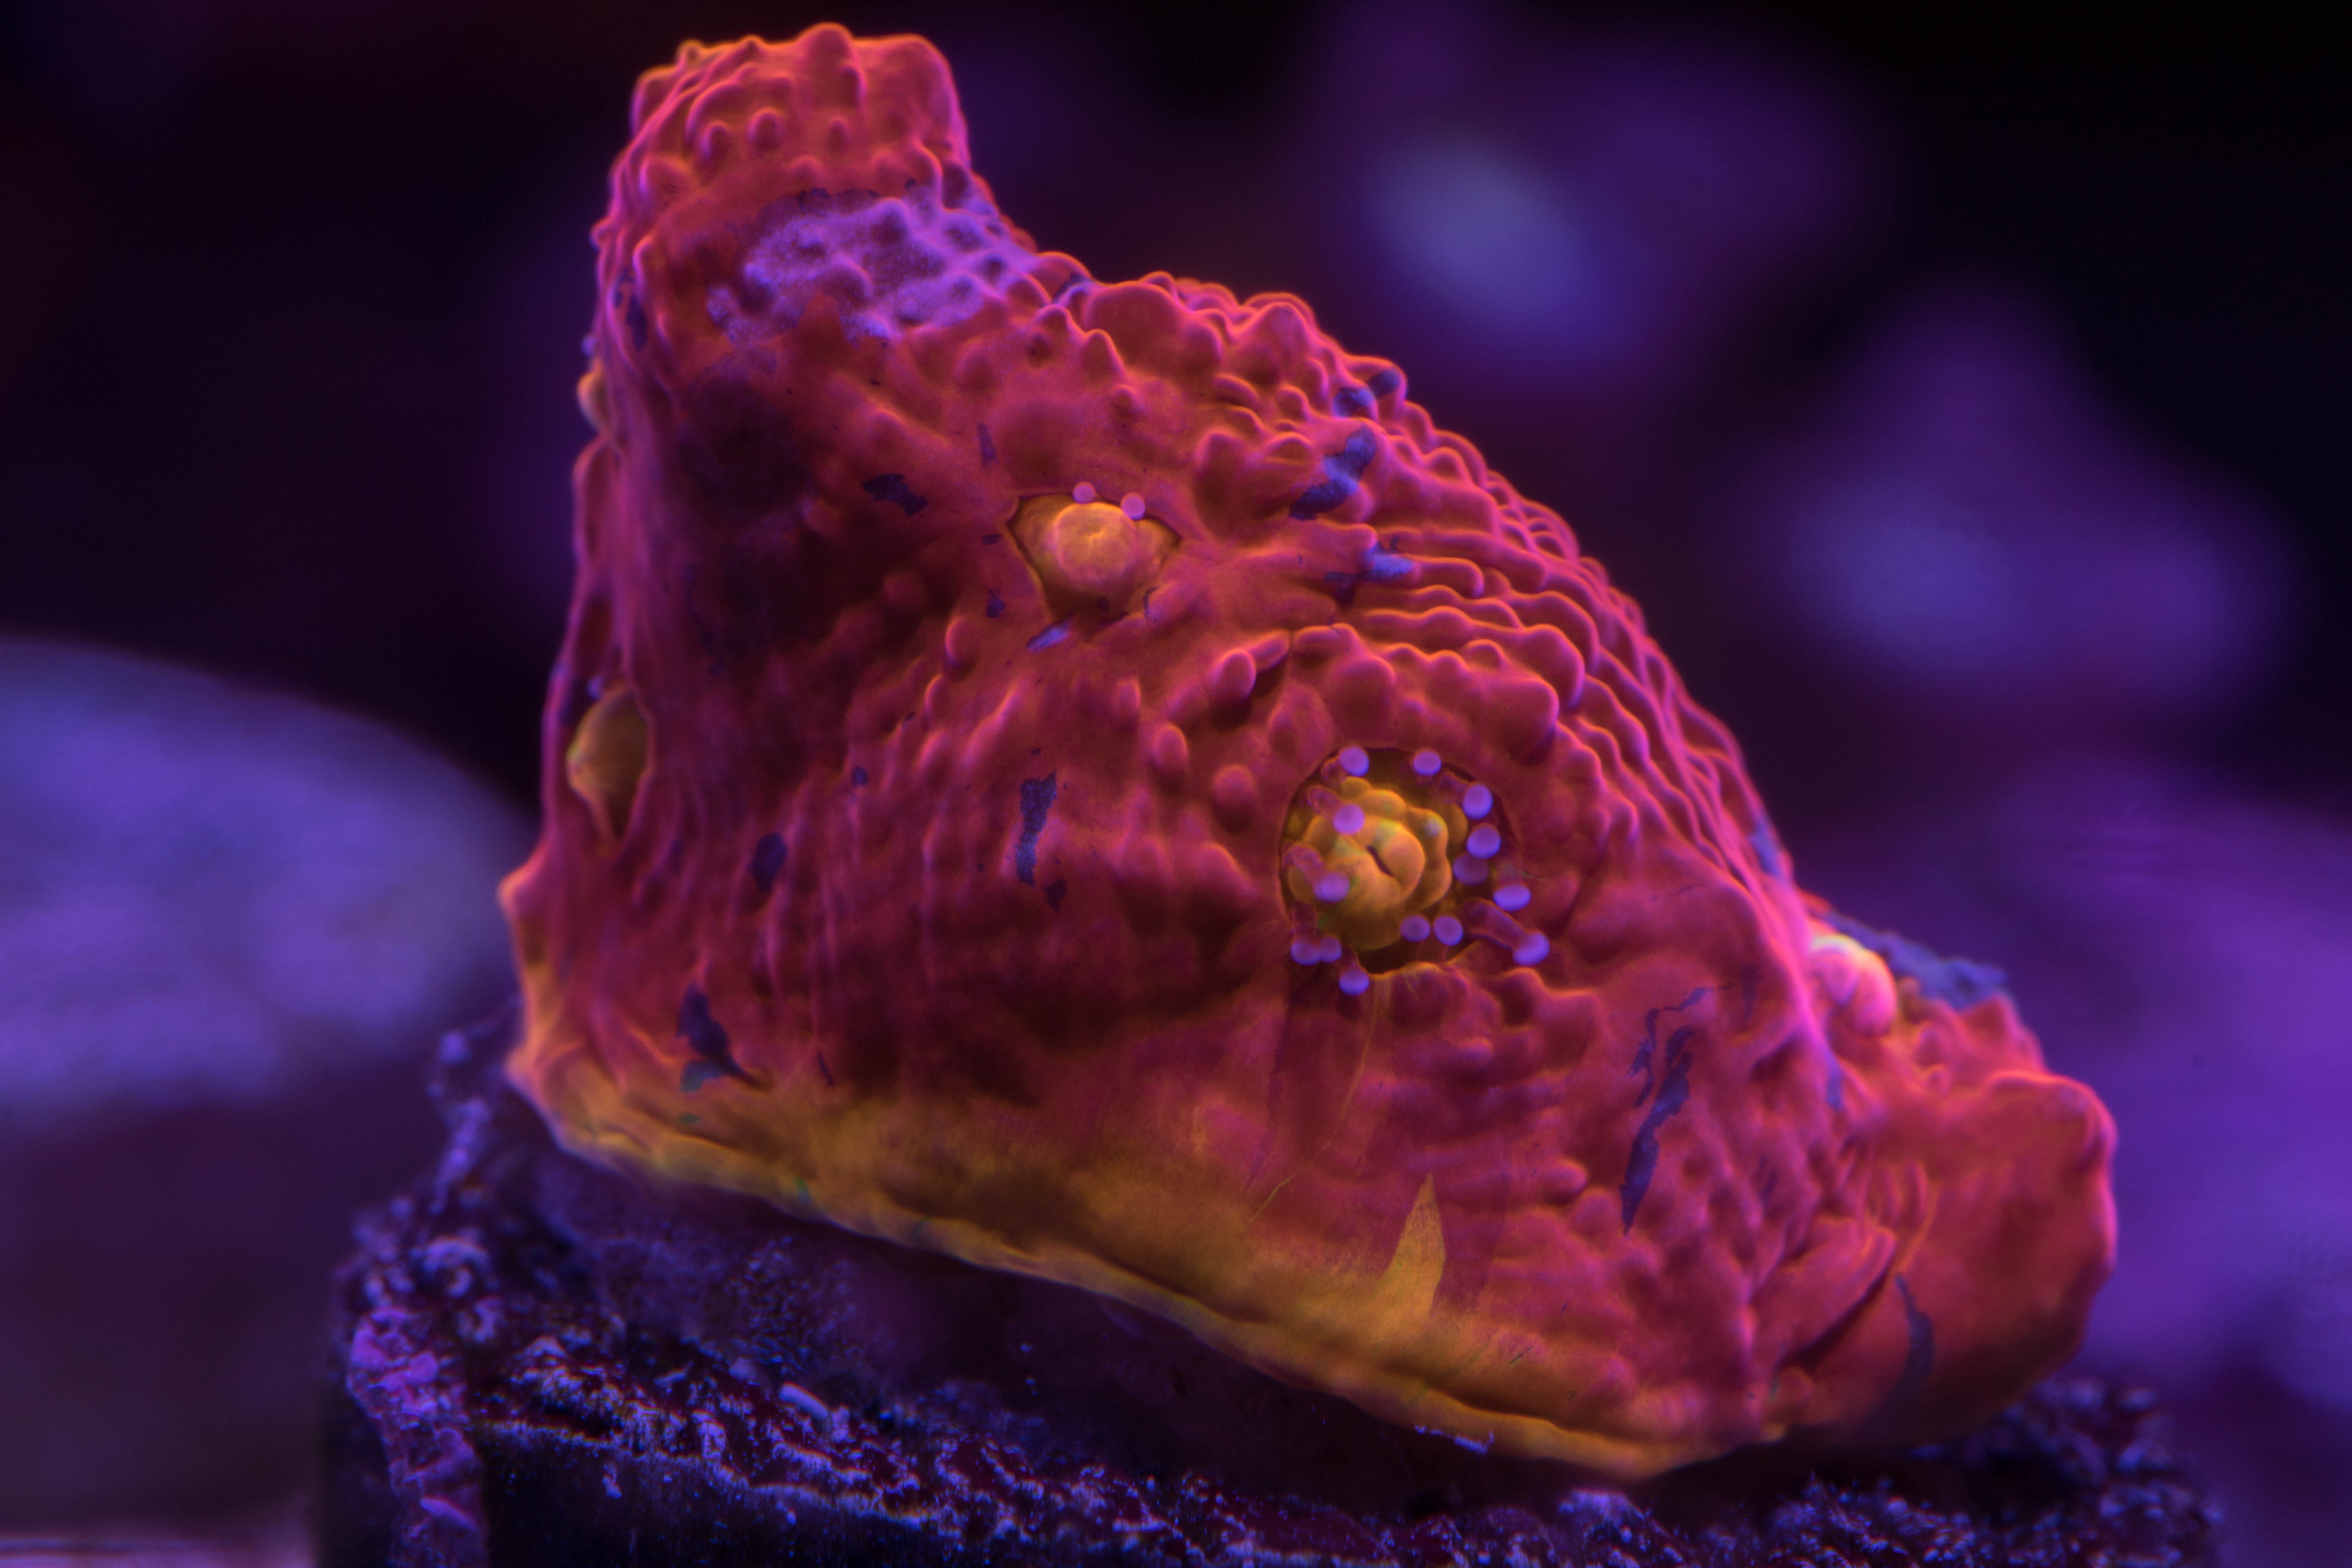 jellybean sm-17
 teenybeany-15
 acanmaxima-10
 stellaria-54


