Triton system new tank build, stand build, A fair amount of DIY in here.

Neil S.

Active Member
View Badges
Joined
Aug 14, 2018
Messages
153
Reaction score
143
Rating - 0%
0   0   0
Prelude: This build actually has it's origins back in July of 2018 with a decision to try out a saltwater aquarium. I have had a fair number of years keeping fresh water tanks, but really nothing too involved even there. After a lot of research, with help from members at Reef2Reef, the first tank.....25 gallon Fluval Vista.........was started in late August of 2018. Water was stable by mid October and fish in during the last week of that month. The filtration for this tank was a Fluval 204 cannister, and the tank ran absolutely fine up until about March. Around about that point I discovered the Triton Method and decided that I would like to run that. I purchased a bigger tank (still small compared to most of the tanks here) of 40 gallons 18" x 18" x 30". Built a stand, built the interior of the stand, figured out how to work a refugium into the design, etc. The pictures and details that follow show the build progression from the first steps with the stand through to current. It is still getting worked on, but it is now a running tank with just some minor elements needed to complete. Aside from having to purchase the main components (sump, light hood etc) everything else is pretty much a DIY project....not because of budget reasons, but more for the challenge. Enjoy. (the first pictures coming up are the stand build)
 
OP
OP
N

Neil S.

Active Member
View Badges
Joined
Aug 14, 2018
Messages
153
Reaction score
143
Rating - 0%
0   0   0
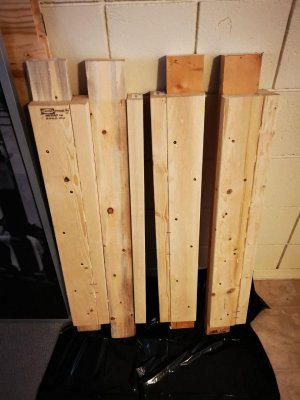
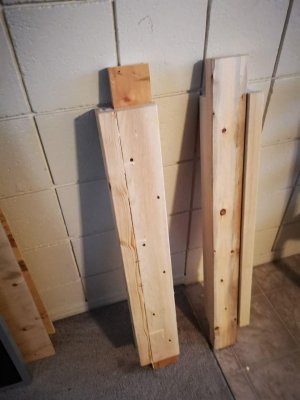
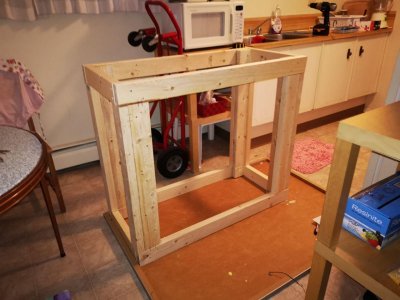
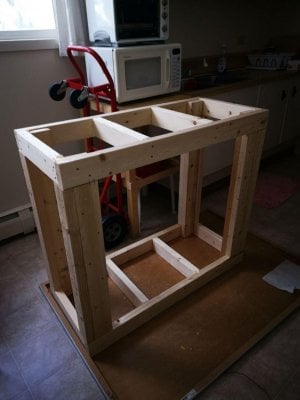
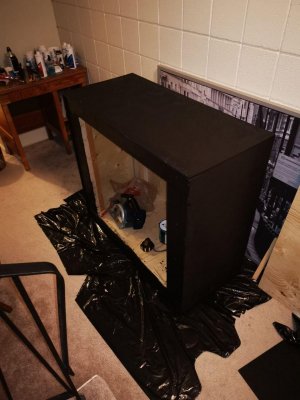
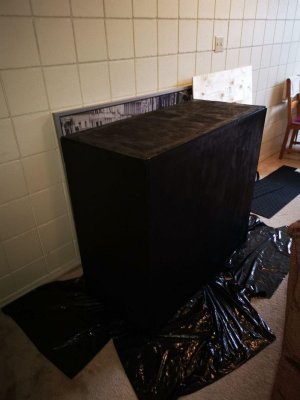
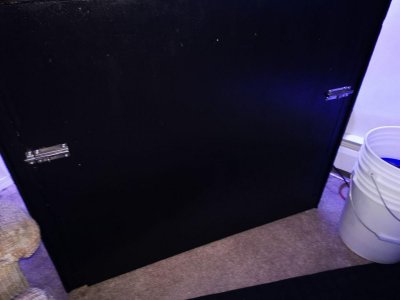
First two pictures are the stand uprights. Each corner upright is created using 3 2x4s. Stand dimensions when finished will be (exterior): 37" high x 43" wide x 20" depth. Interior dimensions (unobstructed) space are: 30" high x 32" wide x 18" depth. There are also two side alcoves measuring 30" high x 5" wide x 13" depth. All pieces are pre-drilled for the screws and are also glued together.

photo_2019-07-27_19-04-58.jpg photo_2019-07-27_19-05-25.jpg
 
OP
OP
N

Neil S.

Active Member
View Badges
Joined
Aug 14, 2018
Messages
153
Reaction score
143
Rating - 0%
0   0   0
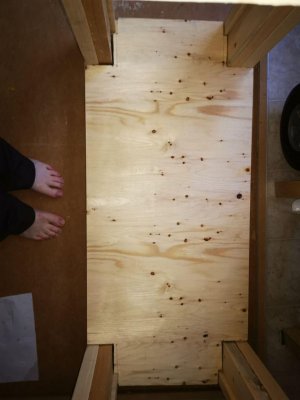
Note. Considering that this was built using nothing but careful measurements and the back-side of a large picture frame (item on the ground that the cabinet pieces are in), to provide for a 'right-angle' guide. This stand came out completely square.
 
OP
OP
N

Neil S.

Active Member
View Badges
Joined
Aug 14, 2018
Messages
153
Reaction score
143
Rating - 0%
0   0   0
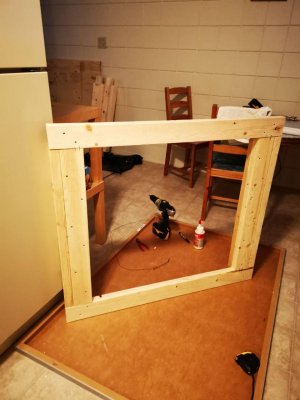
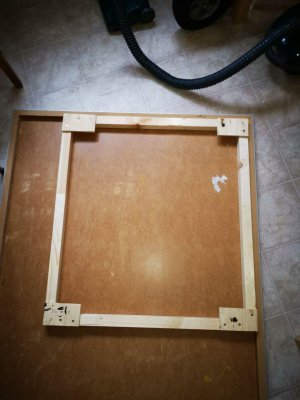
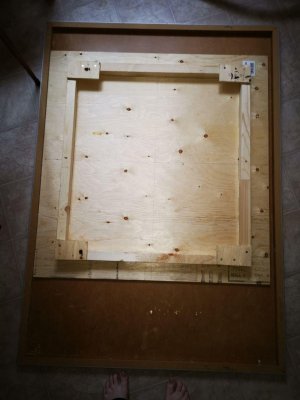
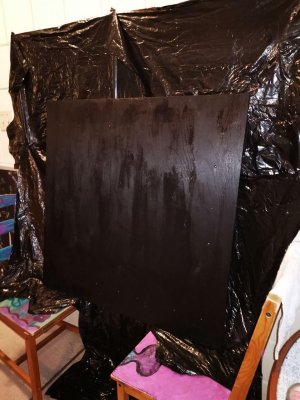
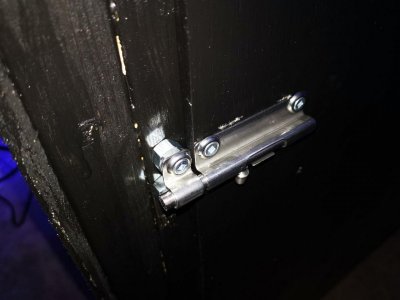
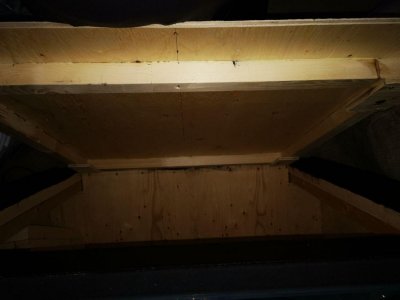
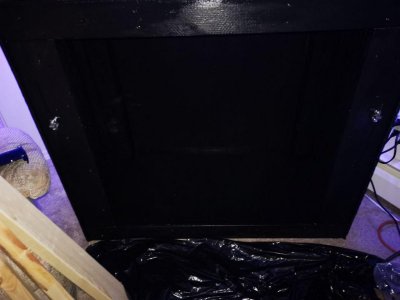
Next are a few pics of the front access panel being built. First up is the internal frame for the panel, this frame also acts as the insert guide when the panel is in place.

photo_2019-07-27_19-37-20.jpg
 
OP
OP
N

Neil S.

Active Member
View Badges
Joined
Aug 14, 2018
Messages
153
Reaction score
143
Rating - 0%
0   0   0
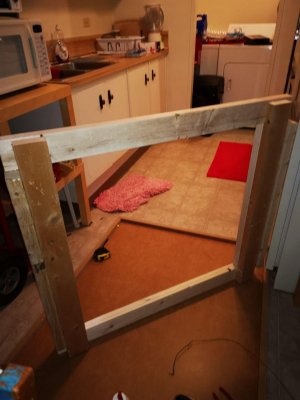
The small rectangles of wood at the corners are supports to hold shape while gluing and screwing the panel onto the frame.
 
OP
OP
N

Neil S.

Active Member
View Badges
Joined
Aug 14, 2018
Messages
153
Reaction score
143
Rating - 0%
0   0   0
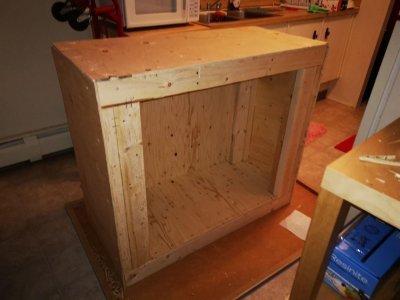
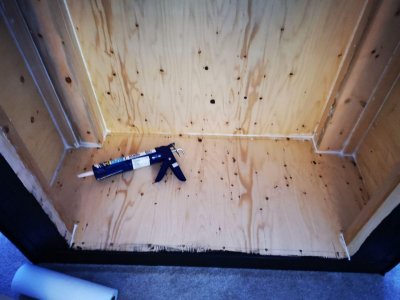
Caulking and painting interior of cabinet. Every join and panel gap was caulked to keep any potential leaks from getting under the cabinet and rotting it. Paint again was a semi-gloss, marine enamel.

photo_2019-07-27_19-46-38.jpg photo_2019-07-27_19-46-46.jpg
 
OP
OP
N

Neil S.

Active Member
View Badges
Joined
Aug 14, 2018
Messages
153
Reaction score
143
Rating - 0%
0   0   0
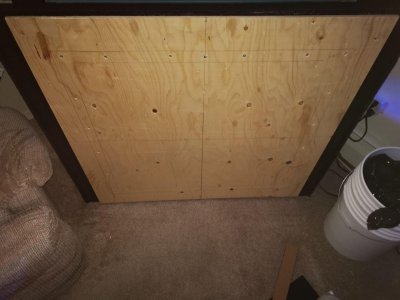
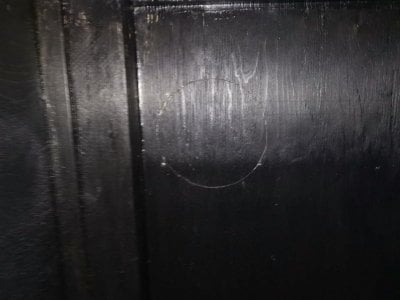
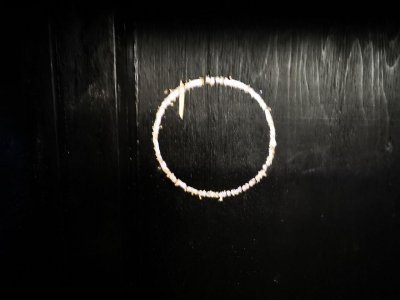
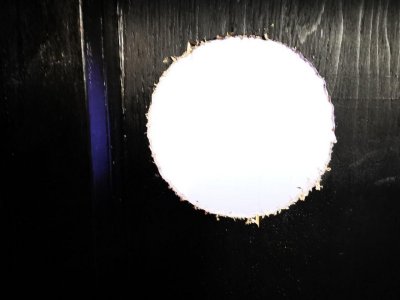
Next up was getting holes for the vent fan, power pass-through, plumbing drain and return lines. The fan hole is 8" in diameter, as I didn't have a hole saw greater than 4" I had to 'nibble' it out with a small drill. The plumbing holes are situated on the top of the cabinet, so the drain and return lines are not hidden....you'll see why I did it this way further on.

The first picture is just a marking line for the fan hole. (back of cabinet).

photo_2019-07-27_19-53-47.jpg
 
Back
Top