~~troylee's diy 500gal build....~~

Troylee

all about the diy!!!!!
View Badges
Joined
Jan 15, 2010
Messages
18,337
Reaction score
14,261
Location
Vegas baby!!!!
Rating - 0%
0   0   0
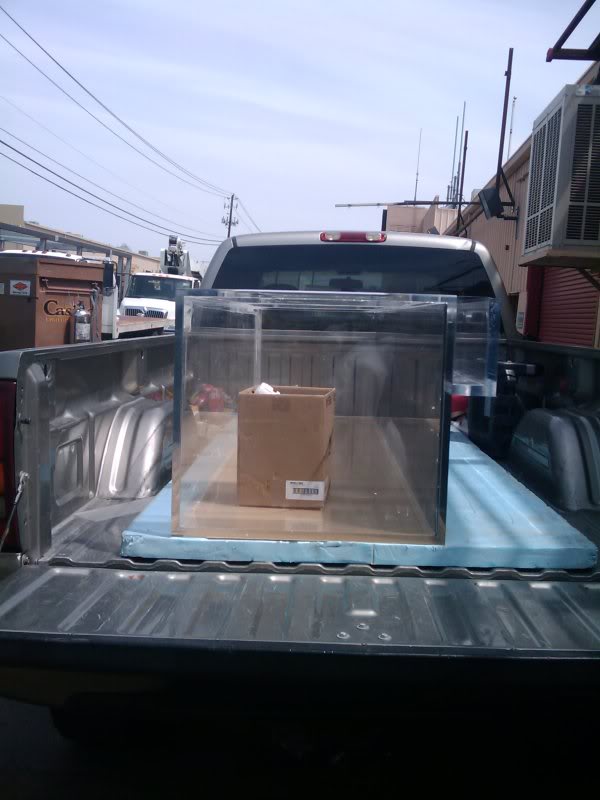
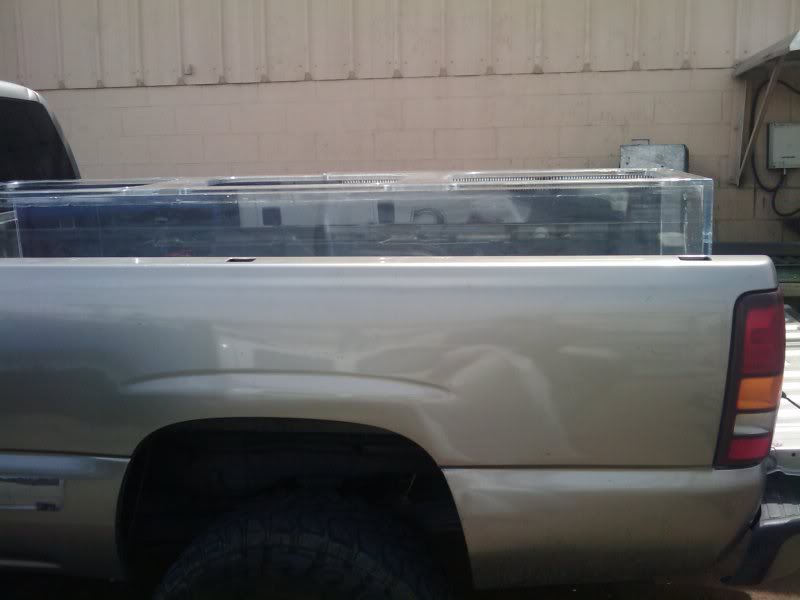
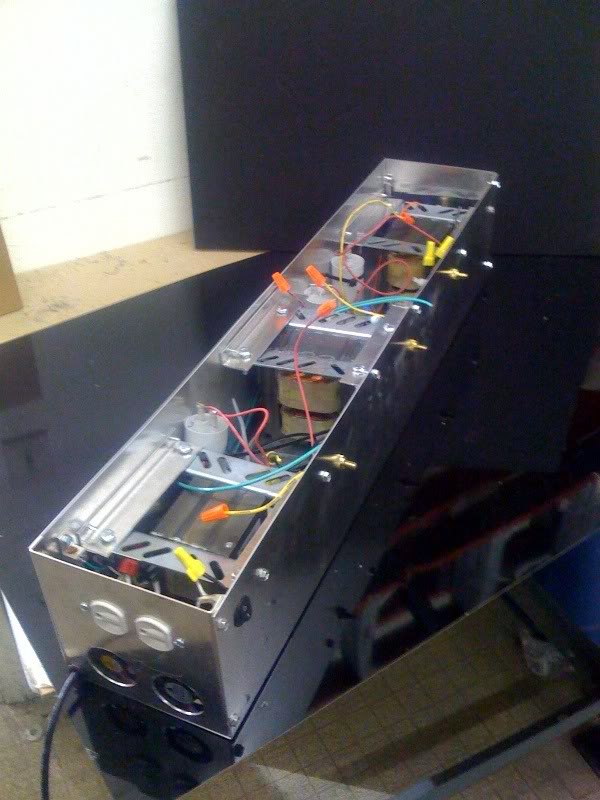
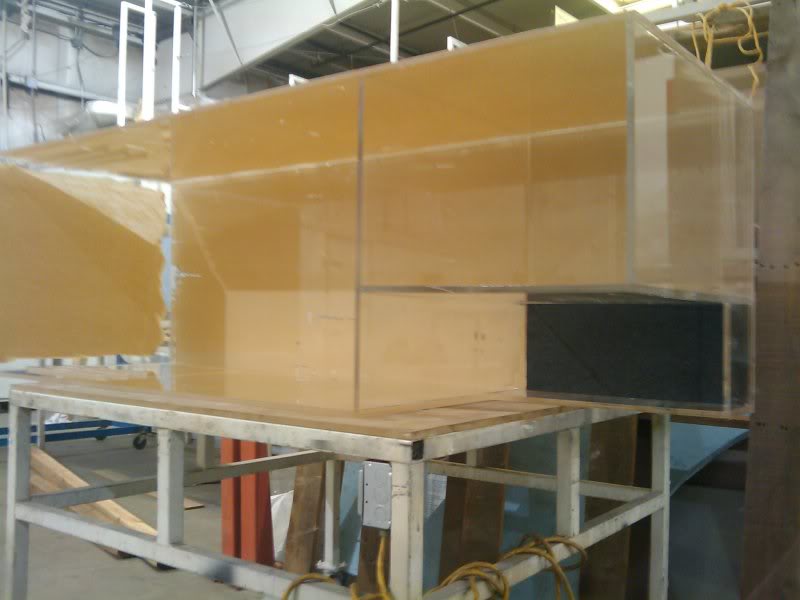
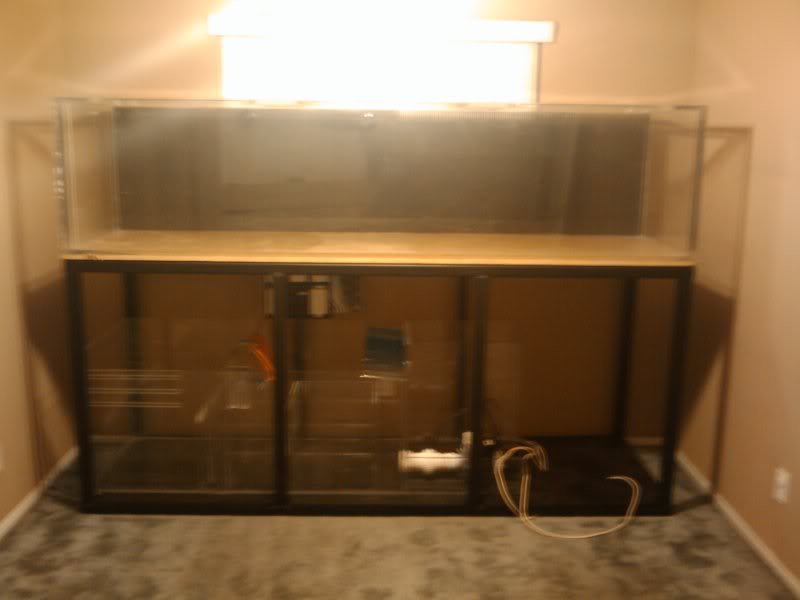
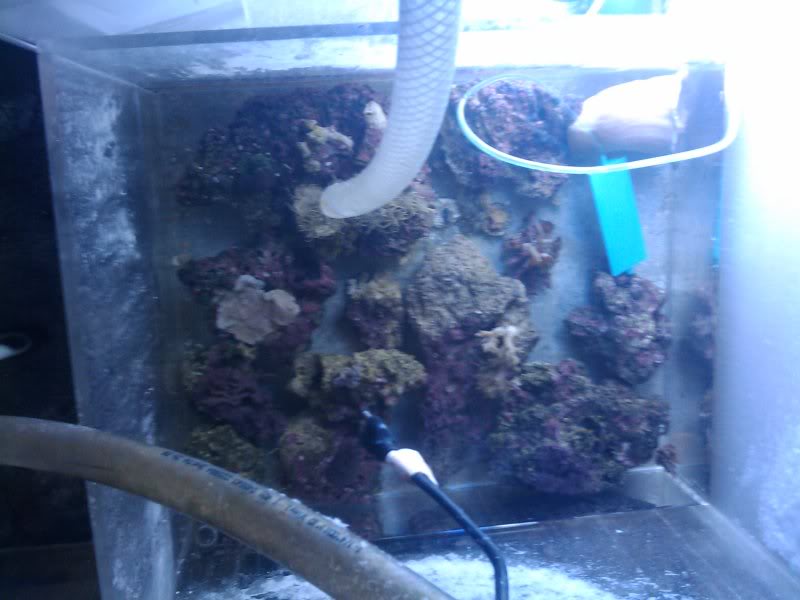
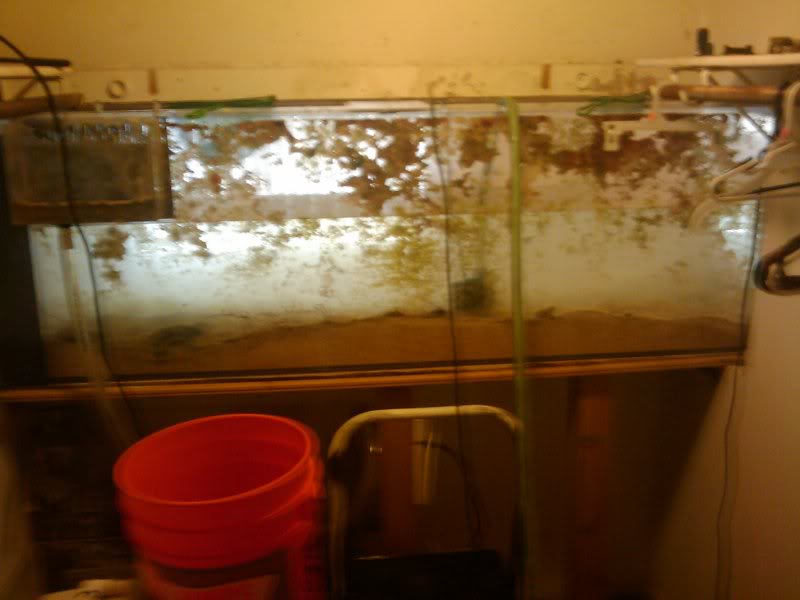
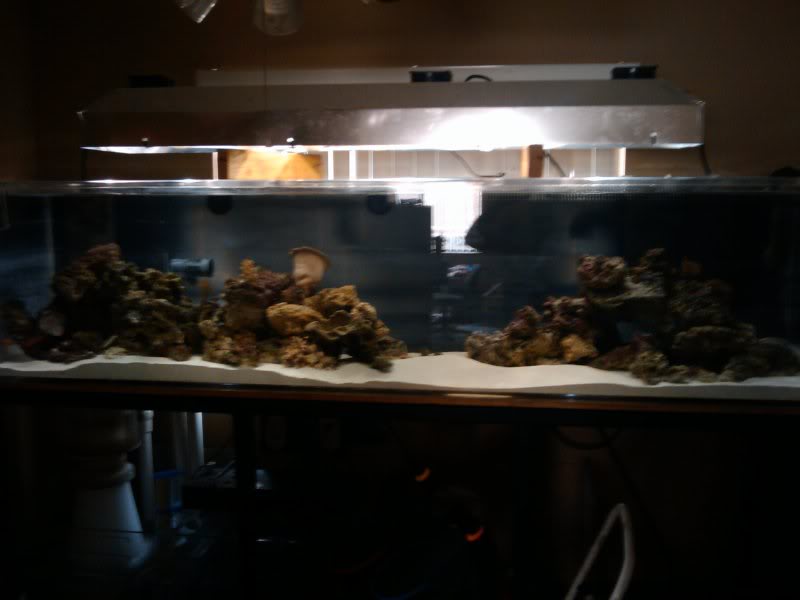
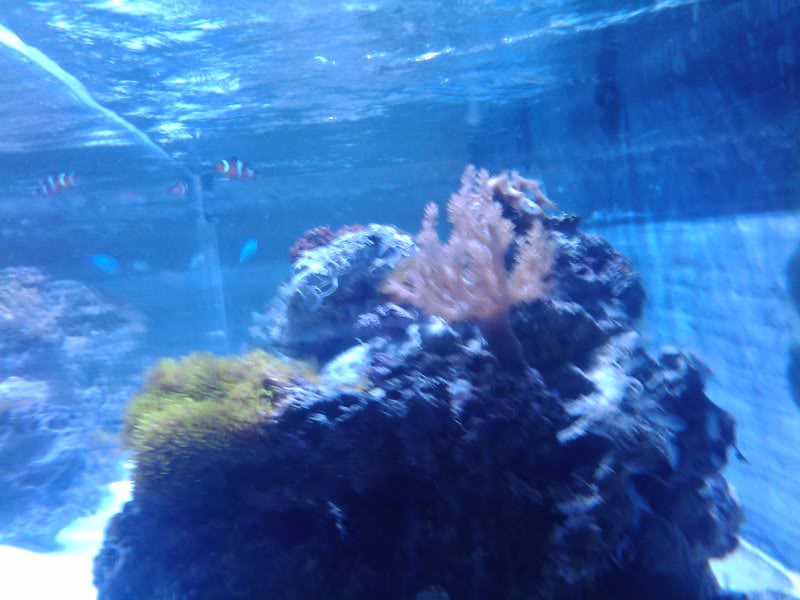
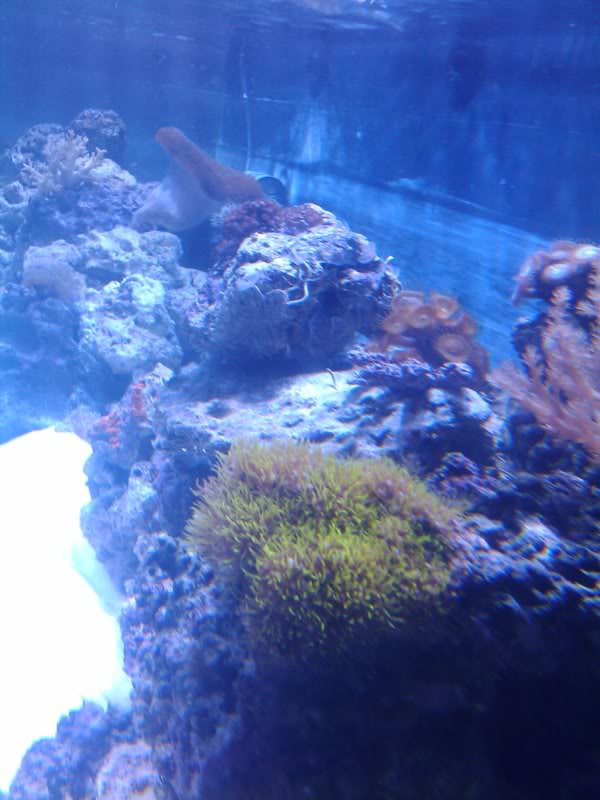
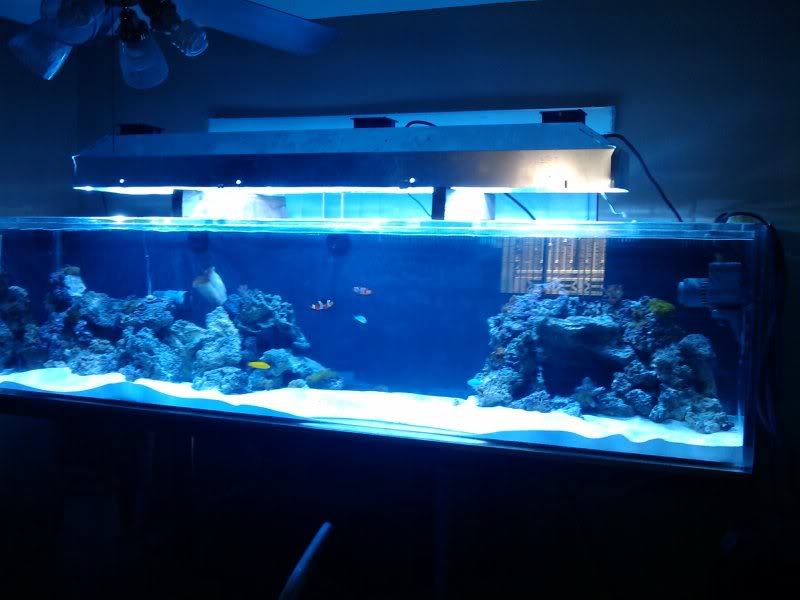
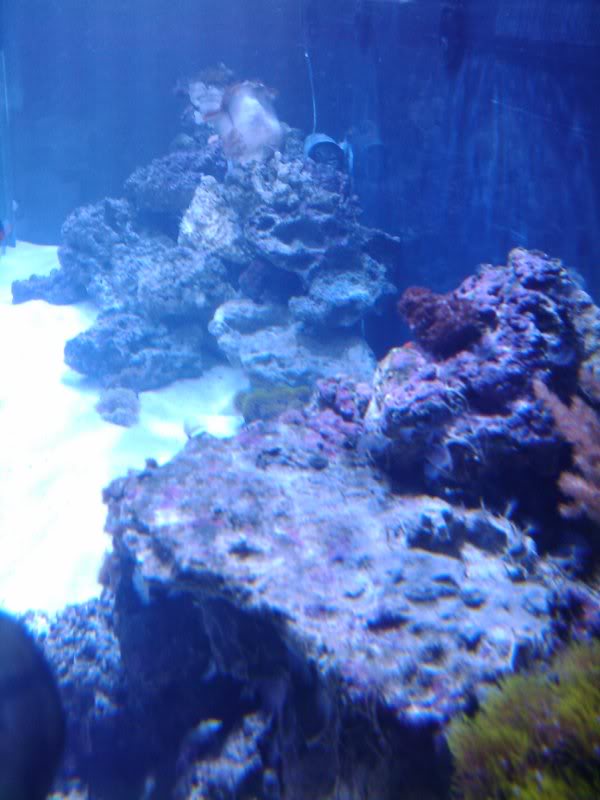
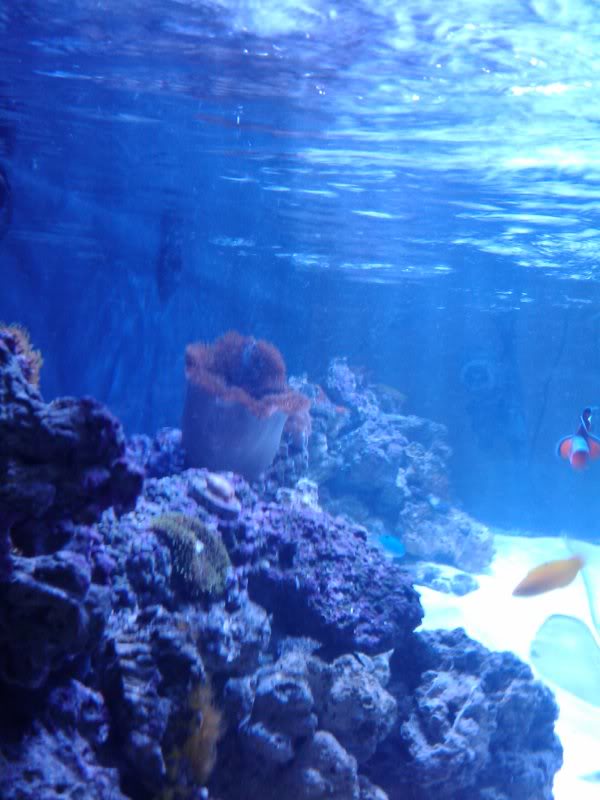
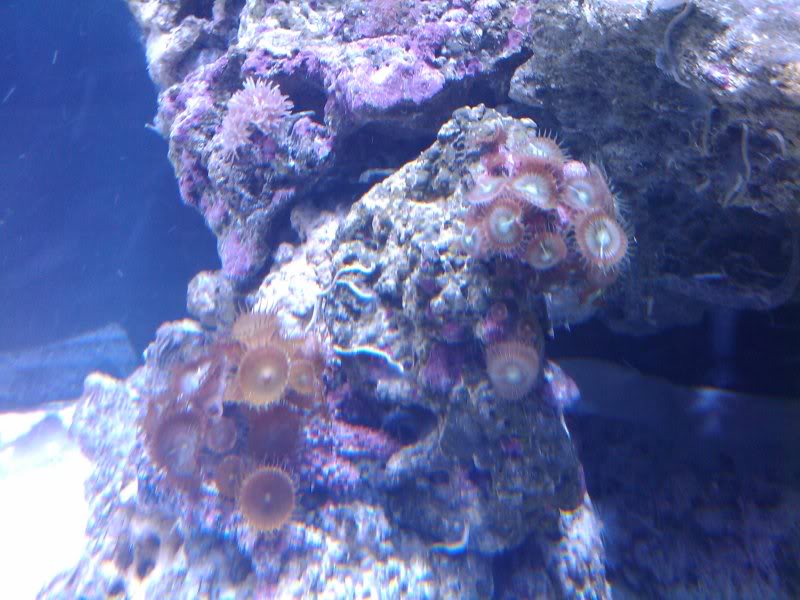
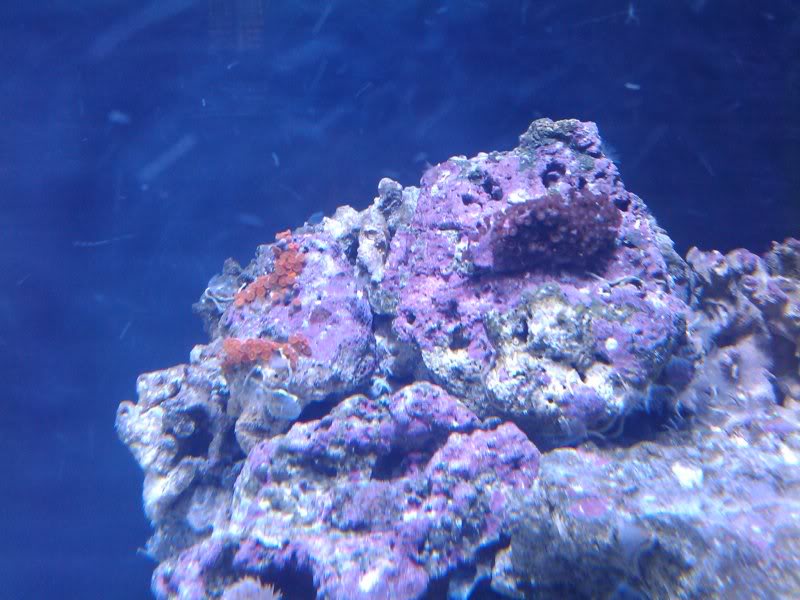
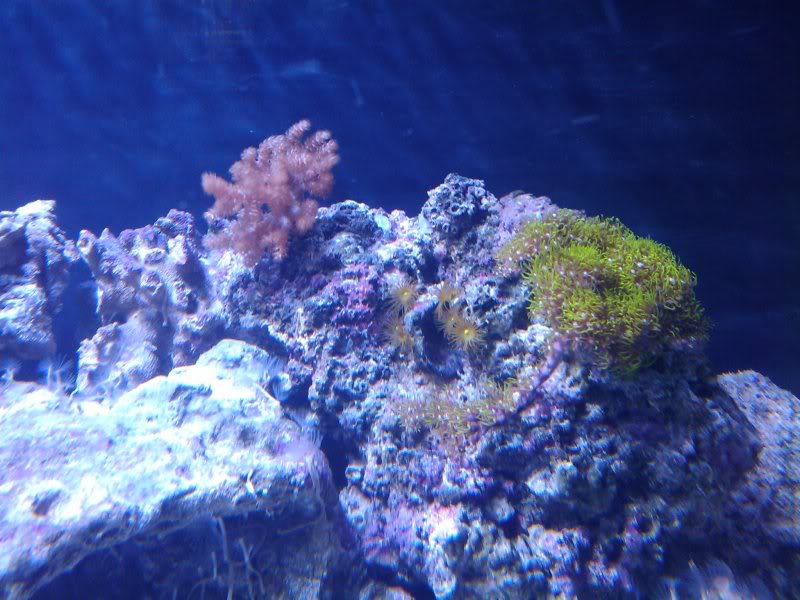
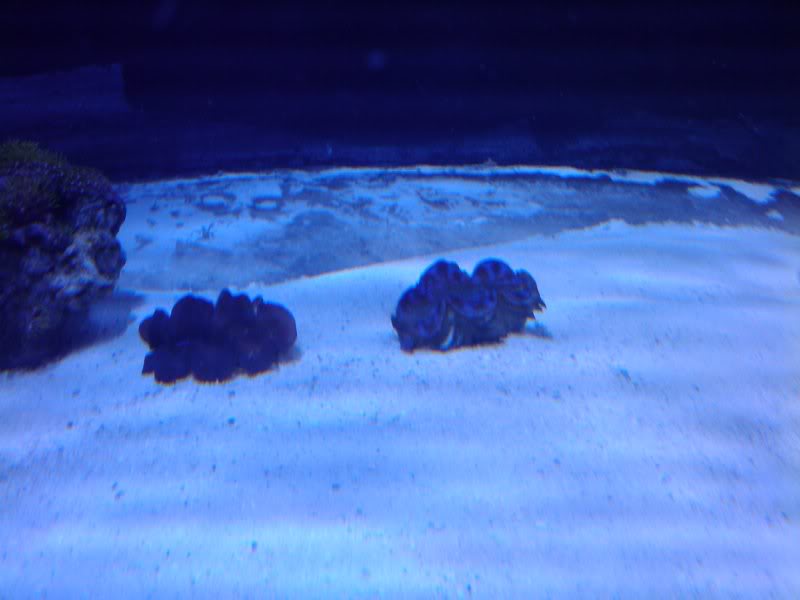
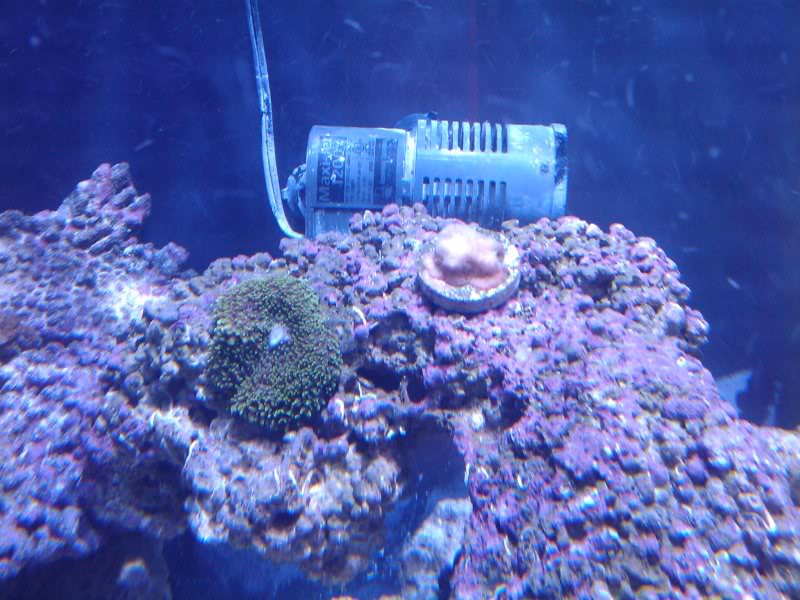
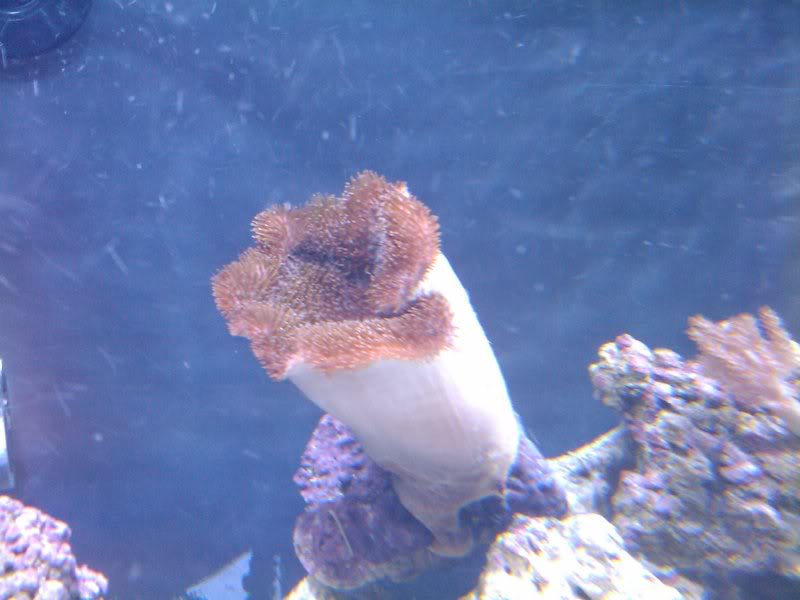
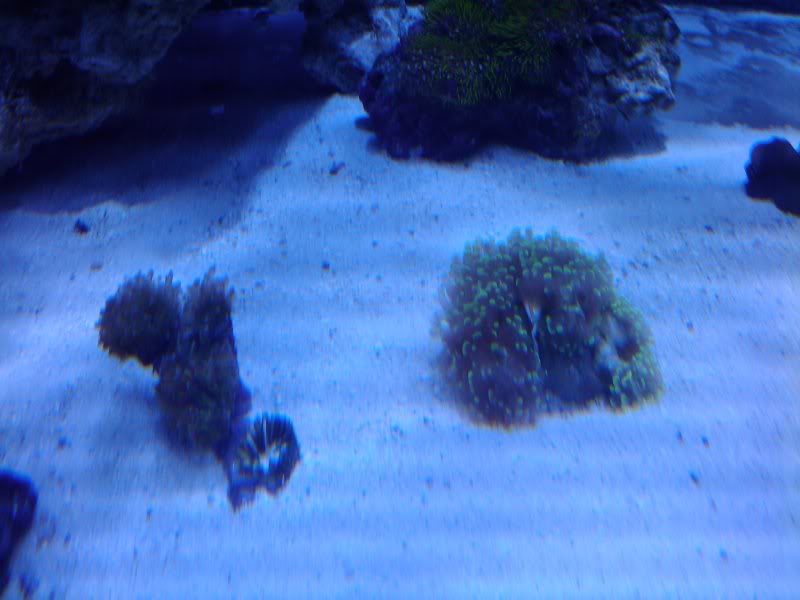
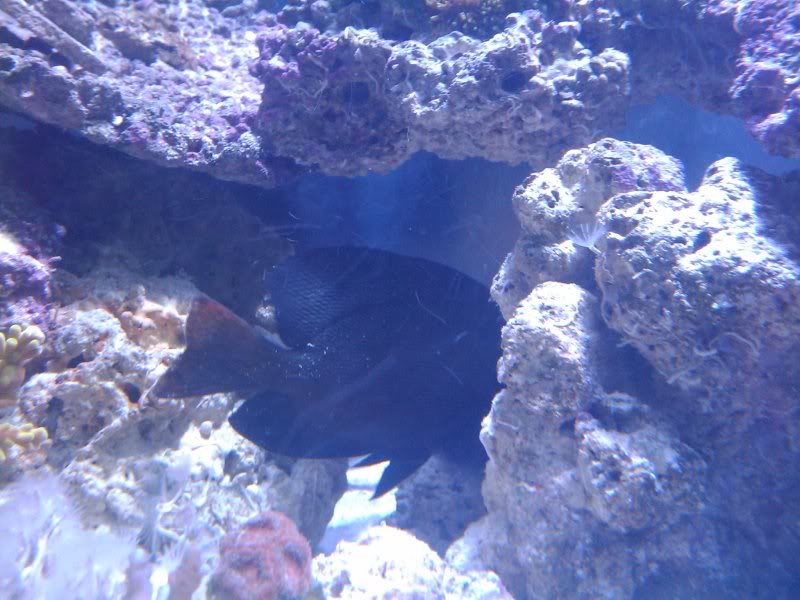
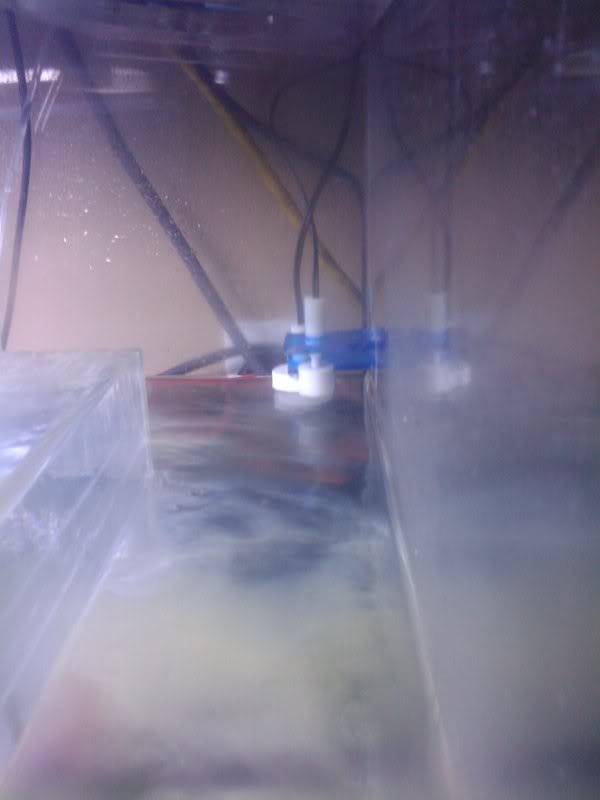
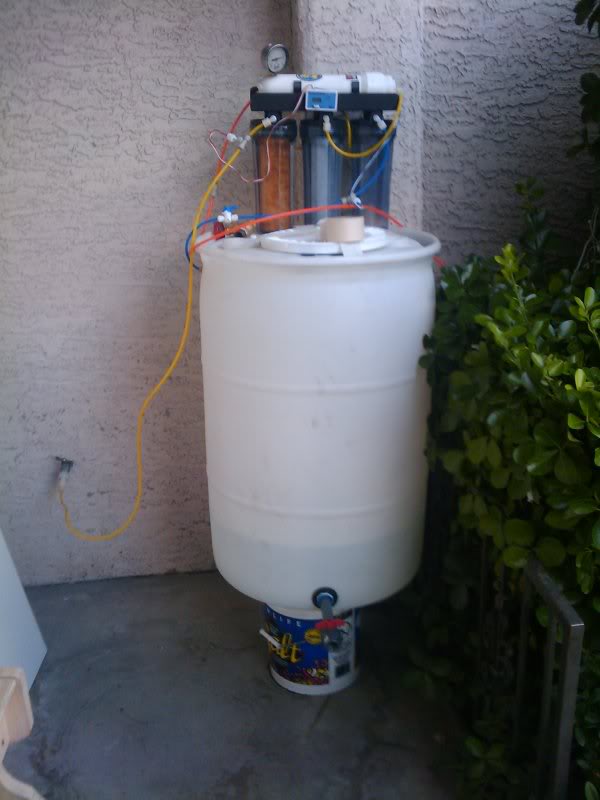
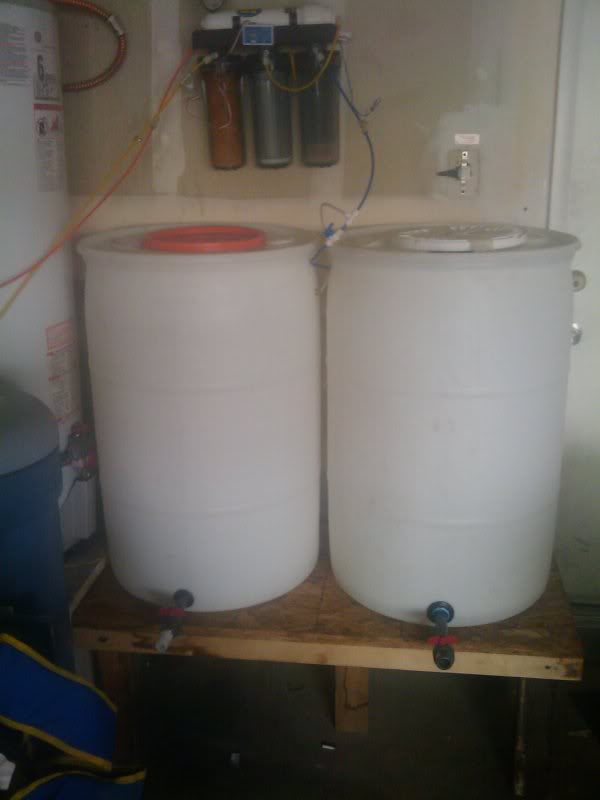
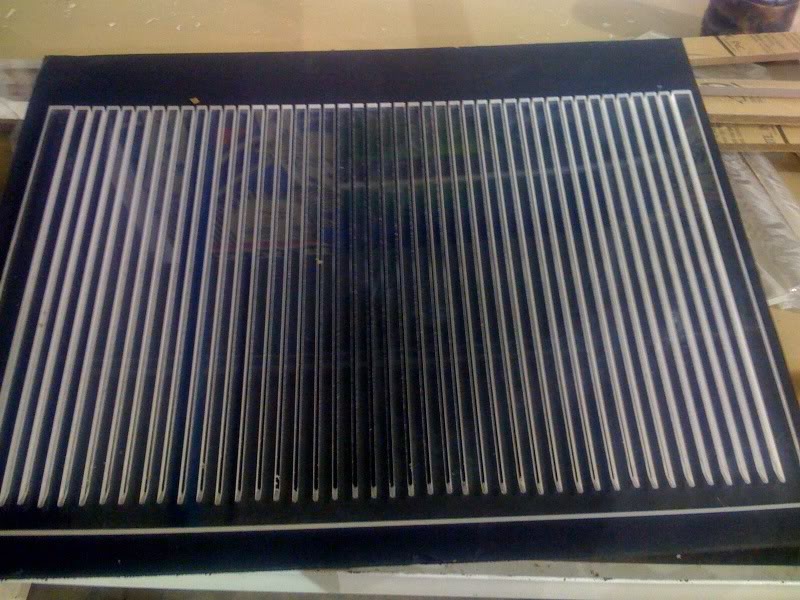
here was my last build that inspired alot of what i did on my current drop tank...
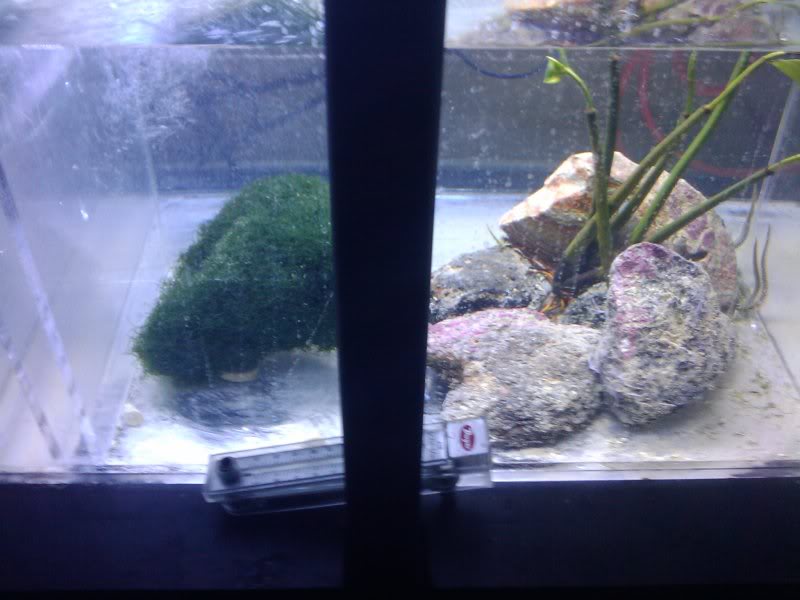
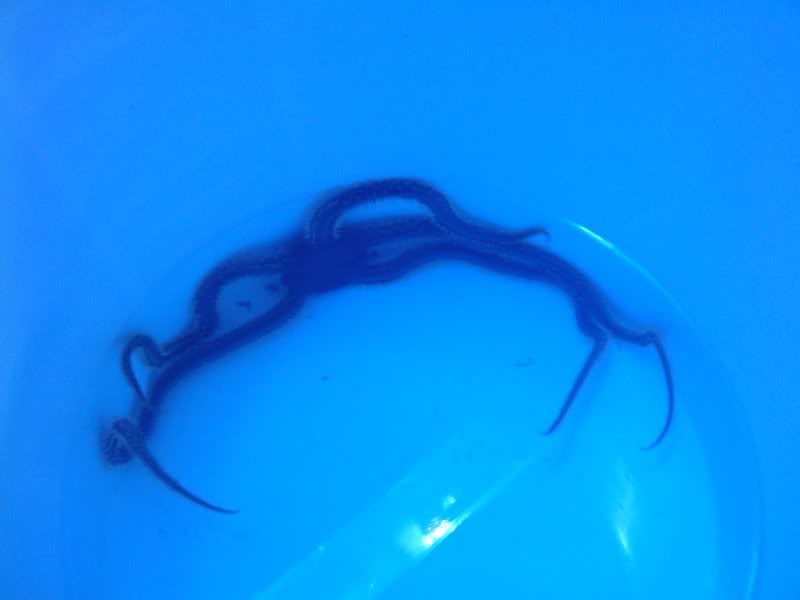
this tank was takin down due to the fact i just simply couldn't afford it...
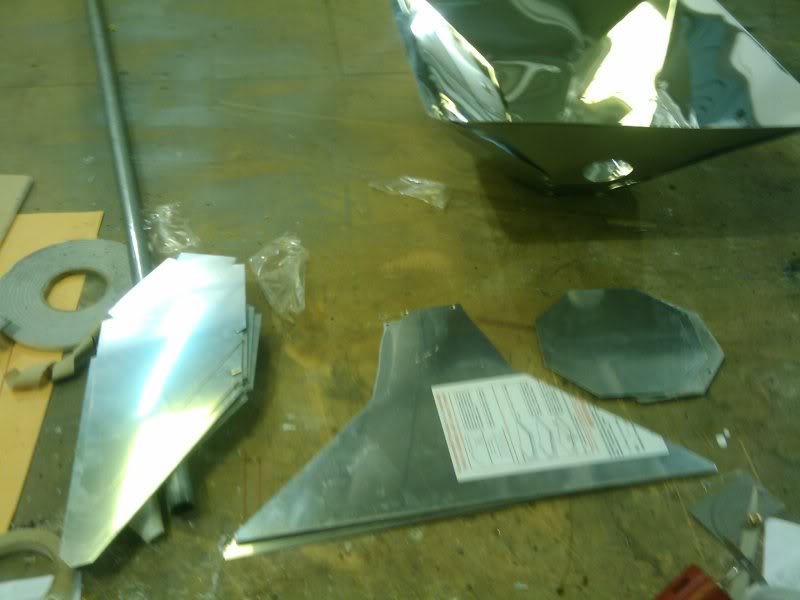
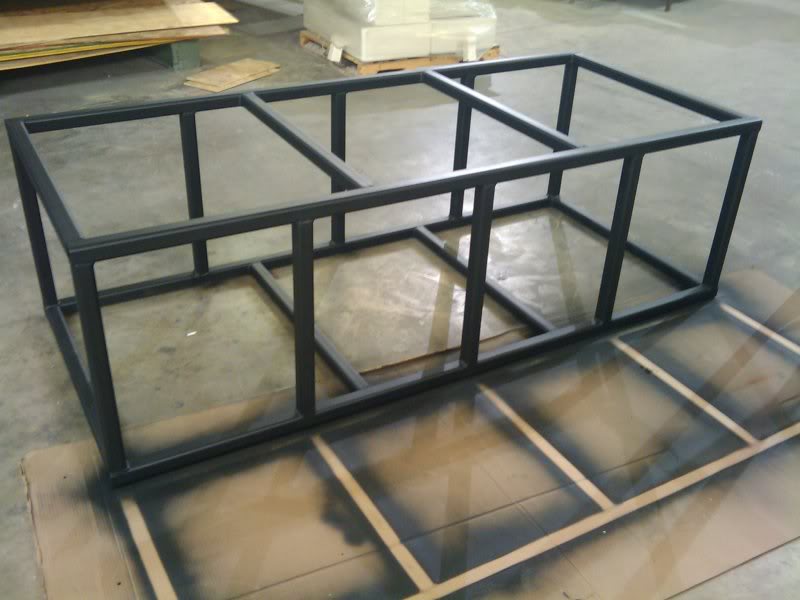
it goes a little something like this!!!!!
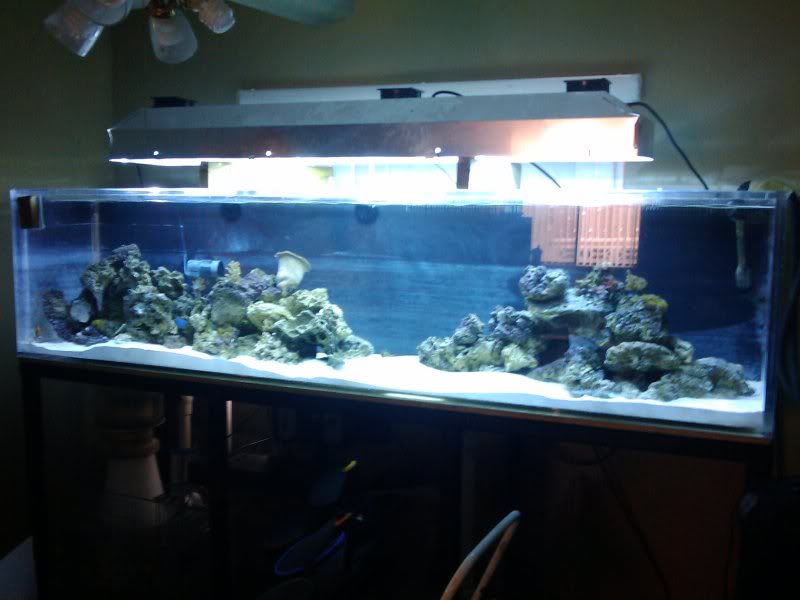
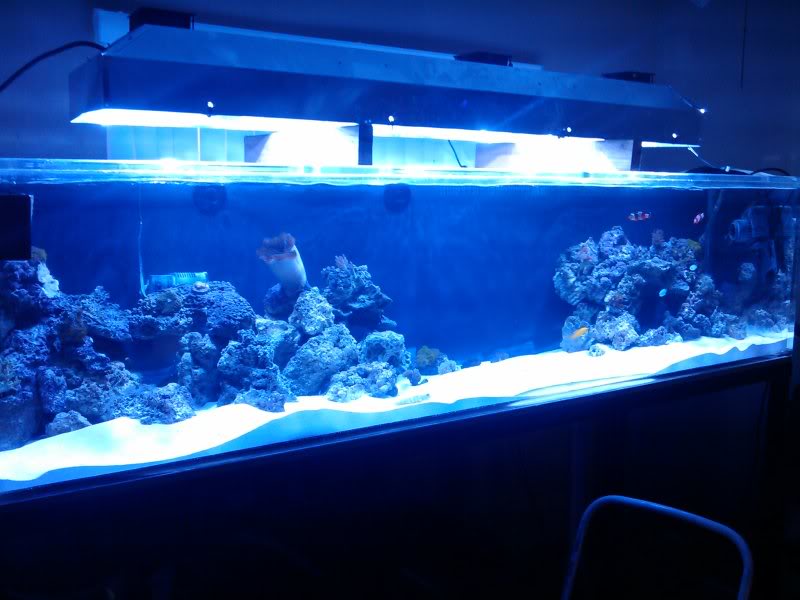
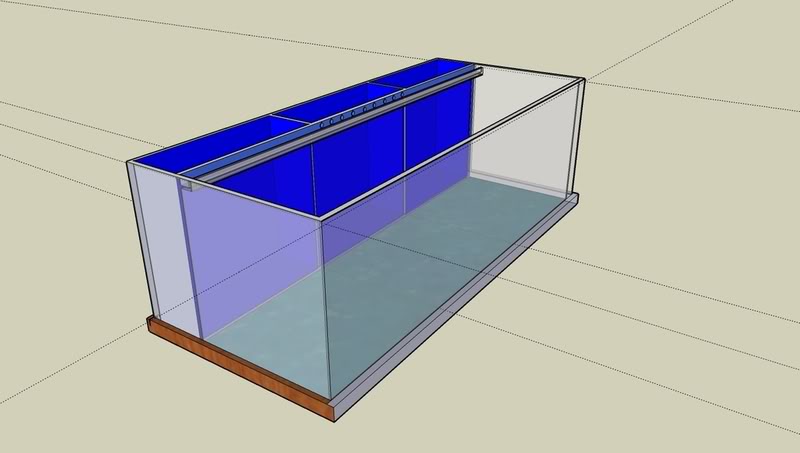
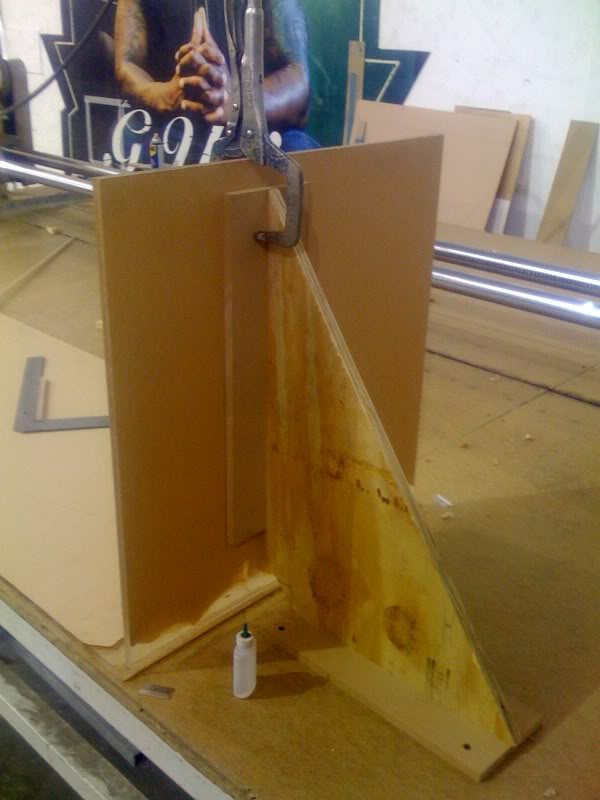
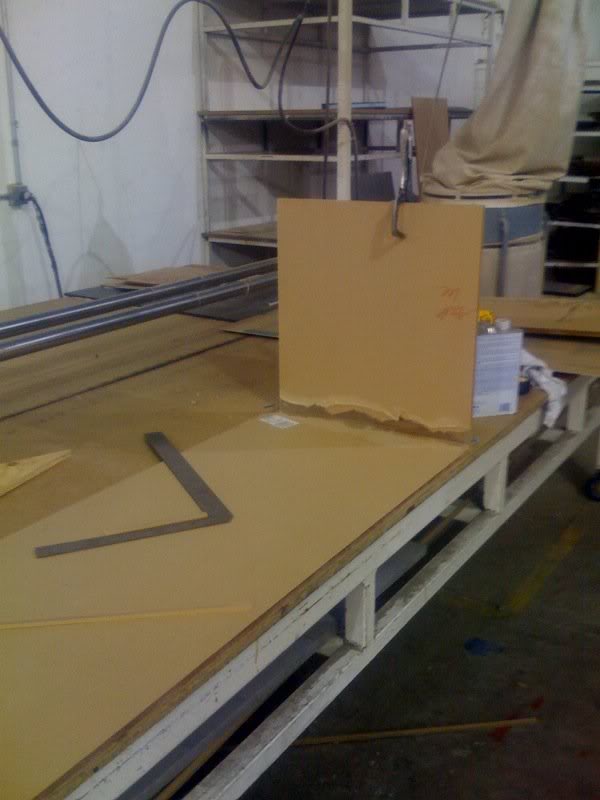
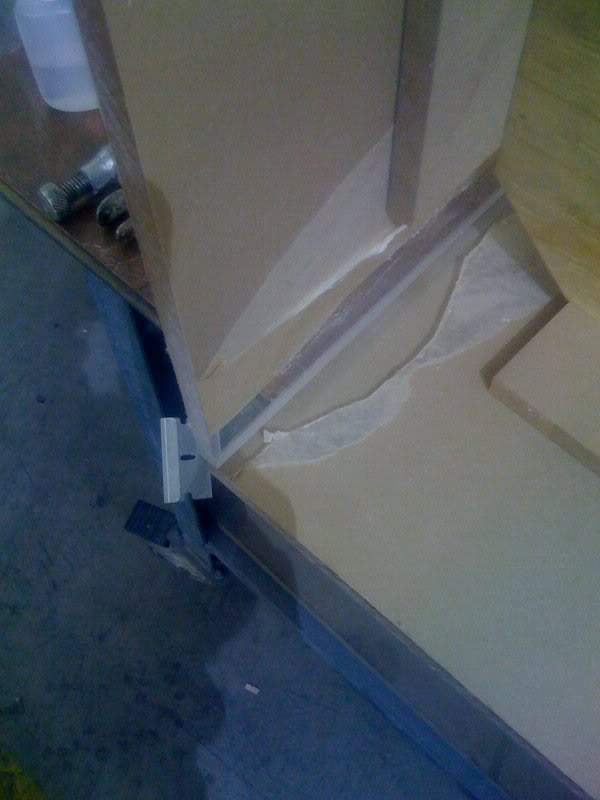
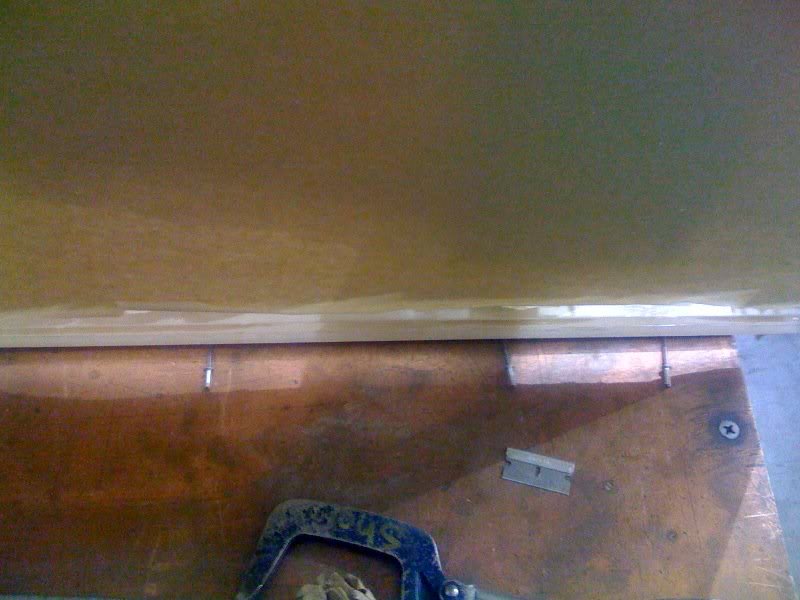
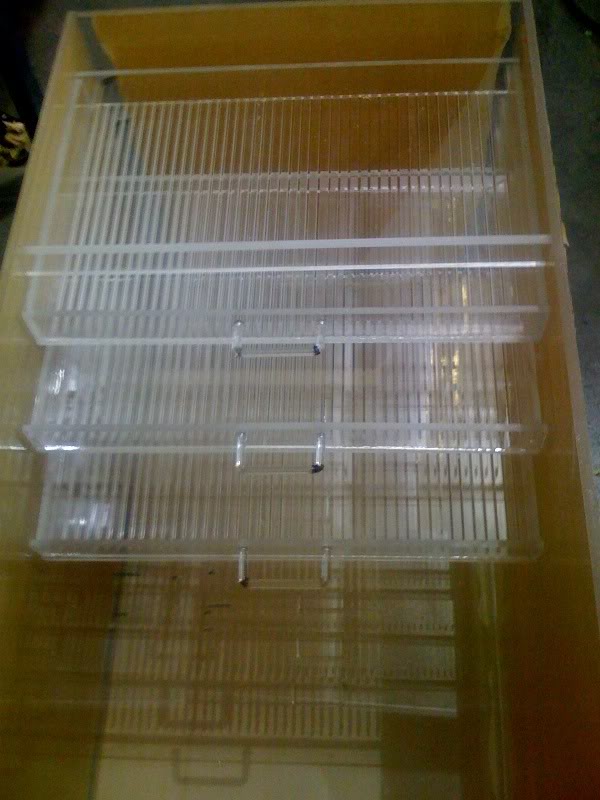
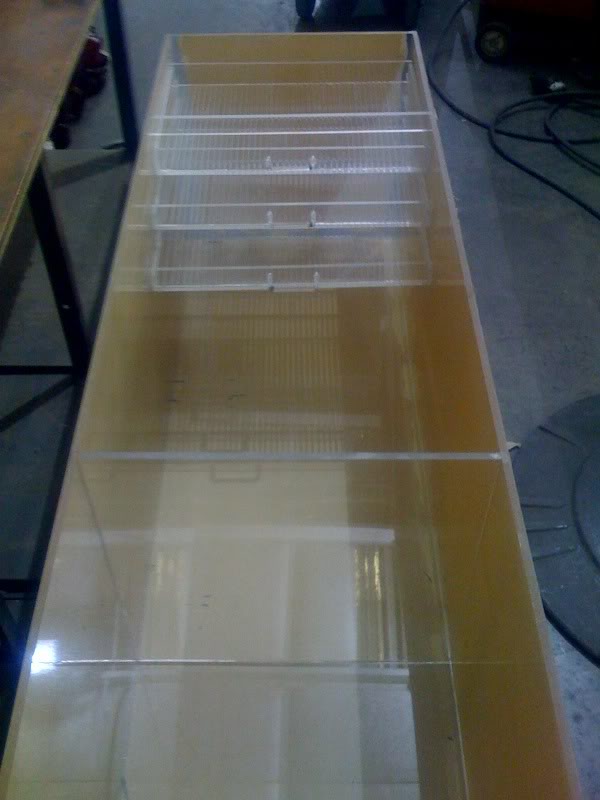
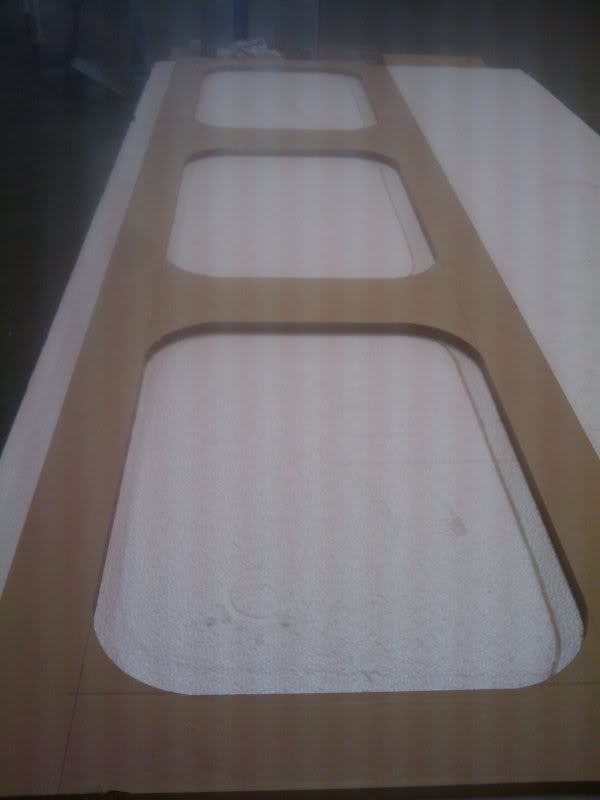
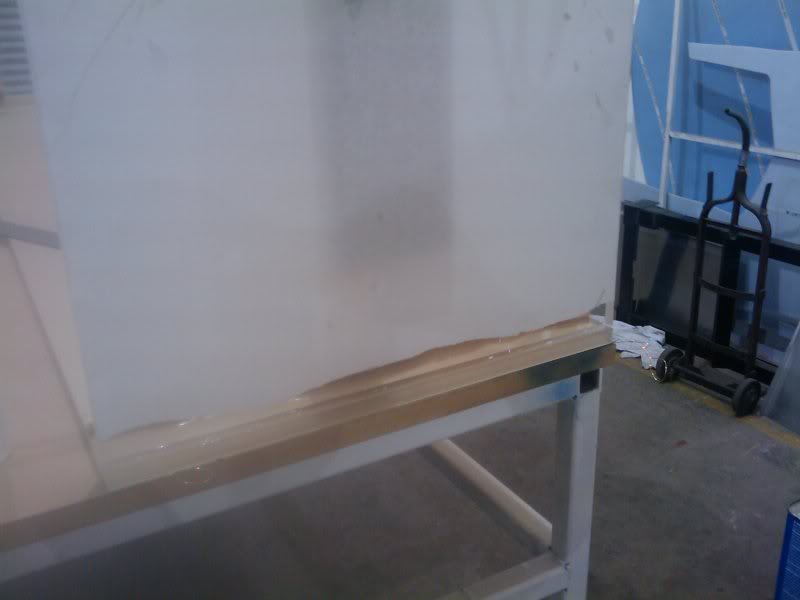
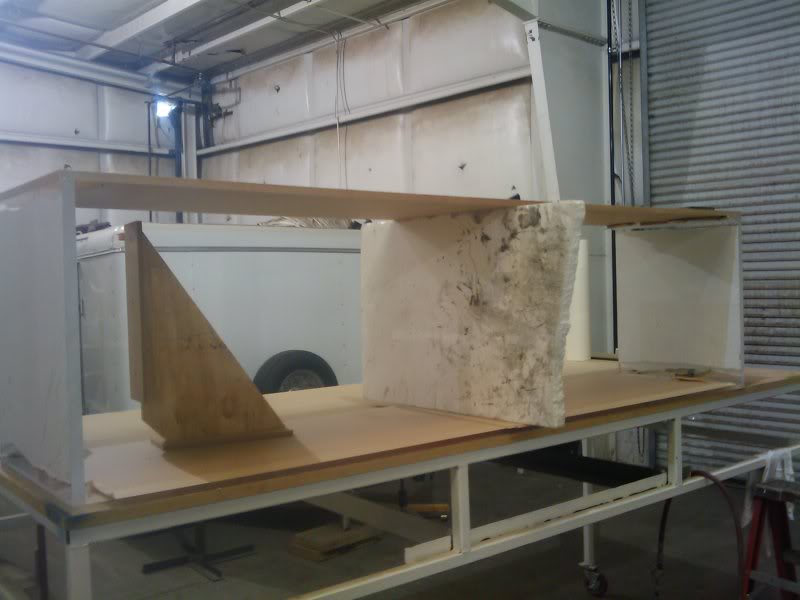
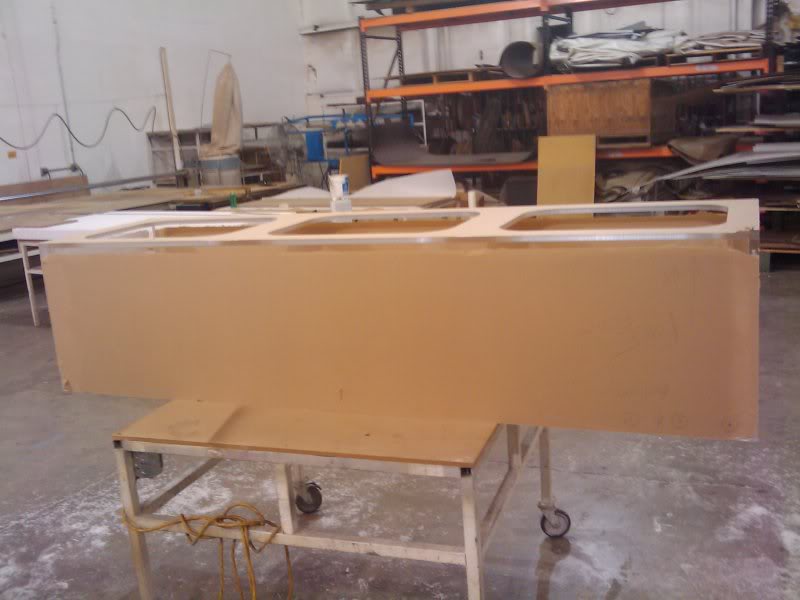
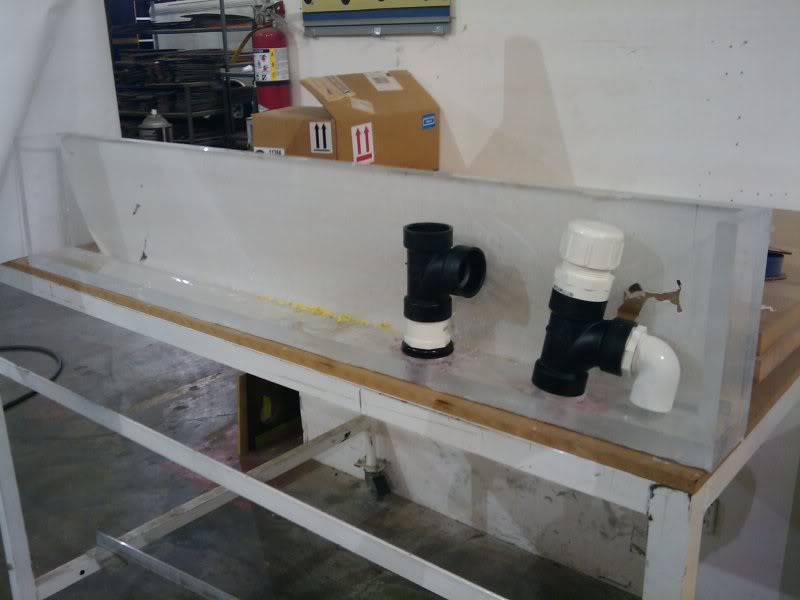
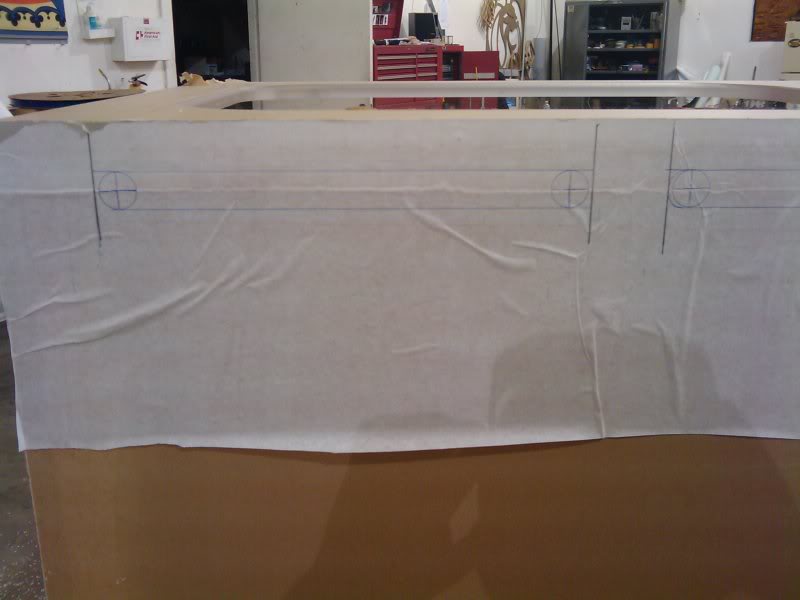
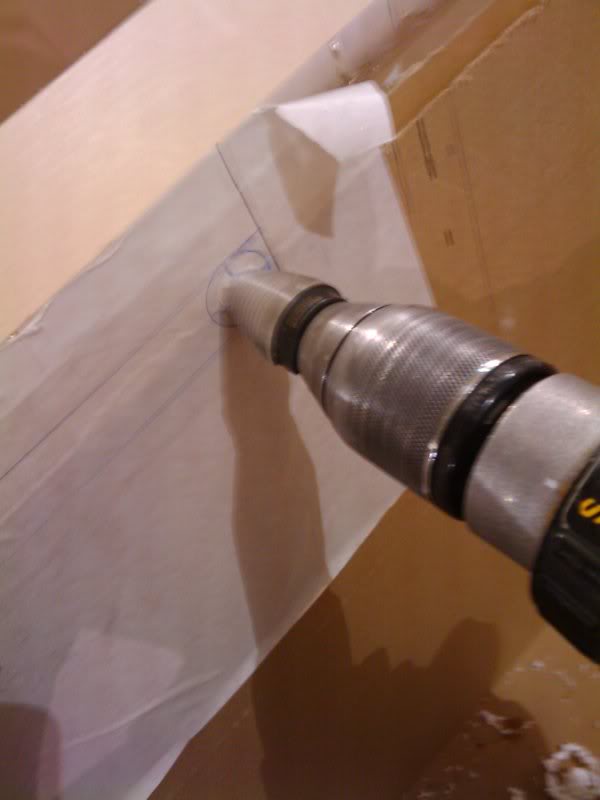
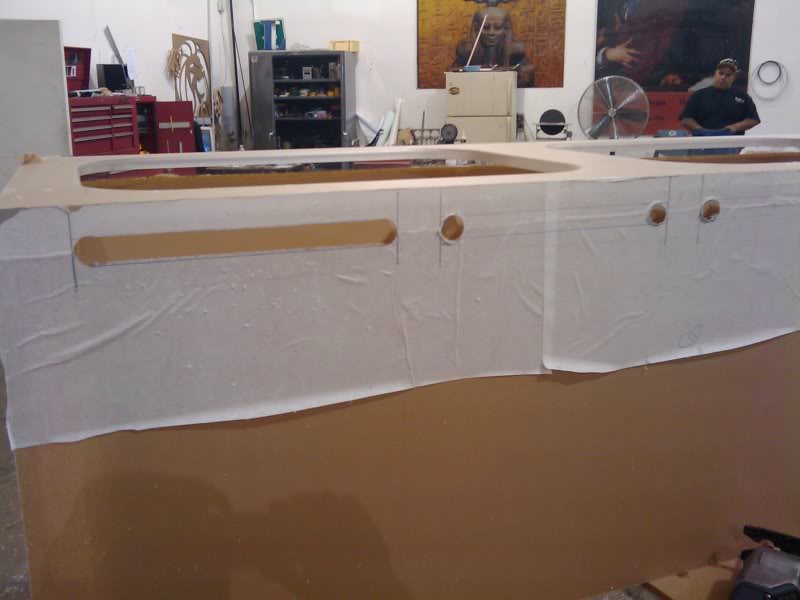
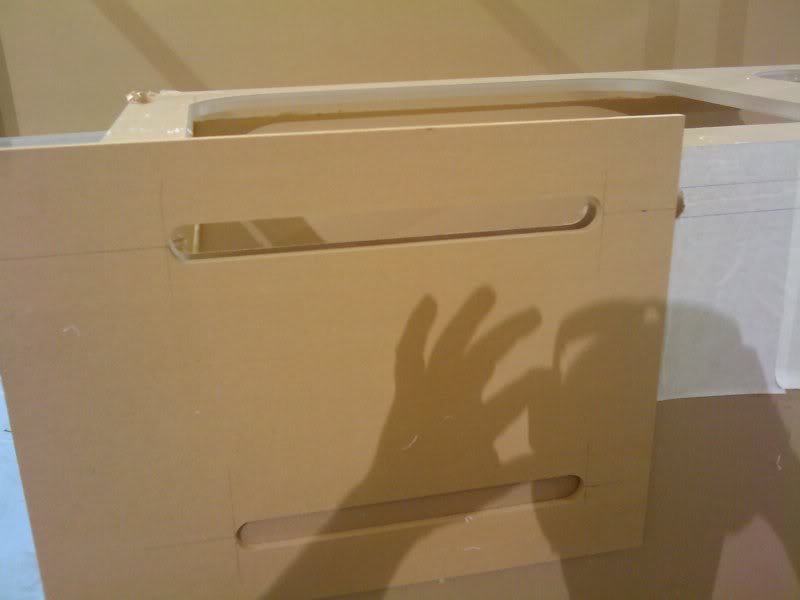
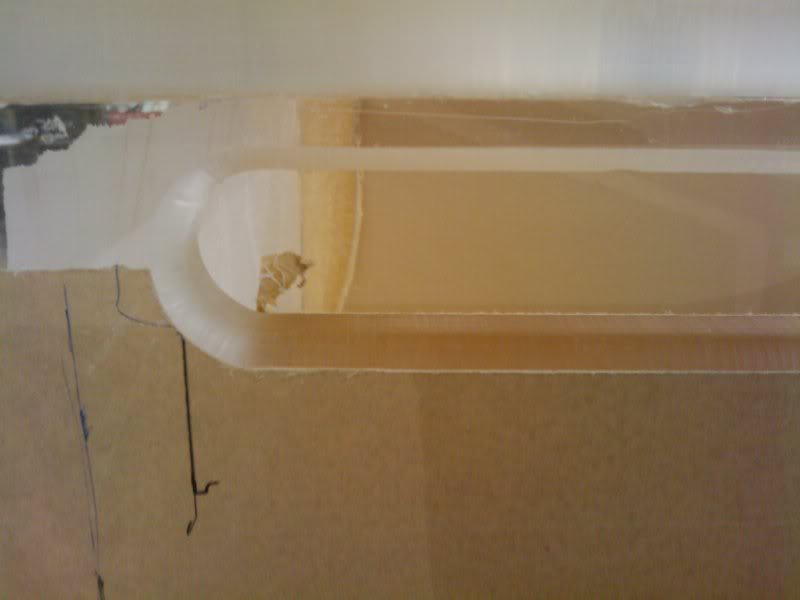
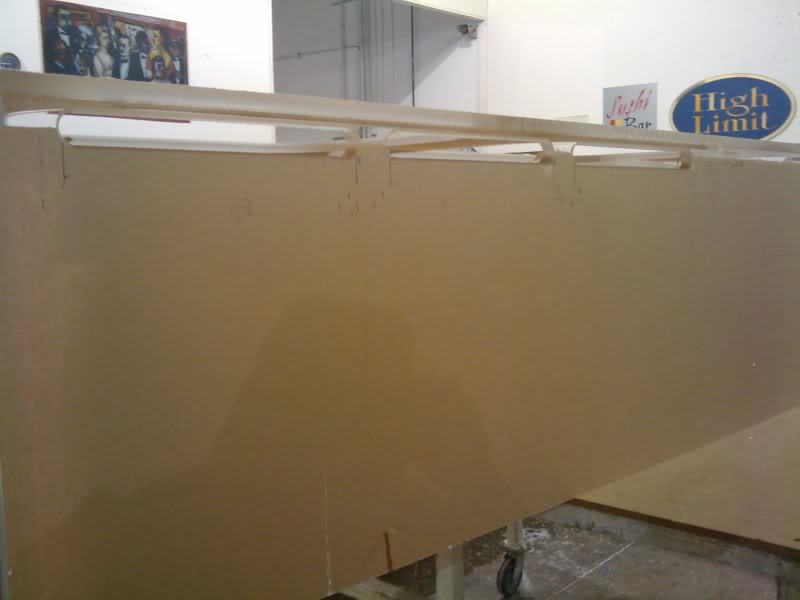
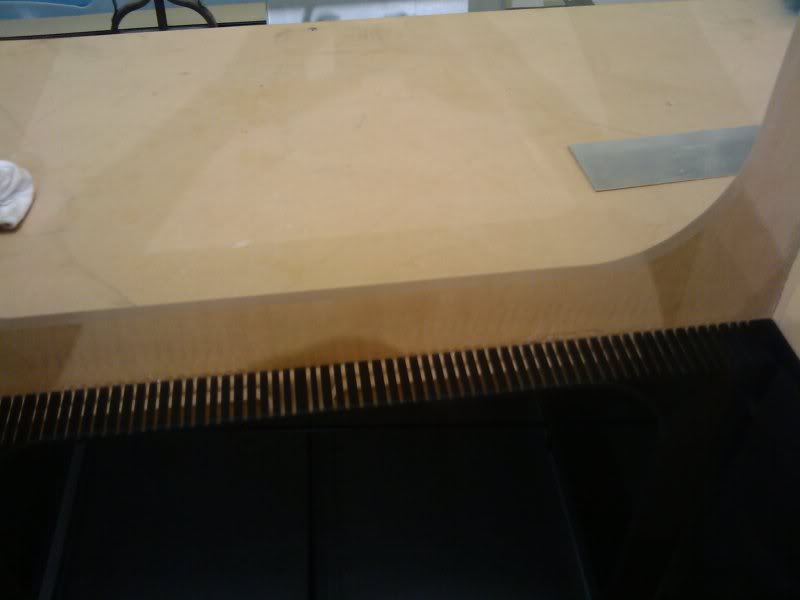
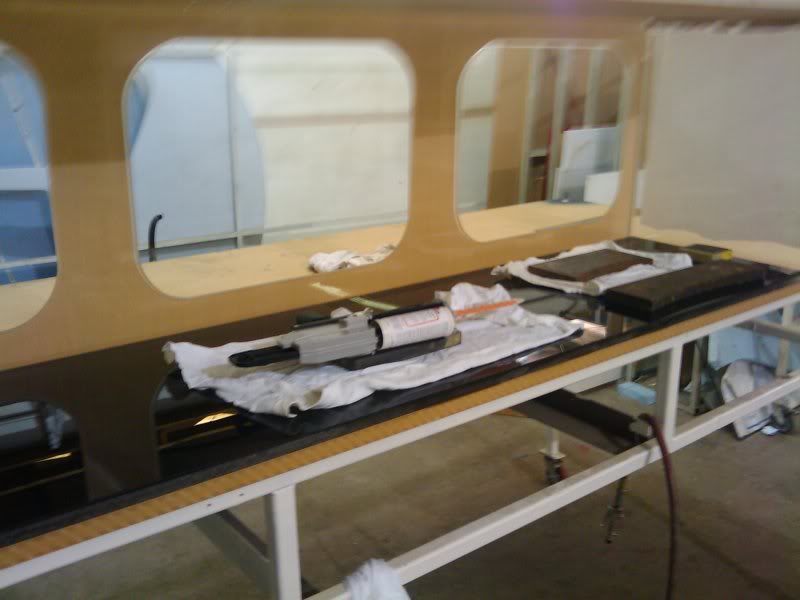
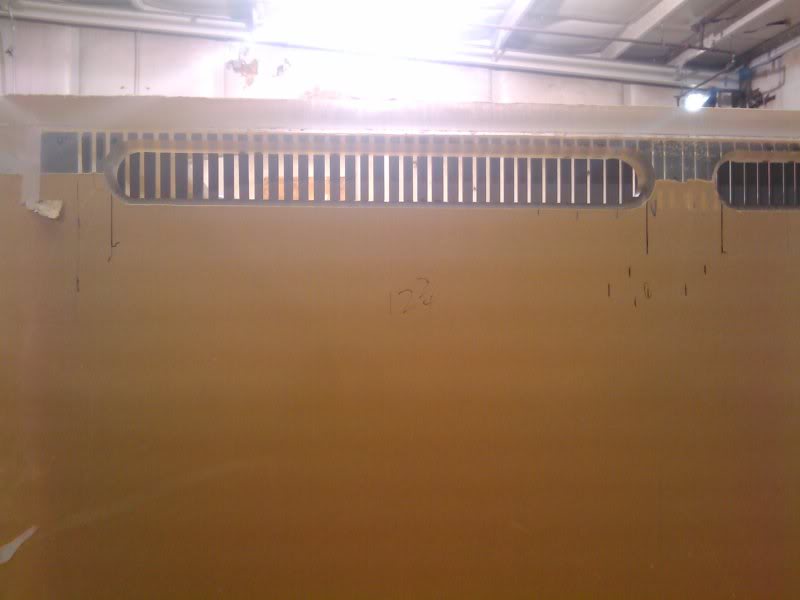
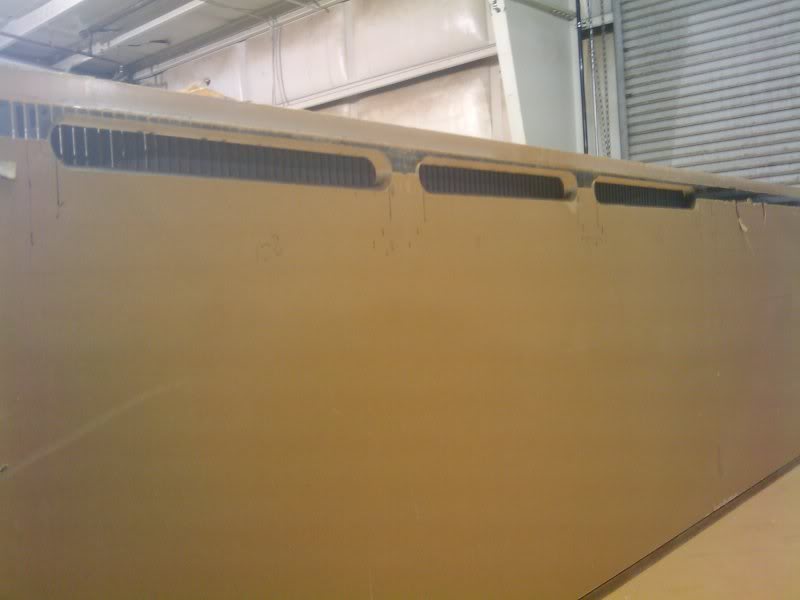
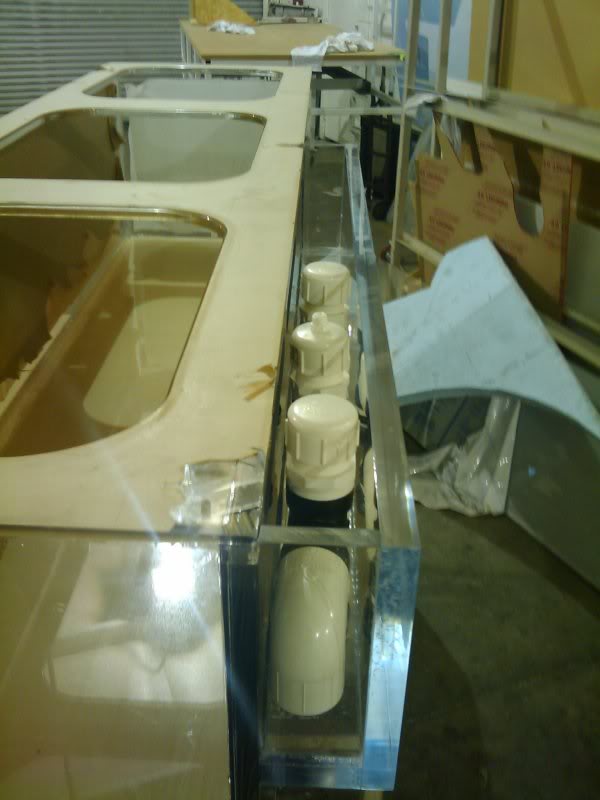
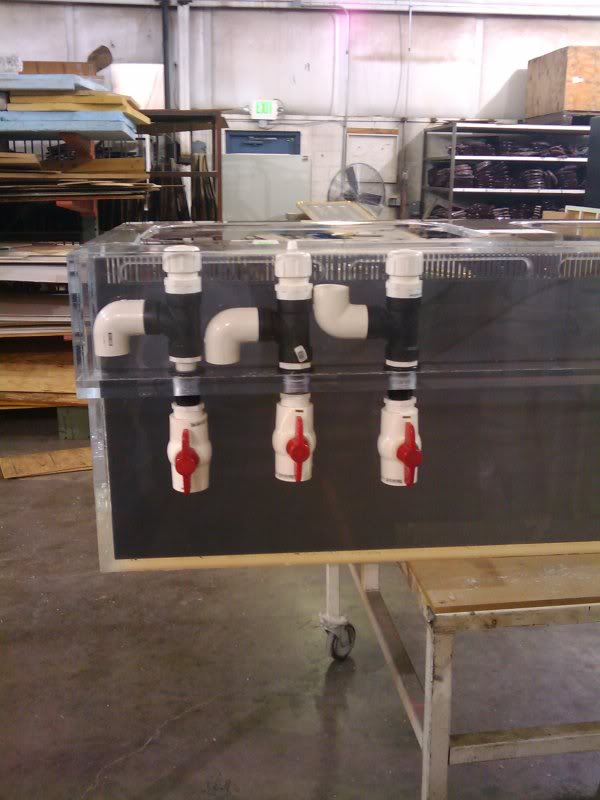
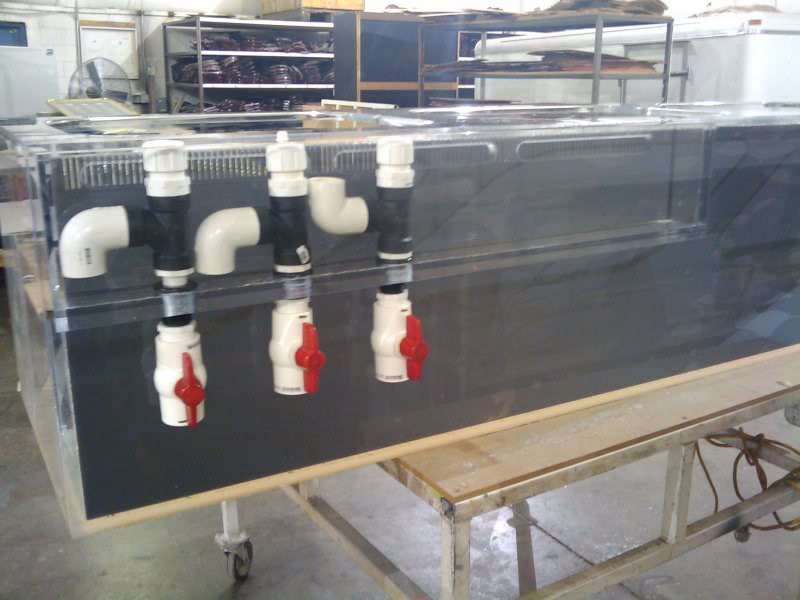
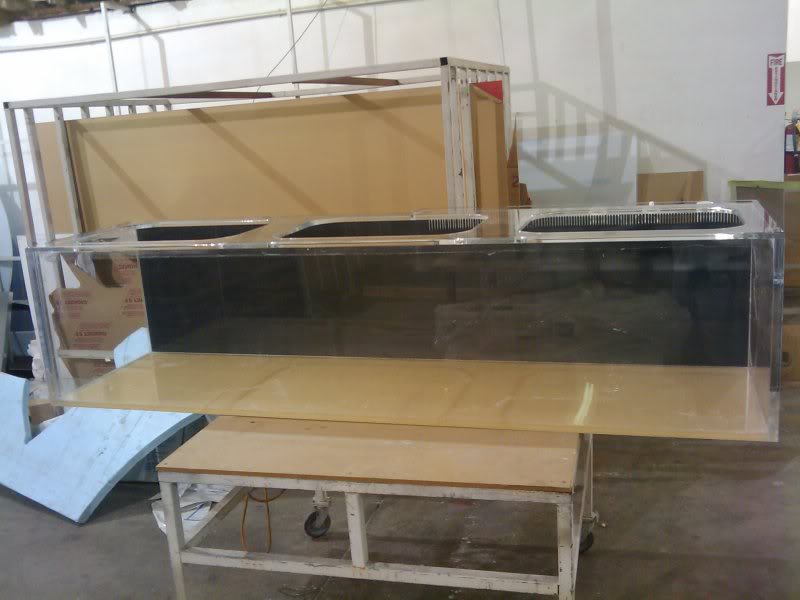
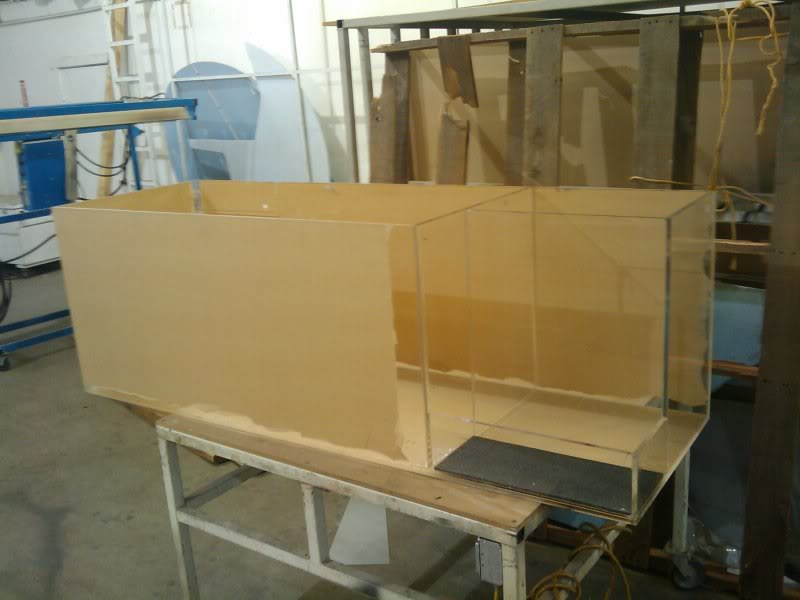
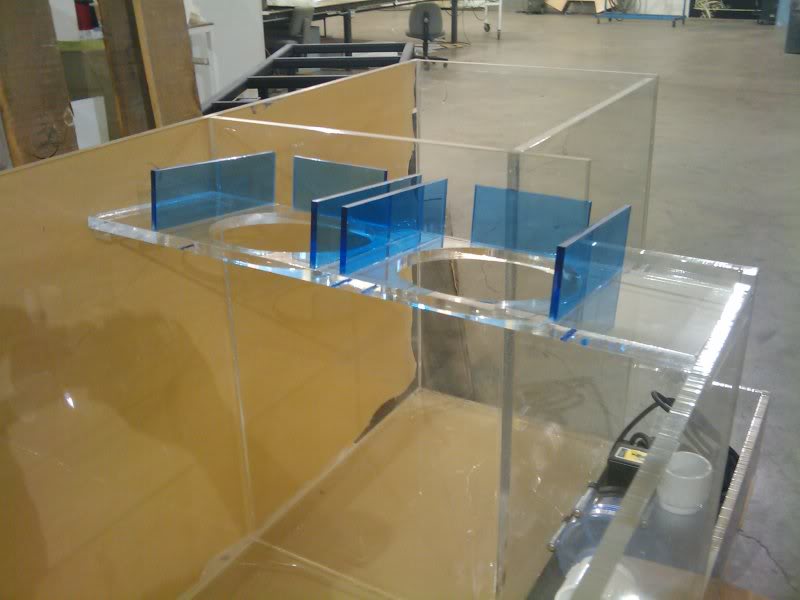
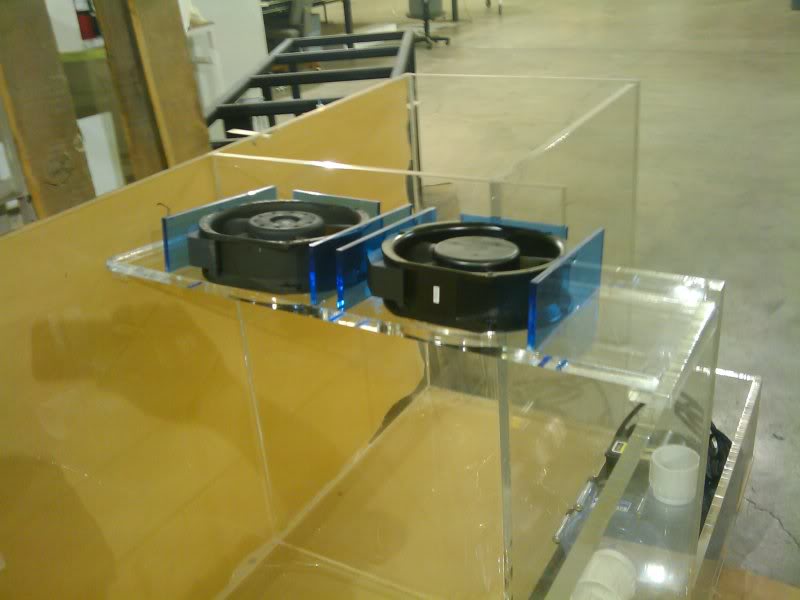
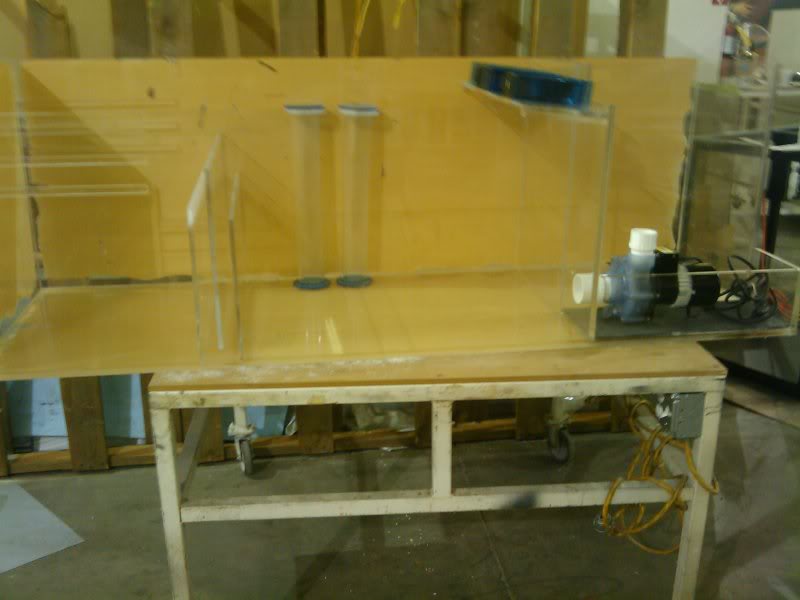
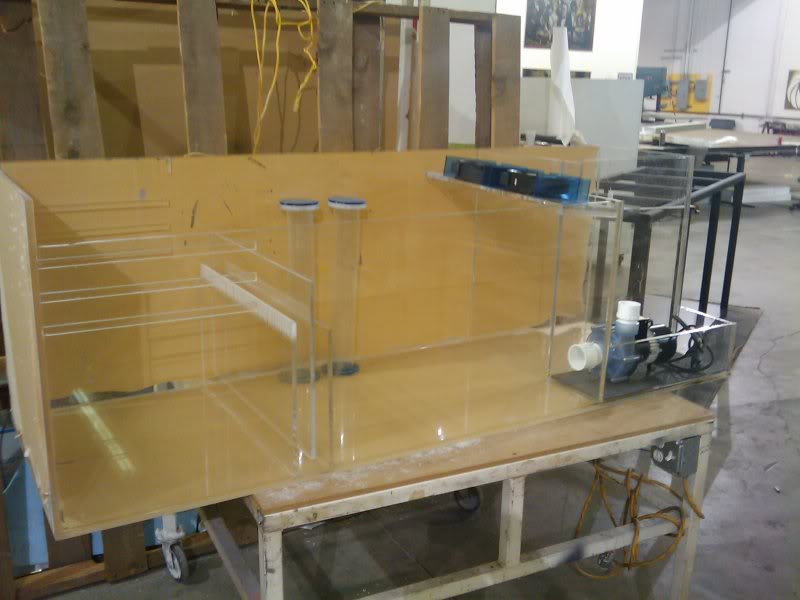
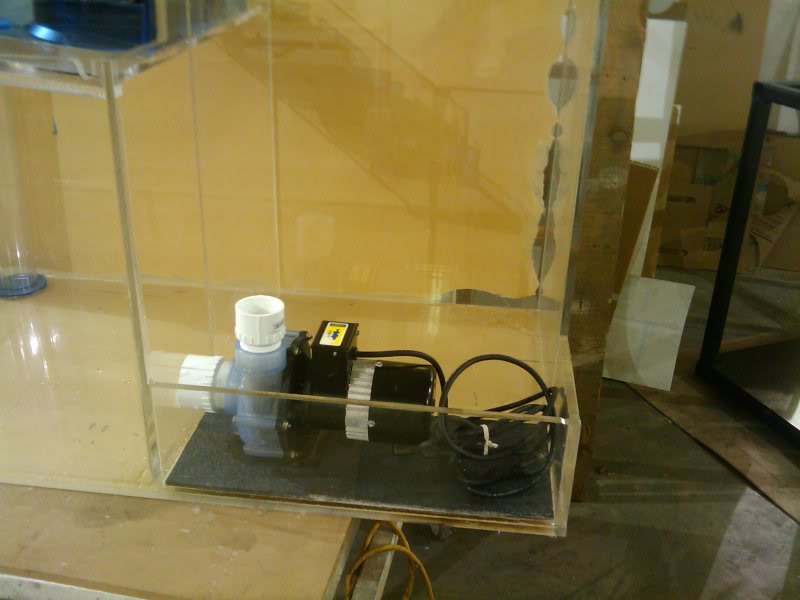
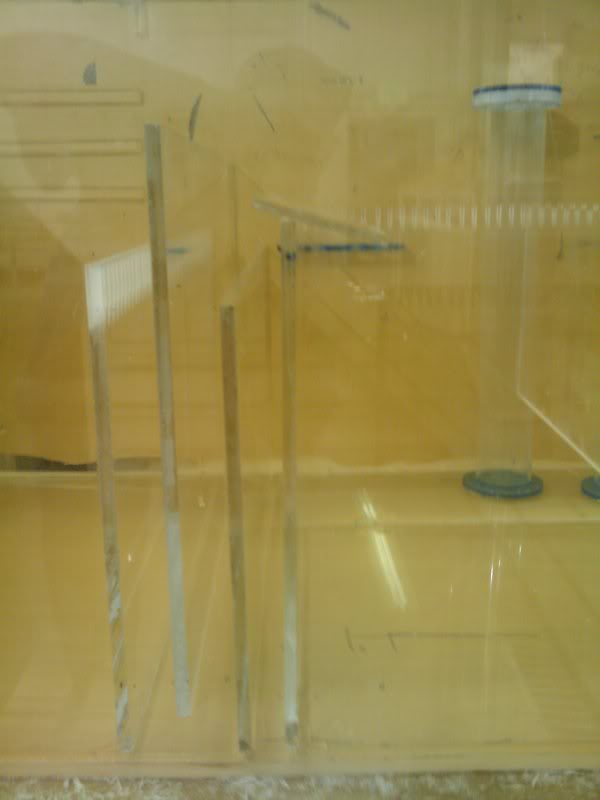
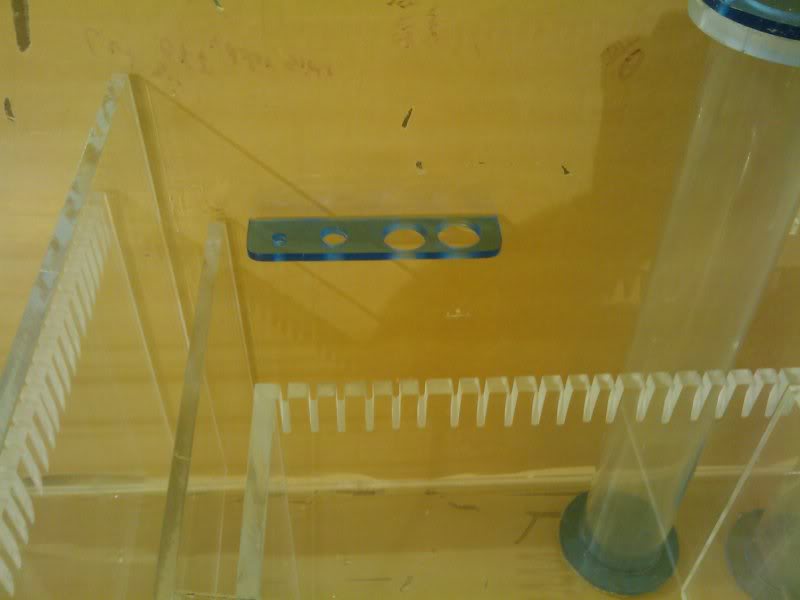
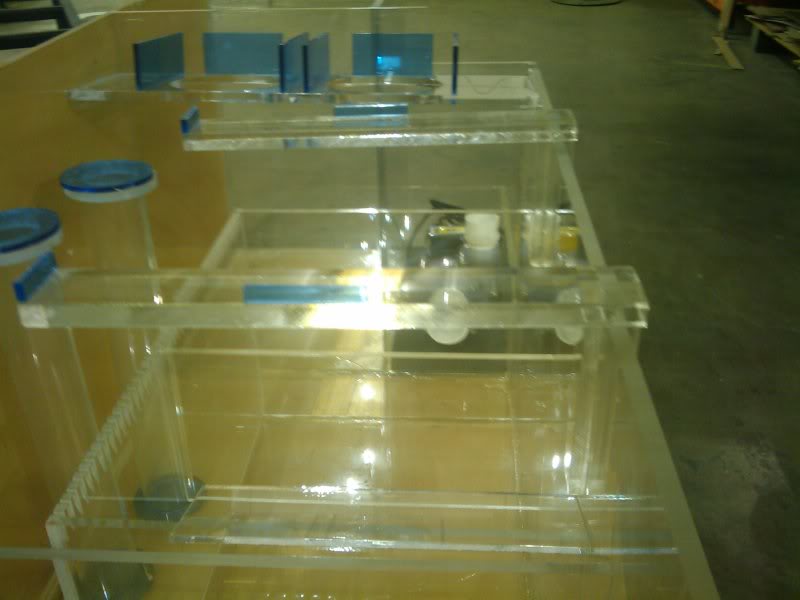
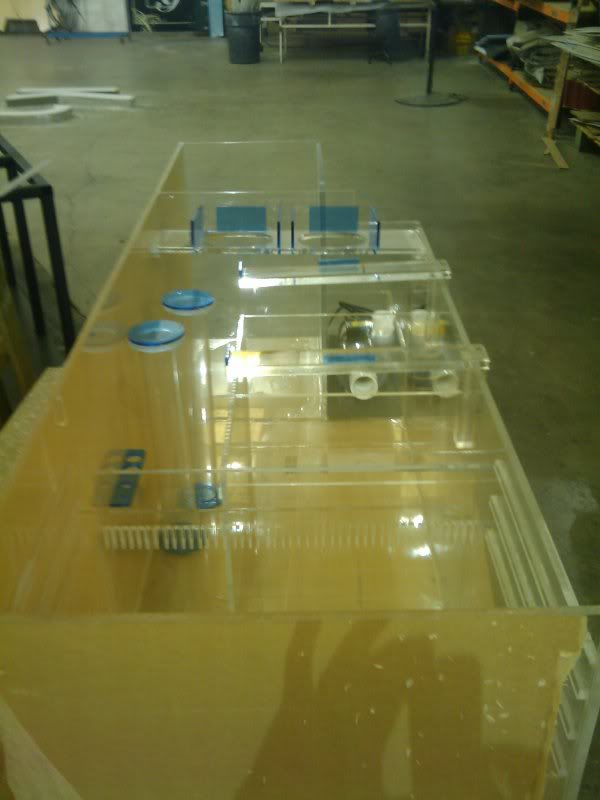
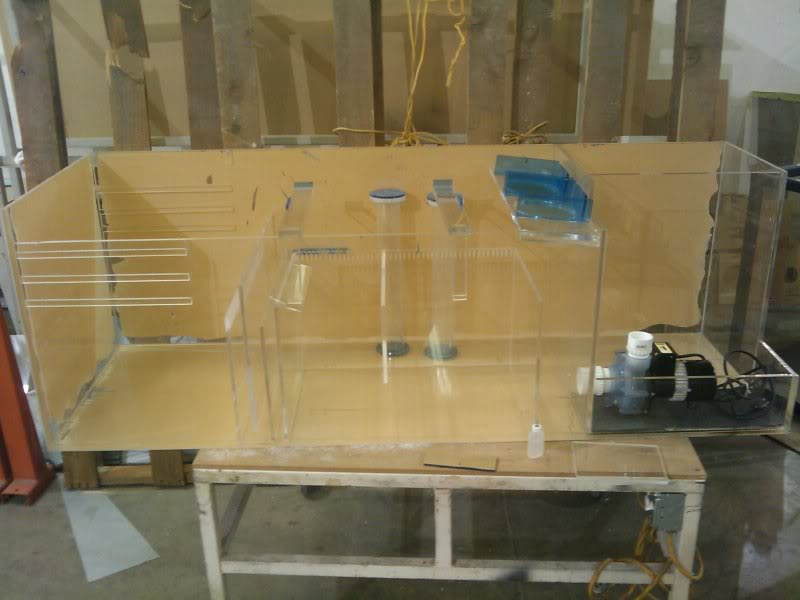
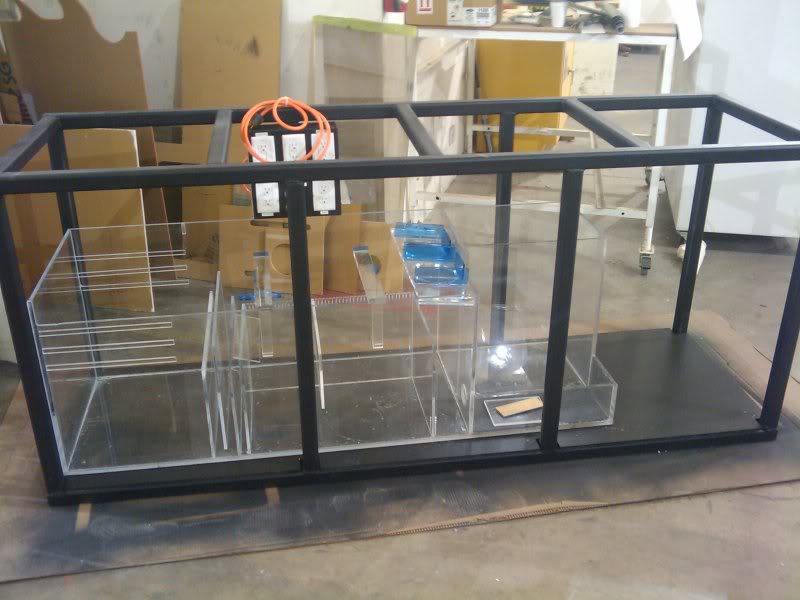
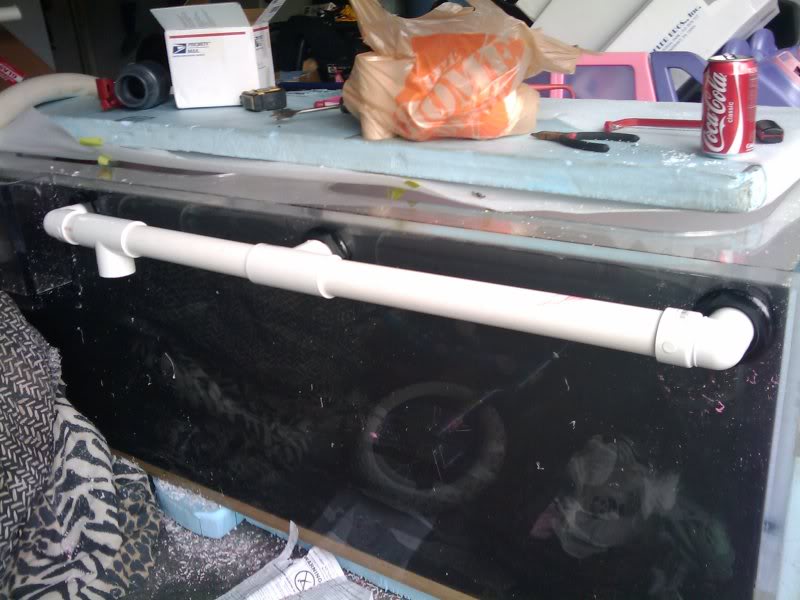
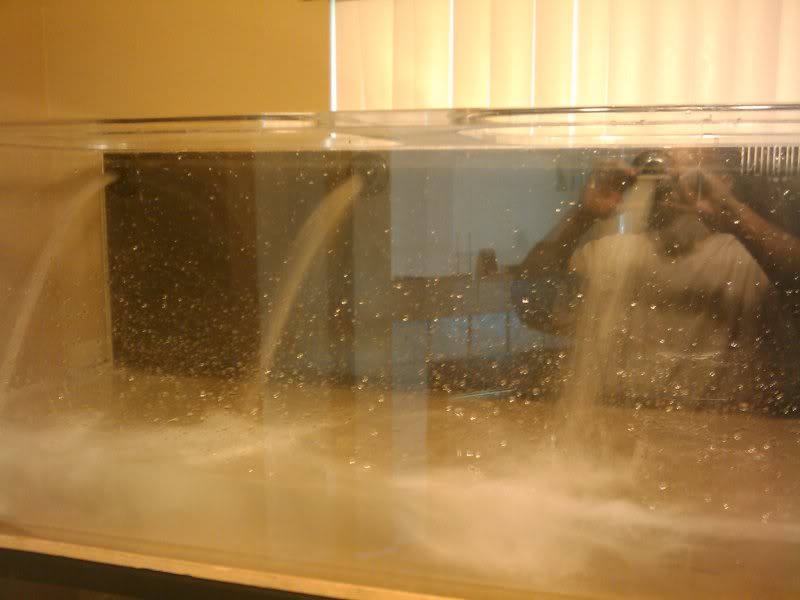
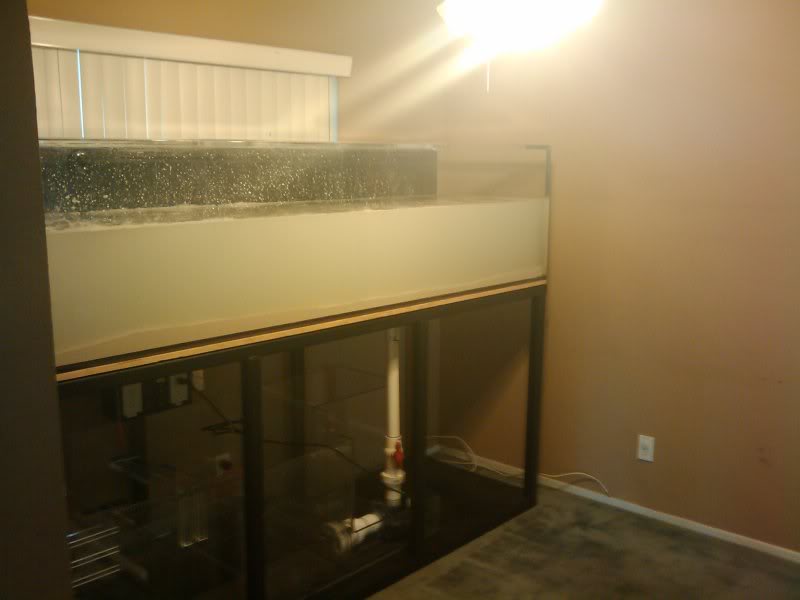
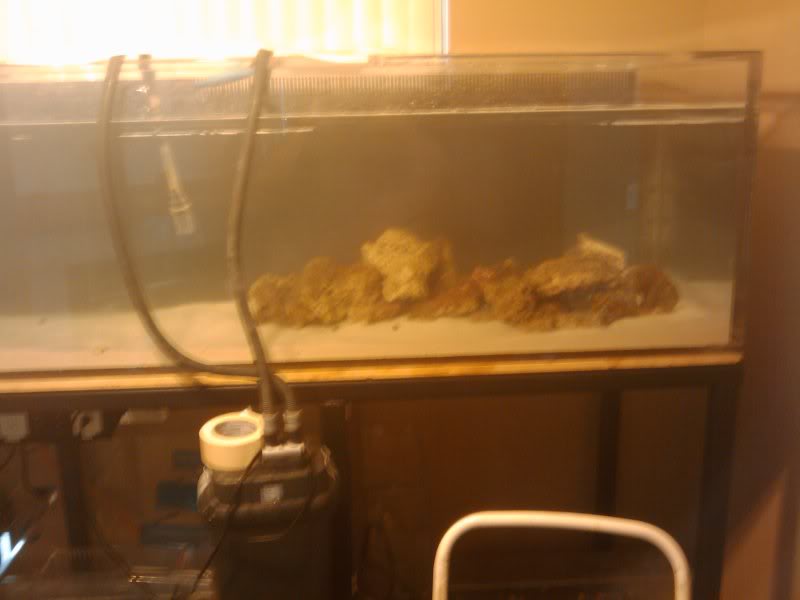
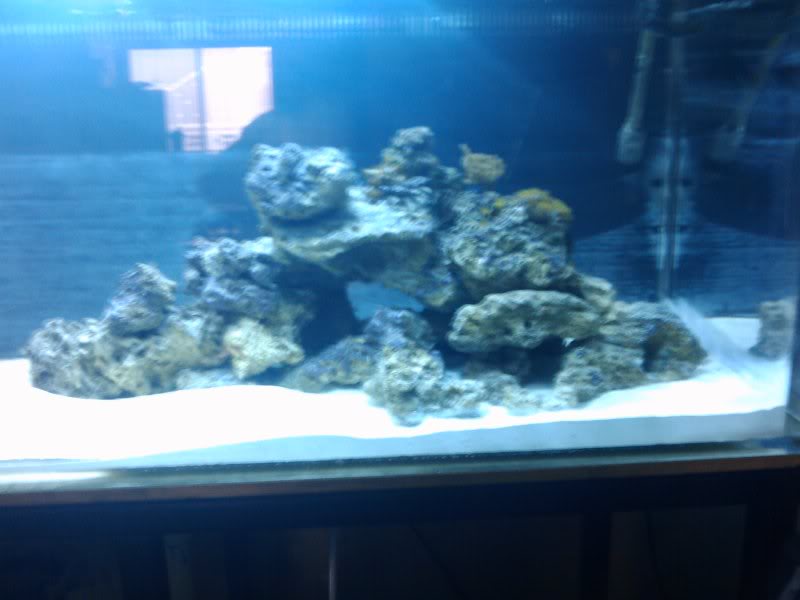
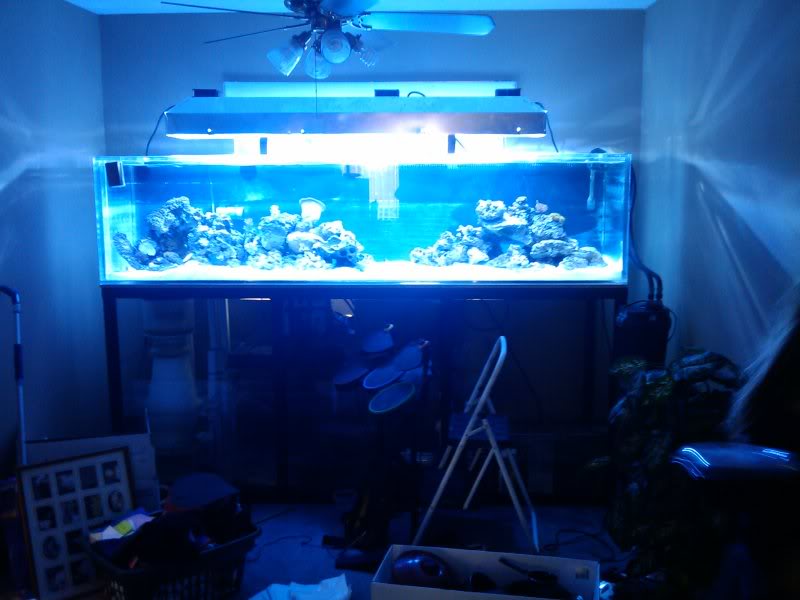
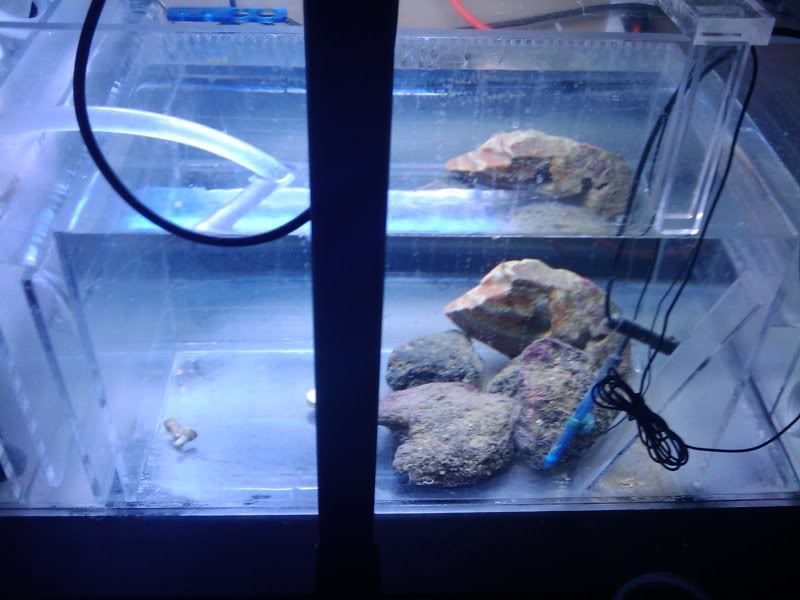
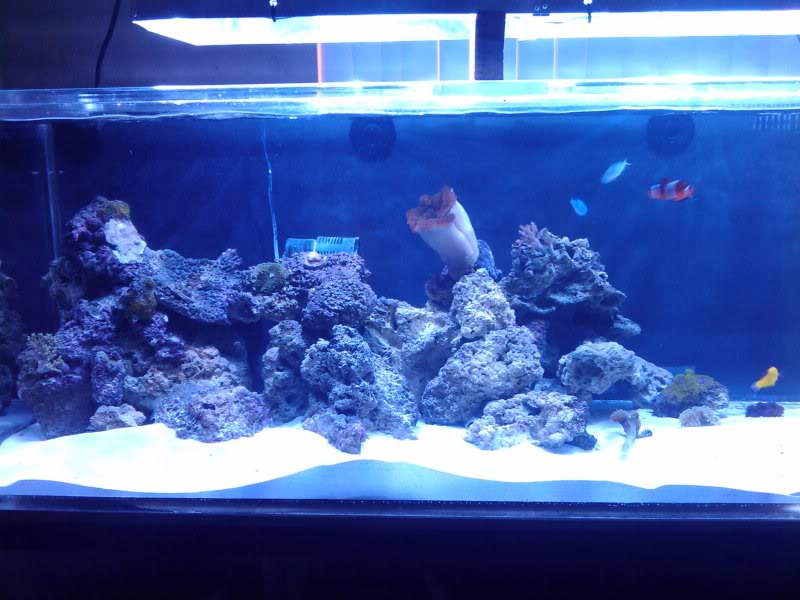
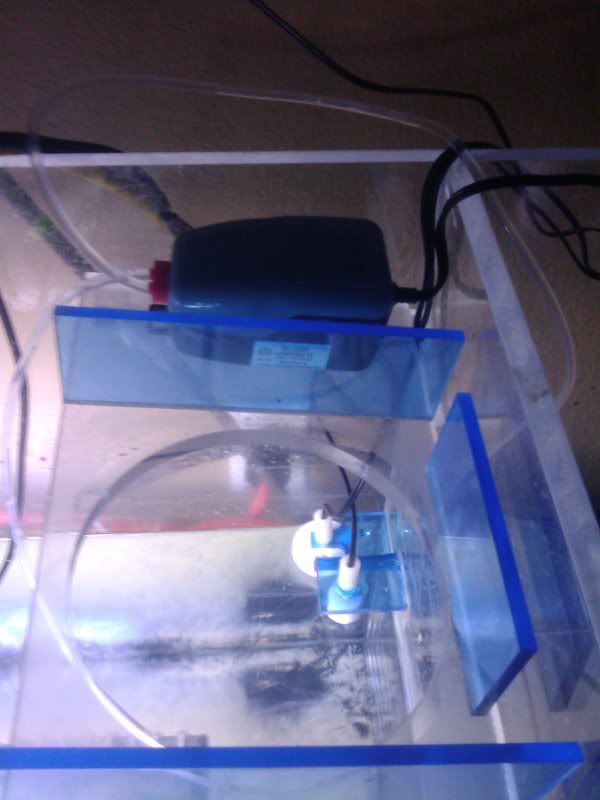
 
OP
OP
Troylee

Troylee

all about the diy!!!!!
View Badges
Joined
Jan 15, 2010
Messages
18,337
Reaction score
14,261
Location
Vegas baby!!!!
Rating - 0%
0   0   0
this one is gonna take awhile to post but here is the start.....im about 70% completed.....how it started........
well the day has come where i am moving to a bigger house finally.......my current display i built is inset in a wall 160 display with 40 sump 40 ref. well like 13months ago when i joined this great hobby i didn't know anything i went from a 10gal fresh water to a 220gal saltwater........actually it started out as a 160gal fish only in the wall after it cycled and the diatom bloom began i started really researching reef tanks and tryed to step it up along the way over a course of a year i learned so much it's not even funny alot from you guys...well i drilled the back put over flows built a sump built a refugium built a skimmer everything i built my self from scratch......let me remind you these additions such as drilling it over flow sump's etc. were all done with the tank running and full of livestock fortunently i did'nt lose anything.......everyday i look at my tank and say wow i wish i knew then what i know now....which probally is'nt the half of it lol......so i could build one complete in the begining and not keep changing everything and working on it full of live stock........SO now the day has come i got a little over 4 month's to get this build complete from the ground up im gonna go with a 300gal display 24"tall 30"w and 96"long and a 200 gal sump/refugium.....im gonna order the acrylic in a week or so 1" thick to make this tank and the steel for the stand i choose steel because i can use less bracing and etc. and have a more open area below the tank for a sump reac. etc.... i have the skills to build this from the ground up no problem .im very confrotable with the fabrication process or i wouldn't even think about it.......what i need is info like best places to mount a overflow my current tank i just put one in the top back corner for surface skimming it work's good but im sure there is better designs or areas for this and would love suggestions debates etc...on what i should put in this tank and where such as a wave box ,overflow, drains ,returns etc.....it's gonna be a mixed reef i think more lps and softies than sps since i don't have much luck with them...........im really looking forward to this build and can't wait to get started major pic's will follow as i go........like i said before i got the skills just way short on the knolodge and i want opions on what's best and why and i only want to do it once...lol so all i can say is let the games begin and let's design and build the ultimate reef tank from scratch...........btw. i wanted a 1000gal display but the wifey ain't having it lol..........so this was the best i could do i told her it was the same size we got now lol....actually is just 12"wider and a foot longer but she can't read a tape measure lol......when i bring it home it will be to late to stop me....
 
OP
OP
Troylee

Troylee

all about the diy!!!!!
View Badges
Joined
Jan 15, 2010
Messages
18,337
Reaction score
14,261
Location
Vegas baby!!!!
Rating - 0%
0   0   0
the sketch that didnt make it....lol
here is a sketch stu did for me with the coast to coast overflow but it is internal ... the back of the tank would have 3 chambers one for the overflow in the center and 2 purge boxes i like it but it takes up so much space duno if i will run with this or not........
fish_tank_w_overflow.jpg

well the whole drawing thing is'nt gonna happen so im doing what i do best just building it.....lol..... .
ok well i think im gonna hold off on the wave box and probally not use it after reading and reading about them for this tank and what im putting in it it's gonna really just be a waiste of space......that being said i have the 1/2" material for the sump and gonna start it first im thinking on this paticular sump to build it with the 3 media drawers one for carbon one for phosban and the bottom with a filter pad......then below the drawers it will contain live rock 50gal total....the second chamber will contain chateo and a frag rack above for another 50gal....and then40gal for a refugium/temp holding area for new arrivals then a 10gal return for the pump and a 50gal fresh water top off on the end.......sound good???? anything anyone would change on this???here is the start of the sump going together.....dia. 72Lx24hx24w for 200 gal total...
sumpz.jpg

sump1.jpg
 
OP
OP
Troylee

Troylee

all about the diy!!!!!
View Badges
Joined
Jan 15, 2010
Messages
18,337
Reaction score
14,261
Location
Vegas baby!!!!
Rating - 0%
0   0   0
......anyways i got some more done on the sump here you can see all 3 sides glued and ready to put baffles in.......as you can see in the photos i use a razor blade for the pins and needle welding......on the the other photo you can see i use pop rivets as shims to bring the pieces together nice and snug for that clean and strong weld........
sump11.jpg

sump13.jpg

sump12.jpg

another part that didnt make it lol......
got some more done on my sump all 3 drawers are made completly from scratch with 3/8" solid rod heated and rolled to make handles and the bottoms of each drawer cut on my table saw every 1/2" with a groove..... to lazy to drill 10,000 holes lol.......also i like the look of this better..all is installed and the 50gal bay is done for the ato. only thing left is a few bubble control baffles but i want to wait till i figure out my return pump so i can get the size for the return bay.....
sump1-1.jpg

sump3.jpg

sump4.jpg
 
OP
OP
Troylee

Troylee

all about the diy!!!!!
View Badges
Joined
Jan 15, 2010
Messages
18,337
Reaction score
14,261
Location
Vegas baby!!!!
Rating - 0%
0   0   0
well i got all the sides glued up finally.:) 
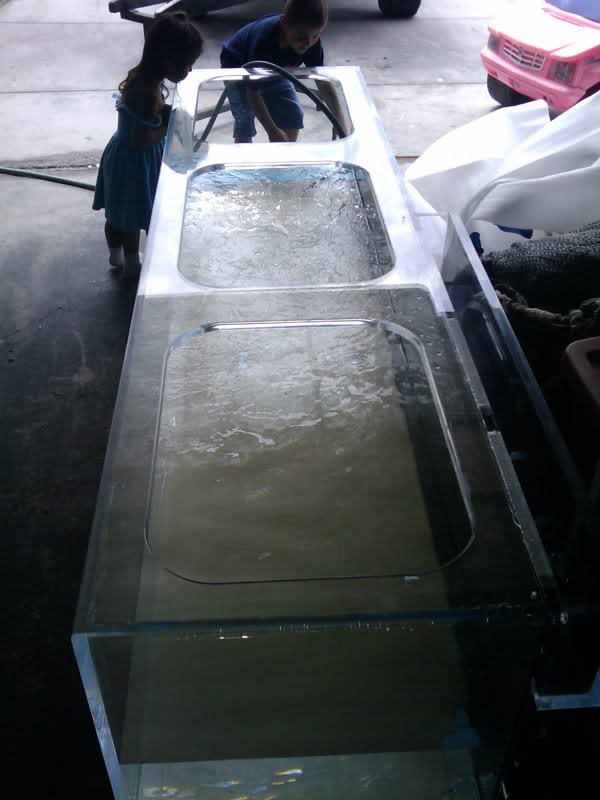
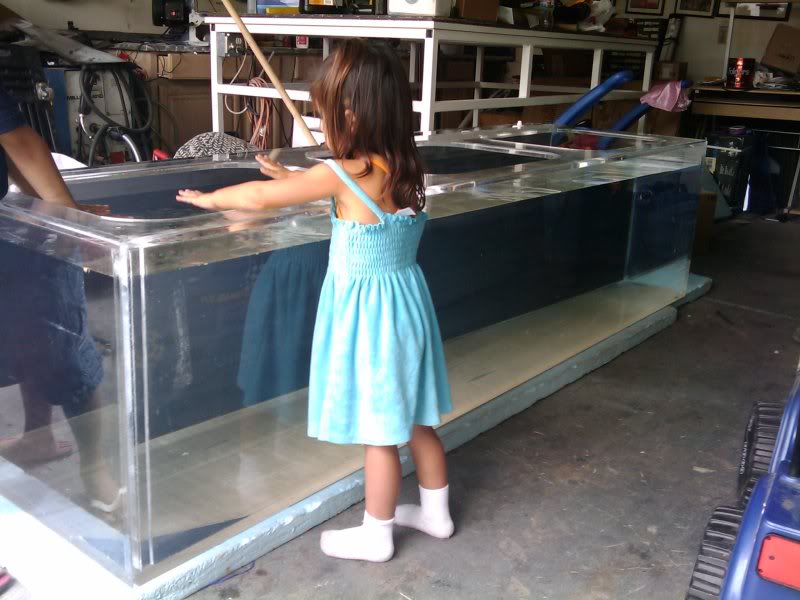
now im back to the designing of the over flow i think i got it pretty much figured out, im just gonna run a coast to coast with the durso pipes on each end they work and there simple.....here is some pics of the tank so far.....the euro brace is completed and the 4 sides are glued up and will cure till tuesday when i get back to work then all i have left is making the overflow and installing it after the top eurobrace is glued on then the bottom and i got me a 300 gal tank.....:)
37.jpg

36.jpg

35.jpg

38.jpg

39.jpg
 
OP
OP
Troylee

Troylee

all about the diy!!!!!
View Badges
Joined
Jan 15, 2010
Messages
18,337
Reaction score
14,261
Location
Vegas baby!!!!
Rating - 0%
0   0   0
well i got some more done.... the euro brace was put on and routed clean and i rounded over all the edges for a nice clean look......
42.jpg

here is the external coast to coast overflow box made of 1" acrylic, it measures 5"w x 9"t x 60long......the durso's were just sitting in there for looks lol!!!!!!!
40.jpg

50.jpg

and the start of cutting the tank for the external overflow i layed out 3 slots that are 1.5" tall by 18" long and left a little brace between them to help strengthen the tank a little....first i drilled the ends of them with a 1-1/8th unibit then rough cut them out with a jigsaw then come back with a template i made and route them nice and smooth once that was accomplished i came back with a roundover bit and rounded the back edge to help the water fall more smooth.......
43.jpg

44.jpg

45.jpg

46.jpg

48.jpg

49.jpg

next was the internal background i cut the teeth 1/8th wide on 3/8th centers 2.5" deep.....once i got that ready i laminated inside the tank so it will hide the external box.....and thats how she sits for now!!!!!!!
47.jpg

51.jpg

52.jpg

almost done!!!!!!!!!!:)
 
OP
OP
Troylee

Troylee

all about the diy!!!!!
View Badges
Joined
Jan 15, 2010
Messages
18,337
Reaction score
14,261
Location
Vegas baby!!!!
Rating - 0%
0   0   0
well the background has dried and i stood her up and this is what she looks like.......tomorrow glue the bottom on and the overflow then she is ready for sanding and polishing my favorite......:( then i can say the tank and sump are done.:)
53.jpg

54.jpg

well the tank is offically 100% done just needs a good cleaning from all the wax and stuff from polishing....i got the 5ft calflo overflow installed and all three 1.5" durso's for the bean animals dead silent failsafe operation..thanks bean for sticking with me and helping out.......
almost there........:)it should be filled in less than 3 weeks...SWEET!!!!!!
60.jpg

67.jpg

66.jpg

67.jpg

63.jpg
 
OP
OP
Troylee

Troylee

all about the diy!!!!!
View Badges
Joined
Jan 15, 2010
Messages
18,337
Reaction score
14,261
Location
Vegas baby!!!!
Rating - 0%
0   0   0
well the steel arrived finally for the stand so i got it all cut and degreased and tacked the top frame together.......hopefully tomorrow it will be ready to go.:) it's all 2x2x3/16th steel sq. tube....
70.jpg

71.jpg

well i finished up the stand the frame anyways.still gonna skin it with wood down the road, real nice after momma pics out some wood she likes.....:(.....so here is some pics as promised and the tank loaded in my truck coming home today for a leak test over the weekend........WHICH BRINGS ME TO THE SCARIEST PART OF THE BUILD SO FAR INTRODUCING THE WIFE TO THE NEW TANK!!!!!!!! she is gonna kill me lol......i told it her it was just a tad bigger than the one i have now which it is it's only a foot wider and 2ft longer lol.........it sounded good..... so time to pay the price and get it off my shoulders.she will be fine by monday....i got back up shes getting a new bigger house so there is no arguing lol.......
73.jpg

74.jpg

75.jpg

76-1.jpg
 
OP
OP
Troylee

Troylee

all about the diy!!!!!
View Badges
Joined
Jan 15, 2010
Messages
18,337
Reaction score
14,261
Location
Vegas baby!!!!
Rating - 0%
0   0   0
well the introduction went well the wife won't speak to me........lol....and more good news the leak test passed and 2 out of 3 curious little ones joining in on the fun.... more pics to come.....
23-1.jpg

24.jpg

well after a break for the week end i hit it hard again today and got all my material cut out and the first of 4 d.i.y. lumenarcs done.....
lumen.jpg

lumen1.jpg
 
OP
OP
Troylee

Troylee

all about the diy!!!!!
View Badges
Joined
Jan 15, 2010
Messages
18,337
Reaction score
14,261
Location
Vegas baby!!!!
Rating - 0%
0   0   0
ok the lumenarcs are done the frame is rhino lined and the power/breaker box is wired and ready for install......my darn labeler ran out so not all the switches and plugs are labeled but they will be please forgive me.....lol.....i got five 20amp gfi plugs all wired ind. with a switch to kill each one and a master switch that will kill all 5 if your wandering why there is 6 switches and 5 plugs........
QUICK RECAPP......
diy tank
diy sump
diy stand
diy rhino line on stand...
diy lumenarcs
diy breaker box.....
all thats left is the wood for the frame and canopy but thats later after shes up and running.....:)
80.jpg

79.jpg


78.jpg

well some of you might have seen this along time ago from my current display but i will be using it for the new tank....im only gonna run 3 mh to start since i dont really have alot of corals i could fit everything under one if i wanted to, but here is my diy ballast box which contains 3 magnatek m58 ballast.... i wired all them together with cooling fans and such in a single diy aluminum box......the box also has a plug socket on one end for the fans up in the canopy on the mh's....with this box comes out a single pig tail so i can plug the entire set up into a single timer....and has all quick disconnects for the lamps...it works great and really kicks with the xm20k's i run according sanjay's graphs almost as good as the ice cap ballast....i know there old school but they were free.....:)
newl8.jpg

newl6.jpg

newl5.jpg
 
OP
OP
Troylee

Troylee

all about the diy!!!!!
View Badges
Joined
Jan 15, 2010
Messages
18,337
Reaction score
14,261
Location
Vegas baby!!!!
Rating - 0%
0   0   0
well i got my return planned out....a single 2" pipe from the dart up to a 1.5" manifold that spans the back of the tank off the manifold there will be 3 of these sexy bulkheads someone turned me onto.....there 1.5" water jets or tankjets.....the same thing that comes in a hot tub there is a ball inside the bulkhead where you can aim the stream..... [smilie=angel4.gif] no need for ugly locline....thank gawd!!!!!!!!! and saves you a ton of money and plumbing hassles......my best find yet i think.....as soon as there here i will post pics.....ok im back off to finish my sump.....big changes were made in it....... [smilie=angel4.gif]
http://www.dtpetsupplies.com/catalog...-12-Tank-Jets/
 
OP
OP
Troylee

Troylee

all about the diy!!!!!
View Badges
Joined
Jan 15, 2010
Messages
18,337
Reaction score
14,261
Location
Vegas baby!!!!
Rating - 0%
0   0   0
shewwwww!!!!! getting down to the wire....i striped the sump and starting over:) i added a baffle in the ato area and routed the corner of the sump off so it can hold the dart external and be a permanet drip pan.....got the stand completly ready with the breaker panel installed sump floor installed and painted and started my carbon and gfo reactor.....a few more picks....now im back to work..:)btw. whats a good flow rate for a refugium????? the sump is gonna be around 2500gph so i need to baffle off a refugium....im trying to incorprate it with out using extra pumps or plumbimg maybe feed it with a bulkhead and use the current in the sump....dunno:(.
ps. if your wandering what the black, in the sump corner is, its a piece of 1/4" thick rubber where the dart is gonna sit to reduce vibration noise....
83.jpg

82.jpg

81.jpg

84.jpg

well the sump is pretty much done besides baffeling off a refugium...not sure yet how big to make it....still researching.......:(
anywho here are some pics....i got the fan rack made it is completly removable if need be....it houses 2 dayton 110v 239cfm fans should cool the tank like a champ..:) the reactors are not done yet just there for refrence....and the dart is in place just need to drill for the bulkhead which im waiting on...arr..... tank should start going together tomorrow if the rest of my plumbing shows up.... waiting on the tank jets for the return i cant set it up till they come hopefully today!!!!!!!p.s. if your wandering what the 3 pieces of plastic on the walls are in the first bay of the sump it's where my drawers used to sit, i took them out and changed plans from the intial set up in the beg. of the thread...
89.jpg

87.jpg

86.jpg

88.jpg

85.jpg
 
OP
OP
Troylee

Troylee

all about the diy!!!!!
View Badges
Joined
Jan 15, 2010
Messages
18,337
Reaction score
14,261
Location
Vegas baby!!!!
Rating - 0%
0   0   0
ok sump is done besides drilling for the 2" bulkhead on the dart.....
the first pic is the 30gal refugium i put inside the sump it is raised up 1" above the sump level so the only thing feeding it will be my skimmer drain at 600 to 800gph....there is a a half baffle in the fuge to keep the chateo on the left side so the rest i can use a frag rack or what ever i need...:) enjoy!!!.....
second pic is a horizontal baffle that my skimmer drain will fall on creating the water in the fuge to run recirc and make the chateo spin for better growth...:)
the third pic. is the probe holder.....
the fourth pic is some removable arms i made to my fuge light over the fuge......they just lift off for easy acsess...
and the last couple are full shots of the sump from different angles....:)
95.jpg

94.jpg

93.jpg

92.jpg

92.jpg

91.jpg

90.jpg
 
OP
OP
Troylee

Troylee

all about the diy!!!!!
View Badges
Joined
Jan 15, 2010
Messages
18,337
Reaction score
14,261
Location
Vegas baby!!!!
Rating - 0%
0   0   0
well im still at work and got a call from the wife screaming that i spent more money on my fish tank lol..means my plumbing must have showed up:)....the sump is done and ready to be loaded first thing in the morning.:)
96.jpg

my plumbing did arrive :).........got the tank drilled and put all 1.5" tank jets in and made the manifold across the back for the return........all thats left is put it on the stand and plumb it to the sump....:) hey look it even has saltwater in all ready lol.........
27.jpg

30-1.jpg

29.jpg

28.jpg


HERE IS A LITTLE SOMETHING SPECIAL NEVER BEFORE SEEN PICS OF MY DIY SKIMMER!!!!:)
here is my diy skimmer thats going on my system i have had them under cover for a long time lol...

..........and i got a cool new app. for my phone so you can check it out in action on video....that dark nog is 4 days worth it's close to a gallon and a half of nog [smilie=angel4.gif] the skimmer pulls 3000lph at 90 watts in sump operation. and is rated for 500 to 750gallons..... enjoy....
lpdesignz2.jpg

dywer.jpg

here is a video of it running on the new tank....
....110 scfm at 3000lph...at 70watts give or take a couple...and runs in sump filtering 1000gph... i had just cleaned it the night before..so thats about 24hrs of dark stanky nog....prolly a cup at least...the skimmer cup holds 2 gal..
sorry i guess i cant post a video here its way cool maybe someday when i figure it out lol...
 
OP
OP
Troylee

Troylee

all about the diy!!!!!
View Badges
Joined
Jan 15, 2010
Messages
18,337
Reaction score
14,261
Location
Vegas baby!!!!
Rating - 0%
0   0   0
well the plan changed on where the tank was gonna go........it's rite in front of a window which kinda sucks but the black ground should take care of any problems...and the acrylic is 1" thick so the temp. wont change:).....good part is now i can open the window and go outside and service the overflow real easy.:) here are a few pics
#1 the home for the tank
#2 the dart blasting out the three 1.5" tank jets...
#3 and getting the cycle going.........
back to work more later..:)
31-1.jpg

32-1.jpg

33-1.jpg

ok here are some pics from the move till now.......i just set all the stuff in the tank to busy to aquascape rite now im still not done moving.....:( but enjoy....i will give more info about everything later.....also running my old light fixture untill i get the canopy done for this one.....:)

added the sand...
33-1.jpg

starting the cycle.running a cannister with a bunch of carbon untill i get the reactors online.....
45-1.jpg

all my corals is a 40 gal sump untill the tank was ready.
46-1.jpg

the old tank.....what a mess.
41-1.jpg

the old tank cleaned........
43-1.jpg
 
OP
OP
Troylee

Troylee

all about the diy!!!!!
View Badges
Joined
Jan 15, 2010
Messages
18,337
Reaction score
14,261
Location
Vegas baby!!!!
Rating - 0%
0   0   0
and the new beast!!!!!!!!!
left side.....
51-1.jpg

right side....
52-1.jpg

fts...
50-1.jpg

53-1.jpg

54-1.jpg

ok im back to moving.:( more to come later..........
shots from each end...kinda crapy all the pics i have ever posted have been with my camera phone so please excuse me [smilie=angry3.gif] lol
from the left looking right...
64.jpg

from right to left..
61-1.jpg

60-1.jpg

and some sump shots.. nothing spectaclular yet just got the skimmer going.....lots of work to do down there and some crappy rock lol.....
62-1.jpg

63-1.jpg
 
OP
OP
Troylee

Troylee

all about the diy!!!!!
View Badges
Joined
Jan 15, 2010
Messages
18,337
Reaction score
14,261
Location
Vegas baby!!!!
Rating - 0%
0   0   0
ok i got it cleaned up and did a little aqua scaping but im not really pleased with it....:( anywho here is some shots...
fts.
70-1.jpg

71-1.jpg

right side...
72.jpg

left side...
73-1.jpg

looking from left to right...
75-1.jpg

right to left...
74-1.jpg

and some coral shots and fish.....sorry all pics with a camera phone....
paly's
76-2.jpg

zoa's
77-1.jpg

colt and some gsp..
78-1.jpg

2 maxima's
79-1.jpg

green eye favia and fuzzy shroom..
81-1.jpg

green leather
82-1.jpg

huge toadstool not opened yet...
83-1.jpg

and the frogspawn and hammer
80-1.jpg
 
OP
OP
Troylee

Troylee

all about the diy!!!!!
View Badges
Joined
Jan 15, 2010
Messages
18,337
Reaction score
14,261
Location
Vegas baby!!!!
Rating - 0%
0   0   0
well i got a few more additions....:)
i still have not caught the powder blue for a good pic, but here is the rest....
first meet chevron...big boy..
95-1.jpg

the sump... got some chateo and mangrooves to give a try....a first for me...
94-1.jpg

a huge brittle thats kicking it in the fuge for now untill i decide if i want him in the display.....
96-1.jpg

and the coral list...
#1.......nuke green palys no photo yet....sorry..
#2some kinda softie will get name and photo when the light's come on today...
#3 a big frogspawn...photo to come.....
#4 another huge rock covered in gsp...photo later today..
#5 a unkown acan pics later....

and my prize possessions.... i finally got them yesterday.... these are not my pics, but they are my corals i decided his photos are a 1000 times better than mine so i will use his pics...:)
#1 pink acans...
90-1.jpg

#2 ring of fire acans..
93-1.jpg

#3 a green pocci..
92-1.jpg

and last but not least #4
blue orgeon tort..
91-1.jpg

the powder blue went cappot on me...and chevron went carpet surfing...dang it....so there no longer with us..
 
OP
OP
Troylee

Troylee

all about the diy!!!!!
View Badges
Joined
Jan 15, 2010
Messages
18,337
Reaction score
14,261
Location
Vegas baby!!!!
Rating - 0%
0   0   0
well after being sick all dang week with strep and lugging 5 gal buckets in the house to top off i had enough...."feeling better today" i finally cracked the seal on my aqua hub ato. and put it together...very simple and very clear instructions.....got it hooked up in the sump now i only got to move water every couple weeks got 40gal of buffered rodi water waiting for the evap!!!!!!!...;)
97.jpg

98.jpg

todays project...
rolling ghetto faboulus for a min lol.....
100.jpg


back in action.......
99.jpg
 

Being sticky and staying connected: Have you used any reef-safe glue?

  • I have used reef safe glue.

    Votes: 75 86.2%
  • I haven’t used reef safe glue, but plan to in the future.

    Votes: 6 6.9%
  • I have no interest in using reef safe glue.

    Votes: 3 3.4%
  • Other.

    Votes: 3 3.4%
Back
Top