OP
OP
First off, I want to apologize that I haven't updated this thread. I had such a busy summer with work and 7 out-of-state weddings that it never seemed like a good time to set-up these tanks. Anyway, things have mellowed out a little bit now and I've made some progress over the past month or so.
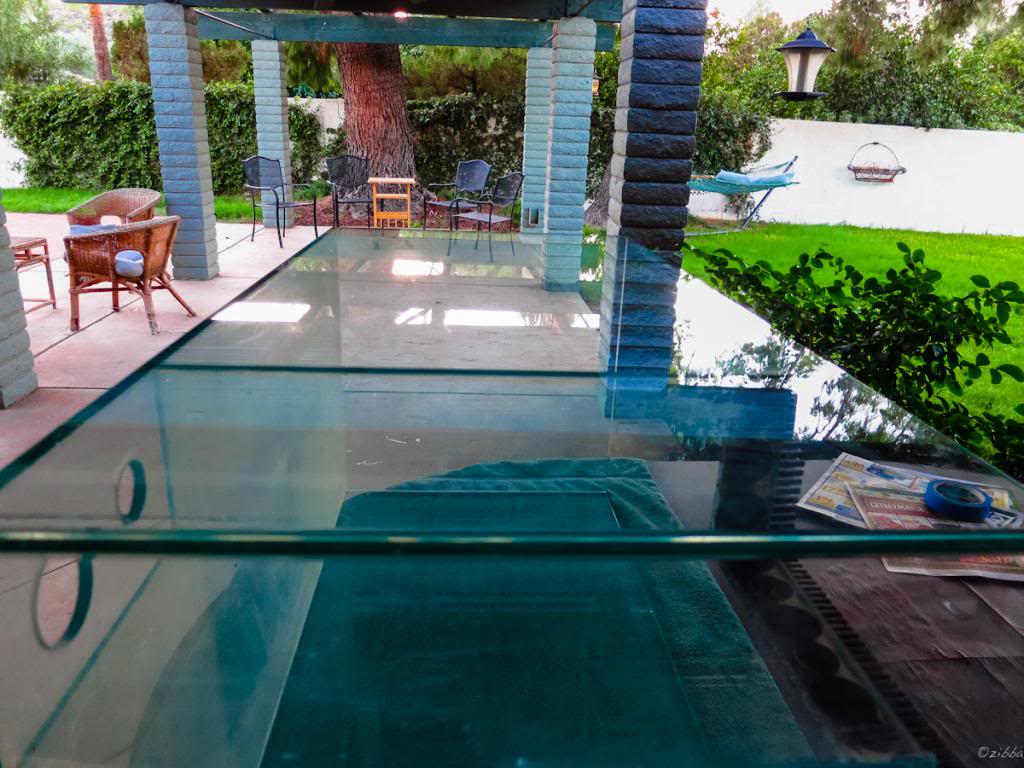
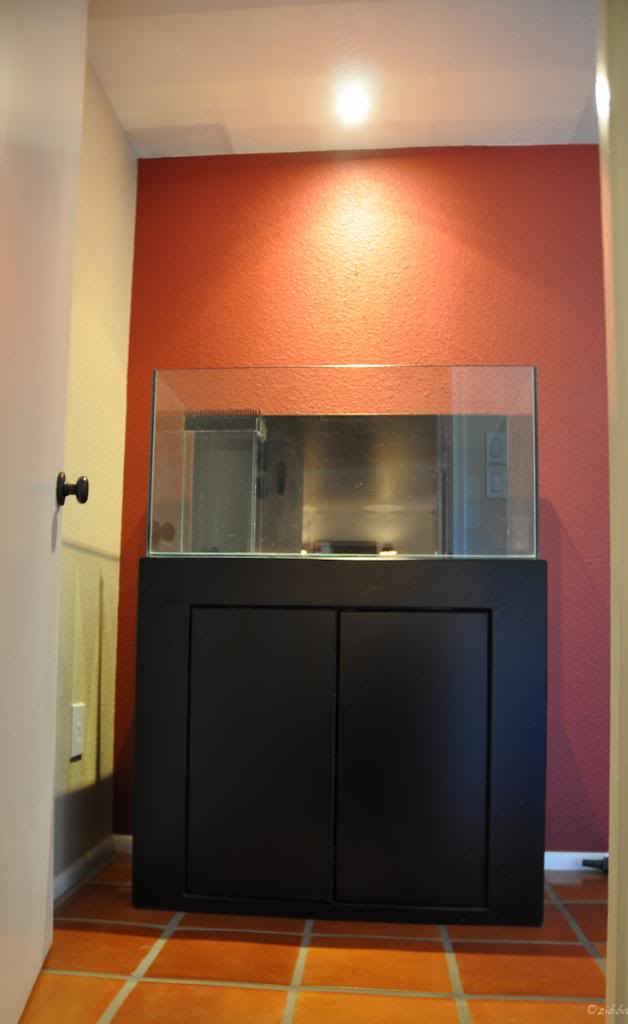
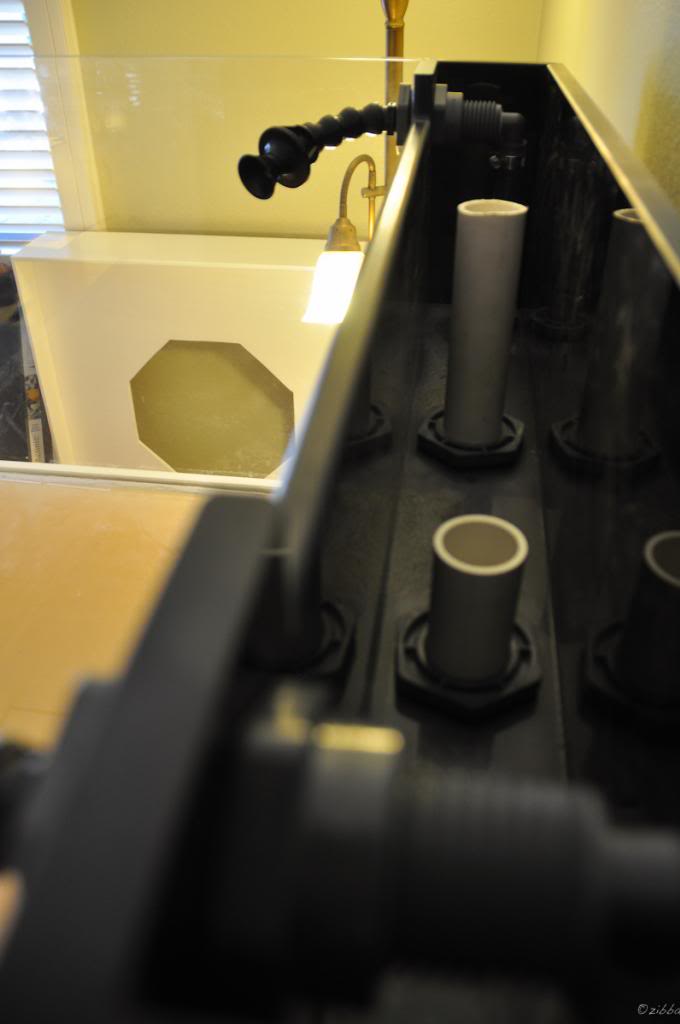
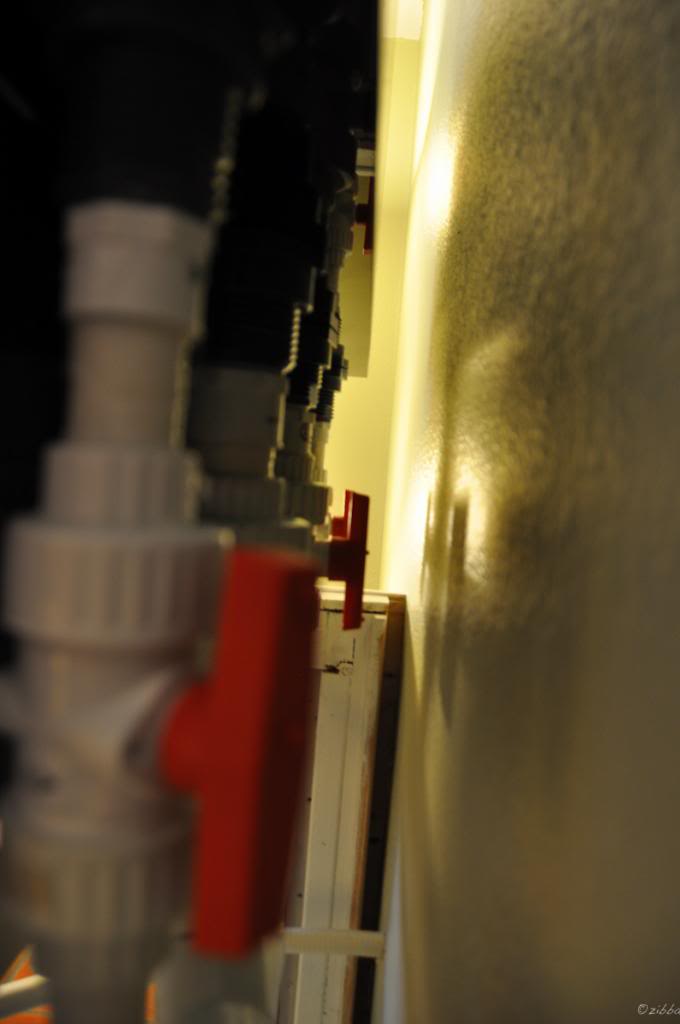
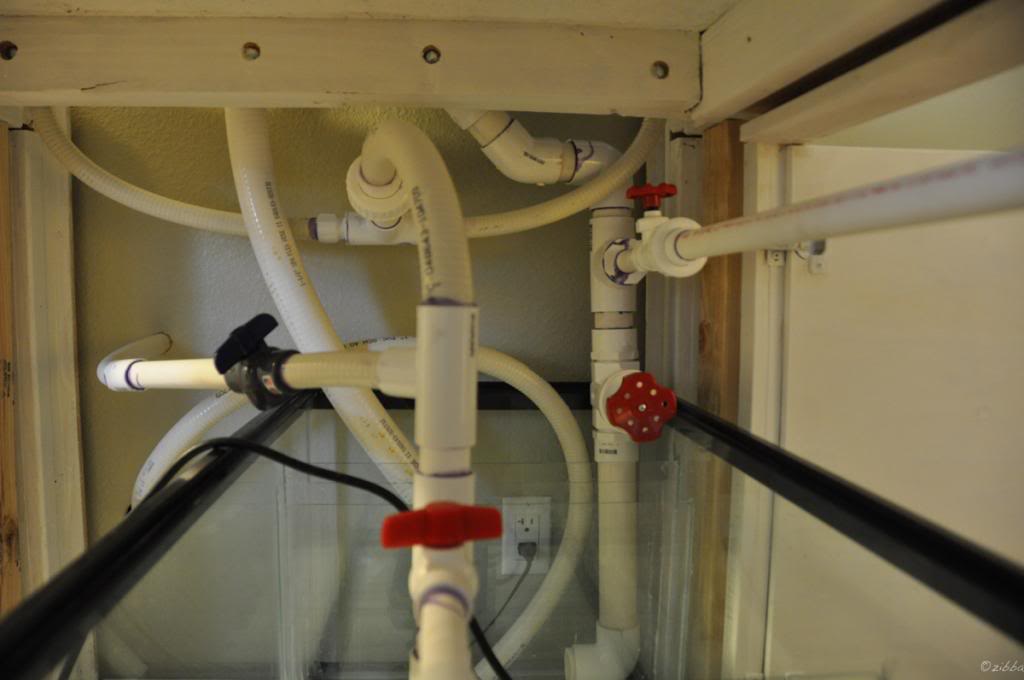
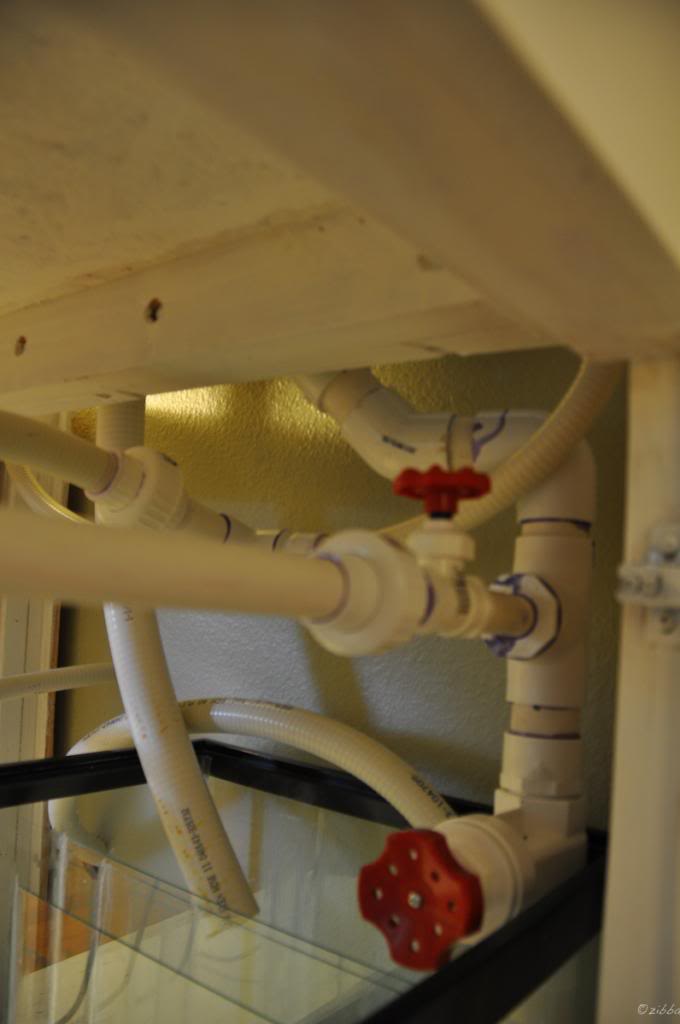
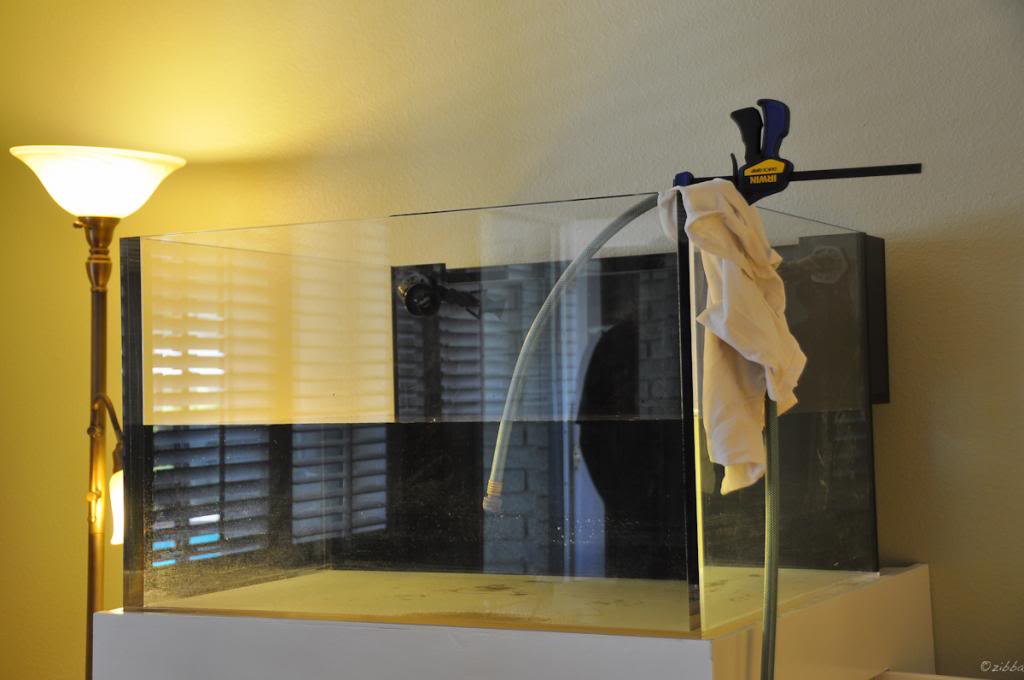
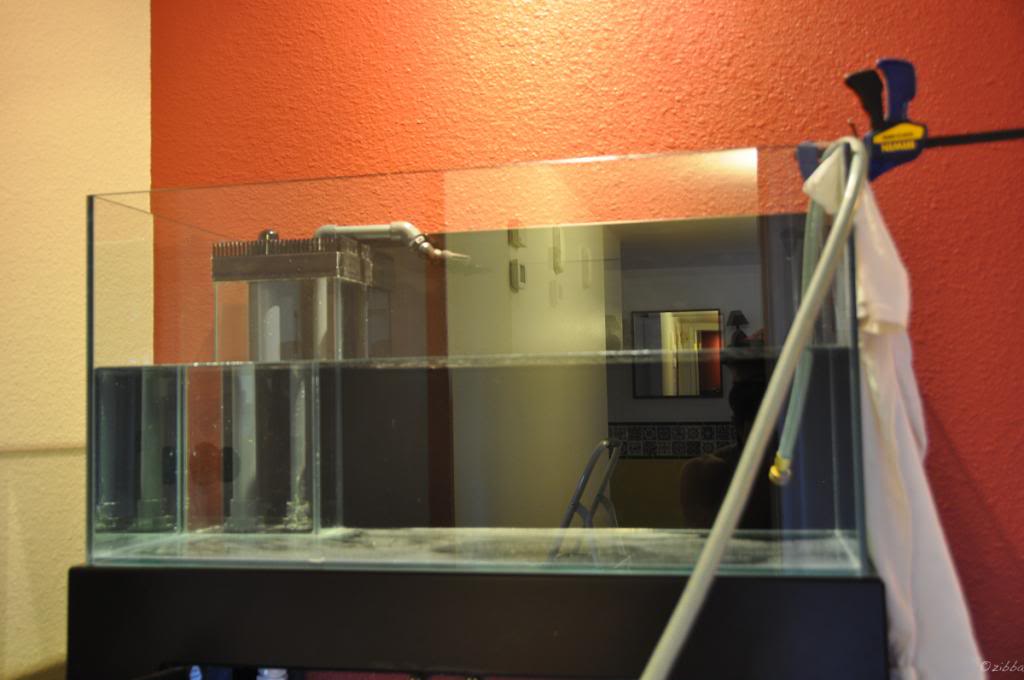
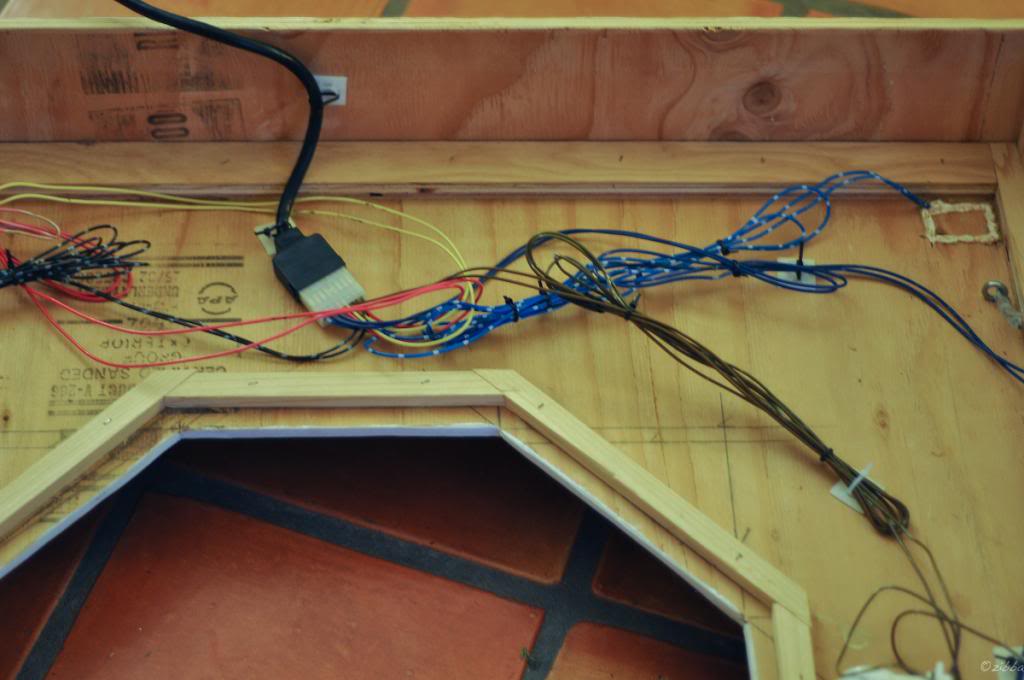
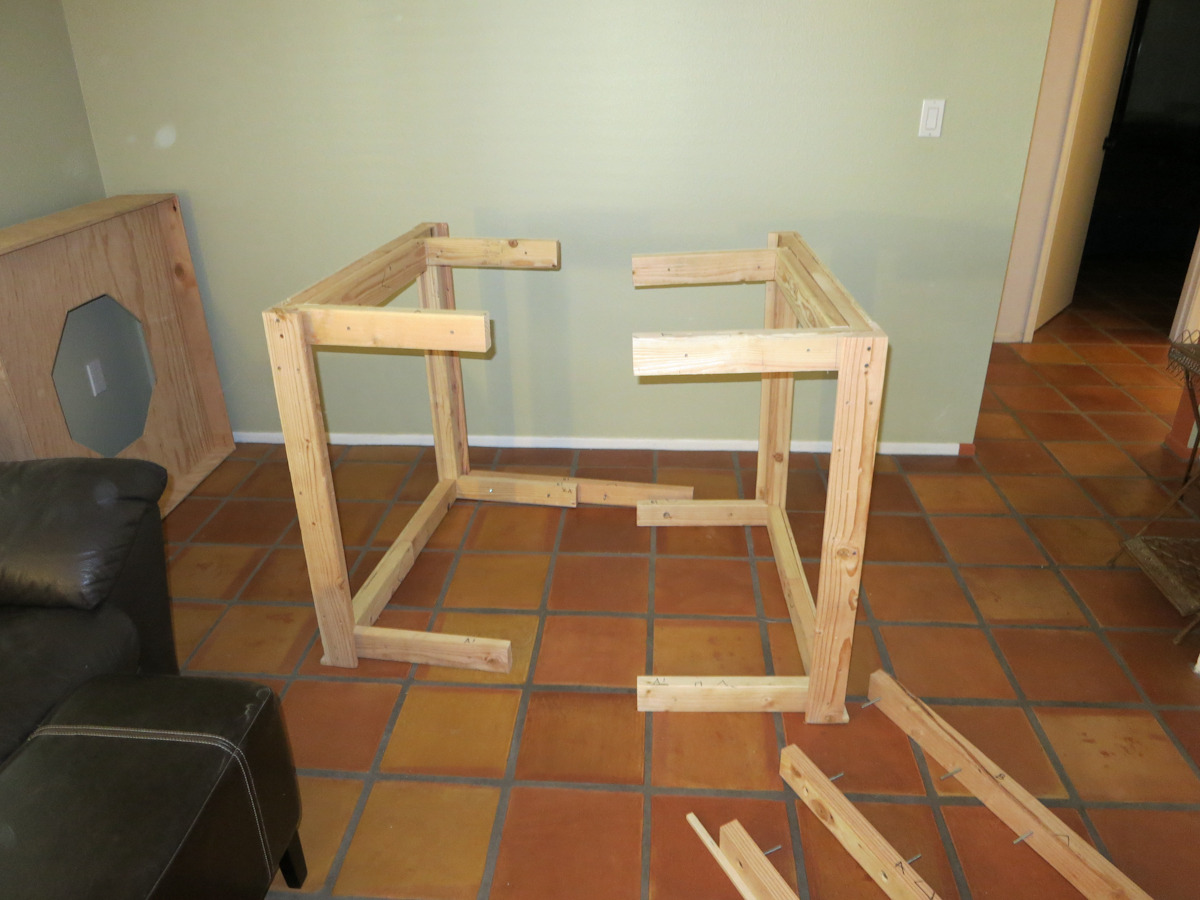
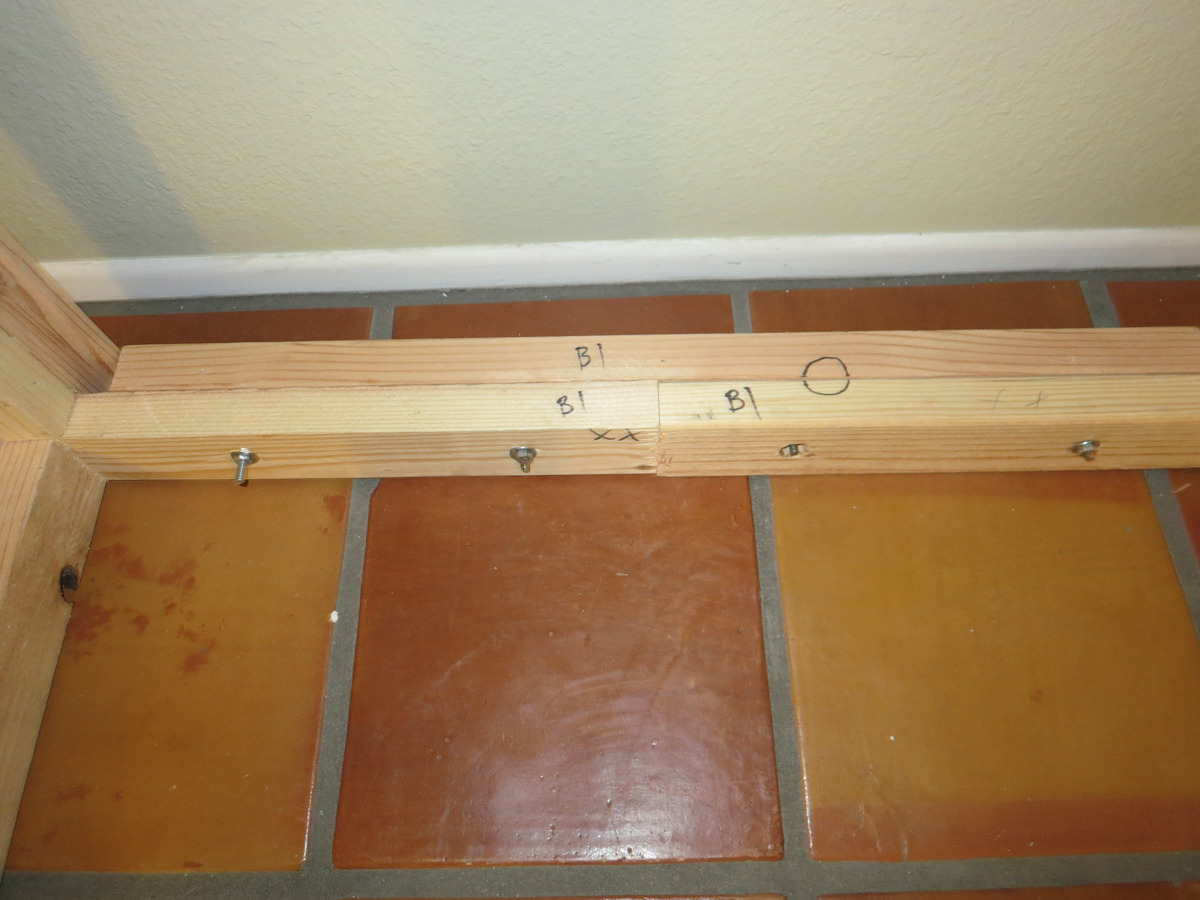
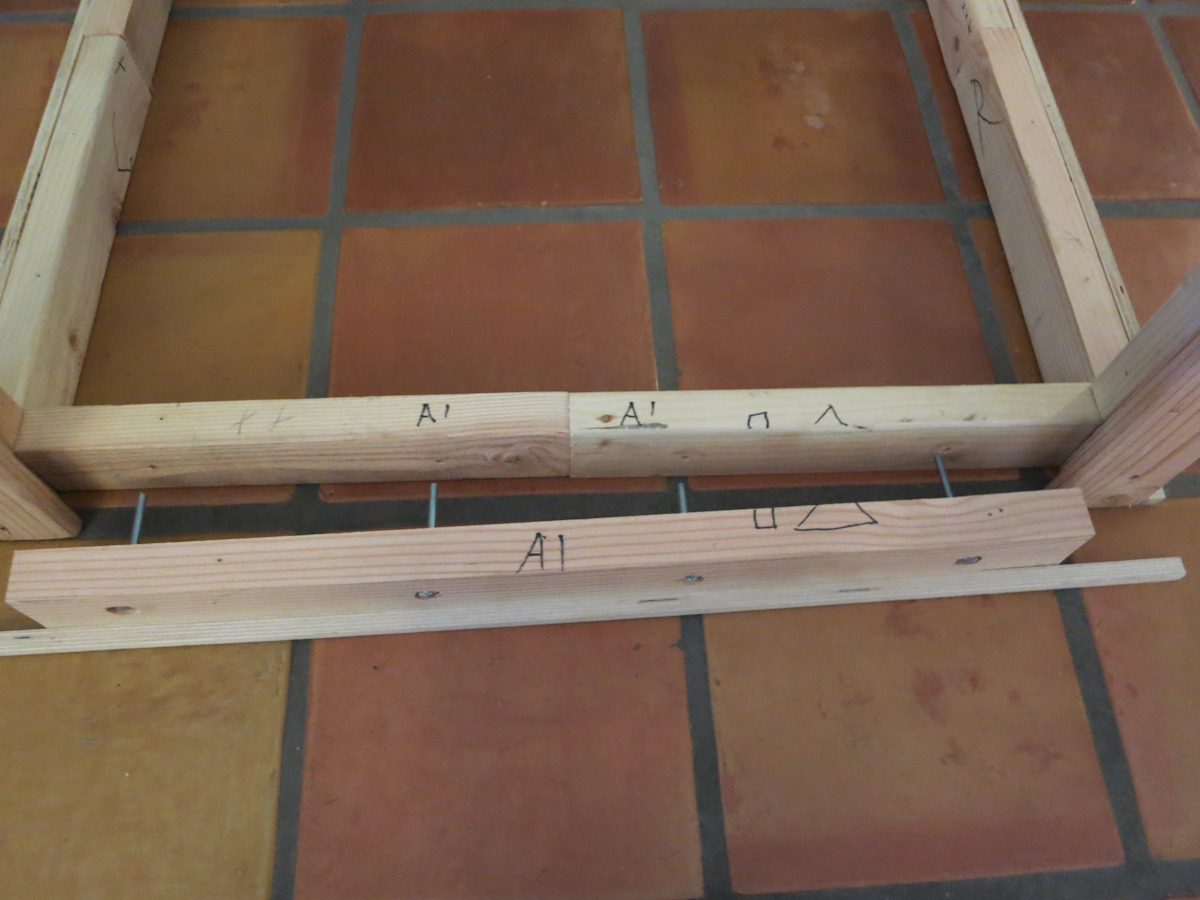
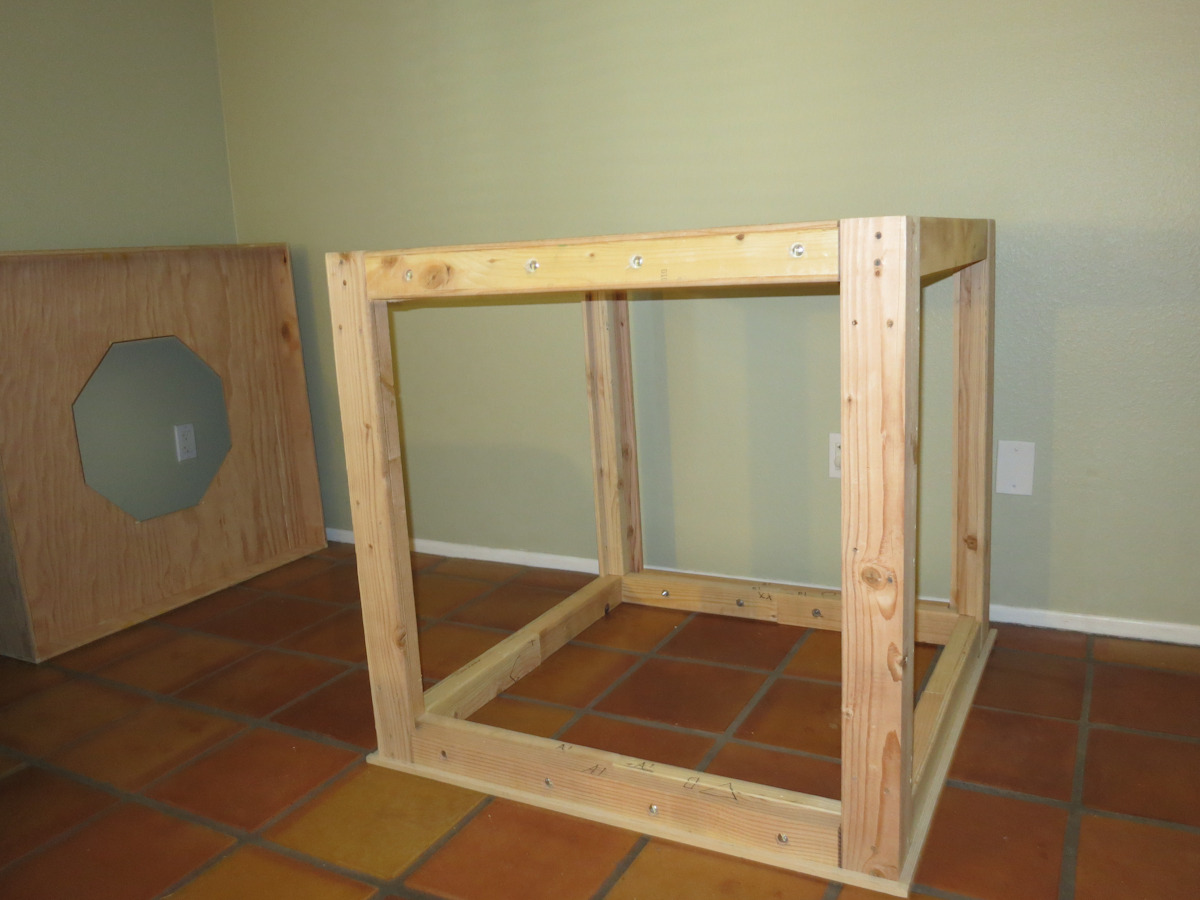
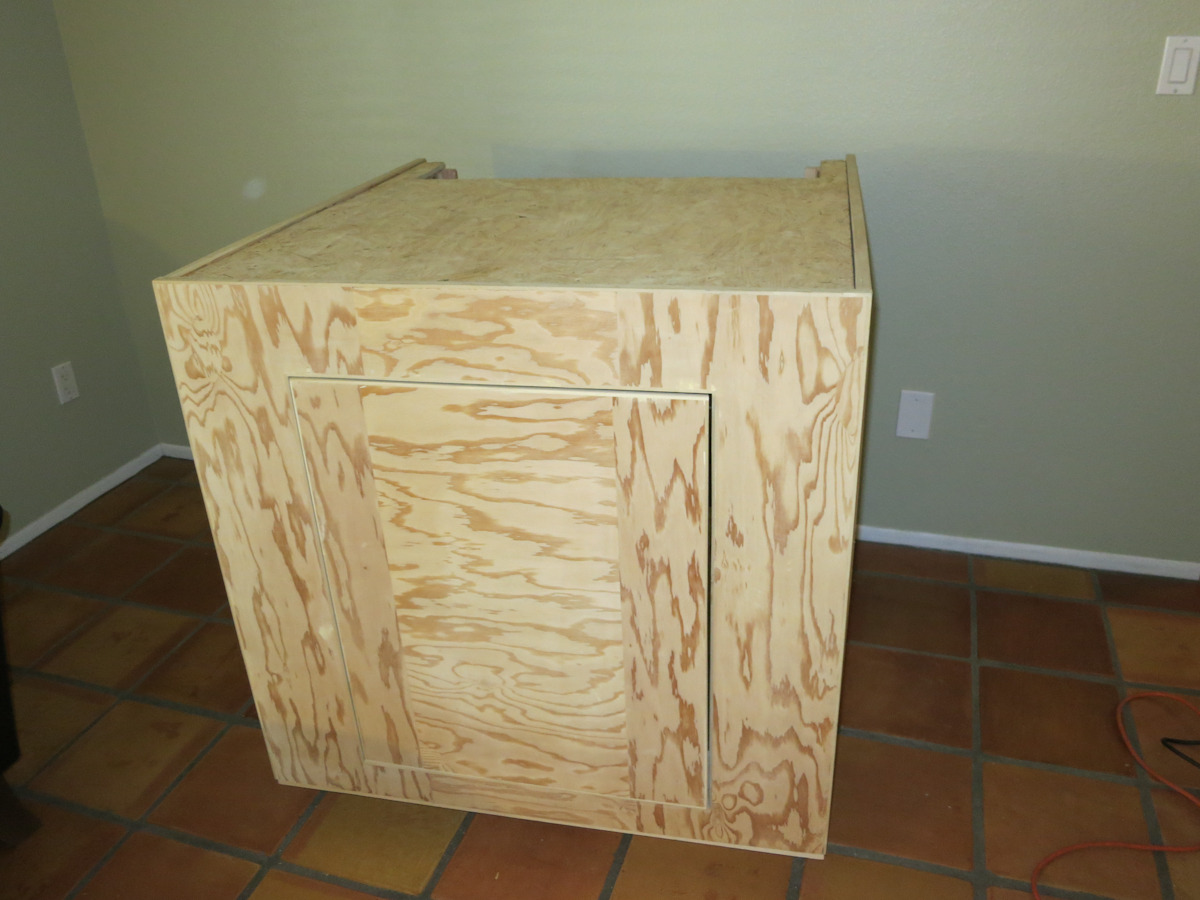
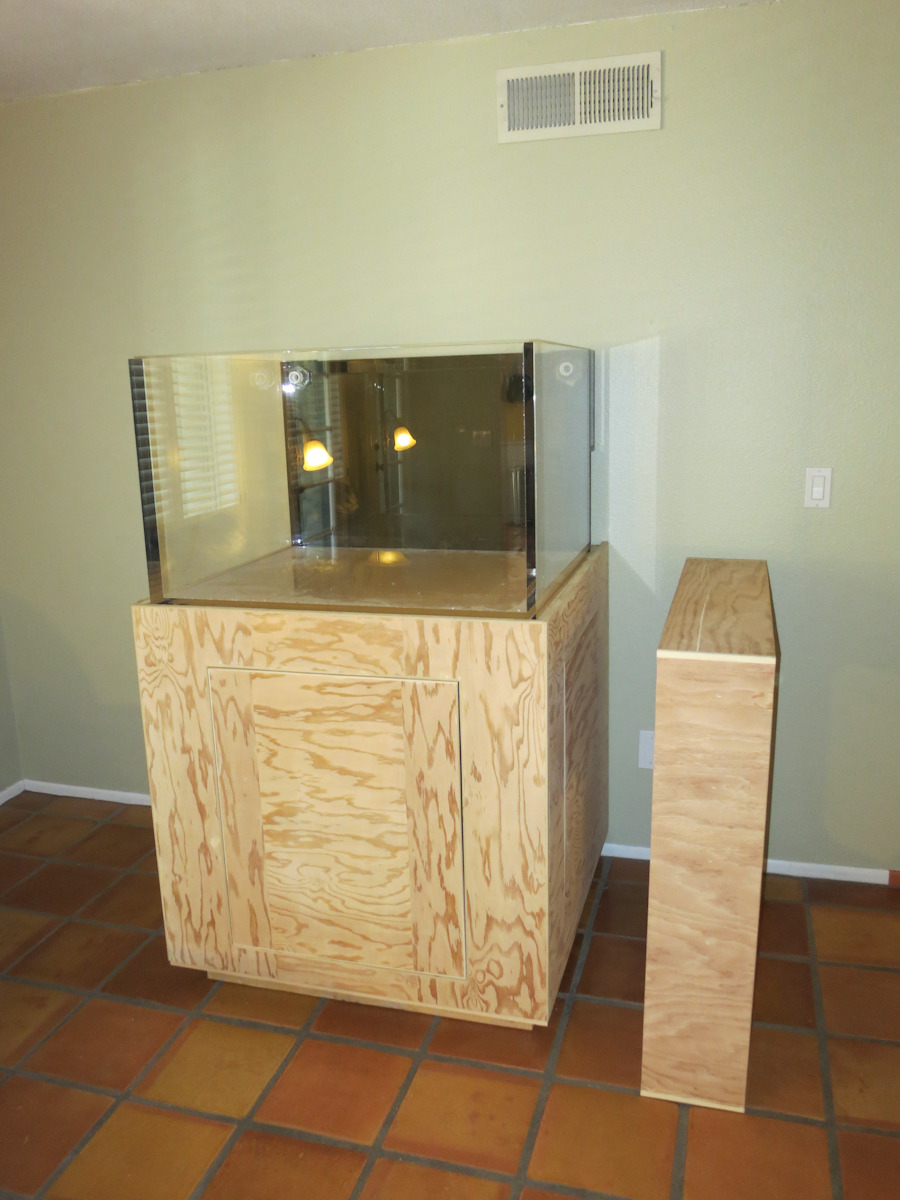
The best thing about taking some time away was that I decided to move the Envision to the main living room after I finished painting the ugly (orange) brick fireplace and white walls. When I moved the Envision over, I realized that just on the other side of the wall is the main entrance to the master bedroom. A few measurements and I realized that I could actually plumb both the Envision and ADA together into a community sump. Not only would this reduce equipment costs, but it would allow me to have the noisier equipment outside of the bedroom. The stand was built so it could be taken apart relatively easily to fit through narrow doorways. So the first step was to disassemble the stand, move it into the new room, reassemble and begin painting:

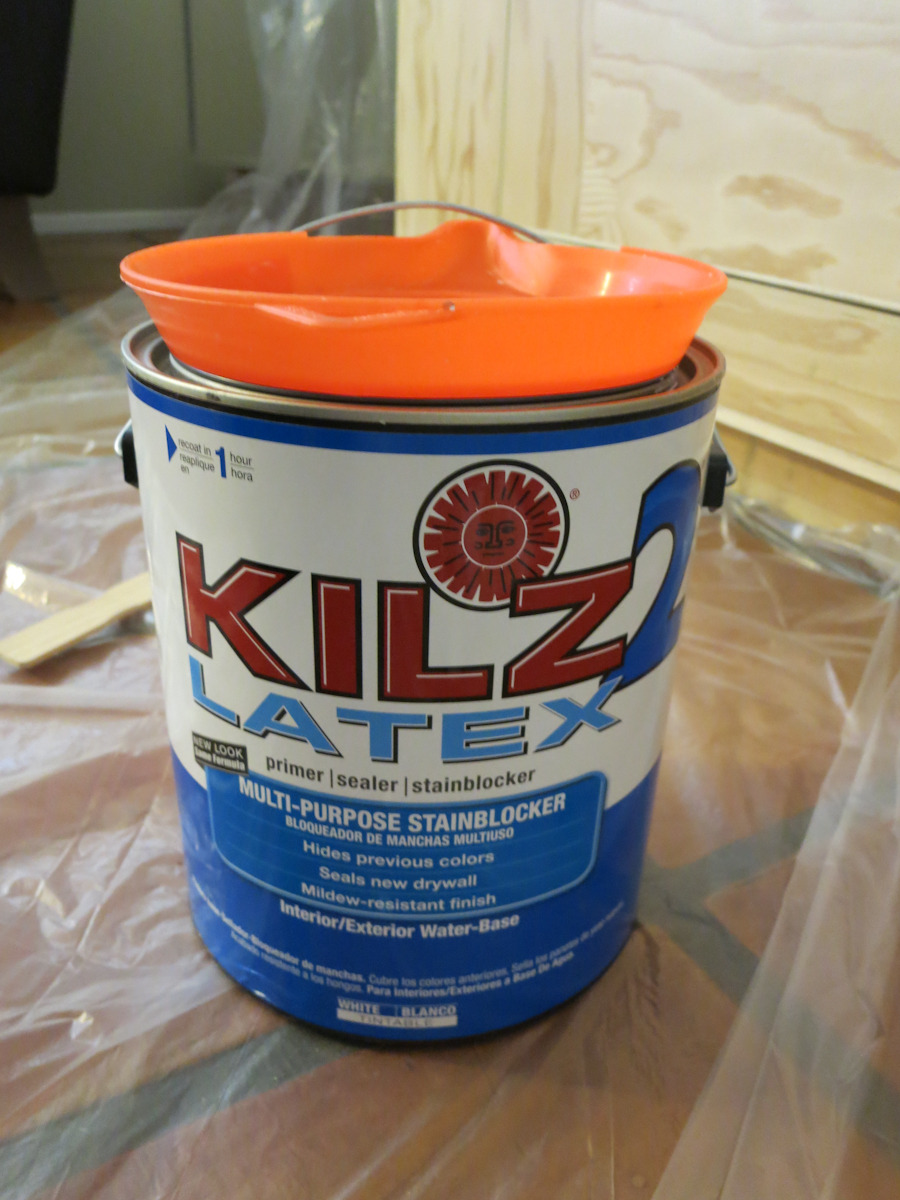
Now, time for prime & paint:
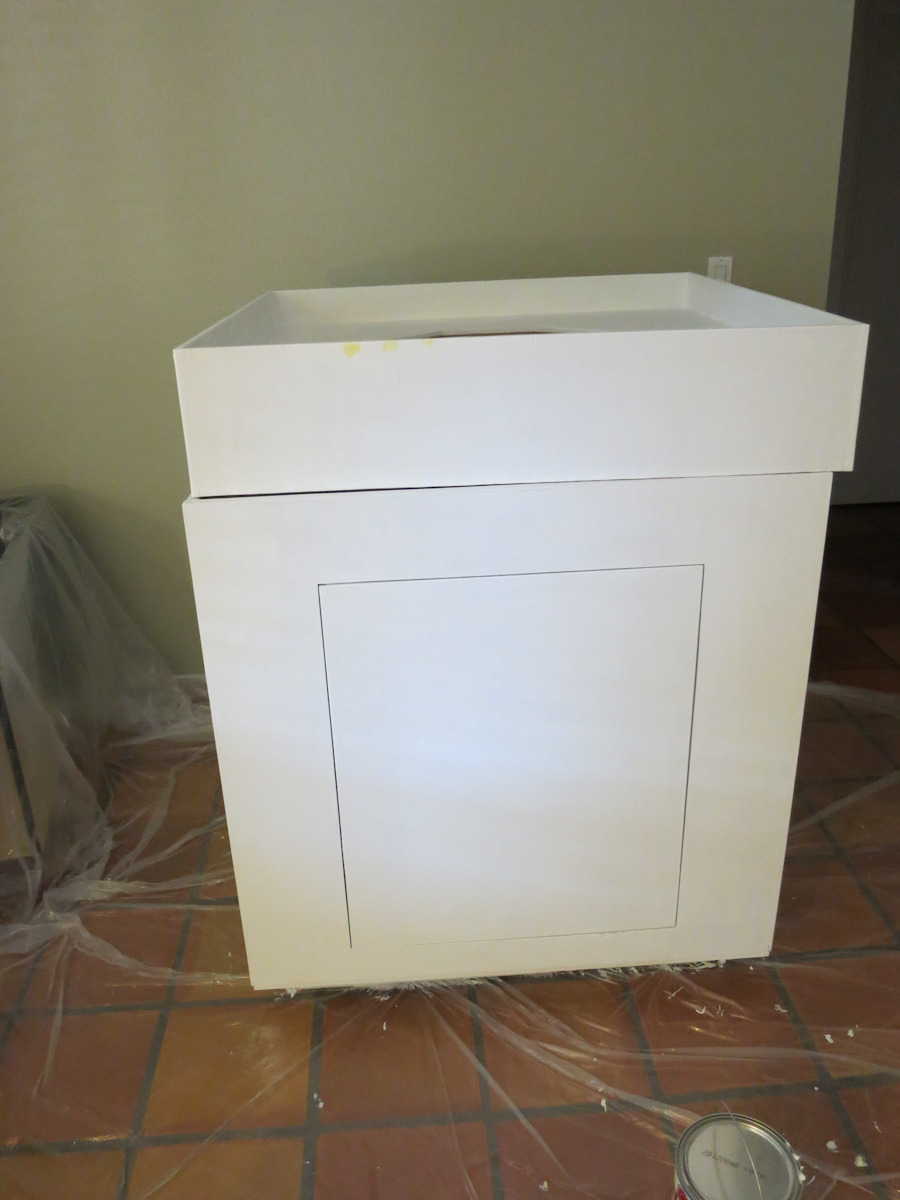
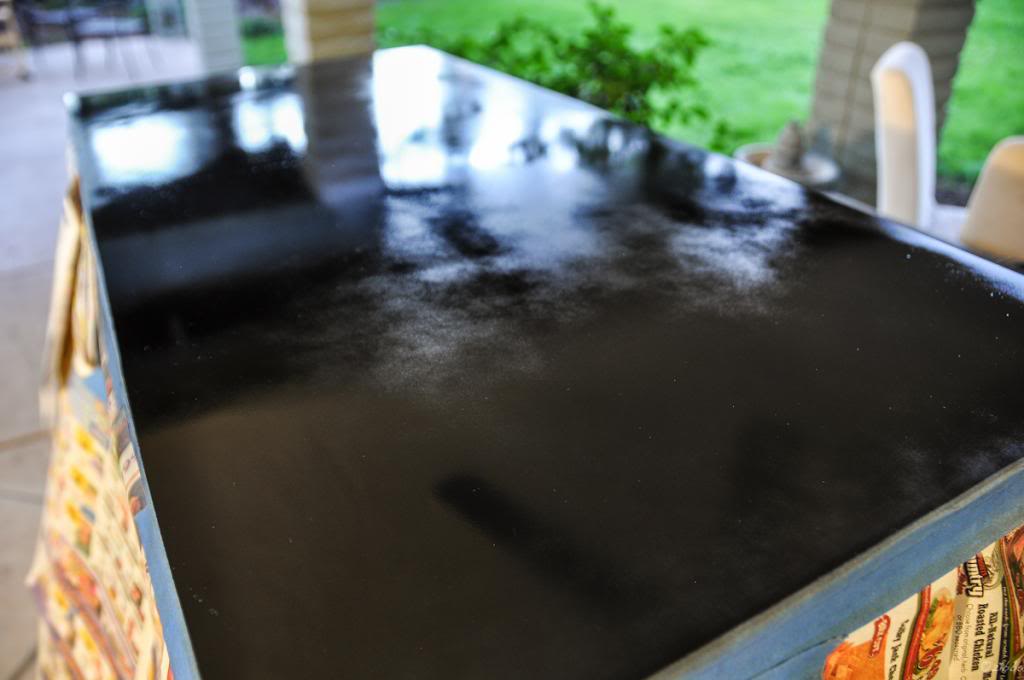
I wanted a glossy finish. I wish it would have turned out little smoother, but I'm pretty happy with it.
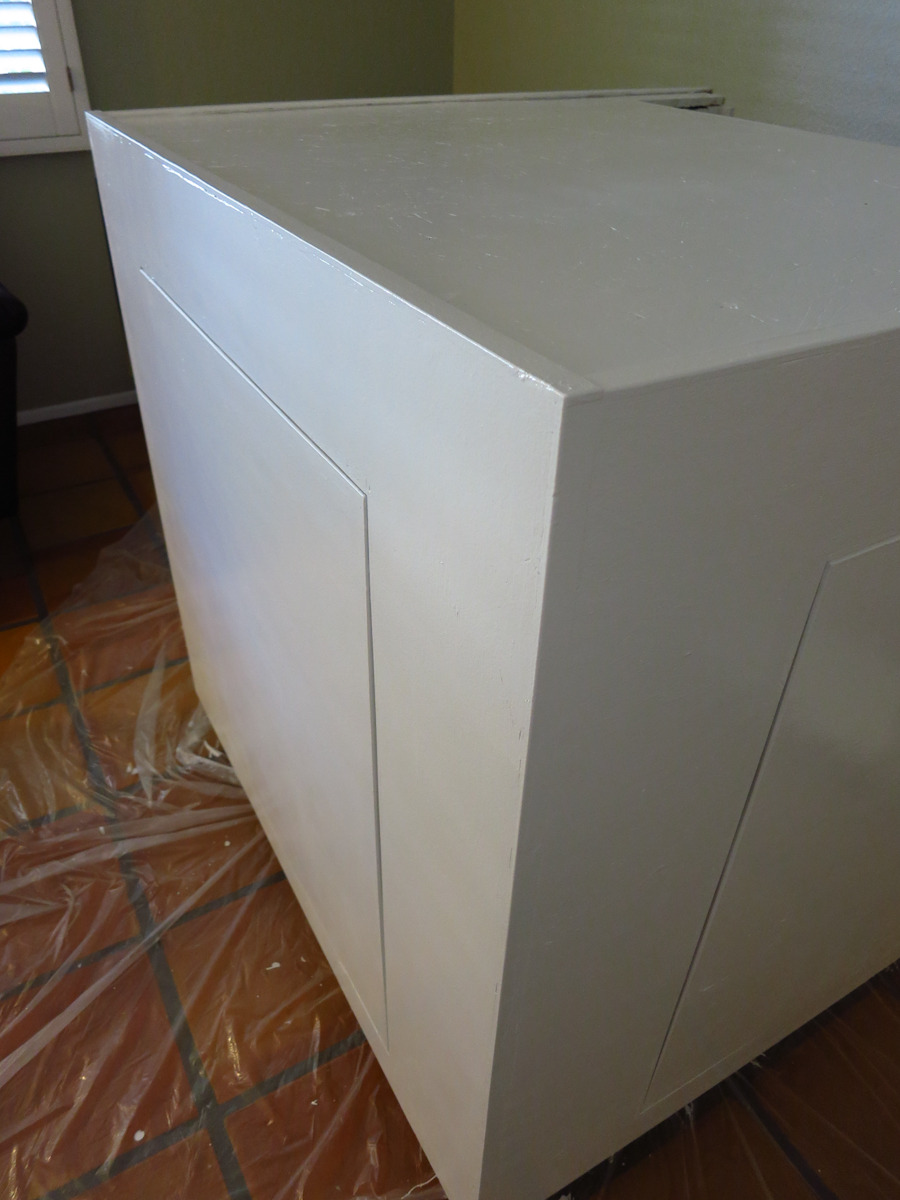
The best thing about taking some time away was that I decided to move the Envision to the main living room after I finished painting the ugly (orange) brick fireplace and white walls. When I moved the Envision over, I realized that just on the other side of the wall is the main entrance to the master bedroom. A few measurements and I realized that I could actually plumb both the Envision and ADA together into a community sump. Not only would this reduce equipment costs, but it would allow me to have the noisier equipment outside of the bedroom. The stand was built so it could be taken apart relatively easily to fit through narrow doorways. So the first step was to disassemble the stand, move it into the new room, reassemble and begin painting:
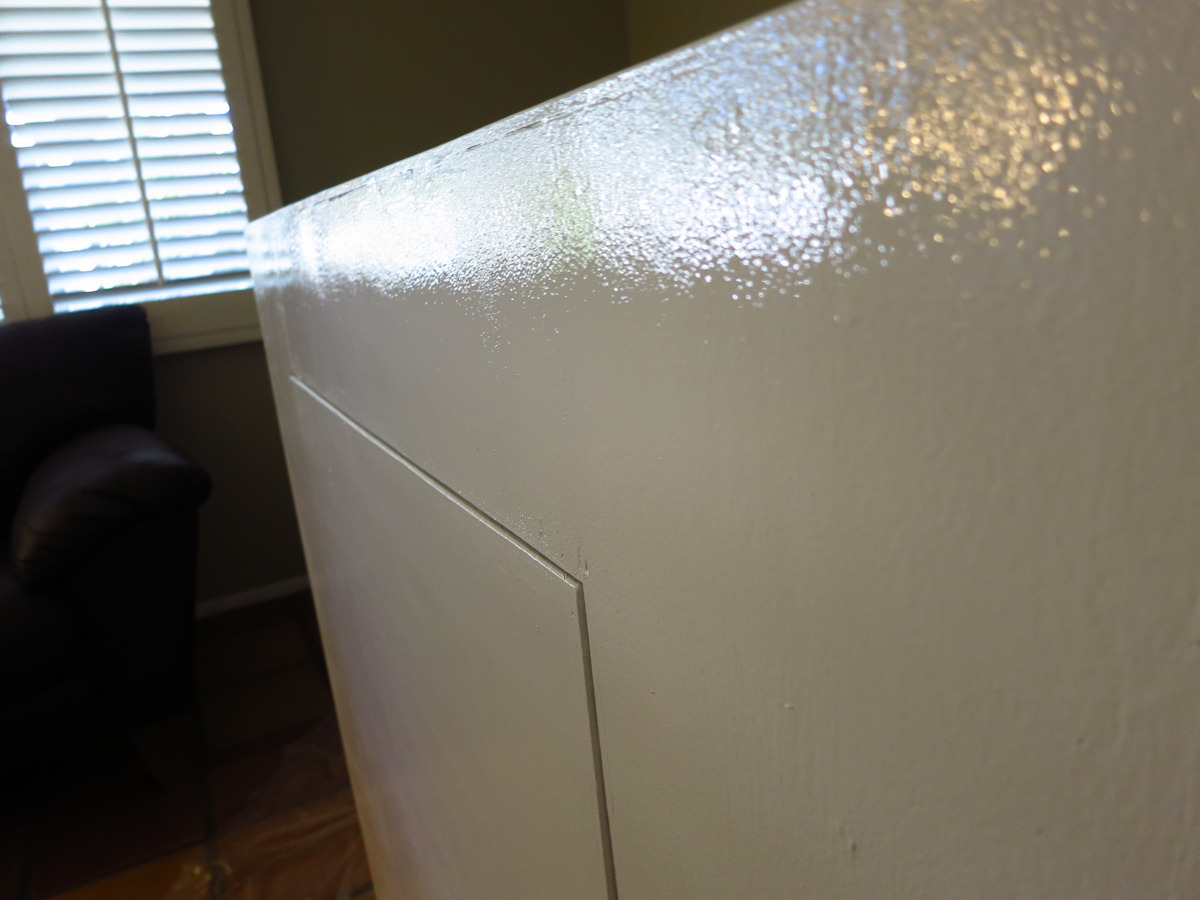
Now, time for prime & paint:
I wanted a glossy finish. I wish it would have turned out little smoother, but I'm pretty happy with it.


")