1. Materials, ingredients, and tools
Being prepared: Being prepared is the best thing anyone can do before undergoing a project.. especially when it comes to something time-based like rock making. Before starting you have to make sure everything is ready to go, and is reachable. Once you start making rocks it sucks when your hands are goopy and you need to reach for a forgotten tool in a delicate part of the house!
Materials, ingredients, and tools:
Let's start with tools:
-
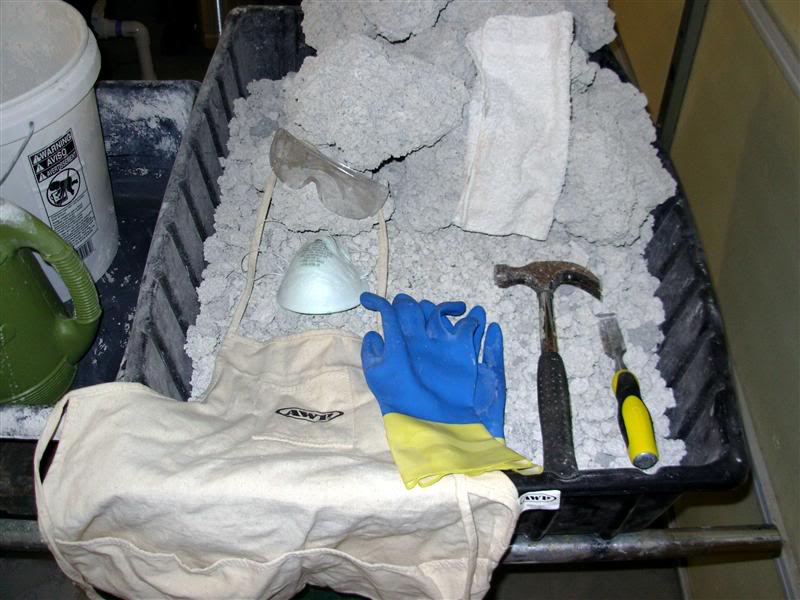
Rubber gloves: I am not talking about medical gloves here, no no. We're talking about dishwashing gloves, thick but not thick enough to make you feel like a 50's robot motion-wise. This may be the best buy in the whole project.. you use your hands everyday and it's a very nerve-rich part of the body. Cement will eat your hands away and the pain from those "burns" are excruciating. I used the "dipped" gloves for extra protection. I advise this especially if you ARE NOT using perlite but something gravel-like (Dolomite comes to mind)! More on this later.
-
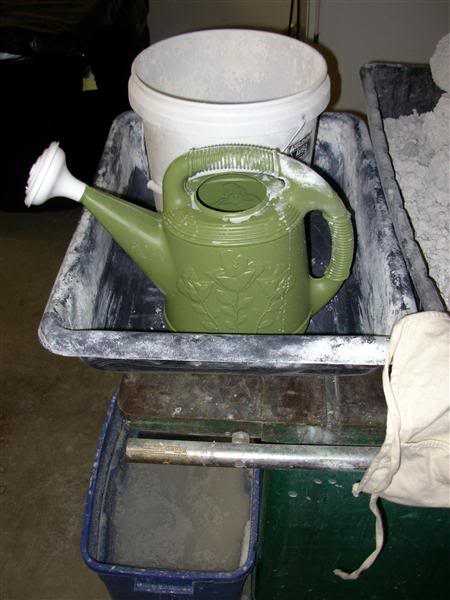
5G Bucket: Just about every reefer's favorite friend. This is great to use for dry mixing the ingredients together before the water addition.
-
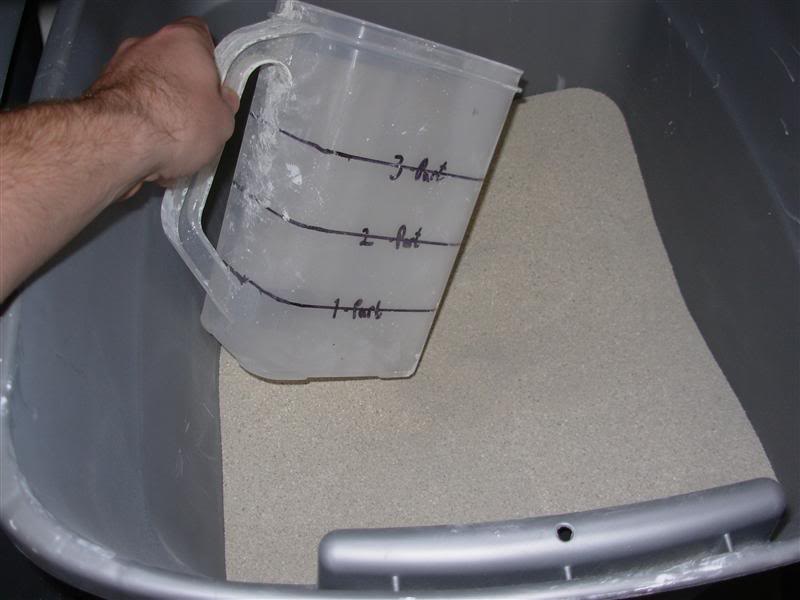
Handheld Dispenser: Something to keep your ingredients measured as you prepare your dry mix.
-
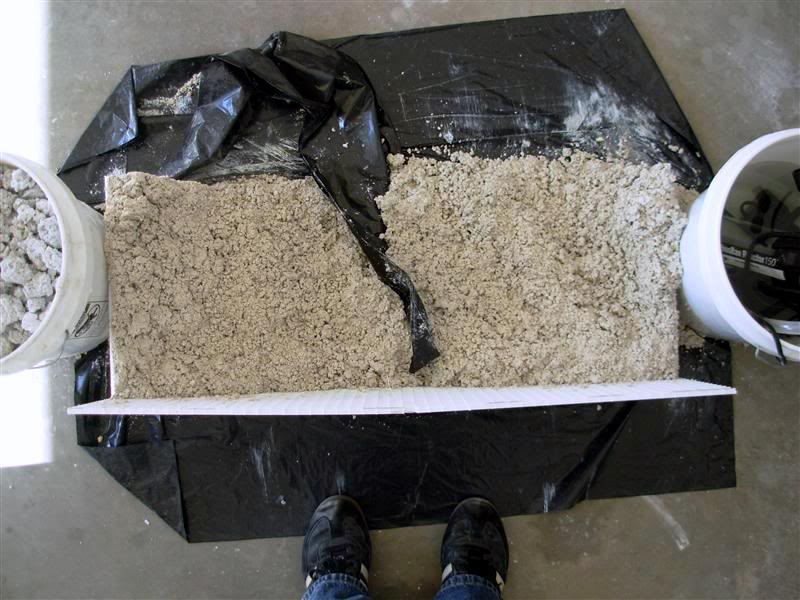
Cement bin: These are common and found at places like Home Depot and/or Lowes, and are pretty cheap. I promnise you this is a worthwhile buy! It makes mixing a ton easier by keeping the mess inside the shallow bin, plus the rounded bottom makes it easier to scrape out ALL usable mix.
-
Plastic watering can: This is a surprise to the uninitiated. Why not use a hose? Well you can, but I highly recommend using one that has a shower-type head. You want major control over the water, but it really helps if the water is spread out instead of a forceful beam. A watering can is helpful in that is gives you both the control and spread of water.
-
Water: This is a "no, duh" component in the cement creation world, but people have asked about what type of water. I just want to say it, tap water is just fine to use.
-
Casting box: Depending on how you plan on casting, the needs change. For example, a lot of people use sand as a casting material... so you would want a semi-sturdy box filled with sand, and some water nearby to form it with. I personally use other pre-made rocks as my casting material. My life is a little easier as I just let nature form the rocks for me.. and I don't need a box or anything. I just stack rocks on the floor and pour my mix onto it... easy-peesy.
-
Suit of armor: I keed, I keed. But remember that cement can eat through your skin and the process of rock making ain't exactly dainty. Either wear an apron (Lowes/HD has them for like 3 bucks) or wear your "work clothes" that you don't care about.
-
Mask and Eyewear: This is one of those that people get warned about but don't actually follow. If you want a good reason to wear this stuff, think of the cement like kalkwasser. The cement dust that flies into the air will enter your eyes and lungs. Getting, what I call, cement-lung absolutely sucks. You cough a bunch, and everything tastes like cement. Y'all prob know what eye irritation feels like.. it isn't fun either.
-
Washing bin: This is another overlooked tool. Take any ol' bin and fill it partially with water. After you finish casting whichever piece of rock you are doing, you use the bin to get the residual mix off of your gloves. It's helpful because when you go to dry mix a new batch of mix, having wet mix already on your hands just messes things up. You also want to do this, then dry your hands in an effort to keep the dry cement away from moisture.
Ingredients (Aggregates): An aggregate is something you mix into cement to create concrete/mortar. It ranges to many, many things like sand, pebbles, etc.
-
Cement: There are many types of cement out there. I personally use good ol' portland (Type l/ll). The normal grey stuff is widely available. The white is not so easily found, but it's my choice of cement as most reefers who buy rock want it to look like the base rock that's typically sold out there. You make what the customers wants. ;)
If you're making rocks for yourself and don't mind the grey, especially if you plan on having a full reef to cover up the grey (Corals, corraline, etc.), I would definitely use it as it's cheaper... waaaaay cheaper.
-
Sand: This aggregate is pretty crucial in the making of rocks. This isn't to say you can't make rock without it, I just wouldn't suggest it. Sand is easy to get and isn't very expensive (Depends on which you use). It's a great "fine" aggregate that goes along well with "coarse" aggregate.
-
Aragonite Sand: This is the most expensive of the sands, yet it is also the most favored. It comes in many names like calcium sand, etc but is not widely used outside of this hobby. I use this but as a business I can get it at a decent price because I buy it in bulk. Obviously this is not possible for most hobbyists, and they are given the choice between buying retail aragonite or choosing another type of sand at a much cheaper price.
-
Quartz Sand: If anything in the DIY rock world gets a lot of attention it's the debate about using quartz sand. It is one of the most misunderstood things out there because of it's relation to silica (This sand is also called Silica sand). You can judge for yourself, but in my honest opinion I see no problems using this sand. If you want some proof look no further than one of reefings authority on reef chemistry: Randy Holmes-Farley. Craig Bingman also wrote on this subject as well.
The issue with quartz sand is not the silicates it releases into the water, it's the "other" stuff that comprises of the sand. You see most quartz sand bags will typically be about 98% quartz, while the other 2% is unknown. A good way of thinking about this is the fact that quartz is white in nature, the bags you get from HD/Lowes is more brownish. The brownish tint is caused by that other 2%.
So should you choose to use quartz sand, try to find the whitest bag possible and give it a washout, to try and rid of that 2% (Most cases it mostly comprised of dust). While you don't get the pH/calcium depositing effects like you would from aragonite sand.. it's not that big of a difference.
-
Crushed Coral: This is another aragonite type situation. It is fantastic to use but is expensive. It helps with making the rock look more natural, but there are other cheaper ways of doing so. Still if you happen to have a bunch or can get it cheap, it's a great aggregate to use.
-
Crushed Oyster Shell: This product does receieve a lot of attention because of the debate that runs about it on whether it leeches out phosphates or not. From my readings (brief, as I don't personally use it) it seems this is true. For some people it works just fine and have no problems with it, but others will swear up and down it is the cause for their high phosphates. Unfortunately this is something you, as the rock maker, will have to decide for yourself. This decision is harder still for those that live in rural areas... you can find this stuff pretty cheaply at feed stores.
-
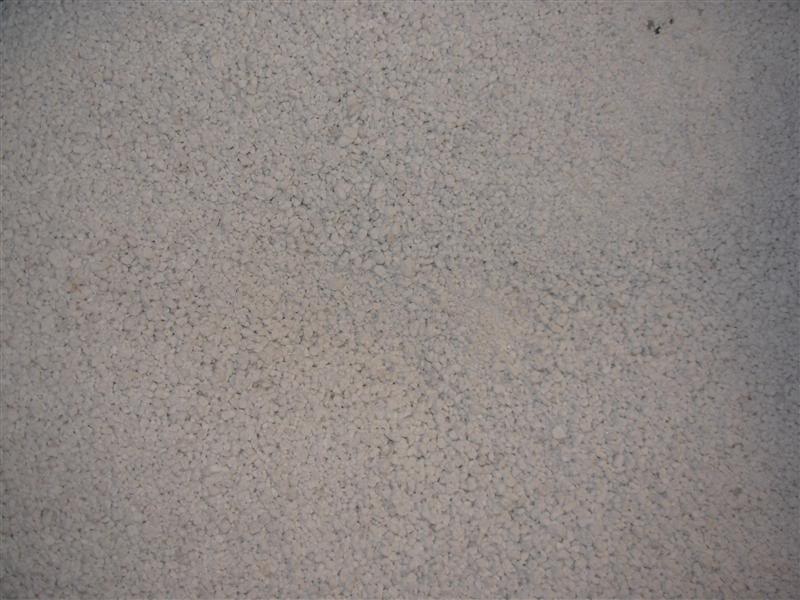
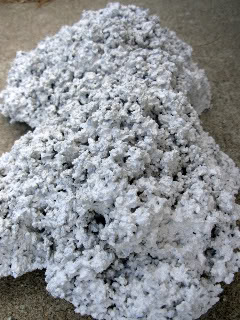
Perlite: Ah now we've hit upon a favorite of mine. I love using this stuff because it is REALLY lightweight, and is pretty inert. What is it? It's basically puffed glass.The problem with perlite is that it's not exactly cheap. Like aragonite, it's an expensive aggregate. Aside from it being light-weight and inert, it's also easy on the gloves and hands when creating the wet mix.
-
Salt: Yet another foundation for debate in the DIY rocks world. In my personal opinion I DO NOT recommend using this aggregate. You can get the neat texture created by salt using other methods. While salt may have worked (currently) for others, for most it will cause your rock to fail prematurely. In short, salt retards the "curing" process of the rocks. By the time your rock is done "curing" it's more brittle than rock without salt and eventually will break apart. Again, there are people who will tell you they've had plenty success with this, but from my experience, and from other professionals', salt is just better left out.