Hi all -
Been lurking a long time on r2r and been a part of several of the vendor events as well. Im just now starting to get comfortable enough with my reefing knowledge to try and become a more active member of this site and perhaps share some of my own experiences. A brief background - Ive been in the aquarium hobby for the better part of twenty years, nearly all of it devoted to freshwater fish (primarily rainbowfish and killifishes). I had the opportunity in college to collect some wild killifish from Africa and was part of a breeding program to see if they could be sustained in the trade. About five years ago, I finally attempted my first saltwater tank, a 10 gallon tank I had sitting around empty, which turned out to be moderately successful. I recieved a 29gallon biocube that I had setup for three years supporting mostly soft corals and a few fish before I ventured into my first "large" tank (70 gallon bowfront). Ive had the 70 gallon running for two years now, and Ive begun keeping sps and seeing them grow and thrive. Last spring I had the opportunity to score a 180 gallon tank from a local reefer who was getting out of the hobby for a steal (though I had to beg my wife to get it and Im still paying for that!) and it has been sitting in my garage ever since.
Well, the boss has laid down the law, stating that I could only have two tanks in the house, so I sold the biocube and began collecting equipment for the big tank. Realistically I knew that I wanted to take this slow and really get all the right pieces from the start, so I wasnt swapping and upgrading constantly. I figured this was a three year process and would be patient through out the process.
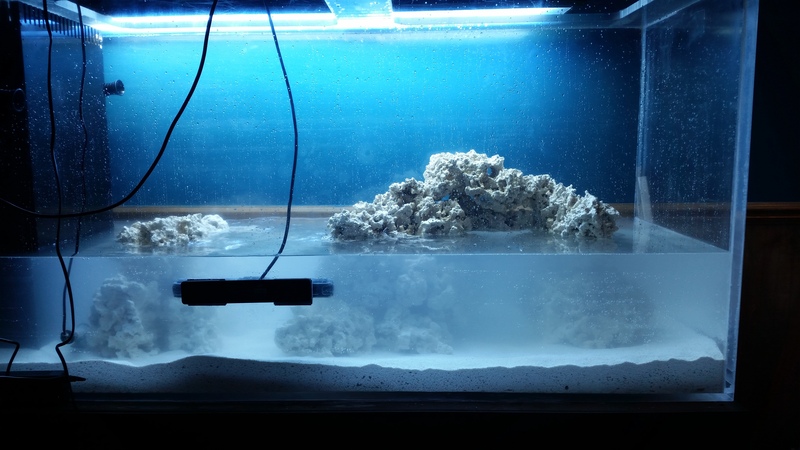
Fast forward nine months and I've had the opportunity to collect nearly all of the equipment I want, done some 'remodeling' of the basement and find myself with enough progress to finally put together a build thread. As of right now, the tank is sitting in the basement with sand in it, awaiting someone (*cough cough*) to get off his lazy butt and finish the plumbing. :xd:
Here's the specs on the tank/equipment:
180 gallon penninsula style acrylic tank (3/4" acrylic): 60" x 22" x 36"
Drains: 2" main, 1" emergency
Return: 1.5" return "T-ed" to twin 1" penductors
Sump:
150 gallon stock tank with a 40 gallon (breeder) tank tied into the system for use as a frag tank / macro algae refugium (not sure which yet)
Equipment (as of 10-Nov-2015) :
Avast C3 Skimmer w/ swabbie neck cleaner and skimmate locker
Avast K2 Kalkwasser Stirrer
Jebao DP-4 Dosing pump for use with Triton Base Elementz system
Avast Calcium Reactor with second effluent chamber*
Avast Auto Top Off System with Peristalic Pump and heavy duty solenoid
NextReef M1 XL Media Reaction (GFO)
Vertex 3.5L BioPellet Reactor (if I decide to run biopellets)
Finnex Deluxe 800w titanium heater
Apex - 2 EB8s, ALD, Icecap Gyre Module, Breakout Box
Maxspect Gyre 150
Tunze 6055 pump
Reeflo Gold Snapper/Dart Hybrid
Custom built T5 lighting 4x 54w 48" fixture (Old Odyssea case, workhorse ballast, Miro reflectors and ATI bulbs)
Upgraded Odyssea 48" T5 (4x54w) and 250w MH (DE) combo, with icecap 660 T5 ballast and LuXcore MH ballasts - running Phoenix 14K 250w DE MH bulbs and ATI Blue + (2), Coral + (1) and Actnic (1) T5 bulbs.
* For Future Use - not currently in use
The overall plan was to run kalk & calcium reactor to keep up with calc and alkalinity demand, while running biopellets and/or a macro fuge to take care of excess nutrients. However, the longer I plan out this build, the more I get wishy-washy about moving to dosing 2-4 part, as I really like what Im seeing out of some of the Triton method run tanks. Considering the tanks not up and running yet, I'm going to push forward assuming that Im not going to be using any dosing for now - I can always trade/sell some of the equipment for a quality dosing pump if need be.
My biggest challenge in this build was dealing with the basement, as the drop ceiling presented a height restriction that basically caused me to get rid of the stand that came with the tank - this was actually a blessing in disguise. Once I got into the innards of the stand, I found that it was built using 1"x4"s and the majority of the structural integrity was coming from the plywood casing! Im surprised it didnt come crashing down well before now! So, I did a bit of research on what makes a good sturdy stand and how I could make it myself. Armed with a few Google Sketch drawings, I took over my Dad's garage for a weekend and turned my sketches into a really sturdy stand. Its just a box, but its likely the first time Ive ever made something that looks the same in the drawing as it does in reality. Really proud of that box! LOL
Then came the fun part, after skinning the stand and painting it (and cutting some holes in the drywall!), I was able to finally move the tank out of the garage and into the house!!! My wife still makes fun of me, because I moved it in all by myself because I refused to wait for some people to get out of work to help me. (Note: Do not move a tank by yourself - its idiotic and leaves you with some nasty scrapes, bruises and scars!)
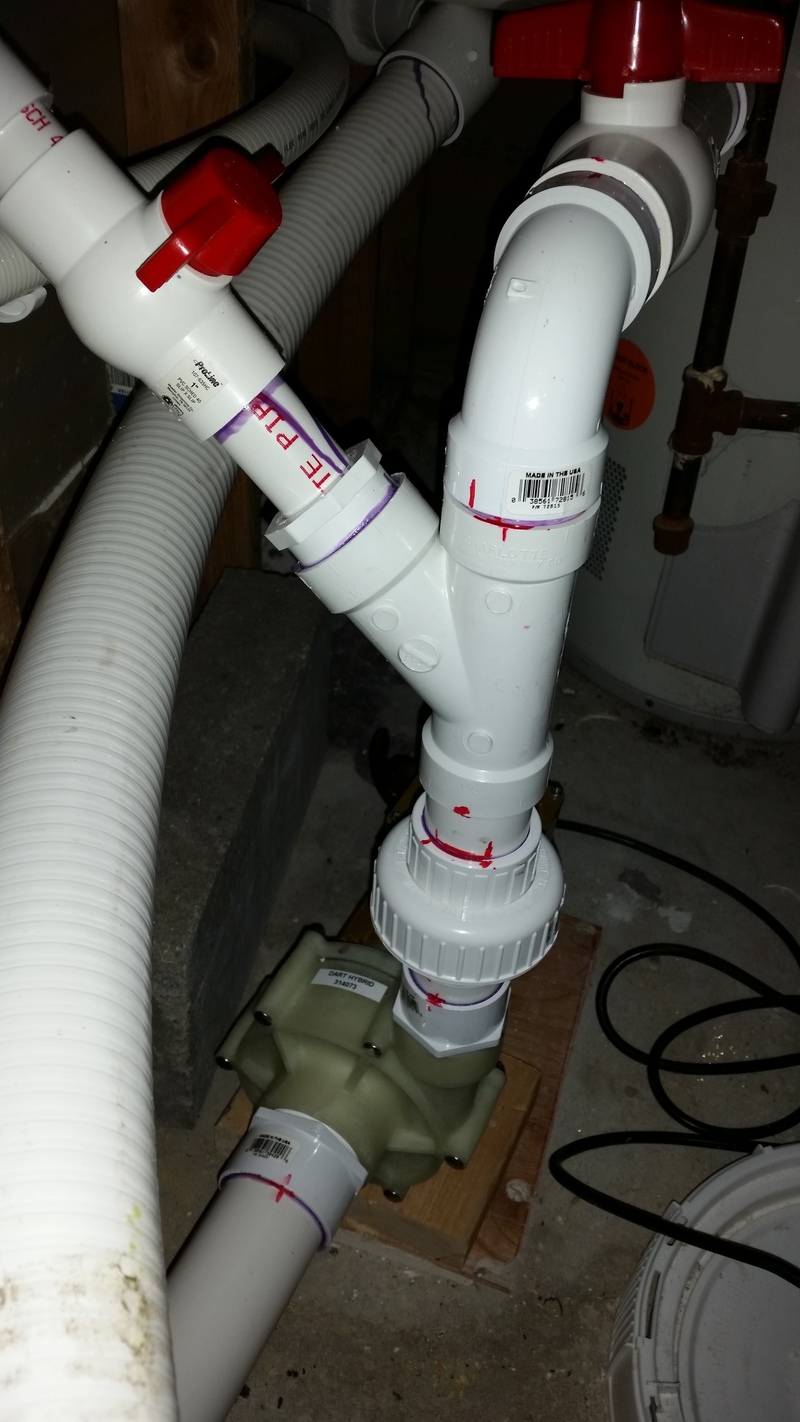
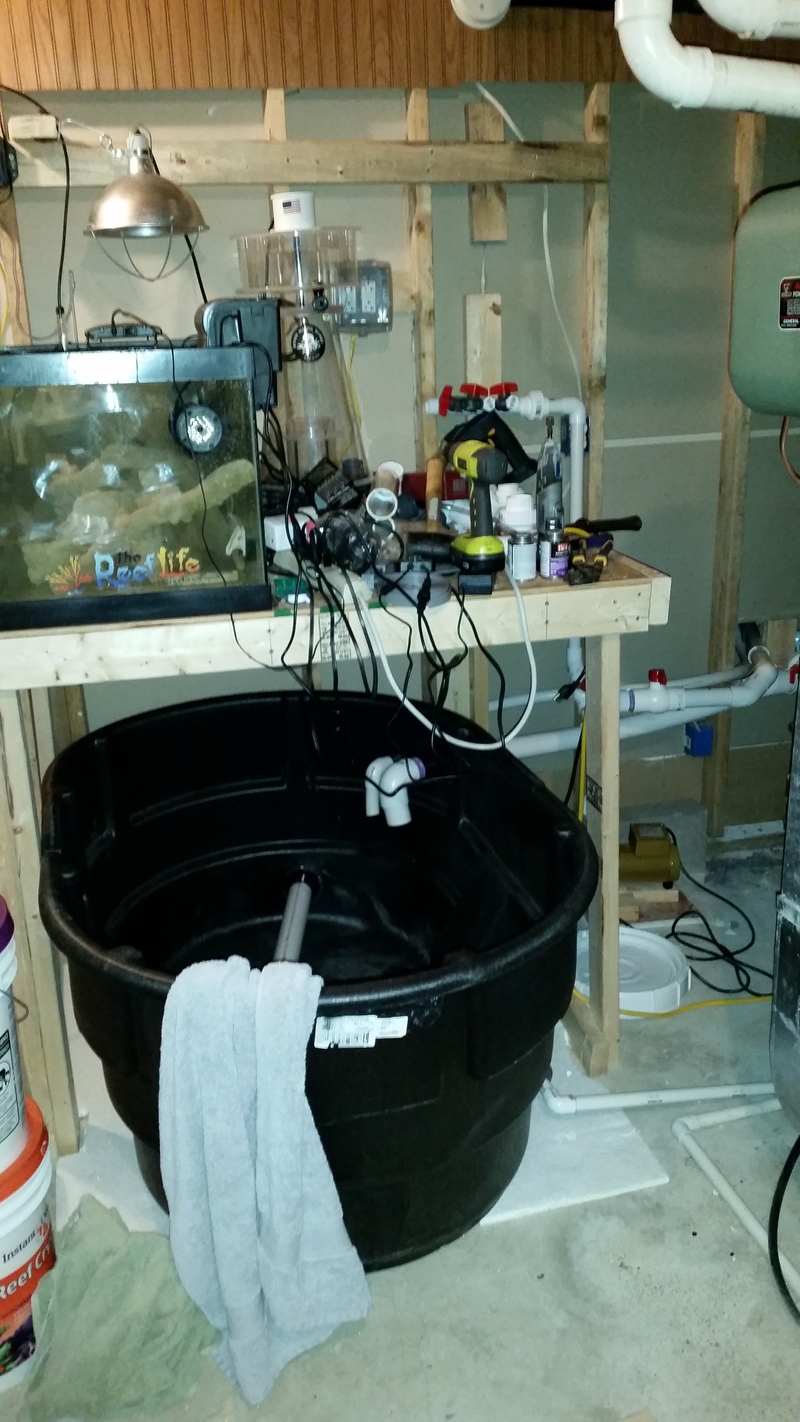
Once in place, I started working on the sump/fish room. I placed the stock tank at a perpendicular to the shared wall and built a stand/table/shelf unit over the top of it to set up the 40gallon tank as well as the reactors and other equipment. I ran a pair of new dedicated 20amp circuit/outlets to the wall, complete with waterproof housings for the outlets. Now Im working on dry fitting all of my plumbing, which is going slow because of work, but Im in the final stages (mainly because shoving a 2" pipe through a 2" uniseal is stupidly difficult) and should be solvent welding the pipes in place this weekend.
I'll add more pictures as I find them (scattered about on computers and phones) but here is a smattering of all the "fun" I've had with this tank so far - which is significant, considering it doesnt have water in it yet!


Been lurking a long time on r2r and been a part of several of the vendor events as well. Im just now starting to get comfortable enough with my reefing knowledge to try and become a more active member of this site and perhaps share some of my own experiences. A brief background - Ive been in the aquarium hobby for the better part of twenty years, nearly all of it devoted to freshwater fish (primarily rainbowfish and killifishes). I had the opportunity in college to collect some wild killifish from Africa and was part of a breeding program to see if they could be sustained in the trade. About five years ago, I finally attempted my first saltwater tank, a 10 gallon tank I had sitting around empty, which turned out to be moderately successful. I recieved a 29gallon biocube that I had setup for three years supporting mostly soft corals and a few fish before I ventured into my first "large" tank (70 gallon bowfront). Ive had the 70 gallon running for two years now, and Ive begun keeping sps and seeing them grow and thrive. Last spring I had the opportunity to score a 180 gallon tank from a local reefer who was getting out of the hobby for a steal (though I had to beg my wife to get it and Im still paying for that!) and it has been sitting in my garage ever since.
Well, the boss has laid down the law, stating that I could only have two tanks in the house, so I sold the biocube and began collecting equipment for the big tank. Realistically I knew that I wanted to take this slow and really get all the right pieces from the start, so I wasnt swapping and upgrading constantly. I figured this was a three year process and would be patient through out the process.
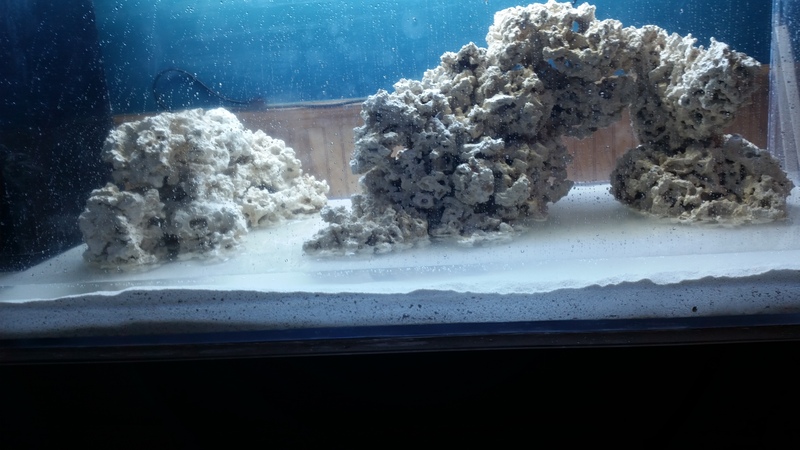
Fast forward nine months and I've had the opportunity to collect nearly all of the equipment I want, done some 'remodeling' of the basement and find myself with enough progress to finally put together a build thread. As of right now, the tank is sitting in the basement with sand in it, awaiting someone (*cough cough*) to get off his lazy butt and finish the plumbing. :xd:
Here's the specs on the tank/equipment:
180 gallon penninsula style acrylic tank (3/4" acrylic): 60" x 22" x 36"
Drains: 2" main, 1" emergency
Return: 1.5" return "T-ed" to twin 1" penductors
Sump:
150 gallon stock tank with a 40 gallon (breeder) tank tied into the system for use as a frag tank / macro algae refugium (not sure which yet)
Equipment (as of 10-Nov-2015) :
Avast C3 Skimmer w/ swabbie neck cleaner and skimmate locker
Jebao DP-4 Dosing pump for use with Triton Base Elementz system
Avast Calcium Reactor with second effluent chamber*
Avast Auto Top Off System with Peristalic Pump and heavy duty solenoid
NextReef M1 XL Media Reaction (GFO)
Finnex Deluxe 800w titanium heater
Apex - 2 EB8s, ALD, Icecap Gyre Module, Breakout Box
Maxspect Gyre 150
Tunze 6055 pump
Reeflo Gold Snapper/Dart Hybrid
Upgraded Odyssea 48" T5 (4x54w) and 250w MH (DE) combo, with icecap 660 T5 ballast and LuXcore MH ballasts - running Phoenix 14K 250w DE MH bulbs and ATI Blue + (2), Coral + (1) and Actnic (1) T5 bulbs.
* For Future Use - not currently in use
The overall plan was to run kalk & calcium reactor to keep up with calc and alkalinity demand, while running biopellets and/or a macro fuge to take care of excess nutrients. However, the longer I plan out this build, the more I get wishy-washy about moving to dosing 2-4 part, as I really like what Im seeing out of some of the Triton method run tanks. Considering the tanks not up and running yet, I'm going to push forward assuming that Im not going to be using any dosing for now - I can always trade/sell some of the equipment for a quality dosing pump if need be.
My biggest challenge in this build was dealing with the basement, as the drop ceiling presented a height restriction that basically caused me to get rid of the stand that came with the tank - this was actually a blessing in disguise. Once I got into the innards of the stand, I found that it was built using 1"x4"s and the majority of the structural integrity was coming from the plywood casing! Im surprised it didnt come crashing down well before now! So, I did a bit of research on what makes a good sturdy stand and how I could make it myself. Armed with a few Google Sketch drawings, I took over my Dad's garage for a weekend and turned my sketches into a really sturdy stand. Its just a box, but its likely the first time Ive ever made something that looks the same in the drawing as it does in reality. Really proud of that box! LOL
Then came the fun part, after skinning the stand and painting it (and cutting some holes in the drywall!), I was able to finally move the tank out of the garage and into the house!!! My wife still makes fun of me, because I moved it in all by myself because I refused to wait for some people to get out of work to help me. (Note: Do not move a tank by yourself - its idiotic and leaves you with some nasty scrapes, bruises and scars!)
Once in place, I started working on the sump/fish room. I placed the stock tank at a perpendicular to the shared wall and built a stand/table/shelf unit over the top of it to set up the 40gallon tank as well as the reactors and other equipment. I ran a pair of new dedicated 20amp circuit/outlets to the wall, complete with waterproof housings for the outlets. Now Im working on dry fitting all of my plumbing, which is going slow because of work, but Im in the final stages (mainly because shoving a 2" pipe through a 2" uniseal is stupidly difficult) and should be solvent welding the pipes in place this weekend.
I'll add more pictures as I find them (scattered about on computers and phones) but here is a smattering of all the "fun" I've had with this tank so far - which is significant, considering it doesnt have water in it yet!
Last edited:


")