

Well I updated my lighting on my main display from Orphek v4 gen 2's with 2 OR3 150's to Orphek ICON's with 4 OR3 150's. I thought I would put my lessons learned together for the upgrade to share with everyone and maybe make your upgrade a bit easier.
I upgraded the following
This is my new setup

DIFFERENCES
The PCB Boards are very different between the V4 Gen2 and the ICON. First pic is a picture of one of one of my old V4 gen 2 boards that had burned LED's in 440 and below and a few cap's burned on the 20k LED's.
V4 Gen 2

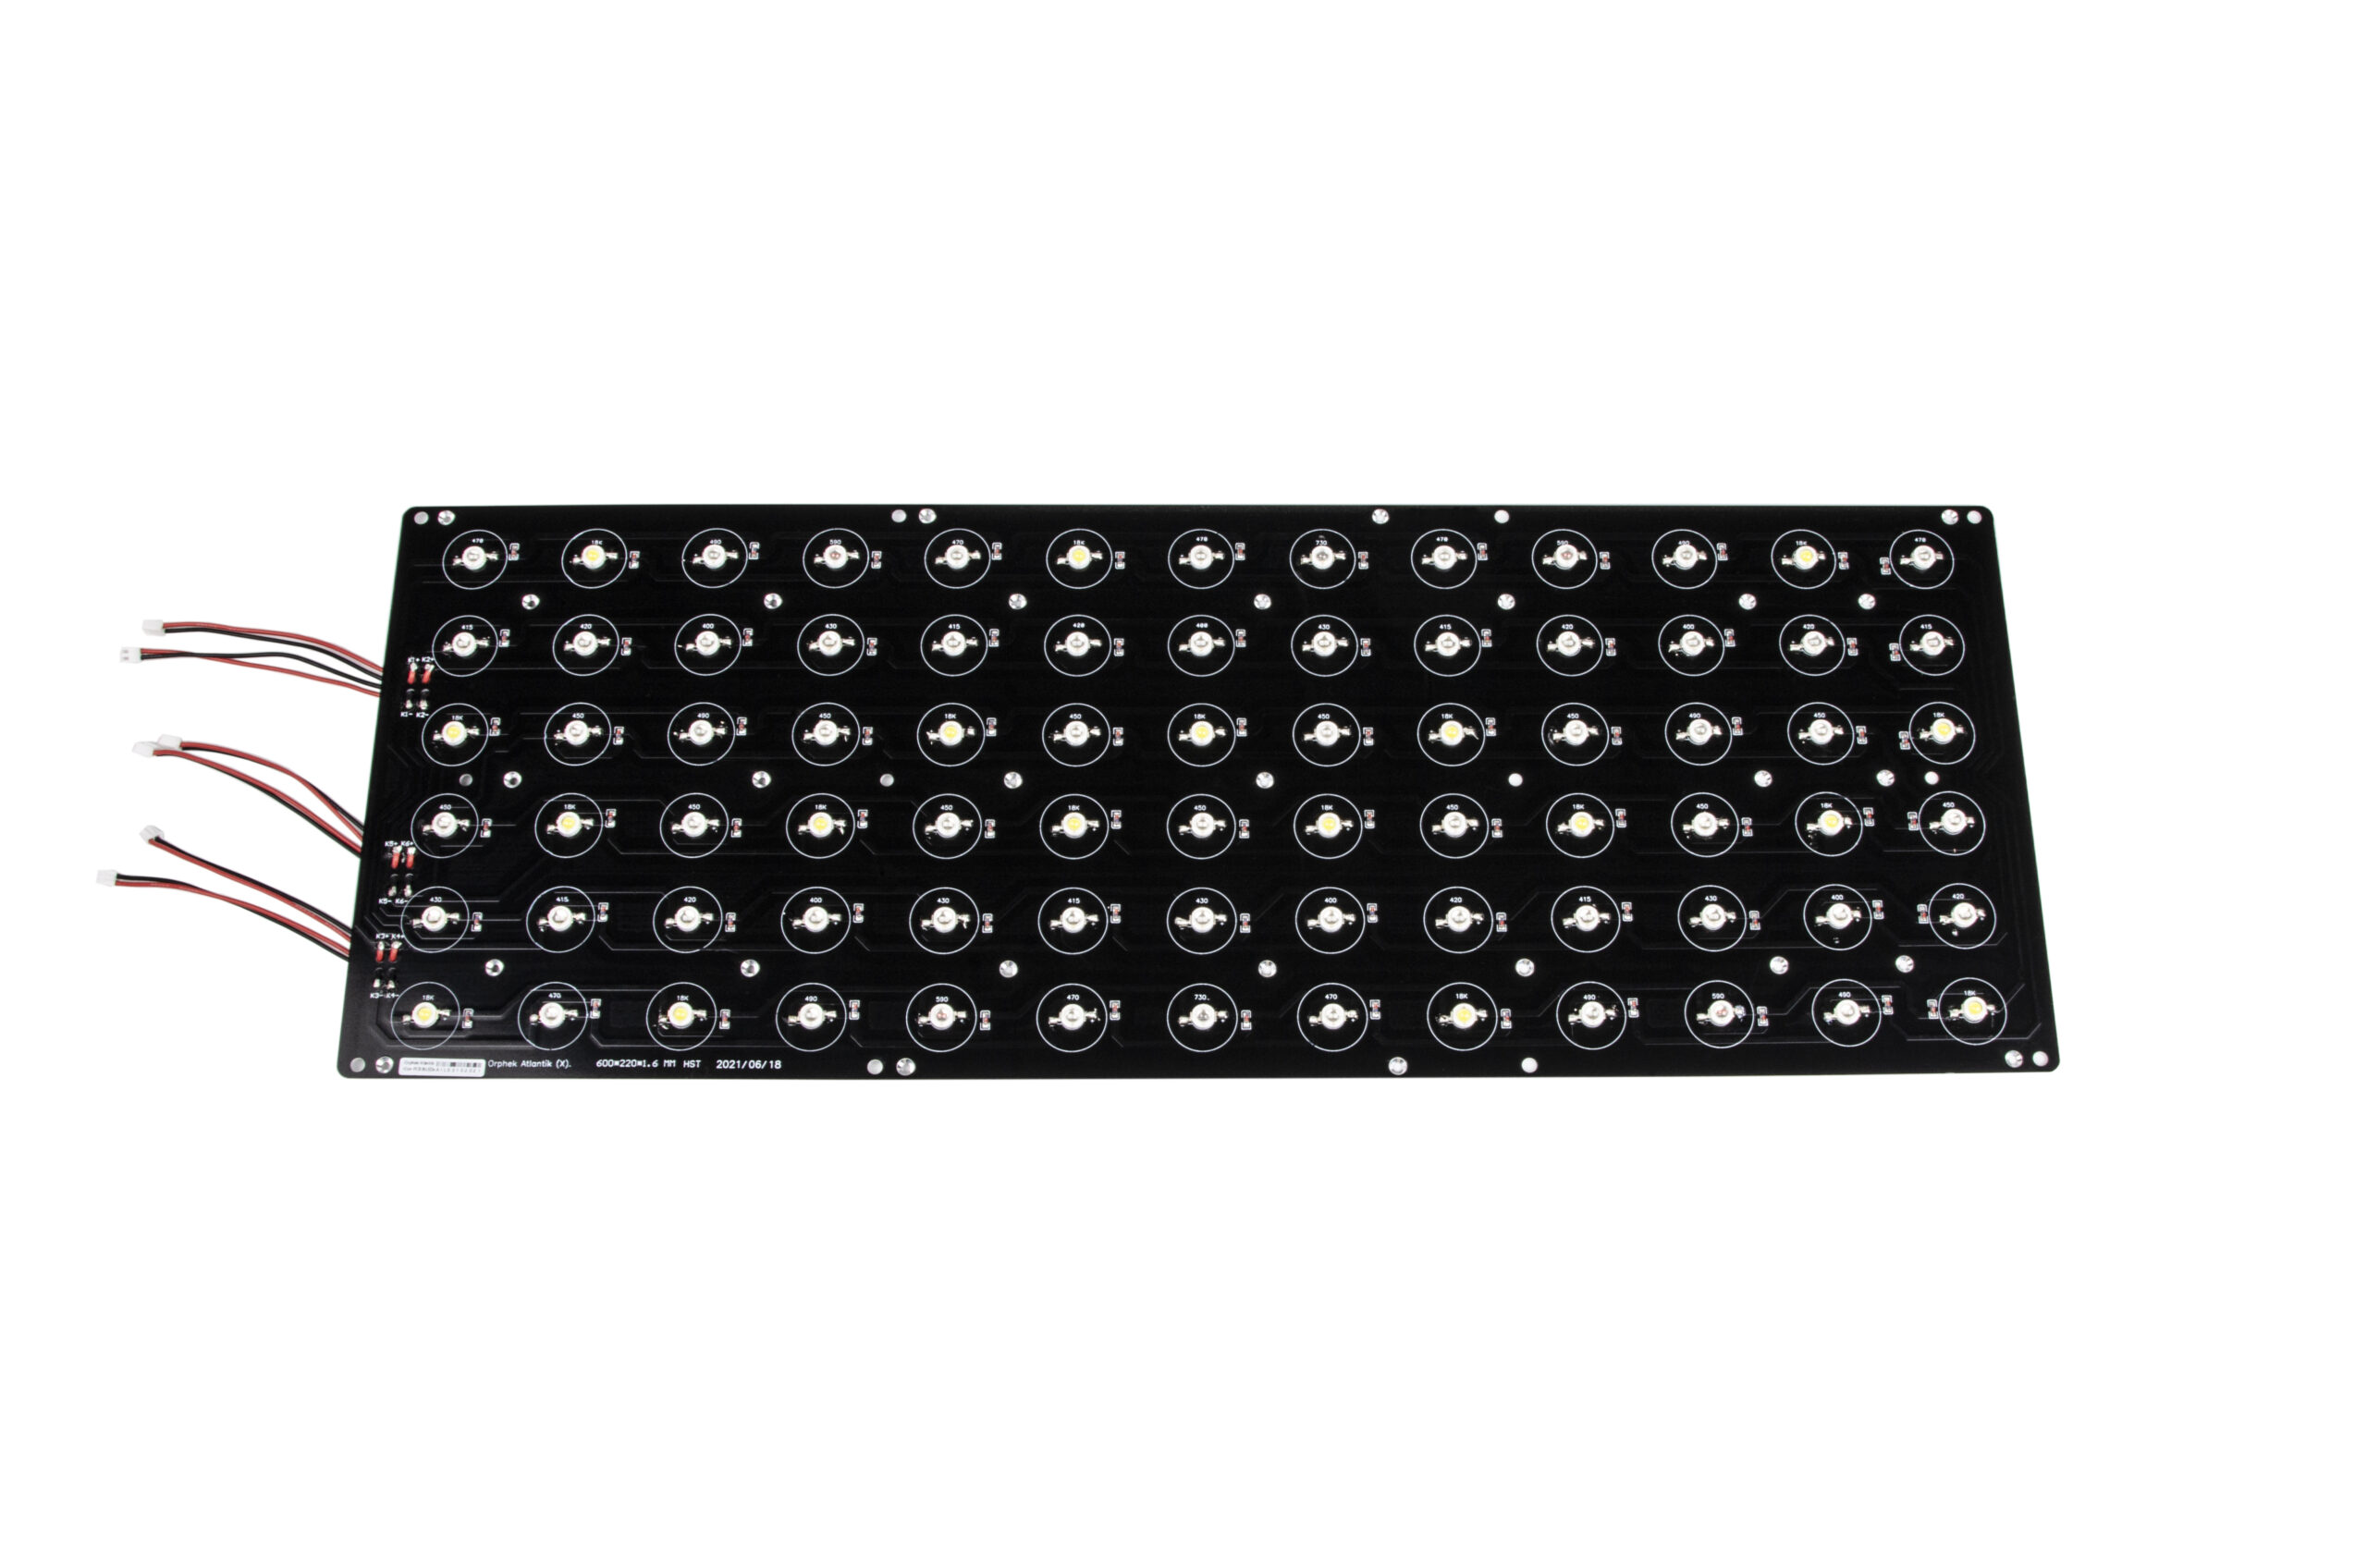
This is the new icon board. Pic is not great but the form factor I believe is changed a bit for cooling. I'm excited to see how the glass lenses work. I couldn't tell if the led itself was glass but the cover's they provide are.
ICON
.jpg")
THE UPGRADE
Before you start your upgrade. There is a reset button to install. All the videos and documents say optional installation of reset button after you have upgraded everything. I personally dont think that is optional since you have to hit the reset button multiple times to get the fixture in synch mode for your mobile. This is the easiest way.
My recommendation is to drill the hole in the mesh while your old fixture is still in tact. This way there is pressure on both sides of the mesh and makes it easier to drill. You will need a 3/8" drill bit for proper hole size. I found it was easier to start with a small bit and work up to proper size.

Following are a couple helpful links to installing the PC Card and Board. It takes about 3 4oz tubes of thermal paste for installing the boards. I think I found mine for about 10.98/tube.
PC CARD
 orphek.com
PC BOARD
orphek.com
INSTALLING TEMP Probe
When you install the new temp probe. I got a tip from James. If you dont have any of the adhesive they used for your original temp probe. You can just wedge the probe in one of the aluminum louvars. Example below is how I installed mine.

SPRINGS
In your install kit you will find some springs. There are no instructions on where those springs go. James let me know that they go under the brass extensions to adhere all the aluminum together for heat dissipation

PROGRAMING
Programing of the lights now is way easier than before. The upgrade was worth it just for that. The lights run allot cooler than previous V4 gen 2's. The fans are really quite which was a surprise as I heard some people complaining about it. I found the fans are silent rather they are in quite mode or not. I left them in quite mode as I dont see any cooling performance issues in that mode. I do have aluminum hanging kit so I have allot of aluminum to dissipate heat.
I have currently took the helius program and made it a bit bluer in the morning and night, but with the 4 OR3 150 blue plus's. The light fixture looks allot like the Radion G5 AB+ program without manipulating the Helius program that much. This is what I see visibly and not with spectrometer.
This is my current program

The view shows the broad programing changes but not each individual setting. I linked all three lights together and started the lunar and clouds program. The lunar lighting is pretty nice. However I find that after you group your lights together there is no way to make a delay between each light. This would be ideal for dusk and dawn lighting with multiple lights and not to mention the cloud feature.
On my old GHL mitras you could link all your lights and put a delay from light to light so when you ran the cloud feature, you could watch the clouds move over your entire aquarium. In the new Orphek feature for clouds, I have not really seen it work. If its working, then I cant tell much. I think there is some room for improvement here, so I will await there next updates.
OVERALL THOUGHTS
I really think this upgrade was worth the money. The lights look great and program easy. I cant wait to get my tank broken down and back up again to see how it performs on my sps.
FTS

I upgraded the following
- LED PCB + PC CARD COMBO Kit
- Aluminum TOP
This is my new setup
DIFFERENCES
The PCB Boards are very different between the V4 Gen2 and the ICON. First pic is a picture of one of one of my old V4 gen 2 boards that had burned LED's in 440 and below and a few cap's burned on the 20k LED's.
V4 Gen 2
This is the new icon board. Pic is not great but the form factor I believe is changed a bit for cooling. I'm excited to see how the glass lenses work. I couldn't tell if the led itself was glass but the cover's they provide are.
ICON
THE UPGRADE
Before you start your upgrade. There is a reset button to install. All the videos and documents say optional installation of reset button after you have upgraded everything. I personally dont think that is optional since you have to hit the reset button multiple times to get the fixture in synch mode for your mobile. This is the easiest way.
My recommendation is to drill the hole in the mesh while your old fixture is still in tact. This way there is pressure on both sides of the mesh and makes it easier to drill. You will need a 3/8" drill bit for proper hole size. I found it was easier to start with a small bit and work up to proper size.
Following are a couple helpful links to installing the PC Card and Board. It takes about 3 4oz tubes of thermal paste for installing the boards. I think I found mine for about 10.98/tube.
PC CARD
Atlantik iCon LED PCB Upgrade • Orphek
Orphek products are built to last!!If you have an older version of the Atlantik fixture (Atlantik V1 V2 V2.1 V3 V3+ V4) you can upgrade to: Atlantik iCon or Atlantik iCon Compact
PC BOARD
Atlantik iCon LED PCB Upgrade • Orphek
Orphek products are built to last!!If you have an older version of the Atlantik fixture (Atlantik V1 V2 V2.1 V3 V3+ V4) you can upgrade to: Atlantik iCon or Atlantik iCon Compact
INSTALLING TEMP Probe
When you install the new temp probe. I got a tip from James. If you dont have any of the adhesive they used for your original temp probe. You can just wedge the probe in one of the aluminum louvars. Example below is how I installed mine.
SPRINGS
In your install kit you will find some springs. There are no instructions on where those springs go. James let me know that they go under the brass extensions to adhere all the aluminum together for heat dissipation
PROGRAMING
Programing of the lights now is way easier than before. The upgrade was worth it just for that. The lights run allot cooler than previous V4 gen 2's. The fans are really quite which was a surprise as I heard some people complaining about it. I found the fans are silent rather they are in quite mode or not. I left them in quite mode as I dont see any cooling performance issues in that mode. I do have aluminum hanging kit so I have allot of aluminum to dissipate heat.
I have currently took the helius program and made it a bit bluer in the morning and night, but with the 4 OR3 150 blue plus's. The light fixture looks allot like the Radion G5 AB+ program without manipulating the Helius program that much. This is what I see visibly and not with spectrometer.
This is my current program
The view shows the broad programing changes but not each individual setting. I linked all three lights together and started the lunar and clouds program. The lunar lighting is pretty nice. However I find that after you group your lights together there is no way to make a delay between each light. This would be ideal for dusk and dawn lighting with multiple lights and not to mention the cloud feature.
On my old GHL mitras you could link all your lights and put a delay from light to light so when you ran the cloud feature, you could watch the clouds move over your entire aquarium. In the new Orphek feature for clouds, I have not really seen it work. If its working, then I cant tell much. I think there is some room for improvement here, so I will await there next updates.
OVERALL THOUGHTS
I really think this upgrade was worth the money. The lights look great and program easy. I cant wait to get my tank broken down and back up again to see how it performs on my sps.
FTS


