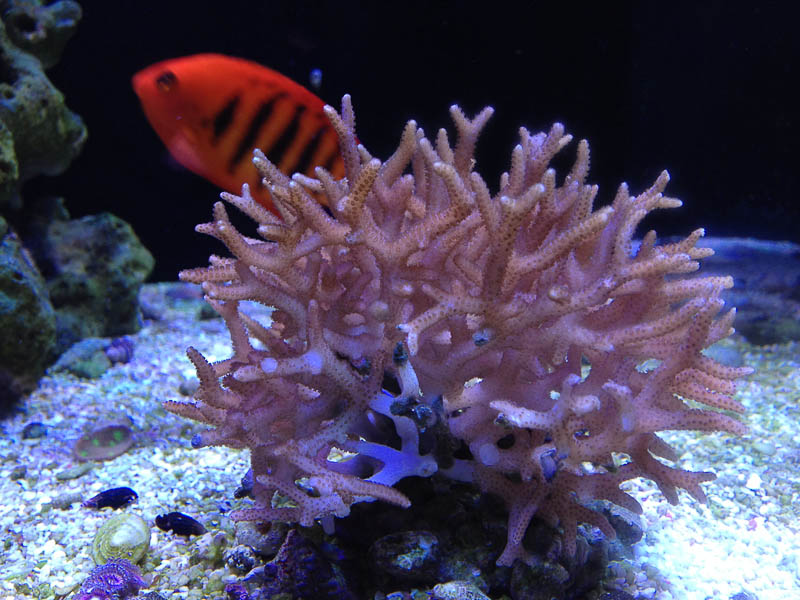
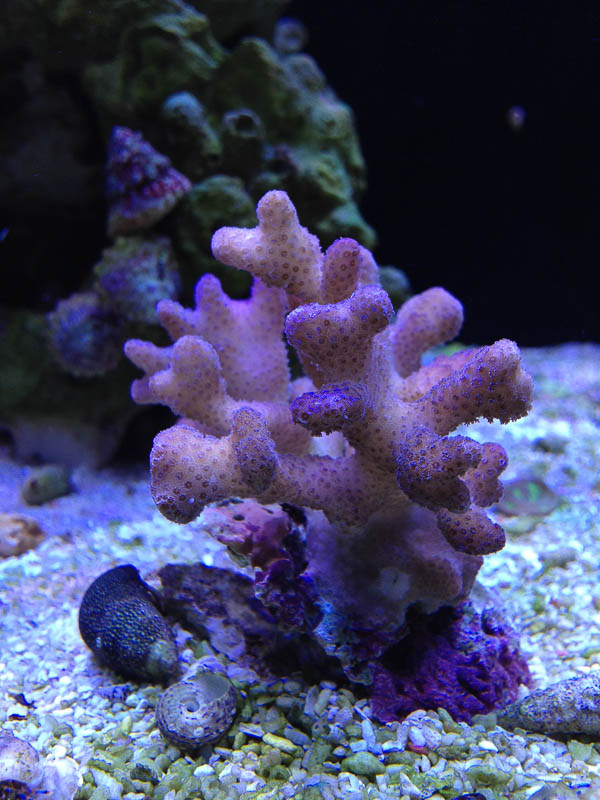
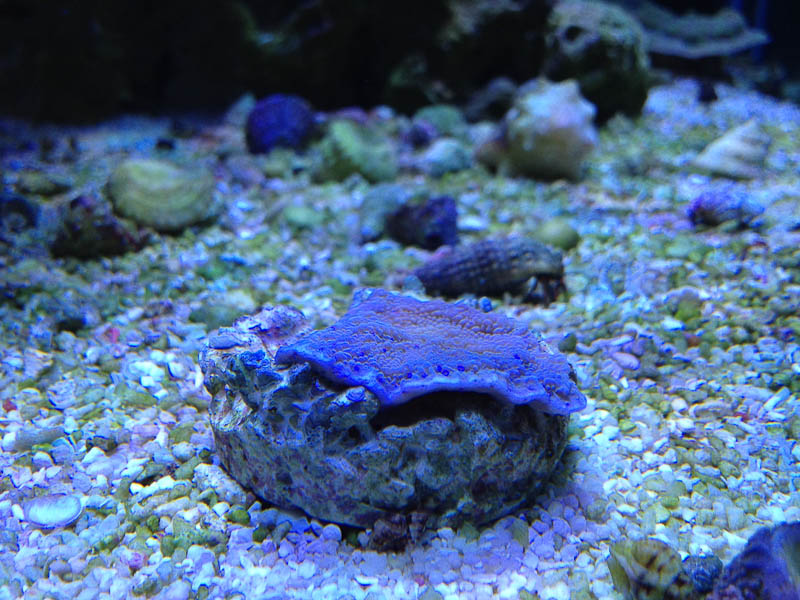
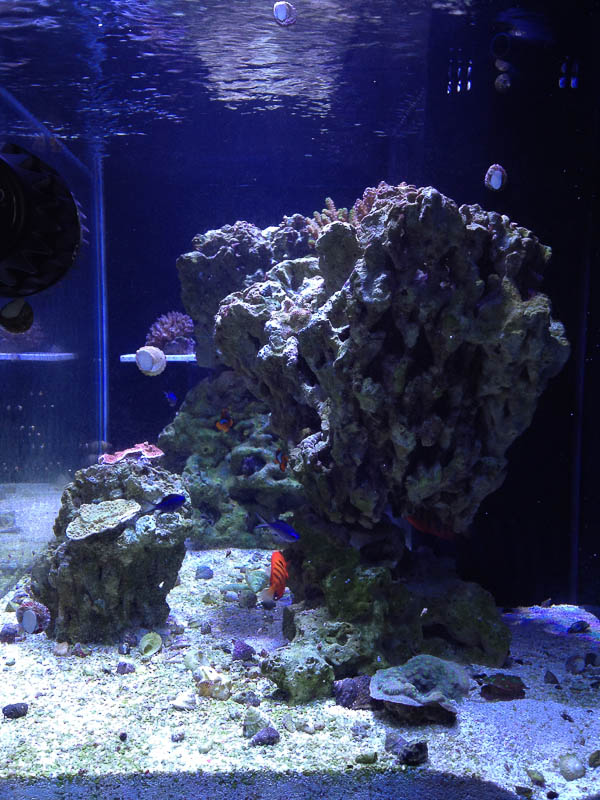
Lots of photos, you have been warned… ")
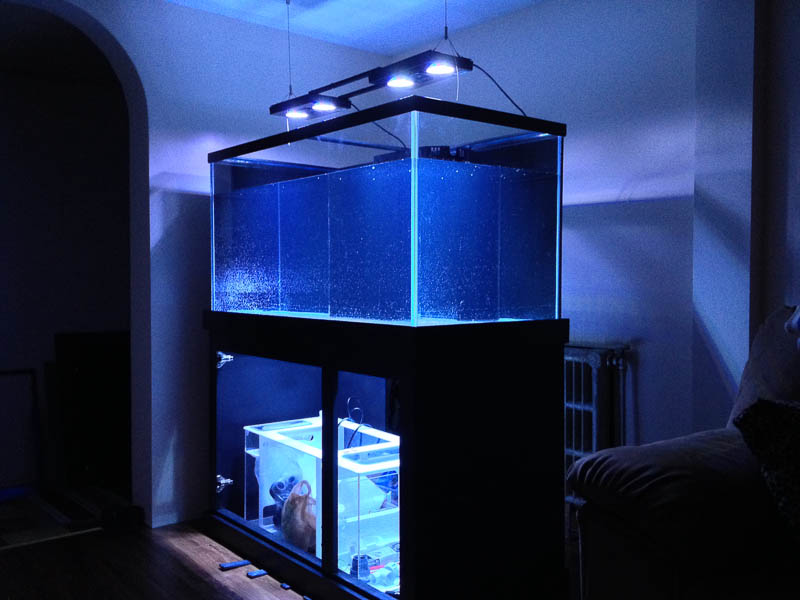
Tank Specs
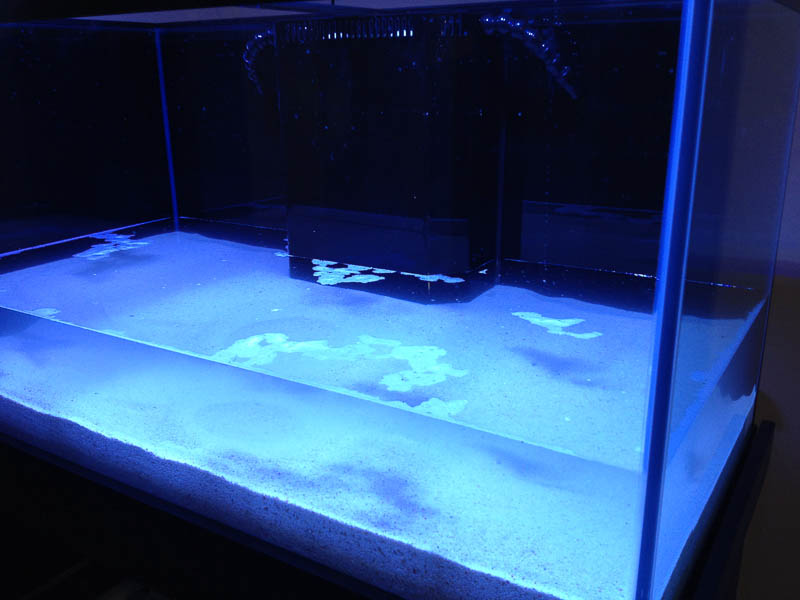
DSA (Deep Sea Aquatics) “Pro†135 Gallon 48x24x27 with matching DSA Pro Stand
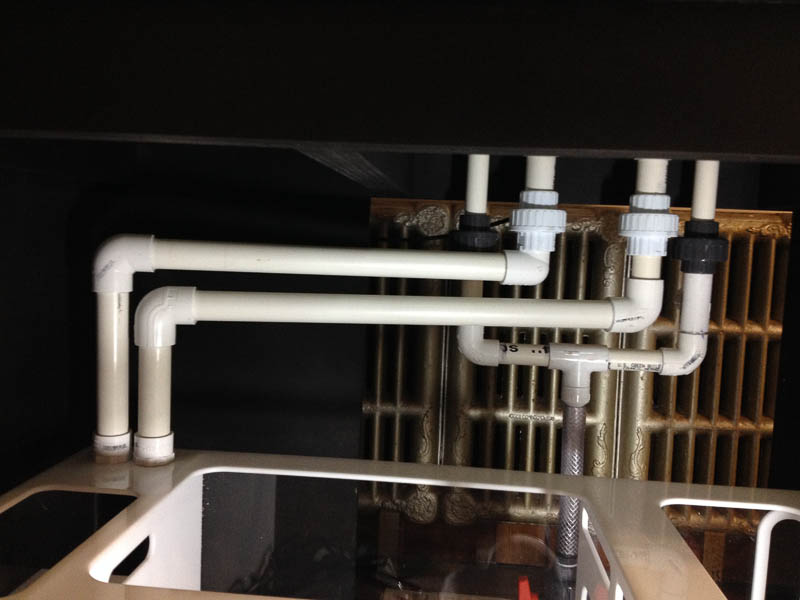
Drilled w/ standard 3/4" Returns (x2), 1" Drains (x2)
Custom: Starphire (Low-Iron Glass) on Front Panel
DIY Latex Matt Black Paint on Back and Left panel(s)
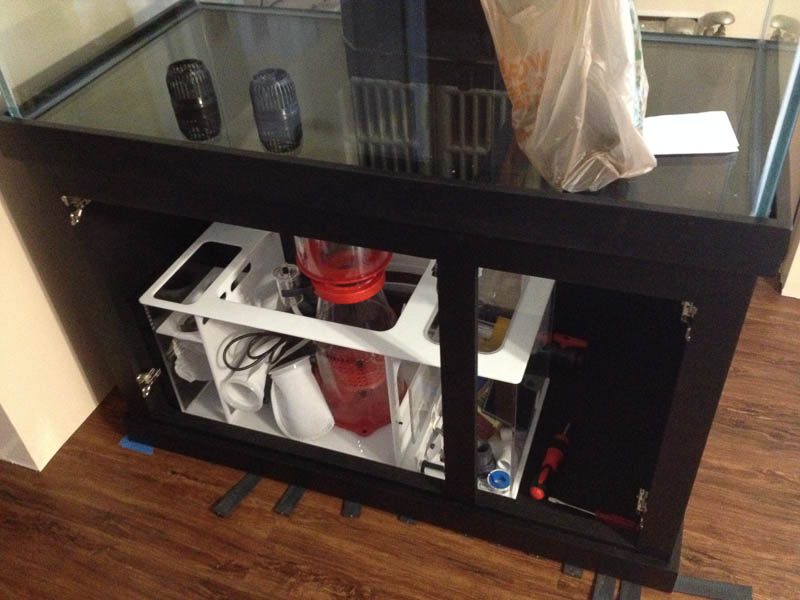
Sump
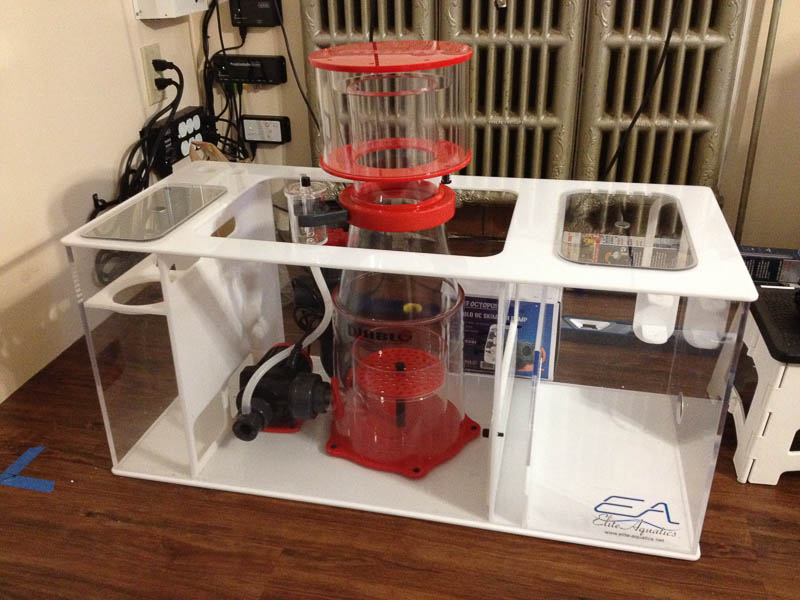
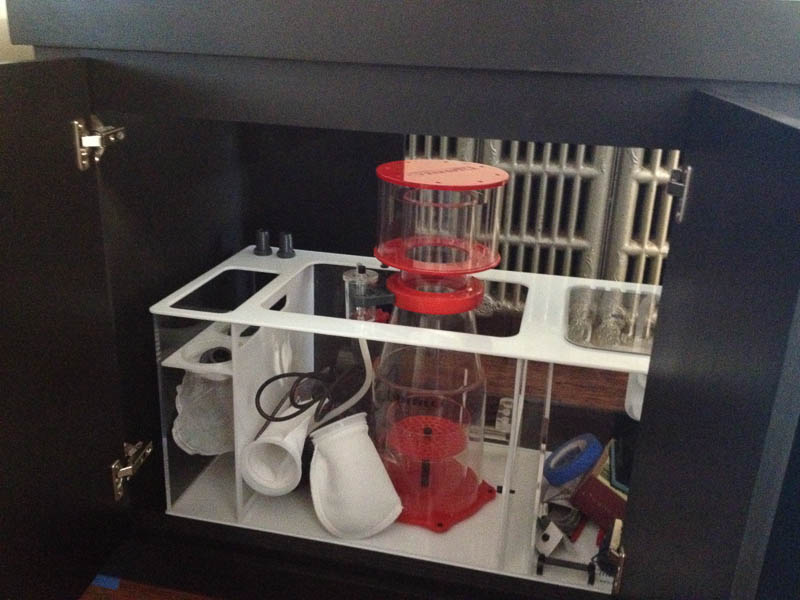
Elite Aquatics "ELITE M2†33.5x15.5x15 - No Furge
Running BRS 4†filter socks (x2)
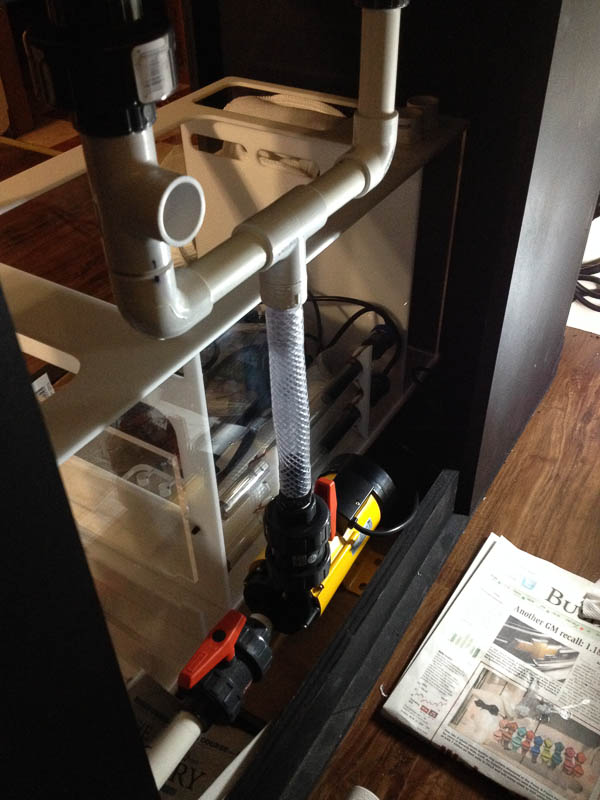
Reef Octopus Diablo DCS200 In-Sump Protein Skimmer
Diablo DC 5500s Pinwheel Pump, Skimmer air-line run to outside air
BRS Dual GFO & Carbon Reactor run by a MJ1200
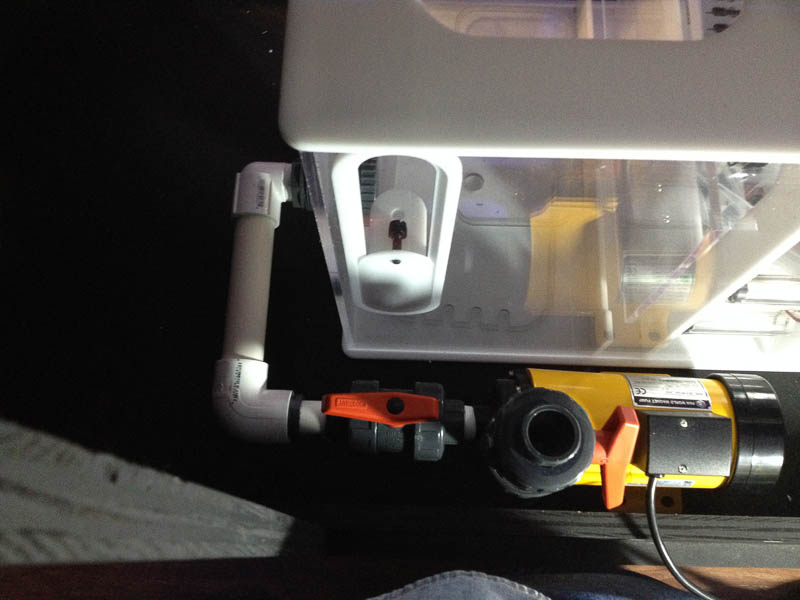
Return Pump is a Pan World 50PX (Max Flow: 590 GPH / Max Head: 16.5')
Other Stuff
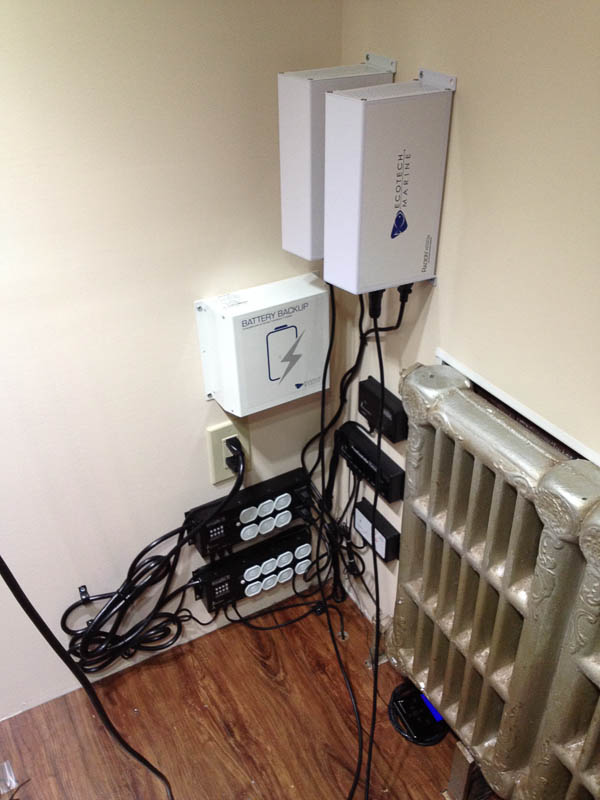
Tank Circulation MP40wES (x2) (w/ EcoTech Battery Backup)
Dosing BRS 1.1ml Pumps (x2) using BRS 3 Part (Recipe 1, via Apex)
ATO SpectraPure UPLC-II Liquid Level Controller (via Apex)
Controller
Neptune Systems Apex w/ Fusion
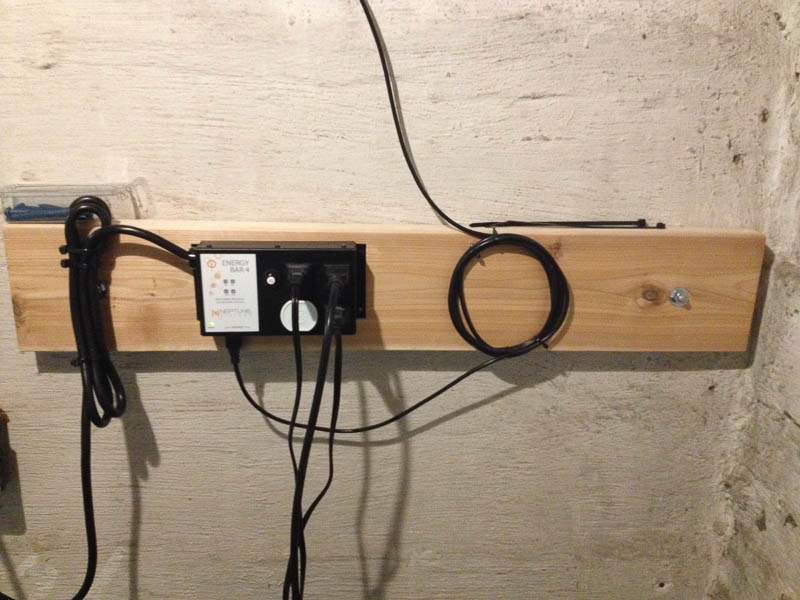
2x EB8 Energy Bars, 1x EB4 Energy Bar (Controlled in basement for push-button water fill), BRS ORP & pH Probes, Wireless Expansion Module (WXM) to control Radion(s) and VorTech(s), Advanced Leak Detection Module (ALD) w/ 2 Hard Surface detectors
Heater Eheim JAGER 200w TruTemp Aquarium Heater x2 (via Apex)
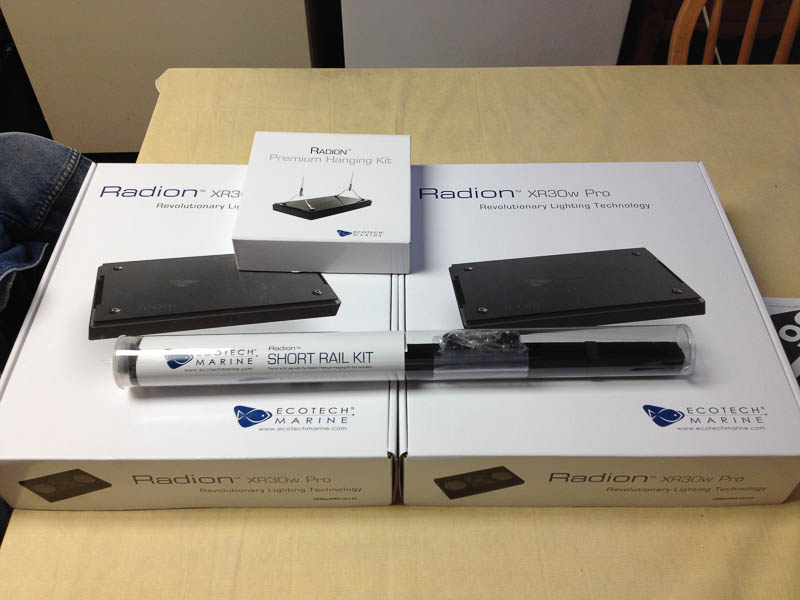
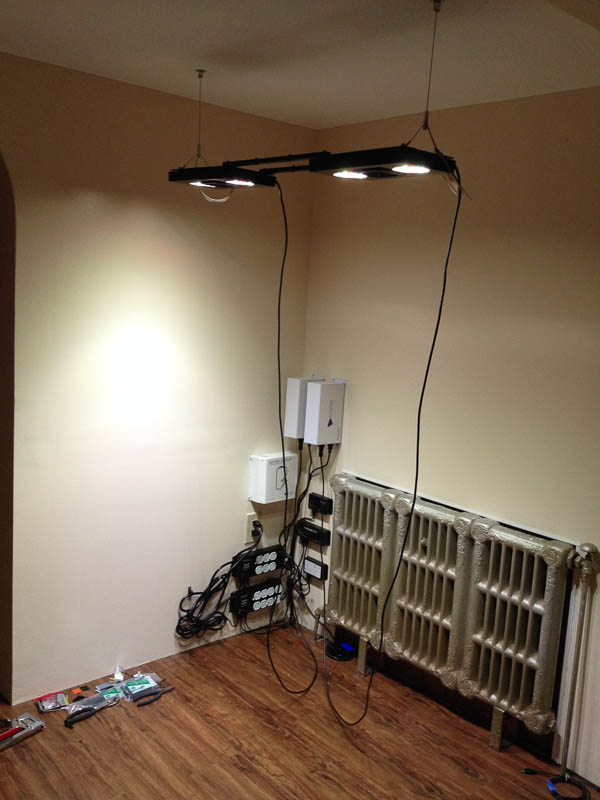
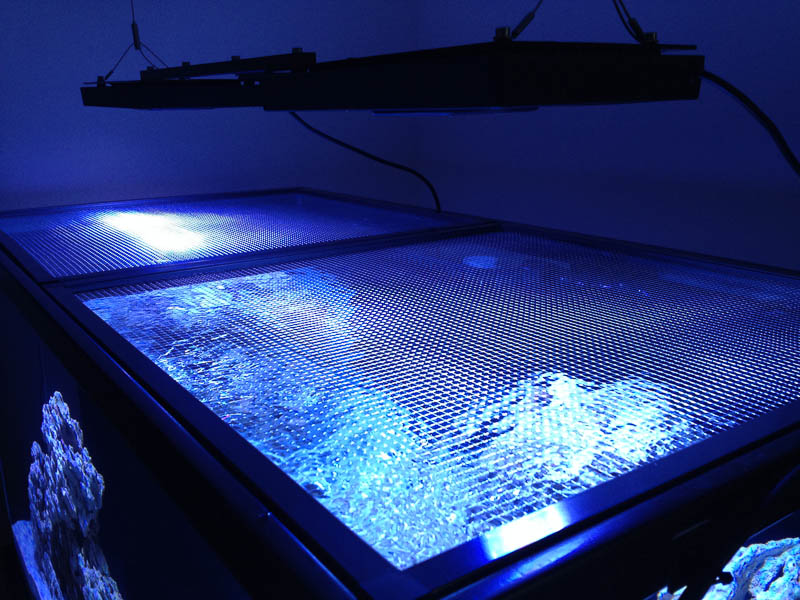
Lighting EcoTech Marine Radion XR30w G2 Pro LED x2
On-Demand Water Change
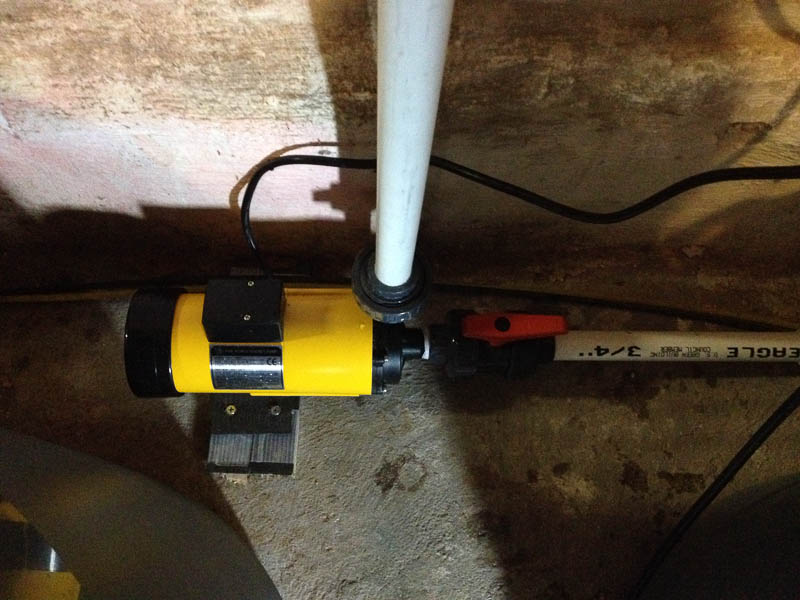
Pan World 100PX (Max Flow: 790 GPH / Max Head: 21’) from basement
[But I still manually syphon water to buckets for removal]
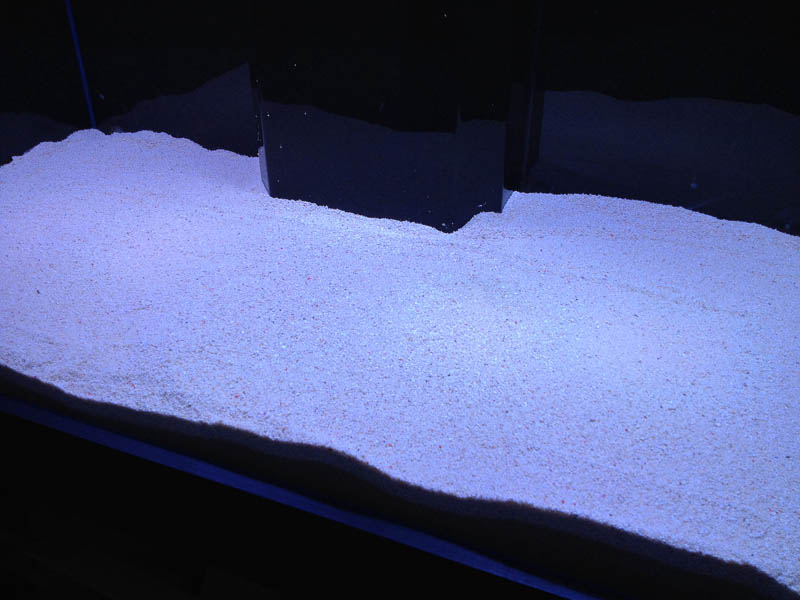
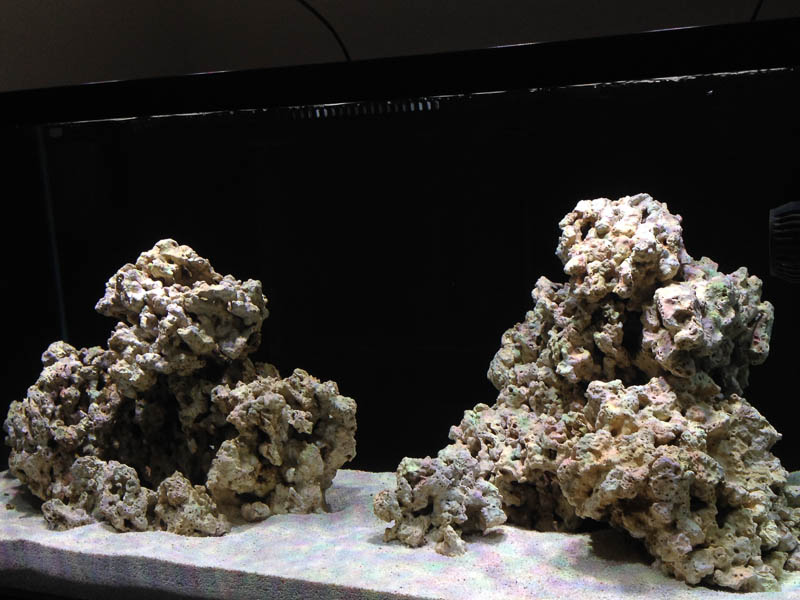
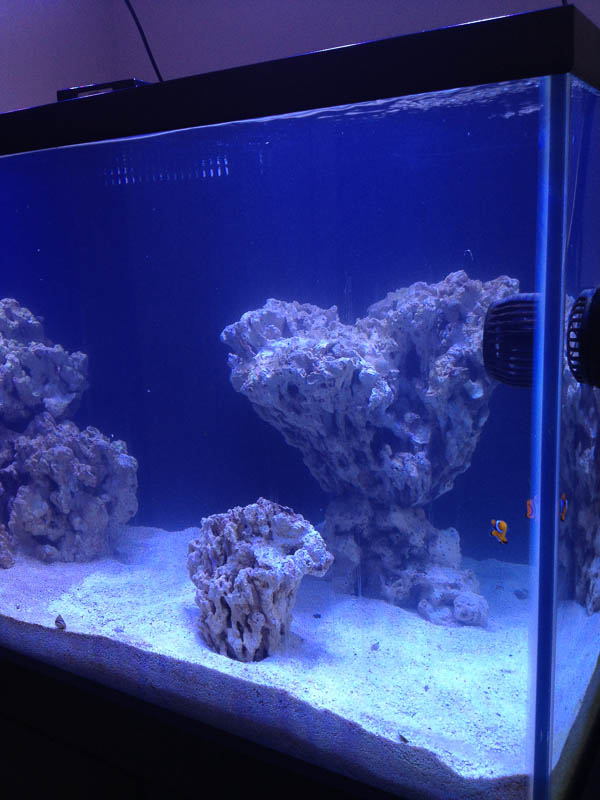
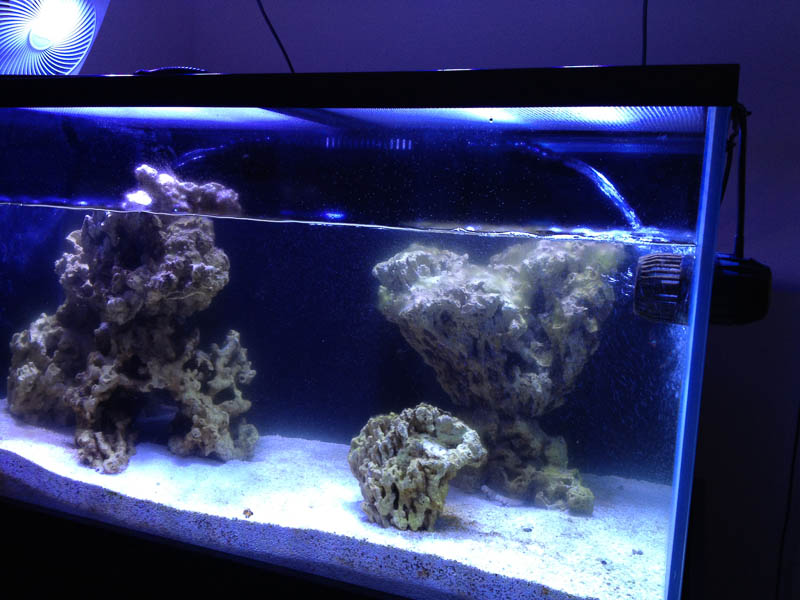
Substrate and Rock
BRS Pukanie (cured for about 5 months while waiting for tank delivery)
Rock structure underpinned by 1/2†PVC to provide safety and stability of the pillars
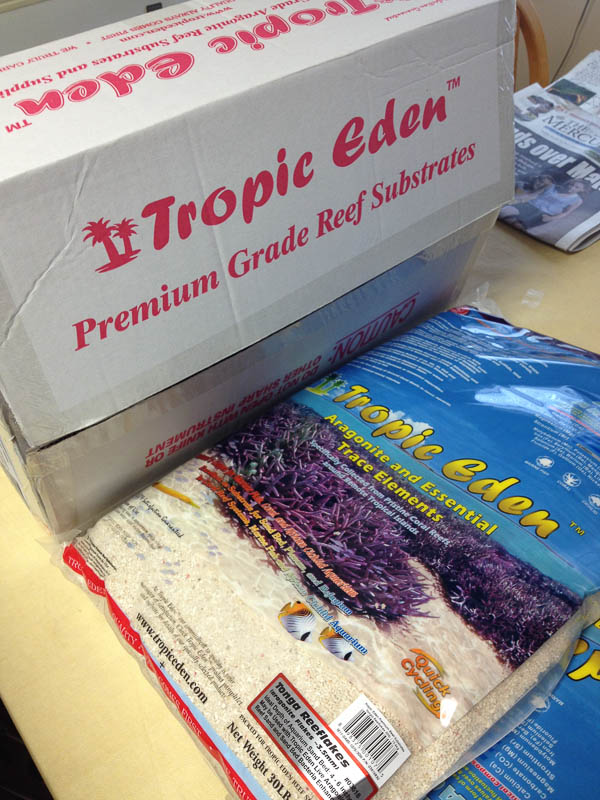
3" Tropic Eden Reef Flakes
And now on with the show...
I’ve been kicking around the idea of rebuilding my 75g reef aquarium for nearly 2 years now. I’ve been in and out of the hobby for nearly 20 years and the tank that currently housed the reef when I down-sized from my 125g system a few years back was pushing nearly 20 years itself.
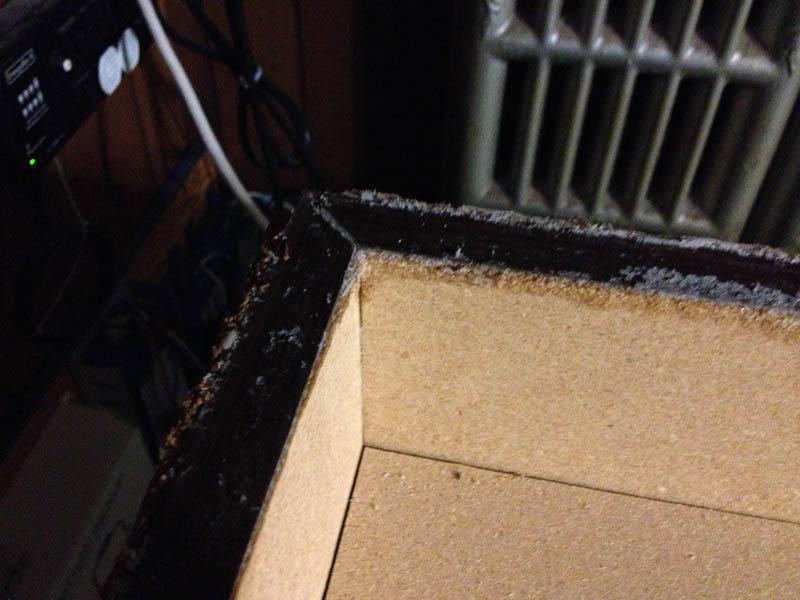
It was one of the first large tanks I had - complete with original partical-wood stand, that always made you think twice about crawling under it. All filter equipment was hang-on, as the stand never had room for a proper sump.
It was time for a rebuild, but this is certainly not how I planed to do it.
Some time around mid-August 2013 to the beginning of September I noticed my Kole Tang was looking a little pale, but I didn’t think much of it. About a 2-weeks later my Long-Nose Butterfly fish that I had for nearly a year was acting strange and looked a little “dusty†- with in a few days he was most defiantly sick with full blown Marine Ich.
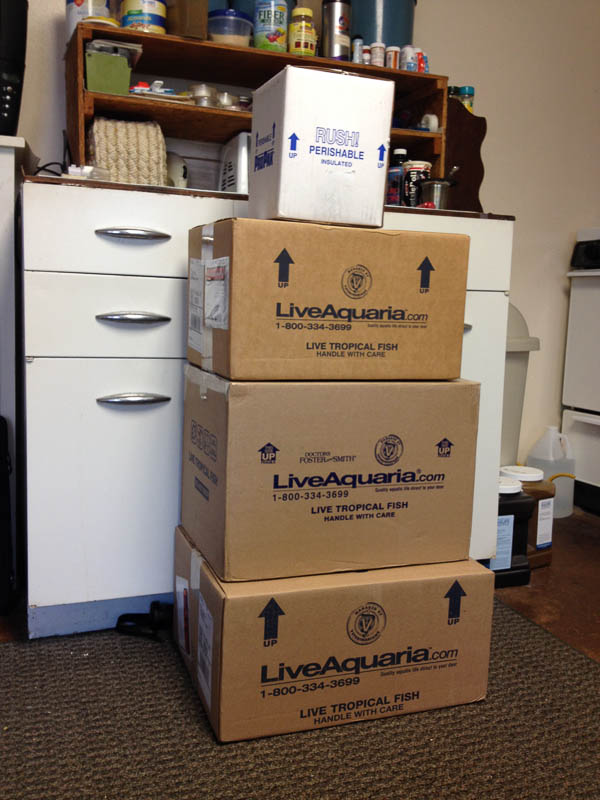
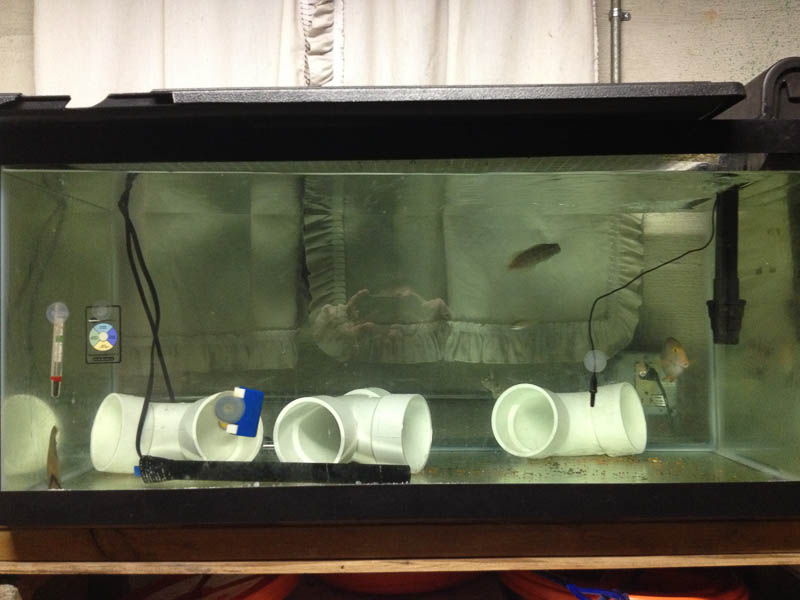
I had to setup a quarantine tank, and fast! With a trip to the local fish store. I picked up a 40g breeder, Penguin 400 power filter (both large enough to handle any fish I’d ever get later), thermometer, Ammonia Alert badge, some 3†PVC fittings (so the fish have a place to hide), some “Egg-Crate†(light defuser) for a makeshift top, and a bottle of Instant Ocean Bio-Spira Start Up to kick start the bio filter… and of course a bottle of CopperSafe and a copper test kit. - Not the cheapest setup in the world, with local prices higher then other venders. But their really isn’t much you can do, when you need it NOW!
The next day would be the move. By then I had already lost my Long-Nose Butterfly. With no time to waste… About 20 gallons of water was removed from the main display and taken to the 40-breeder tank in the basement. Rocks where moved out of the way, and corals moved very carefully as to not break any thing. Fish where caught. It was now or never for the rebirth.
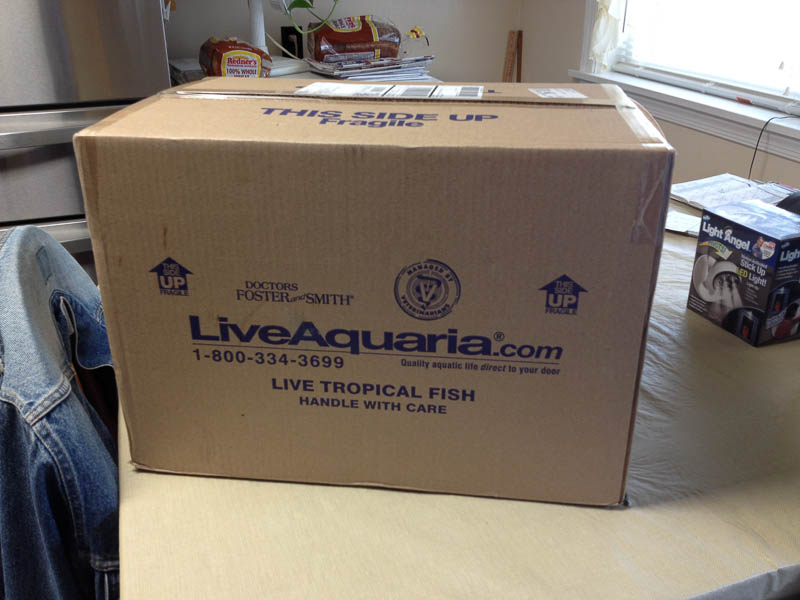
Since I had no place to stock live coral, all corals where sold off over the next few weeks and went to good homes, others to the LFS (funny how people kill for frags, but don’t want to pay the worth for 8â€+ colonies.)
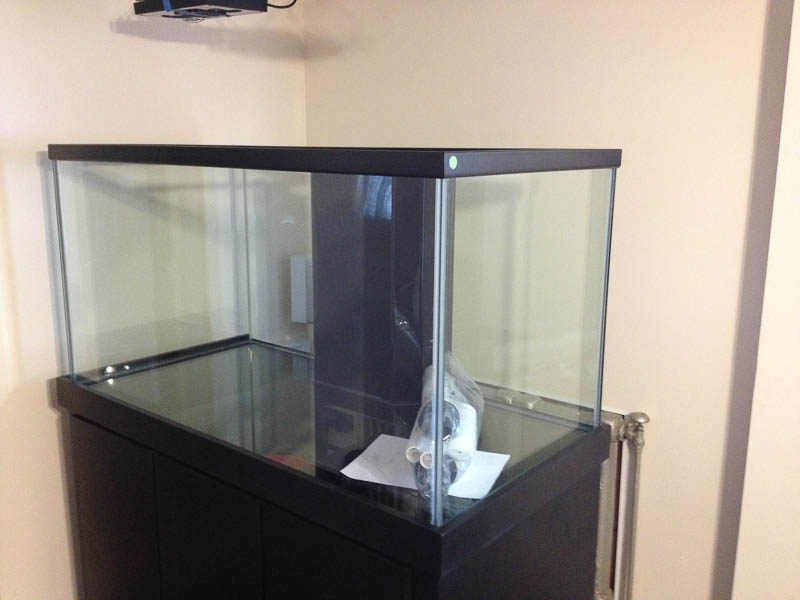
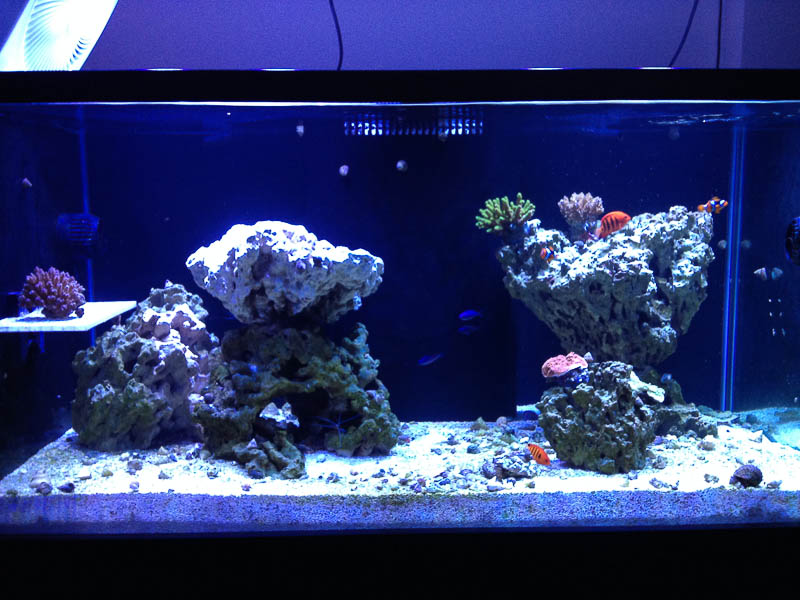
In the last week of September 2013 my Deep Sea Aquatics (DSA) 135g (48x24x27) with Starphire front was ordered with matching stand. Miss measurements and a bad old floor seam scraped the idea of a DSA 190g (60x27x27).
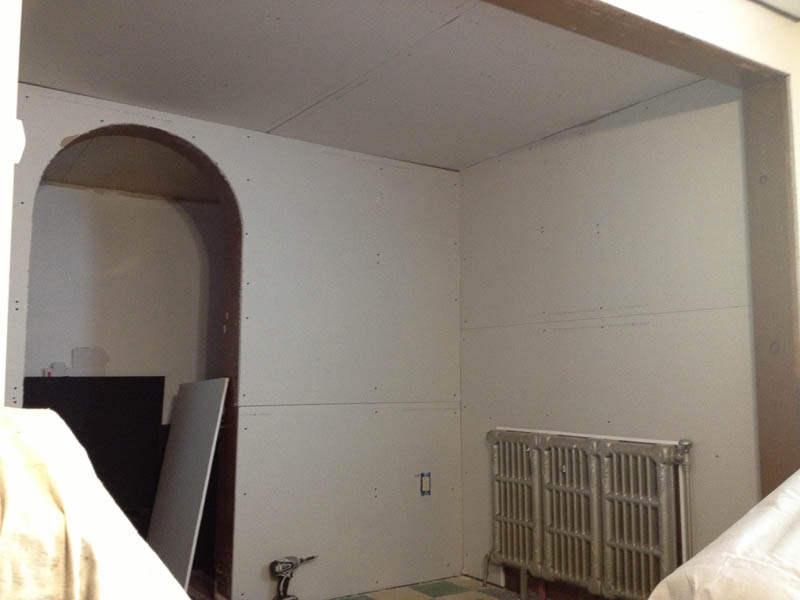
While waiting for the new tank that took longer then expected (6 months total) to arrive along with bad weather (about 2 of the 6 months, snowed in)! We did some much needed renovations and area prep.
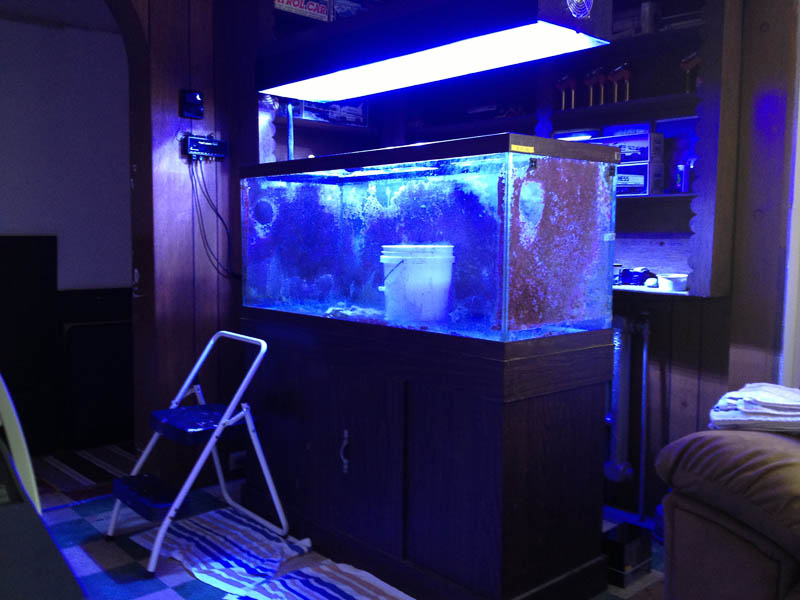
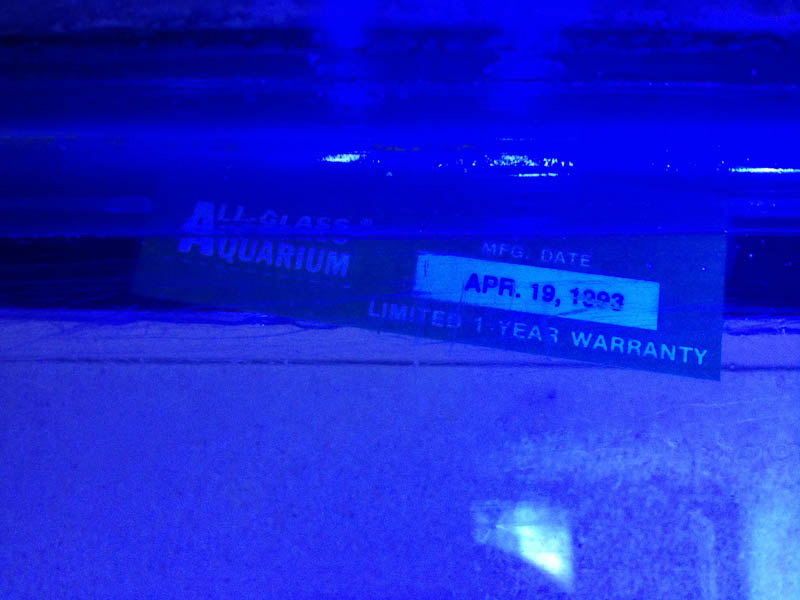
Say goodbye to the aged All-Glass 75g
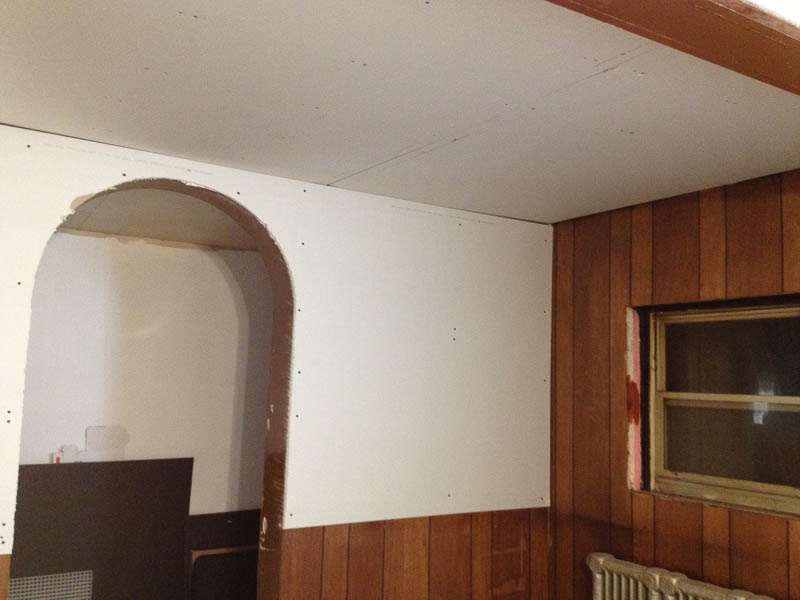
Tank area before drywall…
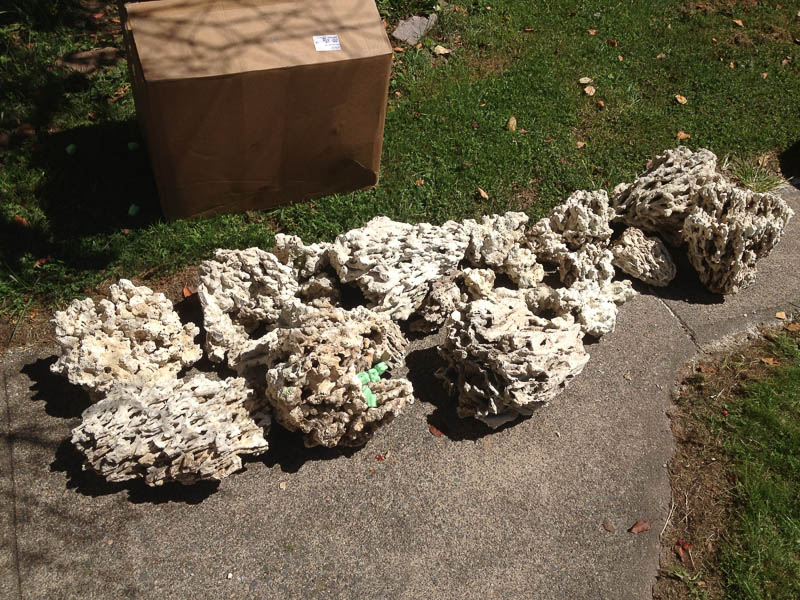
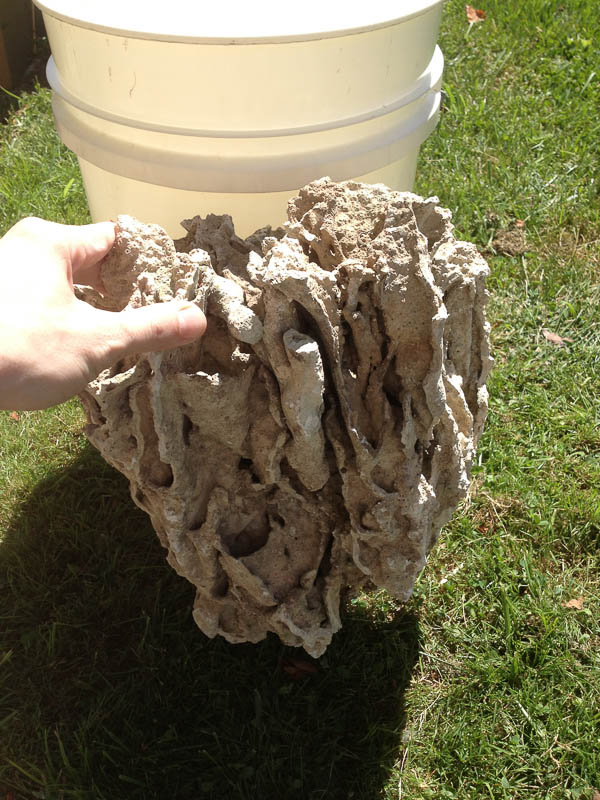
In the same time, about 140lb of BRS Pukani rock was ordered and setup to cure. Since I wanted all new rock…
They sent me 160lb!!! I never worked with Pukani or dry rock before...
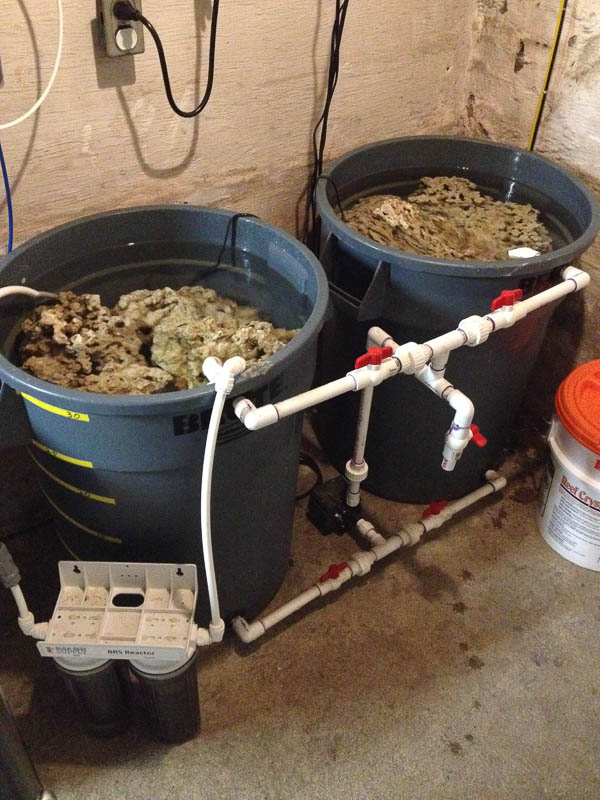
I sacrificed my saltwater mixing station to cure the rock (for the time being)…
Mid September 2013
The poor fish in QT
The Renovations

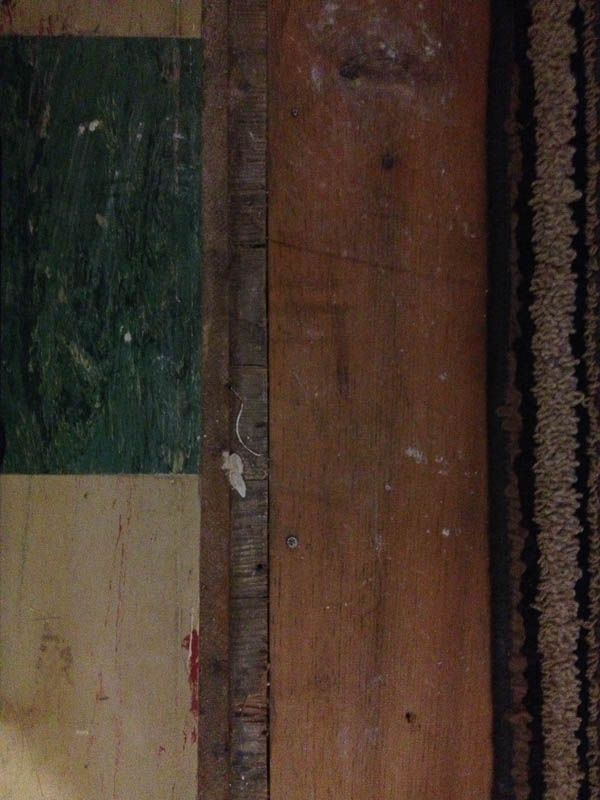
The floor seam that nixed the 190g - Because the tank would have been 60â€, an edge would have been right on it. I just didn’t want to take that kind of risk, and therefor simply decided to avoid it by opting for a 48†- 135g system...
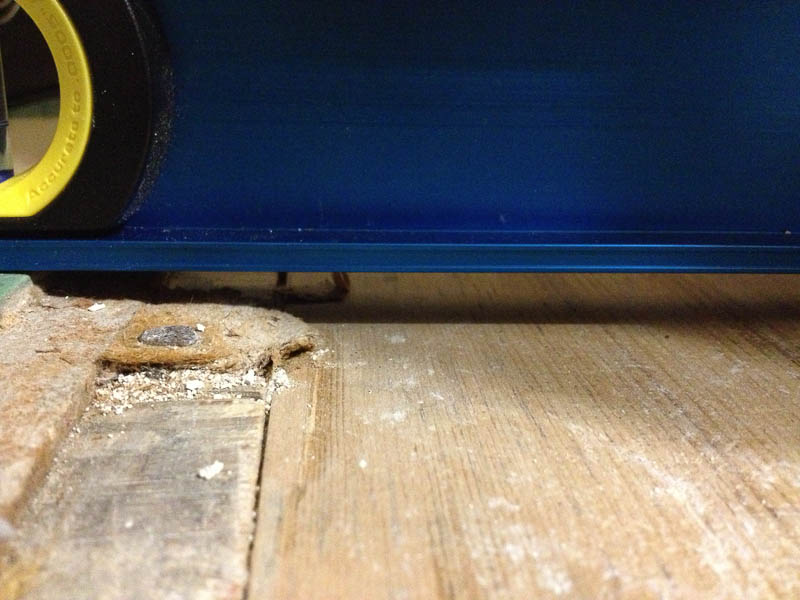
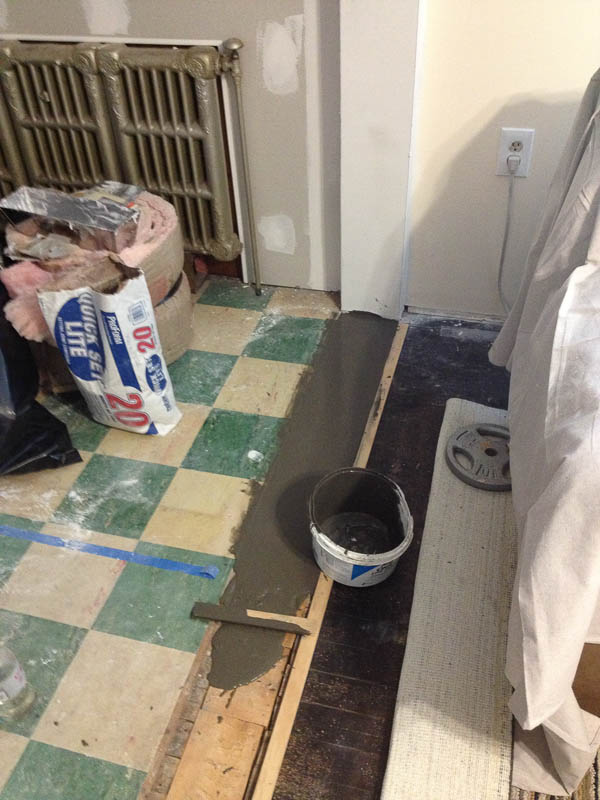
We still had to level it as best we could…
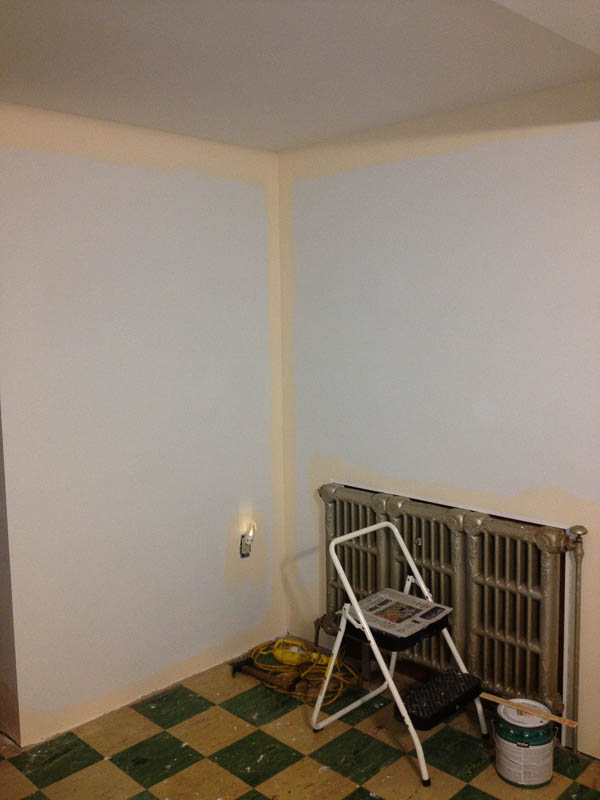
After sanding and primer, time for paint!
Late September 2013
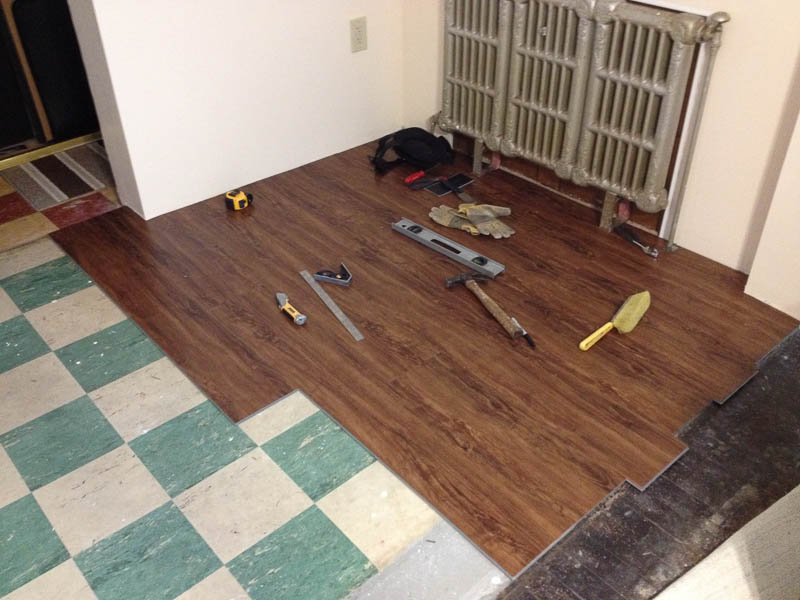
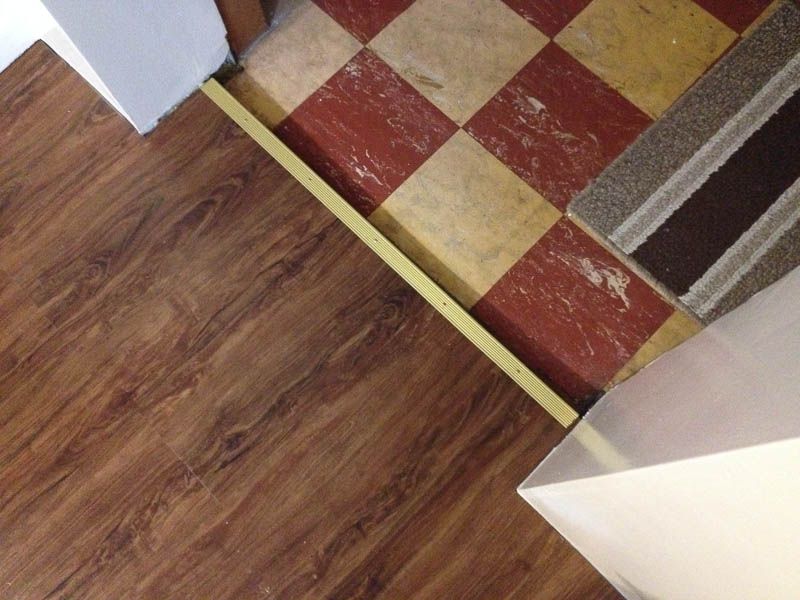
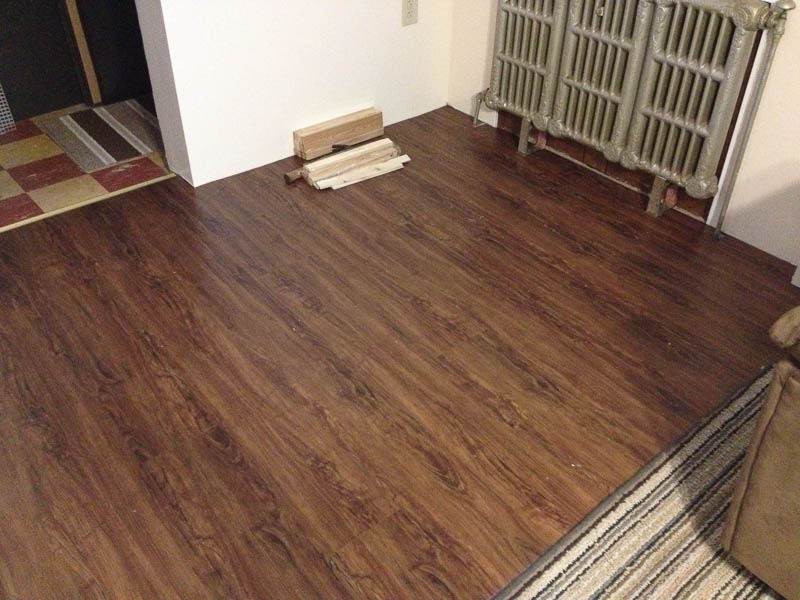
Time for flooring… Extra heavy duty vinyl lock-togeather flooring. OK for damp areas… Under you can see the dreaded 9x9 asbestos tile that we decided better to leave in place after consulting a contractor friend.
Done...
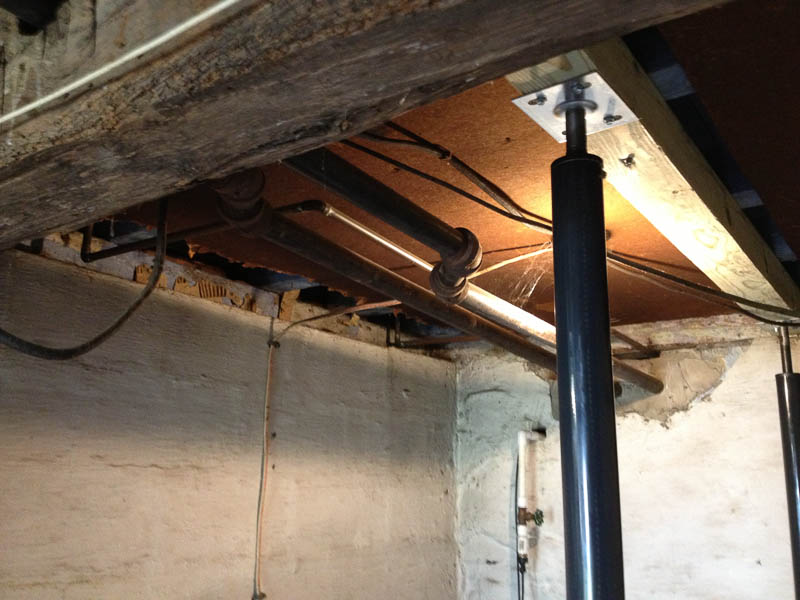
Underneath, likely unneeded… but better safe then sorry… some floor jacks for extra support…
Tank Specs
DSA (Deep Sea Aquatics) “Pro†135 Gallon 48x24x27 with matching DSA Pro Stand
Drilled w/ standard 3/4" Returns (x2), 1" Drains (x2)
Custom: Starphire (Low-Iron Glass) on Front Panel
DIY Latex Matt Black Paint on Back and Left panel(s)
Sump
Elite Aquatics "ELITE M2†33.5x15.5x15 - No Furge
Running BRS 4†filter socks (x2)
Reef Octopus Diablo DCS200 In-Sump Protein Skimmer
Diablo DC 5500s Pinwheel Pump, Skimmer air-line run to outside air
BRS Dual GFO & Carbon Reactor run by a MJ1200
Return Pump is a Pan World 50PX (Max Flow: 590 GPH / Max Head: 16.5')
Other Stuff
Tank Circulation MP40wES (x2) (w/ EcoTech Battery Backup)
Dosing BRS 1.1ml Pumps (x2) using BRS 3 Part (Recipe 1, via Apex)
ATO SpectraPure UPLC-II Liquid Level Controller (via Apex)
Controller
Neptune Systems Apex w/ Fusion
2x EB8 Energy Bars, 1x EB4 Energy Bar (Controlled in basement for push-button water fill), BRS ORP & pH Probes, Wireless Expansion Module (WXM) to control Radion(s) and VorTech(s), Advanced Leak Detection Module (ALD) w/ 2 Hard Surface detectors
Heater Eheim JAGER 200w TruTemp Aquarium Heater x2 (via Apex)
Lighting EcoTech Marine Radion XR30w G2 Pro LED x2
On-Demand Water Change
Pan World 100PX (Max Flow: 790 GPH / Max Head: 21’) from basement
[But I still manually syphon water to buckets for removal]
Substrate and Rock
BRS Pukanie (cured for about 5 months while waiting for tank delivery)
Rock structure underpinned by 1/2†PVC to provide safety and stability of the pillars
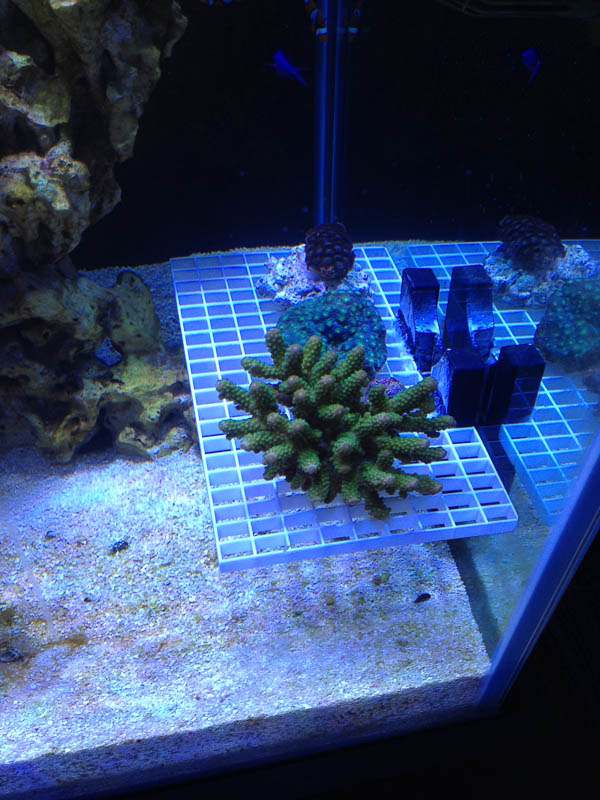
3" Tropic Eden Reef Flakes
And now on with the show...
I’ve been kicking around the idea of rebuilding my 75g reef aquarium for nearly 2 years now. I’ve been in and out of the hobby for nearly 20 years and the tank that currently housed the reef when I down-sized from my 125g system a few years back was pushing nearly 20 years itself.
It was one of the first large tanks I had - complete with original partical-wood stand, that always made you think twice about crawling under it. All filter equipment was hang-on, as the stand never had room for a proper sump.
It was time for a rebuild, but this is certainly not how I planed to do it.
Some time around mid-August 2013 to the beginning of September I noticed my Kole Tang was looking a little pale, but I didn’t think much of it. About a 2-weeks later my Long-Nose Butterfly fish that I had for nearly a year was acting strange and looked a little “dusty†- with in a few days he was most defiantly sick with full blown Marine Ich.
I had to setup a quarantine tank, and fast! With a trip to the local fish store. I picked up a 40g breeder, Penguin 400 power filter (both large enough to handle any fish I’d ever get later), thermometer, Ammonia Alert badge, some 3†PVC fittings (so the fish have a place to hide), some “Egg-Crate†(light defuser) for a makeshift top, and a bottle of Instant Ocean Bio-Spira Start Up to kick start the bio filter… and of course a bottle of CopperSafe and a copper test kit. - Not the cheapest setup in the world, with local prices higher then other venders. But their really isn’t much you can do, when you need it NOW!
The next day would be the move. By then I had already lost my Long-Nose Butterfly. With no time to waste… About 20 gallons of water was removed from the main display and taken to the 40-breeder tank in the basement. Rocks where moved out of the way, and corals moved very carefully as to not break any thing. Fish where caught. It was now or never for the rebirth.
Since I had no place to stock live coral, all corals where sold off over the next few weeks and went to good homes, others to the LFS (funny how people kill for frags, but don’t want to pay the worth for 8â€+ colonies.)
In the last week of September 2013 my Deep Sea Aquatics (DSA) 135g (48x24x27) with Starphire front was ordered with matching stand. Miss measurements and a bad old floor seam scraped the idea of a DSA 190g (60x27x27).
While waiting for the new tank that took longer then expected (6 months total) to arrive along with bad weather (about 2 of the 6 months, snowed in)! We did some much needed renovations and area prep.
Say goodbye to the aged All-Glass 75g
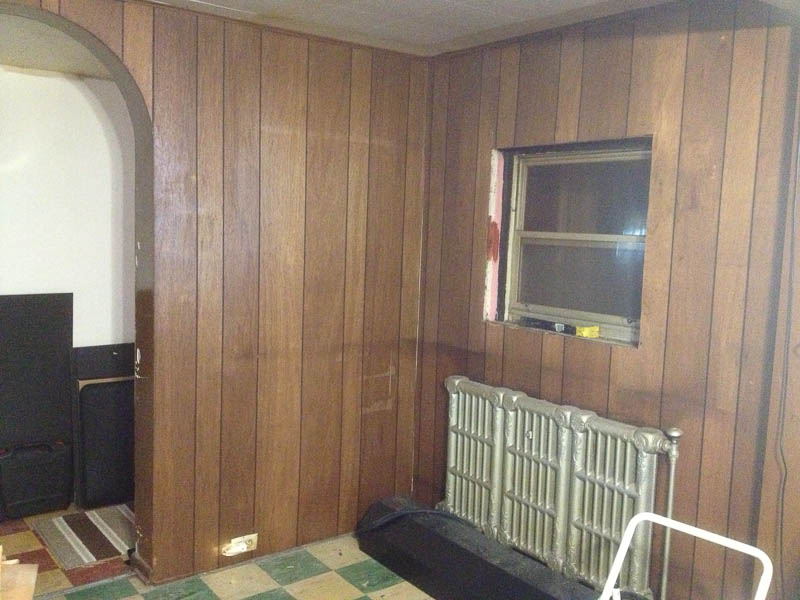
Tank area before drywall…
In the same time, about 140lb of BRS Pukani rock was ordered and setup to cure. Since I wanted all new rock…
They sent me 160lb!!! I never worked with Pukani or dry rock before...
I sacrificed my saltwater mixing station to cure the rock (for the time being)…
Mid September 2013
The poor fish in QT
The Renovations
The floor seam that nixed the 190g - Because the tank would have been 60â€, an edge would have been right on it. I just didn’t want to take that kind of risk, and therefor simply decided to avoid it by opting for a 48†- 135g system...
We still had to level it as best we could…
After sanding and primer, time for paint!
Late September 2013
Time for flooring… Extra heavy duty vinyl lock-togeather flooring. OK for damp areas… Under you can see the dreaded 9x9 asbestos tile that we decided better to leave in place after consulting a contractor friend.
Done...
Underneath, likely unneeded… but better safe then sorry… some floor jacks for extra support…