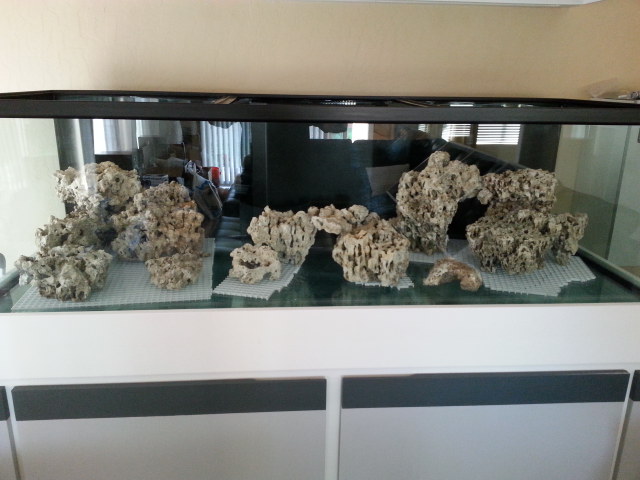
So after a few years of research (I was holding until after the move to a new state), I finally took the plunge and started my reef tank. Being from Dallas, I really liked the DSA tanks so when I got to Phoenix, it was great to see stock carried locally.
After trying to decide on the 175g (72Lx27Wx21H) or the 225 (72Lx27Wx27H), I decided on the 175g since it would be easier to reach the bottom of the tank. My next challenge was deciding on if I should build the stand myself or purchase DSA's stand. There were advantages to both, but since I wanted to have something very customizable, I decided to do it myself. So, off to google sketchup I go.
These are the sketches I decided to go with:


I haven't decided on what to do with the canopy or lighting, so I figured I would hold off and research more while the build was in progress. I placed the order for the tank and basically waited for the tank to arrive to do final measurements.
While the tank is arriving, I decided to finish off my list of supplies:
5-Stage RODI
Lighting - Leaning towards 3x Kessils with T5's (Updated: changed to 3x ATI Hydra 26's and 4x T5 lamps with 2x blue+ and 2x coral+)
Sump - Trigger Systems Tide48
Skimmer - JNS ConeS CO3
Return Pumps - Dual Jecod/Jebao DCT6000's (one for each return line)
Wavemakers - 2x RW-15's
Heaters - 2x 250W Eheim Jager
Salt - Red Sea Coral Pro
Refractometer
Sand - 5x 40lb bags of CaribSea Special Grade Reef
Rock - 100lbs of Pukani & 100lbs of Fiji (will decide on what gets used after aquascaping).
Controller - Apex with Lab Grade Probe and extra eb8 and breakout box
Test Kits - API, Salifert, and Hanna Checkers
Lots of other stuff, but I figured for time sake not to get that granular.
Tank arrived:

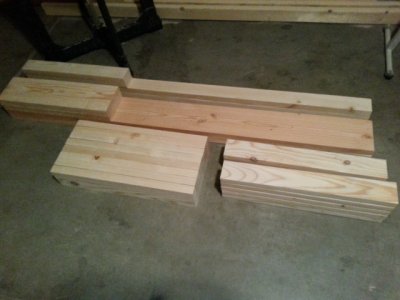
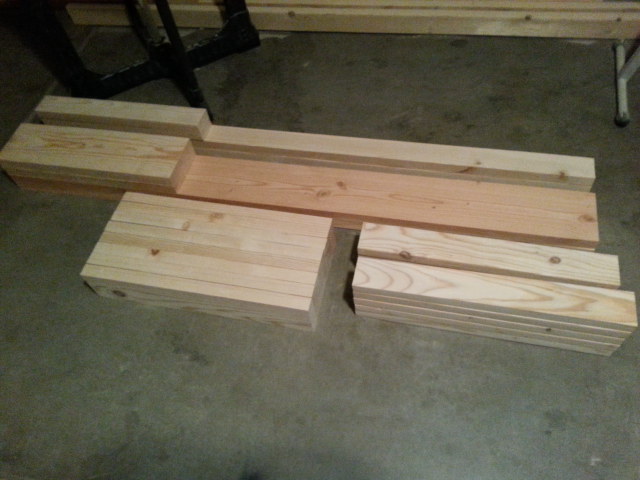
Let me preface, I actually had to learn woodworking to do this project. I practiced building a dining table, 2 beds with headboards, shelves, a console table and a few frames. I learned a good bit before I was comfortable enough to try the build myself. With the tank in the garage, I did the final measurements and everything looked good. I went to the hardware store and had them deliver the wood and spent the weekend squaring the lumber through the planar and table saw before assembling.
Stand build progress:
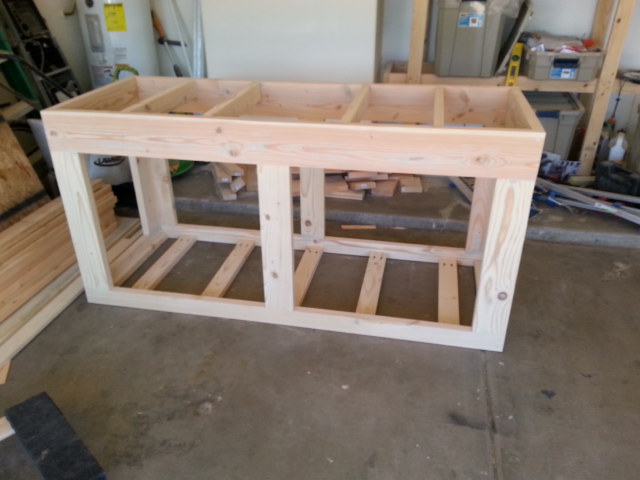
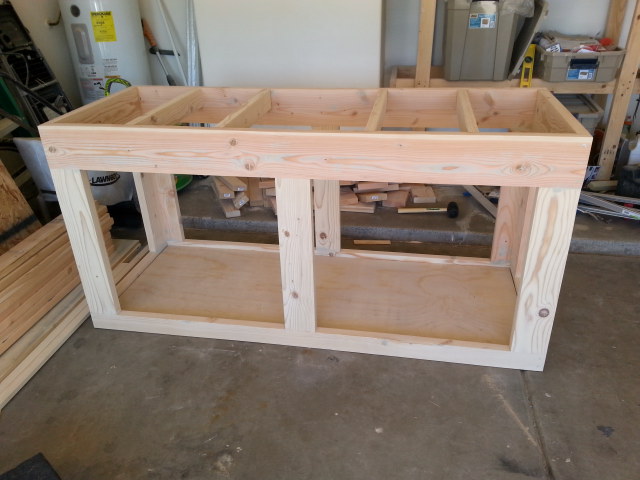
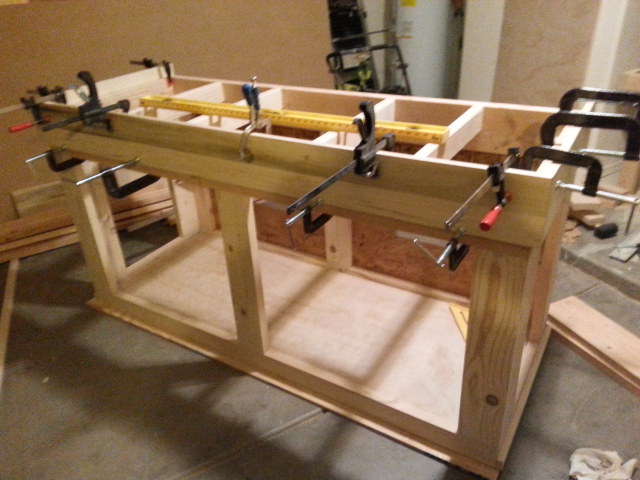
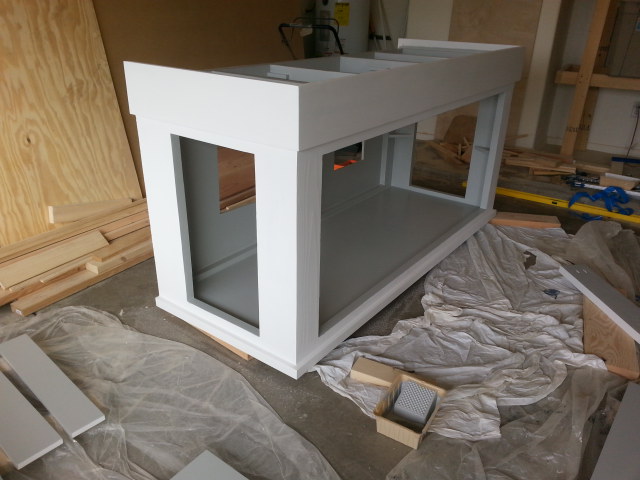
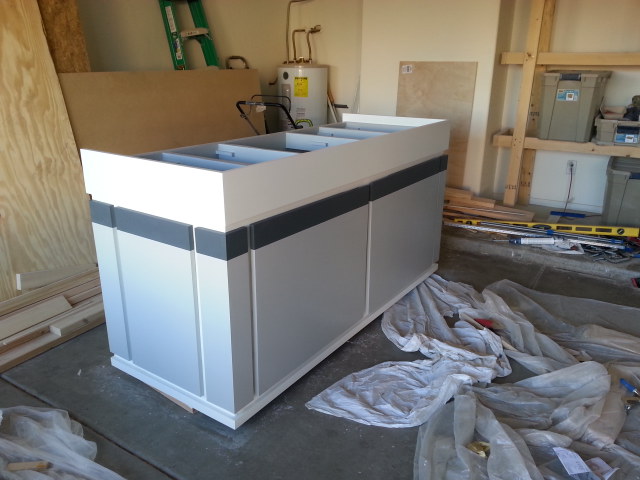
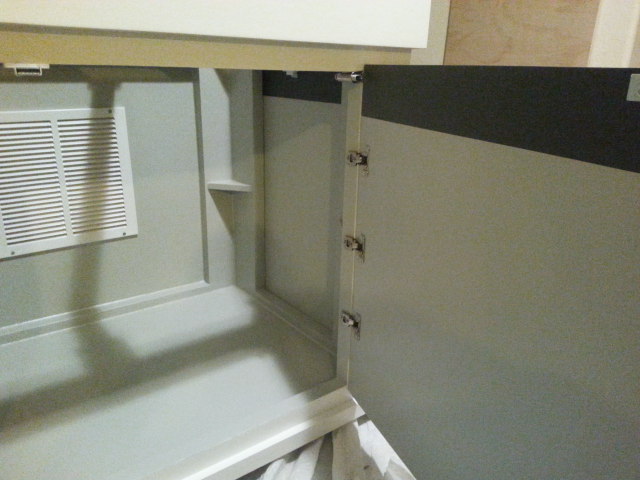
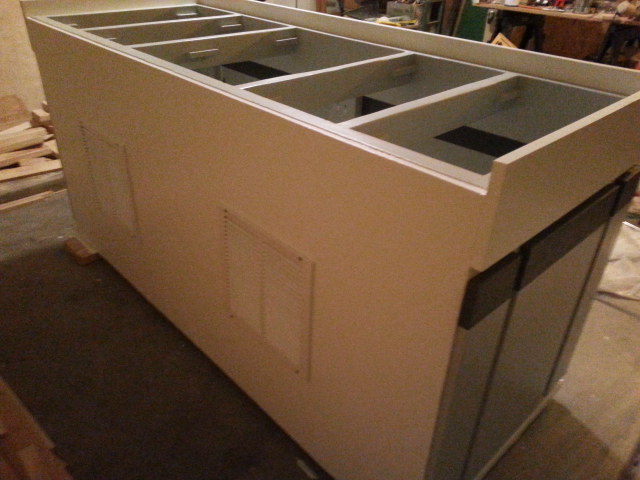
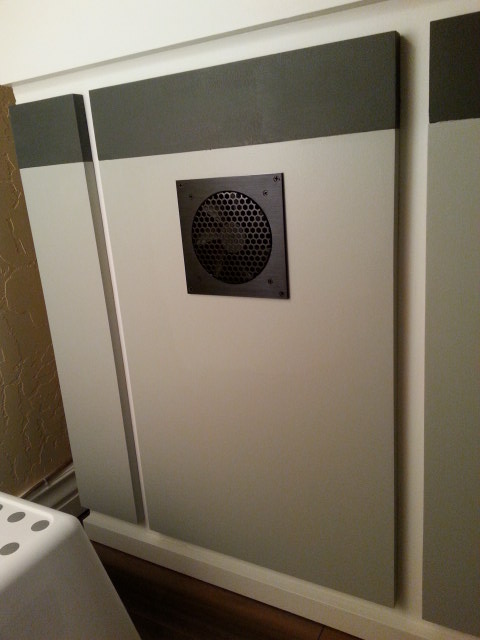
To help vent moisture, I ordered a fan and installed it on the left side.
With the stand basically finished, I took the opportunity to build a new console for the tv to match my tank stand.
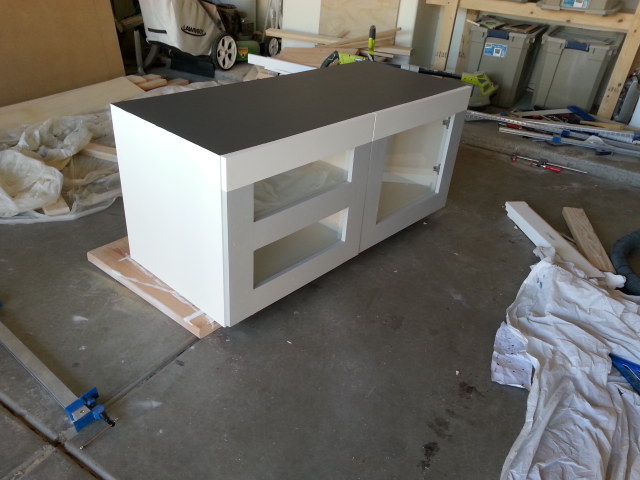
I then knocked out a few QT stands (one for me and one for a friend).
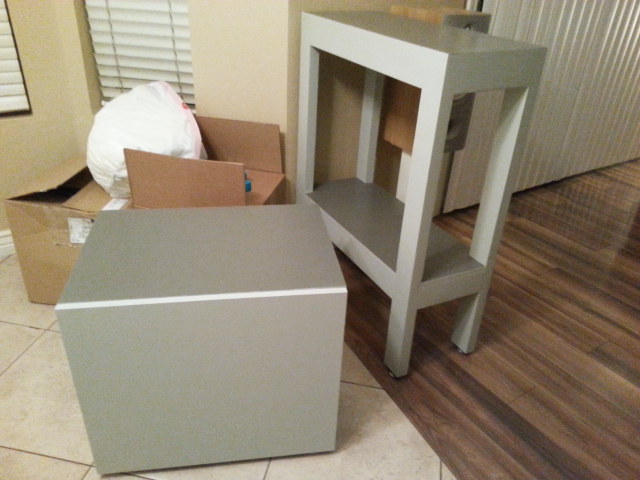
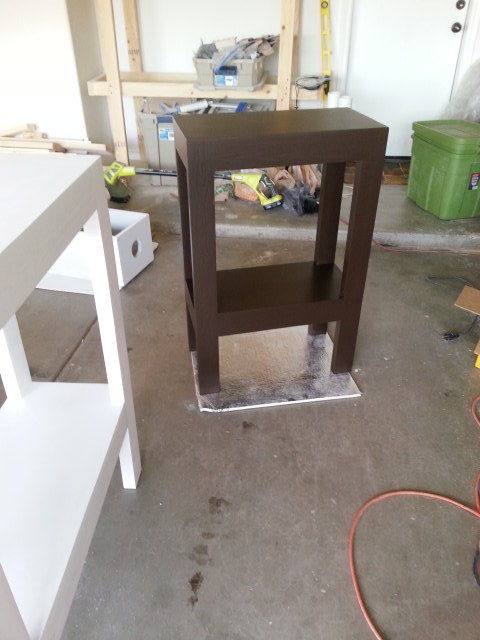
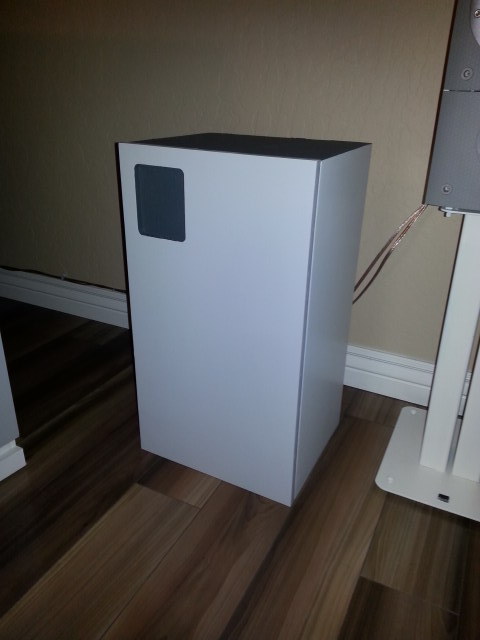
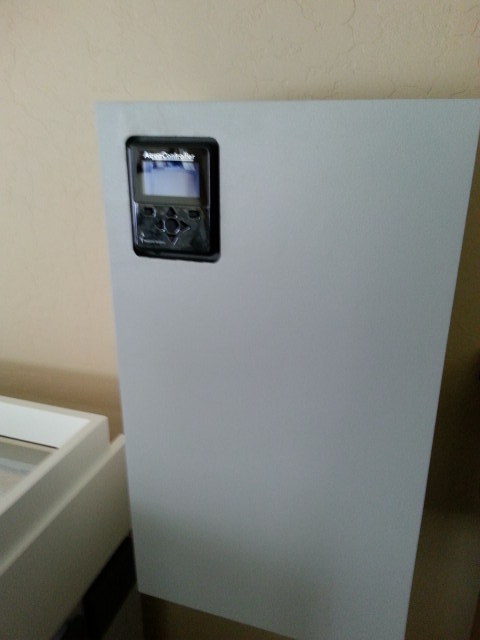
I decided to house the apex and electrical equipment in a seperate box outside of the stand. So I build a box that would mount on the wall to the right of the tank and ordered extension cords for all the outlets. I decided to make a recessed box in the wood for the Apex display.
I finally made a decision on what to do for lighting. I opted for 3x AI Hydra 26's and 4x T5 lights. This should give me enough spread over the tank, and I'll design a canopy where I can install more t5 bulbs if needed. AI sale, so I'm going to grab the 26's.
Goodies arrived! Apex with lab grade probe, an extra eb8 power bar, and 3x 26's.
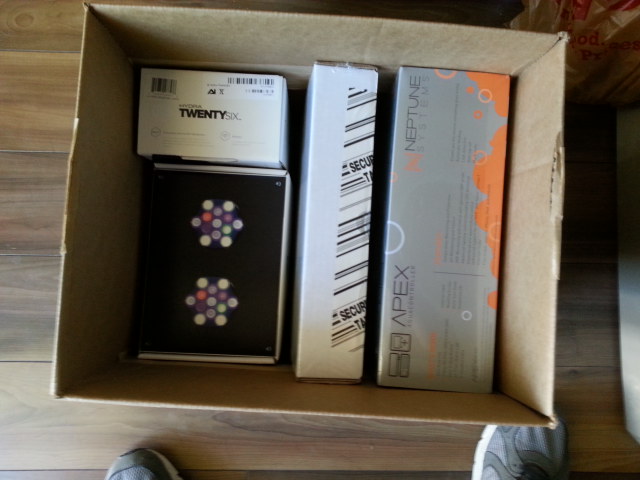
Now to test and see if the apex display fits my recessed spot on the electrical box. Lucky for me, it fits.
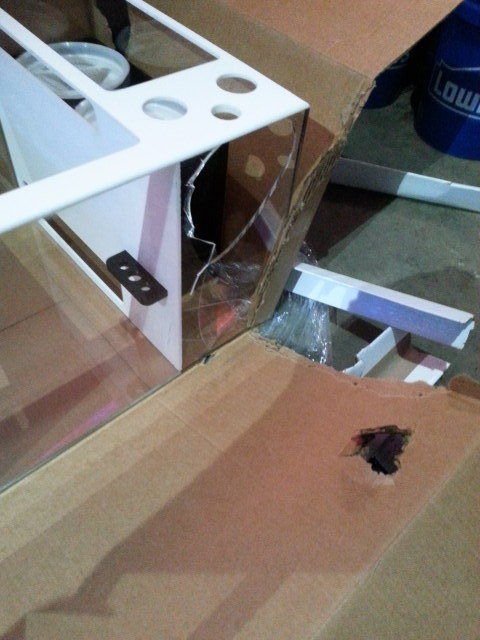
Trigger Systems Tide48 sump arrived (after a little over a month) - with a hole in it! I'm very surprised that the delivery company tried to pass this off. The hole was a vollyball size and it looked like they drove a forklift into it. Unfortunately for the LFS that I talked into getting signed up to order this sump had customers in the show and signed for it after a quick inspection.
The LFS went ahead and placed an order for another sump. The distributor pushed it back to the LFS to fight the shipping claim from the first unit, which has now turned into a legal situation. I will say that through all of this, Trigger Systems was great to work with and helpful in everyway.
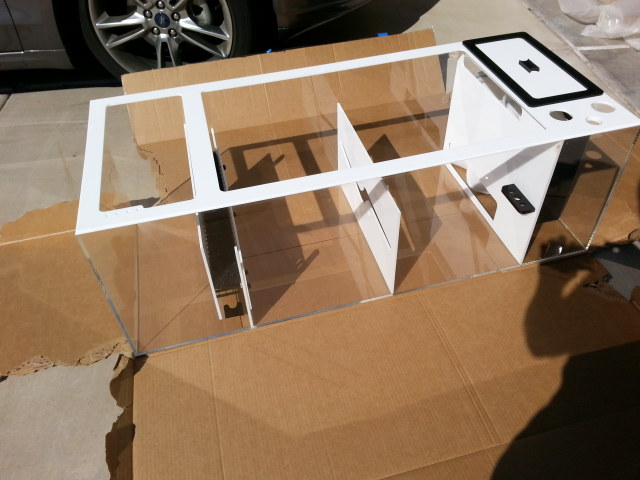
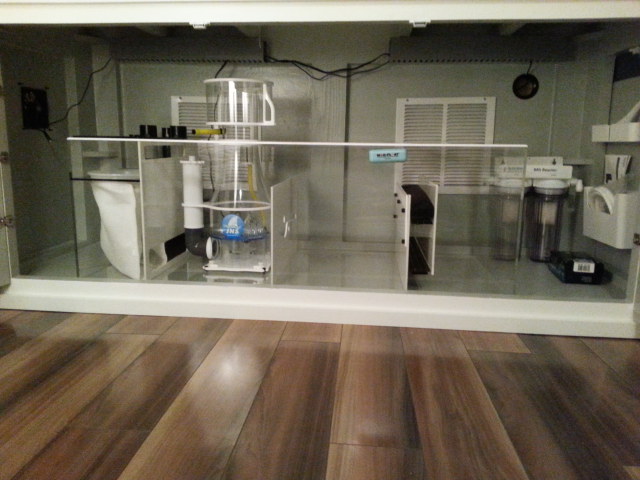
After a few weeks, the replacement sump arrived and I was able to put it in the stand.
Alright, so now to get serious about the canopy design. If I didn't do the t5 supplemental lighting, I would have just used AI's lighting racks. I know I wanted to push the hydra 26's about 11-12" from the water line, so I would need a floating canopy to do this. I have a vaulted ceiling in the living room so I was unsure if I'd be able to have it all suspended. I need to have an electrician come out to drop a couple of circuits and lines just for the tank. Since he'll be in the attic, I'll see if he runs into any trouble with it.
---------
Okay, electrican came and dropped the dedicated lines. I decided to go up into the attic when he left to look at installing cross boards for the hanging canopy. This was a nogo. I saw a large cobweb and my fear of spiders had me climbing down from the attic to go draft something else.
After trying to decide on the 175g (72Lx27Wx21H) or the 225 (72Lx27Wx27H), I decided on the 175g since it would be easier to reach the bottom of the tank. My next challenge was deciding on if I should build the stand myself or purchase DSA's stand. There were advantages to both, but since I wanted to have something very customizable, I decided to do it myself. So, off to google sketchup I go.
These are the sketches I decided to go with:
I haven't decided on what to do with the canopy or lighting, so I figured I would hold off and research more while the build was in progress. I placed the order for the tank and basically waited for the tank to arrive to do final measurements.
While the tank is arriving, I decided to finish off my list of supplies:
5-Stage RODI
Lighting - Leaning towards 3x Kessils with T5's (Updated: changed to 3x ATI Hydra 26's and 4x T5 lamps with 2x blue+ and 2x coral+)
Sump - Trigger Systems Tide48
Skimmer - JNS ConeS CO3
Return Pumps - Dual Jecod/Jebao DCT6000's (one for each return line)
Wavemakers - 2x RW-15's
Heaters - 2x 250W Eheim Jager
Salt - Red Sea Coral Pro
Refractometer
Sand - 5x 40lb bags of CaribSea Special Grade Reef
Rock - 100lbs of Pukani & 100lbs of Fiji (will decide on what gets used after aquascaping).
Controller - Apex with Lab Grade Probe and extra eb8 and breakout box
Test Kits - API, Salifert, and Hanna Checkers
Lots of other stuff, but I figured for time sake not to get that granular.
Tank arrived:
Let me preface, I actually had to learn woodworking to do this project. I practiced building a dining table, 2 beds with headboards, shelves, a console table and a few frames. I learned a good bit before I was comfortable enough to try the build myself. With the tank in the garage, I did the final measurements and everything looked good. I went to the hardware store and had them deliver the wood and spent the weekend squaring the lumber through the planar and table saw before assembling.
Stand build progress:


To help vent moisture, I ordered a fan and installed it on the left side.

With the stand basically finished, I took the opportunity to build a new console for the tv to match my tank stand.

I then knocked out a few QT stands (one for me and one for a friend).


I decided to house the apex and electrical equipment in a seperate box outside of the stand. So I build a box that would mount on the wall to the right of the tank and ordered extension cords for all the outlets. I decided to make a recessed box in the wood for the Apex display.

I finally made a decision on what to do for lighting. I opted for 3x AI Hydra 26's and 4x T5 lights. This should give me enough spread over the tank, and I'll design a canopy where I can install more t5 bulbs if needed. AI sale, so I'm going to grab the 26's.
Goodies arrived! Apex with lab grade probe, an extra eb8 power bar, and 3x 26's.

Now to test and see if the apex display fits my recessed spot on the electrical box. Lucky for me, it fits.

Trigger Systems Tide48 sump arrived (after a little over a month) - with a hole in it! I'm very surprised that the delivery company tried to pass this off. The hole was a vollyball size and it looked like they drove a forklift into it. Unfortunately for the LFS that I talked into getting signed up to order this sump had customers in the show and signed for it after a quick inspection.

The LFS went ahead and placed an order for another sump. The distributor pushed it back to the LFS to fight the shipping claim from the first unit, which has now turned into a legal situation. I will say that through all of this, Trigger Systems was great to work with and helpful in everyway.
After a few weeks, the replacement sump arrived and I was able to put it in the stand.


Alright, so now to get serious about the canopy design. If I didn't do the t5 supplemental lighting, I would have just used AI's lighting racks. I know I wanted to push the hydra 26's about 11-12" from the water line, so I would need a floating canopy to do this. I have a vaulted ceiling in the living room so I was unsure if I'd be able to have it all suspended. I need to have an electrician come out to drop a couple of circuits and lines just for the tank. Since he'll be in the attic, I'll see if he runs into any trouble with it.
---------
Okay, electrican came and dropped the dedicated lines. I decided to go up into the attic when he left to look at installing cross boards for the hanging canopy. This was a nogo. I saw a large cobweb and my fear of spiders had me climbing down from the attic to go draft something else.


