I have loved the clean look of the Zero Edge tanks, so I decided I was going to give it a shot of building one since they do not sell the pico size tank I would love to have.
I wanted a tank that I could put in my home office without taking a lot of room up.
So here is the tanks actual size
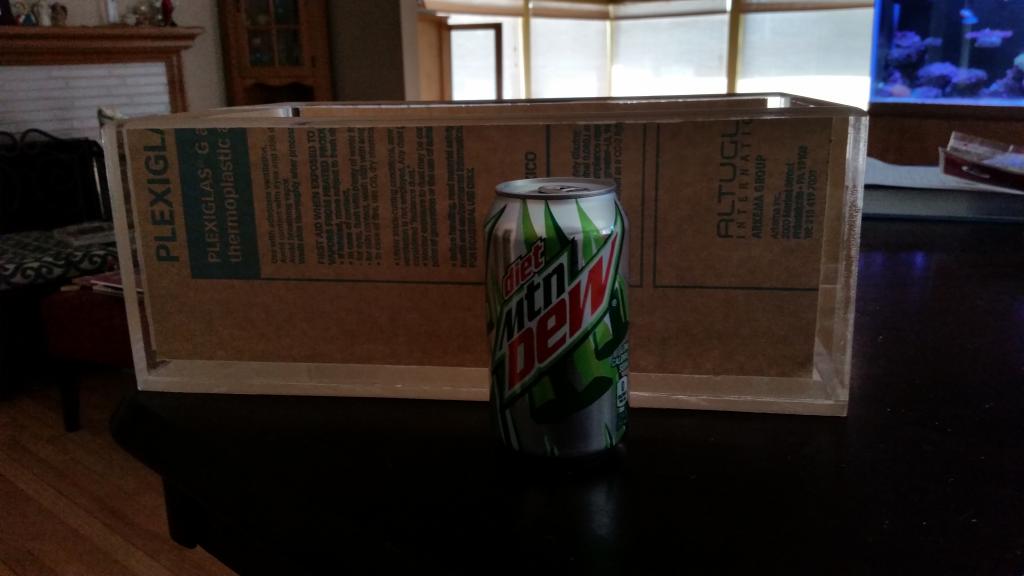
I did route the edges and sand them down starting with 80 grit paper all the way up to 3,000 grit paper. I am actually surprised how see through the acrylic got after I was finished.
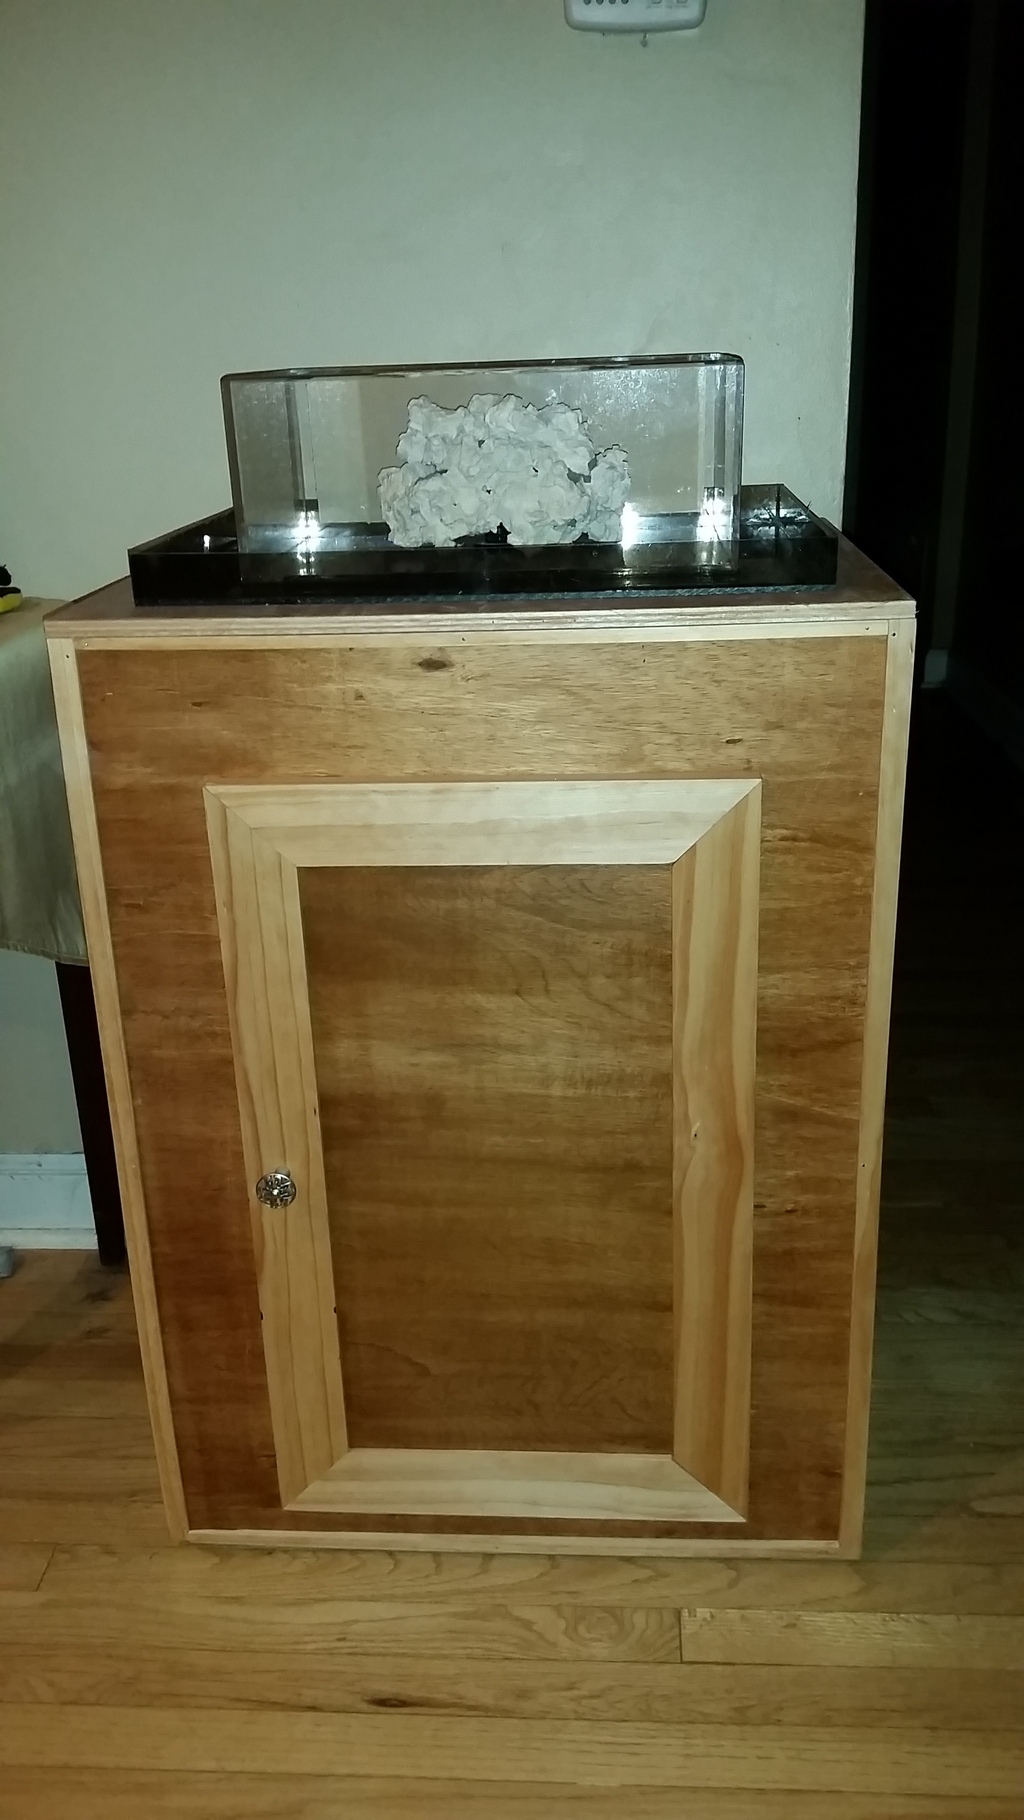
Next came the collection tray for the tank to sit in. Since it is such a small tank, I made the tray a little bigger then needed keeping the edges further away from the tank for better viewing. I measured out where I wanted the holes, placed the tank where it needed to be and used painters tape to mark it all off for easier alignment. I also placed a small trim of caulk along the bottom of the tank so water would not leak under it and into the stand once it is built.

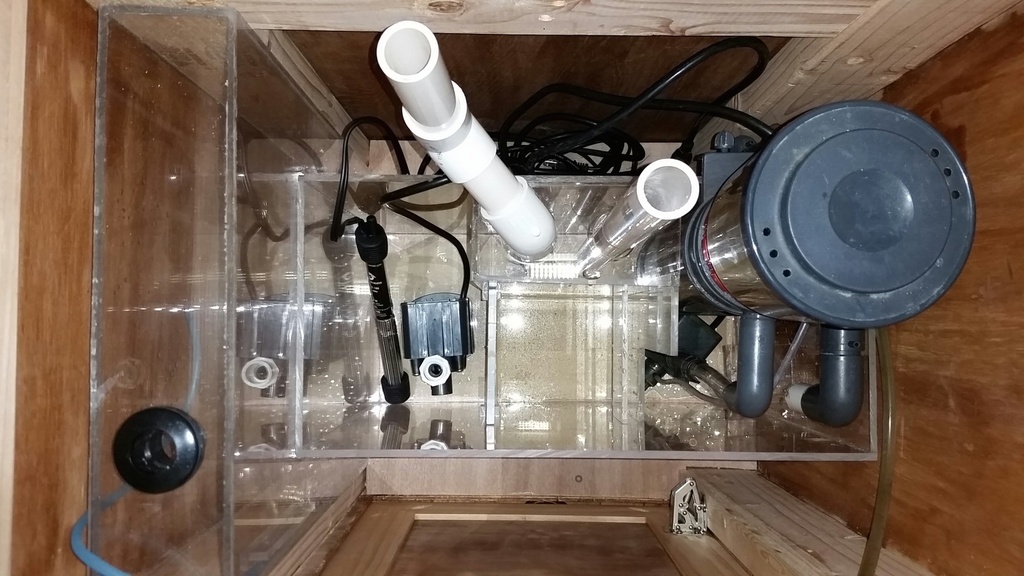
Next I was onto building a sump for this tank.. I knew that there was going to be a lot of water flow through it, and I also wanted to have a sump fugue at the same time. It is hard to see what all I did here so I will give you a couple of pictures.
The first picture is the sump. I basically built it around my skimmer..lol (and not sure why this picture came out sideways)

Basically The water comes into a box in the back, goes to the skimmer where I have the return of the skimmer dropping onto a piece of acrylic to stop getting too many bubbles from the skimmer before it goes to the bubble trap. It will go into the fugue section where I will have chato and a 2 inch sand/coral bed with some live rock, and then through the egg crate and back to the tank. (If you can not picture it by looking at it, here is a diagram.. just follow the A,B,C's") )
)

That is where I am so far in this build, I will be starting the stand within the next week or so.
I wanted a tank that I could put in my home office without taking a lot of room up.
So here is the tanks actual size
I did route the edges and sand them down starting with 80 grit paper all the way up to 3,000 grit paper. I am actually surprised how see through the acrylic got after I was finished.
Next came the collection tray for the tank to sit in. Since it is such a small tank, I made the tray a little bigger then needed keeping the edges further away from the tank for better viewing. I measured out where I wanted the holes, placed the tank where it needed to be and used painters tape to mark it all off for easier alignment. I also placed a small trim of caulk along the bottom of the tank so water would not leak under it and into the stand once it is built.
Next I was onto building a sump for this tank.. I knew that there was going to be a lot of water flow through it, and I also wanted to have a sump fugue at the same time. It is hard to see what all I did here so I will give you a couple of pictures.
The first picture is the sump. I basically built it around my skimmer..lol (and not sure why this picture came out sideways)
Basically The water comes into a box in the back, goes to the skimmer where I have the return of the skimmer dropping onto a piece of acrylic to stop getting too many bubbles from the skimmer before it goes to the bubble trap. It will go into the fugue section where I will have chato and a 2 inch sand/coral bed with some live rock, and then through the egg crate and back to the tank. (If you can not picture it by looking at it, here is a diagram.. just follow the A,B,C's
)That is where I am so far in this build, I will be starting the stand within the next week or so.