Paul B
10K Club member
View Badges
Excellence Award
Reef Tank 365
Reef Of The Month
Article Contributor
Rock Pool Reef Keepers
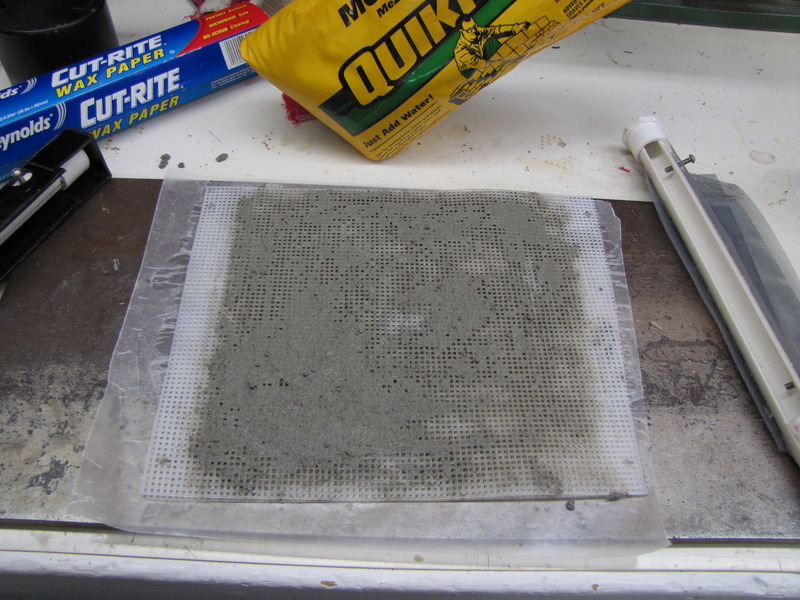
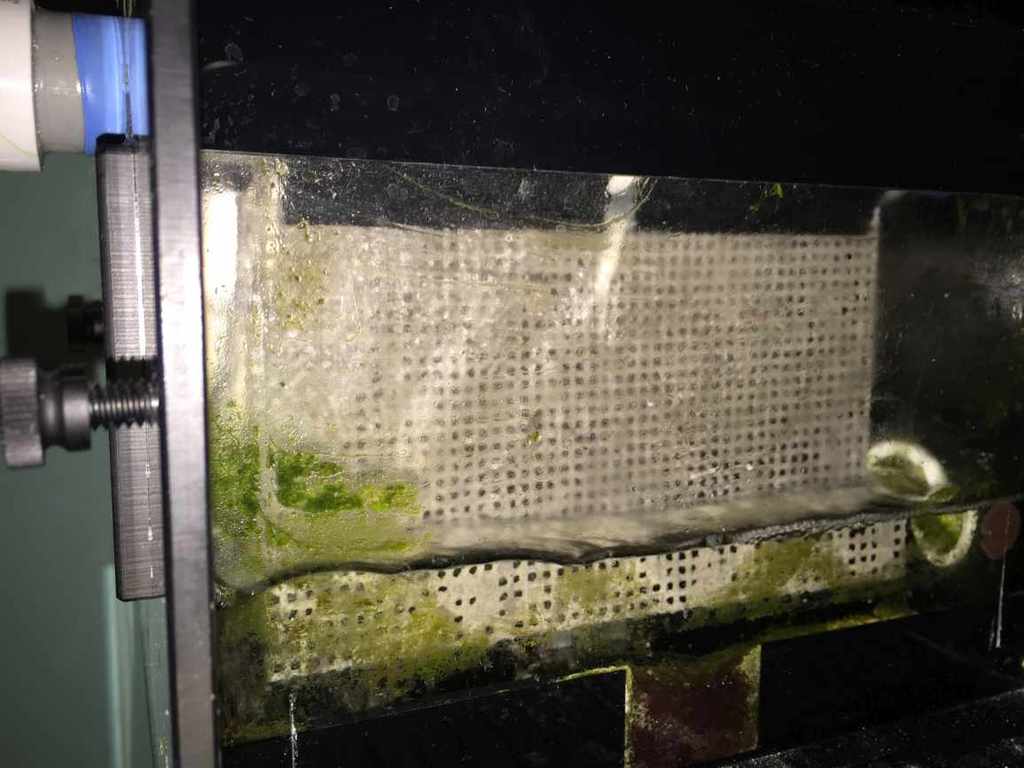
Thats what I have always done. You can use wax paper instead of the saran wrap as the mortar won't stick to it. (I did say Saran Wrap but I meant Wax Paper) I have been doing this for many years. I noticed that algae loves cement or mortar because I make a lot of cement rocks and algae always grows on the cement much faster than real rock (or anything else) sometimes algae will cover cement rocks and not touch anything else. Who Knew? It may be the minerals such as calcium in the cement, or the different pH or just the texture. I really don't know, but I know it works.
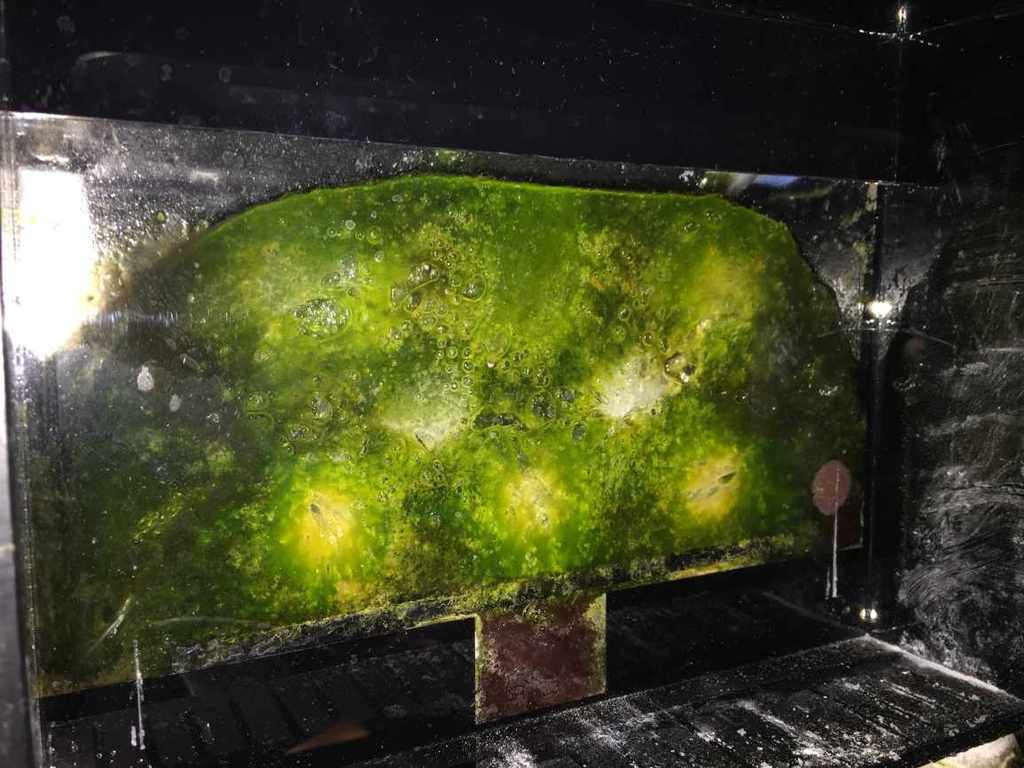
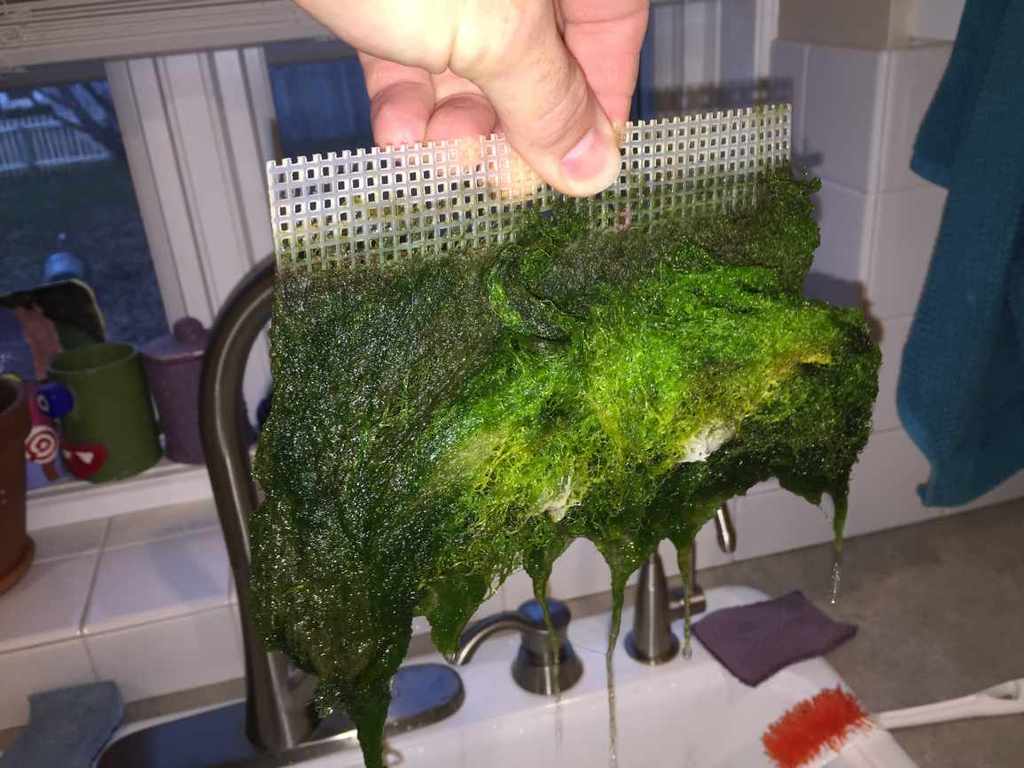
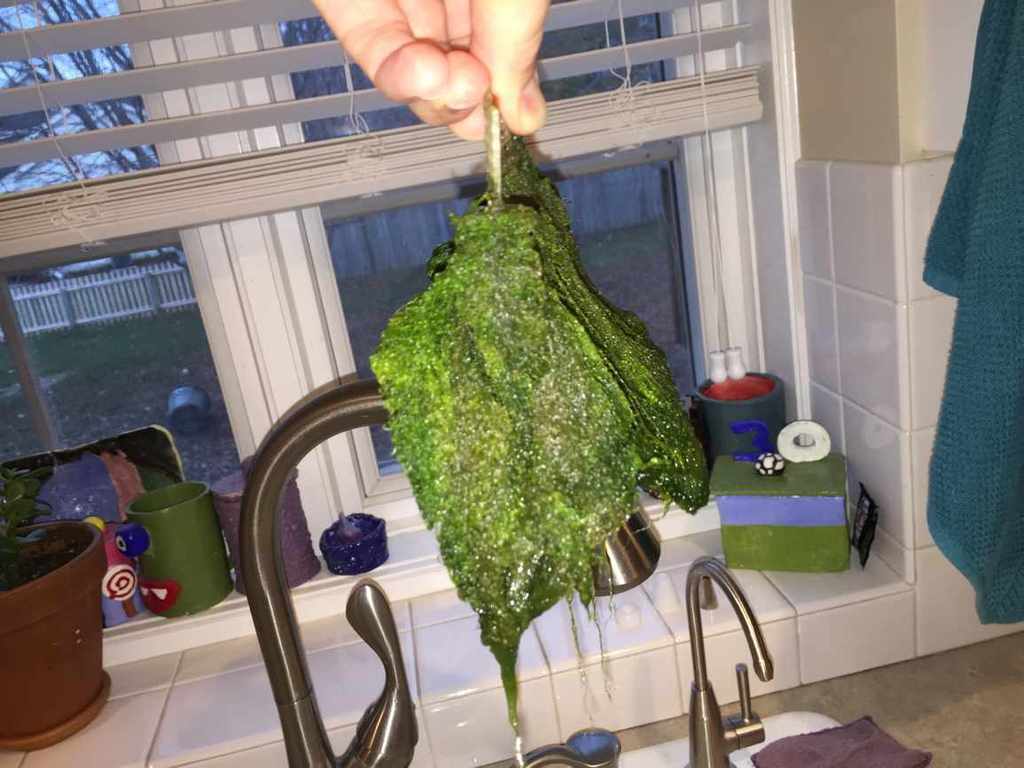
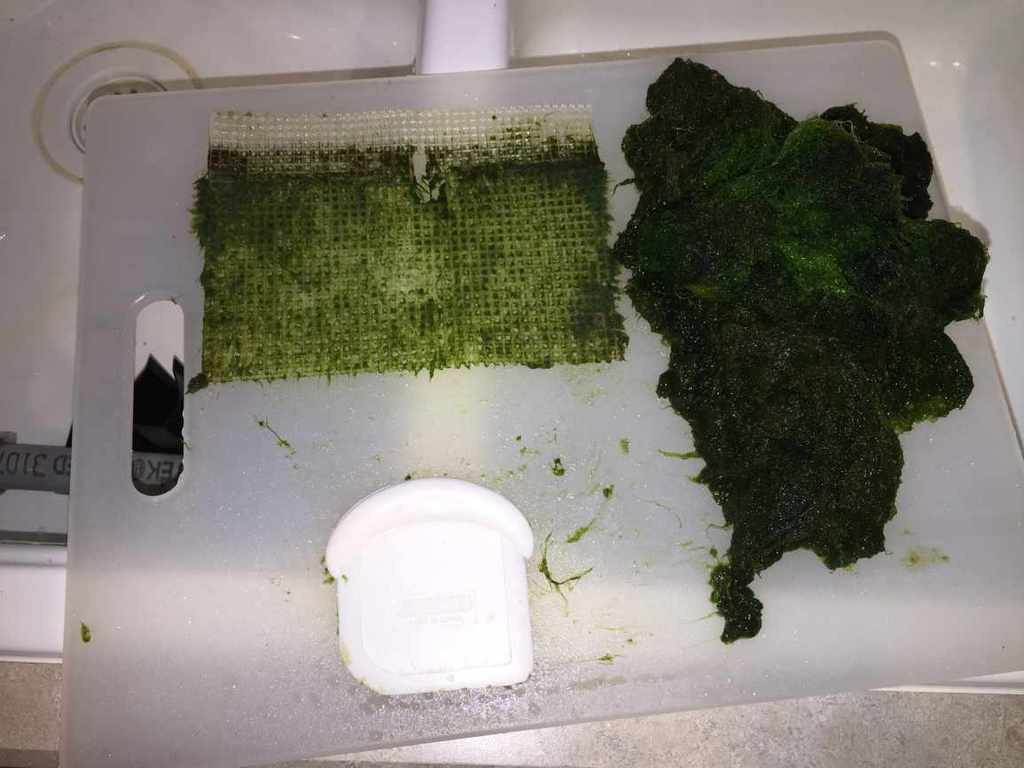
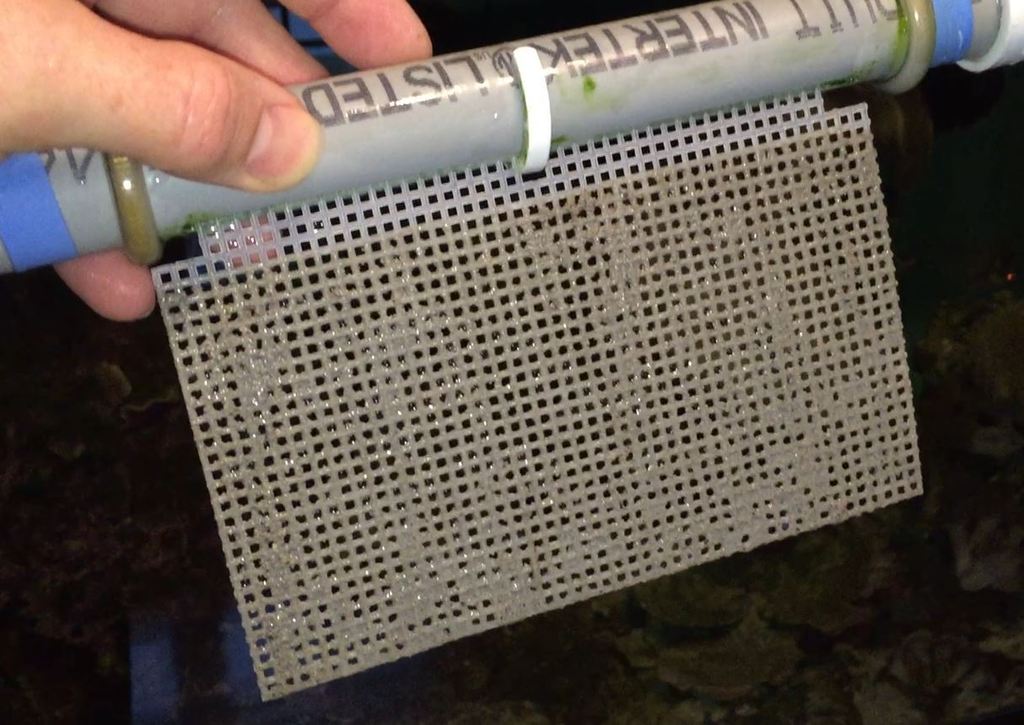
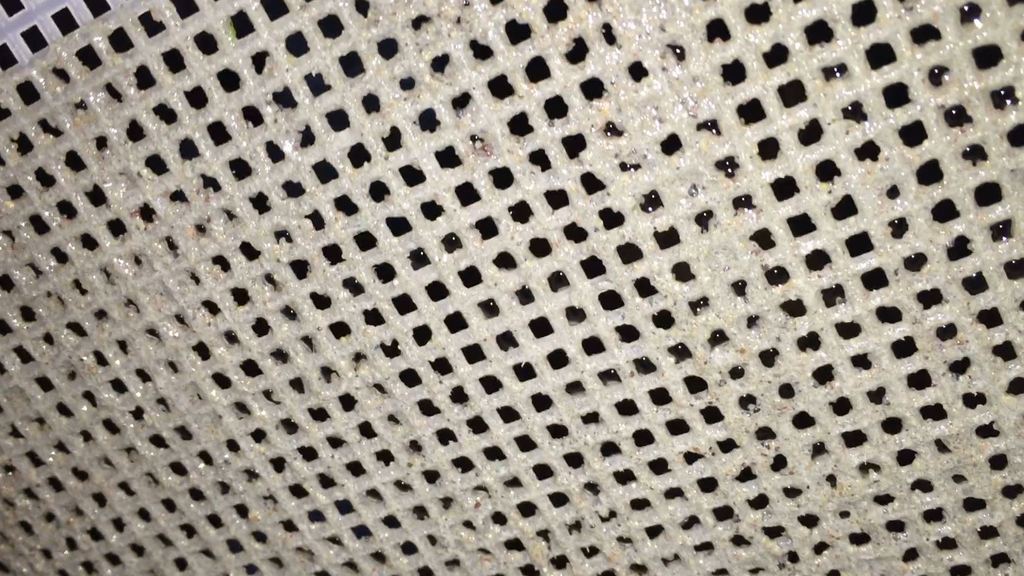
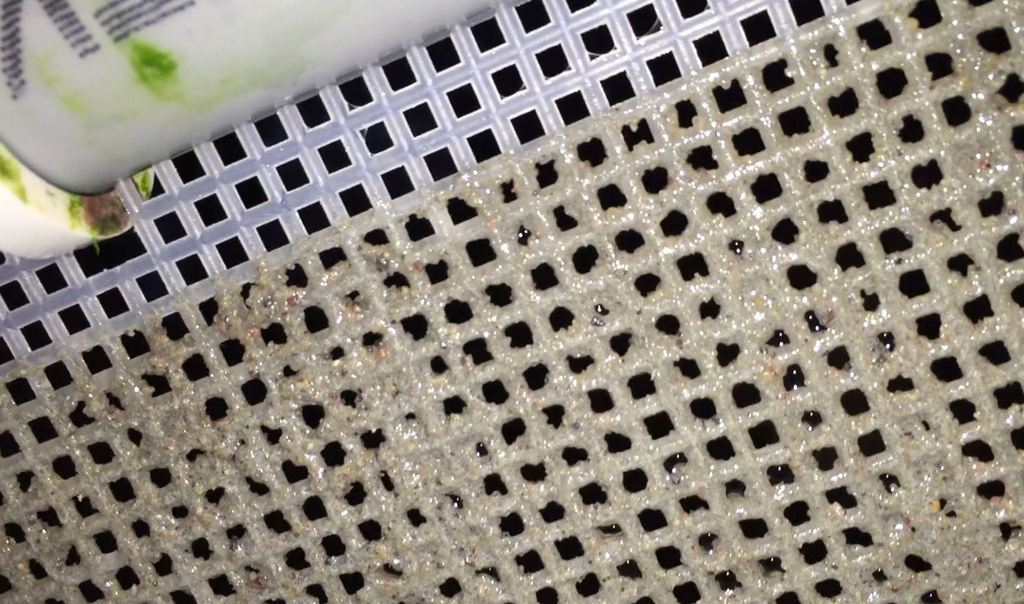
I use it in my algae trough
I use it in my algae trough