


Welp wanted a durso for my new tank so i decided to get all the materials and do it myself.
For a parts list just look up durso in google and you'll find it.
I would guess that all parts and such bought = about 12$
Since i have a 1" bulk head i went with the 1 1/4" PVC for the main durso than bought some 1" pvc for the connector to the bulk head.
I was able to find all pieces at lowes.
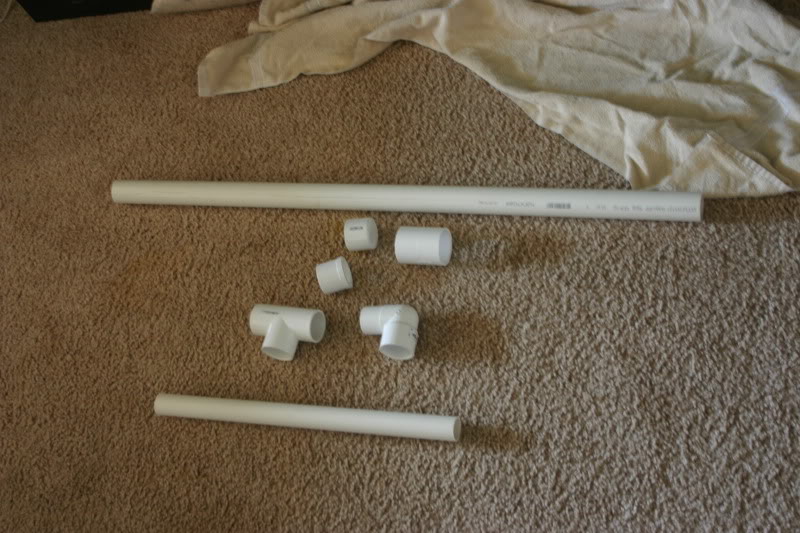
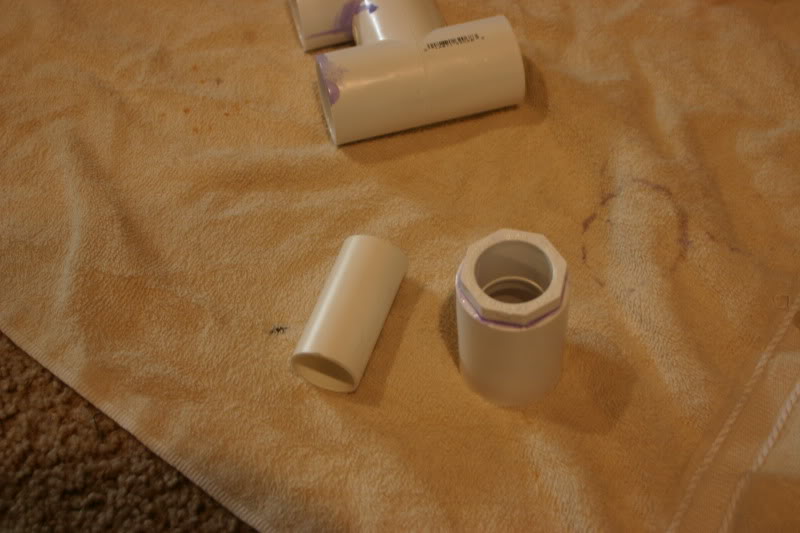
Here are all the pieces laid out.
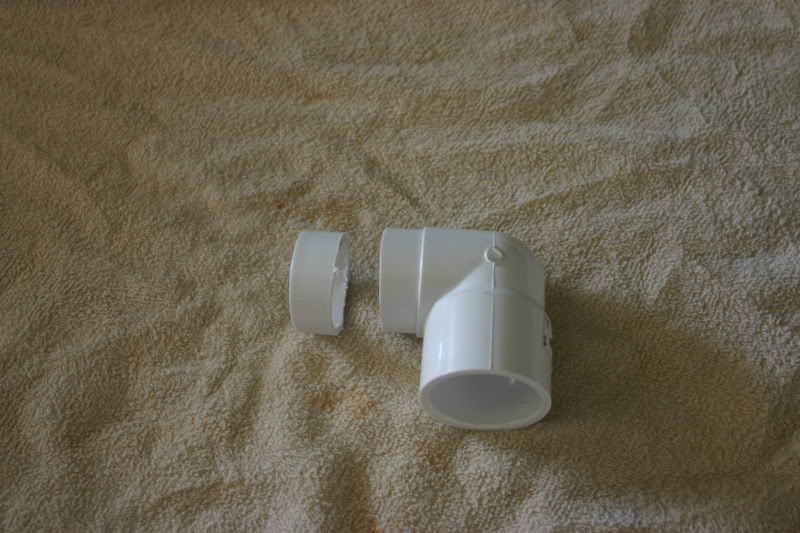
According to the durso website you might want to cut down the street 90 degree elbow, to get a snug fit. So i fit mine to the T and kinda guessed and made a cut.
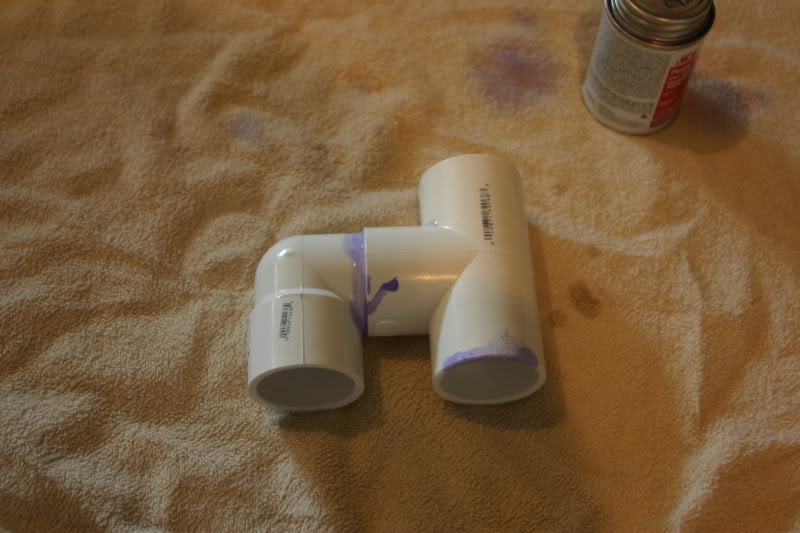
The street elbow and the T are than glued together of course using purple primer, and PVC cement, i just put the primer on and let sit while i got the glue can opened and just slobbed it on, dries rather quickly too.
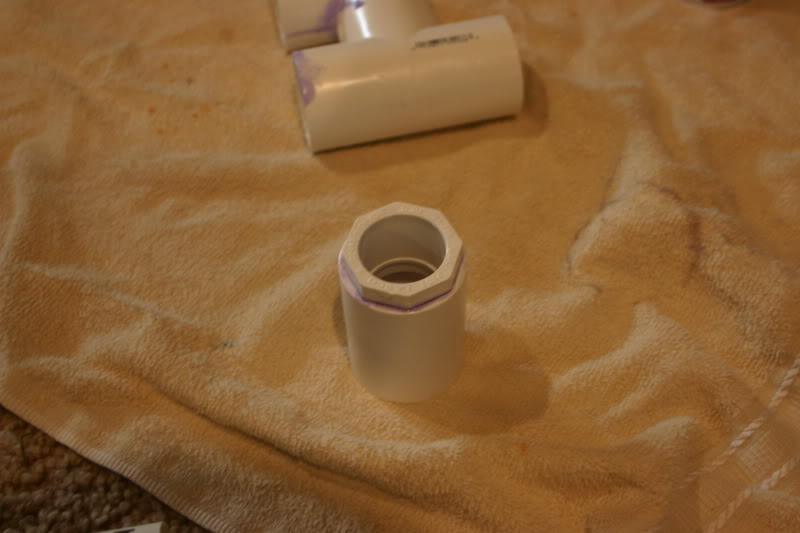
Than i took the 1 1/4" coupling and the 1 1/4" to 1" reducer and glued those together.
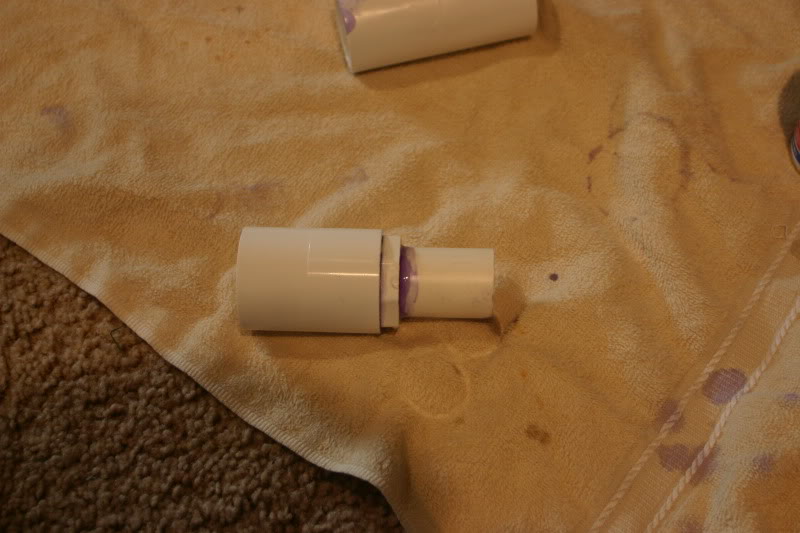
I kinda just guessed at how much 1" pipe to use. Since i went with a slip bulk head i didnt need a threaded adapter. This was a smart move on my part as it would have been interesting trying to twist that all in there.
Glued the 1" pvc into the reducer
I figured it would be easier to figure out the height i needed for the durso body of the 1 1/4" pvc.
This is where i feel i made a bit of mistake, what i would do next time is dry fit the 1 1/4" pvc into the bushing, than place it in the over flow and check the height, cut than put the T on the body.
Mine i feel is a bit short but ill live with it, i couldnt change it because i had already glued it.
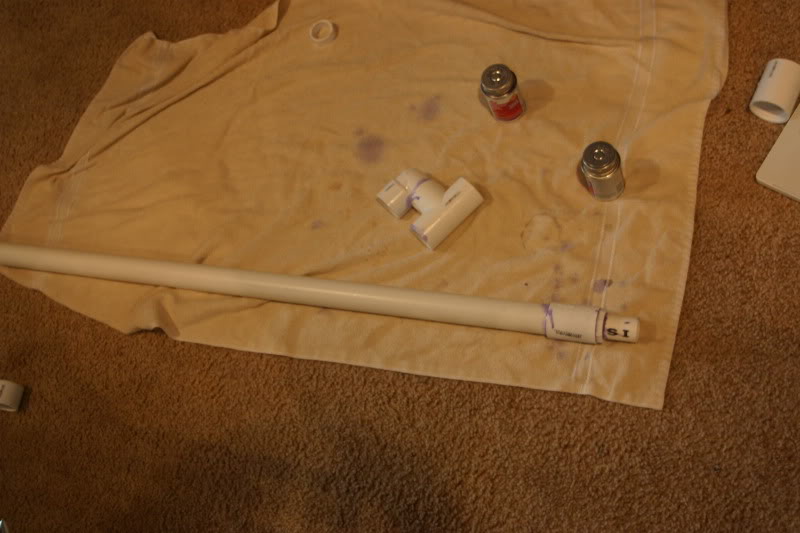
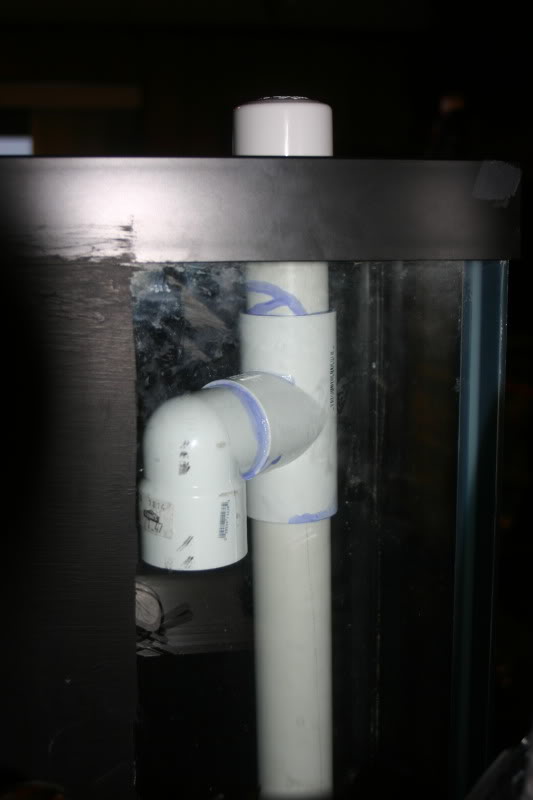
here is the body cut and the T placed on it. The T is not glued to the body. NOT GLUED TO THE BODY. Im just slipping mine on, it says to use teflon tape but mine seems snug.
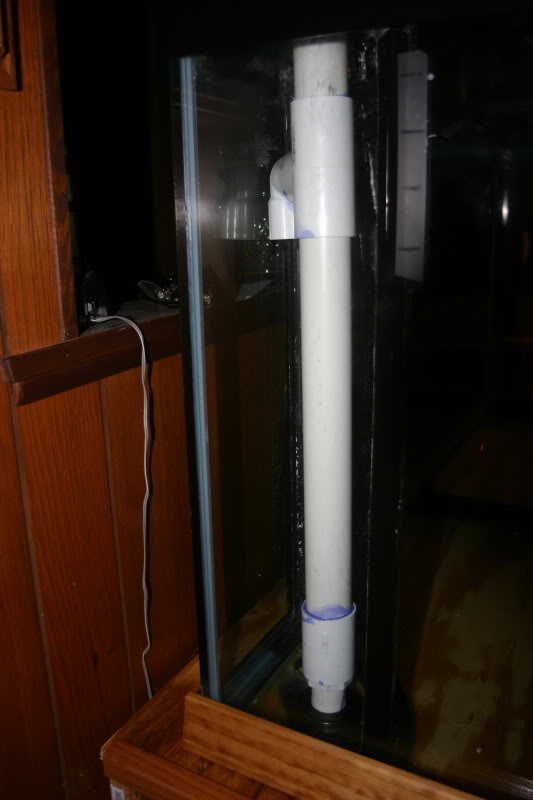
I checked the height and kinda guess at how tall to make the top of the durso where the cap goes, it doesnt really matter how high you make it, they say to the trim of your tank or a little passed it.
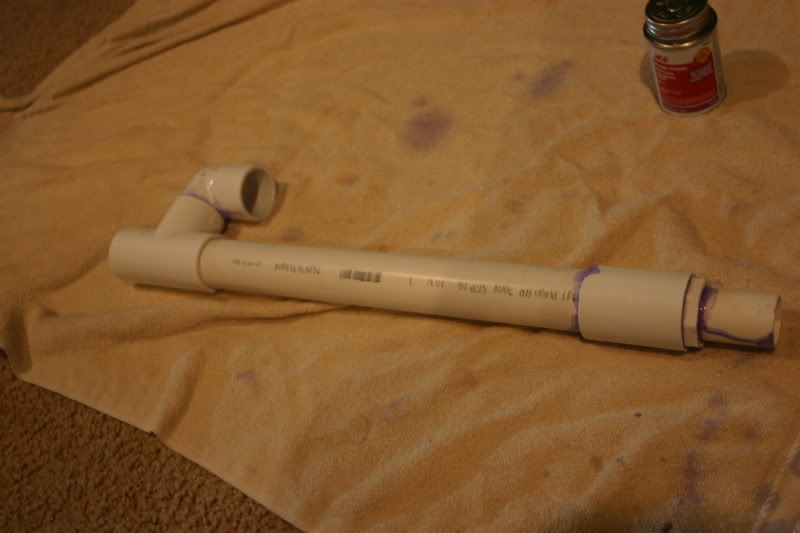
The 1 1/4" pvc between the T and the Cap, Is glued to the T ONLY!!!! T ONLY!!!!! the cap can be made snug with Teflon tap. Dont forget to drill the cap, but that can be done whenever before you add water. i did a 1/16" hole, which can be changed if you need too.
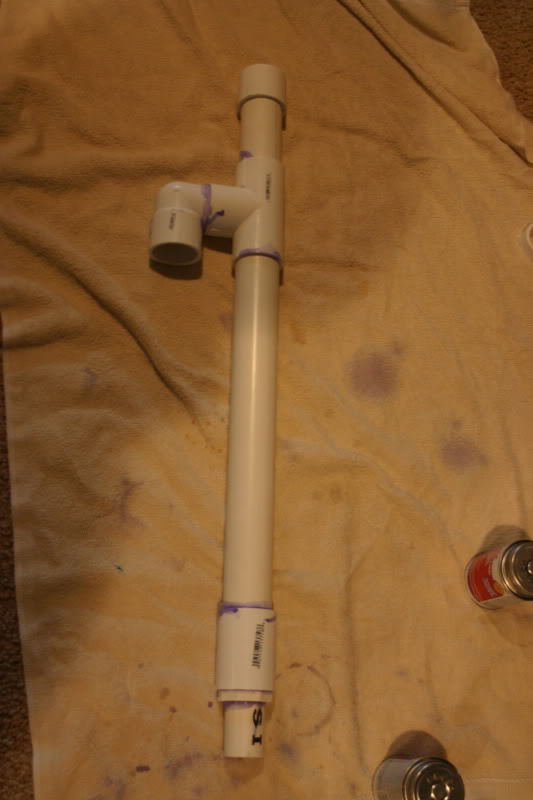
Finished product.
For a parts list just look up durso in google and you'll find it.
I would guess that all parts and such bought = about 12$
Since i have a 1" bulk head i went with the 1 1/4" PVC for the main durso than bought some 1" pvc for the connector to the bulk head.
I was able to find all pieces at lowes.
Here are all the pieces laid out.
According to the durso website you might want to cut down the street 90 degree elbow, to get a snug fit. So i fit mine to the T and kinda guessed and made a cut.
The street elbow and the T are than glued together of course using purple primer, and PVC cement, i just put the primer on and let sit while i got the glue can opened and just slobbed it on, dries rather quickly too.
Than i took the 1 1/4" coupling and the 1 1/4" to 1" reducer and glued those together.
I kinda just guessed at how much 1" pipe to use. Since i went with a slip bulk head i didnt need a threaded adapter. This was a smart move on my part as it would have been interesting trying to twist that all in there.
Glued the 1" pvc into the reducer
I figured it would be easier to figure out the height i needed for the durso body of the 1 1/4" pvc.
This is where i feel i made a bit of mistake, what i would do next time is dry fit the 1 1/4" pvc into the bushing, than place it in the over flow and check the height, cut than put the T on the body.
Mine i feel is a bit short but ill live with it, i couldnt change it because i had already glued it.
here is the body cut and the T placed on it. The T is not glued to the body. NOT GLUED TO THE BODY. Im just slipping mine on, it says to use teflon tape but mine seems snug.
I checked the height and kinda guess at how tall to make the top of the durso where the cap goes, it doesnt really matter how high you make it, they say to the trim of your tank or a little passed it.
The 1 1/4" pvc between the T and the Cap, Is glued to the T ONLY!!!! T ONLY!!!!! the cap can be made snug with Teflon tap. Dont forget to drill the cap, but that can be done whenever before you add water. i did a 1/16" hole, which can be changed if you need too.
Finished product.


