5 feet Immersive Build (slow and steady updates)

OP
OP
Picesduh

Picesduh

Active Member
View Badges
Joined
Sep 14, 2017
Messages
384
Reaction score
233
Rating - 0%
0   0   0
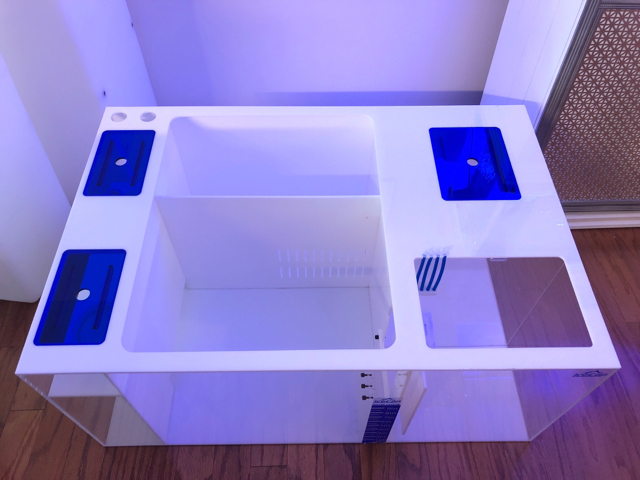
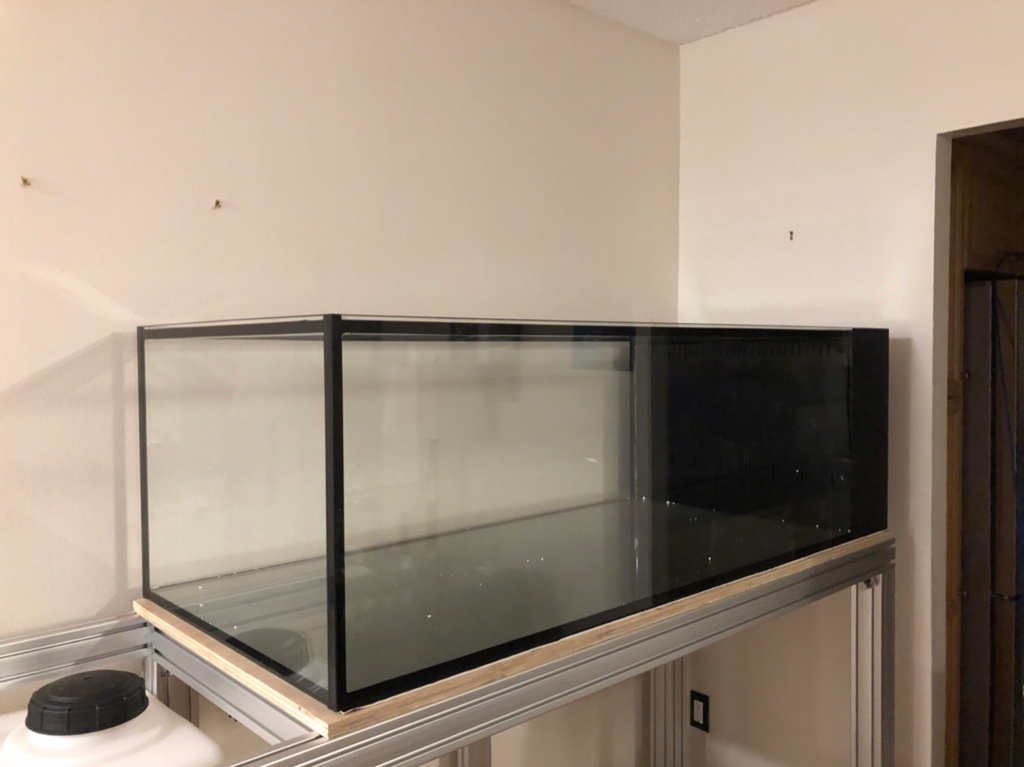
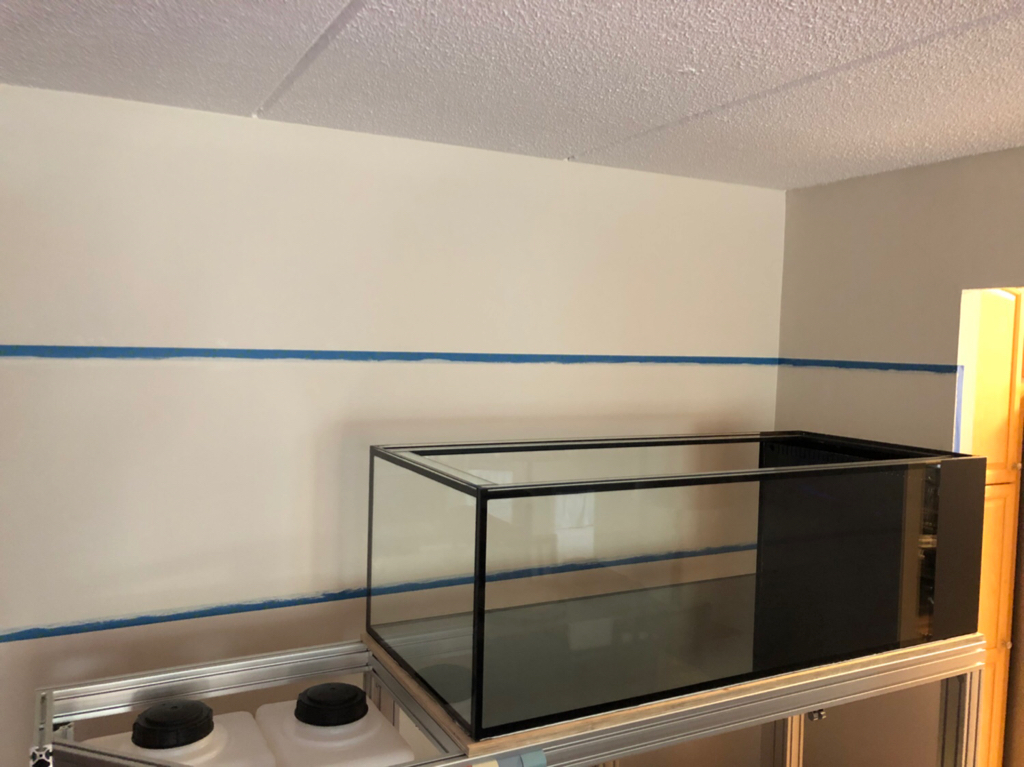
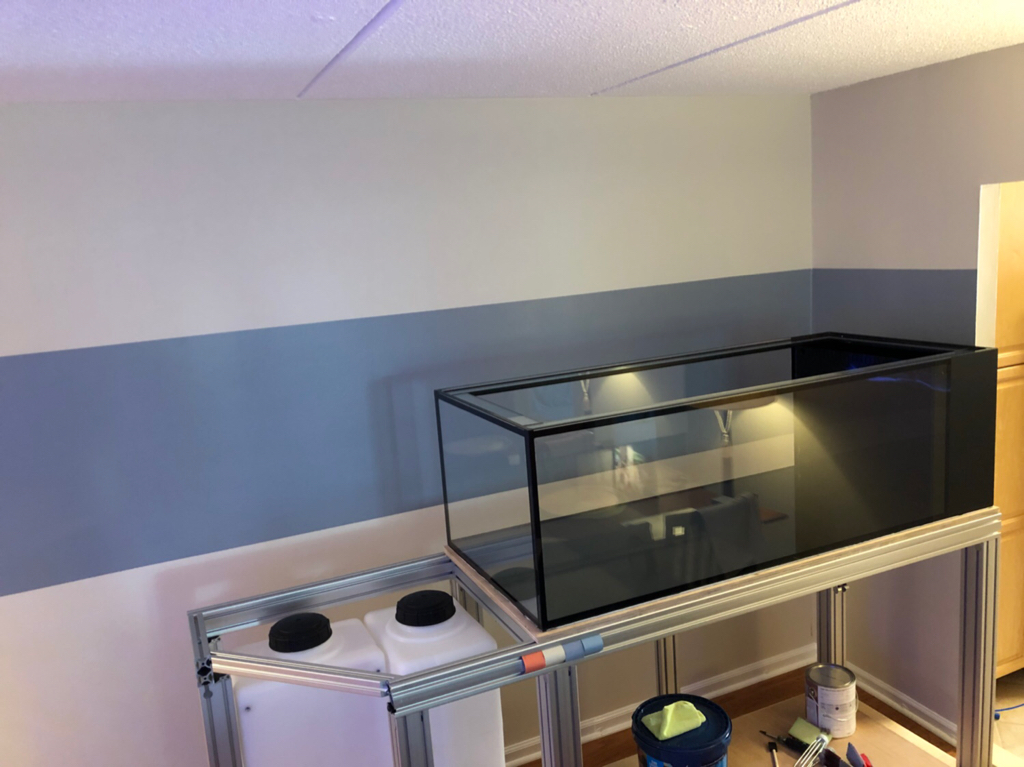
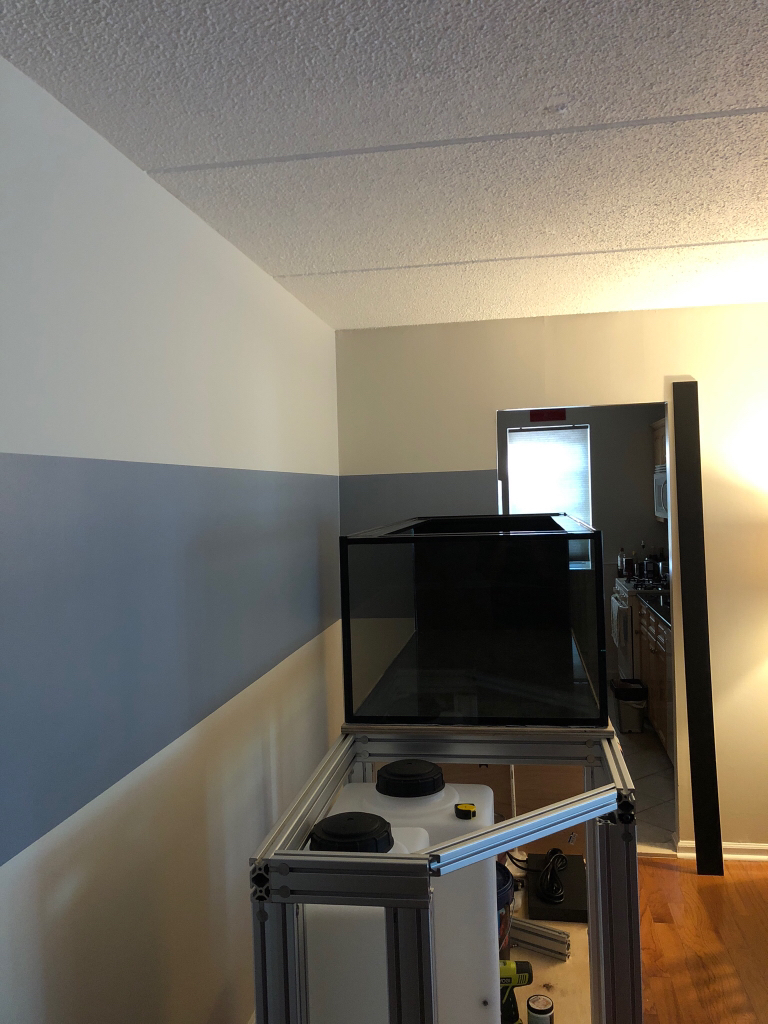
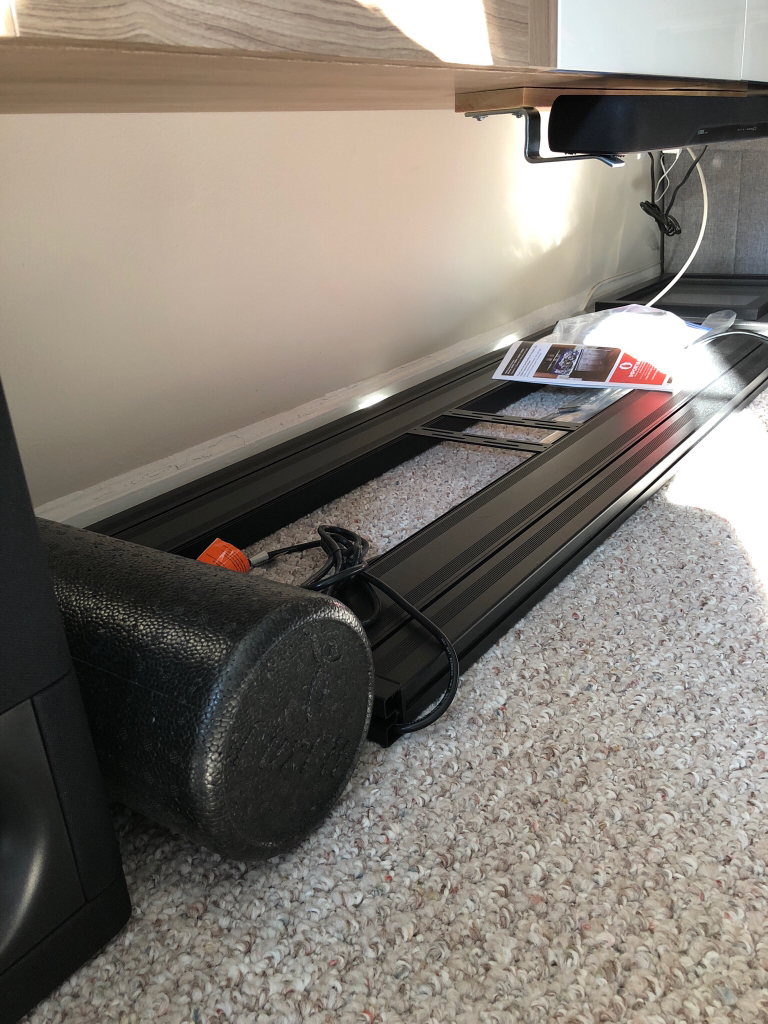
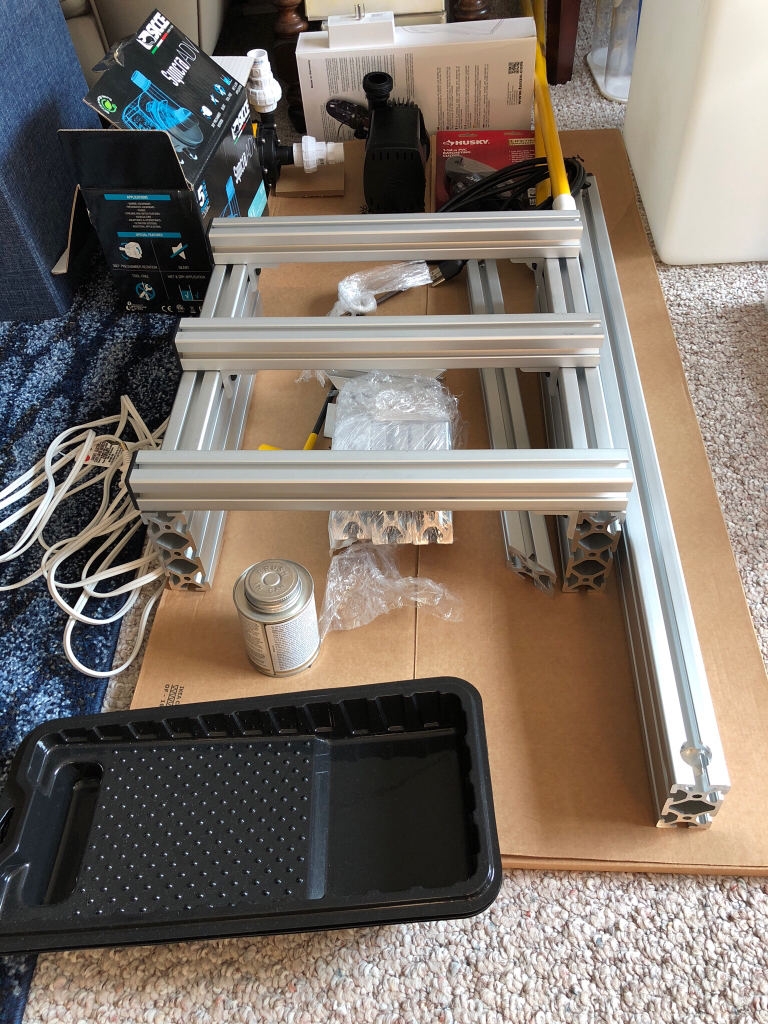
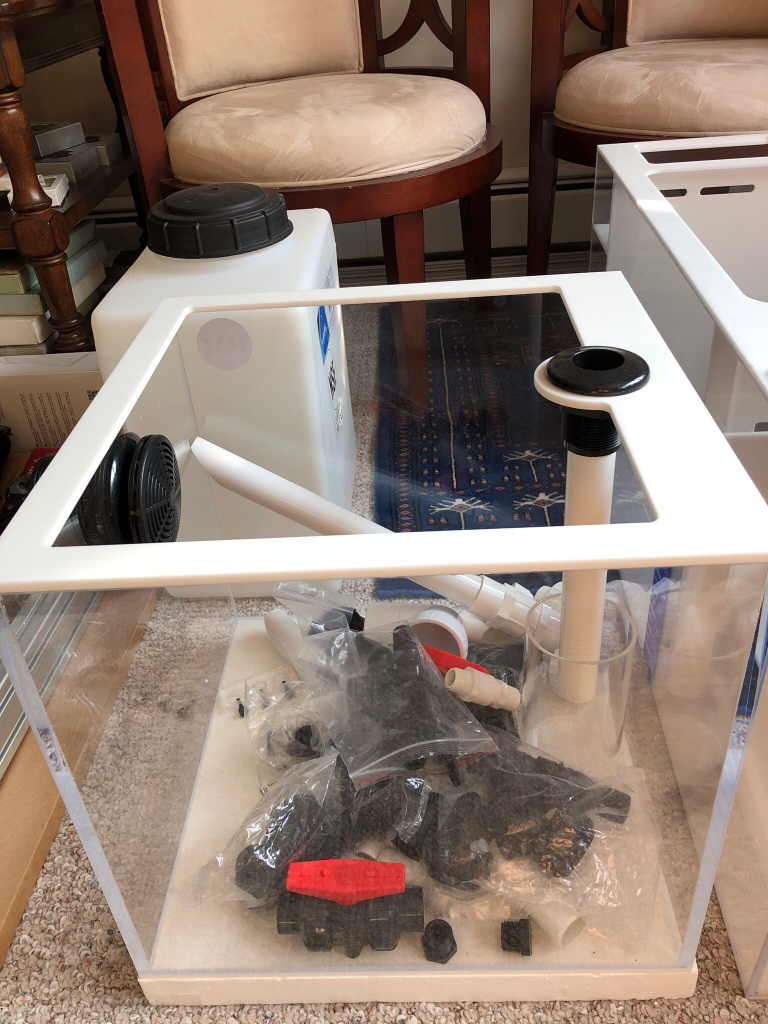
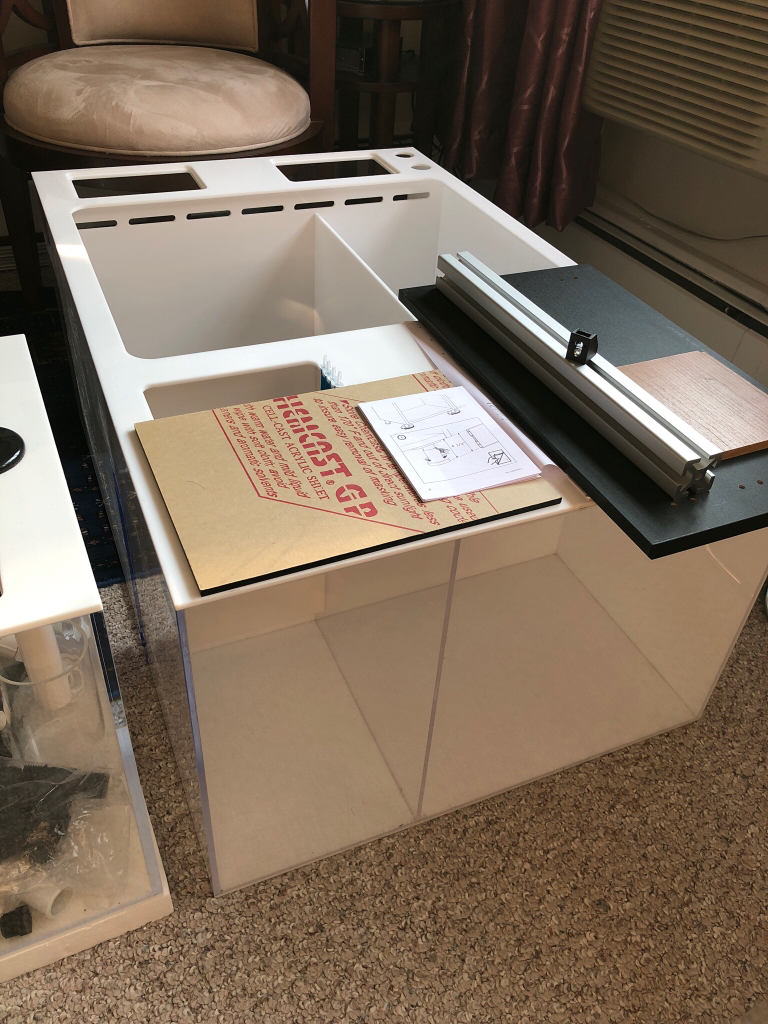
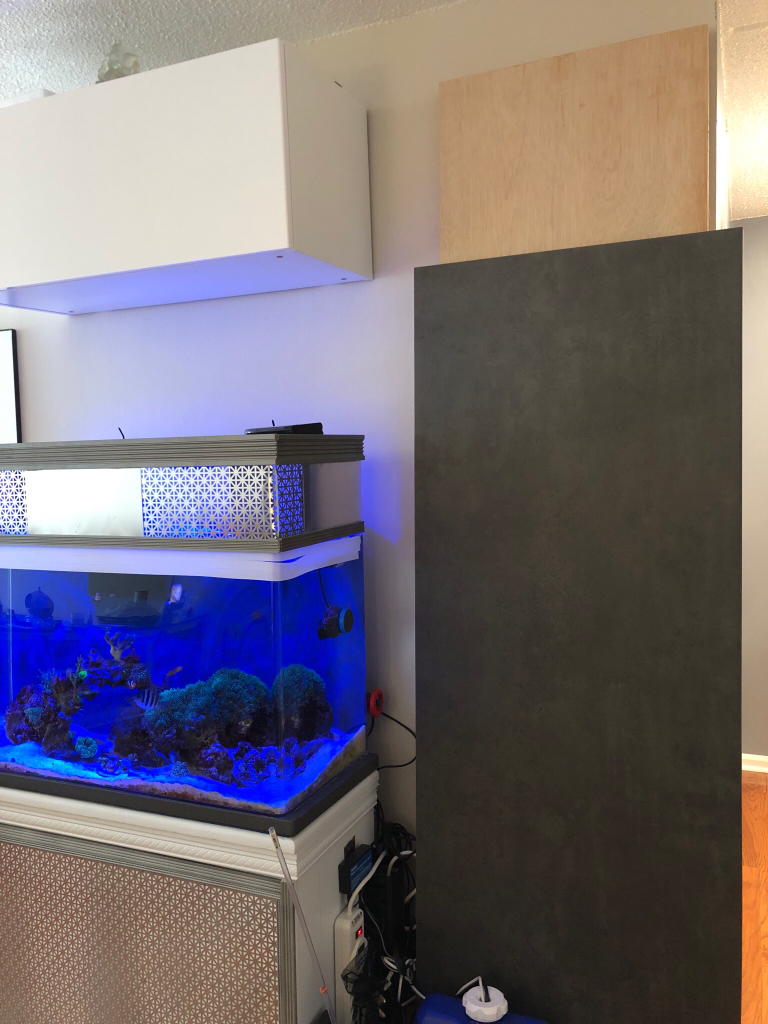
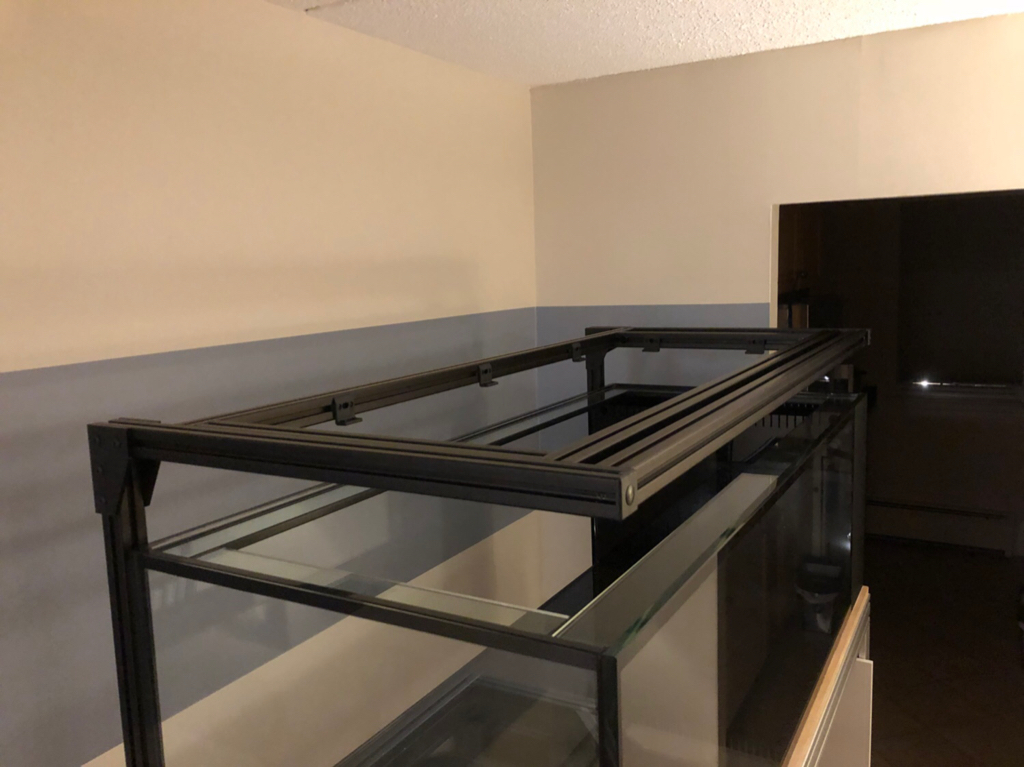
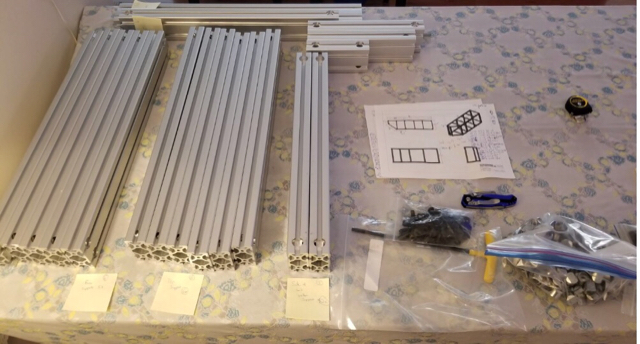
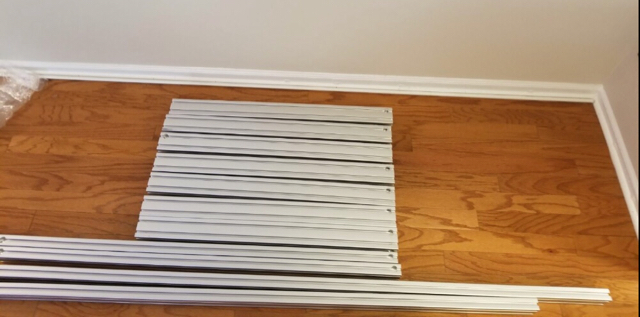
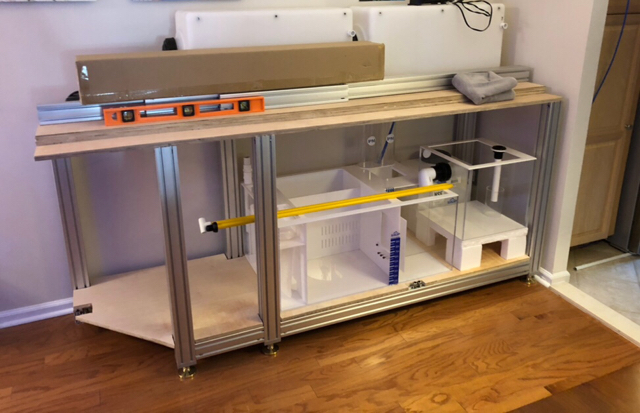
Got down to making the stand with some help. I underestimated the time it would take to get this monster of a stand together. Only finished about 2/3rds of the stand. Missing a few key parts that I will need to order before I can complete it. Also need to paint the wall behind the tank before the stand settles into it’s the corner for good.

92a55789bf1ae9983873e0978aa6f052.png

06fdf60ac0ecb827bef56927c9d1ef30.png


Time lapse:


Stand partially complete:
5710e4b0cc95f6c94aef56fa8ffc2c76.png
 
Last edited:

mindwalkr

Community Member
View Badges
Joined
Nov 10, 2017
Messages
46
Reaction score
42
Location
Boston, MA
Rating - 0%
0   0   0
40d1a65b705c6359daa00c99f67bf3ca.heic


This thing is BIG. Okay it’s not the biggest sump but it’s wide and had a 12G reservoir for top off water and a fuge chamber. I’m planning to hook up a display fuge to the sump separately and put marine pure blocks into the fuge area of this sump.

Which sump is that ? Manufacturer/Model ?
 
OP
OP
Picesduh

Picesduh

Active Member
View Badges
Joined
Sep 14, 2017
Messages
384
Reaction score
233
Rating - 0%
0   0   0
IceCap 36XL.
I was able to find someone who was selling this brand new nearby. Paid almost the retail price but saved a Bunch on shipping since it’s an “oversized” box
 
OP
OP
Picesduh

Picesduh

Active Member
View Badges
Joined
Sep 14, 2017
Messages
384
Reaction score
233
Rating - 0%
0   0   0
I’ve had the new tank with me for a couple of weeks now. Just trying to get it presentable.

4b9ce769afec497fcd943c0ef4c0bb53.jpg

5f02cd1f6262bf6695571e8a22a7f052.jpg

0a9a5bbb45e3675c5c0adb1058ad038f.jpg


Moved the tank off the wall to paint backdrop
c8f093336f6d1a6b3065f147266675fb.jpg

7e075f483fa44964c417f5e4ebcefcd9.jpg
 
Last edited:
OP
OP
Picesduh

Picesduh

Active Member
View Badges
Joined
Sep 14, 2017
Messages
384
Reaction score
233
Rating - 0%
0   0   0
Well so far it’s an empty glass container in the middle of my dining room, literally in the middle since I moved it to paint the wall it’s going to be up against (I thought it was a peninsula? - yes but for the time being it is going to be a corner tank with only two sides viewable) In the future it will be a true peninsula.

Right now I have my rock curing and need to build the canopy and an electric panel. After these two I’m going to plumb the tank and water test it. I am hoping the water level is not to much lower than 2 inches from the top of the tank (1 inch from the bottom of the Eurobrace). I see a lot of SCA tanks with a lower water level mainly because of the recessed Eurobracing. But this method of bracing seems to be stronger but that’s just my guess based on looking at it. After I find out the exact water level I’ll need to drain the tank and then install the canopy to cover the top of the tank just low enough to cover the water level. Honestly I’m on the wall about the canopy but I’m planning on making it match with the stand wrap and it gives a more finished look. Here is the tank as you will see it when you walk into the house (plus the water , fish, corals , wrap, etc)

57921cf84ae0020ef686cde49ceefb39.jpg


And when sitting at the dining table (sorry for the awful glare)

5d76175f18039f96701baedc07a5ac97.jpg
 
OP
OP
Picesduh

Picesduh

Active Member
View Badges
Joined
Sep 14, 2017
Messages
384
Reaction score
233
Rating - 0%
0   0   0
Oh and for those who have been there before- here is all the equipment laid out all over the living room. I’m glad my wife is easy going with the mess....

d22e7ee3bcd0748700320bfd8cbccd40.jpg

af330c316a423b3d0412f7c180090571.jpg

d259b1ab87da60412fa6234add60dbd5.jpg

1a0198818c7329f45b192a09cad14f59.jpg

a05acb77baa4b8ca620ed0038cd634c4.jpg

Peak at the current tank in this one..
6c6c55635bae1d828a8738ec9c36f615.jpg
 

Atti2de

Active Member
View Badges
Joined
Dec 30, 2017
Messages
330
Reaction score
640
Rating - 0%
0   0   0
Love the build! I’m in the process of setting up a 140g peninsula but the correct way, sticking out in the way of everything lol. (Per the wife) I’m using t-slot to build a light rack for it. Really wanted to do a stand like yours but mine came with a steel stand already. Where did you order your t-slot from and what kind hardware did you use with it? Really love the stand and looking forward to updates...
 
OP
OP
Picesduh

Picesduh

Active Member
View Badges
Joined
Sep 14, 2017
Messages
384
Reaction score
233
Rating - 0%
0   0   0
It’s about 2K - this includes both sections, 1) where the tank and sump sits on, 2) the water mixing extension. This cost also includes the hinged hood for the mixture Station and the canopy/light mount, both of which are not build yet and not shown in any of the pictures. Around 10% of the stand price also went Into the 7000lbs rated leveling legs (7 total)- I needed these because my floor is not level. For a tank this size you could prob spend half of what I did but I have a lot of add ons.
 
OP
OP
Picesduh

Picesduh

Active Member
View Badges
Joined
Sep 14, 2017
Messages
384
Reaction score
233
Rating - 0%
0   0   0
2df5025160aaf8ee9242869851141463.jpg


I had a couple of extra 8020 profiles which I had measured wrong for something else so I made this out of it.
 

mindwalkr

Community Member
View Badges
Joined
Nov 10, 2017
Messages
46
Reaction score
42
Location
Boston, MA
Rating - 0%
0   0   0
The benefit of a 8020 stand is that you end up with something that won't absorb water and could be part of your work of art in the way that a plywood stand cannot.

You could then skin the stand with whatever outside finish you want (eg: PVC architectural panels). Don't like the result ? Reskin it!

Note that 8020 will still corrode if you scratch through the anodizing since it is in a humid salt environment, but at least it won't split and warp like plywood will.
 
OP
OP
Picesduh

Picesduh

Active Member
View Badges
Joined
Sep 14, 2017
Messages
384
Reaction score
233
Rating - 0%
0   0   0
Ordered the plumbing parts from pvcfitting. Holy cow it came to almost 300$! That doesn’t even include the check valves which I picked up from BRS or the flex pvc which pvcfitting was sold out off. It was on sale at drfoster so picked it up from there along with a few other “I have to have” things.
 

Atti2de

Active Member
View Badges
Joined
Dec 30, 2017
Messages
330
Reaction score
640
Rating - 0%
0   0   0
Ordered the plumbing parts from pvcfitting. Holy cow it came to almost 300$! That doesn’t even include the check valves which I picked up from BRS or the flex pvc which pvcfitting was sold out off. It was on sale at drfoster so picked it up from there along with a few other “I have to have” things.

You build is looking great! Crazy huh. No one ever realizes how much plumbing is until they do it themselves. The. You miss cut one part and need to buy another 90,
pipe and whatnot. I’ve sweated off fittings just to save money. I’ll have about $260 in my plumbing with pipe, fittings, check valve, bulk heads and ball valves. I have everything but the fittings now, have to wait to see what all I need.
 
OP
OP
Picesduh

Picesduh

Active Member
View Badges
Joined
Sep 14, 2017
Messages
384
Reaction score
233
Rating - 0%
0   0   0
You build is looking great! Crazy huh. No one ever realizes how much plumbing is until they do it themselves. The. You miss cut one part and need to buy another 90,
pipe and whatnot. I’ve sweated off fittings just to save money. I’ll have about $260 in my plumbing with pipe, fittings, check valve, bulk heads and ball valves. I have everything but the fittings now, have to wait to see what all I need.

Thanks!

Most of the plumbing came, just waiting for the pvc and check valves from BRS but the fittings are all here. Oh man After I saw all the fittings I got a bit nervous - what did I get myself into. But then again I must have said that phrase each step of this journey...

SCH 40 and SCH 80 fittings.
728ebffdc32dedf26accd118100d2db4.jpg


True Union Ball Valves 3/4 and 1 inch
ea9a5c08e8ae83a91f76f68b74860876.jpg
 
OP
OP
Picesduh

Picesduh

Active Member
View Badges
Joined
Sep 14, 2017
Messages
384
Reaction score
233
Rating - 0%
0   0   0
Put together the light mount using black aluminum 15 series profile. The Aquatic Life Hybrid fixture fits like a glove in the frame I made. Even better the mount came out perfect on all measurements. I’m so proud of myself. :D

8edf5e84309dc02dec8458381e4bbc13.jpg


Frame installed on top of tank (Hybrid fixture was removed during this step)
63c474c932bf1dce306075e06213563e.jpg
 

Antics

Valuable Member
View Badges
Joined
Jun 12, 2016
Messages
2,465
Reaction score
17,807
Location
Florida
Rating - 100%
1   0   0
I think your stand/canopy design is awesome! Can't wait to see more of this build as you continue. :D
 
OP
OP
Picesduh

Picesduh

Active Member
View Badges
Joined
Sep 14, 2017
Messages
384
Reaction score
233
Rating - 0%
0   0   0
Interesting idea, looking forward to seeing how that turns out. I know there are some websites you can order black acrylic from. The only concern I could see is that acrylic has a tendency to bow if it's not attached to another piece. If you intend to just have it hanging it could be a problem.

At this point I’ll likely not use a piece of acrylic behind the back glass. I painted the back wall with a purpose of adding a sense of depth. No clue if that aim was actually achieved but we will soon find out. I will still have one return on the far left side of the tank (and one on the right out of the overflow)
 
Last edited:

Going off the ledge: Would you be interested in a drop off aquarium?

  • I currently have a drop off style aquarium

    Votes: 2 1.4%
  • I don’t currently have a drop off style aquarium, but I have in the past.

    Votes: 2 1.4%
  • I haven’t had a drop off style aquarium, but I plan to in the future.

    Votes: 22 15.4%
  • I am interested in a drop off style aquarium, but have no plans to add one in the future.

    Votes: 66 46.2%
  • I am not interested in a drop off style aquarium.

    Votes: 48 33.6%
  • Other.

    Votes: 3 2.1%
Back
Top