GOFOR'S 52" X 36" X 26" CDA Peninsula & SoCal Tank Room Build

OP
OP
G

gofor100

Active Member
View Badges
Joined
Feb 17, 2011
Messages
154
Reaction score
87
Location
Southern CA
Rating - 0%
0   0   0
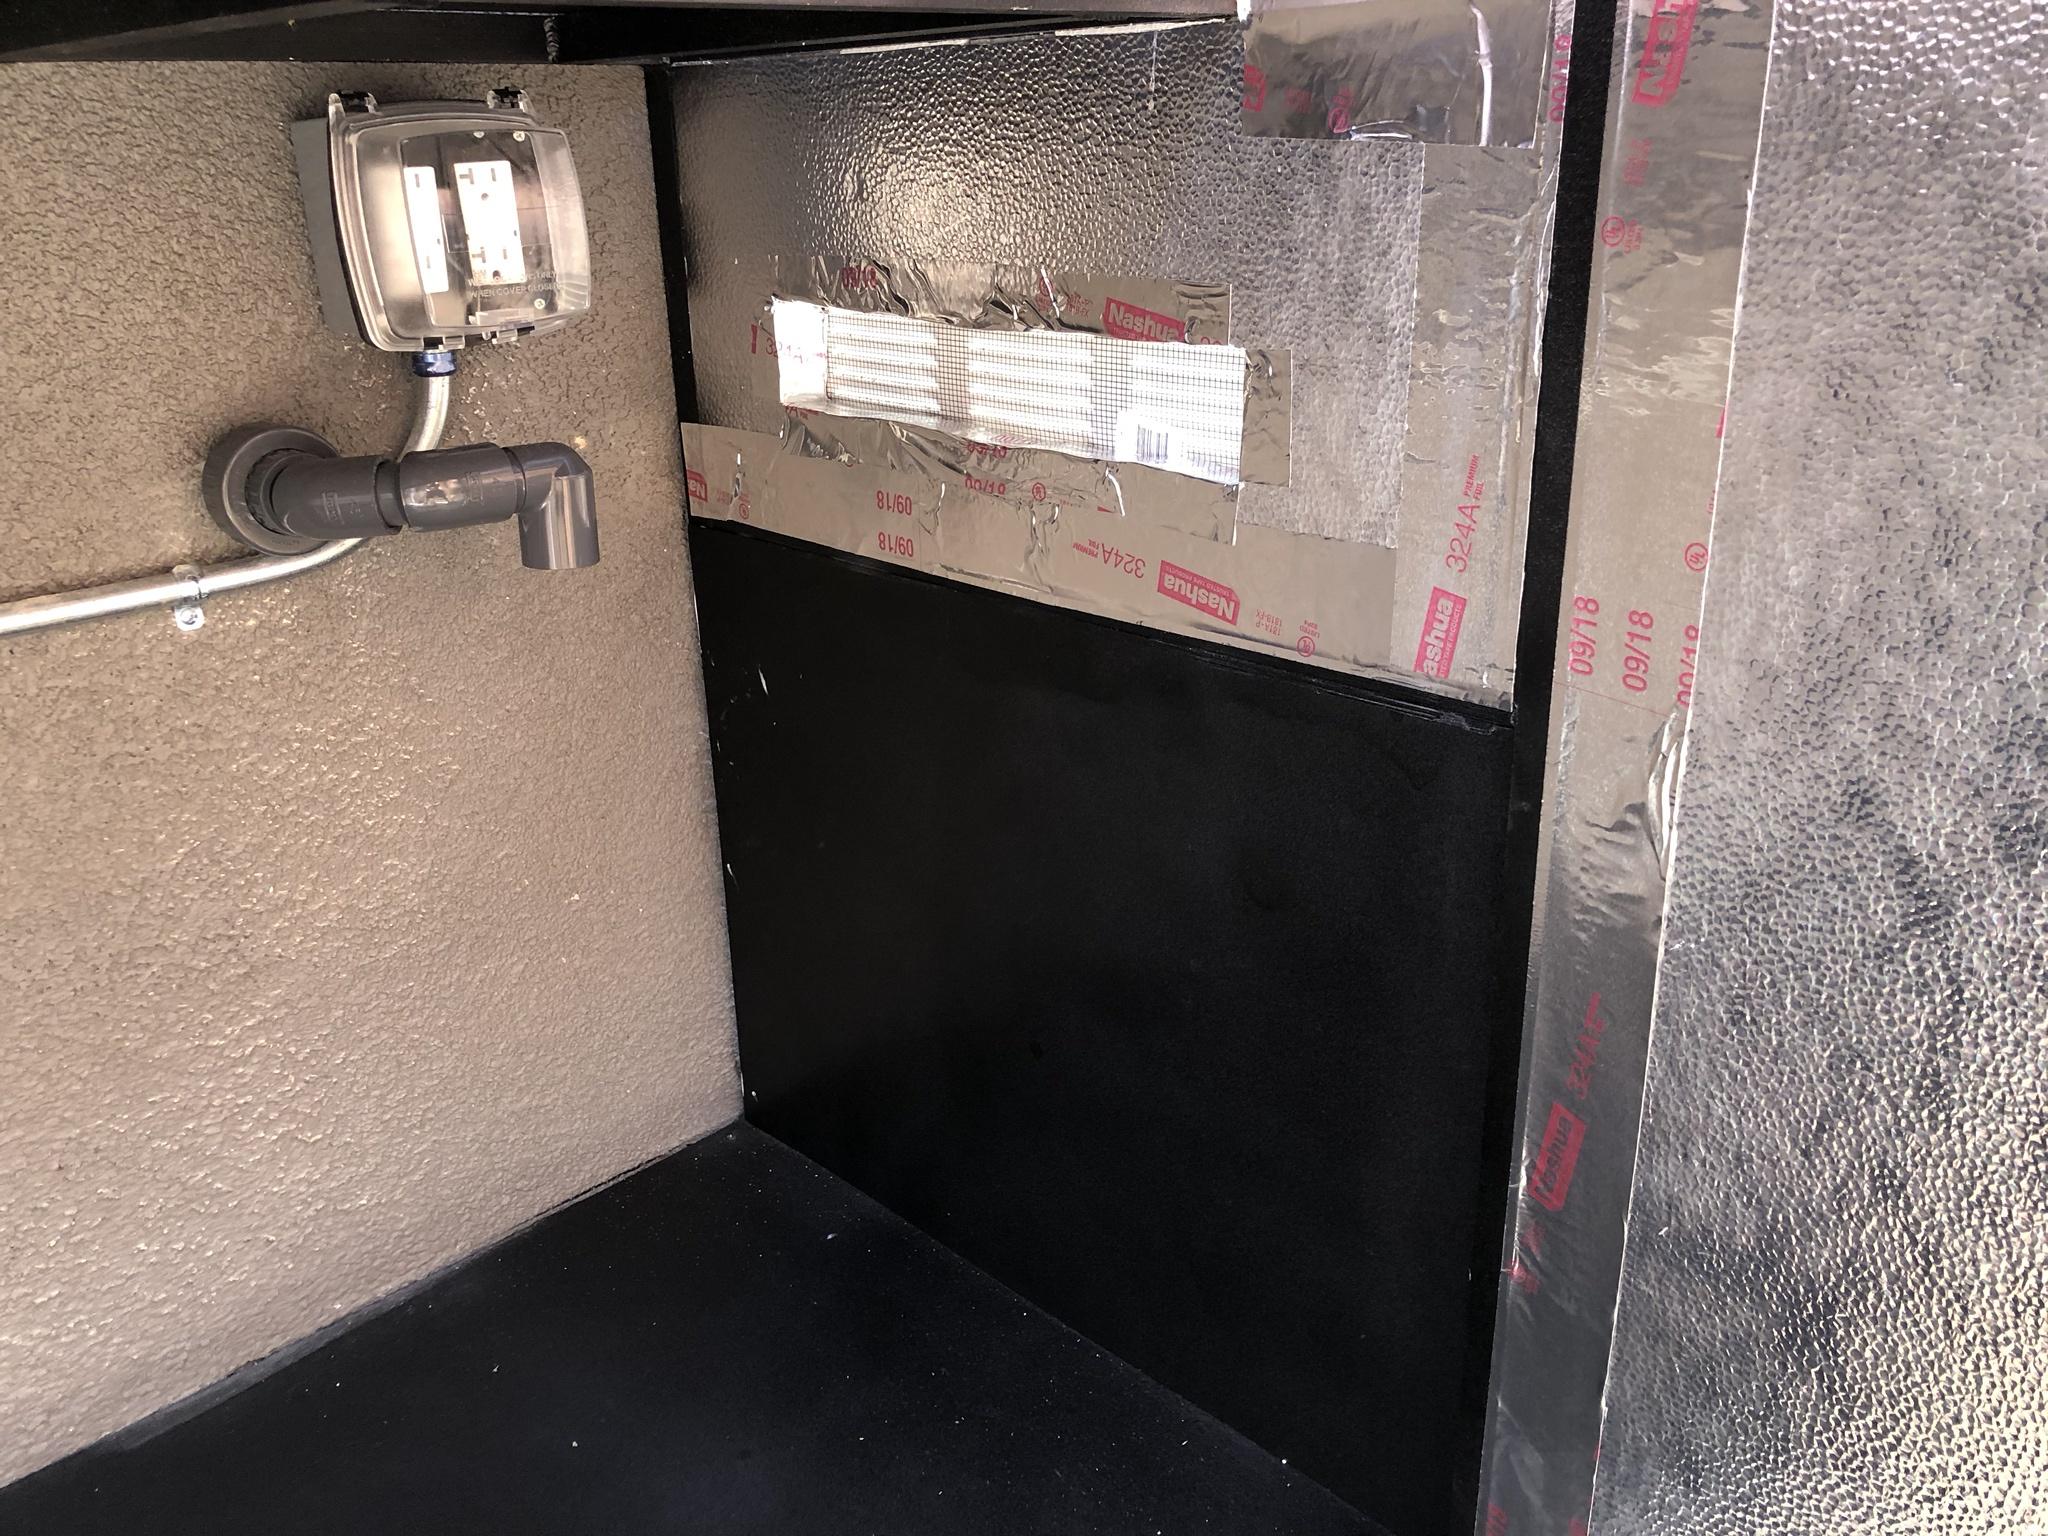
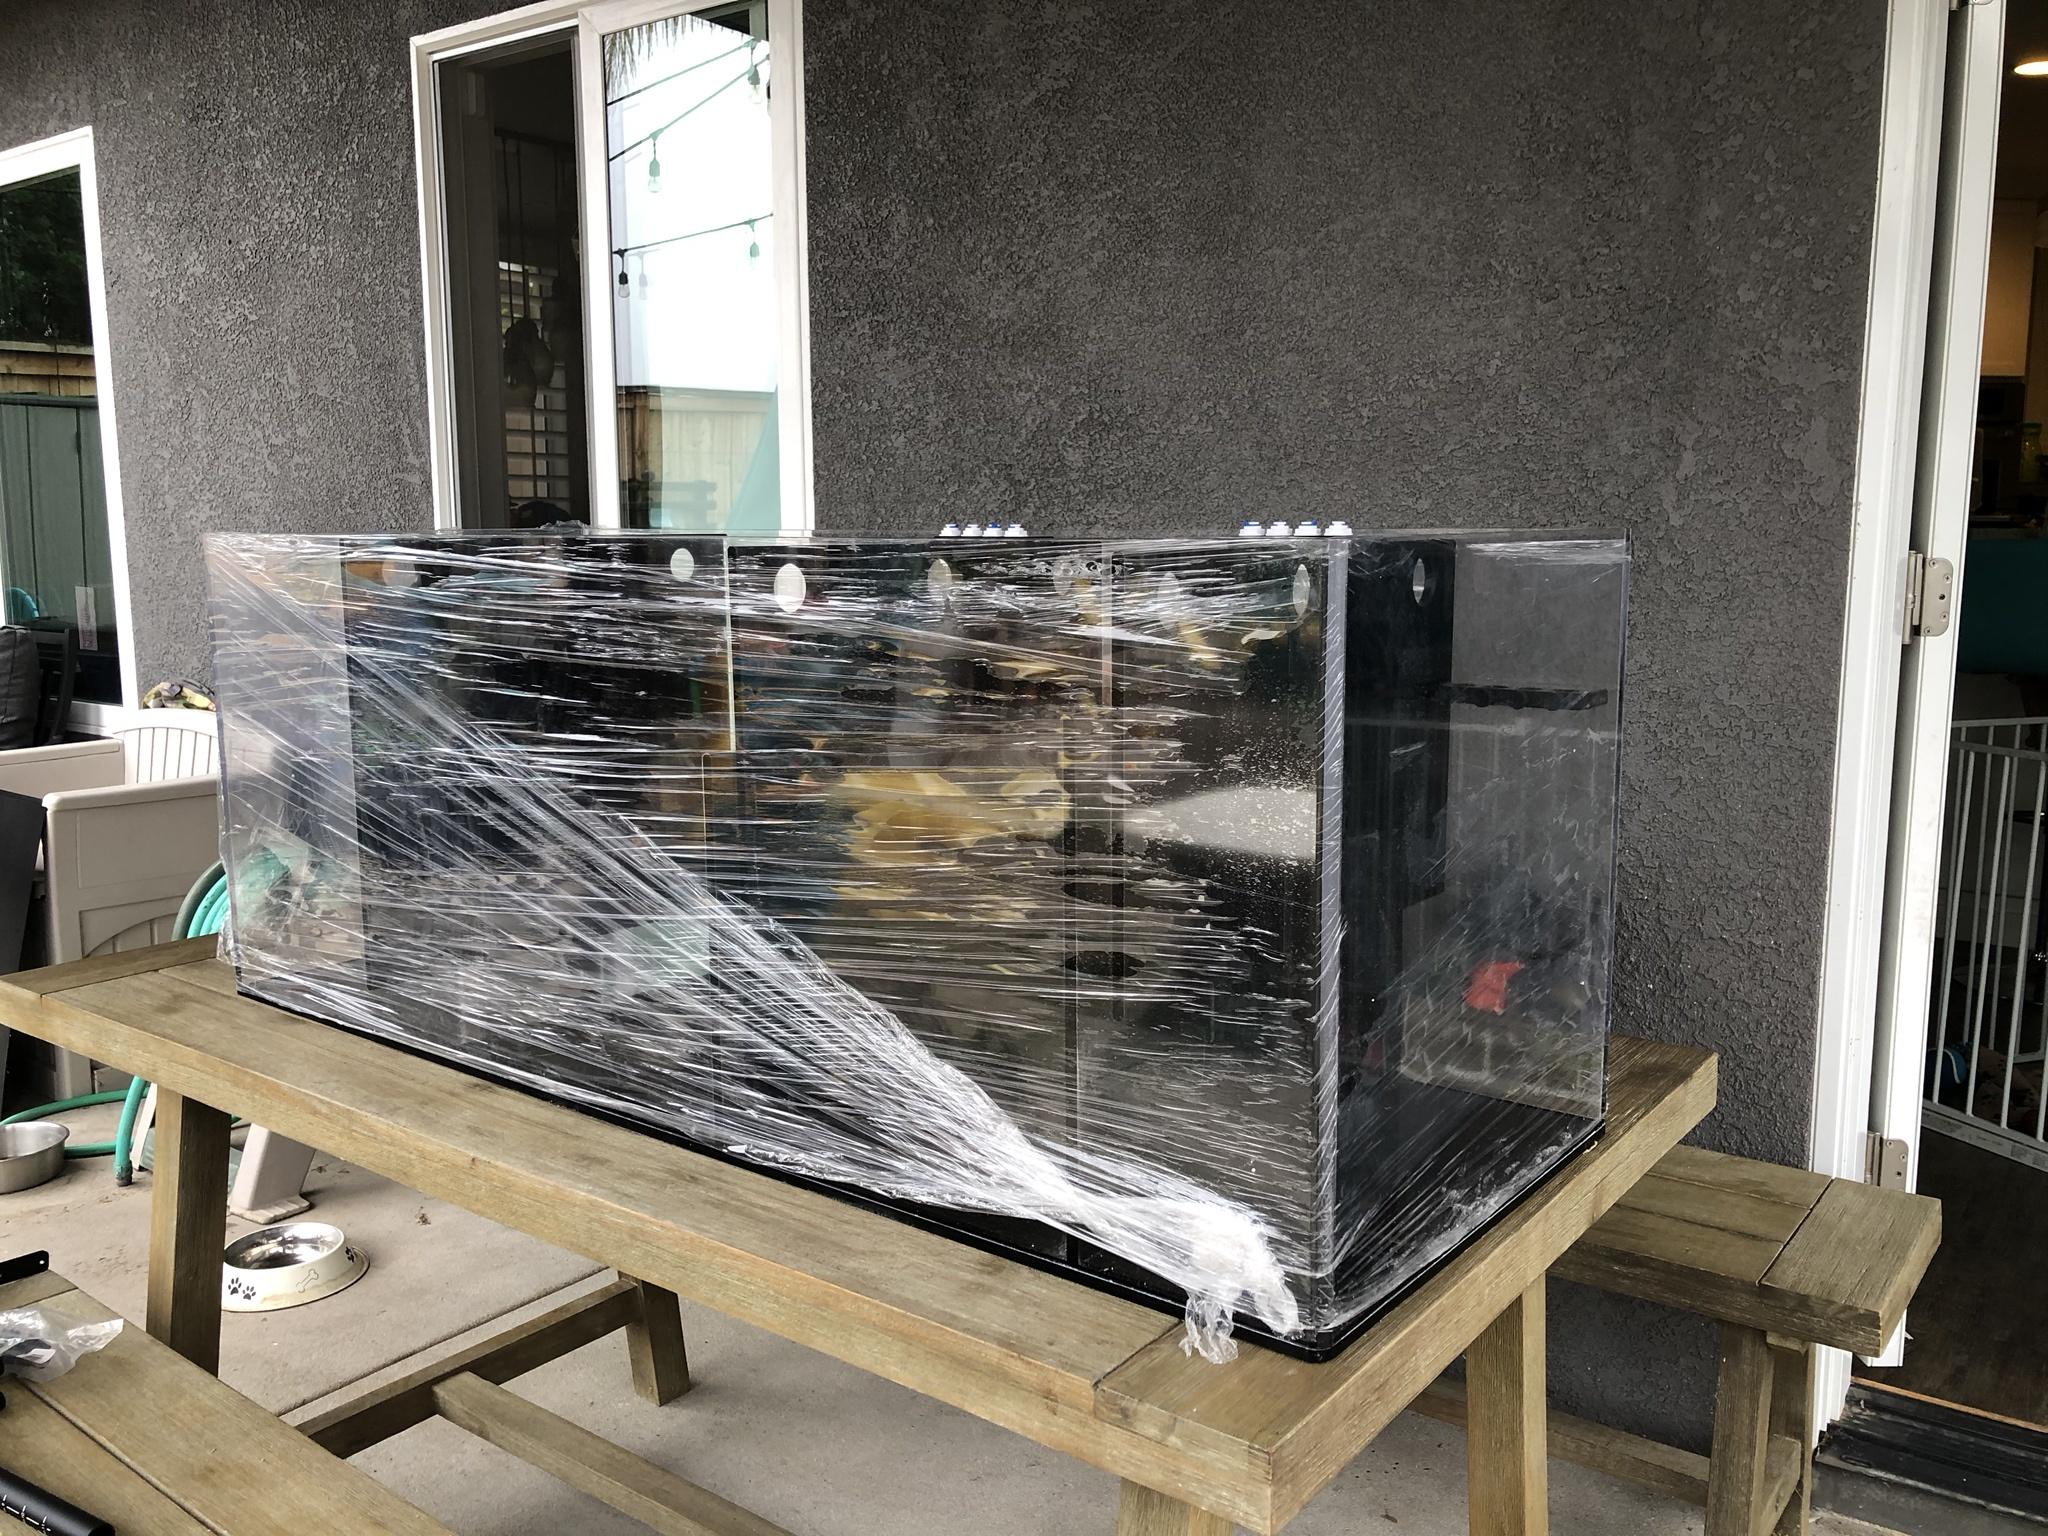
Why I Decided Not to Go With Other Forms of Filtration/Nutrient Removal:

  • GFO: I’ve found from past experience that, if not careful, this can quickly strip the tank of phosphates, but does little to nothing for nitrates, which could result in an imbalance in nutrient levels and potentially the bacterial (Dyno/Cyano) blooms that are speculated to come from these imbalances. My goal was to bring both nutrients down in a relatively “soft” and natural way rather than stripping the water of them. I might utilize my second reactor for GFO if my phosphates get out of control down the line, but I plan to keep a close eye on these levels (especially at the beginning) to avoid this.
  • Zeovit or other variation of carbon dosing: Although this is clearly a proven method of getting some awesome looking tanks, I also don’t want to rely on a handful of bottles that need to be dosed daily along with a reactor that requires management daily (shaking up the media) as my form of filtration/nutrient removal. Maybe this changes as my life changes, but for now, I’m trying to keep my daily maintenance time as low as possible. Having said that, I’m still not closing the door on using some of the KZ products offered as supplements.
  • Triton: It was a little tempting to build a reef tank where water changes were only done on an as-needed basis, but, honestly, I know myself and I won’t send in my water samples in on a regular basis. I would rather just stay on top of my water changes, track the levels I can test for, and know that my levels are within an acceptable range, rather than waiting for my water to fall out of the acceptable range. Lastly, see above on adding multiple supplements on a regular basis.
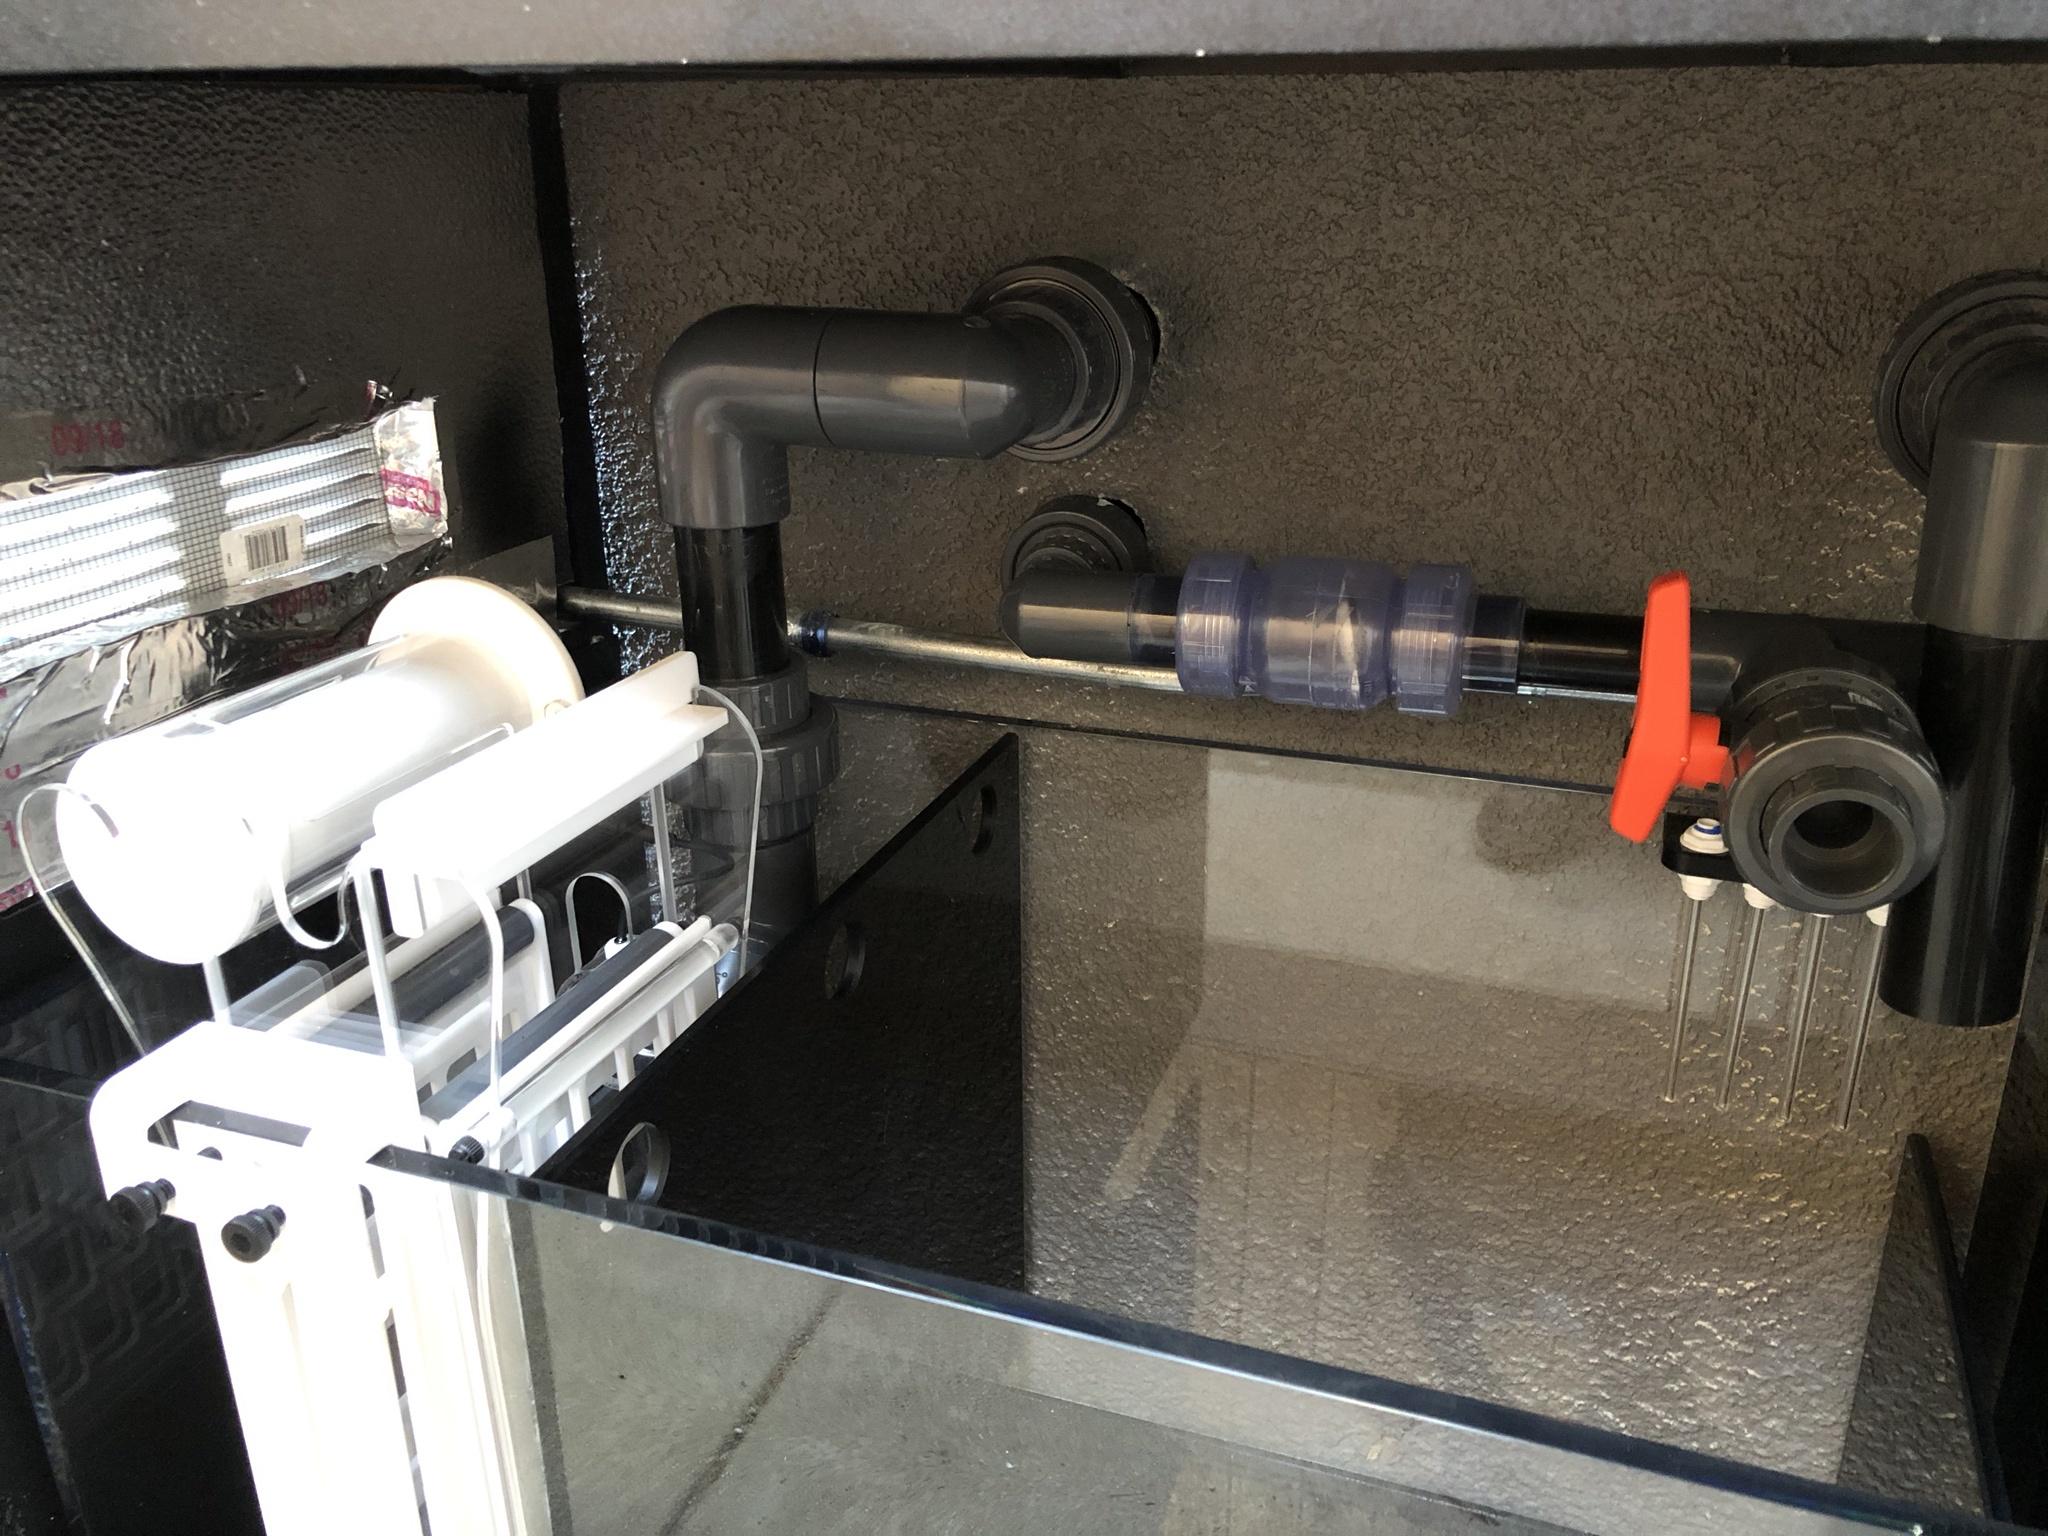
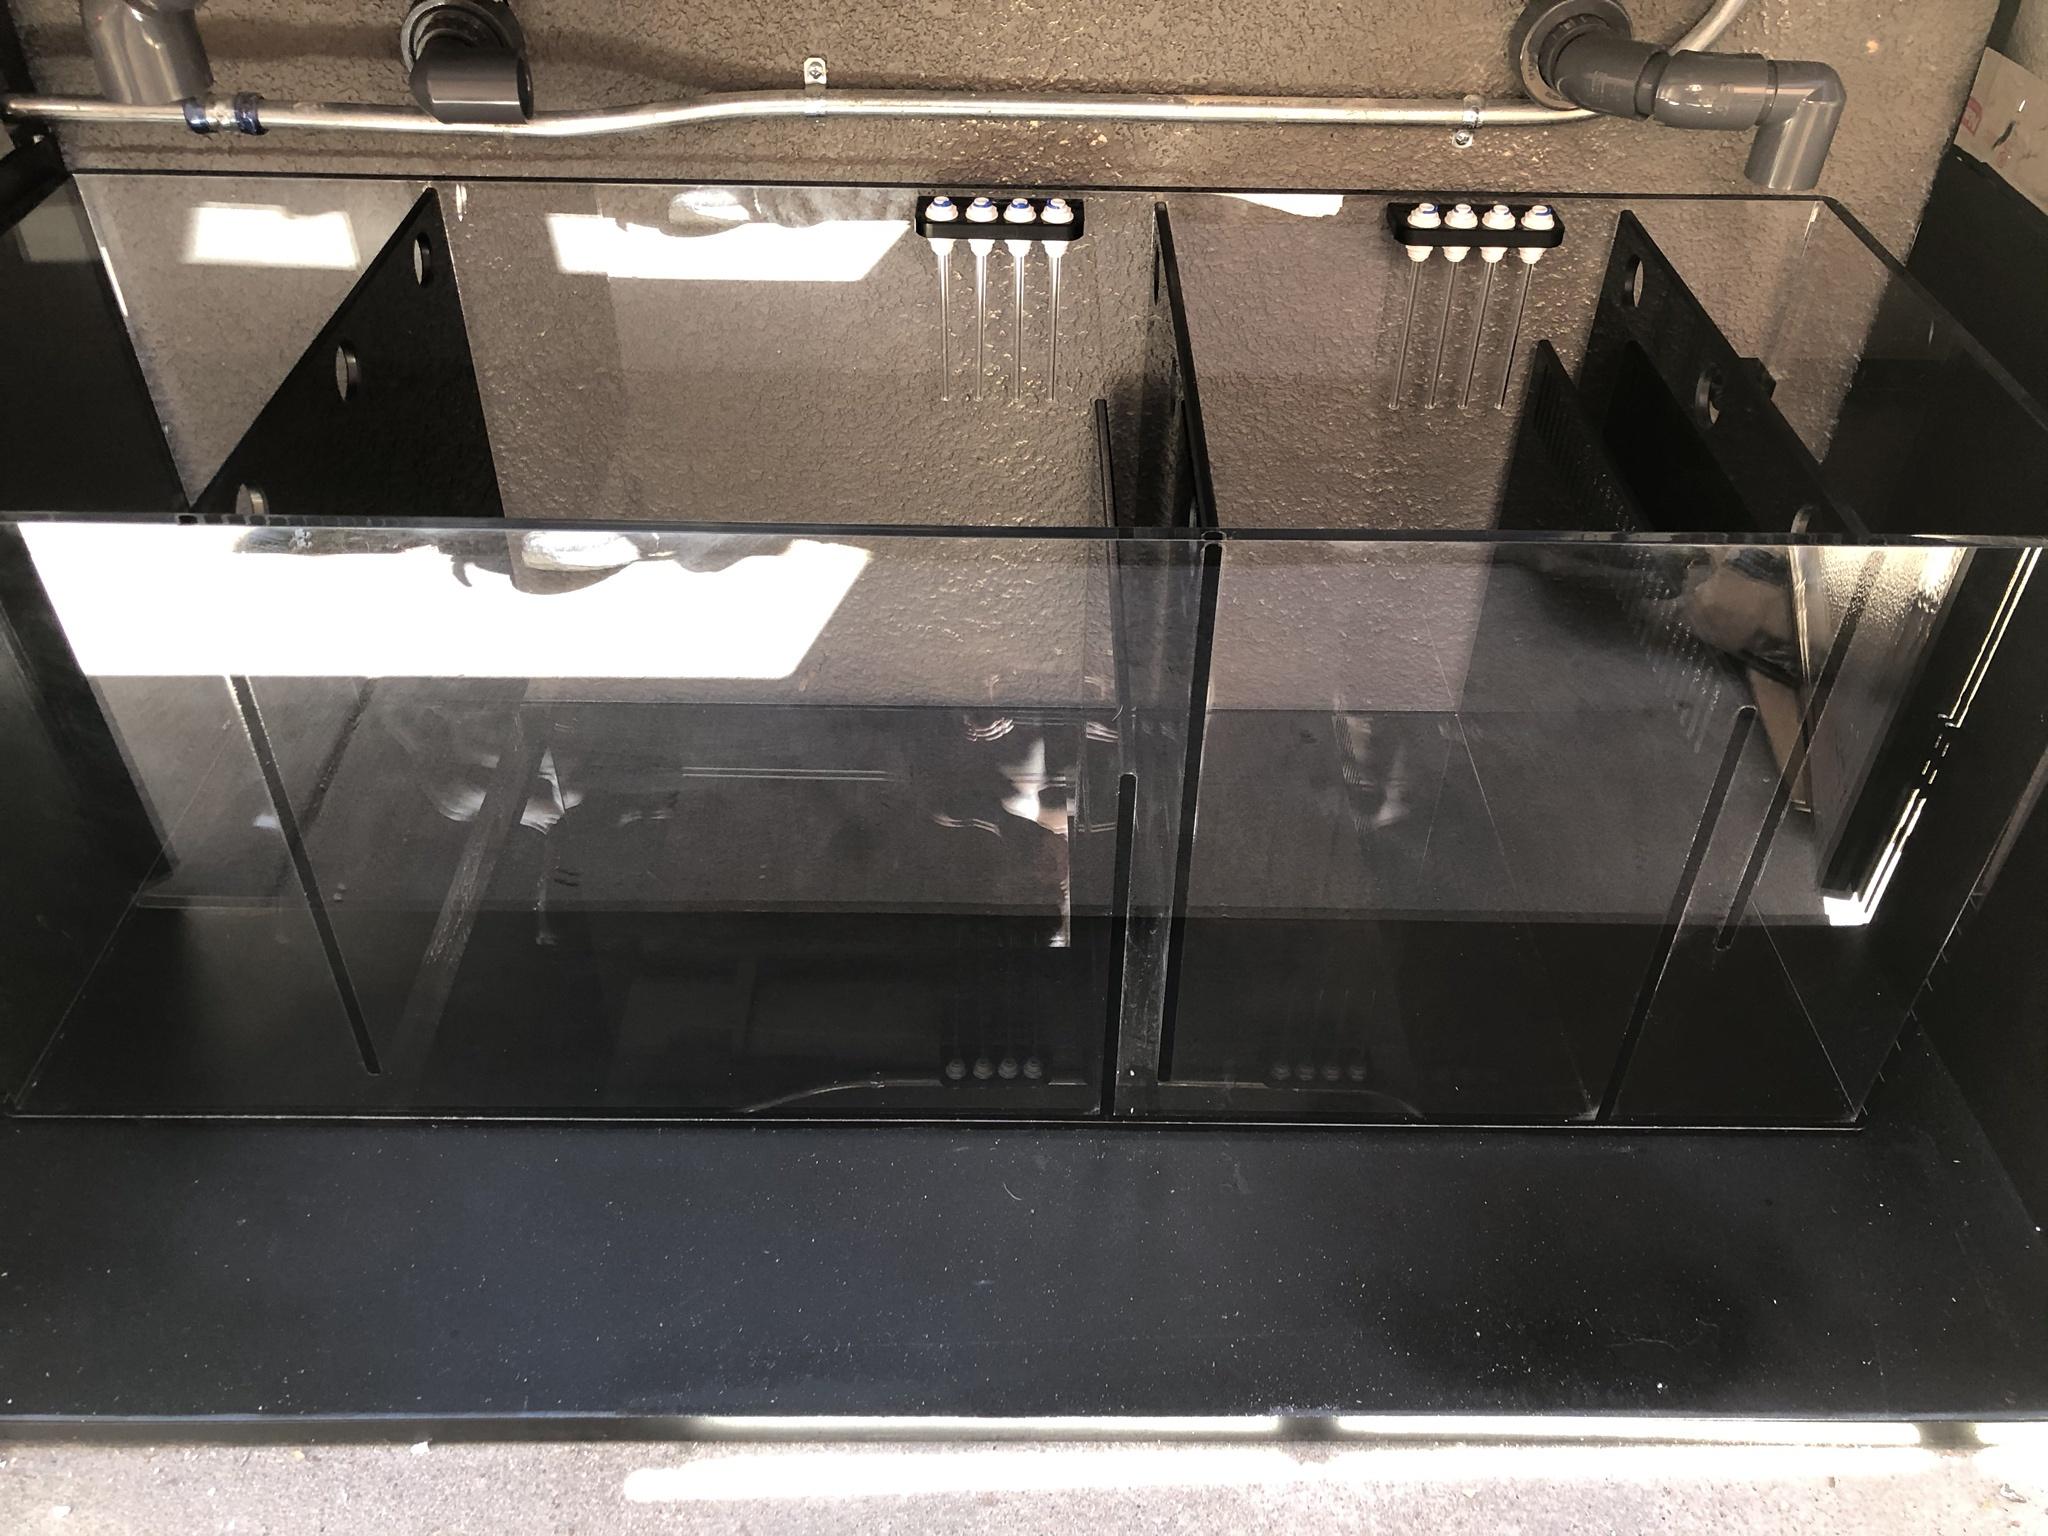
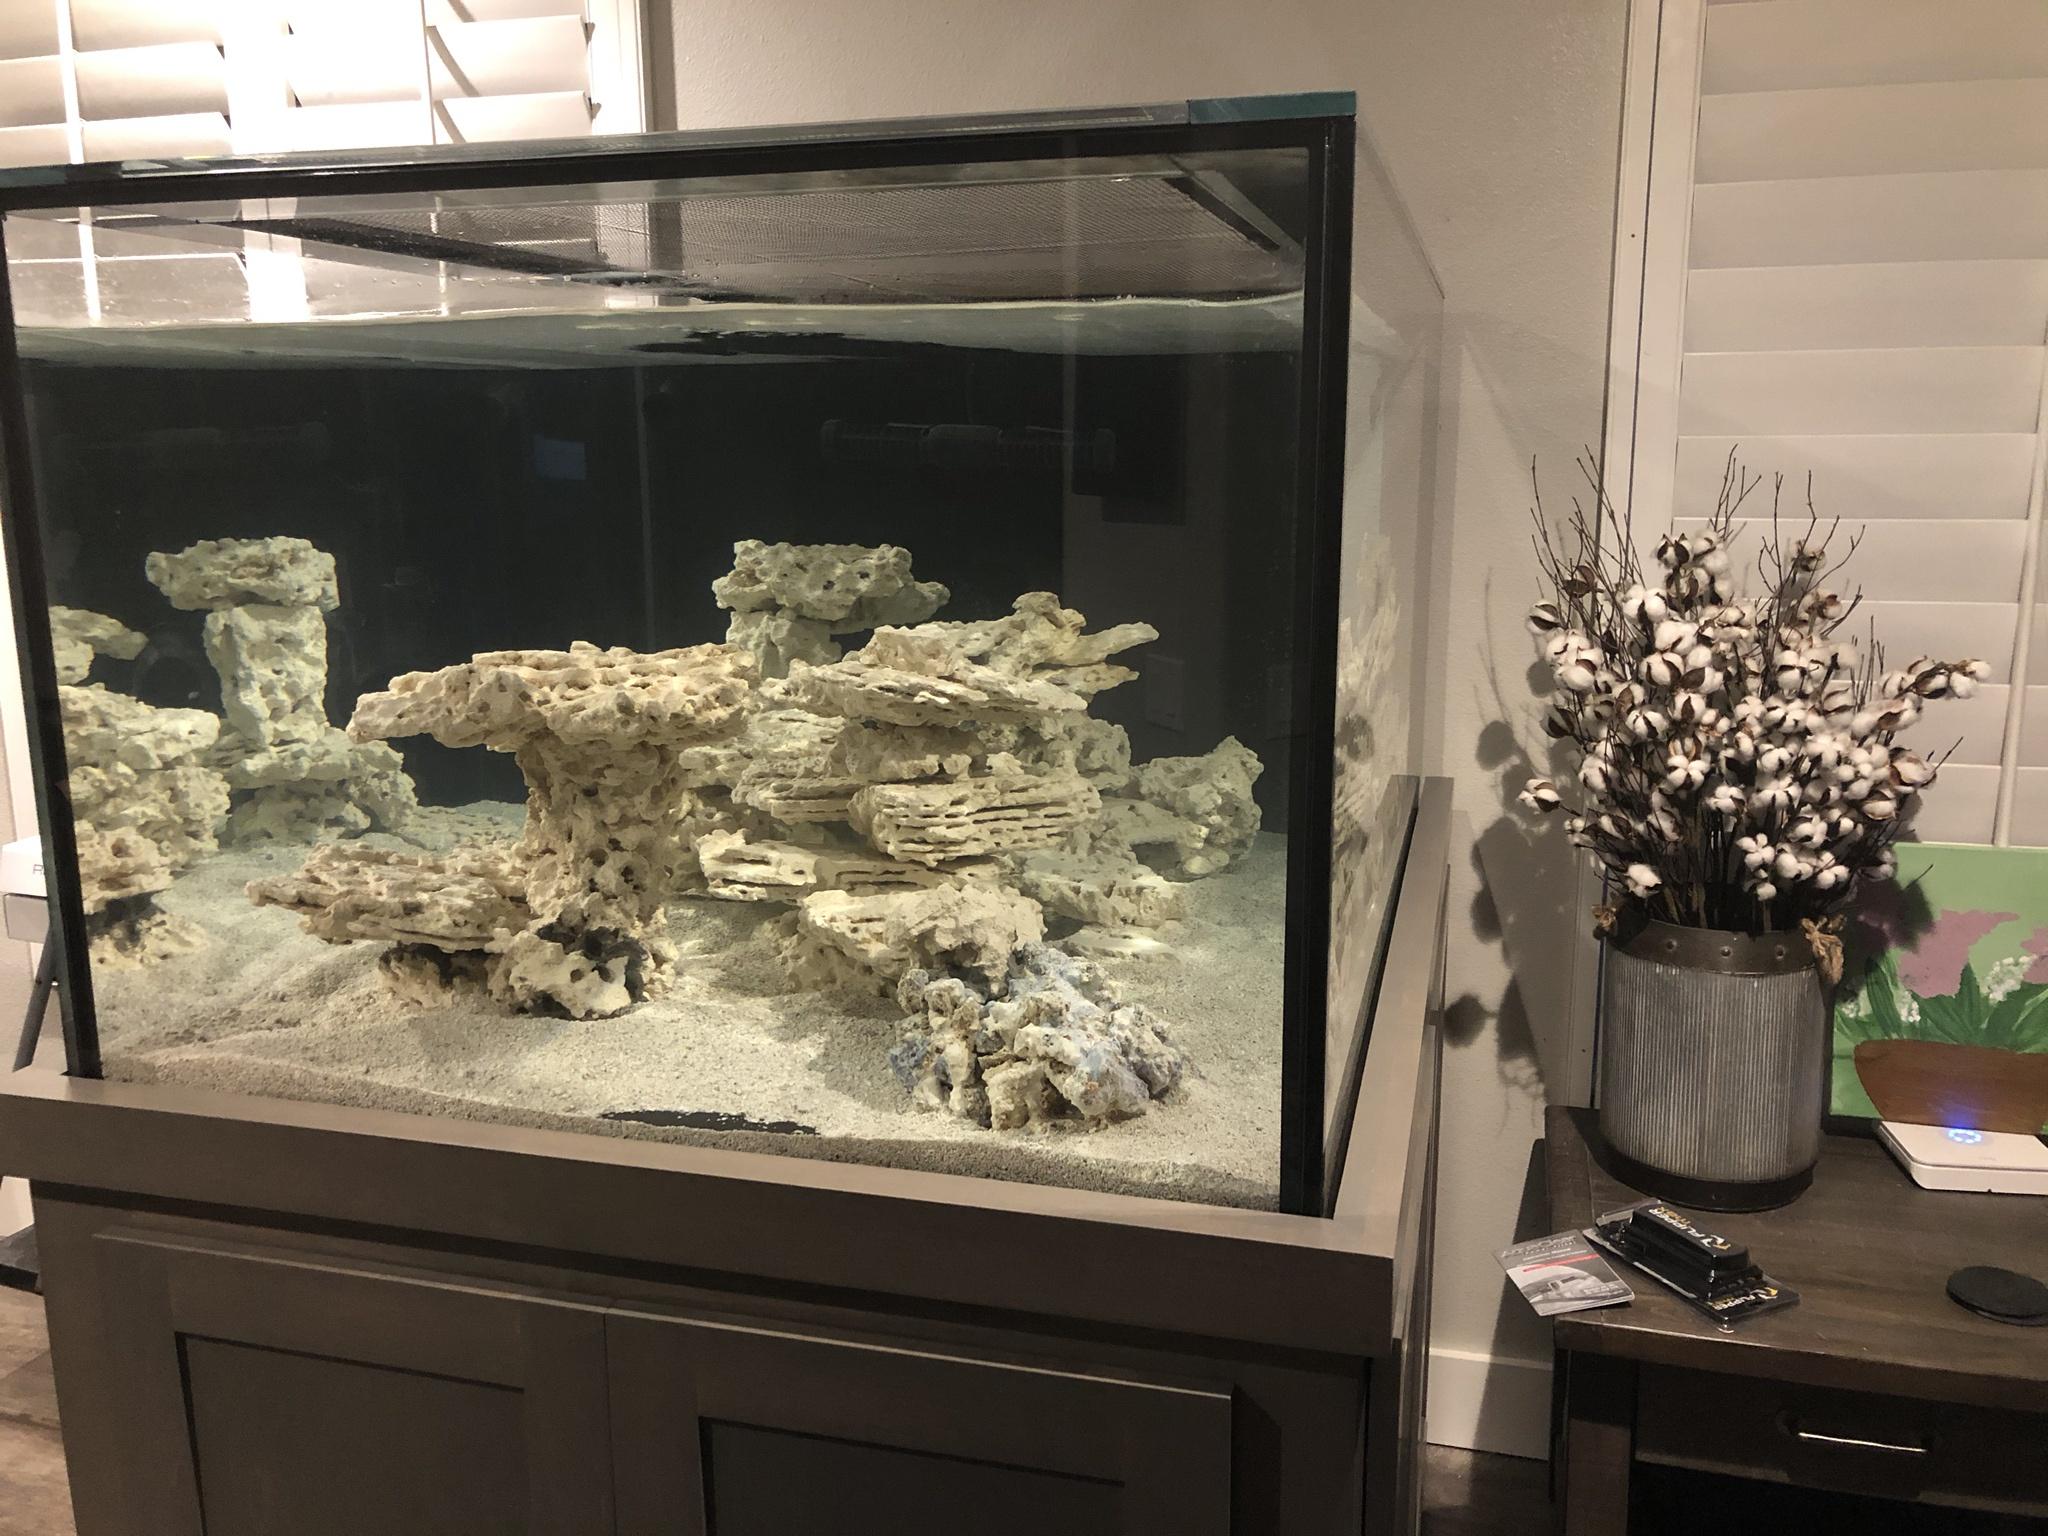
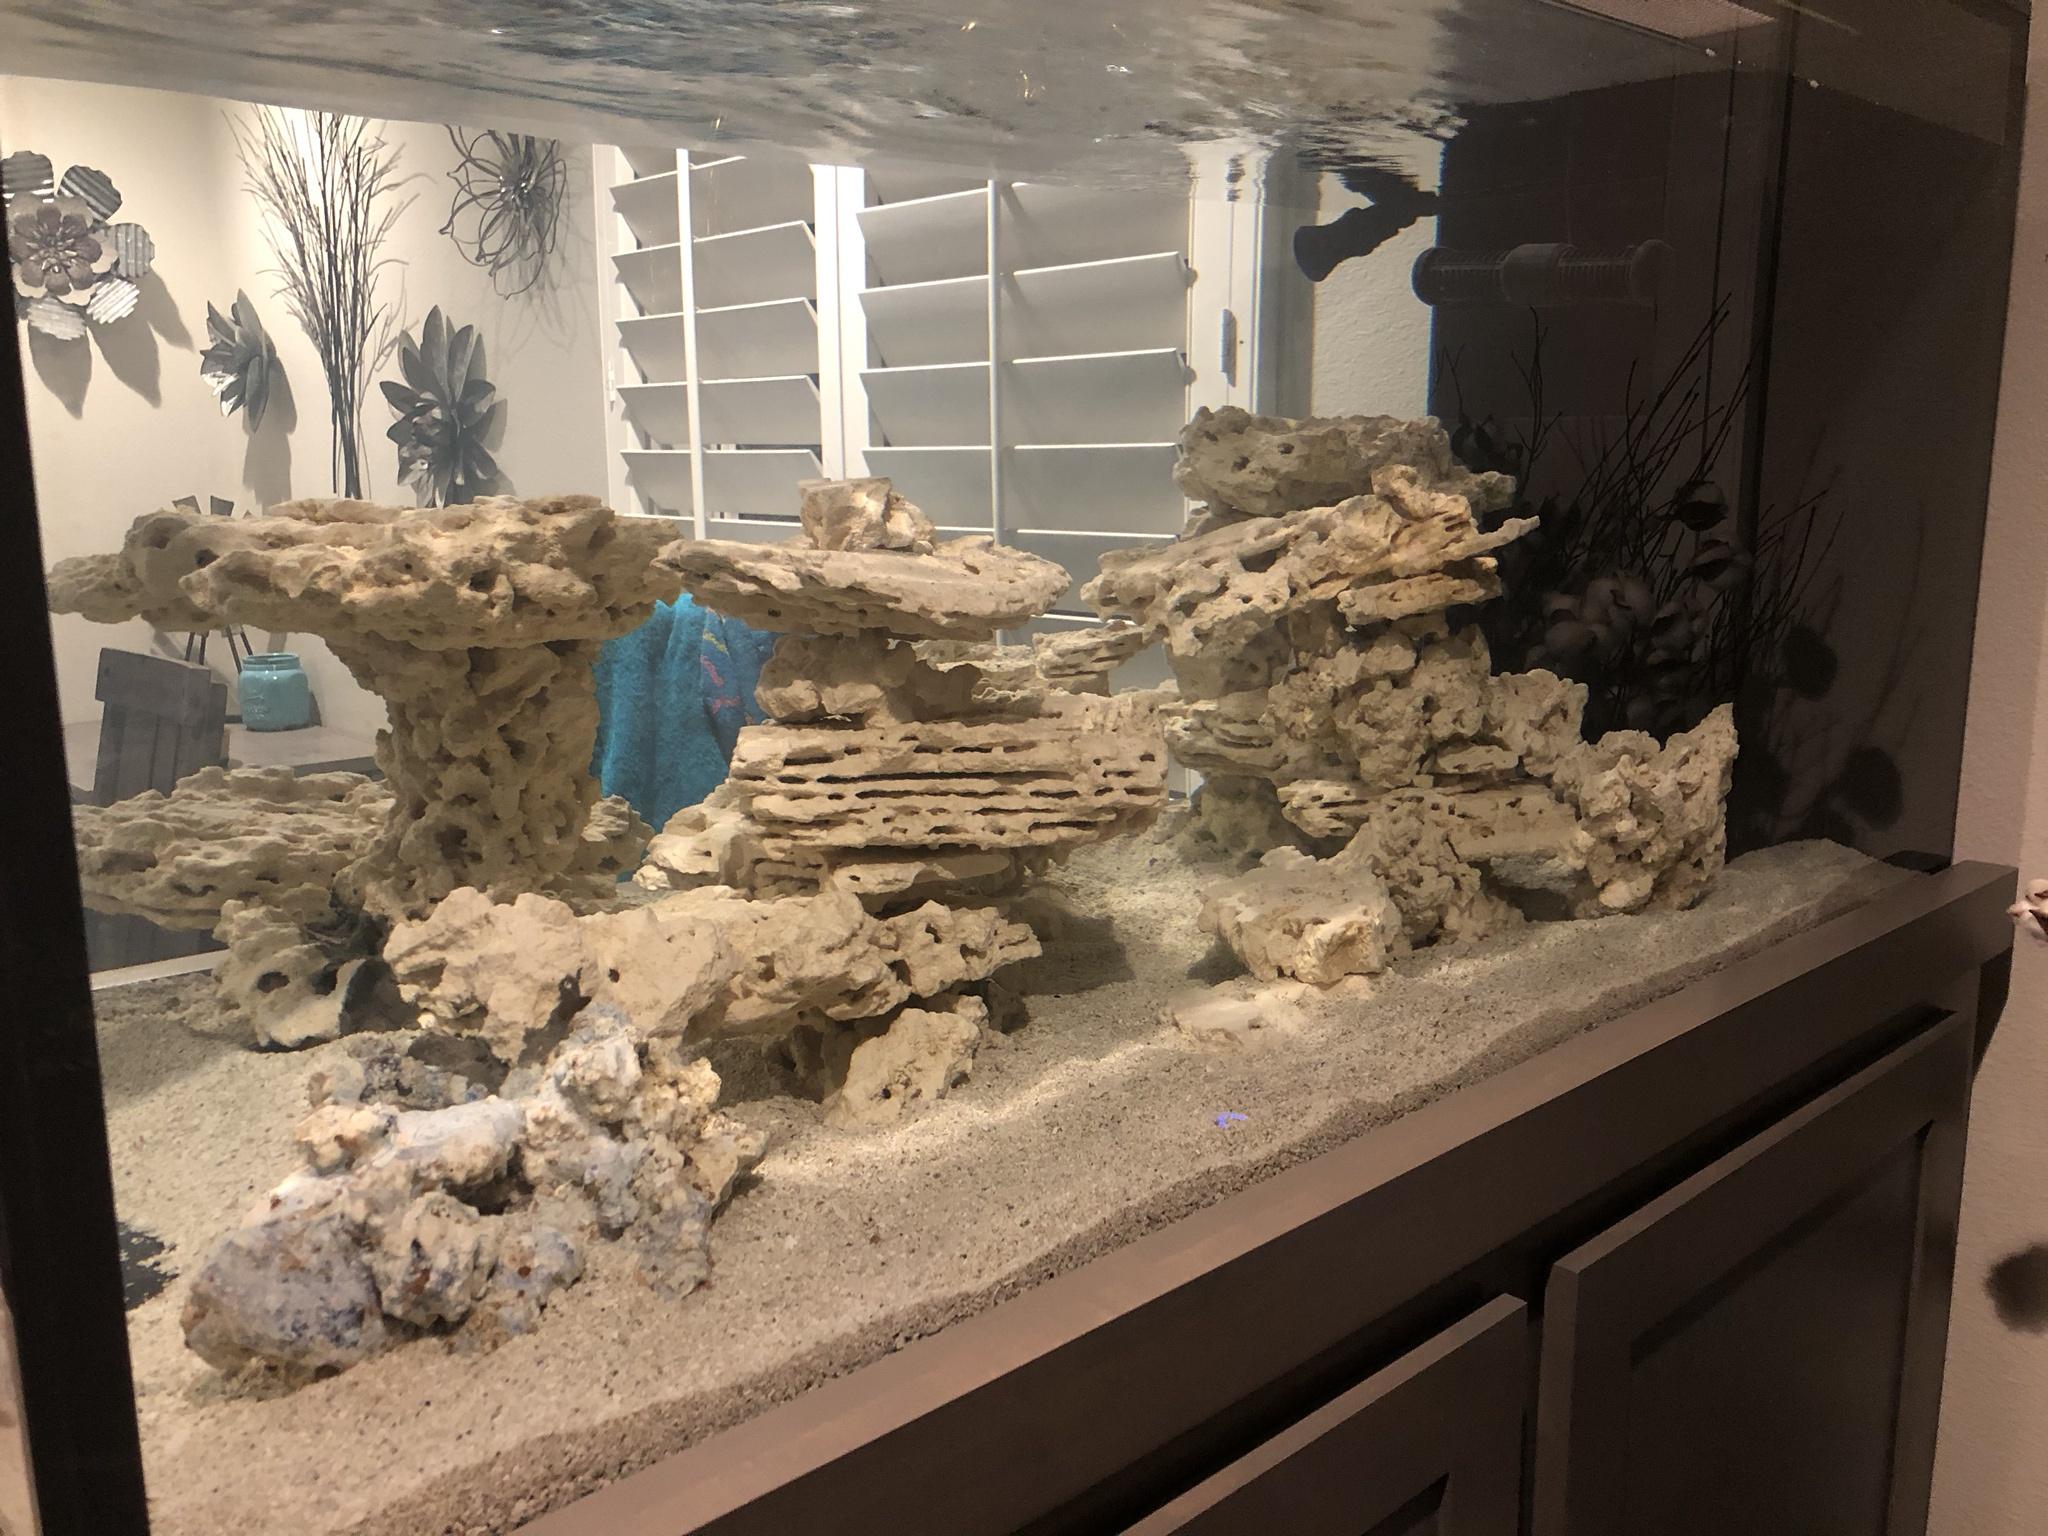
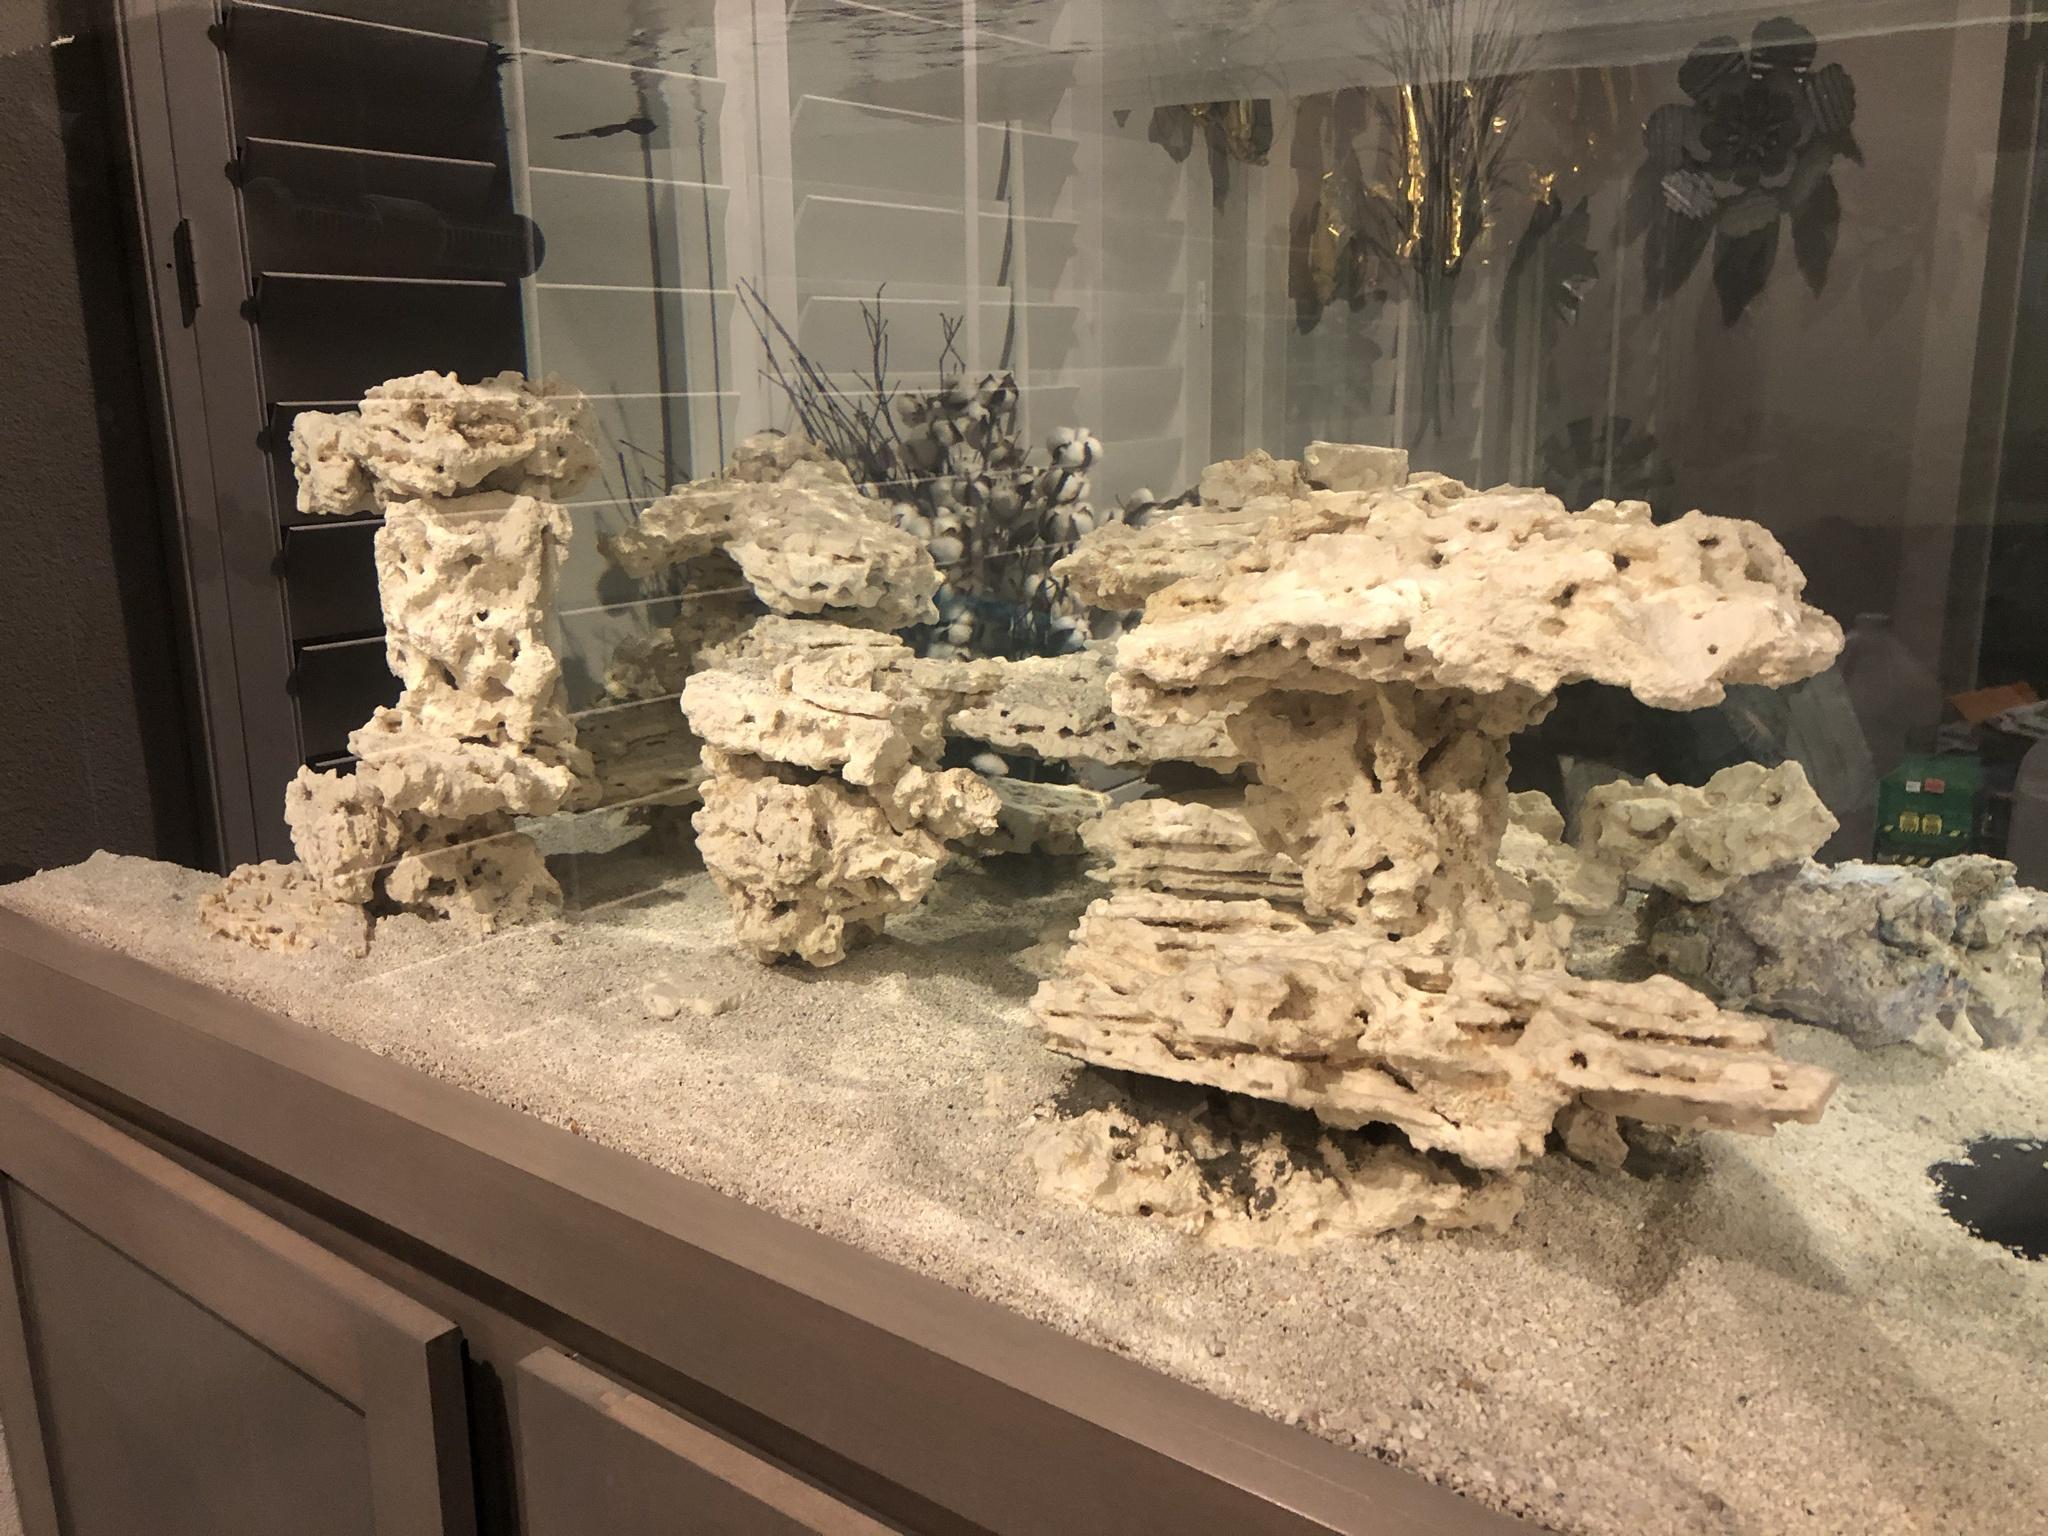
  • Algae Turf Scrubber/Algae Reactor: The decision between these options and the Refugium came down to maintenance. With a Refugium, you really just need to take out some chaeto every now and then and maybe clean out any built-up detritus on the bottom from time to time, but there’s no assembly/disassembly required when doing this and not a ton of monitoring (other than making sure it is taking out enough or not too much phosphates/nitrates). It’s also one less reactor/piece of equipment that can break/leak/clog/etc.
 

Marlon C

Well-Known Member
View Badges
Joined
May 28, 2019
Messages
657
Reaction score
327
Rating - 0%
0   0   0
man thats an awesome tank. When I get a house I would love to do a custom tank 6ft x40x26. But don't know when that will be. If you don't mind what was the ball park price on the full tank and stand
 
OP
OP
G

gofor100

Active Member
View Badges
Joined
Feb 17, 2011
Messages
154
Reaction score
87
Location
Southern CA
Rating - 0%
0   0   0
SUMP & PLUMBING

Logically, once you have the tank and the water to fill it up, and the means to KEEP it clean, you have to figure out how to get the water where you want it. Usually I find this to be pretty straight-forward… slap some PVC together with some unions, elbows, various valves and give it a go, but this time around I threw a little wrinkle in my build. As I mentioned before, I’m not placing the sump below my tank for this build… it’s going on the outside of my house! Yup… the tank sits up against a wall that separates the house from my side-yard, and with the young kids running around and getting into things, the inevitable mess I will make screwing around in the sump and cleaning, the increased flexibility in placement and pieces of equipment I will have running the sump remote, and the added benefit of noise reduction, I figured what the heck.


yFlEP7X.jpg


Plumbing: I used the Herbie Overflow Method (1 Main Drain, 1 Emergency Drain, then two Return Lines coming back in through the overflow). The trick here was trying to create the plumbing so that, if and when needed, I could disassemble various sections to maintenance or change in the future. Thus, I used almost 20 unions and quite a few 45-degree fittings to maneuver around some tight spots


Af6hgVX.jpg


sJF66u4.jpg


eI22KFj.jpg


KBfe8Vb.jpg


A3XxTds.jpg


ocJQ4Rk.jpg


9F7LWk1.jpg


Overkill? Probably; but all of the unions give me some flexibility to remove/add/maintenance when needed. Also, the manifold allows me to maintenance less pumps that would normally feed my Chiller, Reactors, and any other pieces of equipment I may add on in the future.
 
OP
OP
G

gofor100

Active Member
View Badges
Joined
Feb 17, 2011
Messages
154
Reaction score
87
Location
Southern CA
Rating - 0%
0   0   0
man thats an awesome tank. When I get a house I would love to do a custom tank 6ft x40x26. But don't know when that will be. If you don't mind what was the ball park price on the full tank and stand
Combined, it was just over $5,000. The good news is my wife likes horses and they cost more than reef tanks :D
 

t5Nitro

Valuable Member
View Badges
Joined
Feb 9, 2011
Messages
1,753
Reaction score
1,336
Location
WI
Rating - 0%
0   0   0
Not bad man! Miracles quoted me 3900 shipped tank only on a 67x36x24. ReefSavvy never did reply to quote hah. The build on yours looks great. Will be contacting CDA likely in a few years for total package. Looking forward to the progression on yours!
 
OP
OP
G

gofor100

Active Member
View Badges
Joined
Feb 17, 2011
Messages
154
Reaction score
87
Location
Southern CA
Rating - 0%
0   0   0
Not bad man! Miracles quoted me 3900 shipped tank only on a 67x36x24. ReefSavvy never did reply to quote hah. The build on yours looks great. Will be contacting CDA likely in a few years for total package. Looking forward to the progression on yours!

Yeah... CDA was pretty reasonable and great quality (from what I can tell). It also helped that I live about 30 minutes from them, so shipping was minimal.
 
OP
OP
G

gofor100

Active Member
View Badges
Joined
Feb 17, 2011
Messages
154
Reaction score
87
Location
Southern CA
Rating - 0%
0   0   0
Sump: For the sump, I enlisted John from Advanced Acrylics to build a custom sump. Total dimensions of the sump are 48”L x 18”W x 18”T and nothing too fancy, but, as with many things in this hobby, the devil is in the details. I specifically tailored the sump to accommodate the pieces of equipment I plan to use (and provided extra room in case I switch certain pieces out). I also planned for the light spillage that typically occurs when running a refugium by having John build up the baffles on each side of the refugium to block most, if not all, of the light from spilling into the equipment and return areas of the sump, hopefully avoiding unwanted algae growth in those other areas.

57RF3DR.jpg

ADDLbuM.jpg

pYKxHrR.jpg


Return Pumps: As for the pumps responsible for keeping the pipes flowing, I decided to go with two lower powered pumps so that if one failed for whatever reason or needed to be maintained, that I at least had one running some water back to the DT.

  • Ecotech VECTRA M2: This will be plumbed directly back into the tank, and for good reason. I’ll be hooking this up to an Ecotech Battery Back-up, so, worst case, if the power goes out, I can still circulate water from the sump to the DT. I also got an S2 on an “Open Box” sale as a back-up if either return pump fails.
  • Neptune COR-15: This will handle my manifold. I like the various features/control that you can unlock when paired with the APEX Controller (including not needing a power supply), so I wanted to try it out.
f9NaK9k.jpg
 

Billldg

My Gem Tang Is Watching You
View Badges
Joined
May 14, 2018
Messages
17,478
Reaction score
121,885
Location
Georgia
Rating - 0%
0   0   0
Tank is coming together nicely. Can wait to see it get wet. ;Woot ;Woot;Woot

I am in the waiting stages of my CDA tank build. Thankfully, Zoya said that it will hit the build table by the end of the month.
 
OP
OP
G

gofor100

Active Member
View Badges
Joined
Feb 17, 2011
Messages
154
Reaction score
87
Location
Southern CA
Rating - 0%
0   0   0
Tank is coming together nicely. Can wait to see it get wet. ;Woot ;Woot;Woot

I am in the waiting stages of my CDA tank build. Thankfully, Zoya said that it will hit the build table by the end of the month.

Thanks! The tank is moving along quite nicely... I'll get some more updates later this week as soon as it all materializes and I can take some quick pictures.

Have fun with your build!
 
OP
OP
G

gofor100

Active Member
View Badges
Joined
Feb 17, 2011
Messages
154
Reaction score
87
Location
Southern CA
Rating - 0%
0   0   0
Sump Shed:

Now, it’s time to get into one of the unique parts of the build. First off, I am not an extremely handy person. So, my initial thought was to purchase a plastic storage shed, insert shelving and then waterproof it as best I could. The problem with this approach is that most of these plastic sheds are not extremely durable, sturdy, waterproof, the shelving cannot hold a ton of weight, and they can cost quite a bit (especially considering what you’re actually purchasing). The good news is that I know handy people… one in particular knows quite a bit (he builds pools for a living and has quite a bit of knowledge on electrical, welding, etc.) and essentially talked me into (it didn’t take much) letting him help me build a “Sump Shed”.

To keep it lighter, it is framed out with aluminum, which we (and my “we” I mean my VERY helpful friend) welded the frame out.

5AKO897.jpg

5ak6oAc.jpg

jiIPPL7.jpg

yyEkiWe.jpg

sT4Lzu4.jpg

d2tSbDH.jpg


We then painted the aluminum frame with Rustoleum Truck Bed paint, then skinned the outside with primed plywood.

OHUVoru.jpg

2dNdY8i.jpg


We added some 1” thick foam insulation to regulate the temperature a little inside the sump shed.

FFKibxj.jpg


We also added two vents on the lower part of the sump shed, with ventilation at the top of the sump shed so that there is still air flow that can come through the shed and limit any CO2 buildup.

And to close up the sump compartment and make it look a bit more clean, we enclosed the insulation with sheets of stainless steel (also painted with black Rustoleum). I might do this to the entire interior of the shed, but I needed to get this done before placing the sump in there.

Electrical:

For electrical, I have two tank-dedicated 20 AMP circuits, each one attached to a two-outlet housing, so that I could plug one EB832 into each- with one heater and one return pump plugged into each EB832 in case either circuit breaker trips.

Separately, all of the “inside equipment” (the lights and powerheads) are all connected inside the house on a 15 AMP circuit, so, in total, I have two main 20 AMP circuits, and a 3rd circuit supplementing. I may eventually feed the lights/powerheads into the Sump Shed, but those are all being controlled via the Ecotech Reeflink/Mobius anyways, so we’ll see.

OsJRbqN.jpg

AR17iPq.jpg


Waterproofing the Shed:

There is only so much you can do to waterproof an outside structure, so we started with the roof, which we built just like you would a roof on a house:

  • We installed a plywood top
  • Then we sealed flashing on the perimeter of the structure, including up against the house,
  • We then laid down some flex tape/roofing paper to seal up any joints and keep any water that does make it through off the plywood
  • Finally, we screwed in the asphalt shingles
Once we had the top sealed up, I worked on sealing up the sides with caulking. So now, the only way that water could make it through would be through the front doors, which should not be an issue, since I purposely created an overhang of about 8 inches in front of the sump shed (so when it rains, the front of the shed should actually stay pretty dry) and installed weather stripping around the perimeter of the doors.

Lv6aZQu.jpg

h3cmJhU.jpg


After all of this, I tried to make it look nice on the outside, so it is not a huge eyesore for anyone that ventures into my sideyard.

kHrE4d0.jpg

NQypos4.jpg

a1rGKr6.jpg


Why go through the trouble and expense of creating this shed? Well, this is the way I looked at it:

  • Child-Proofing: I have kids (6, 5, and 3), and kids like to get into things they shouldn’t. So, for the safety of BOTH my kids and my tank, I figured it might be best to put most of the tanks’ components in a shed where I can lock it and keep the kids away.
  • Noise Reduction: I really wanted to cut down on the noise as much as possible in the living area (since the tank is literally right in the middle of the downstairs living area).
  • Limit Damage to the House: I wanted to avoid as much damage as possible to the house… I would rather cut a few holes in the wall and house all of the equipment outside where possible leaks, spills, etc. can’t wreak havoc on my home.
  • Space: being able to house all of the equipment outside of the stand also allows me to store some stuff under the tank that I would not otherwise be able to. Less fish stuff in the house and garage makes a happy wife. Happy wife, happy life.
  • pH Benefits?: with all of this talk about how higher pH may have positive effects on our corals, I figured housing the sump/skimmer in a shed with direct access to fresh air (low in CO2), can’t do anything but help here.
  • Something New: Honestly, it was something I had never done before and seemed like a pretty cool idea if someone that knew what the heck they were doing was willing to help. Lucky for me, there was.
 
OP
OP
G

gofor100

Active Member
View Badges
Joined
Feb 17, 2011
Messages
154
Reaction score
87
Location
Southern CA
Rating - 0%
0   0   0
AQUASCAPING

My goals with the aquascaping for this build was somewhat of a balancing act. I wanted to achieve seemingly contradicting characteristics:

  • Minimal Rock Footprint: so as to avoid minimal space on the sand-bed being taken up by the rockwork, and building the structures to allow for plenty of waterflow through the entire tank so as to avoid as many deadspots as possible.
  • Plenty of Coral Real Estate and Depth: with the width/depth of the tank, I really wanted to create a good sense of depth and visual appeal from all angles of the tank. This was definitely more difficult to achieve than I originally thought.
All in all, I know that this will eventually be covered with corals, but I’m pretty happy with it.

qTMbvOt.jpg

WwdVyZr.jpg

iVKCp29.jpg

xkDrwTo.mp4
 
OP
OP
G

gofor100

Active Member
View Badges
Joined
Feb 17, 2011
Messages
154
Reaction score
87
Location
Southern CA
Rating - 0%
0   0   0
FLOW

The next step is figuring out the flow in the tank and was one of the trickier elements of the build. On one hand, I want to keep that “clean look” with little or no wires visibly coming out of the tank, and on the other hand, I want to keep quite a bit of SPS and need to provide significant amounts and varied flow in a rather wide rectangle-shaped footprint. Seemingly two goals that conflict – a ton of unnoticeable flow. So, for most of my flow, I went with the most unnoticeable pumps currently on the market (or at least the only ones that don’t have cords running around inside the tank and should pretty much disappear against the black background).

  • 4 Ecotech Vortech MP40WQD’s (max flow rate of 4,500+ gph per device): These will comprise the majority of the “unnoticeable flow”. Two of these will be placed on each side of the overflow- two placed in the upper third and the other two about halfway up the tank (or as low as I can go without blowing around the sand). The plan here is to use the tidal swell mode where the two on the left side run in unison, and the two on the right run in unison. There’s also the added benefit of having spare wetsides that I can just swap out when I need to clean the ones in use.
ydKLlpE.jpg


The problem with the Vortechs is that they can only be placed on the back wall of the tank, but with an internal overflow taking up part of the back wall, I am guessing that there would be quite a few dead spots in the middle (especially once SPS start to grow in at the top of the tank). That’s why I decided to place a gyre pump at the top of the overflow box so that the cord is not extremely noticeable, and should create enough flow in the center of the tank to address most of the dead spots.

  • Red Sea Reefwave 45 (max flow rate of 3,960 gph): I went with the Reefwave 45 for a few different reasons: 1) it has a completely sealed magnet and can be placed (quite discreetly) at the top of the overflow box, 2) it is marketed as being extremely quiet (so far so good on this front), and 3) it is marketed as being extremely easy to maintenance (disassemble/reassemble/etc.). I also like the fact that you can direct the two propellers independent of each other (this may not be a novel thing with Red Sea) so you can direct flow (up or down) depending on if you’re looking to agitate the surface, blast the rockwork, or a little of both.
hjYMVXy.jpg


I also went with some flow accelerators on my return line, so that I can direct the return flow into the rockwork to eliminate as many deadspots as possible.

  • 2 Accel Aquatics Vortex Flow Accelerators on Return Lines: I went with these because, while I’m not trying to have a high turnover of water go through my sump, I’m trying to get my in-tank water to be pretty turbulent. This should help with some of directional flow where my MP40’s and Reefwave 45 can’t get to.
Future Expansion:

While I don’t expect that it will come to this, depending on how my current set-up works, I might add two different types of pumps down the line: 1) Another gyre pump on the far end of the tank (not preferable because it is a viewing panel) and/or a directional pump on the back wall to flush out any dead spots in the rockwork (also not preferable since it will result in a not-so-easy-to-conceal cord running up the backside of the tank):

  • 1 Tunze Turbelle Nanostream 6095 Controllable Pump (already have) or Turbelle Stream 6255 Controllable Pump: I won’t start with placing the Tunze in the system and will see how I am able to manage the flow with the Ecotech Vortechs and the Reefwave, but if the need arises, I can plan to mount at least one on the back wall, and place it lower behind the aquascape. I specifically liked the design of these two pumps since, not only can you control it, but it also provides a very wide and more gentle flow than what you find with some of the other Tunze powerheads. It also has a relatively small footprint and can be pointed pretty much any direction (allowing for potentially easier concealment behind the aquascape), so hopefully, with the black background, the powerhead and cord shouldn’t be too noticeable, but we’ll see.
  • Red Sea Reefwave 25 Gyre Pump (already have): This pump definitely has a small visual footprint given that it is the smaller of Red Sea’s a gyre pumps, and can be placed relatively high in the water column so that it is not clearly in the line of sight. If needed, I might be able to get away with mounting this on the far side of the tank, which would obviously help immensely in getting a more varied flow in the tank. The other challenge is trying to hide the cord coming from the pump. This would be a “last resort” piece of equipment if I’m really having a difficult time sustaining sufficient flow.
 
OP
OP
G

gofor100

Active Member
View Badges
Joined
Feb 17, 2011
Messages
154
Reaction score
87
Location
Southern CA
Rating - 0%
0   0   0
What kind of fish are you going to put in there?
Planning on putting some "risky" fish in there because the fish are what got me into the hobby originally and my kids love the fish.

So, among others, I'm thinking about a Moorish Idol and a Regal Angel. I've kept a Moorish Idol in the past (had him for about 2 years before breaking down the tank and passing him along to another reefer) with success. I'm adhering to a pretty strict quarantine process for all livestock that I'll go into detail later, but I think this is key to keeping some of these fish (to get everyone healthy and eating prepared foods).
 
OP
OP
G

gofor100

Active Member
View Badges
Joined
Feb 17, 2011
Messages
154
Reaction score
87
Location
Southern CA
Rating - 0%
0   0   0
TEMPERATURE CONTROL

While I live in Southern California where it runs about 70-80 degrees for most of the year, it still gets pretty hot where I live at times (sometimes hitting 100 degrees) and will dip as low as the high 30’s a few nights during the winter. So, just in case, I wanted to make sure my tank would be taken care of regardless of the weather.

Heating: I will be running two 600-watt BRS Titanium Heaters with their own controllers. Since they independently should be able to handle my tank, one will be the main heater, set to turn on at a temperature of approximately 76 and off at a temperature of approximately 77, and the other heater will purely be used as a back-up, and set to turn on at 75 and off at 76. Both will be plugged into the APEX which will have ultimate control and shut off both if the tank reaches 78.

tOFzonV.jpg


Cooling: This is obviously more of a concern for me, but I think that without a canopy and not running Metal Halides, I should be in pretty good shape. Just in case the $h!t hits the fan though and my A/C breaks in the middle of a heat wave or something, I wanted a back-up plan.
  • Plan A: Sunlight Supply Air King Fan and Vents in Sump Shed… on those hot days where we’re not running the A/C while we’re away, I figured I would start with some evaporative cooling in the sump shed using the Air King Fan/Ventilation. This will be set to come on if the tank gets to 79 or above.
  • Plan B: JBJ Arctica Chiller 1/5 HP… if it gets really hot, then worst case, I’ll have this plumbed into the tank on the manifold and will set it to turn on if the tank ever gets to 79.5 degrees.
ZNnxtH6.jpg
 
OP
OP
G

gofor100

Active Member
View Badges
Joined
Feb 17, 2011
Messages
154
Reaction score
87
Location
Southern CA
Rating - 0%
0   0   0
LIGHTING

This was another tough decision… back in the day, I ran with Metal Halide and supplemented with T-5’s, but with energy costs the way they are going in Southern California (I live in one of the more expensive areas for energy in the country with SDG&E as my utility provider) and the controllability you have with LED’s, it seemed like it made too much sense NOT to go with some form of LED lighting option.

So, then it became a decision of whether I wanted to go with only LED or a hybrid option of LED and T-5. I did quite a bit of research on this, and it seems like the safest bet on making sure you have enough coverage/spread on such a wide tank without shadowing after the SPS frags have grown into SPS colonies is either a car downpayment’s worth of LED’s or a hybrid of LED’s and T-5. I took the more cost effective approach here and decided to go with the hybrid option.

LED Option: When first trying to make this decision, I narrowed my options to either the Ecotech Radions G4 XR30 Pro (the G5’s weren’t out when I was considering this) or Kessil A360X. Honestly, I was kind of leaning towards the Kessils until the Ecotech Radion G4 sale popped up and I couldn’t pass up the deal. So, I scooped up 2 XR30 Pro units to pair with the 4-bulb hybrid T-5 fixture.

T-5 Hybrid Fixture: The choice here was mostly about aesthetics since I planned to simply mount the fixture above the tank without a canopy. Initially, I was looking at the Geisemann Stellar fixture since the fixture I chose NEEDED to only have the power cord(s) come out of one end (since this is a peninsula style) and the standard Aquatic Life hybrid fixtures have the power cords coming out of both ends (although you can turn one around). But then I came across a deal for the Dimmable Aquatic Life T-5 fixture and went with that one. Only one power cord coming from one end AND looks a bit sleeker than the other hybrid fixtures I was looking at.

J0dD0Q0.jpg

SdS52HE.jpg

ggr7AsH.jpg


Future Expansion

Depending on the PAR readings I get on the current set-up, I might have to expand the spread of the unit and/or add some more power.
  • Expanding the spread: for this I might consider attaching some Reef Brite 50/50 or Actinic XHO LED strip lights (attached to the outside of the Aquatic Life T-5 Fixture) if I find the perimeter of the tank is being underlit.
  • Adding more power: for this I might consider adding another Ecotech LED fixture (maybe a G4 if I find a good deal, but more likely a G5 XR15 Pro).
 

Reefing threads: Do you wear gear from reef brands?

  • I wear reef gear everywhere.

    Votes: 16 17.0%
  • I wear reef gear primarily at fish events and my LFS.

    Votes: 4 4.3%
  • I wear reef gear primarily for water changes and tank maintenance.

    Votes: 0 0.0%
  • I wear reef gear primarily to relax where I live.

    Votes: 16 17.0%
  • I don’t wear gear from reef brands.

    Votes: 50 53.2%
  • Other.

    Votes: 8 8.5%
Back
Top