has anyone ever rebuilt an mp40 dry side??

motortrendz

2500 Club Member
View Badges
Joined
Mar 31, 2011
Messages
2,833
Reaction score
5,755
Location
Lacey NJ
Rating - 0%
0   0   0
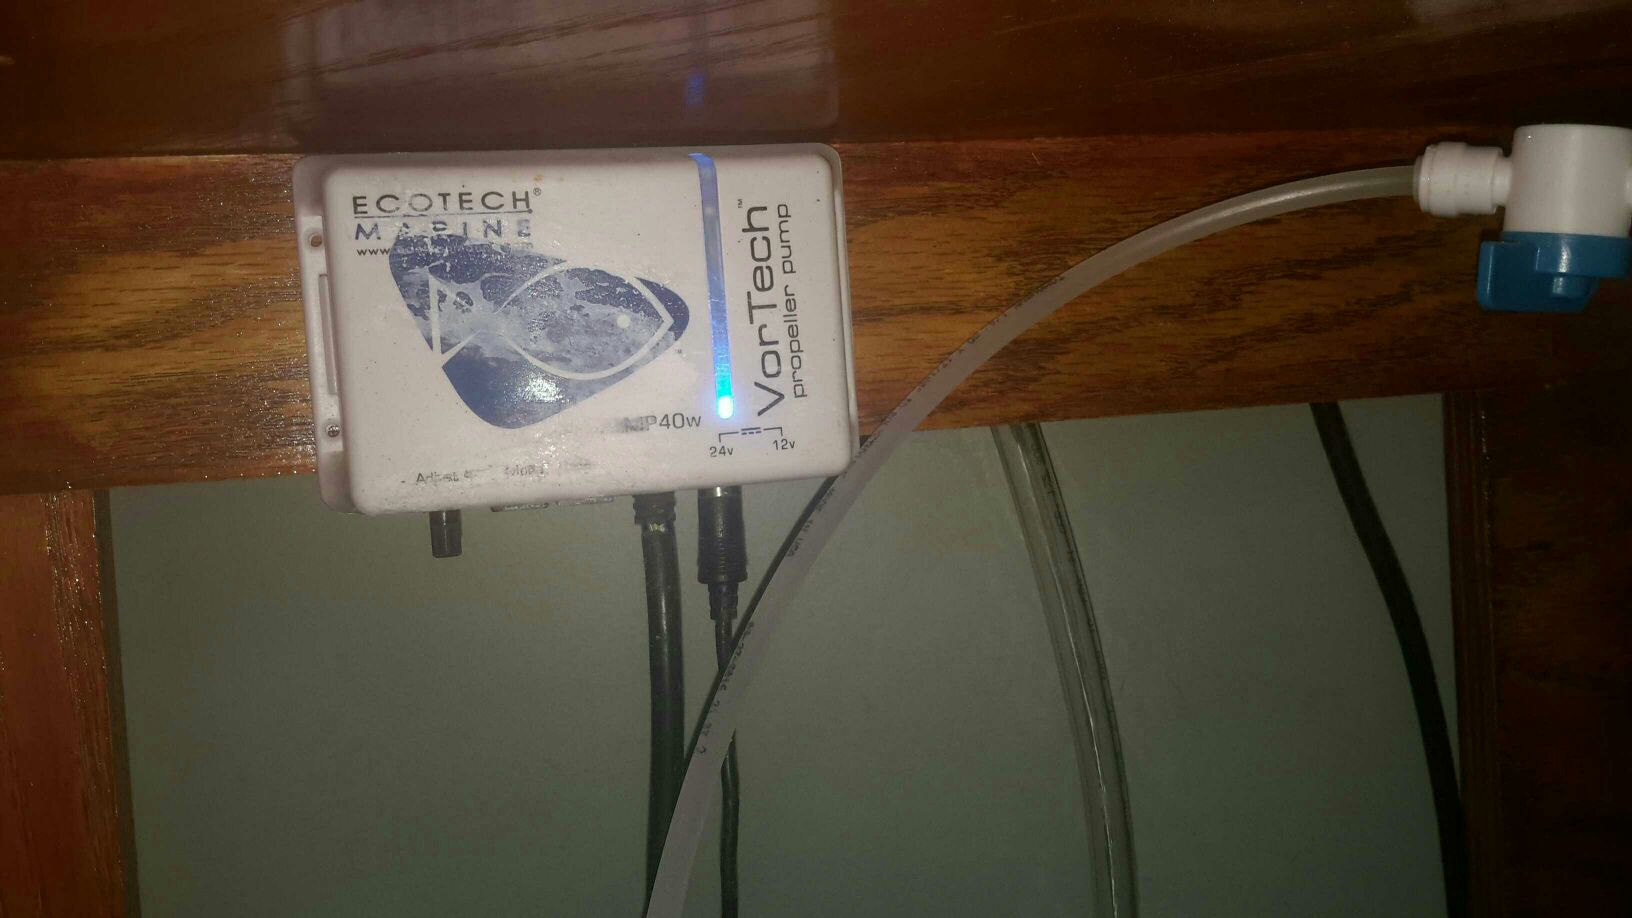
so i have an older mp40... like first gen probably its got the control box with a dial at the bottom for he intensity.. still works great but the dry side bearings are noisy as hell and it runs on the hot side...

has anyone ever replaced the bering? if so id love the info on the part if possible...
i figure the bearing itself cant be more than 50-70$... atleast in automotive applications of hub style bearings (ball bearings in a race, not the needle bearings like used in older style axles)

thanks
 

redfishbluefish

Stay Positive, Stay Productive
View Badges
Joined
Mar 22, 2012
Messages
11,711
Reaction score
25,758
Location
Sayreville, NJ
Rating - 0%
0   0   0
I've done an MP10 dry side....and bearing are only around $20 or so. Give me a little time and I'll get back with some links.

I'm back.....check out THIS LINK, post #6, which contains links for doing the rebuild. Let me know if you have any questions. I ended up reading that RC post maybe five or six times trying to decide on the bearings. Best of luck
 
Last edited:
OP
OP
motortrendz

motortrendz

2500 Club Member
View Badges
Joined
Mar 31, 2011
Messages
2,833
Reaction score
5,755
Location
Lacey NJ
Rating - 0%
0   0   0
cool thanks i bought a newer mp40 form someone on here but y trash the old one if it still works... might as well try to fix it and have a spare or more flow lol
 
OP
OP
motortrendz

motortrendz

2500 Club Member
View Badges
Joined
Mar 31, 2011
Messages
2,833
Reaction score
5,755
Location
Lacey NJ
Rating - 0%
0   0   0
i believe i found the info through some google and you tube sesrches just want to make sure im correct before buying theres 2 different bearings skf 607 2z and skf 619/8 2z but no one specifies if the dry sides have changed over the years.... does any one know that info?
 

Skynyrd Fish

Valuable Member
View Badges
Joined
Jan 18, 2013
Messages
2,083
Reaction score
4,947
Location
Beverly Hills MI
Rating - 0%
0   0   0
You could remove the old bearings and look for a number on them. Then order in what you need. Most have a number on them.
 
OP
OP
motortrendz

motortrendz

2500 Club Member
View Badges
Joined
Mar 31, 2011
Messages
2,833
Reaction score
5,755
Location
Lacey NJ
Rating - 0%
0   0   0
You could remove the old bearings and look for a number on them. Then order in what you need. Most have a number on them.
haahaa you know... sometimes we ask dumb questions and dont think the obvious.. being an auto mechanic for 15 years i should know better.. but i also didnt want to put thepump out of commission while i take it apart i may just wait till the newer one comes
 

redfishbluefish

Stay Positive, Stay Productive
View Badges
Joined
Mar 22, 2012
Messages
11,711
Reaction score
25,758
Location
Sayreville, NJ
Rating - 0%
0   0   0
Here's my story of the MP10 rebuild from January, 2013:

Vortech’s powerheads are known for eating bearings on their dryside, usually evident in becoming very loud. If they are still under warrantee, no problem, you get a new dryside replacement. If they are out of warrantee, your choice was to buy a new dryside for mucho bucks……..until dahenley posted a DIY over on Reefcentral titled “Noisy Vortech DrySide FIX!!” So I can’t take credit for this, but wanted to post my experiences here on replacing the noisy bearings in an MP10. I’ll also be doing this soon for a noisy MP40 I have….but this post is all MP10


I used the above RC post to learn about how to do the replacement, as well as purchasing what I thought were the best bearings for the MP10. You wouldn’t believe all the different types and qualities of bearings there are. Anyway, from what had been published, I came to the conclusion that the BOCA bearing SMR147-ZZ #5 at $8.95 each gave you the best bang for the buck. With free shipping, for $17.90 for two bearing, I’ll hopefully have a better-than-new dryside….versus a new dryside from Vortech for $106. I’ve since seen additional posts over on RC where a poster has had problems with these particular Boca bearings. So it’s still a puzzle on what the best bearing is or if there is something else going on.


The second little tidbit that helped ease me into doing this DIY were two YouTube videos that showed how to pull apart a Vortech pump, and how to put it back together. Here are those two videos:

Pulling apart a Vortech

Putting a Vortech back together


Now here are my experiences:


OPENING THE VORTECH

This is the scary part of the rebuild….you will be potentially defacing the dryside…and it wasn’t real clear from the write up, and certainly not the video, in how to go about this. They said pry it off. Well prying worked for me about half way around the pump. I started with a fixed blade scalpel (this is an antique, and no longer available). I choose this as my first tool of choice because not only was it sharp, to help cut, but also strong enough to pry as well. But again, half way around, prying became difficult and I was doing damage to the plastic. So my next attack was with a utility knife with a new blade. I kept running this back and forth in the grove until it cut all the way through. I continued this cutting method the rest of the way around the pump. All this cutting and prying took about 45 minutes or so. Here are the two tools I used for that:

MP Knives.JPG


One more thing….before starting to cut this end piece off, I put alignment marks in this piece so that when I re-assembled it, the end piece would go back in exactly the same position. Two little notches were made in-line with the wire cutout, to use as an alignment point.

MP Notches in Cover.JPG


Once this end piece was cut off, I used the RC instructions and video to continue disassembling the pump. The allen wrench that is needed is a 2 mm wrench. The pump easily opened up and the rotor easily slipped out. Be careful not to loose the three washers in the far end of the stator portion.


REMOVAL OF THE OLD BEARINGS

Now with the removal of the old bearings, the video showed how to use a builder’s square to pop the bearings off. I’ve got to assume that video was done on an MP40, because when I went to slide my builder’s square between the bearing and rotor magnet, it wasn’t even close to fitting.

MP Bearing Removal with BuildersSquare.JPG


So the way I pulled off the old bearings was to use my vise on the outer bearing by very lightly clamping down on the bearing and tapping a hammer on a wood dowel that was in contact with the rotor shaft. With the inner bearing, the vise couldn’t hold it tight enough, so I lightly clamped this bearing in a pair of vise grips and then did the same tapping thing.


INSTALLING THE NEW BEARINGS

If you read all the posts over on RC you will see a number of folks who still had noisy Vortechs after installing new bearings. It’s a puzzle. But one of my guesses is that the bearings aren’t slid on all the way and now cause for excessive lateral forces on the bearings…..which causes the noise. Again, this is a big guess on my part. So I wanted to make sure my bearings were driven all the way “home.” So the rotor went into the freezer for a couple hours while the bearings rested on one of the hot radiators in the house… (forced hot water in an older house with cast iron radiators….and frigid temperatures helped with a real hot radiator) In addition, I drilled two pieces of scrap lumber with a 9/32” drill. This is oh-so-slightly larger than the rotor shaft. I used these blocks to very lightly tap the bearing “home” using a hammer.

MP Mounting New Bearings.JPG


The rest of the reassembly was uneventful. I attached the cut-off end piece with six or seven dabs of cyanoacrylate glue. I was fortunate in that the rebuild is now quiet. :cool:
 

ca1ore

10K Club member
View Badges
Joined
Oct 28, 2014
Messages
13,908
Reaction score
19,759
Location
Stamford, CT
Rating - 0%
0   0   0
Very nice summary. Not sure why it's necessary though. I've got, and have had, many across the range and have yet to replace any bearings. I've noted on that other site that these are not always easy pumps to use given their attempts to achieve something no other pump tries, and that user error likely contributes to many of these problems. I have found that using the correct spacer and ensuring perfect alignment (ideally by feel) ensures long life and avoids problems. I've lost track of the number of times I've seen them setup improperly on people's tanks. No wonder they fail. Also important to make sure the dry side stays dry LOL.
 
OP
OP
motortrendz

motortrendz

2500 Club Member
View Badges
Joined
Mar 31, 2011
Messages
2,833
Reaction score
5,755
Location
Lacey NJ
Rating - 0%
0   0   0
Very nice summary. Not sure why it's necessary though. I've got, and have had, many across the range and have yet to replace any bearings. I've noted on that other site that these are not always easy pumps to use given their attempts to achieve something no other pump tries, and that user error likely contributes to many of these problems. I have found that using the correct spacer and ensuring perfect alignment (ideally by feel) ensures long life and avoids problems. I've lost track of the number of times I've seen them setup improperly on people's tanks. No wonder they fail. Also important to make sure the dry side stays dry LOL.
my pump is a first gen, square box driver with an adjustment knob out the bottom to adjust the max flow rate... its gotta be atleast 12 years old.. the wet side has been rebuilt and replaced through the years but the dry side is so loud now, i run it on reef crest mode since it was newi know its not an alignment issue bc even with it off the tank i can feel the bearings when it runs(thats the auto mechanic in me) but its getting to the point where you can hear the motor running from the bedroom and the tank is in the living room..

heres a pic of my driver if that tells you how old it is.. lol the back is worn off so i cant see a date
786ad7c275f5125dc03ca6597bb1a9c8.jpg
 

ca1ore

10K Club member
View Badges
Joined
Oct 28, 2014
Messages
13,908
Reaction score
19,759
Location
Stamford, CT
Rating - 0%
0   0   0
Don't see too many of those still running. Is the dry side the same as the WES version? My oldest is just 7 years young. If you do attempt a rebuild, pls share pics. Sounds like you've the skills to do it. I do not.
 
OP
OP
motortrendz

motortrendz

2500 Club Member
View Badges
Joined
Mar 31, 2011
Messages
2,833
Reaction score
5,755
Location
Lacey NJ
Rating - 0%
0   0   0
i will definitly take pics.. it looks to be the same as the newer ones... i just bought an mp40qd from a guy on here, when it comes ill take this one down and take it apart... i guess ill find out when its open if the bearings are the same.. atleast ill have a back up unit if needed or maybe ill run both ...

fwiw, i cant complain about the units ive had this for so long its insane.. i know it outlived its life span but hey if i can give it new legs im down to see how far she can run.. the only downside to these pumps is the magnet on the wet side...on 2 seperate mp10s and 1 40 the wet side magnets start to rust and swell up destroying themselves in the process...easy fix but im conserned about the rust getting into the system
 

Keeping it clean: Have you used a filter roller?

  • I currently use a filter roller.

    Votes: 67 35.4%
  • I don’t currently use a filter roller, but I have in the past.

    Votes: 6 3.2%
  • I have never used a filter roller, but I plan to in the future.

    Votes: 48 25.4%
  • I have never used a filter roller and have no plans to in the future.

    Votes: 60 31.7%
  • Other.

    Votes: 8 4.2%

New Posts

Back
Top