- Joined
- Dec 22, 2018
- Messages
- 632
- Reaction score
- 149
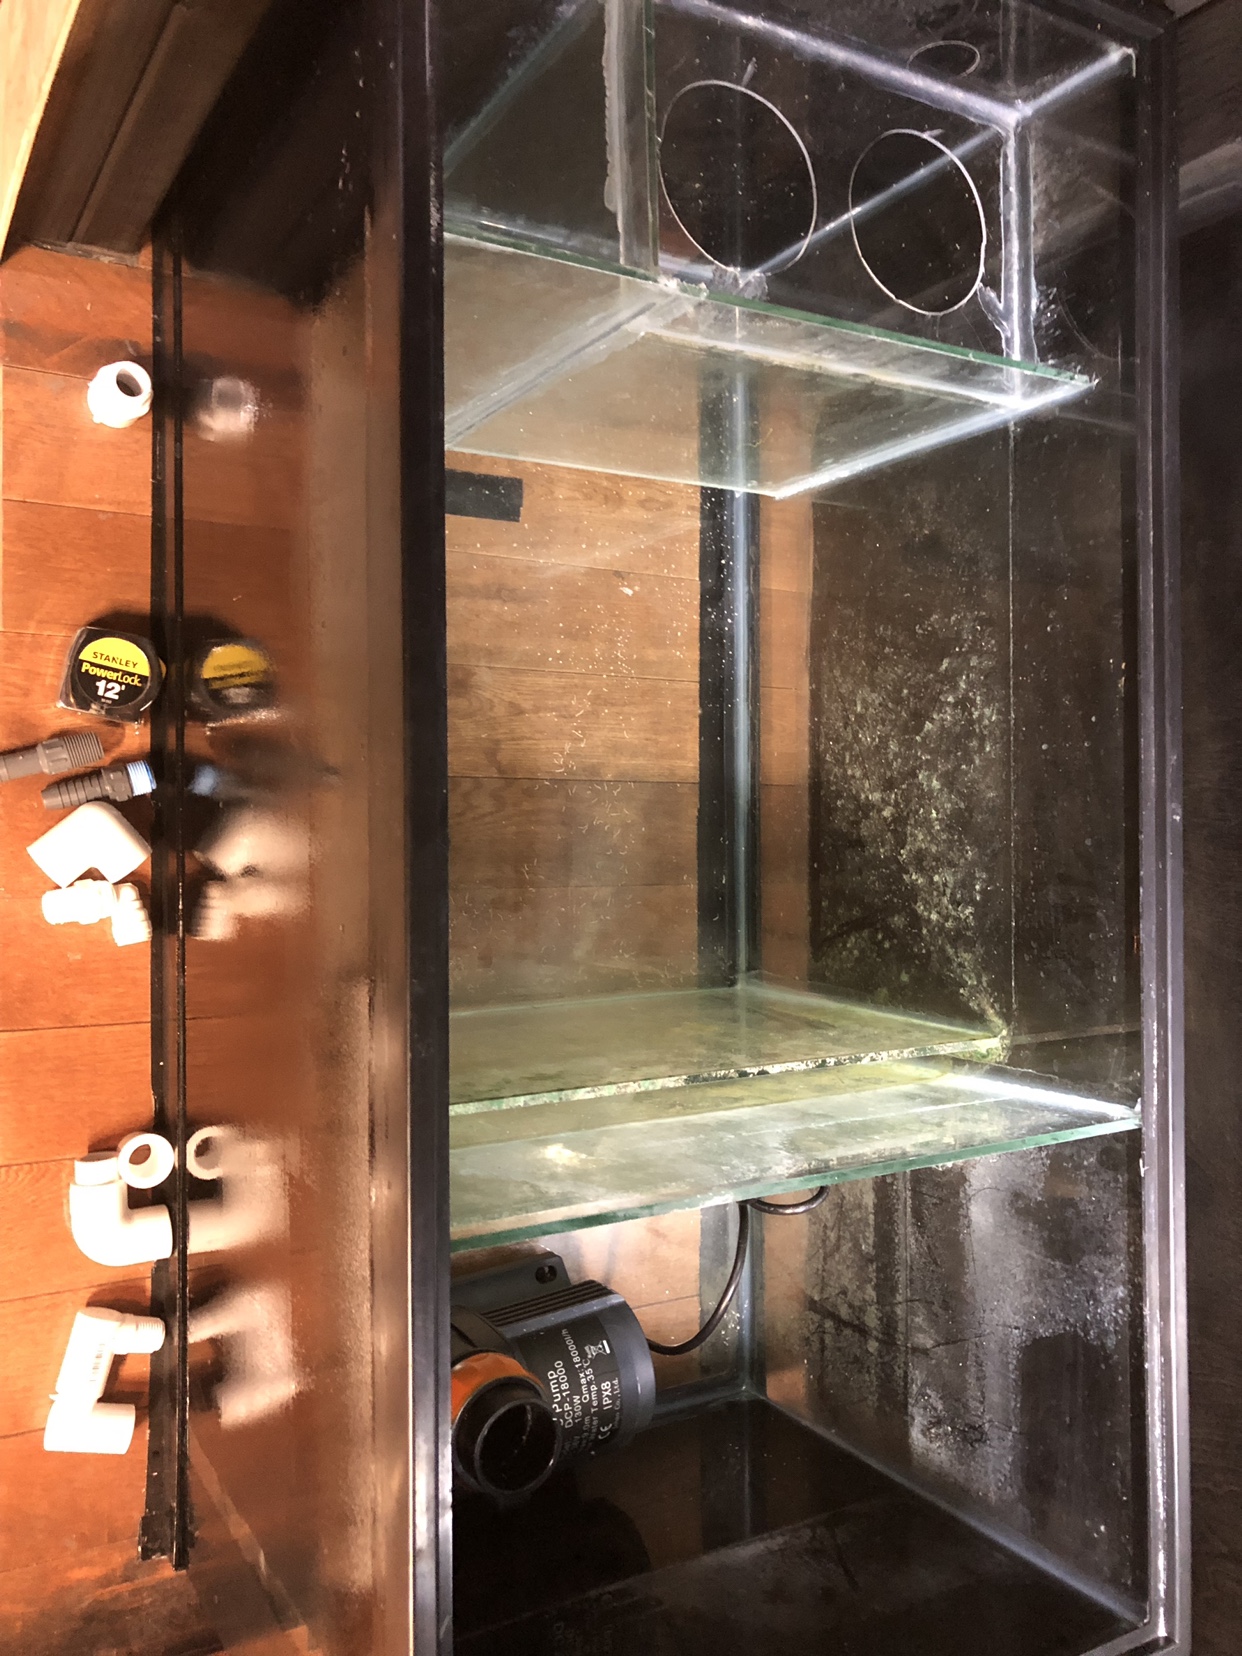
Well to start off I bought a new 120gal peninsula reef ready tank from a fellow R2R member and decided to do as much as I could DIY.
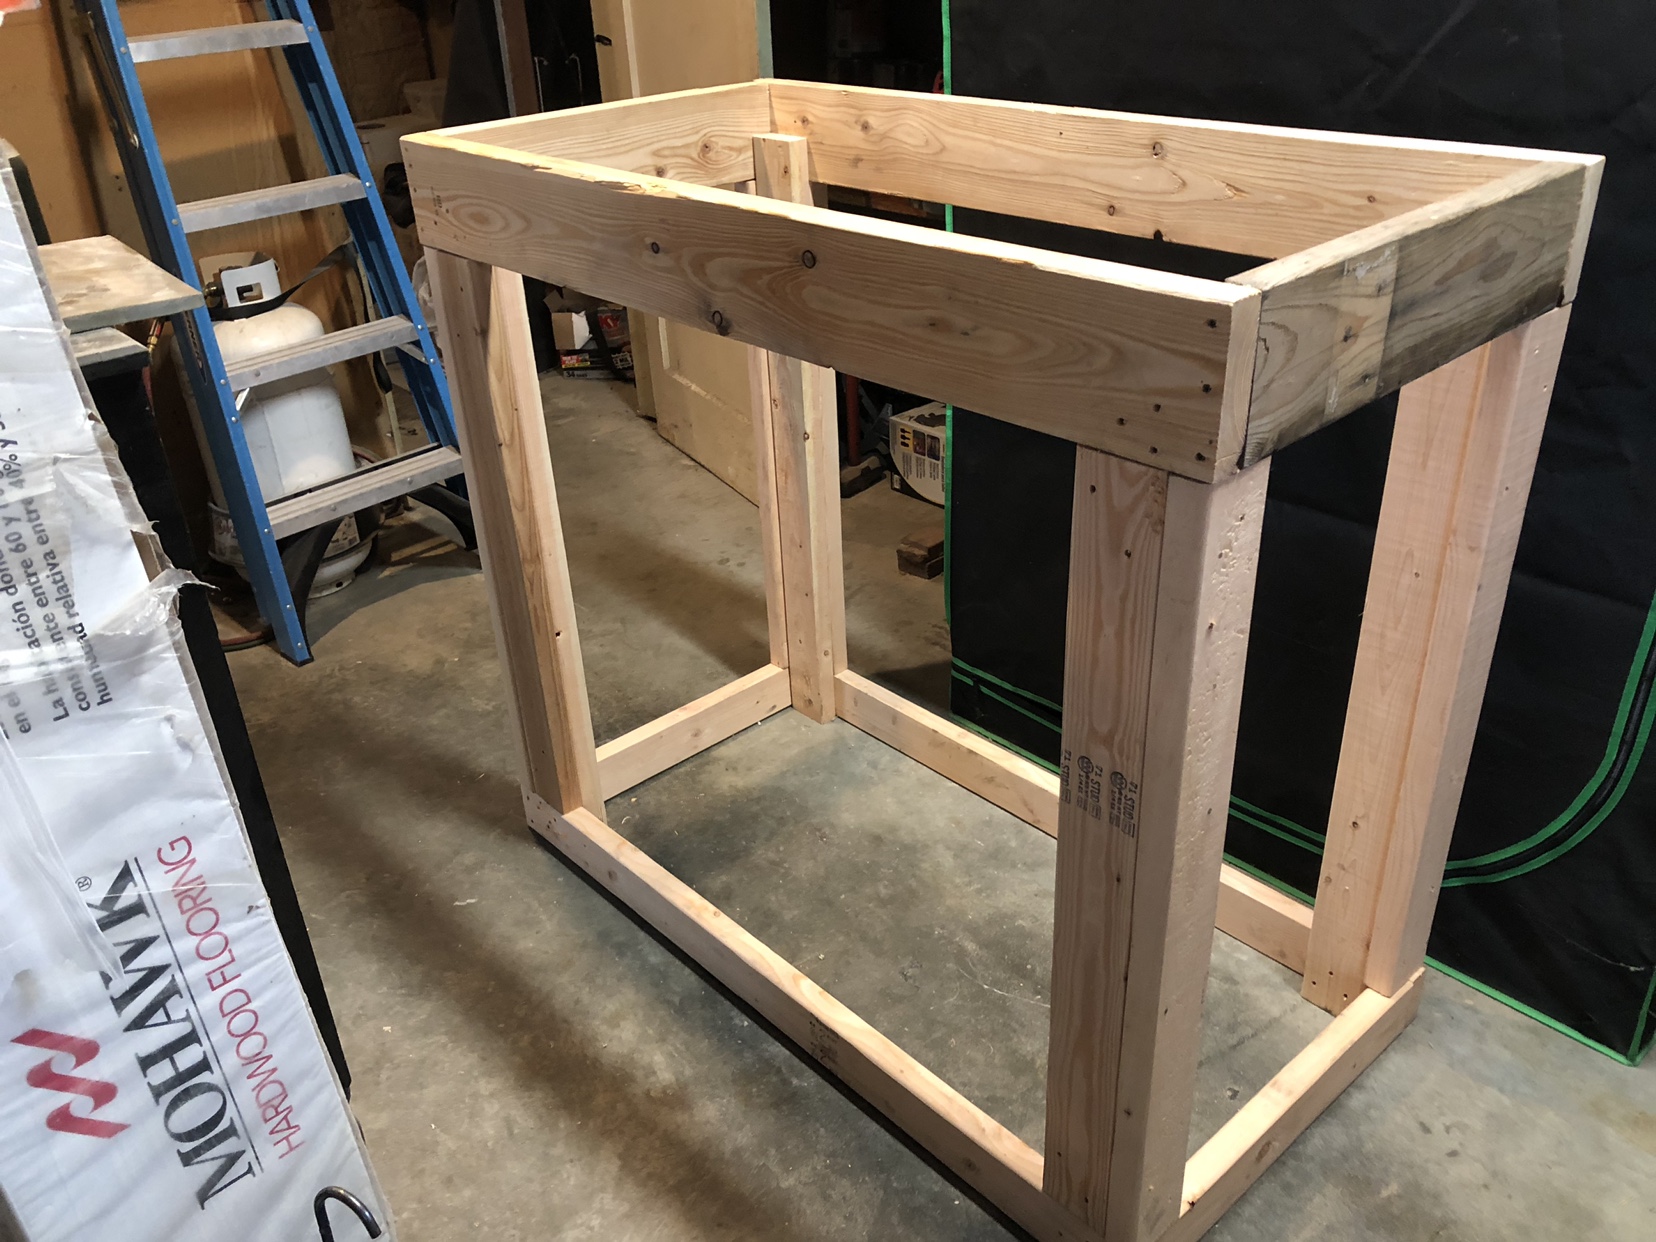
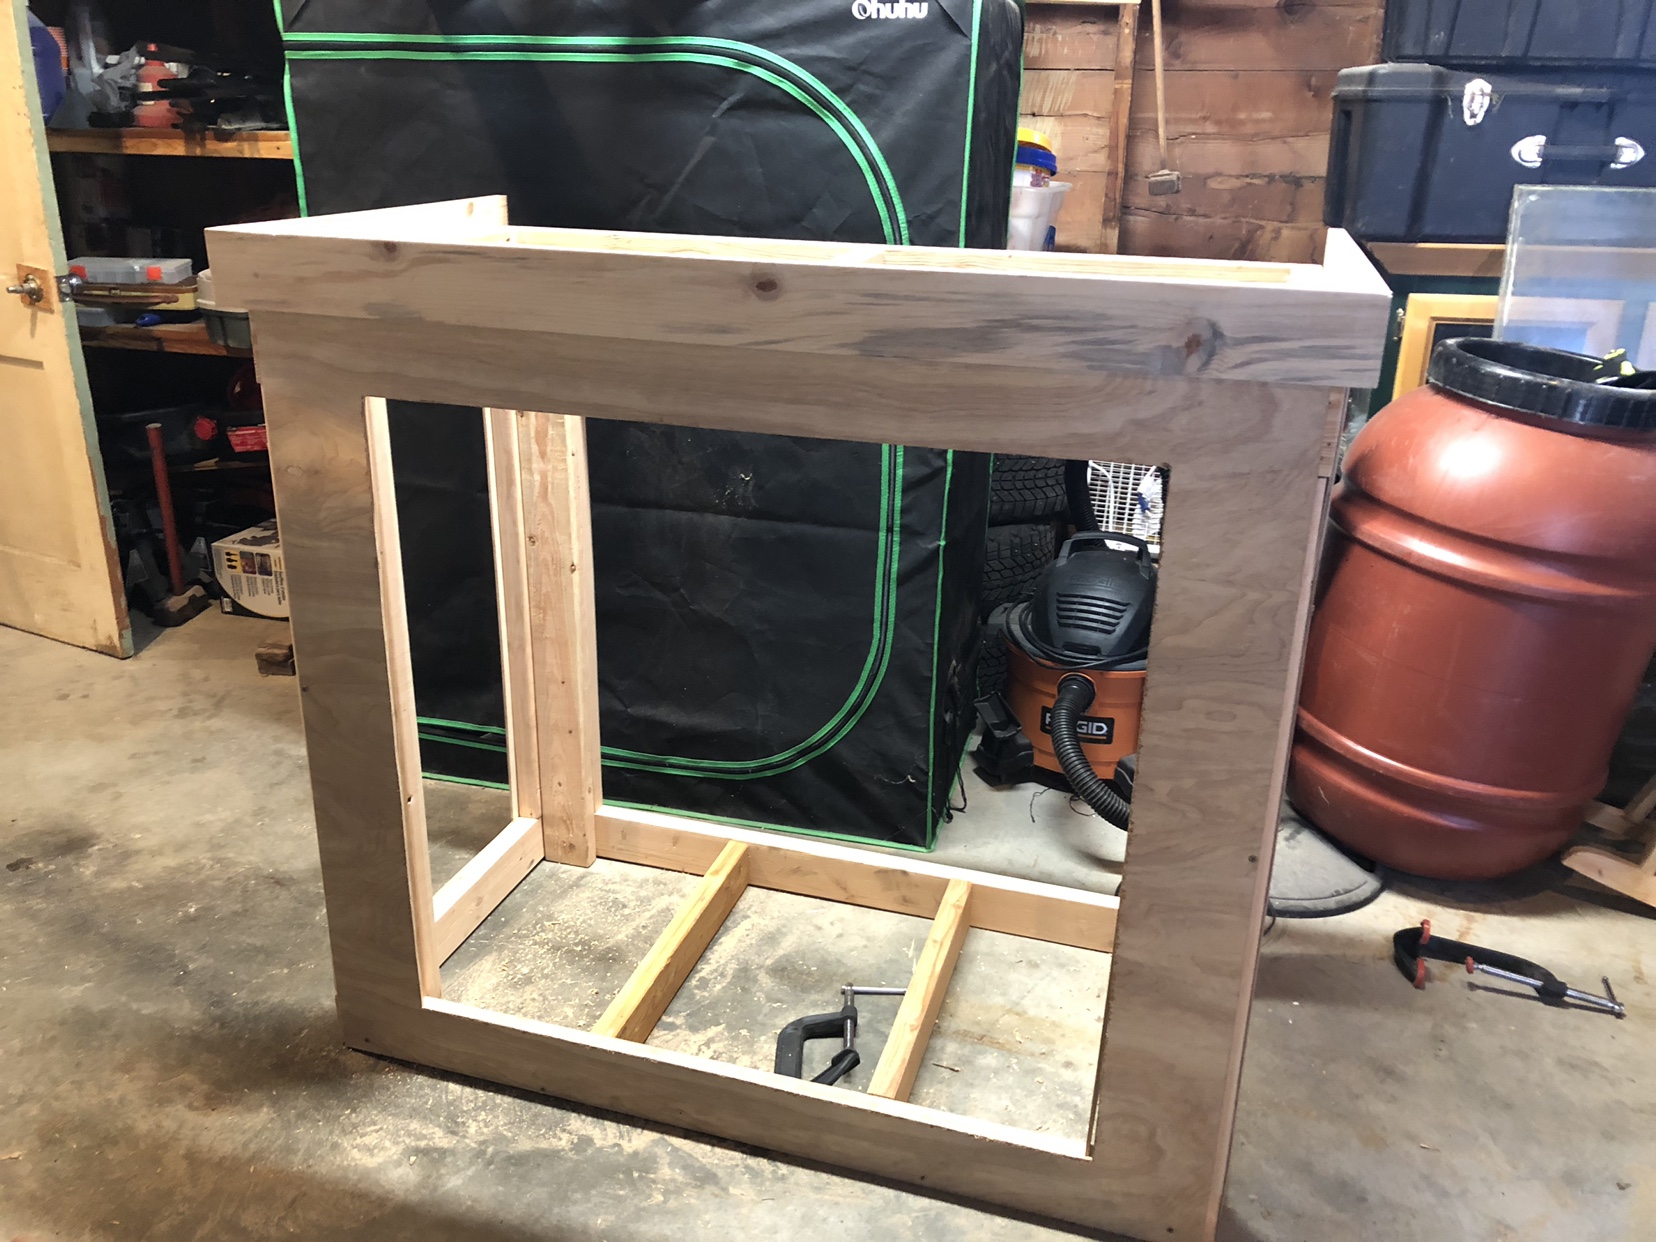
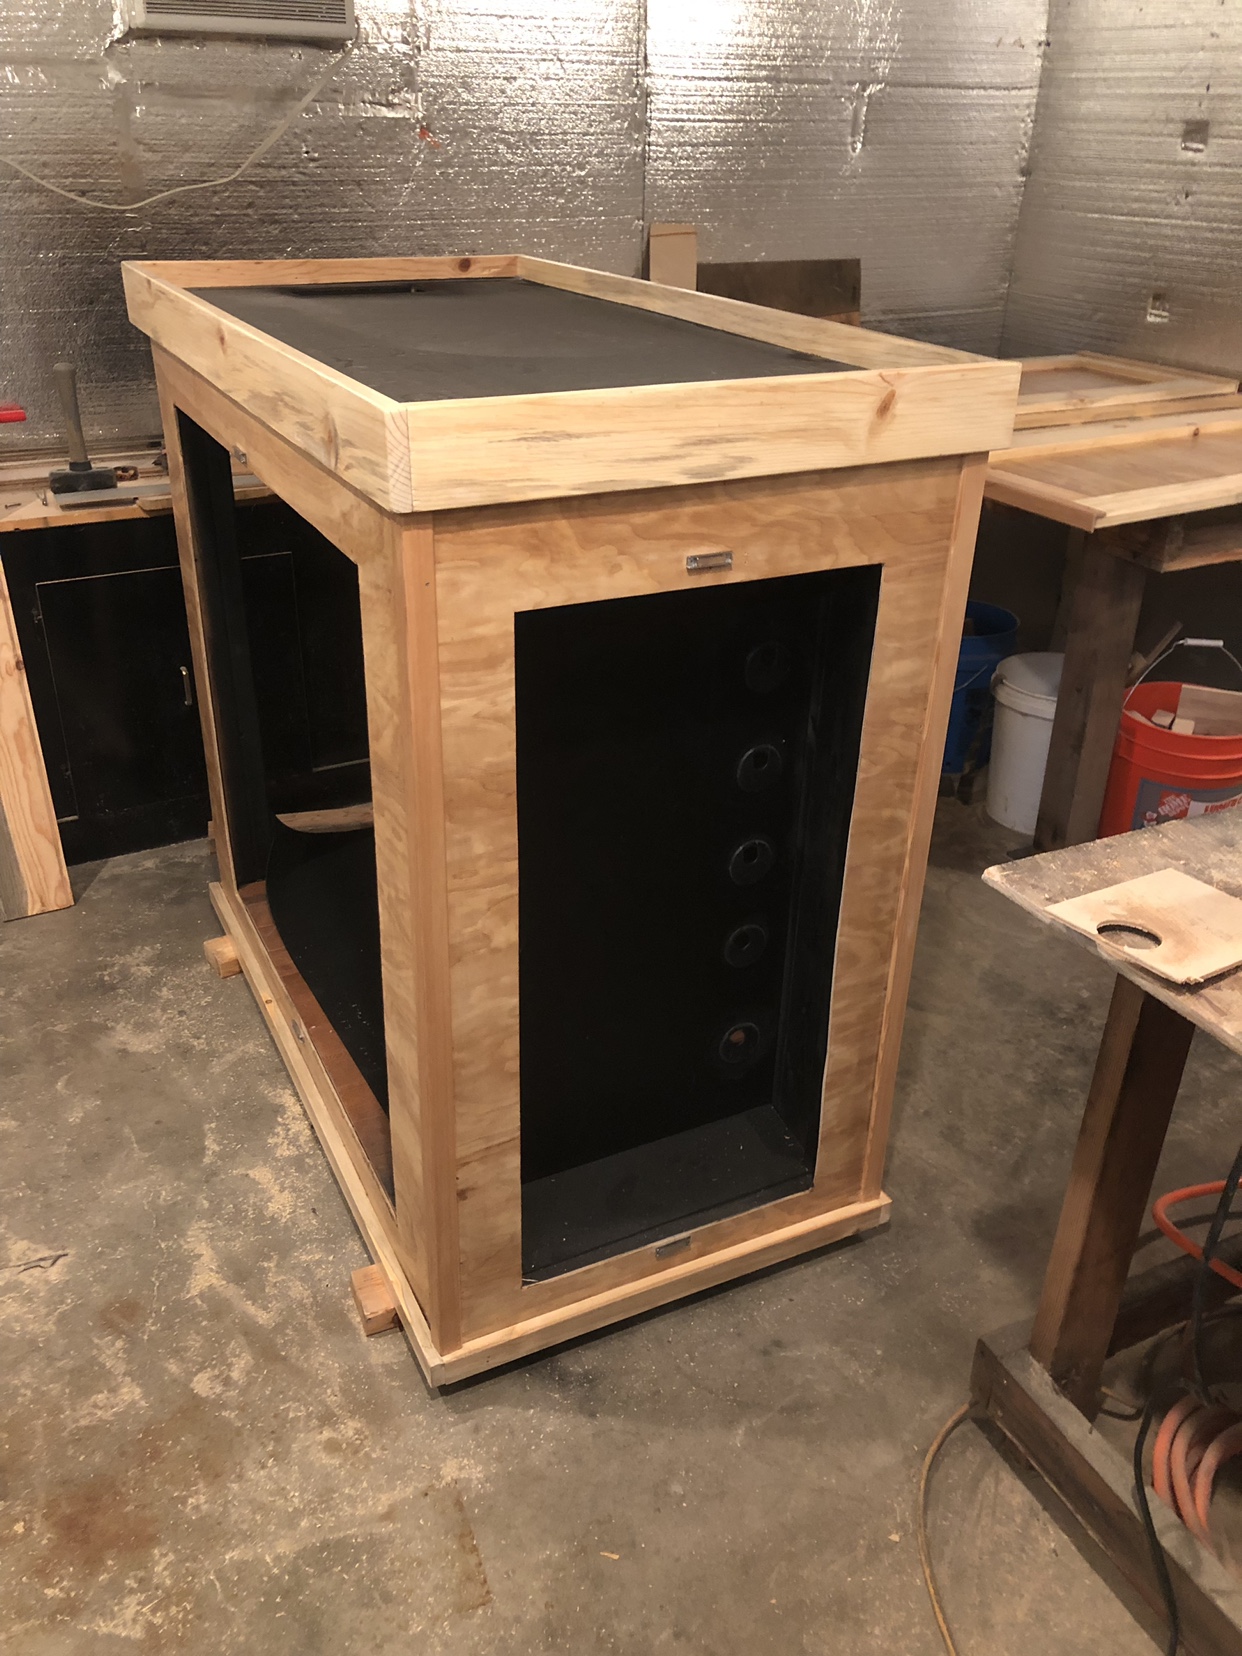
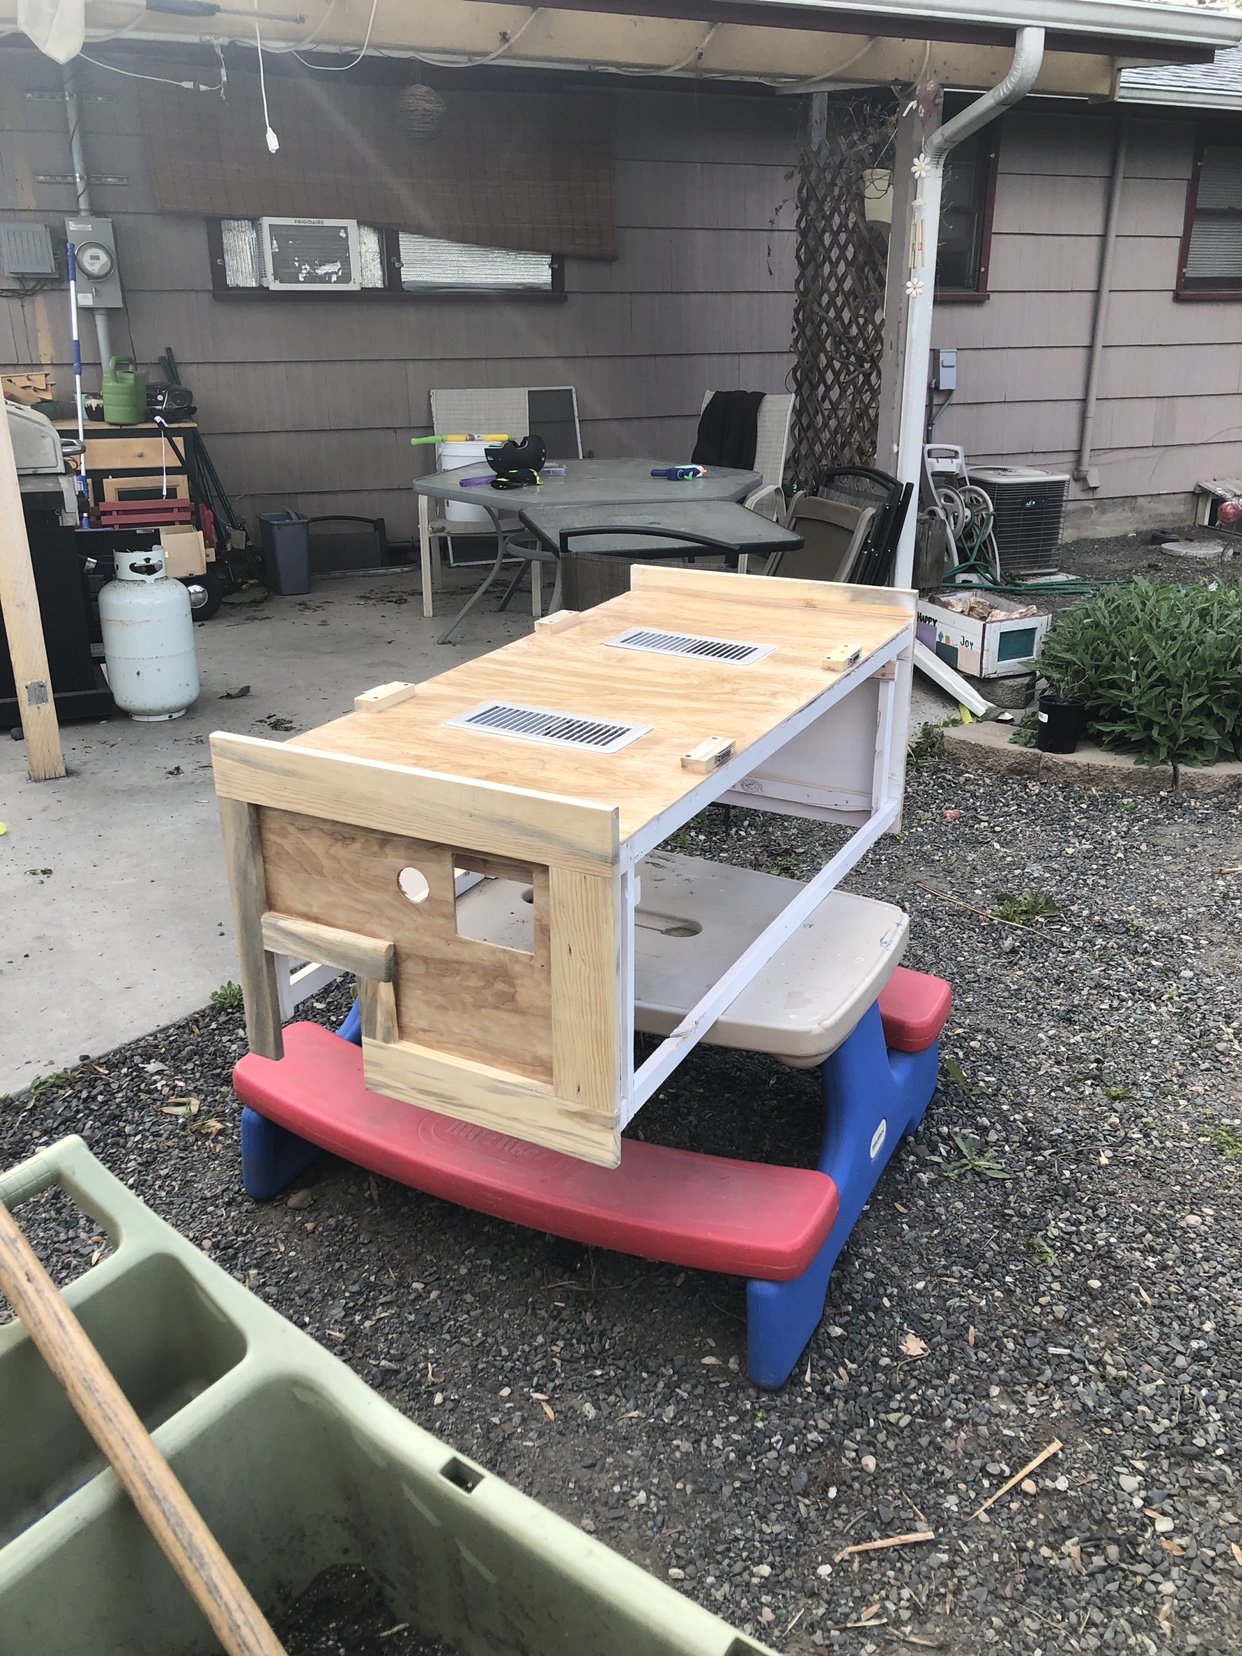
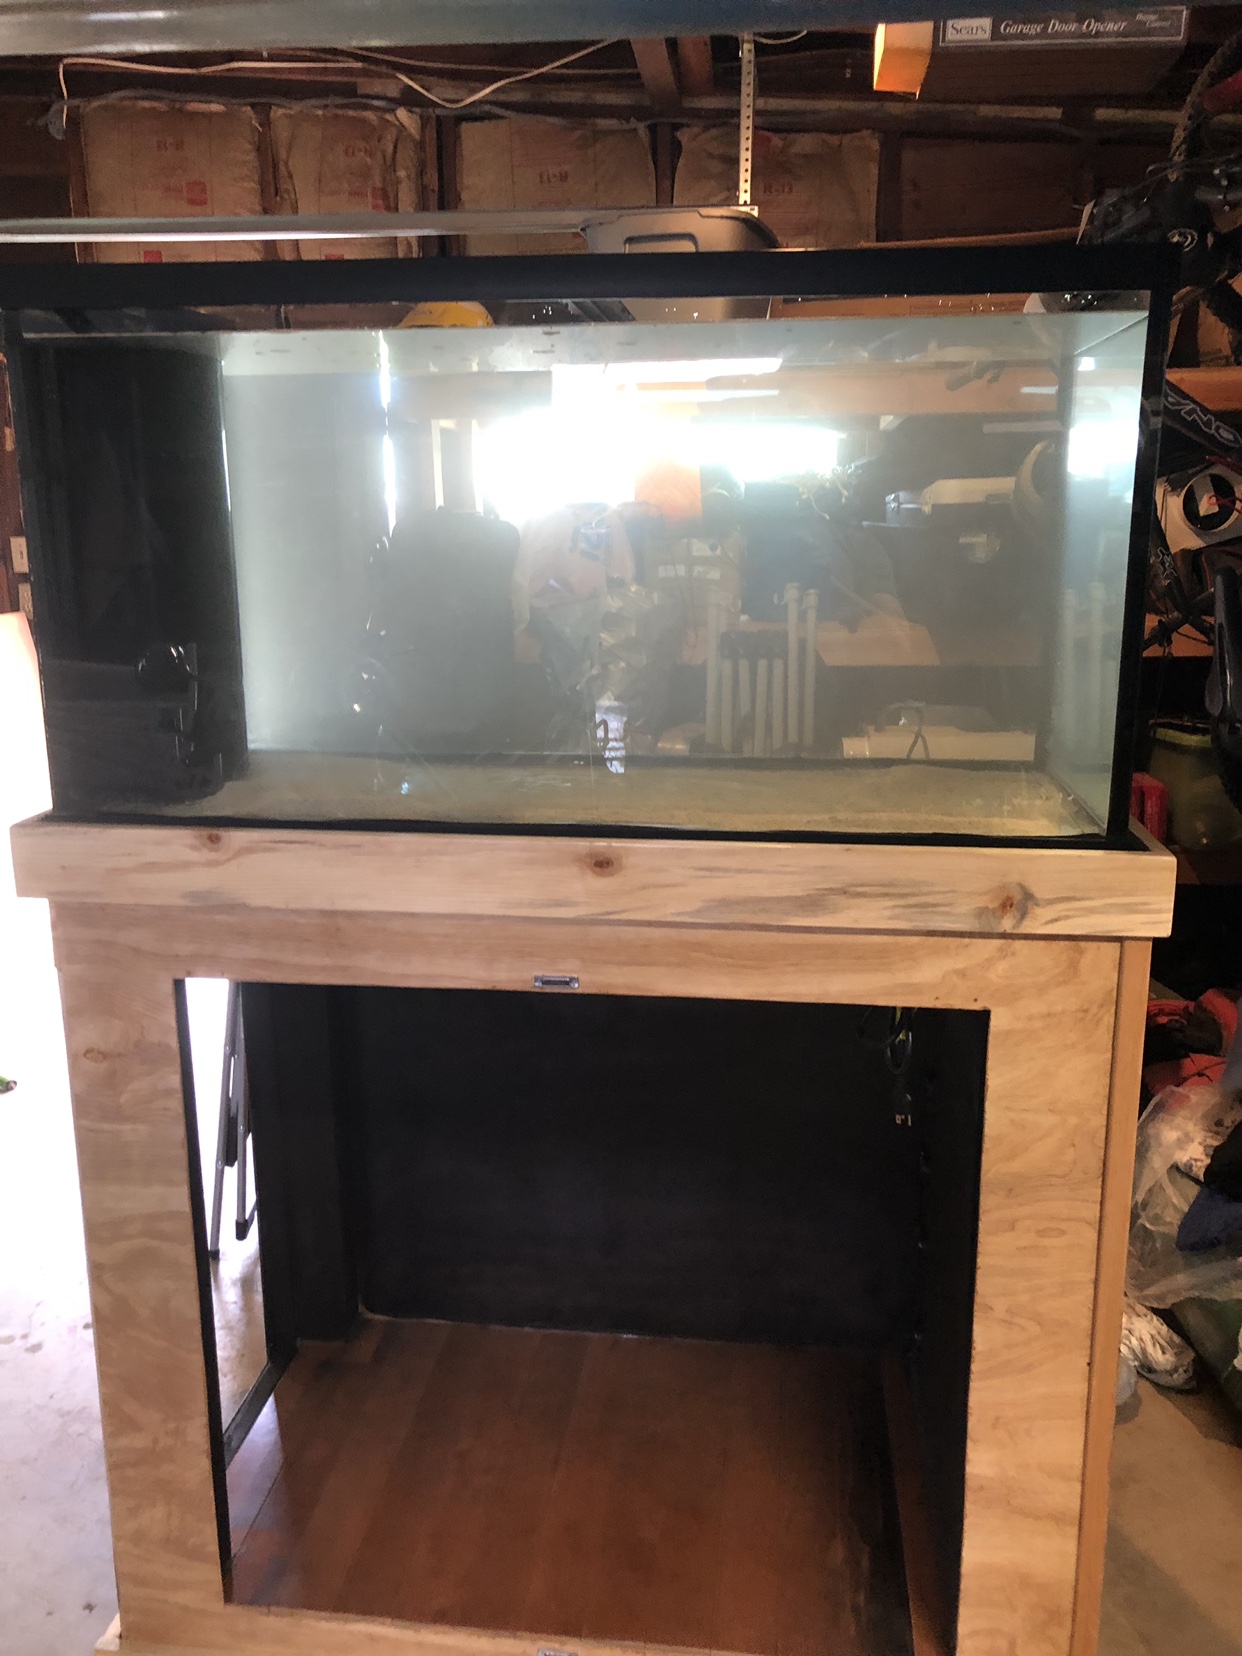
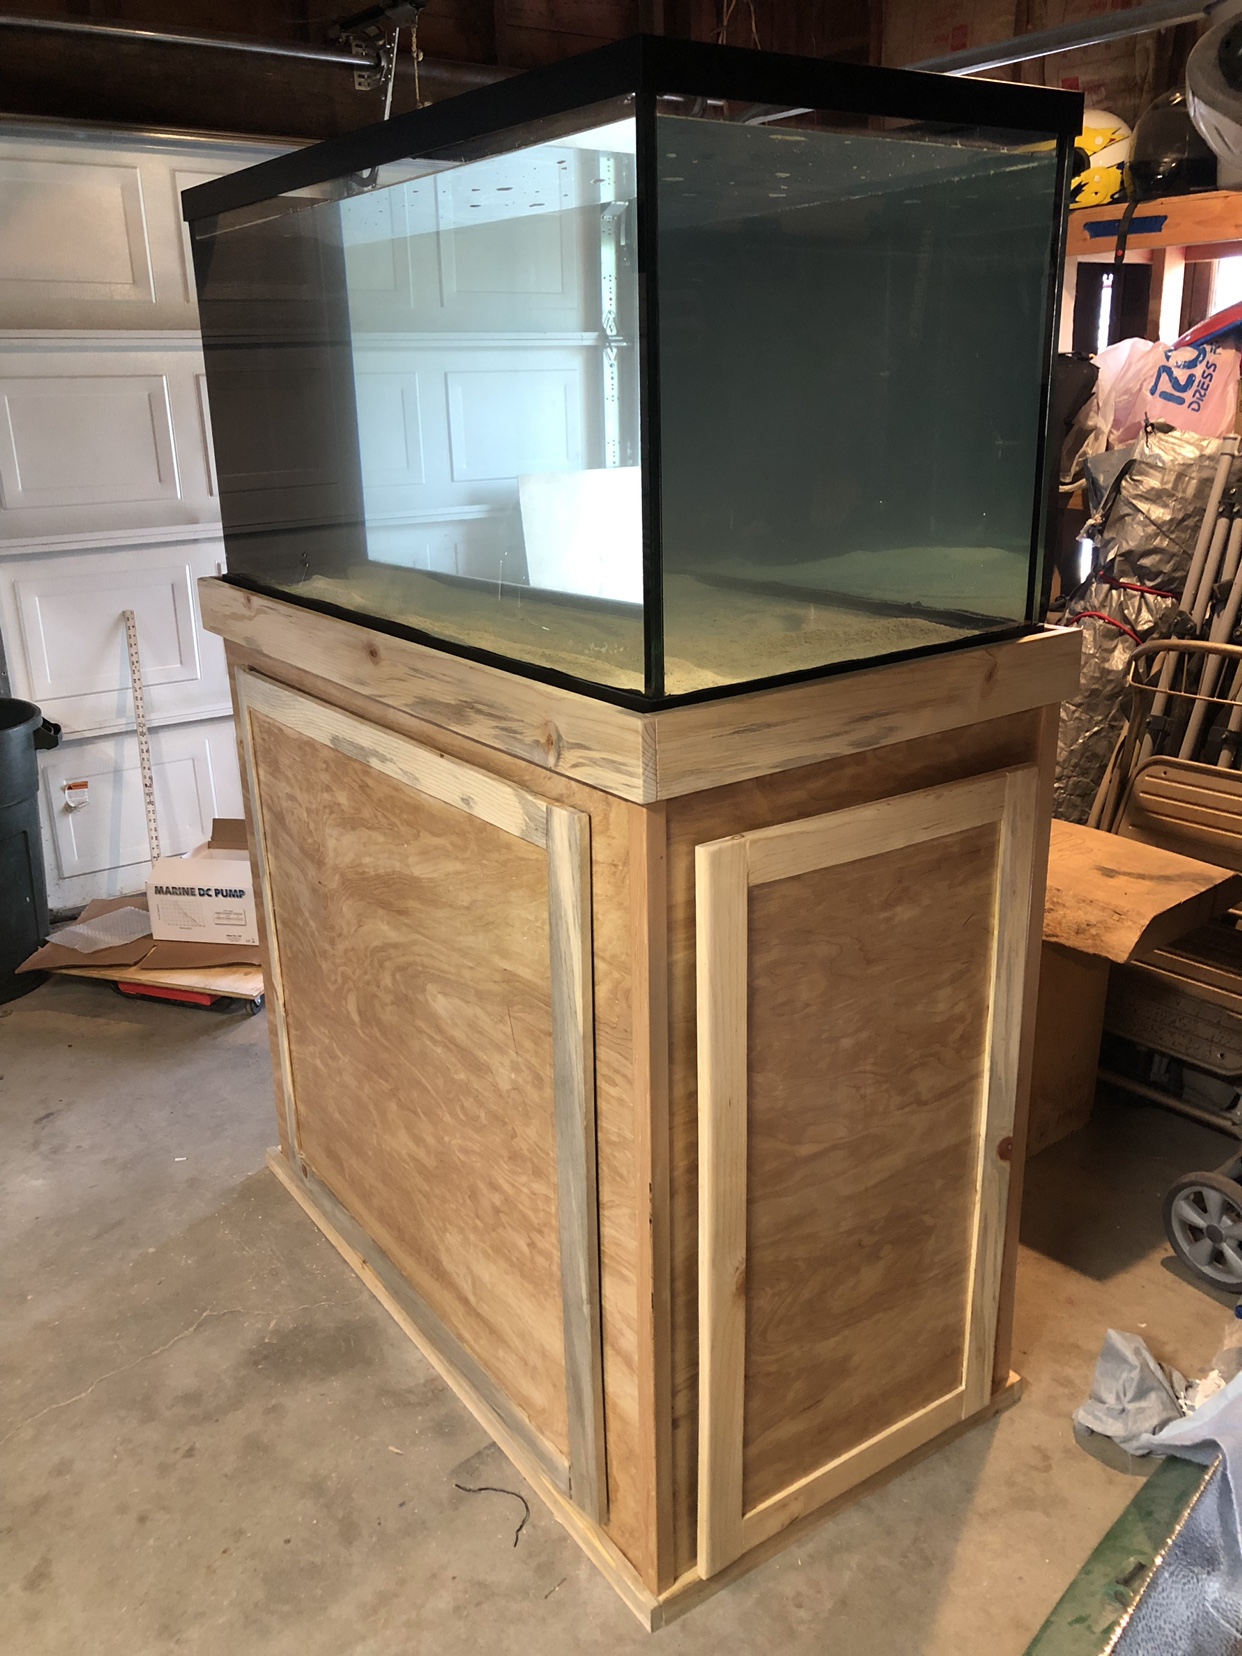
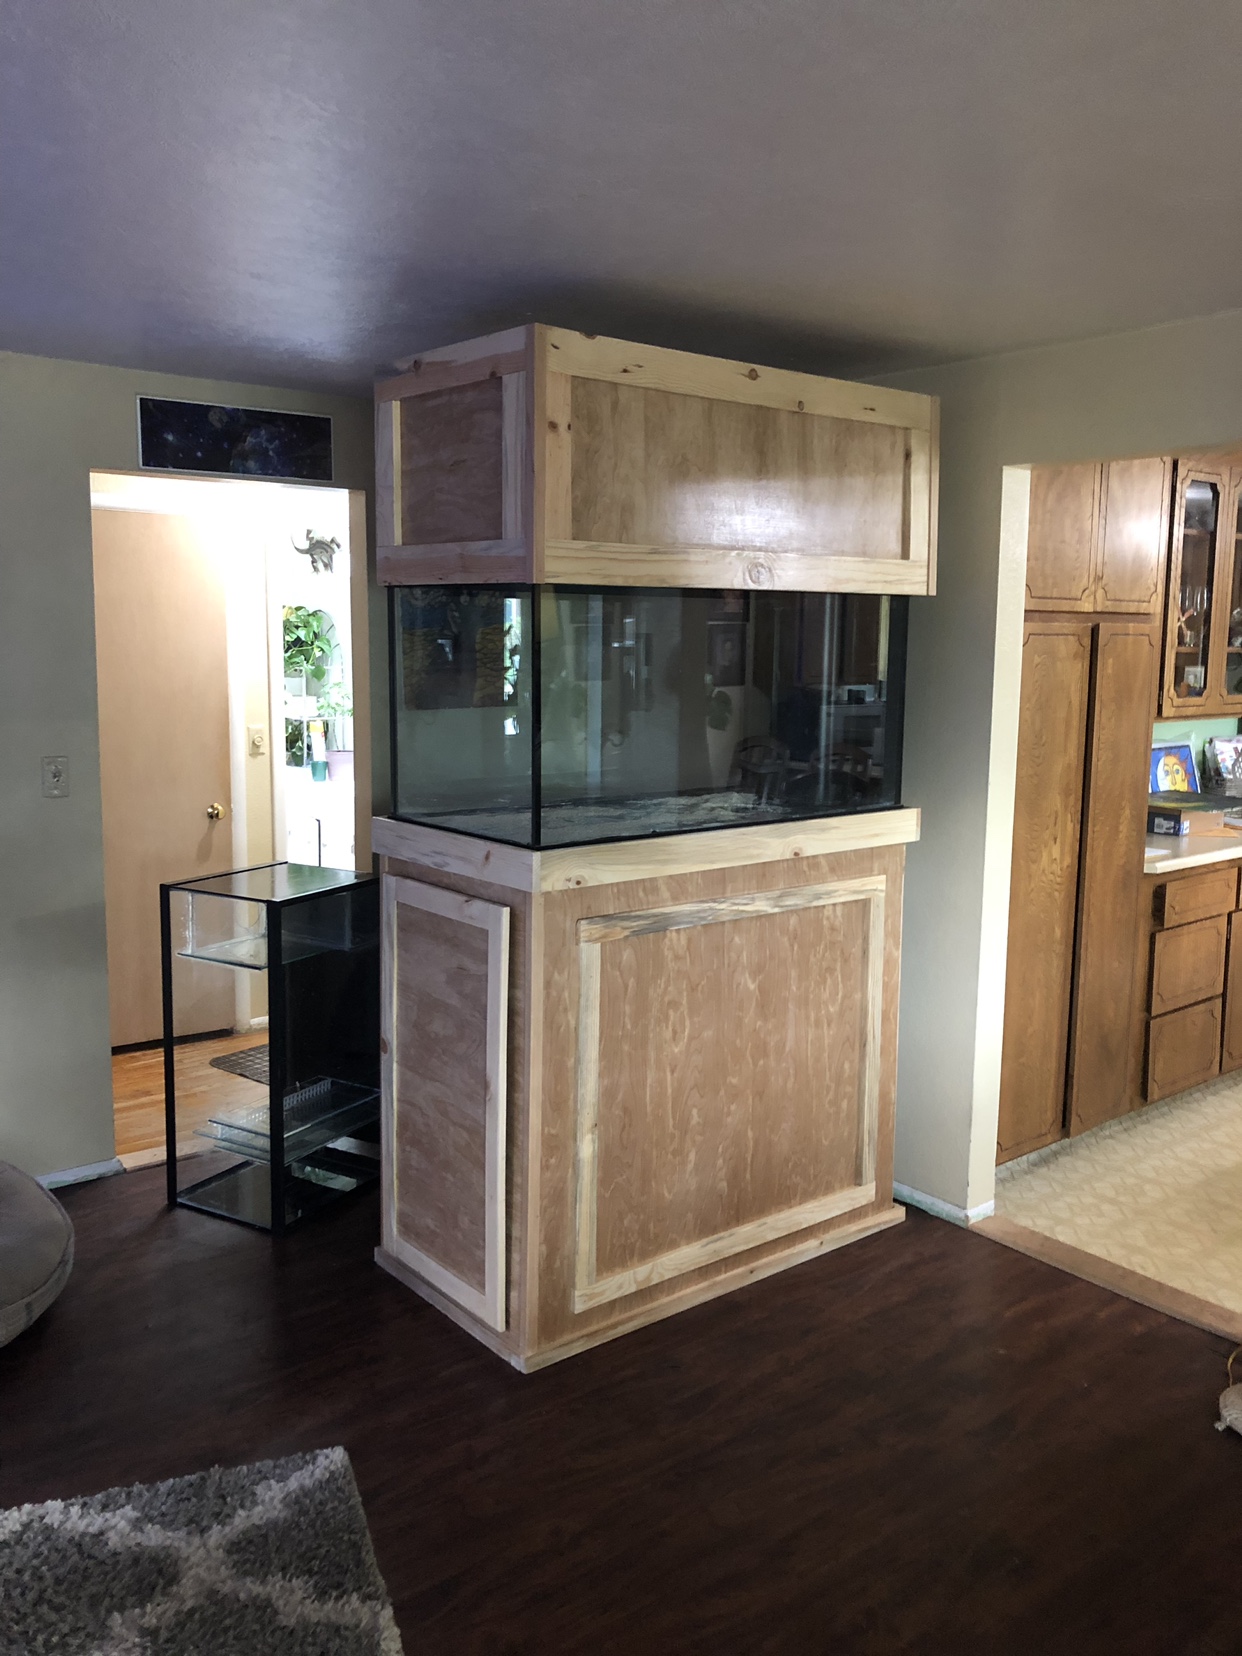
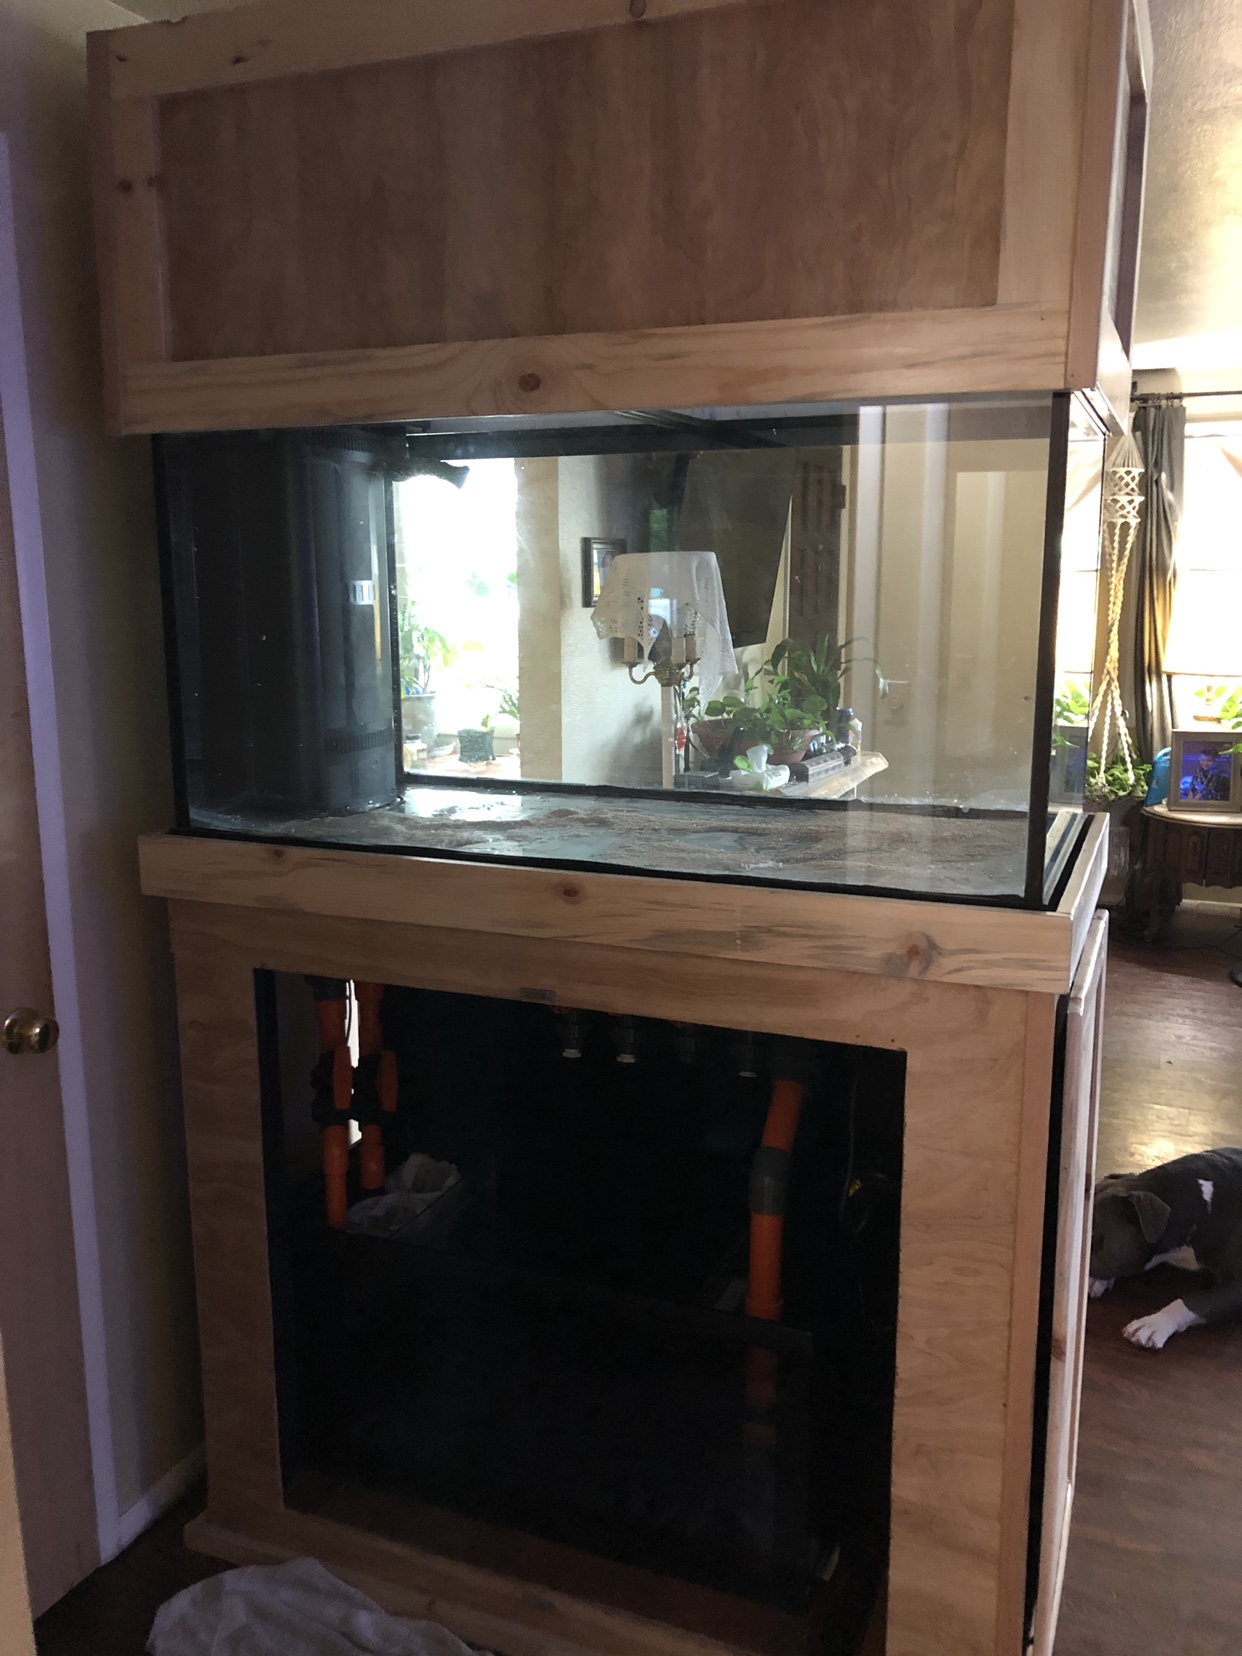
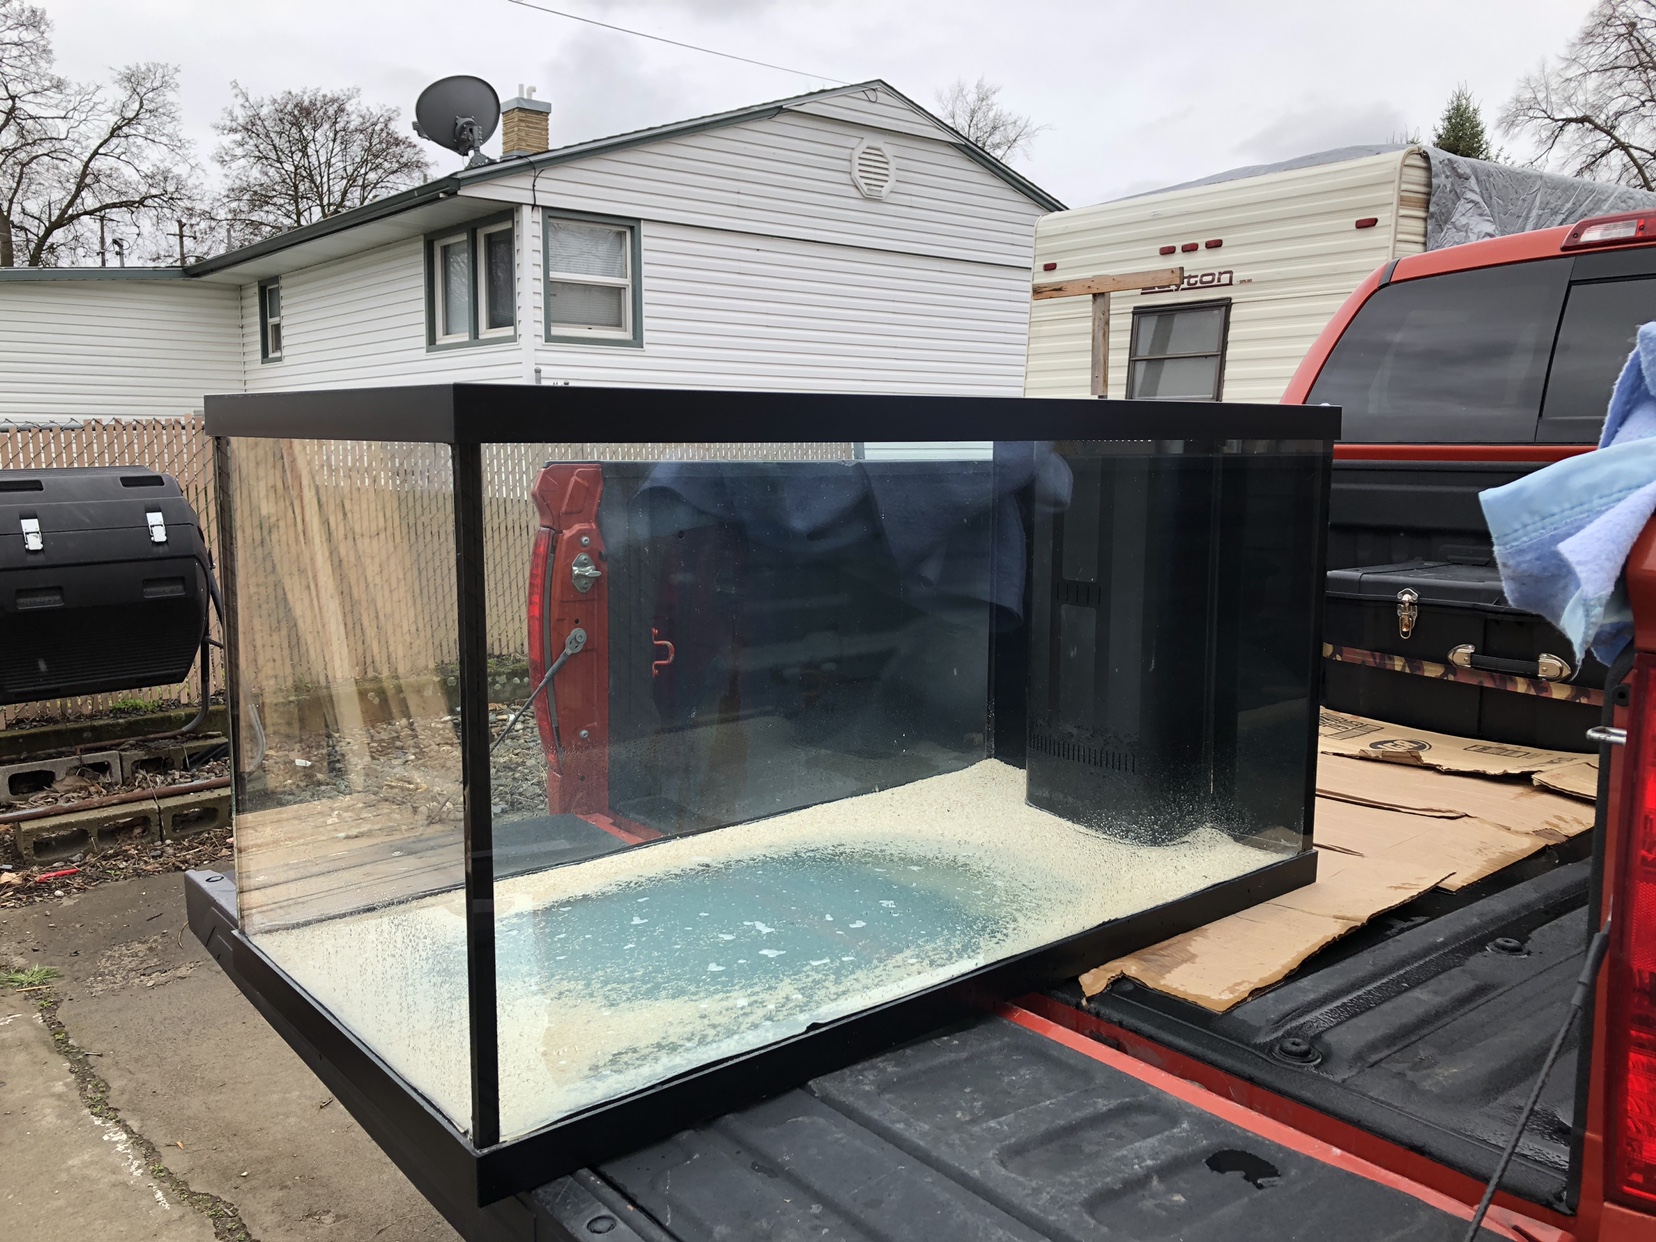 he’s had some sand in it but never had water. So once I got the tank home I began to design the stand and canopy. I wanted a stand to be taller than most so I wouldn’t have to hunch over to look in the tank. So I designed it to be 44” tall. Which turned out to be much taller looking once it was finished. I started with a 2x4 frame and wrapped with with 1/4” birch and did all the trim work with blued pine to match my other furniture I’ve built.
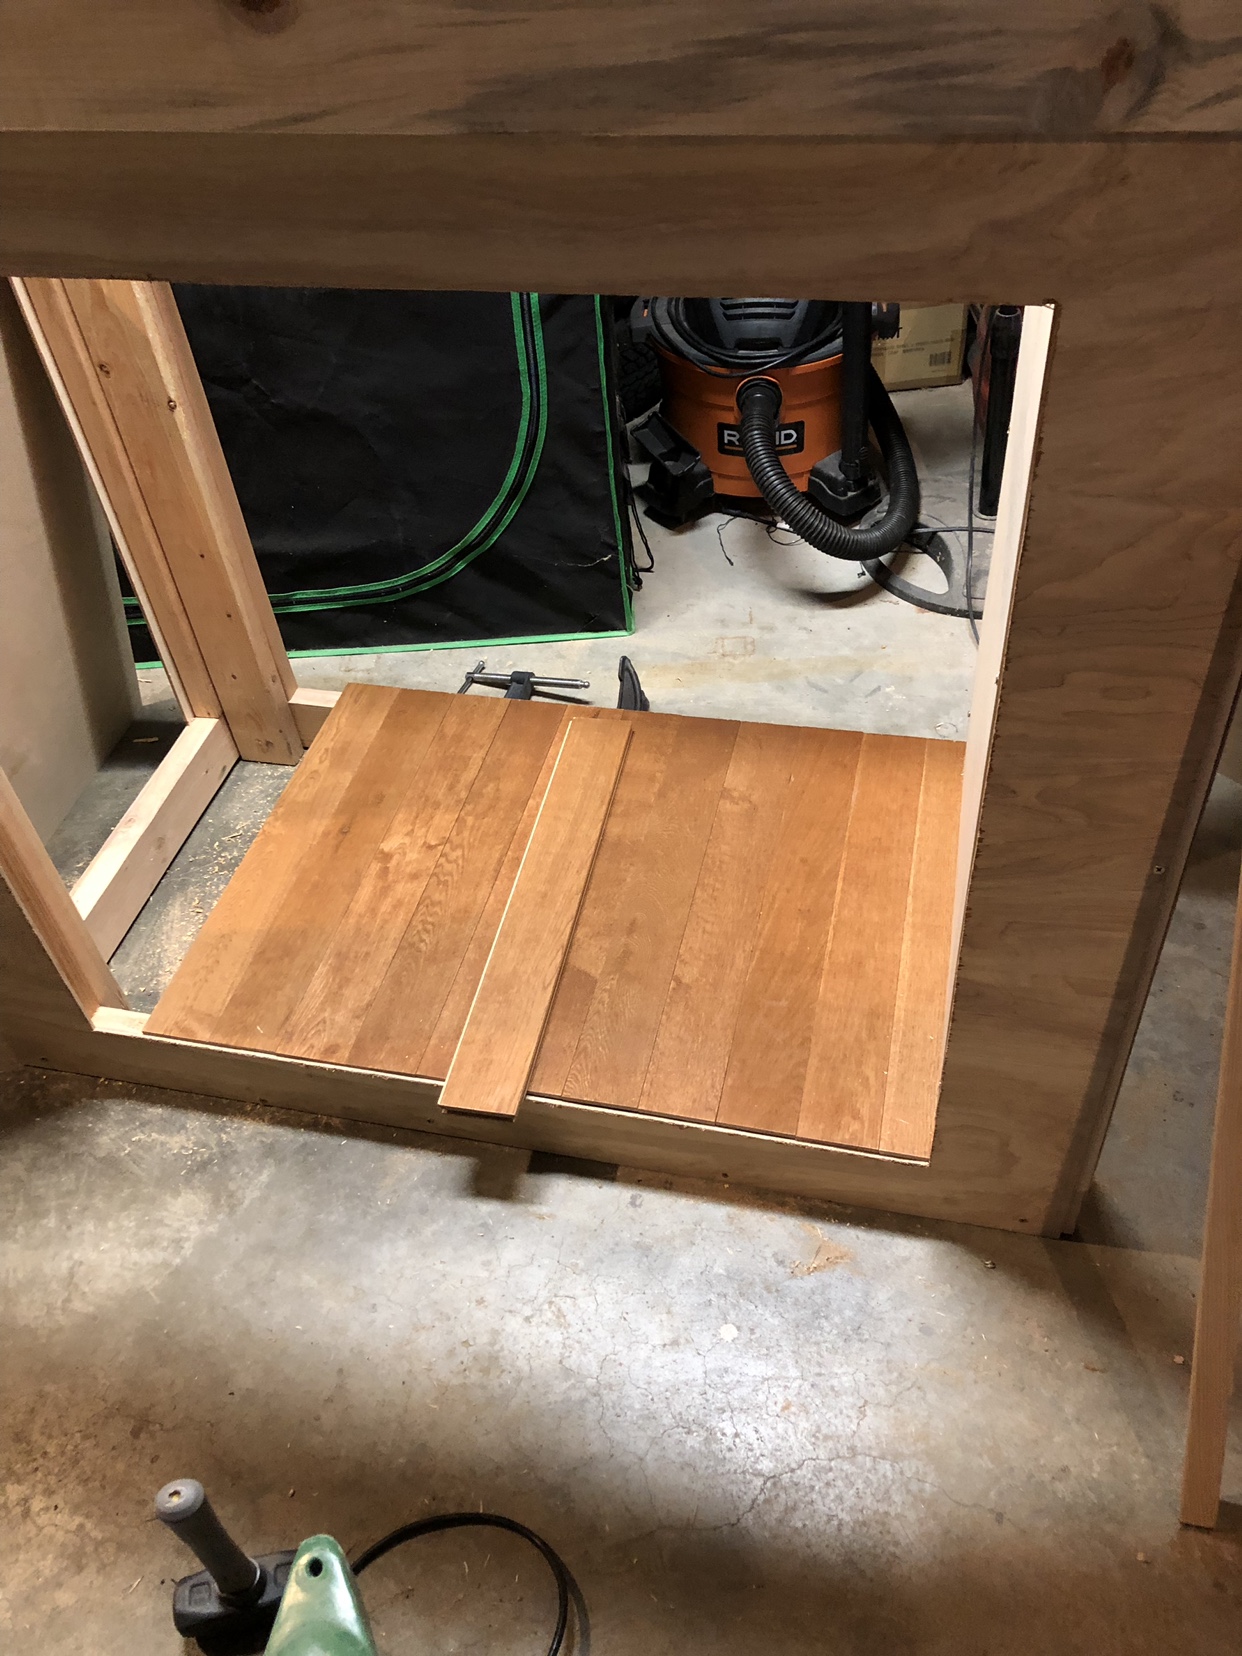
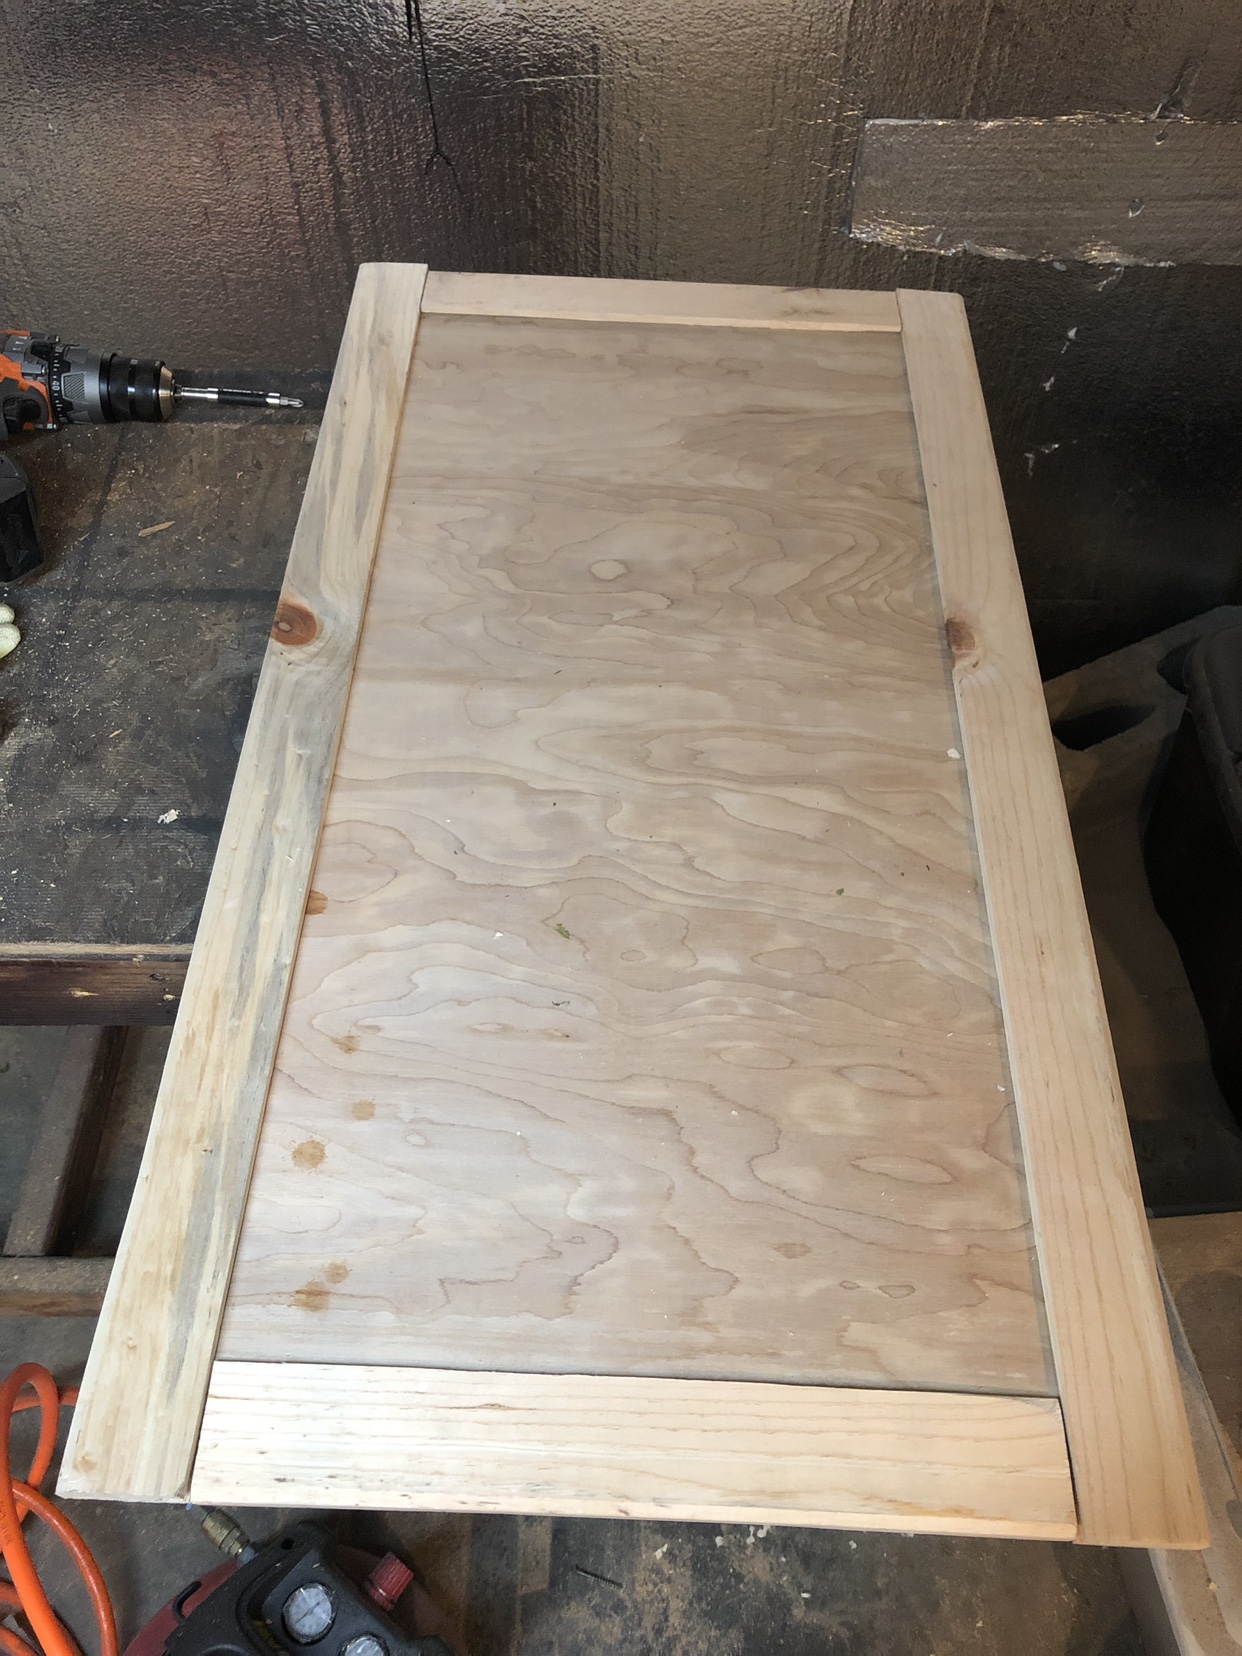
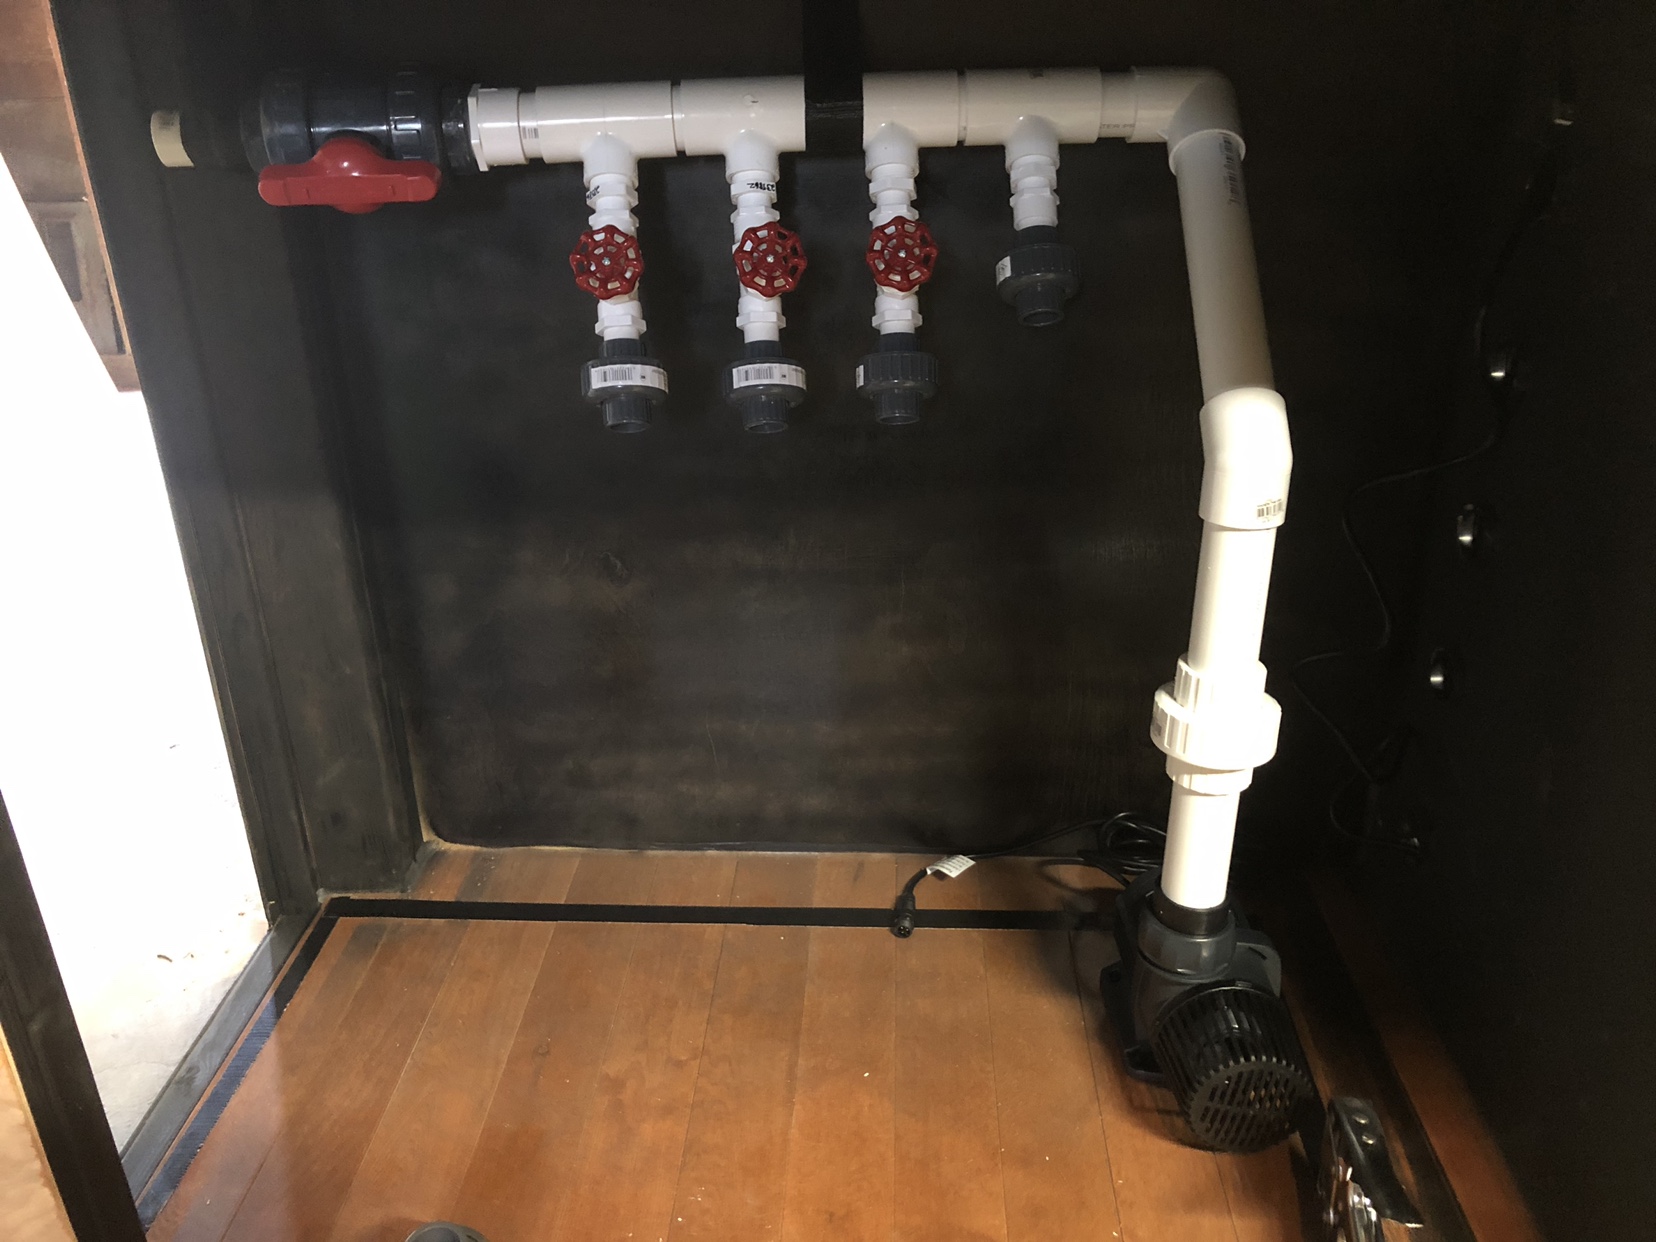
I had some hardwood flooring laying around so u cut that to fit where the sump would go. Originally I was going to run a remote sump but with my houses layout didn’t work out. But I planned it to house a sump either way. I wanted to have my control panel on the opposite side of the overflow. I bought some black chalkboard sheets from HD and that worked great. I then drilled my electrical holes out to where I would run my wiring for the equipment. It was quit the project trying to build everything from scratch a lot more work than I pictured. But well worth it in the end. I started on my doors for the front and control panel side.

I ordered a DJ 4 plug outlet off amazon and a couple computer cooling fans. Mounted one in the electrical panel and one in the canopy.
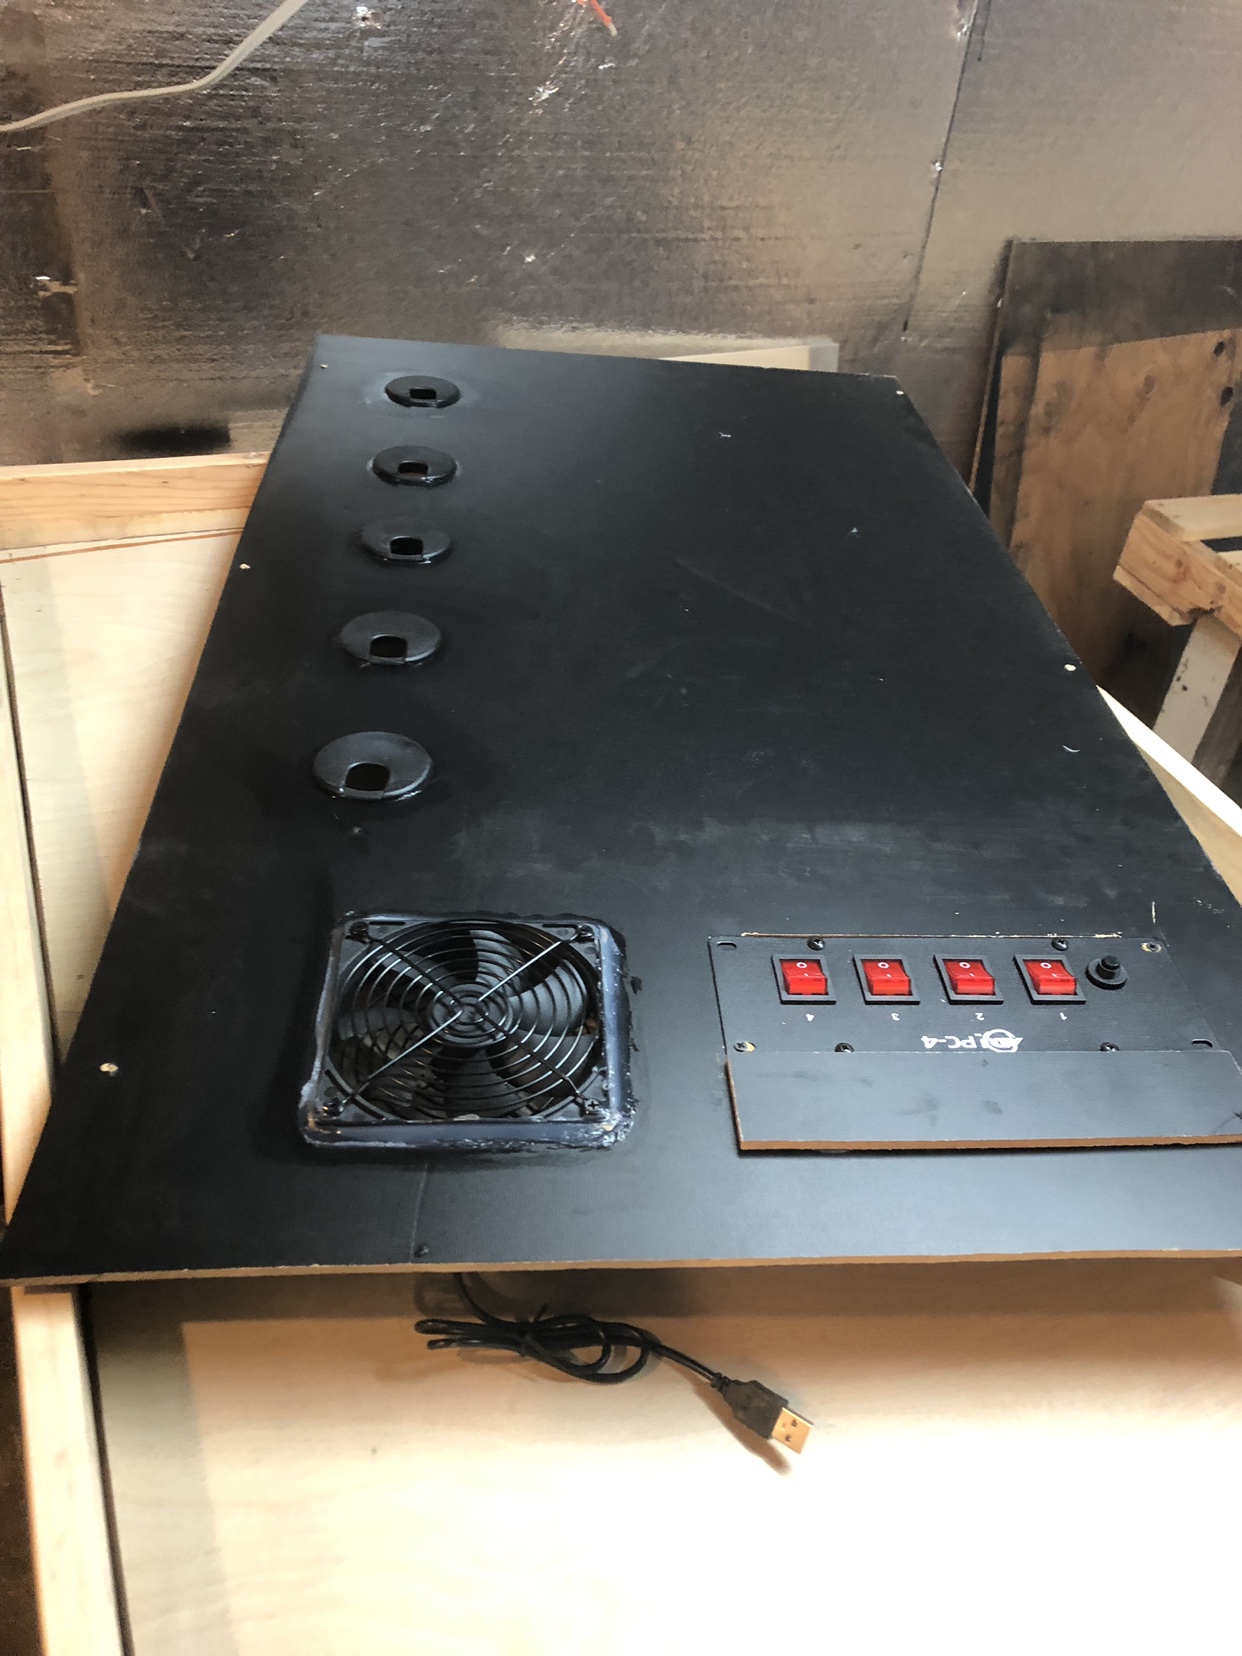
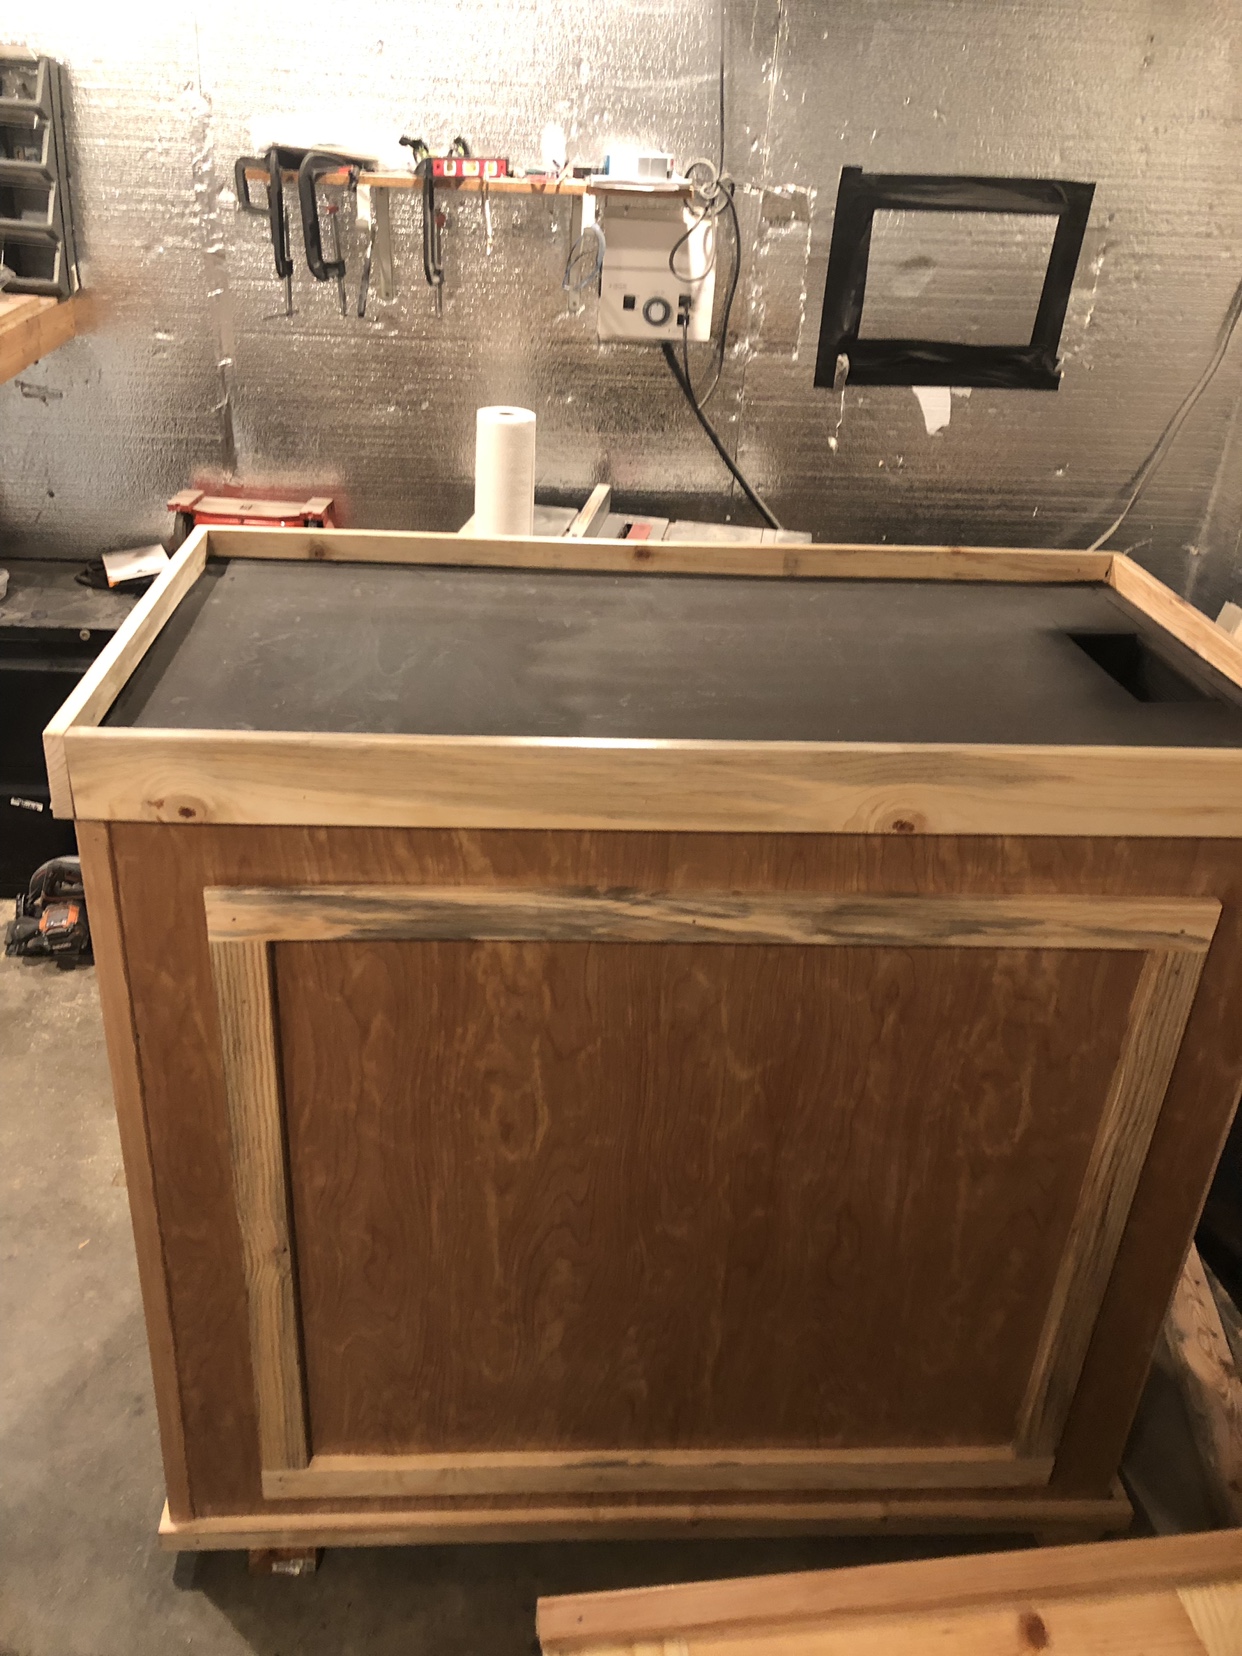
Once that was finished got the rest of the wrap done and began painted the inside all black to help with moisture issues down the road and sealed the around the flooring with silicone to water proof it.
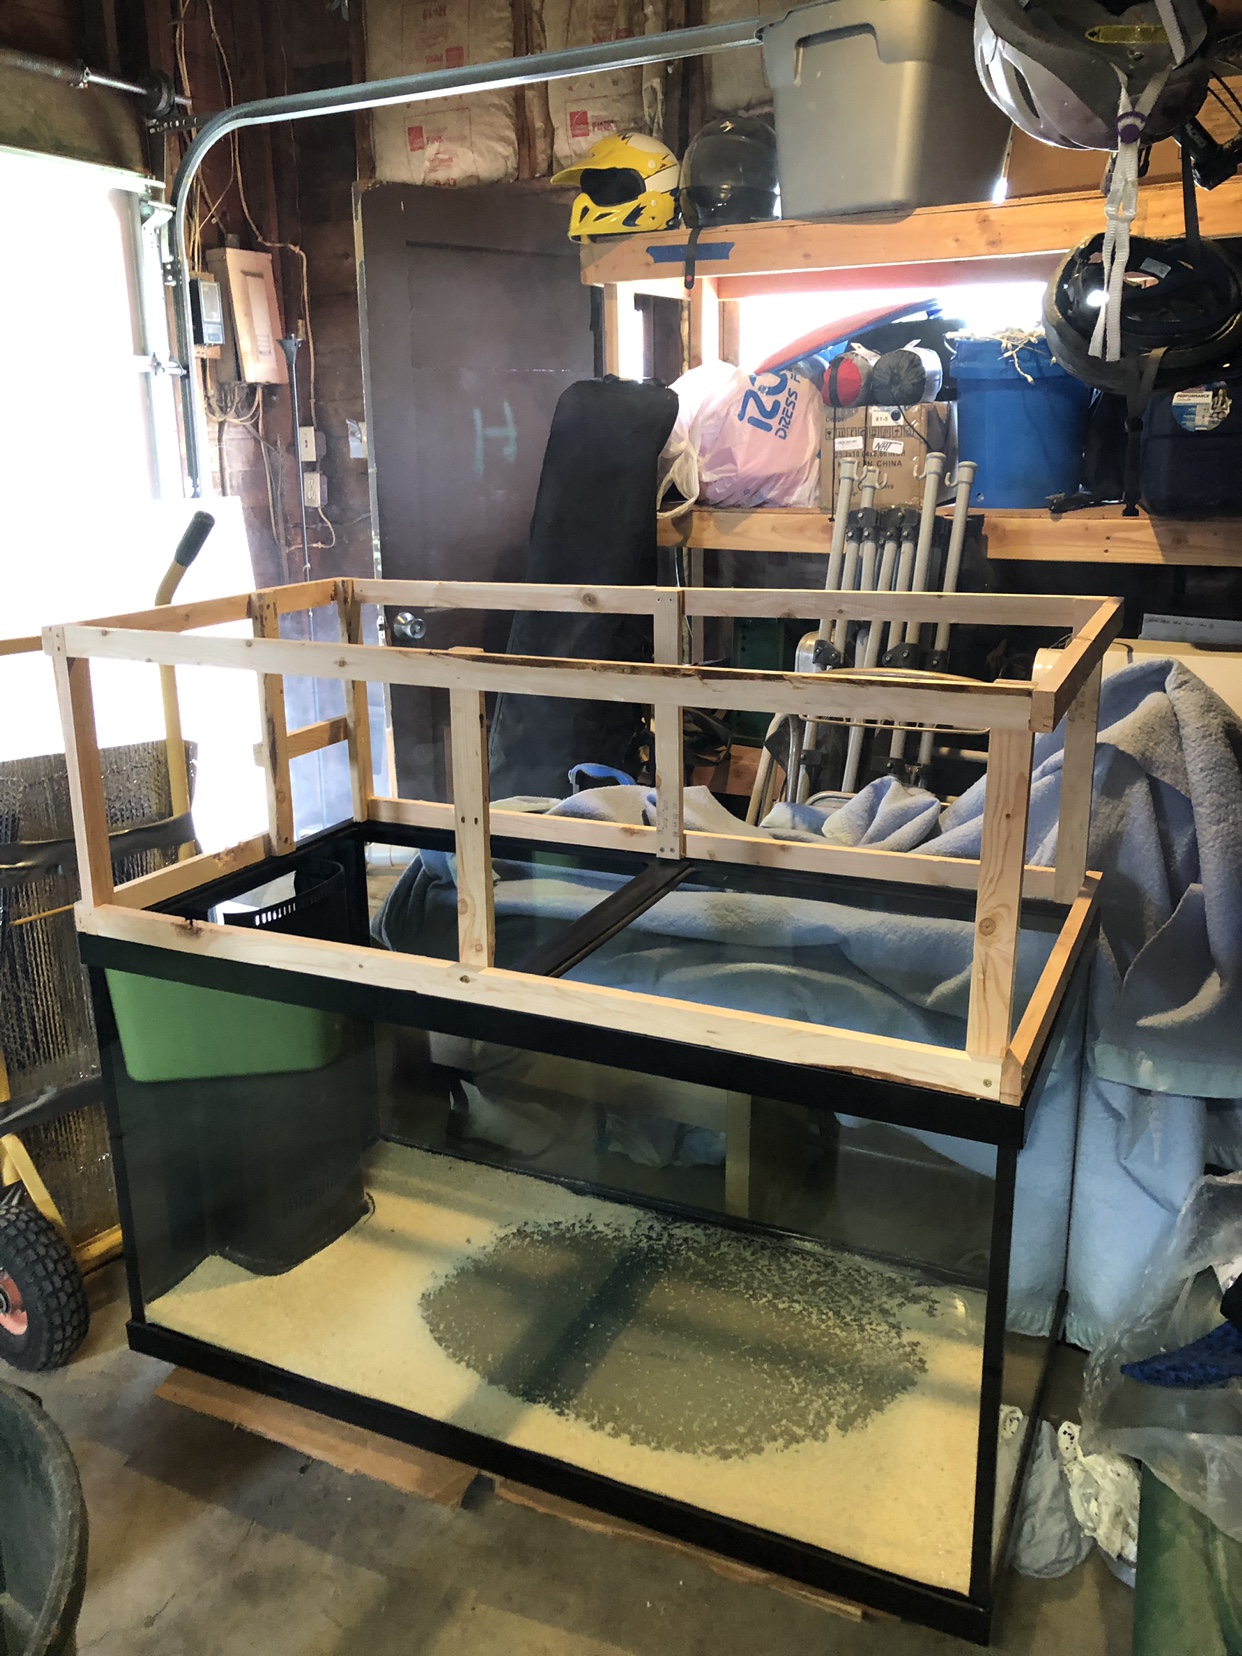
I painted the top black also with some spray rubber stuff I had laying around turned out pretty nice and definitely water proof. Next I started on the canopy. Used 1x2” for a frame and wrapped it the same as the stand with two doors on each side. All the doors are mounted with 45lb magnets I found on amazon as well. They ended up working really well and hold the doors on better thank I thought.
I wanted to cut some hole for air ventilation in the canopy and ended up putting some floor vents that I painted in the top. Worked out great since no one can see them anyways. Lol
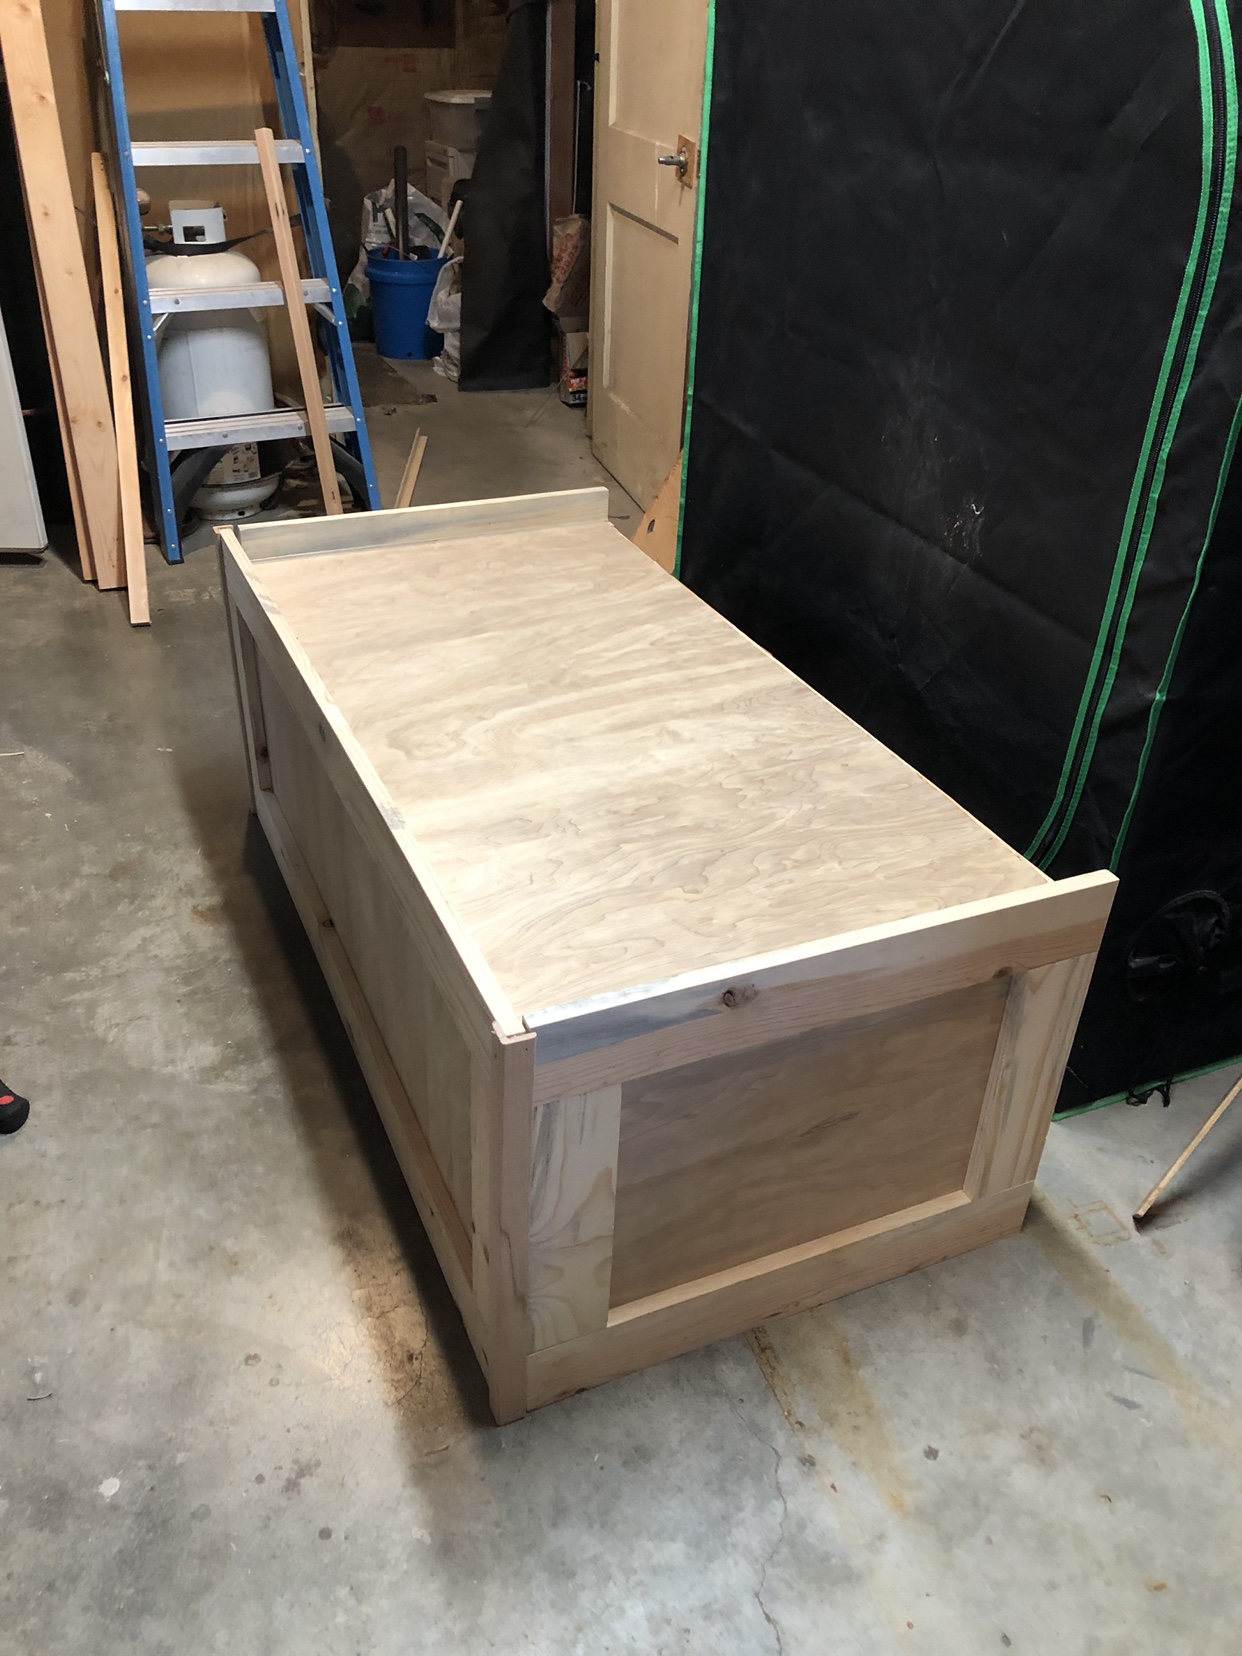
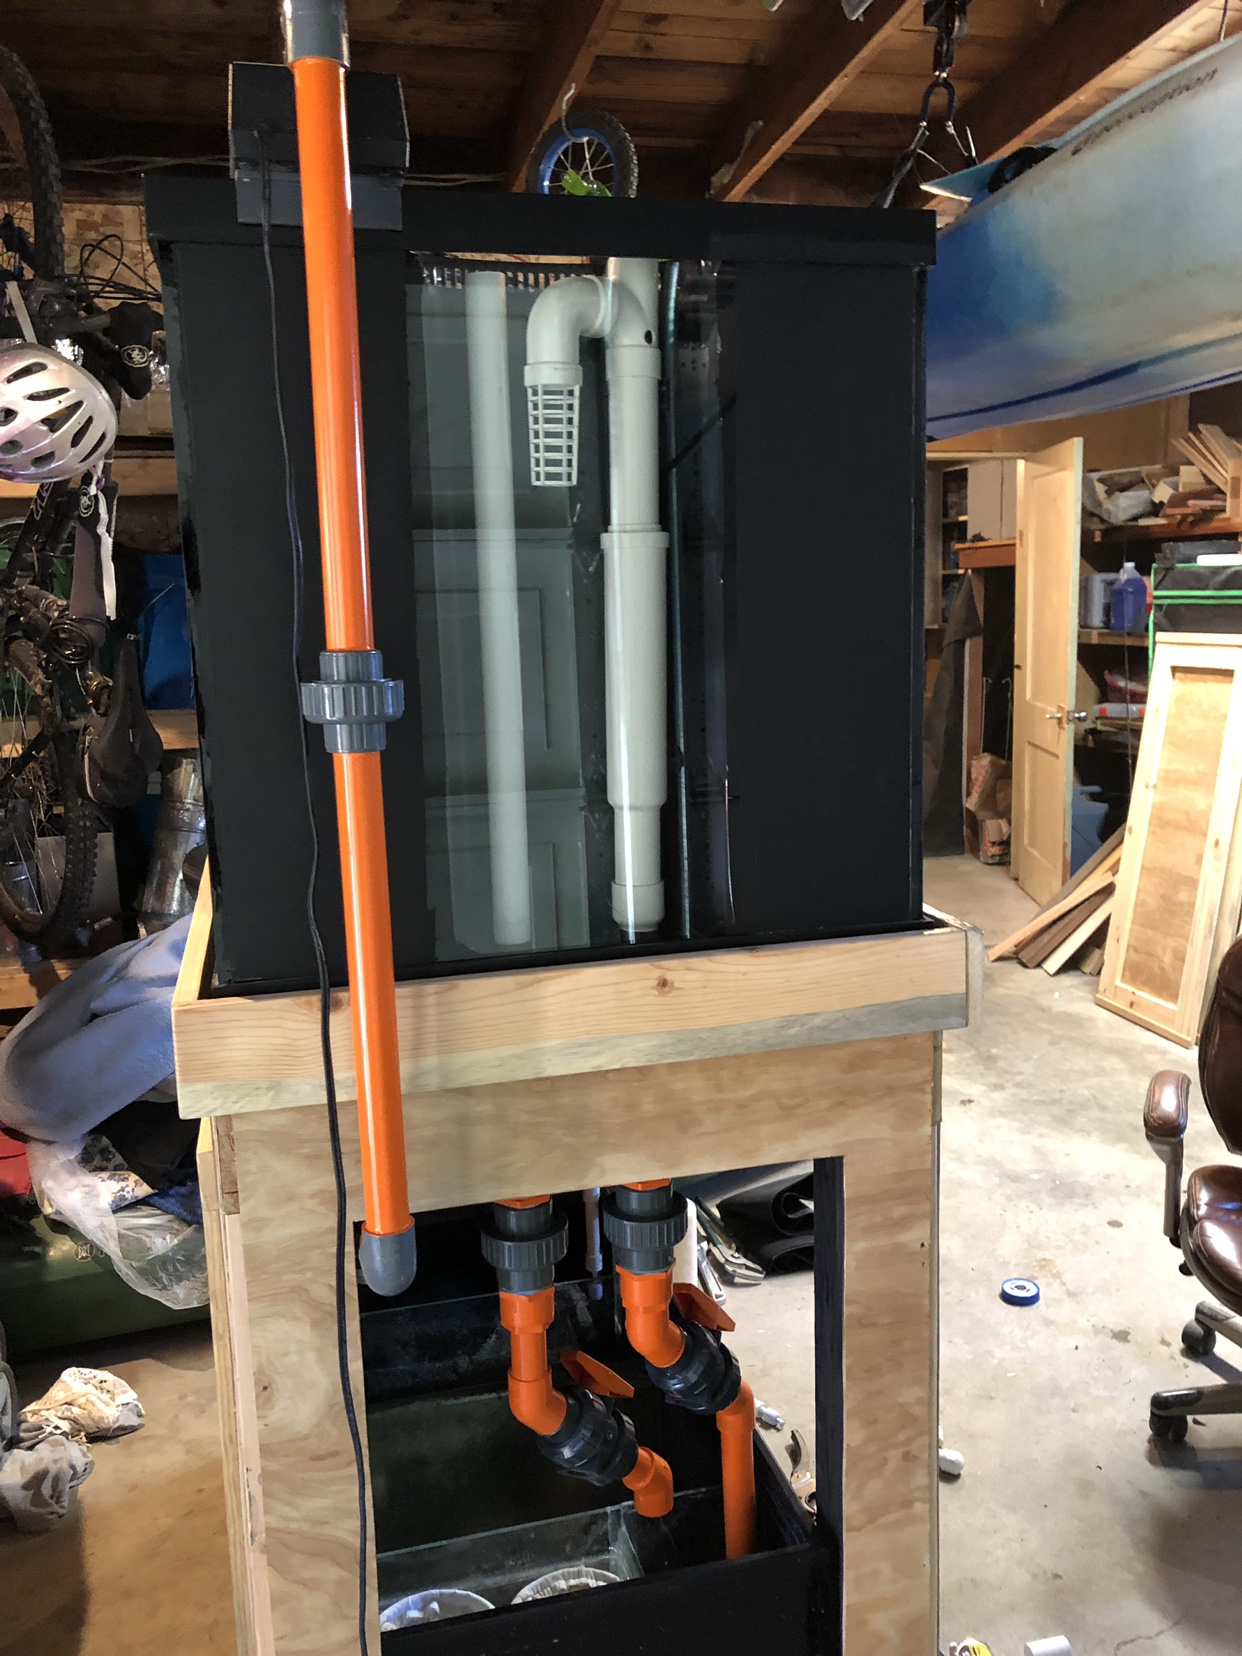
I planned on using my sea swirl for the return and using my return line in the tank for an emergency overflow instead. So I had to design the canopy to fit the seaswirl on the side of it. Turned out pretty good. Next I built a sliding light rack out of wood and painted the inside of the canopy white with many coats of appliance grade spray paint to prevent rusting on the screws.
I also used about 3 layer of 3x poly to finish the stand and canopy off along with a ton of sanding. That was probably the longest part of the build the sanding .
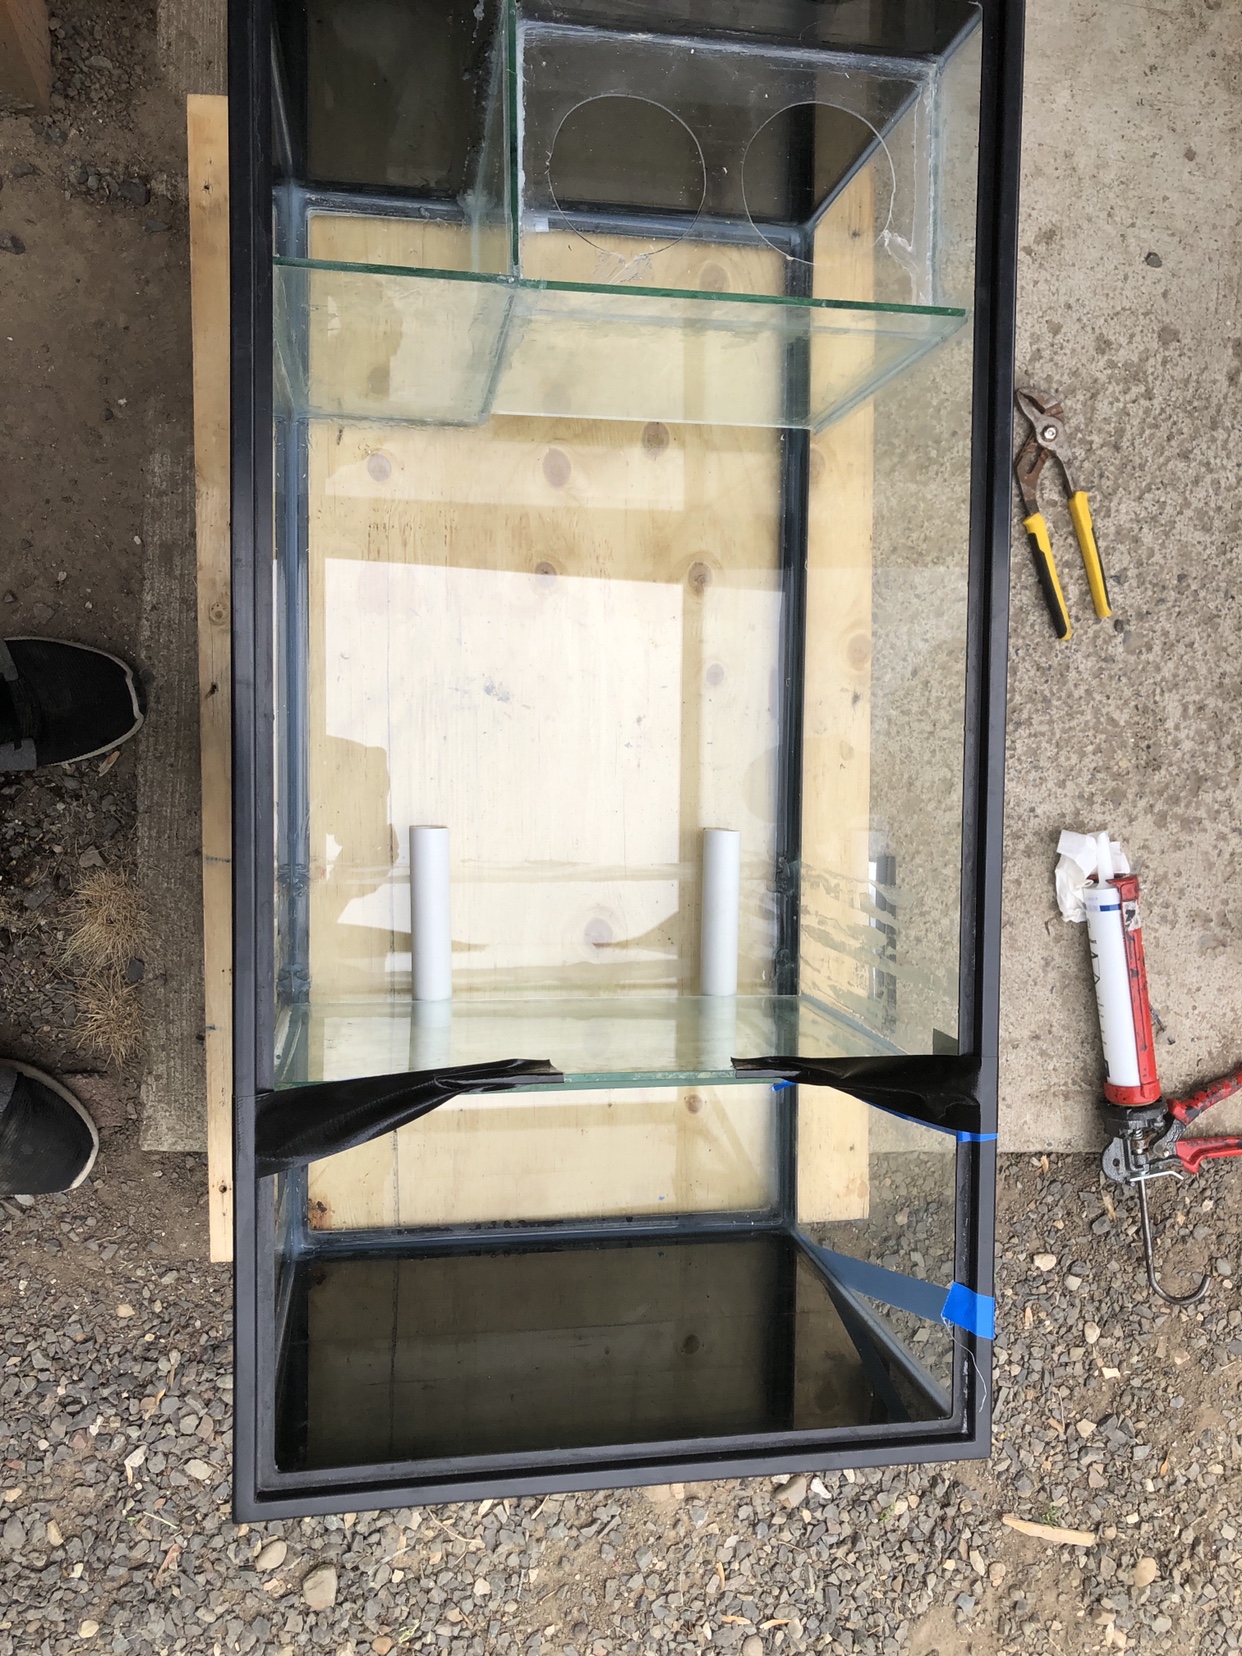
I finally had a friend come over and we lifted the tank on the stand and leak tested it just to make sure it didn’t leak. And it held water perfect. I’m alway cautious when it comes to buying tanks from people but this was a great deal.
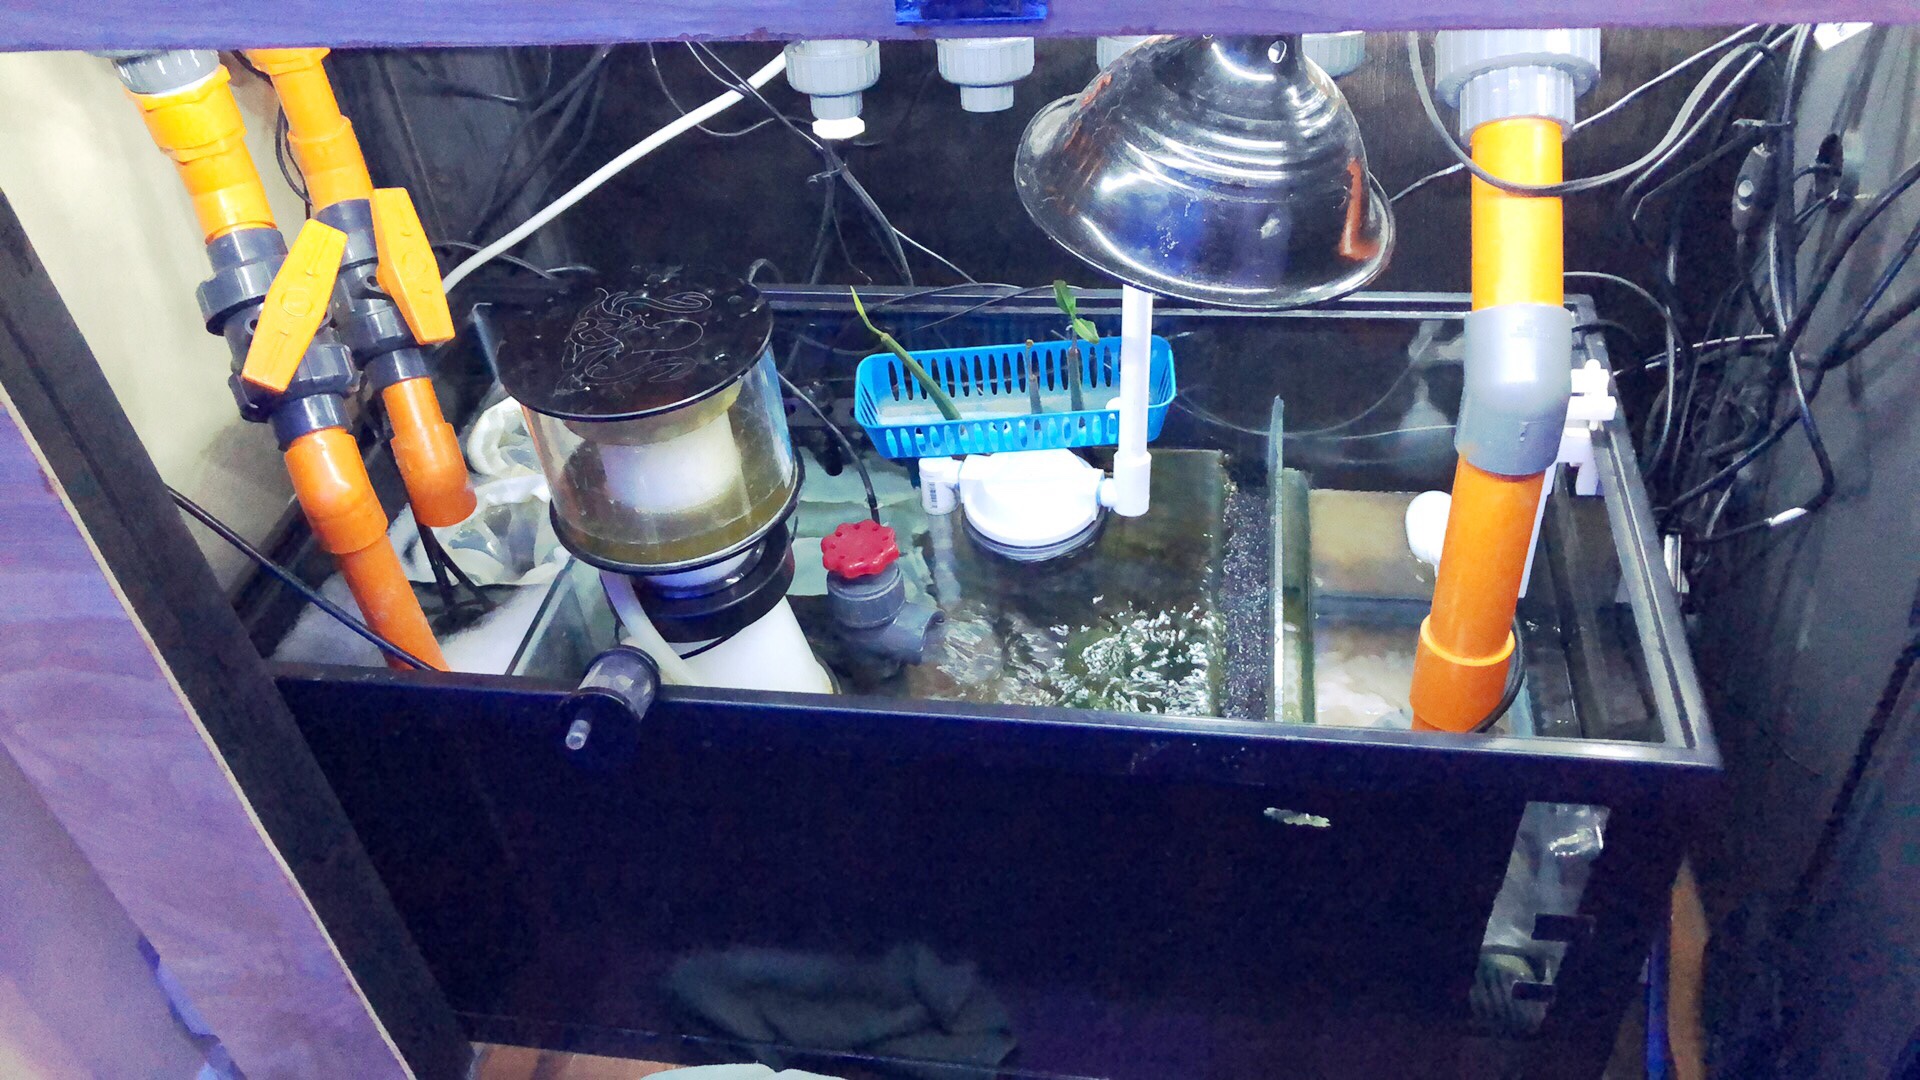
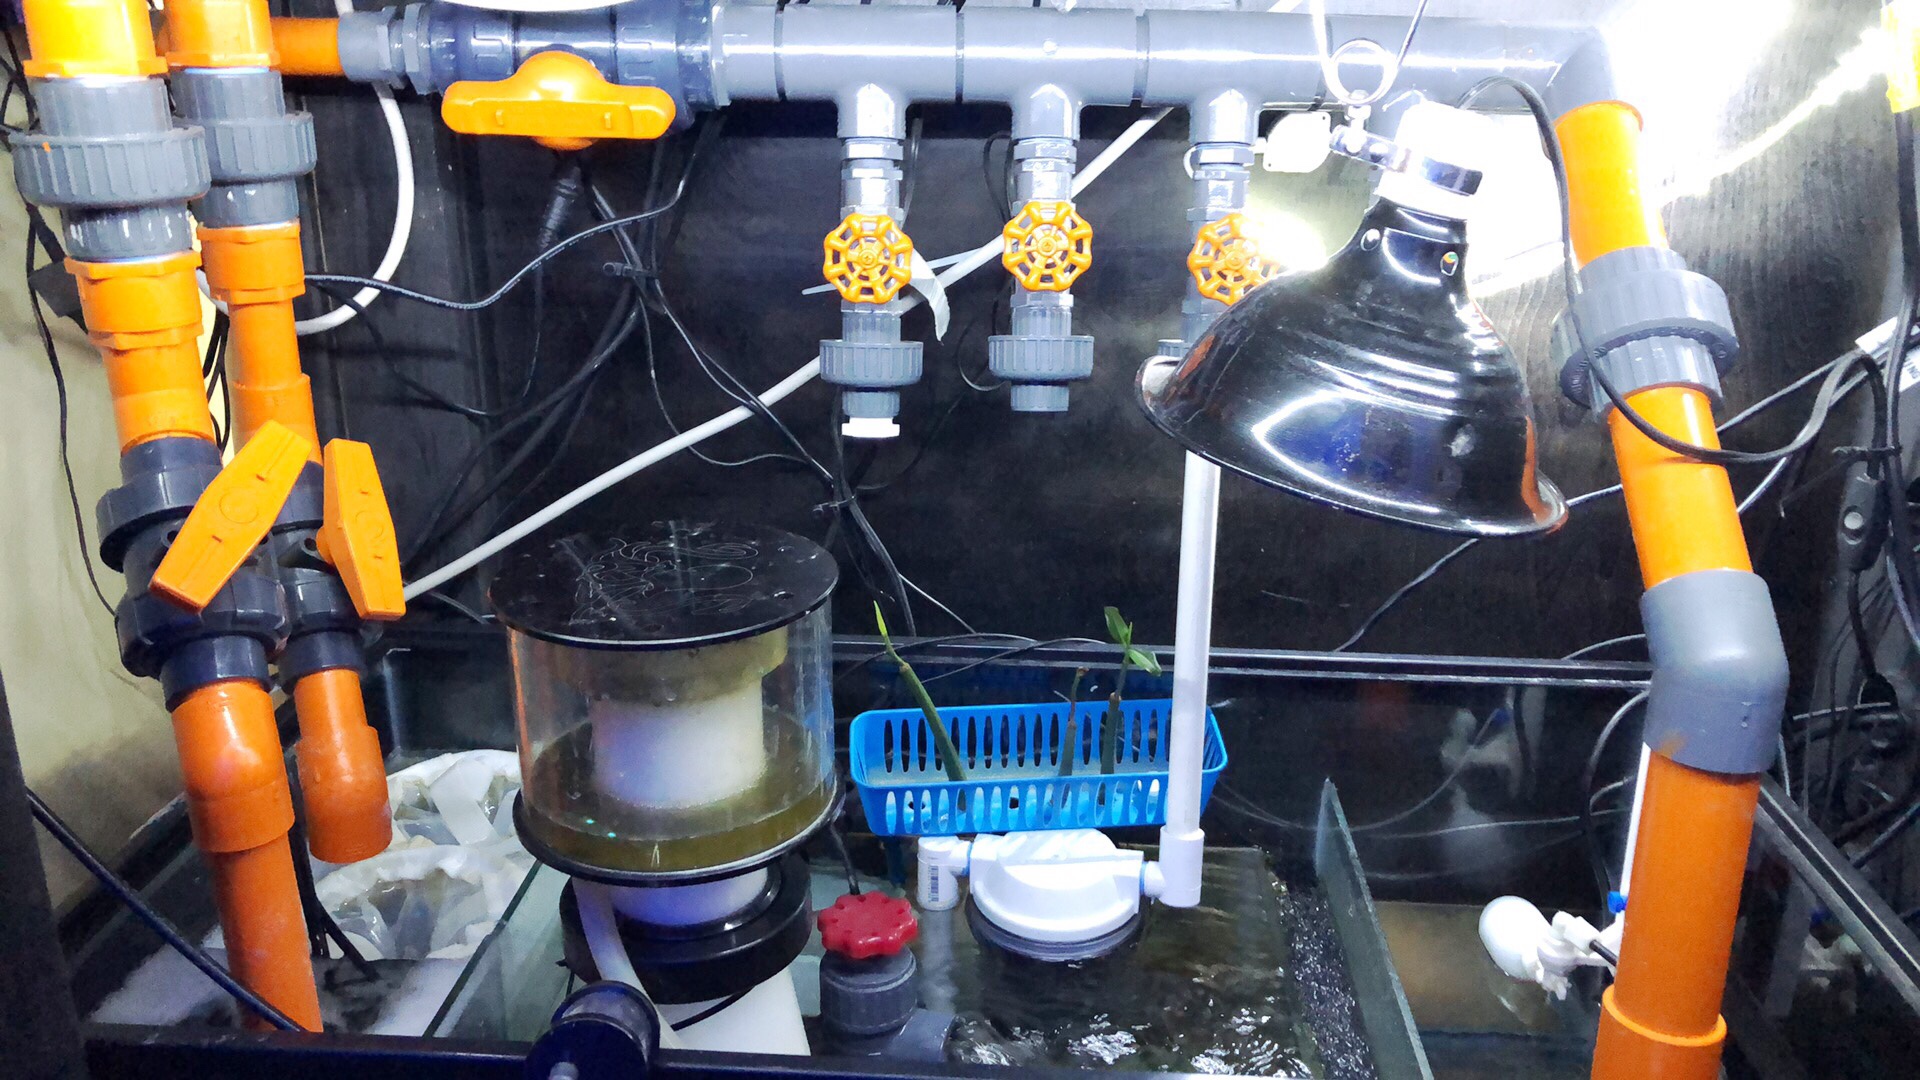
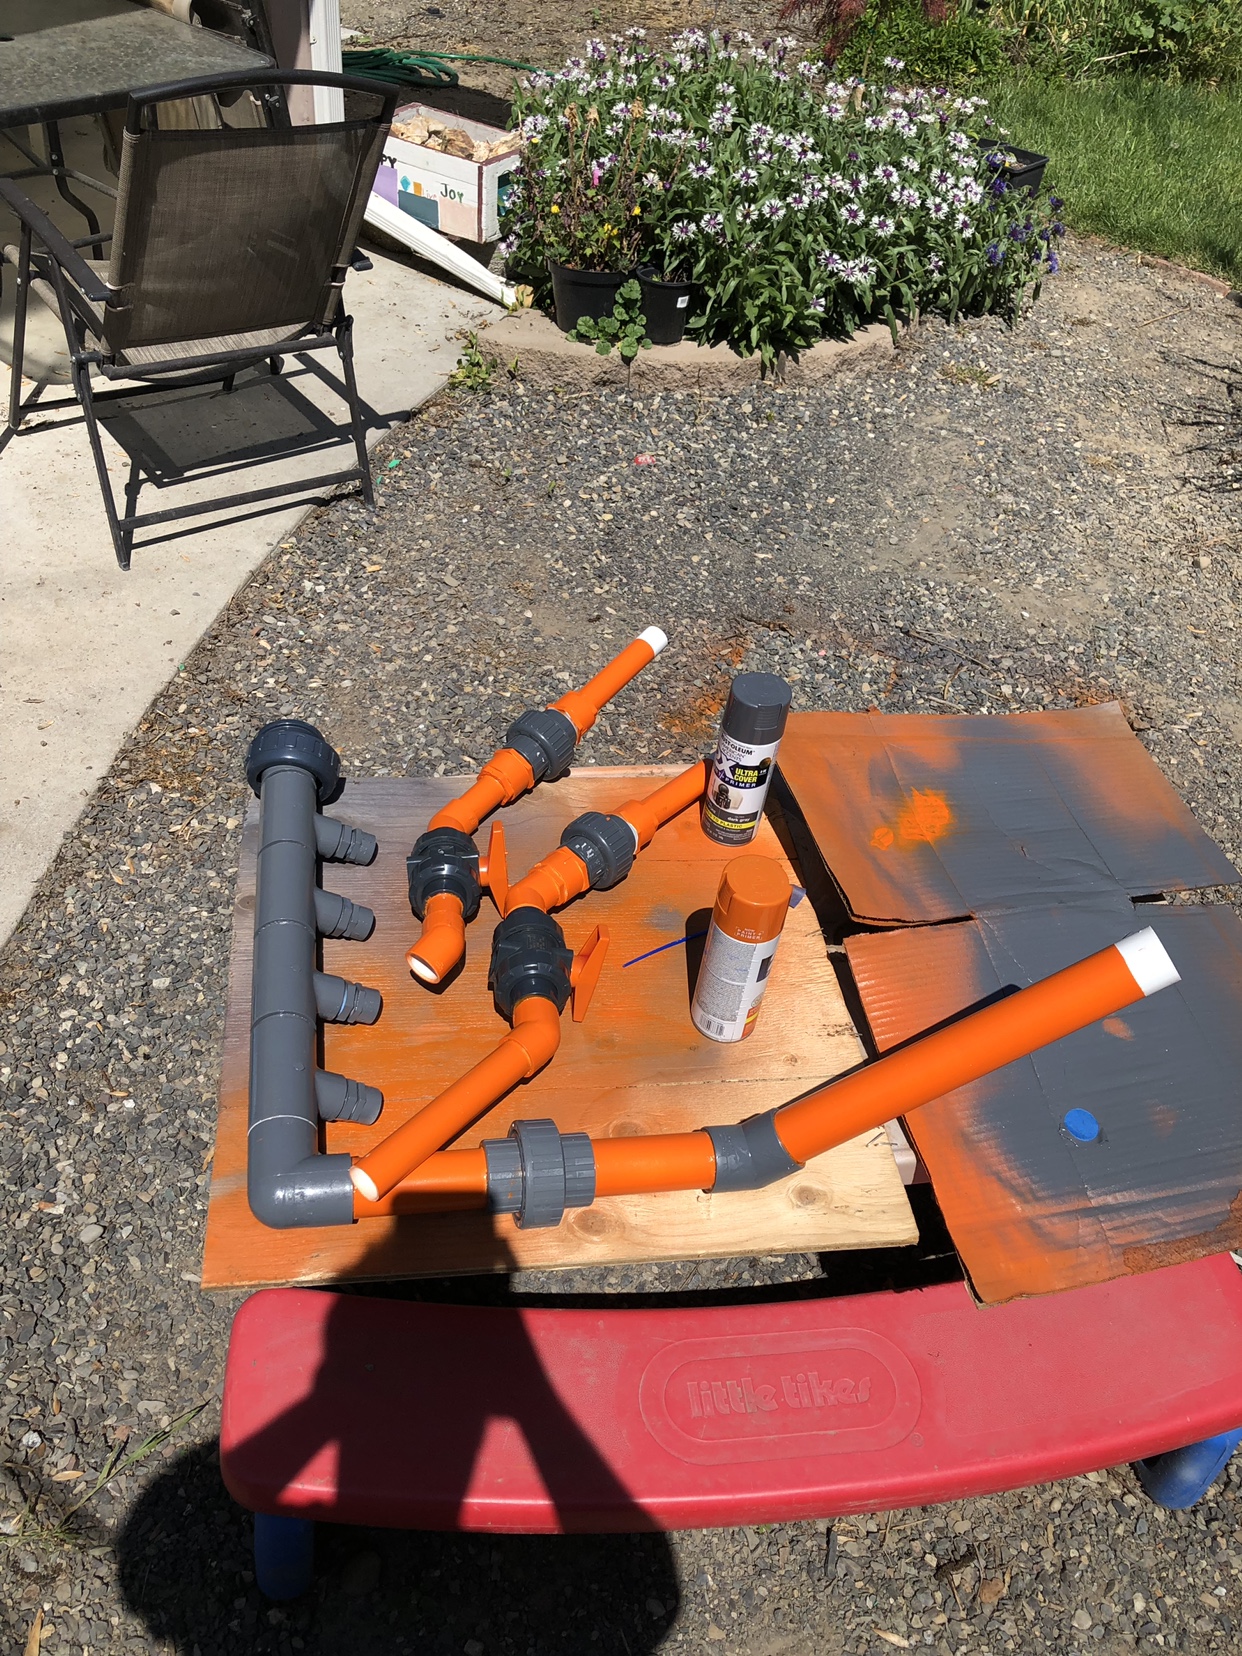
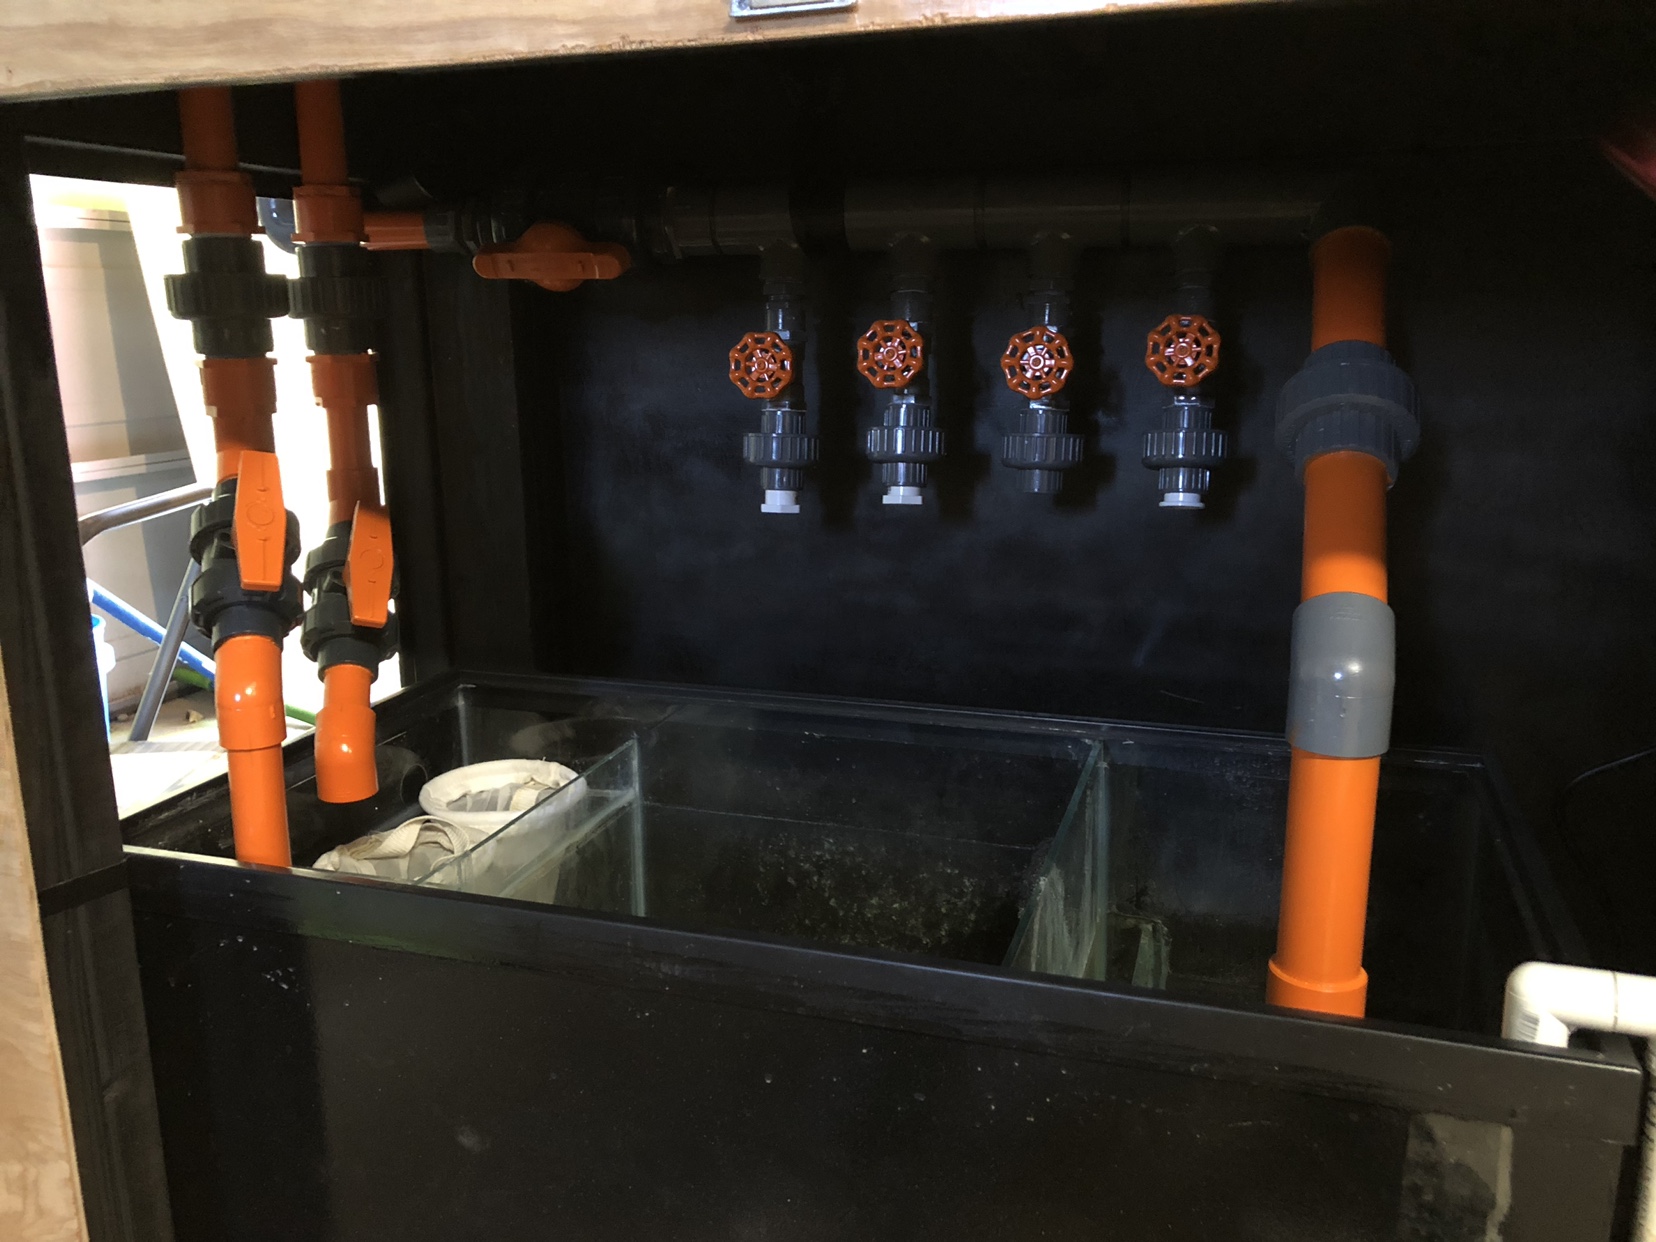
Next I started to plan out the plumbing and wanted to run a manifold with four outlets.
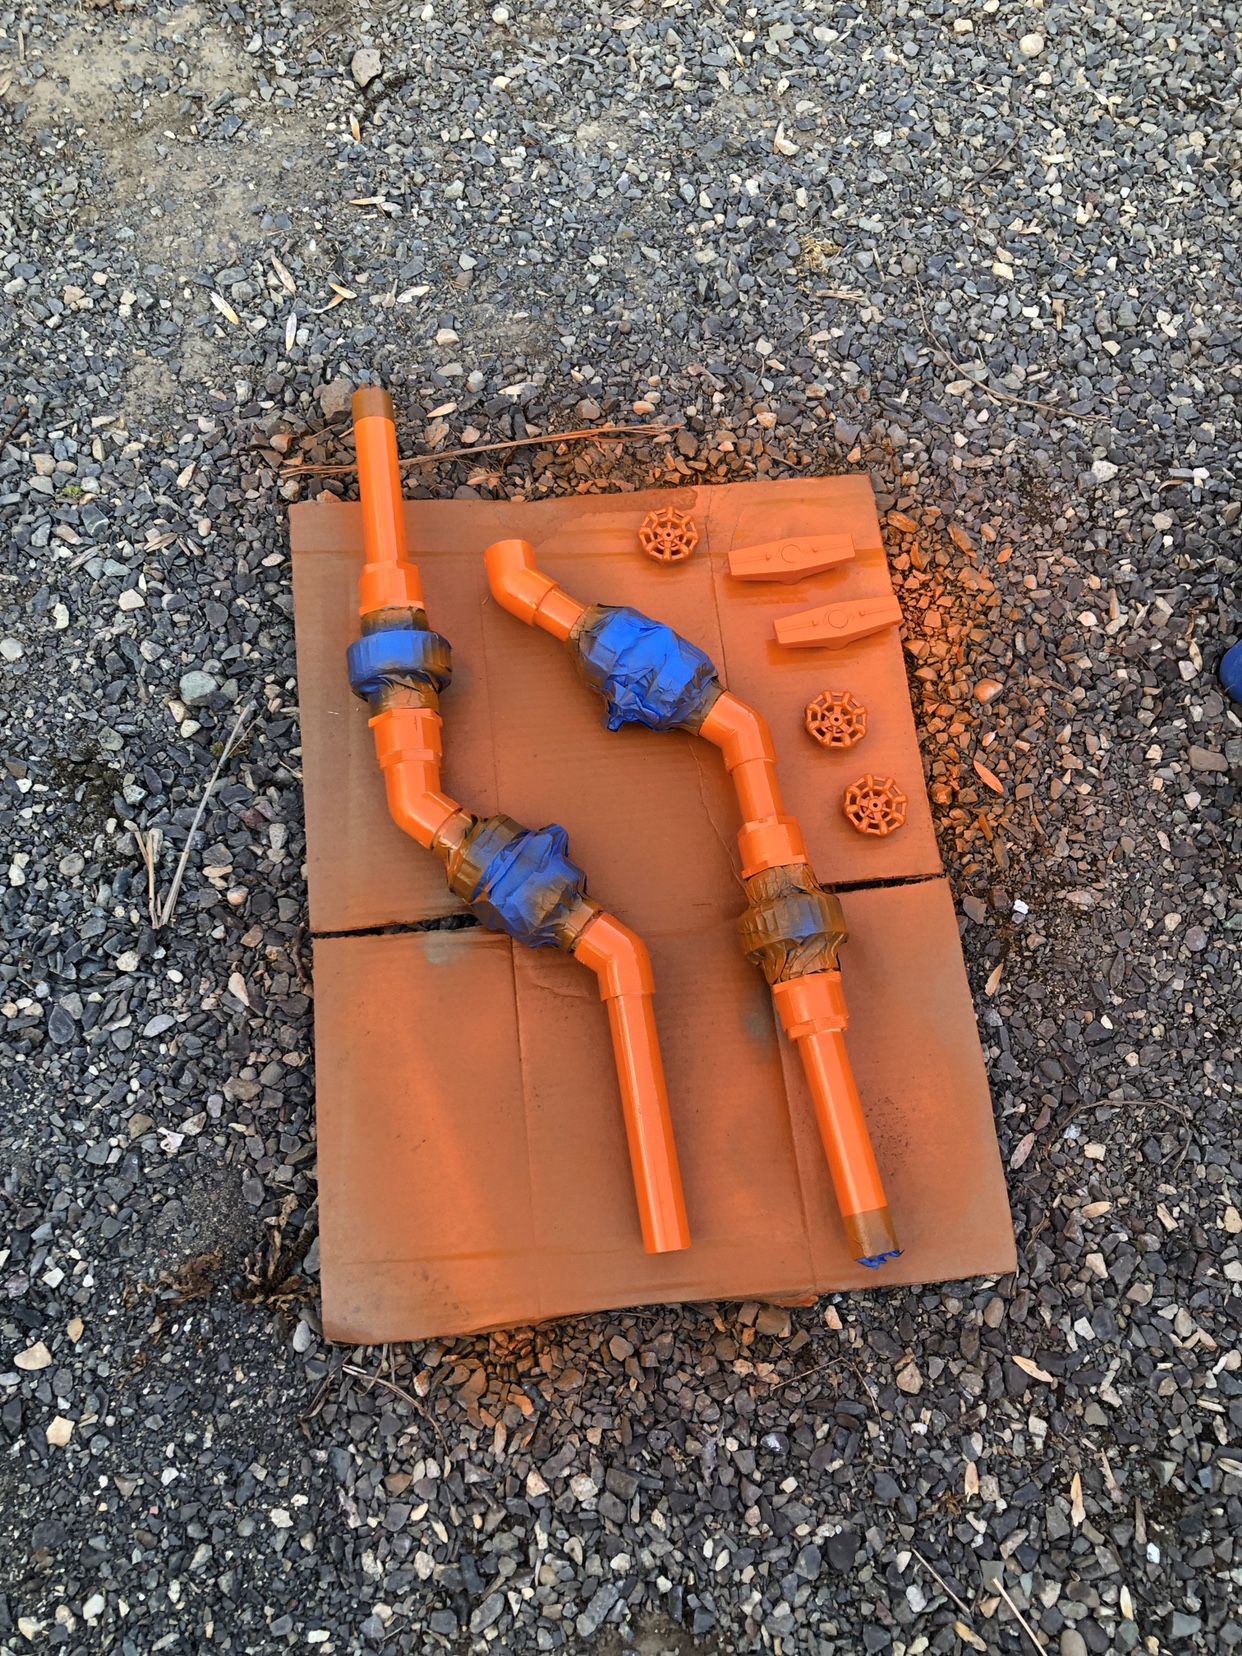
I wanted to do a color theme with the plumbing and decide on orange and schedule 80 gray. I looked into ordering colored pvc but it was more expensive than I wanted to pay so I bought some plastic grade spray paint and that worked great.
Let the taping began lol
So keeping the DIY theme I used a 40 breeder I had on another setup for the sump and I had to flip it around the other way for the plumbing to work. Hints why the front is painted black. I then got some acrylic sheets at HD and cut two holes in them for my filter socks to go and replied my baffles in how I wanted them. Ended up working awesome and much cheaper than buying a new sump.
Once I got all the plumbing put together and painted I let it dry for about a week before testing it with water. But the test was a success only one leak on the small gate valve. With a little thread tape that was a easy fix. I then had to wait a few more days to move it in my house and set it up.
Once again had to leak test everything since I couldn’t glue the return lines in until it was set up inside. Ran it for a day or so with tap water and no leaks. Very good news for me and my wife lol.
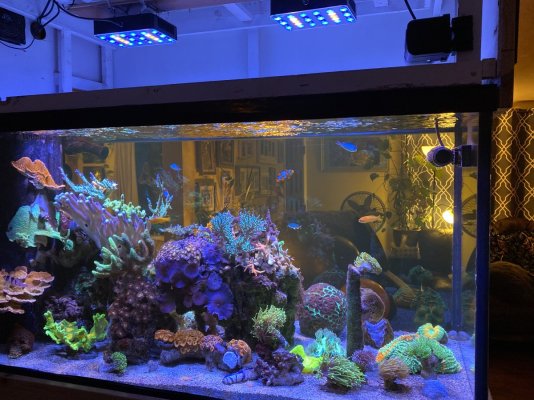
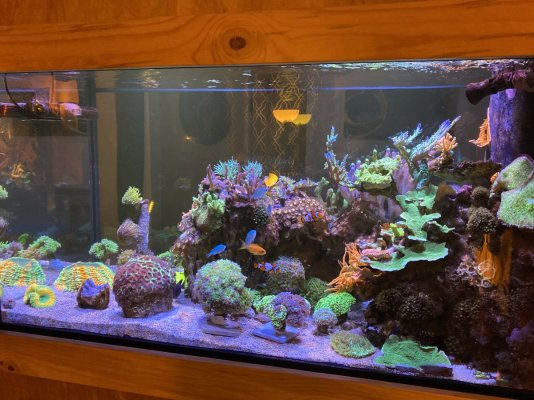
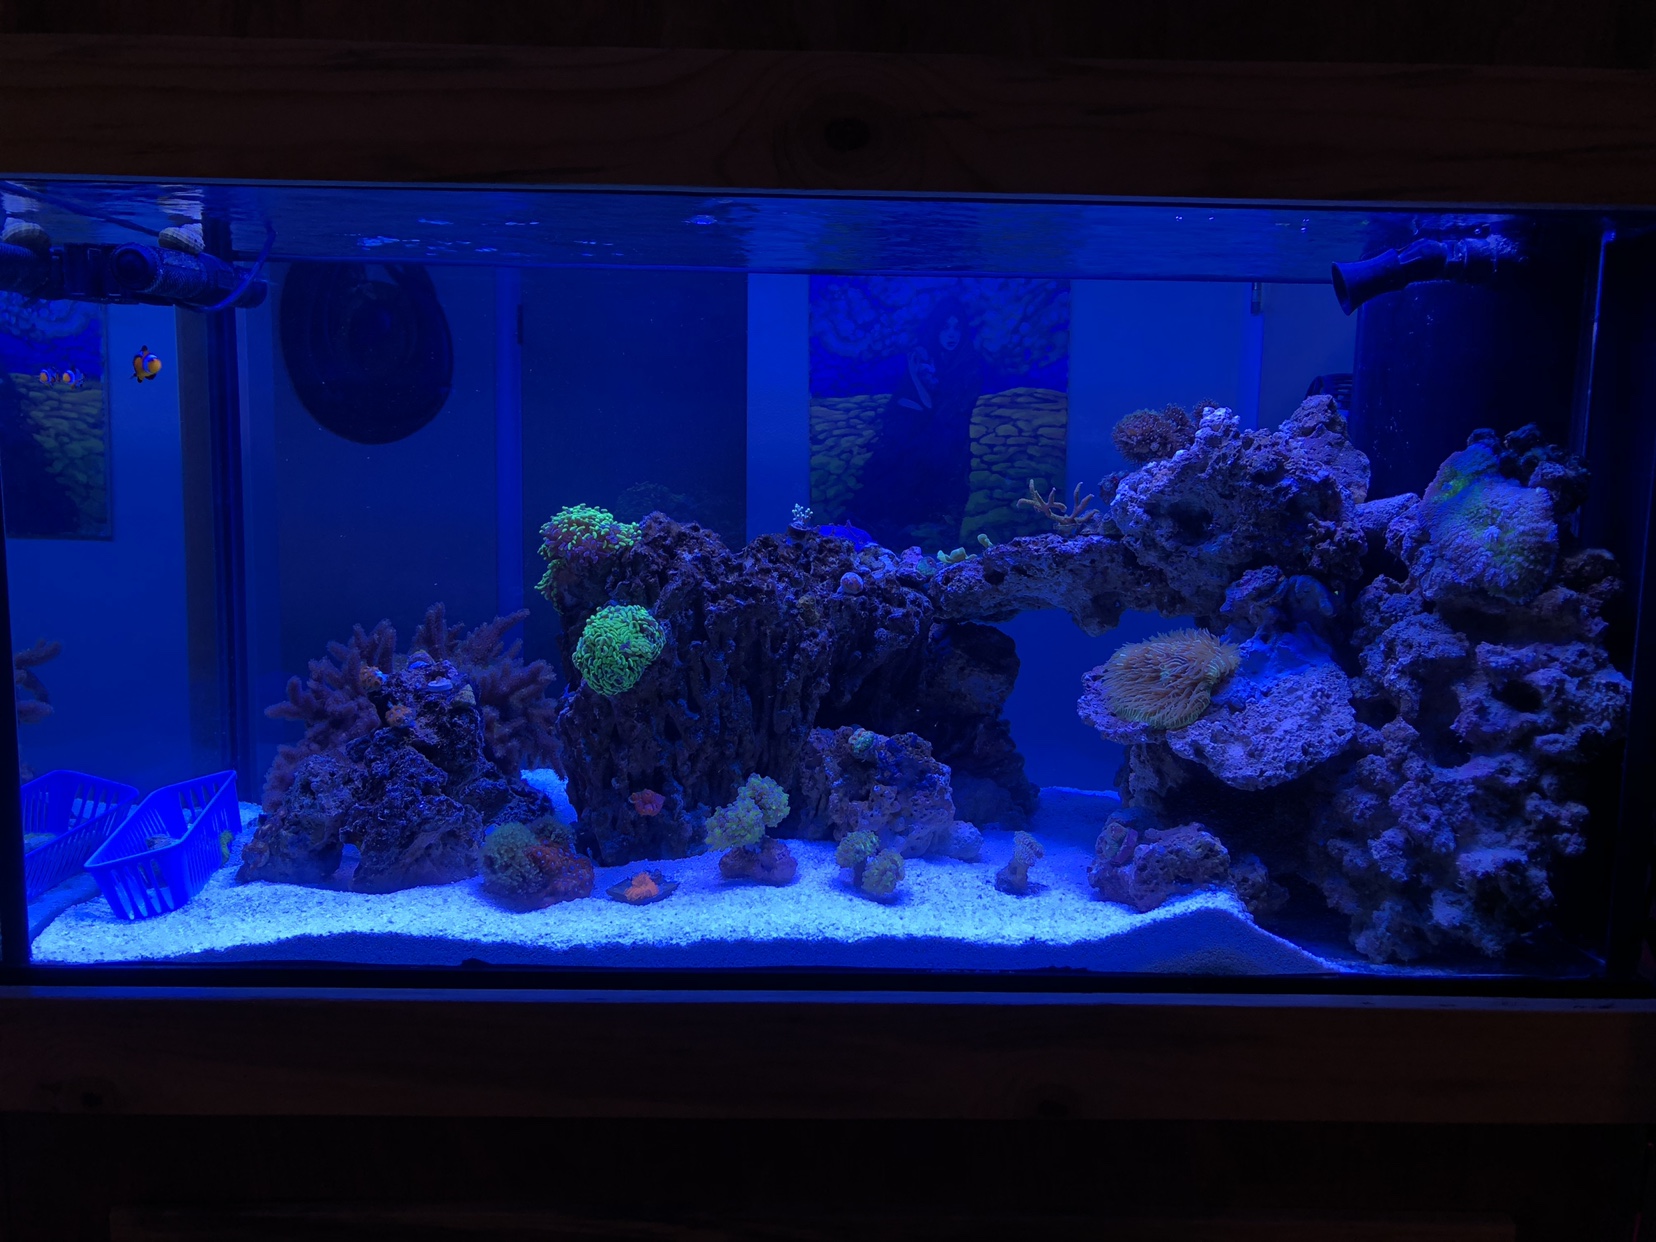
I had a 90 reef that I transferred everything over to the 120 and was trying to figure out a good rock scape. It took a little work but ended up pretty cool.
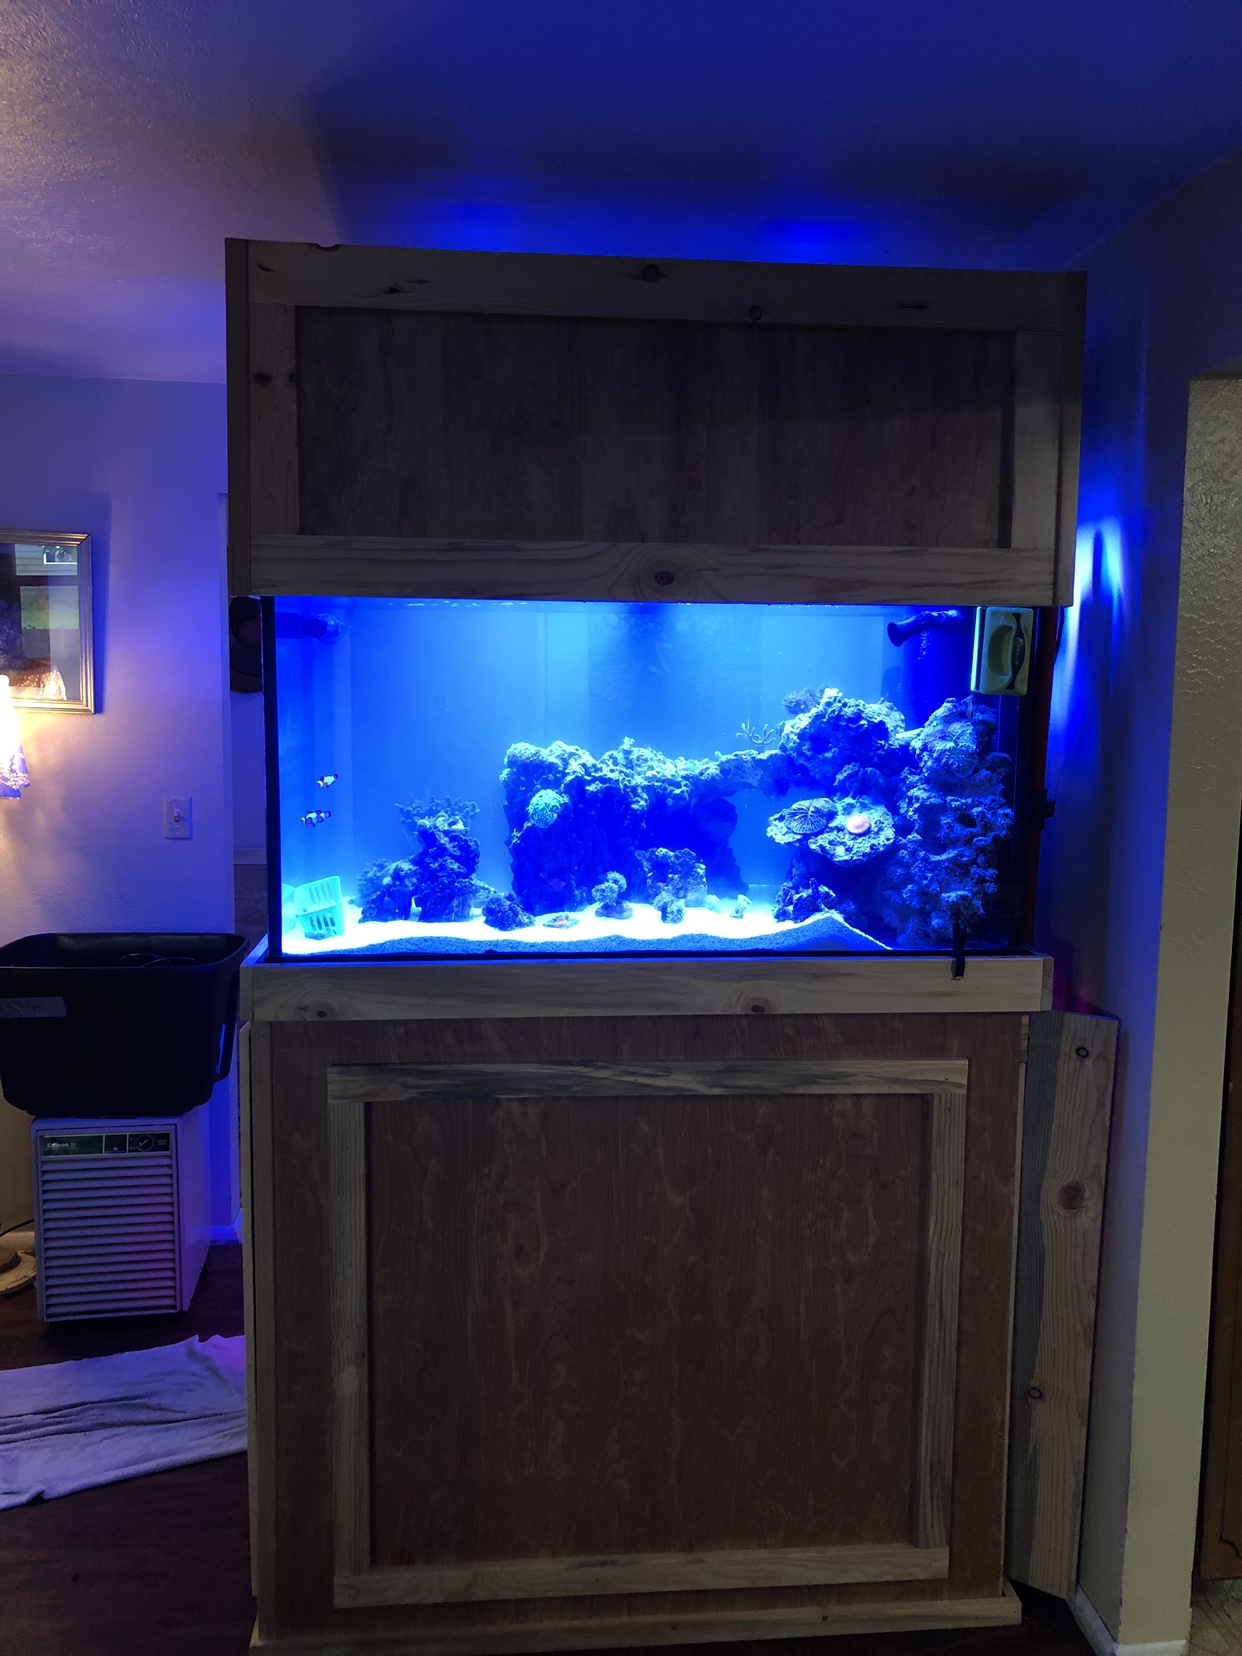
Not a very good pic but u get the idea. Took a day for it to clear up. I also added some course crushed coral sand and that definitely added a great finishing touch.

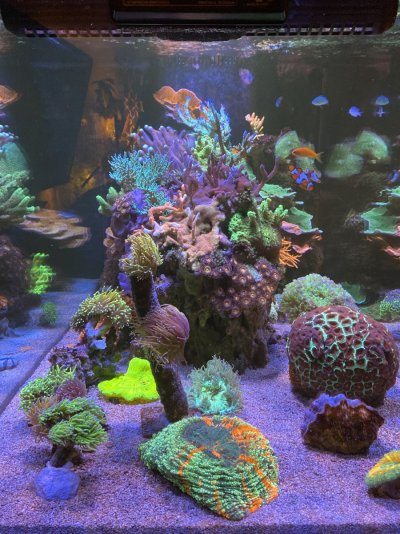
I’ll have to get some better pics of the rock scape my phone doesn’t take the best ones with the blue light. But that’s pretty much my 120 gal build.

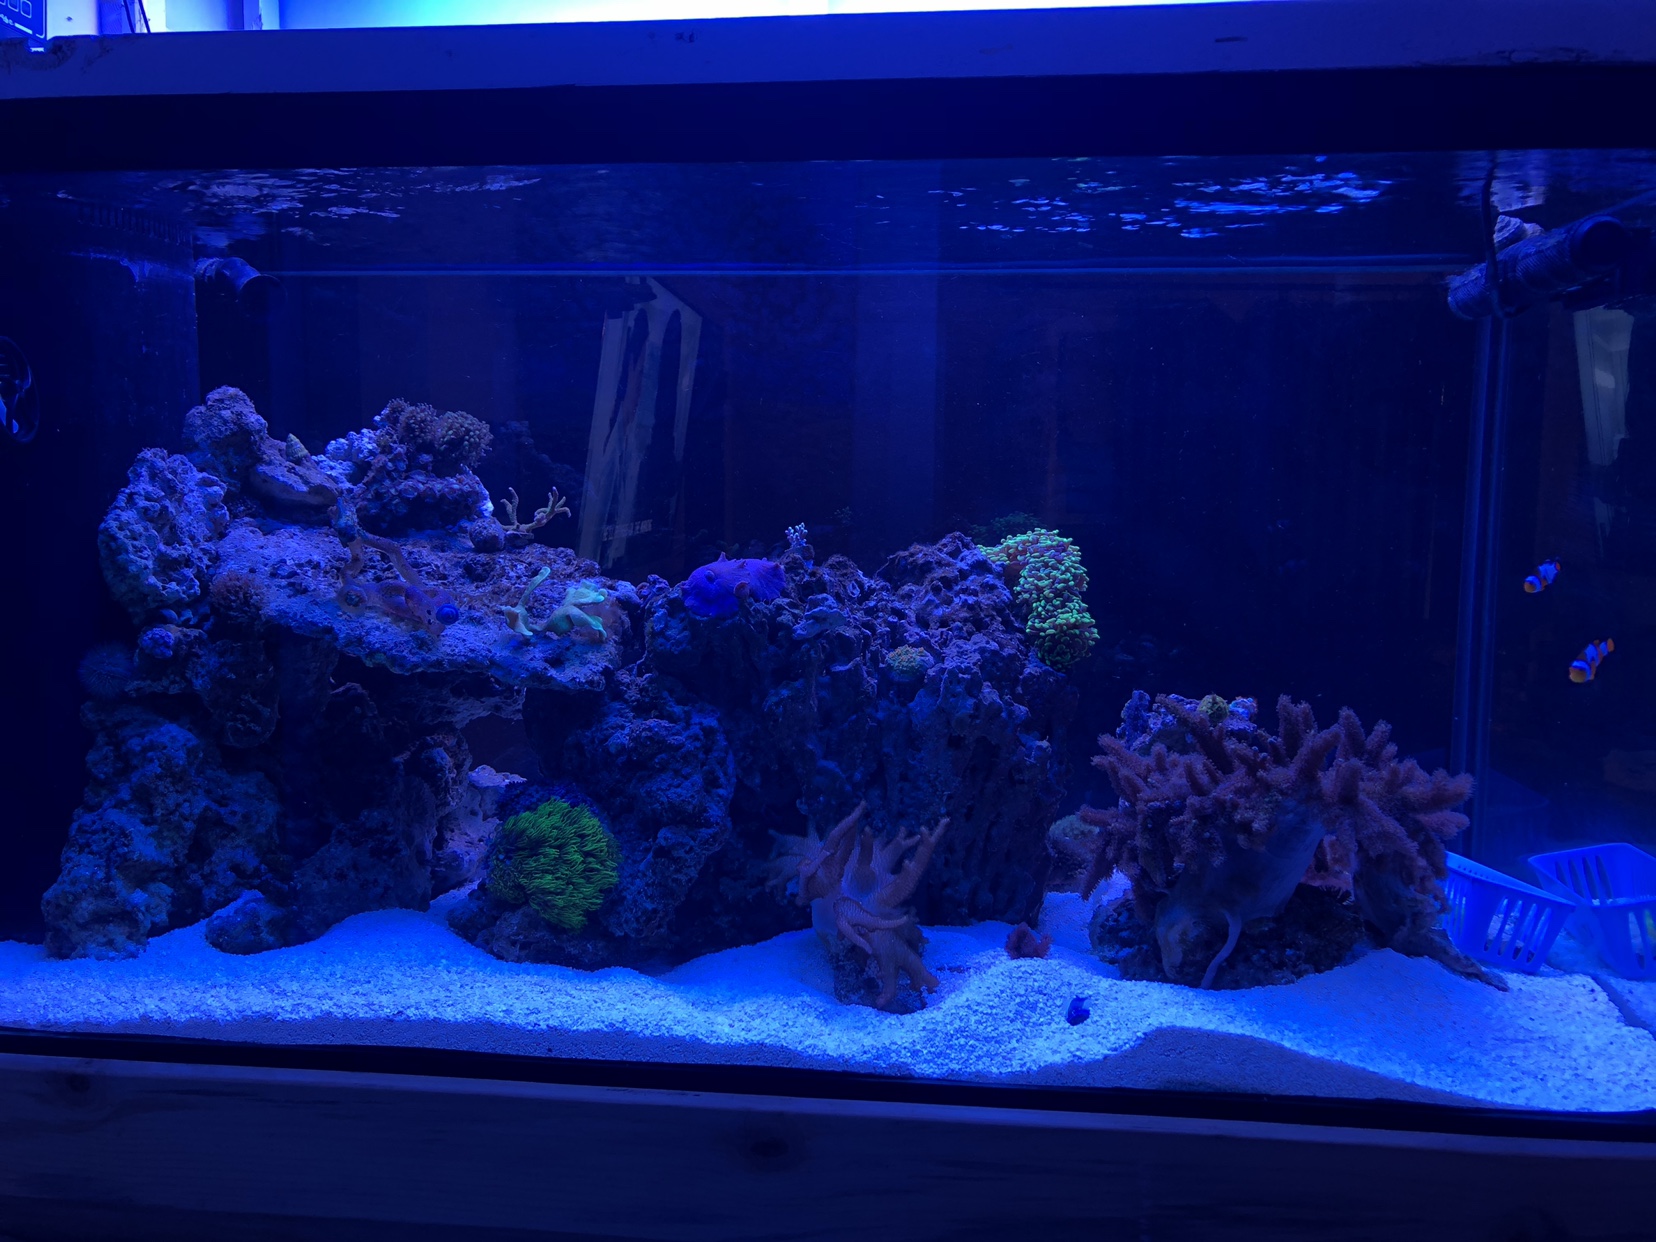
I’m running 3 36” ati bulbs blue plus and one coral plus.
36” dsunny full spectrum led panel
2 24” blue led strips I had laying around.
My return is a jabeo 18000 which was bought for the remote sump but have to turn it all the way down for this set up. Super quiet though.
3k gyre
Jabeo p20
Random flow generator coming off the 3/4” sea swirl
Reef octopus 2000 older model
Apex lite with two eb8s and break out box
BRS carbon reactor
Jabeo 36 watt UV sterilizer
A par 38 refugium bulb
2 300 watt titanium heaters
I think that’s about it for equipment.
I’ll add more pictures once everything is settled better.
Thanks for reading let me know if there’s any questions.
I had some hardwood flooring laying around so u cut that to fit where the sump would go. Originally I was going to run a remote sump but with my houses layout didn’t work out. But I planned it to house a sump either way. I wanted to have my control panel on the opposite side of the overflow. I bought some black chalkboard sheets from HD and that worked great. I then drilled my electrical holes out to where I would run my wiring for the equipment. It was quit the project trying to build everything from scratch a lot more work than I pictured. But well worth it in the end. I started on my doors for the front and control panel side.
I ordered a DJ 4 plug outlet off amazon and a couple computer cooling fans. Mounted one in the electrical panel and one in the canopy.
Once that was finished got the rest of the wrap done and began painted the inside all black to help with moisture issues down the road and sealed the around the flooring with silicone to water proof it.
I painted the top black also with some spray rubber stuff I had laying around turned out pretty nice and definitely water proof. Next I started on the canopy. Used 1x2” for a frame and wrapped it the same as the stand with two doors on each side. All the doors are mounted with 45lb magnets I found on amazon as well. They ended up working really well and hold the doors on better thank I thought.
I wanted to cut some hole for air ventilation in the canopy and ended up putting some floor vents that I painted in the top. Worked out great since no one can see them anyways. Lol
I planned on using my sea swirl for the return and using my return line in the tank for an emergency overflow instead. So I had to design the canopy to fit the seaswirl on the side of it. Turned out pretty good. Next I built a sliding light rack out of wood and painted the inside of the canopy white with many coats of appliance grade spray paint to prevent rusting on the screws.
I also used about 3 layer of 3x poly to finish the stand and canopy off along with a ton of sanding. That was probably the longest part of the build the sanding .
I finally had a friend come over and we lifted the tank on the stand and leak tested it just to make sure it didn’t leak. And it held water perfect. I’m alway cautious when it comes to buying tanks from people but this was a great deal.
Next I started to plan out the plumbing and wanted to run a manifold with four outlets.
I wanted to do a color theme with the plumbing and decide on orange and schedule 80 gray. I looked into ordering colored pvc but it was more expensive than I wanted to pay so I bought some plastic grade spray paint and that worked great.
Let the taping began lol
So keeping the DIY theme I used a 40 breeder I had on another setup for the sump and I had to flip it around the other way for the plumbing to work. Hints why the front is painted black. I then got some acrylic sheets at HD and cut two holes in them for my filter socks to go and replied my baffles in how I wanted them. Ended up working awesome and much cheaper than buying a new sump.
Once I got all the plumbing put together and painted I let it dry for about a week before testing it with water. But the test was a success only one leak on the small gate valve. With a little thread tape that was a easy fix. I then had to wait a few more days to move it in my house and set it up.
Once again had to leak test everything since I couldn’t glue the return lines in until it was set up inside. Ran it for a day or so with tap water and no leaks. Very good news for me and my wife lol.
I had a 90 reef that I transferred everything over to the 120 and was trying to figure out a good rock scape. It took a little work but ended up pretty cool.
Not a very good pic but u get the idea. Took a day for it to clear up. I also added some course crushed coral sand and that definitely added a great finishing touch.
I’ll have to get some better pics of the rock scape my phone doesn’t take the best ones with the blue light. But that’s pretty much my 120 gal build.
I’m running 3 36” ati bulbs blue plus and one coral plus.
36” dsunny full spectrum led panel
2 24” blue led strips I had laying around.
My return is a jabeo 18000 which was bought for the remote sump but have to turn it all the way down for this set up. Super quiet though.
3k gyre
Jabeo p20
Random flow generator coming off the 3/4” sea swirl
Reef octopus 2000 older model
Apex lite with two eb8s and break out box
BRS carbon reactor
Jabeo 36 watt UV sterilizer
A par 38 refugium bulb
2 300 watt titanium heaters
I think that’s about it for equipment.
I’ll add more pictures once everything is settled better.
Thanks for reading let me know if there’s any questions.