Started off recently with a biocube that gave me the bug and within weeks picked up a Cadlights 45G Artisan II Shallow Reef w/sump. This will be my biggest tank yet along with my first sumped setup. I'm taking things slow with the build and still have yet to decide what I want to put in this tank. For the time being I'm thinking SPS with a few select fish.. going for a minimalist build out..
Equipment List (Current as of July 2015)
CadLights 45G Shallow Artisan II
Hydra 52 (15" off water top) (debating on adding another Hydra 52 or going T5/LED Hybrid)
2x MP10's
Sicce 2.0 Return
Vertex Omega 130 (Modded with air valve to restrict flow)
Cadlights 30G sump
Apex Full w/Ecotech Module
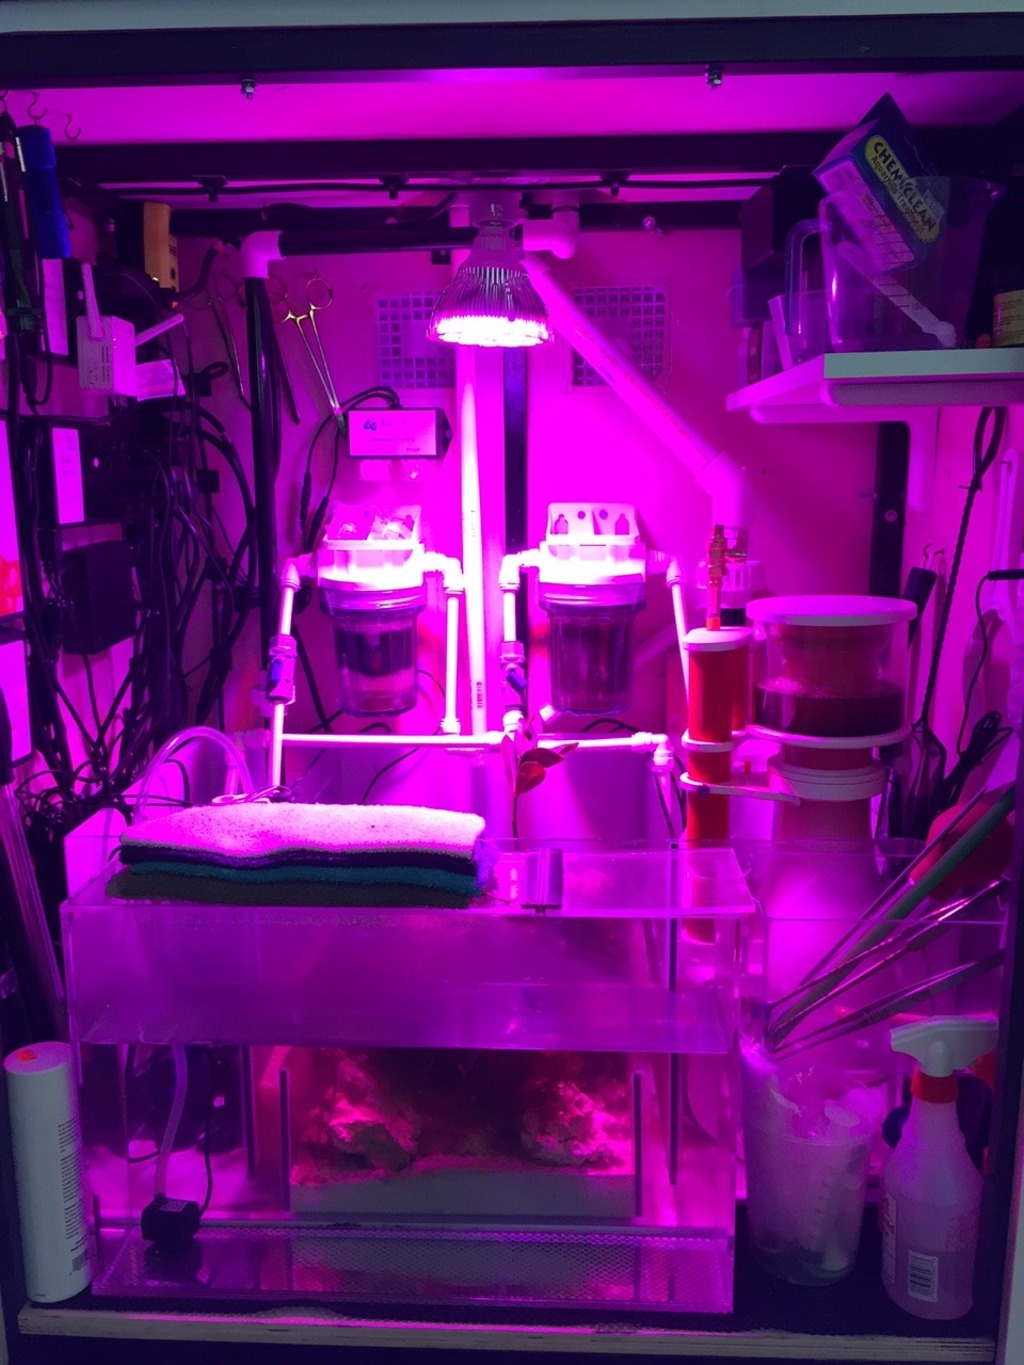
2x BRS Mini Reactors (Carbon/GFO)
Par38 blue/red LED for sump (on 24 hours for caulerpa)
5G ATO box made by yours truly
Smart ATO
BRS 5 Stage RODI Unit
Livestock:
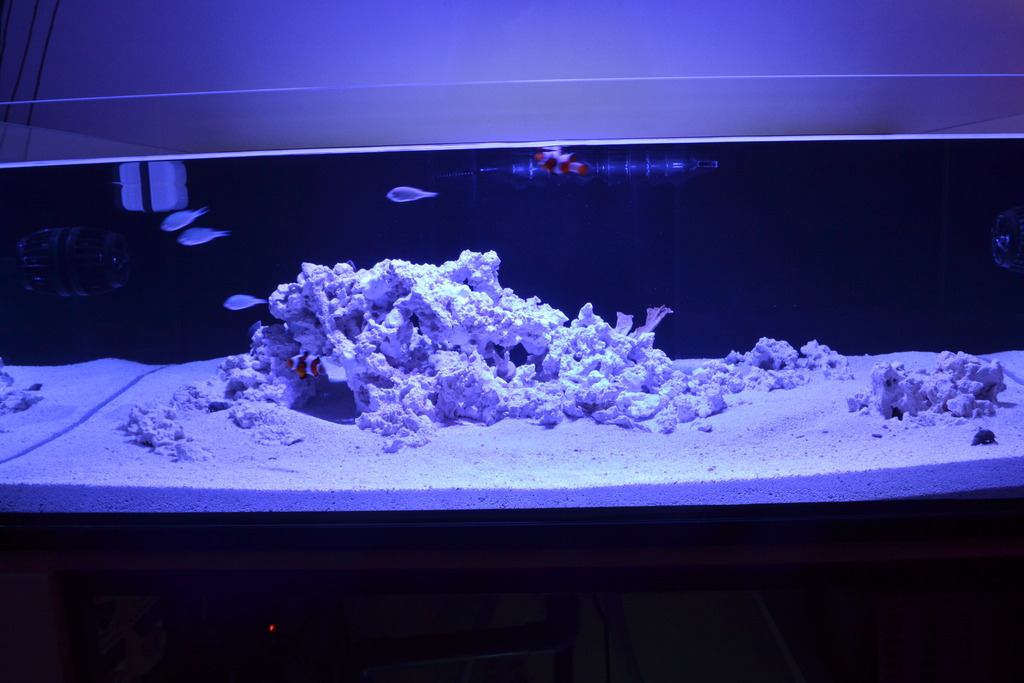
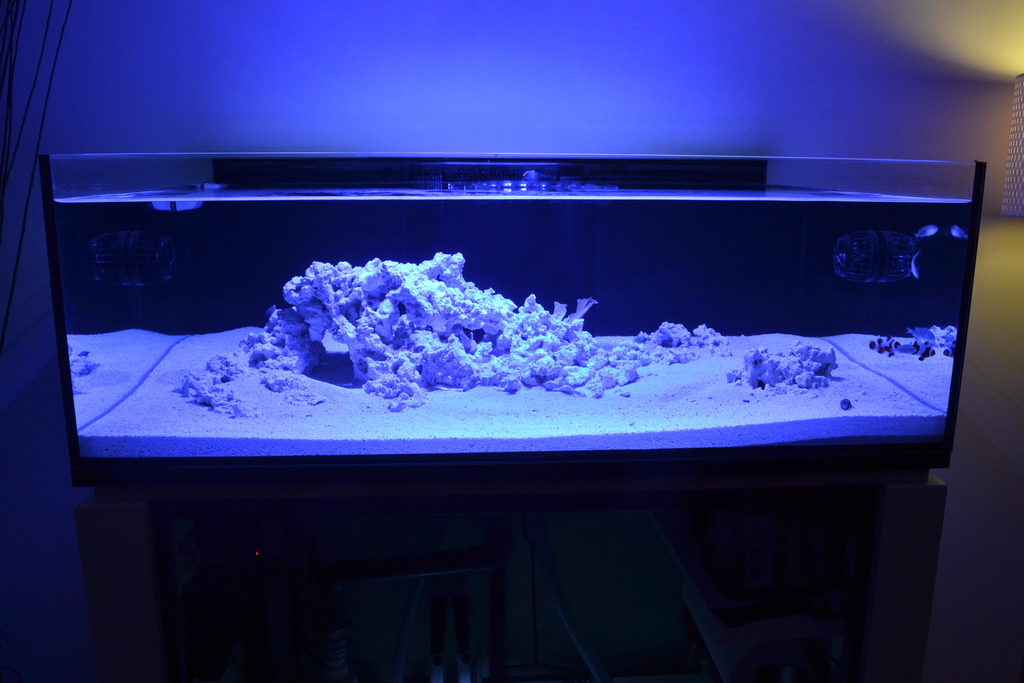
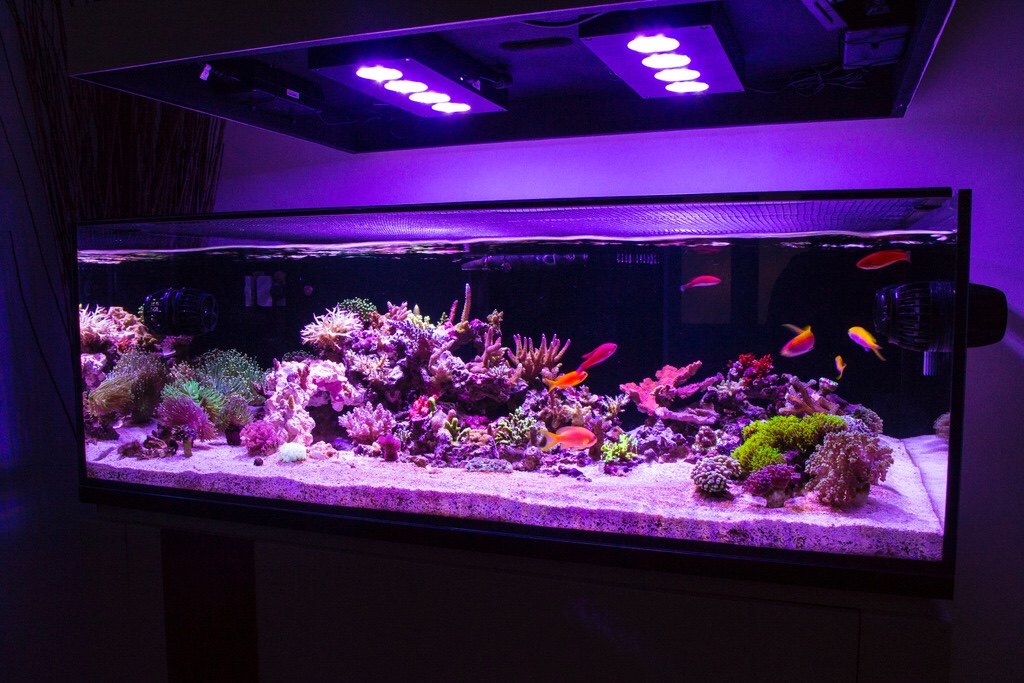
Corals: (SPS/LPS) At the moment, too much to list.. I went completely overboard with my SPS.. 40+ frags and counting.. I think I did this subconsciously (that's what I tell the misses anyway) so I can be "forced" into buying a new bigger tank here soon when things grow out.. Also have about 10 different Torches/Hammers/Frogspawn, and a few Zoas..
Fish: T*** :|, Wrasses (Filamented, McCoskers, and Fairy), and a pair of Lyretail Anthias.
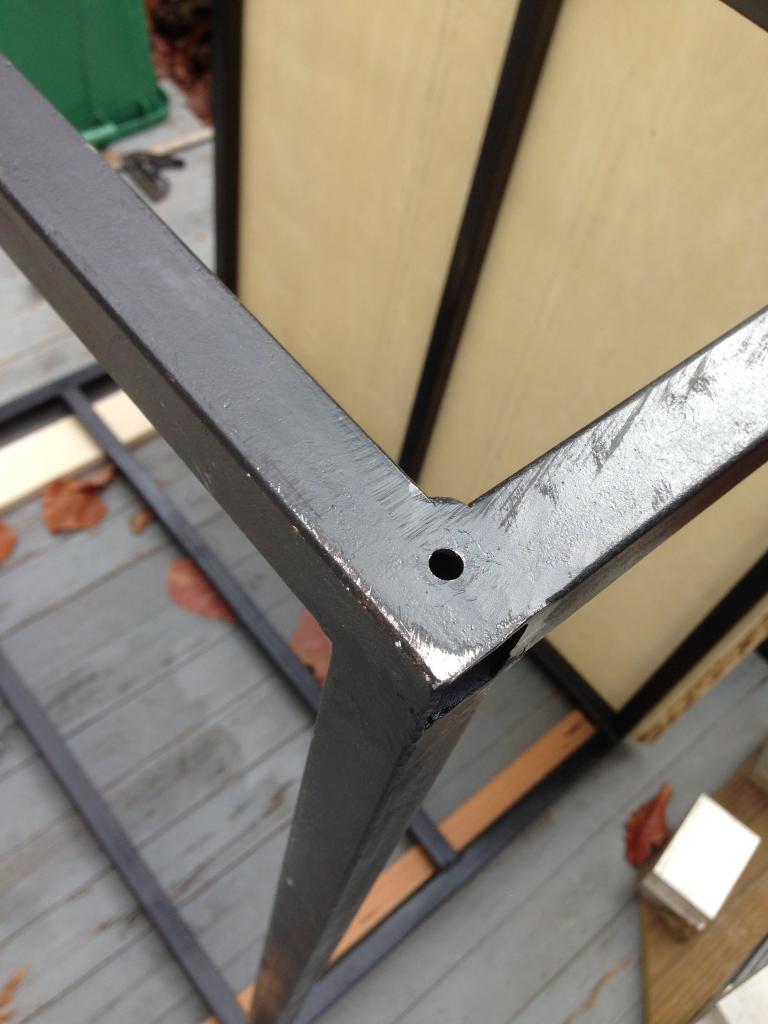
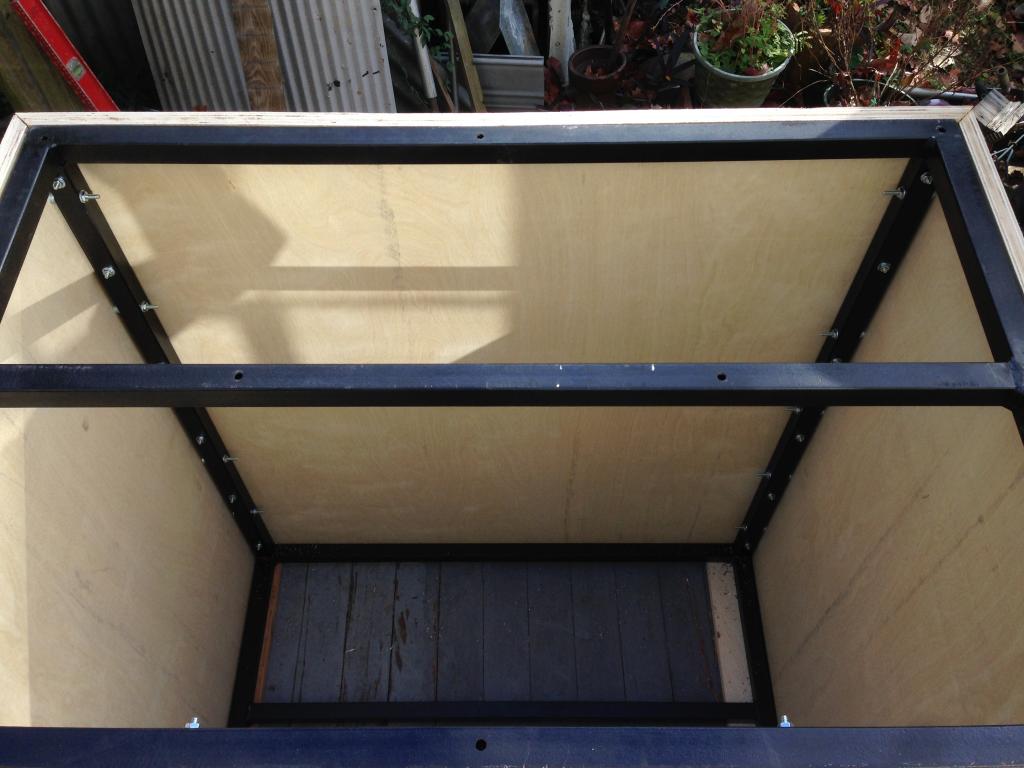
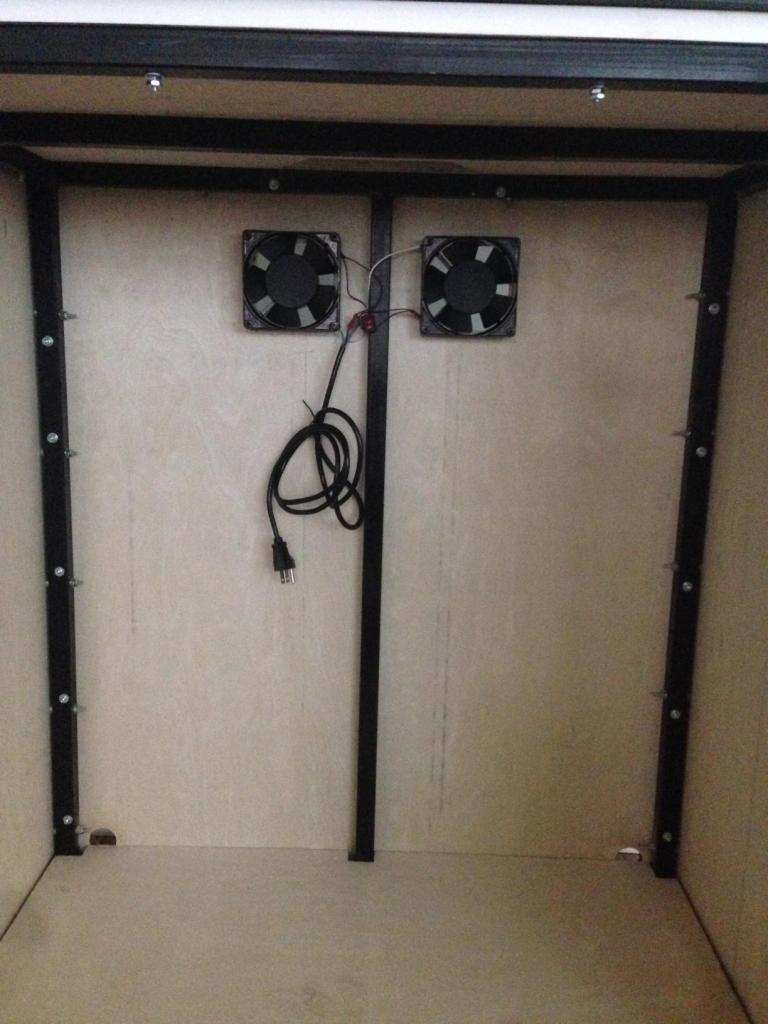
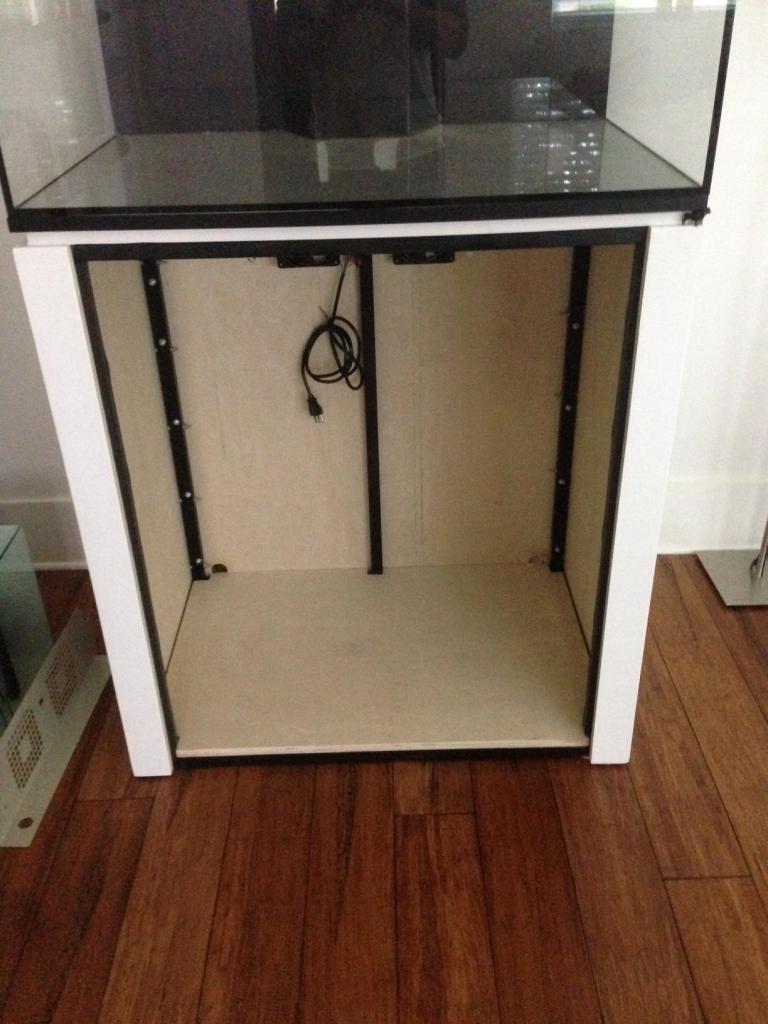
The tank came with a Cadlights stand which from what I've read and what I came to find was your typical MDF type setup. I was "ok" with this but was wanting something of better quality and a tad bit taller. When I went to pick my tank up from a member here he actually had a steel frame he built with plans to skin it in the future. It was also about 12" taller than the Cadlights stand. Instead of using the Cadlights stand I decided to work on the frame and not have to move things around later down the line.
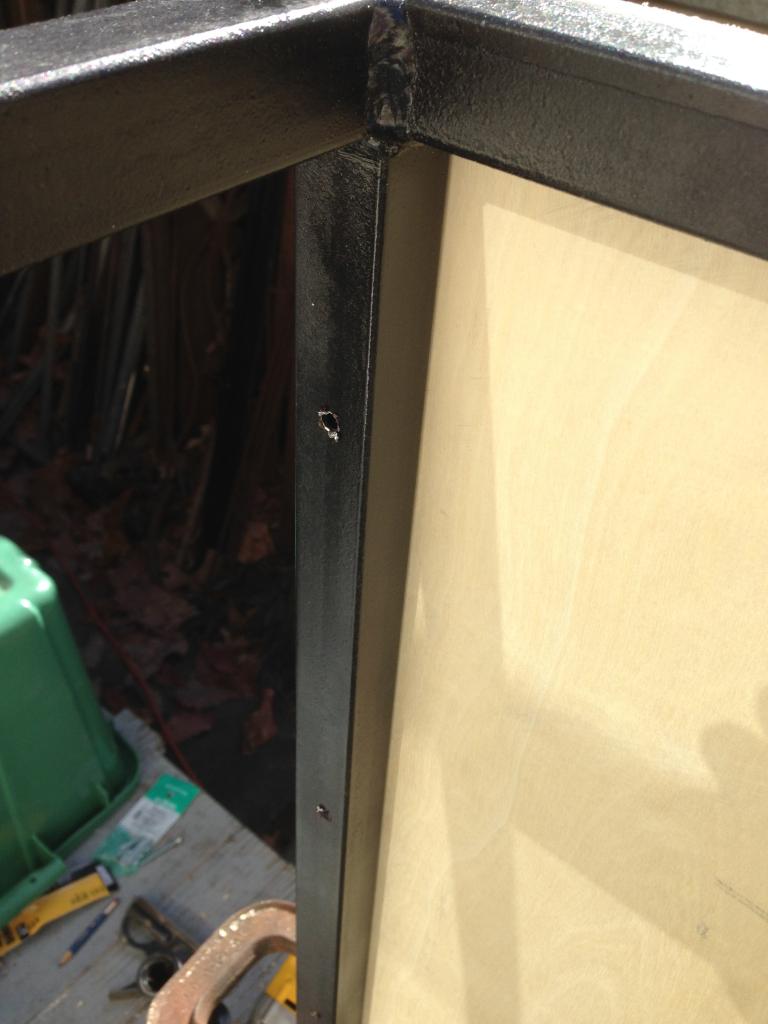
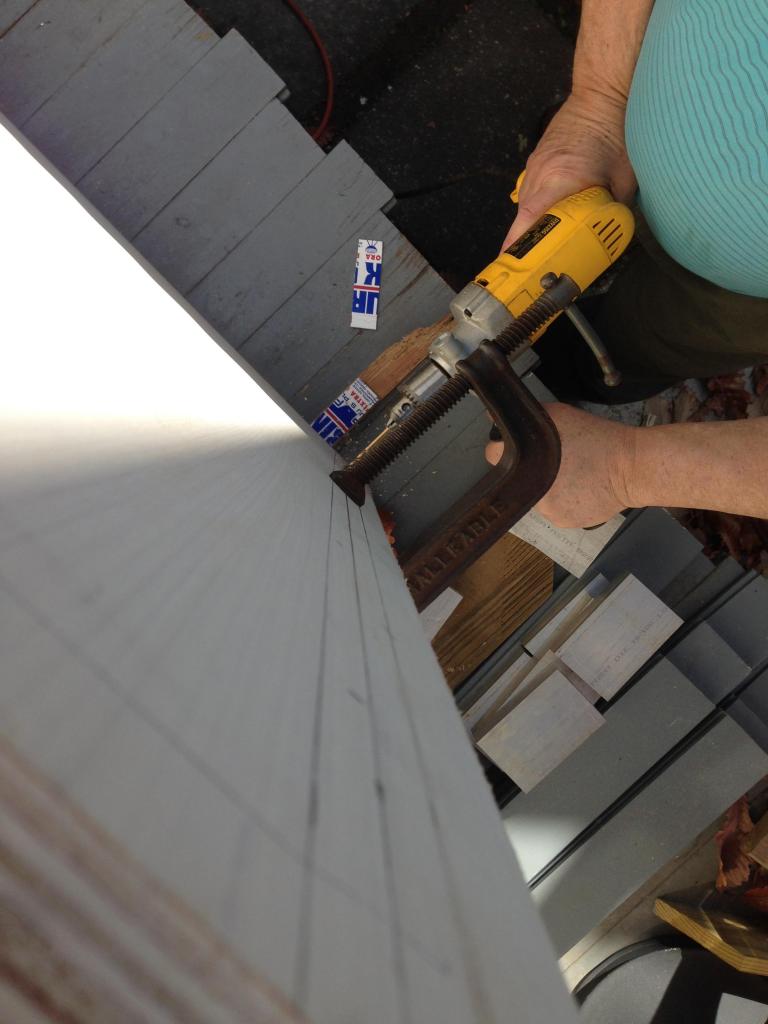
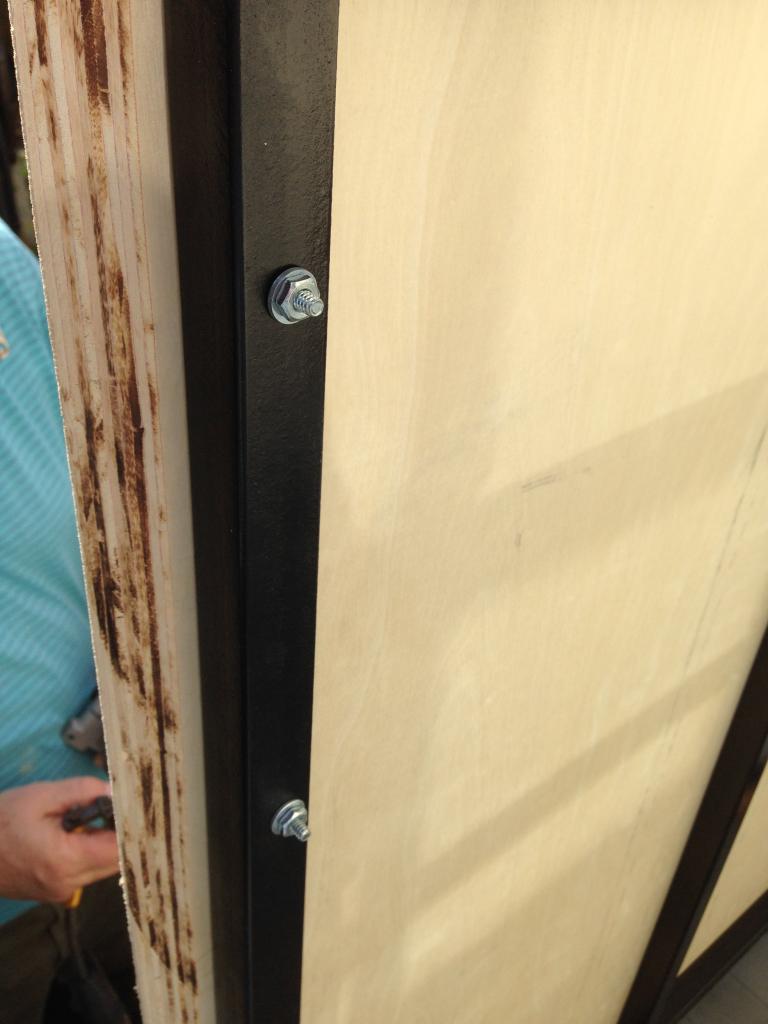
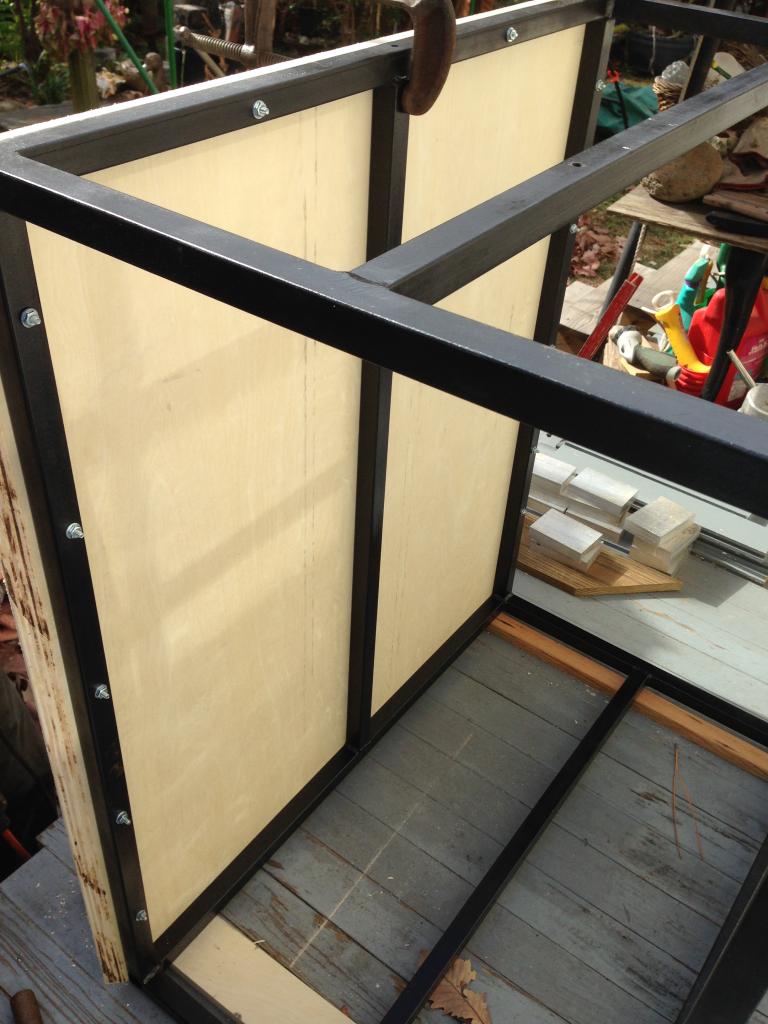
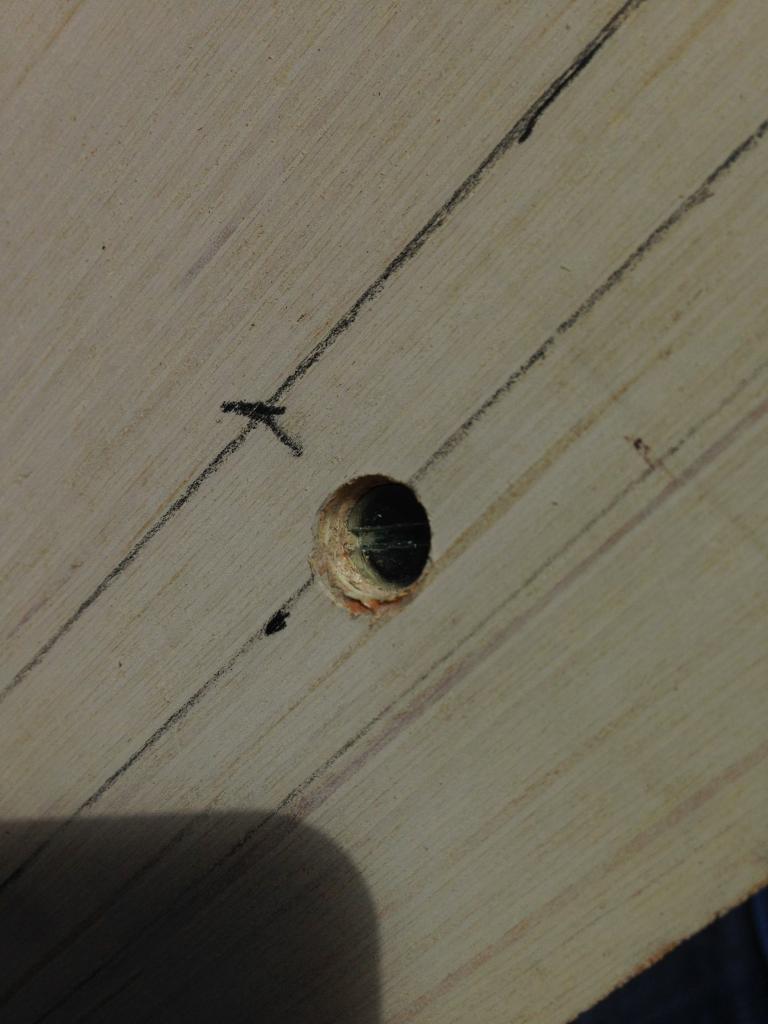
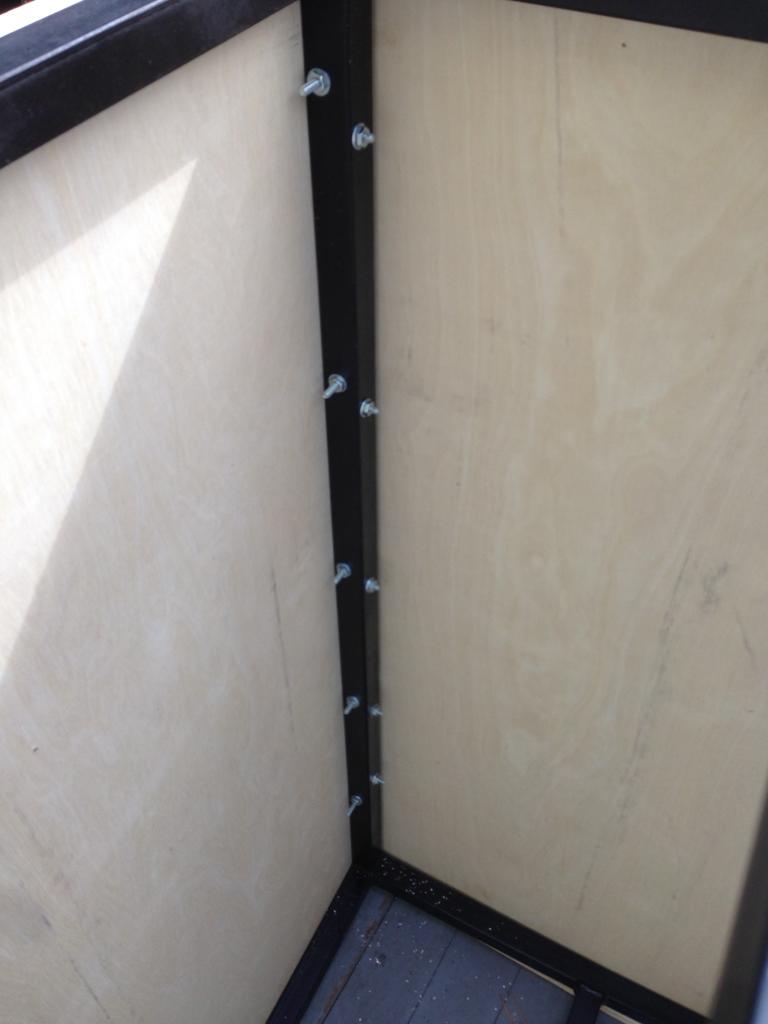
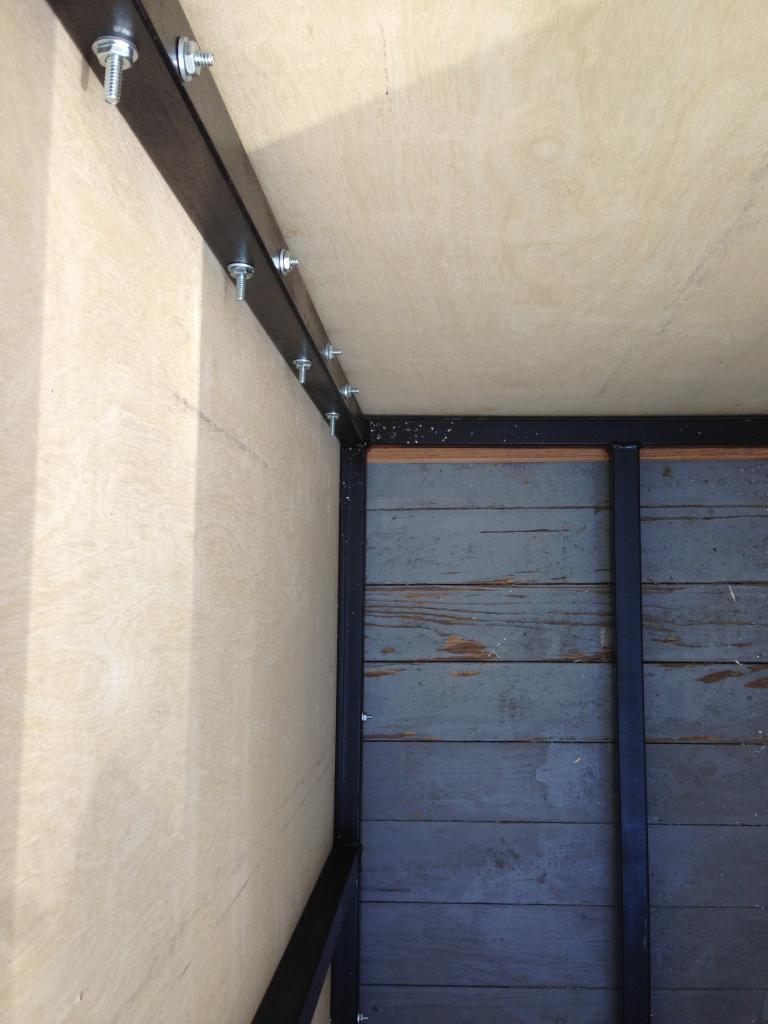
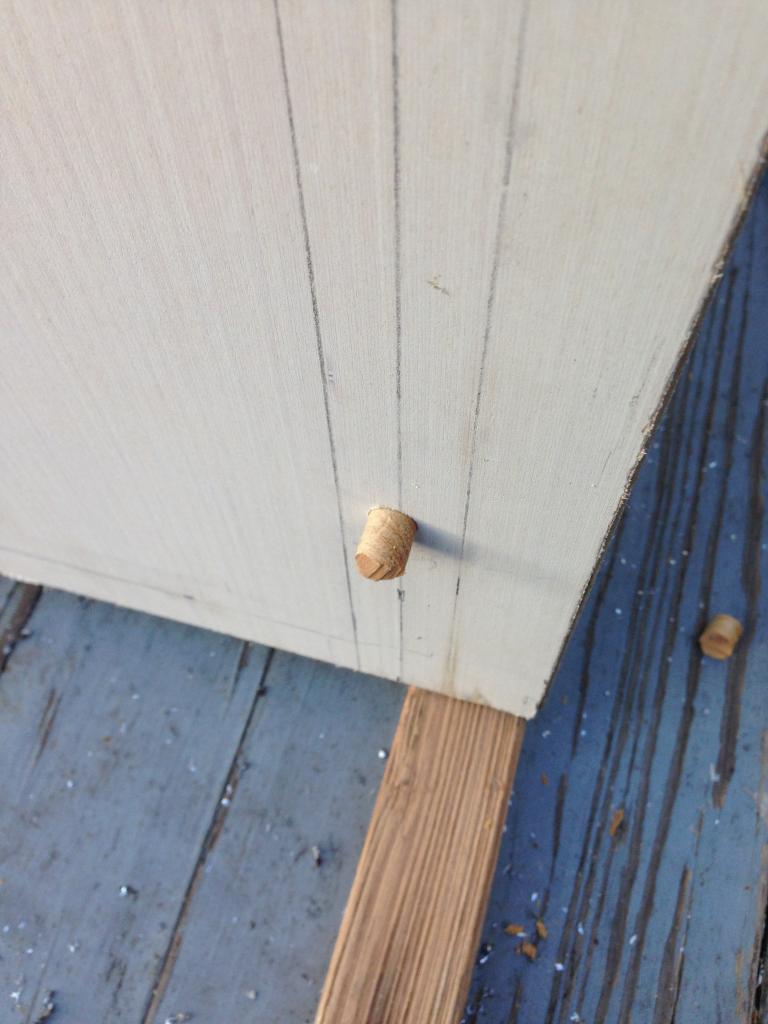
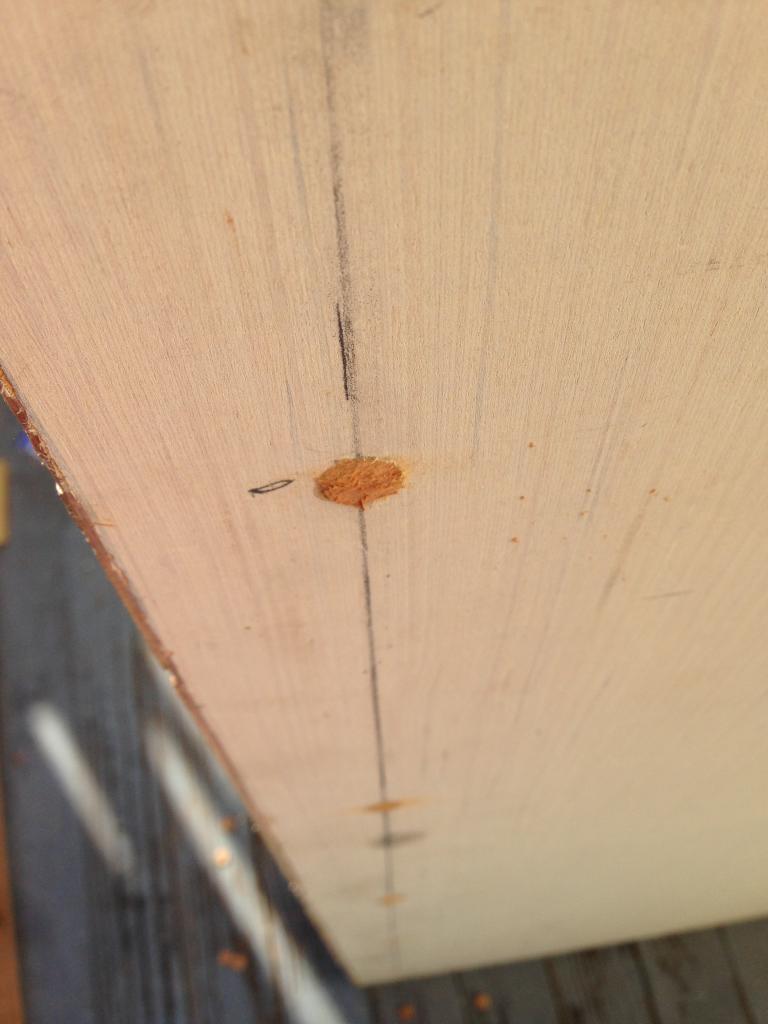
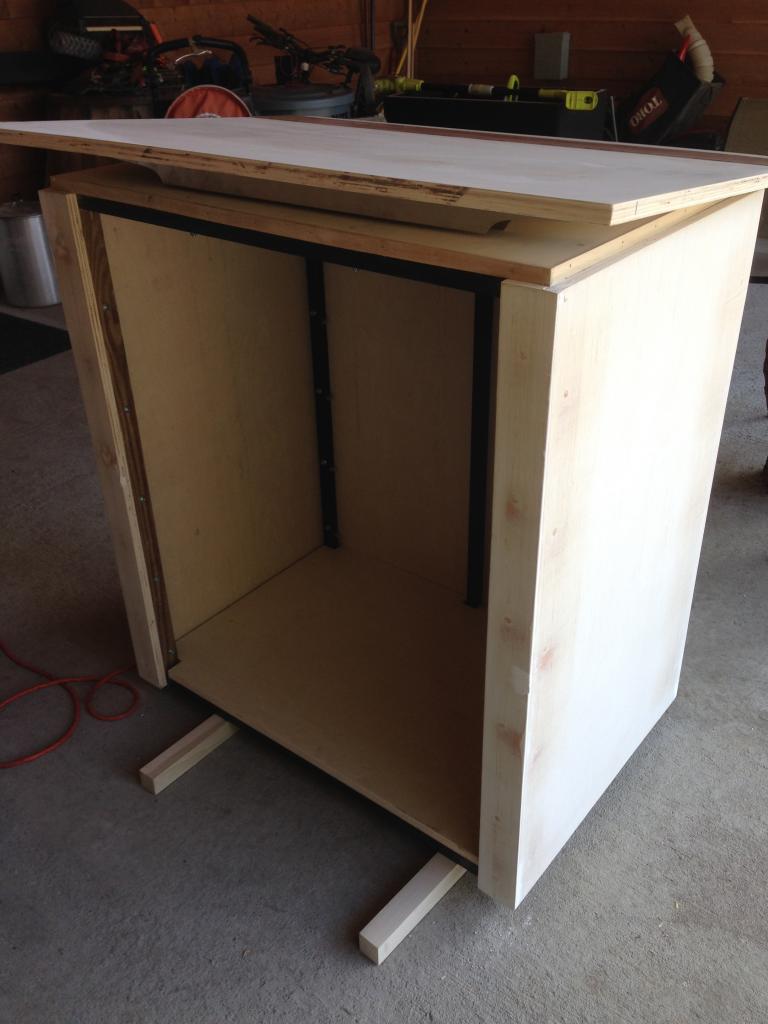
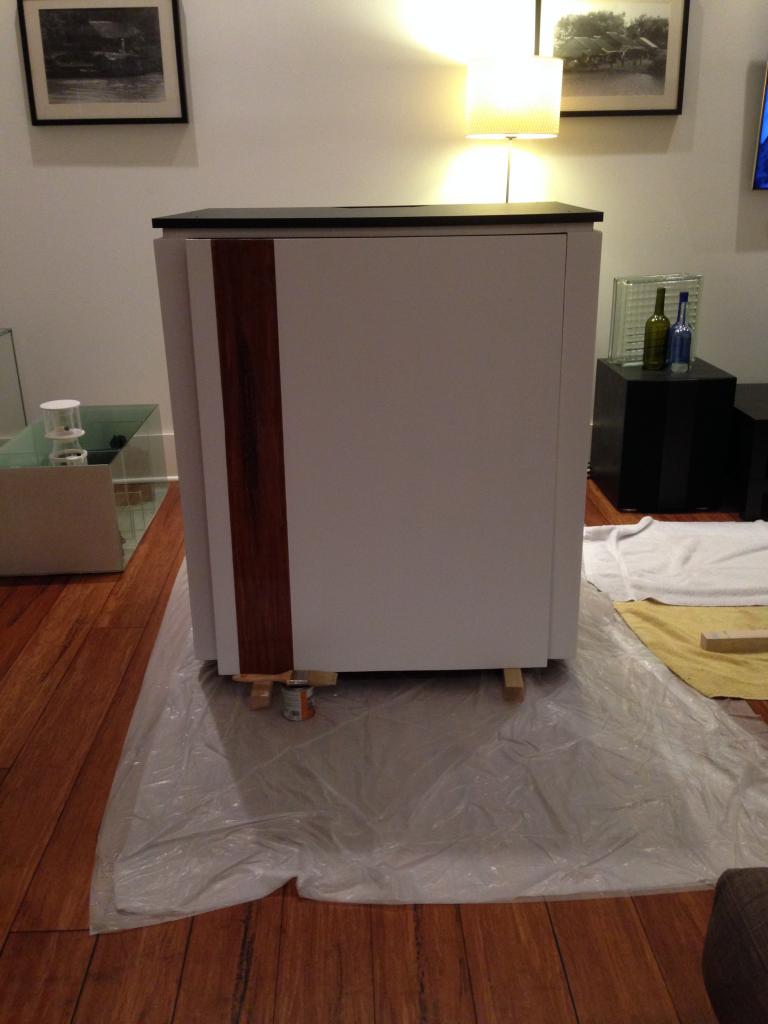
The person I bought the tank from had a different idea on how he wanted to skin the stand than I did, so I had to make some slight accommodations to get the look I wanted. Anyway, here is the stand build out part that me and my pops did. I'll let the pictures do the talking. We used 3/4" Birch plywood for the skin... heavy stuff..
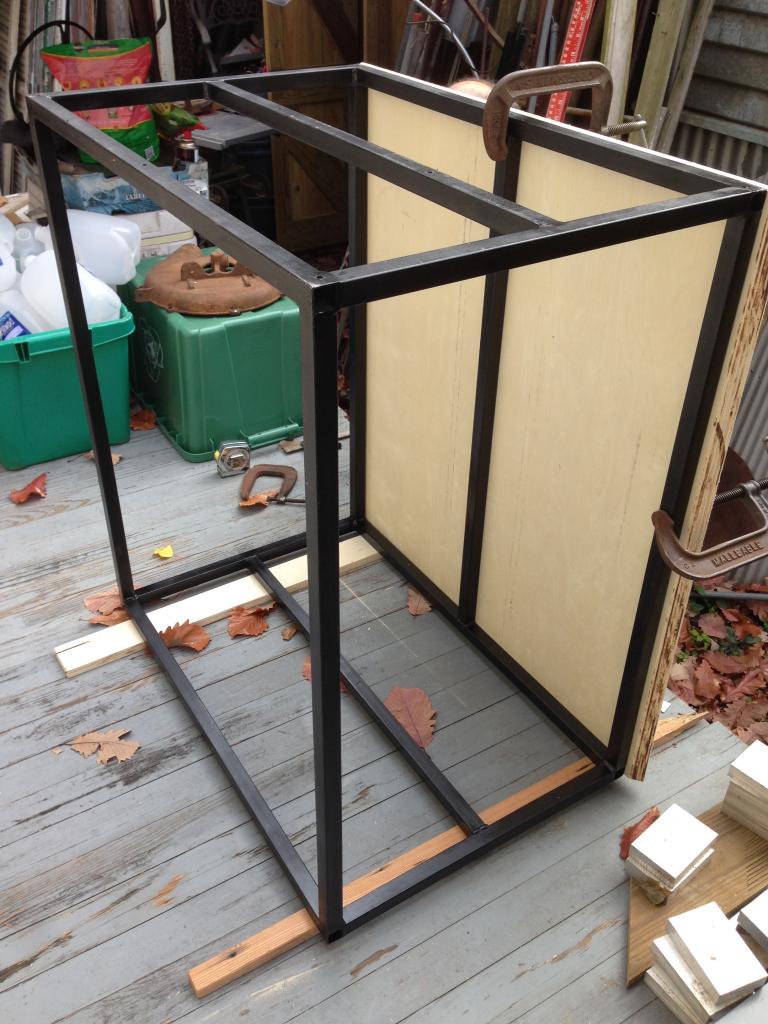
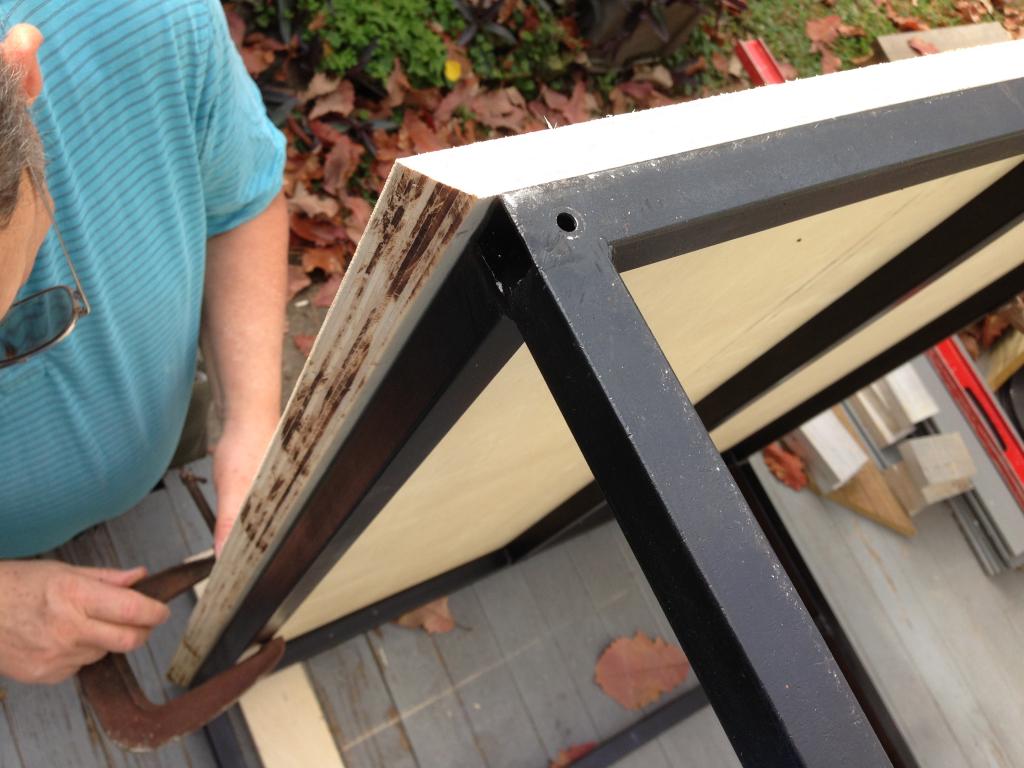

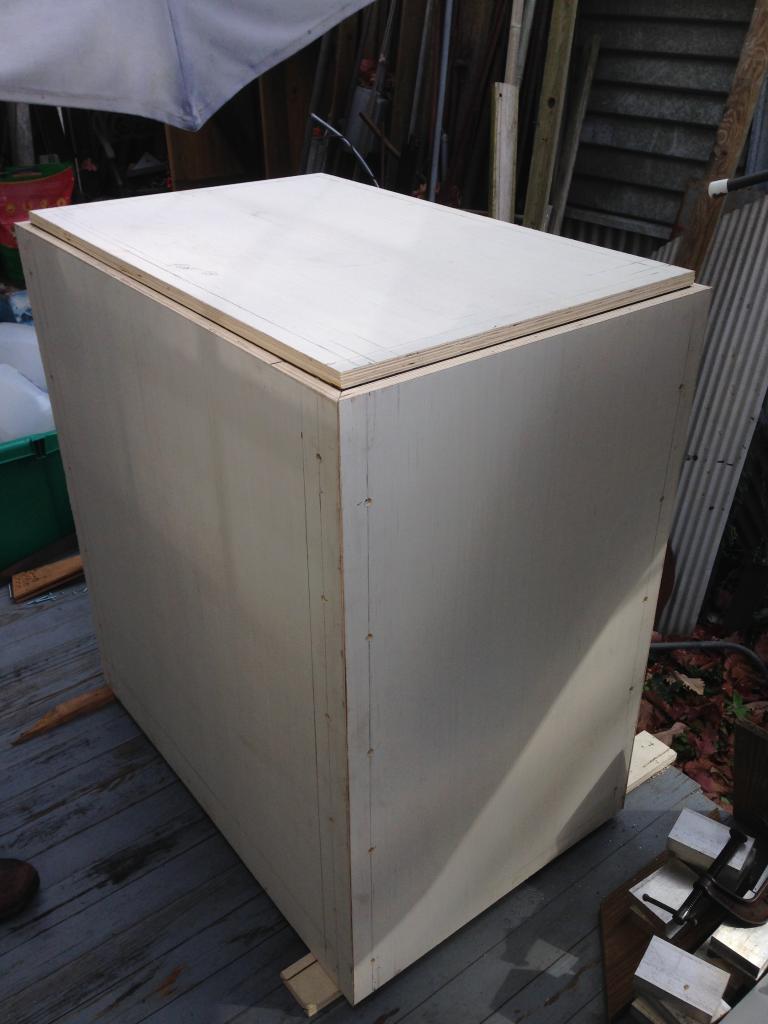
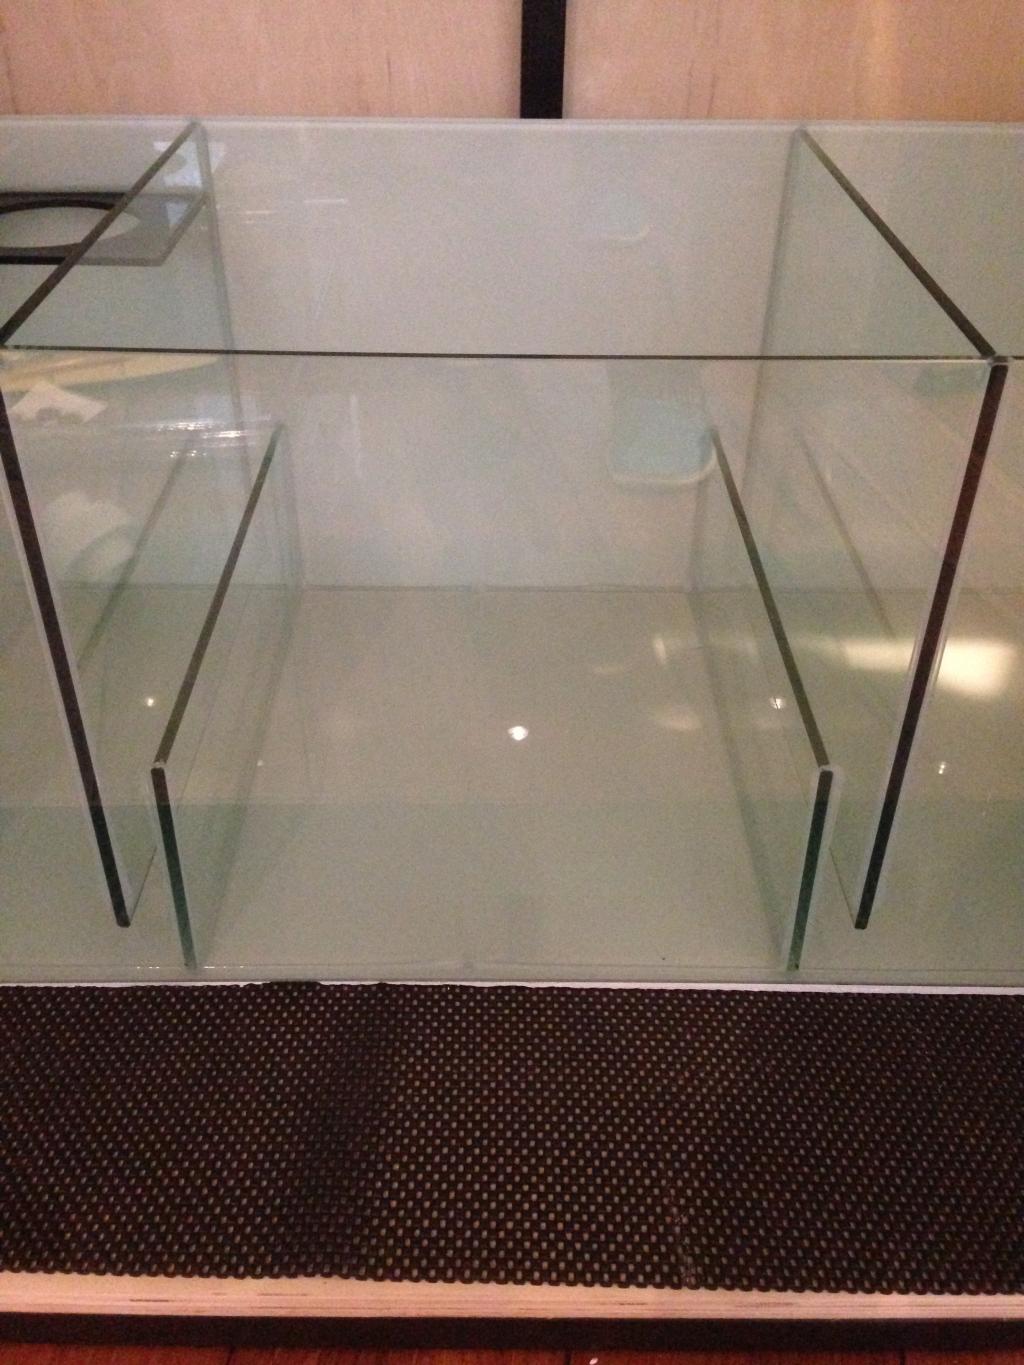
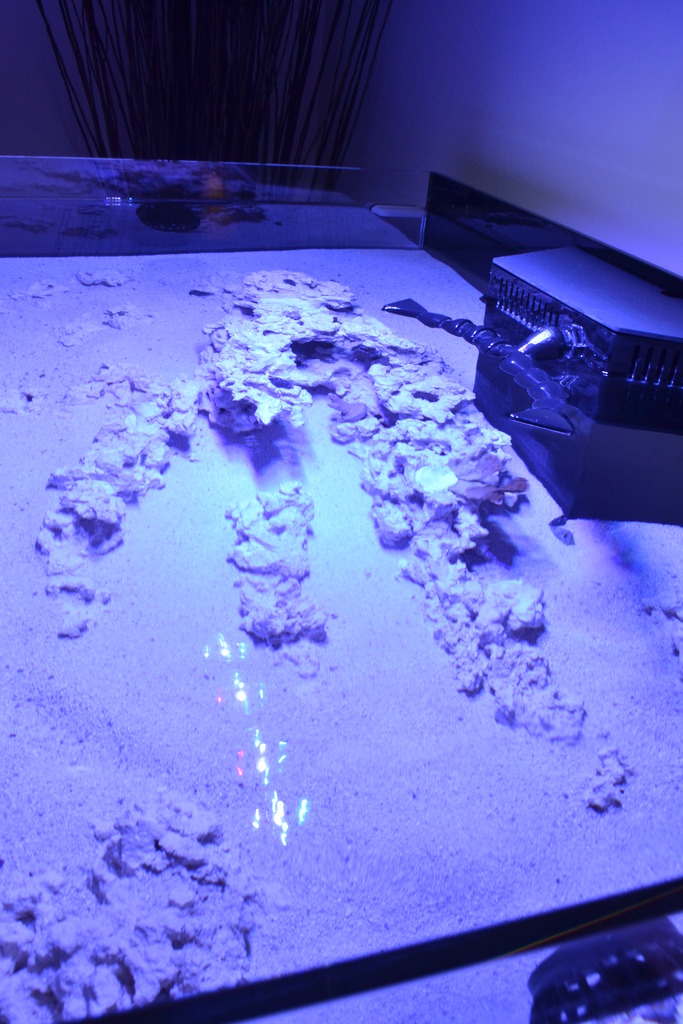
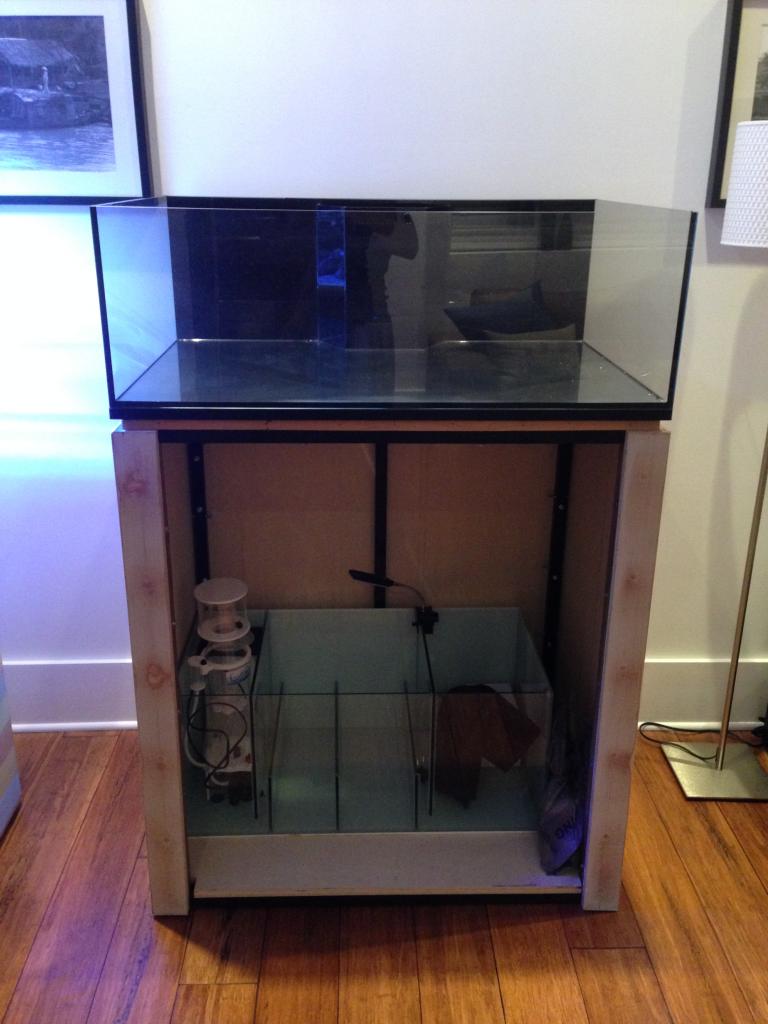
A quick test fit of the tank..
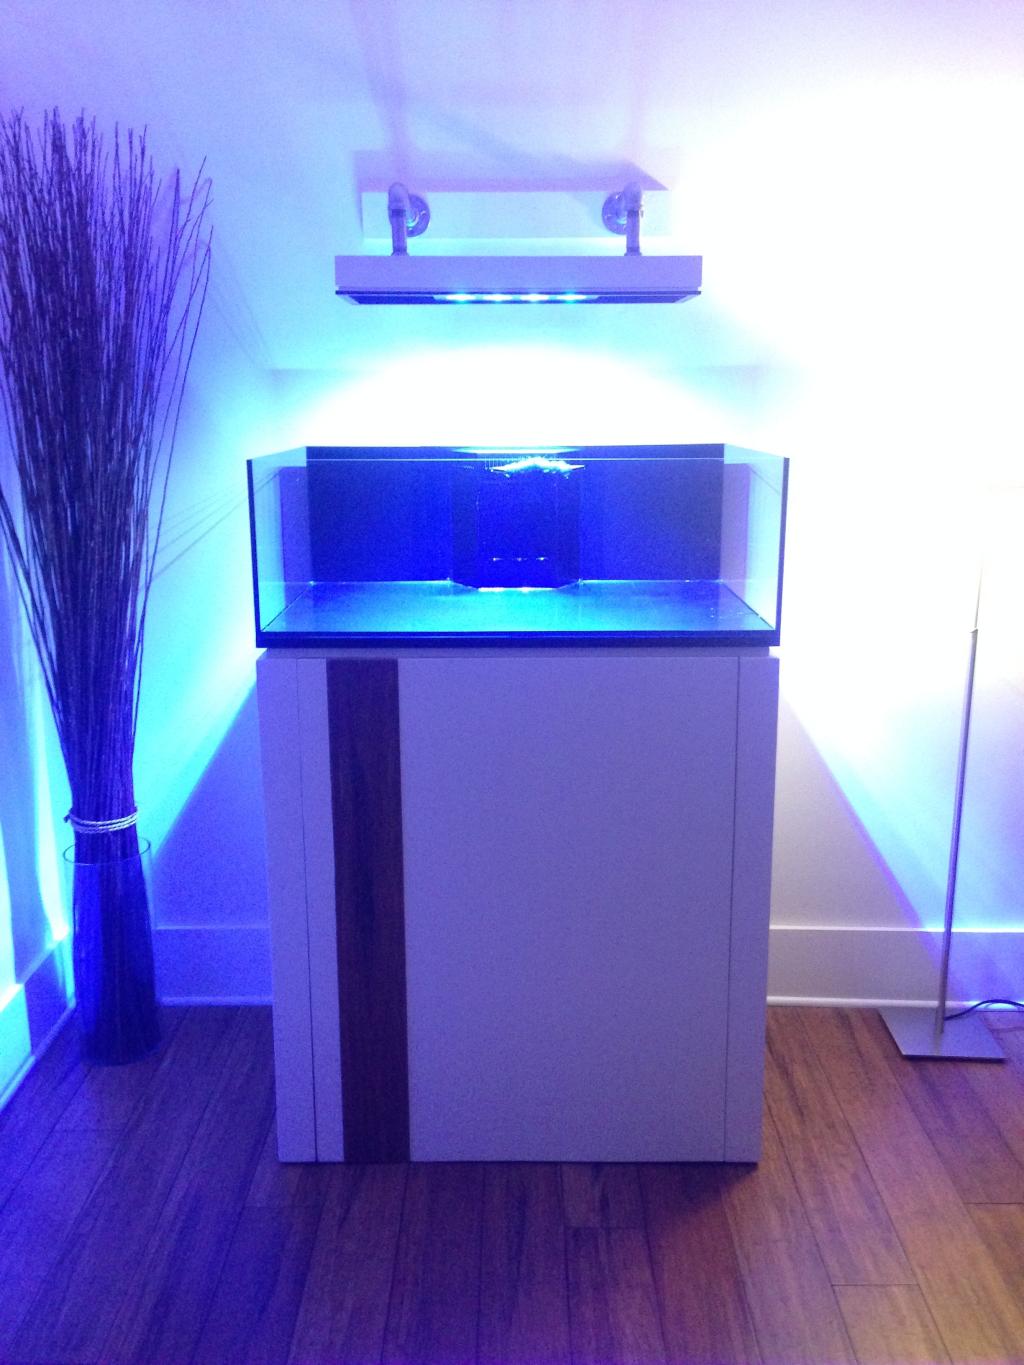
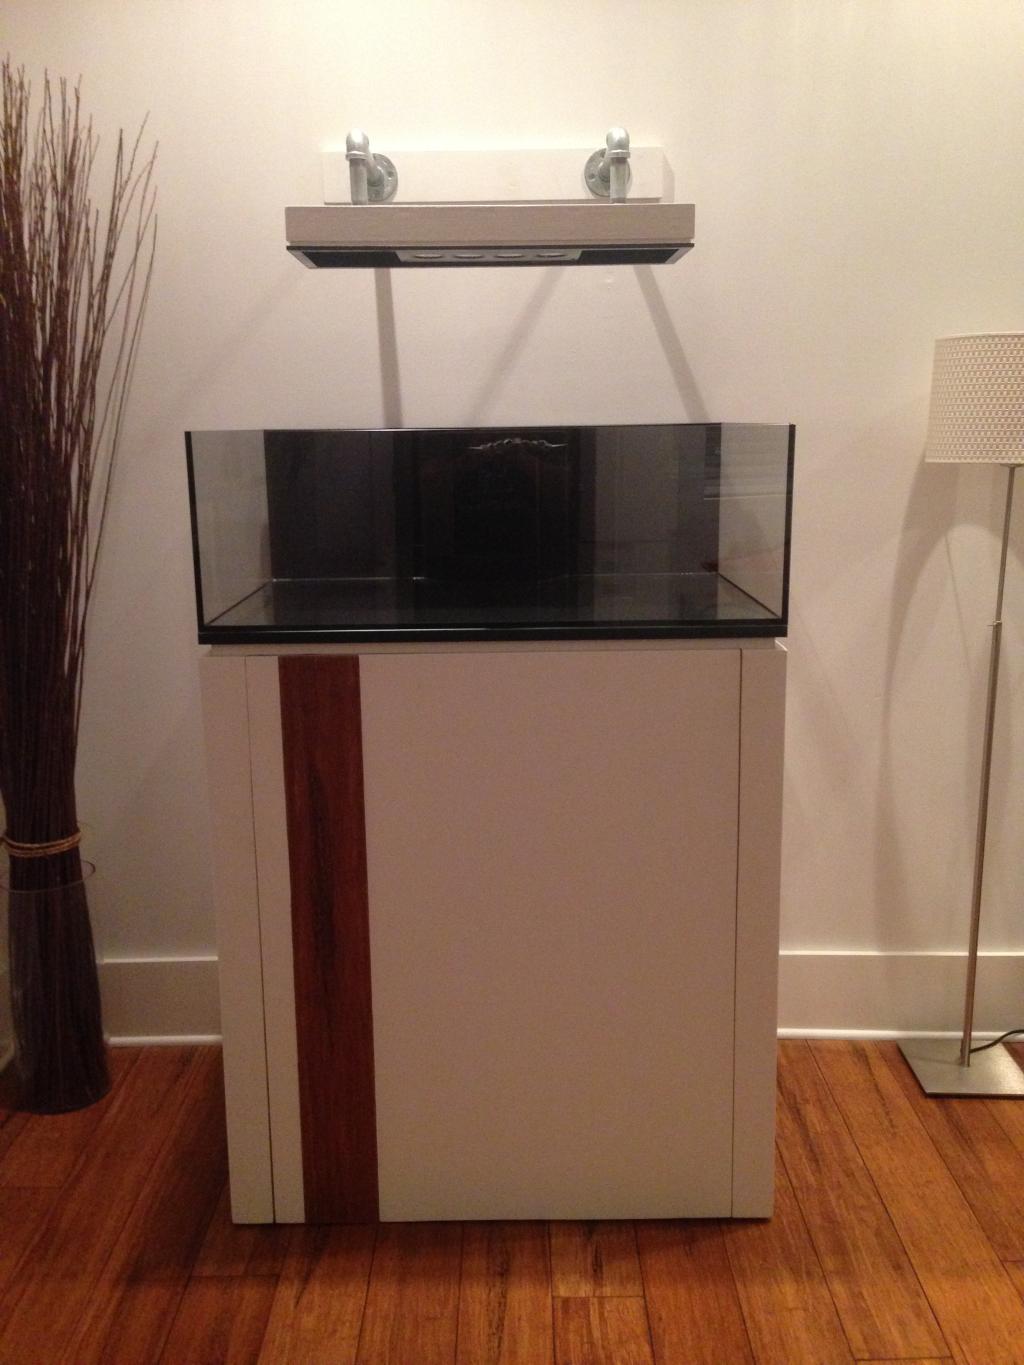
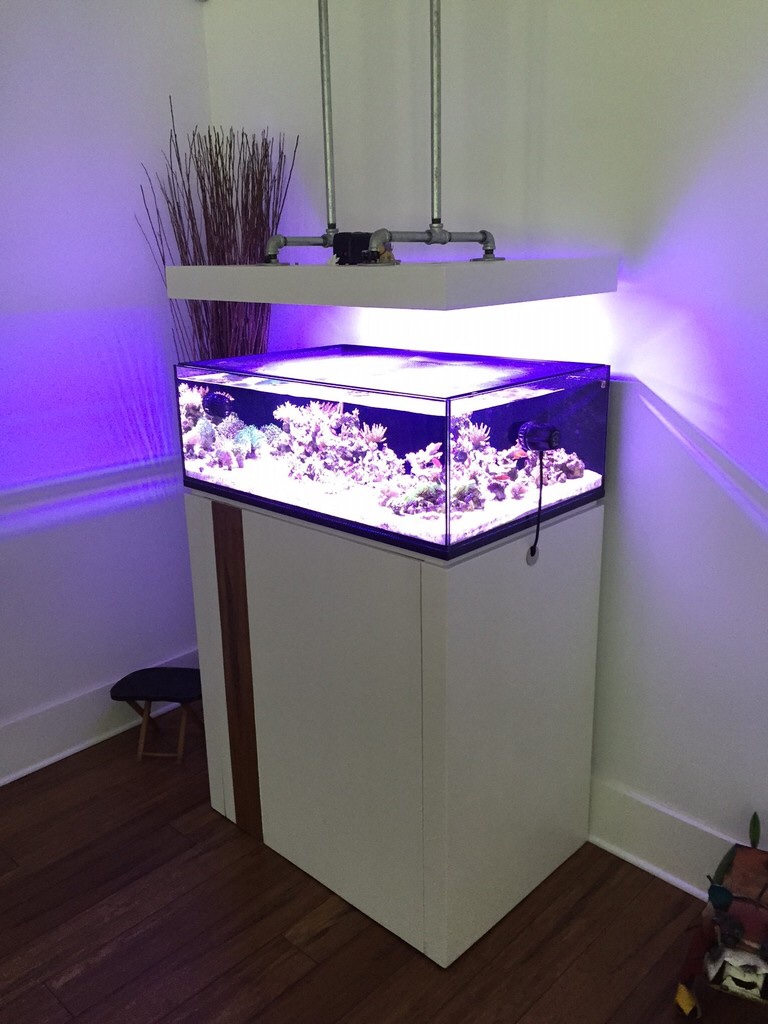
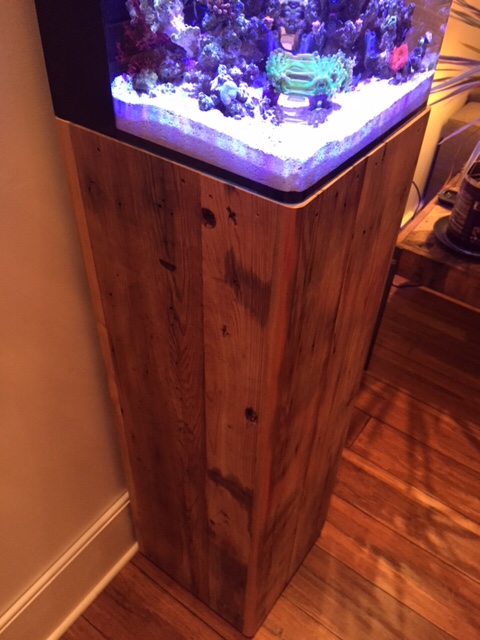
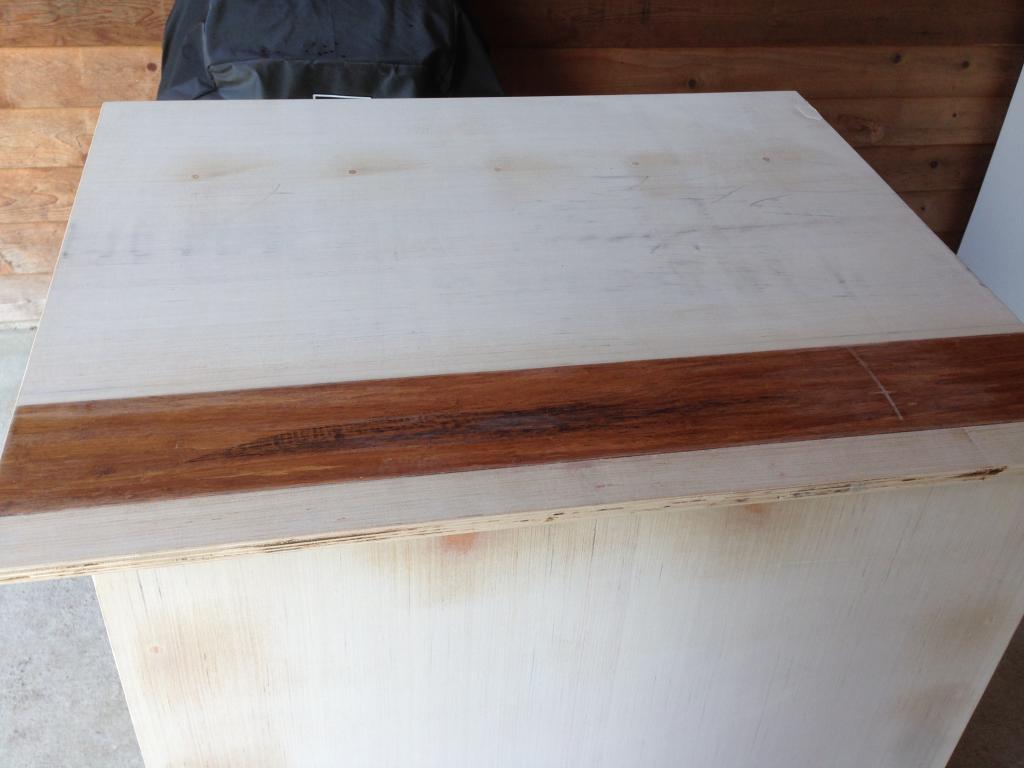
I decided I wanted to add some character to the front of the tank and had a left over piece of bamboo flooring from my house. PITA getting this thing planed down. But it kind of gives the stand a custom feel since the wood matches the house... Anyway,....
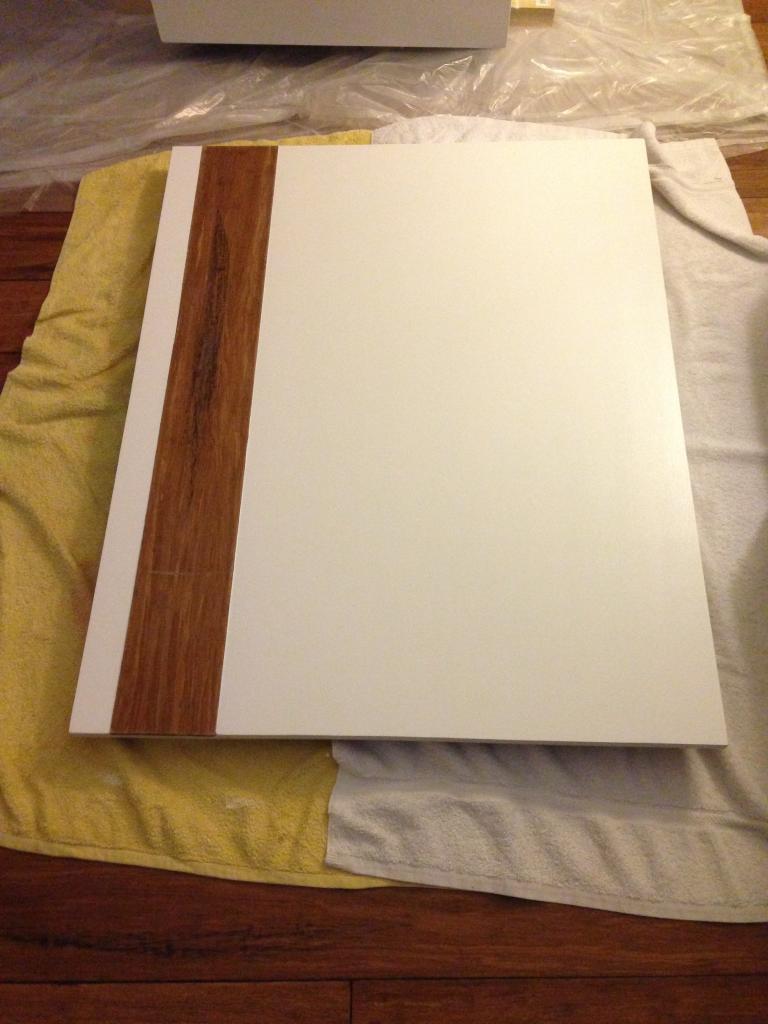
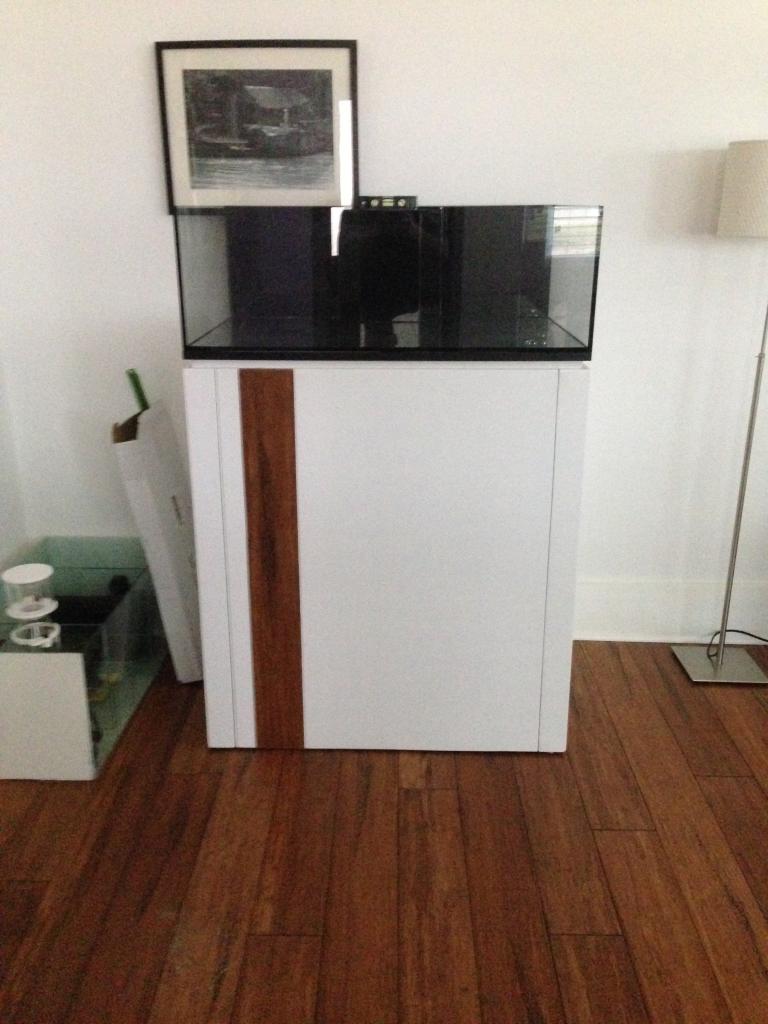
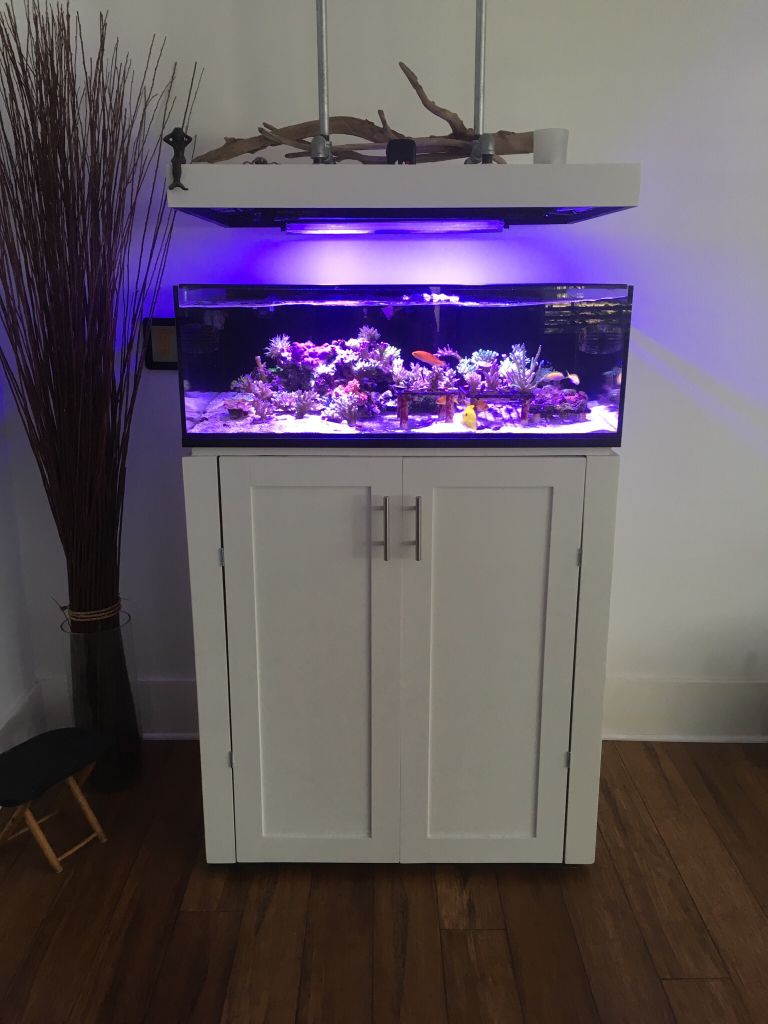
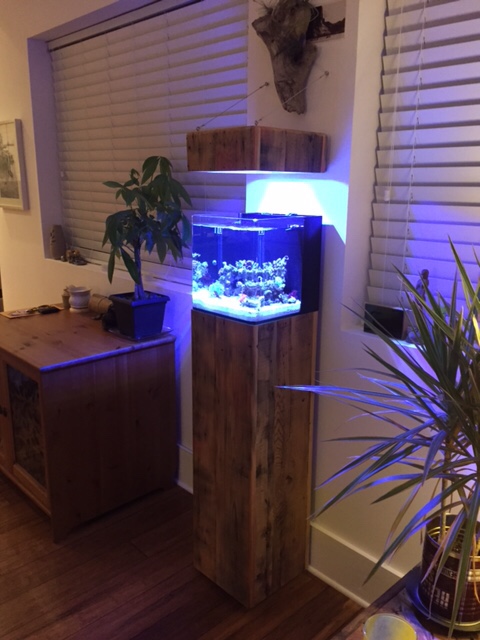
Just about done..

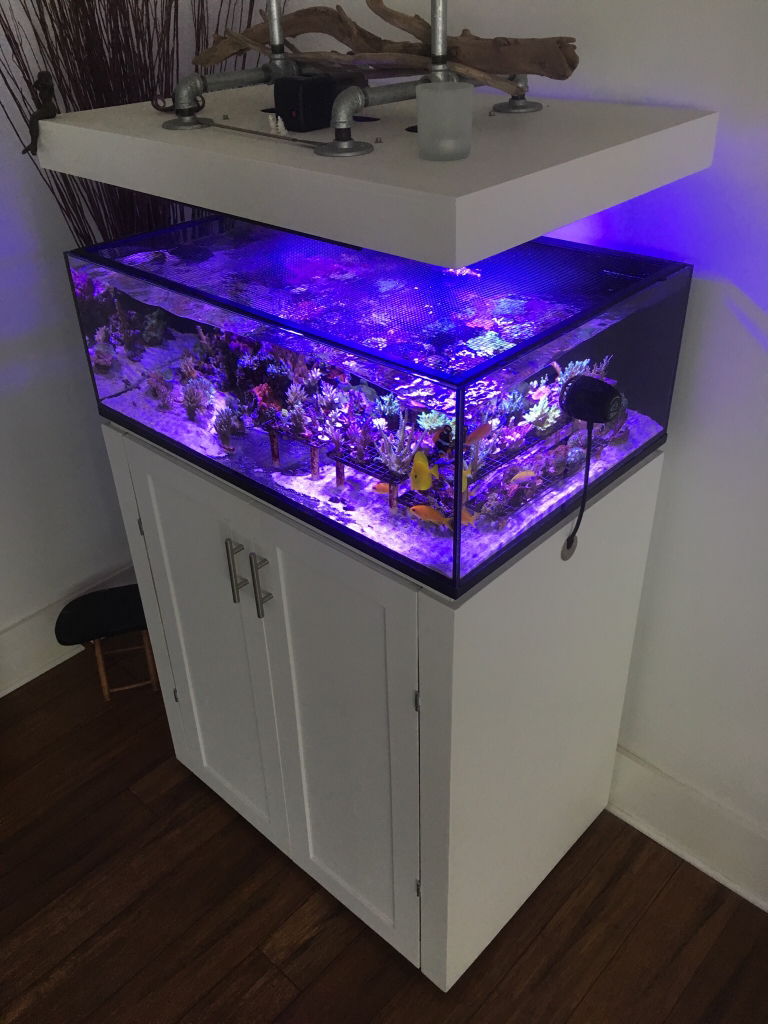
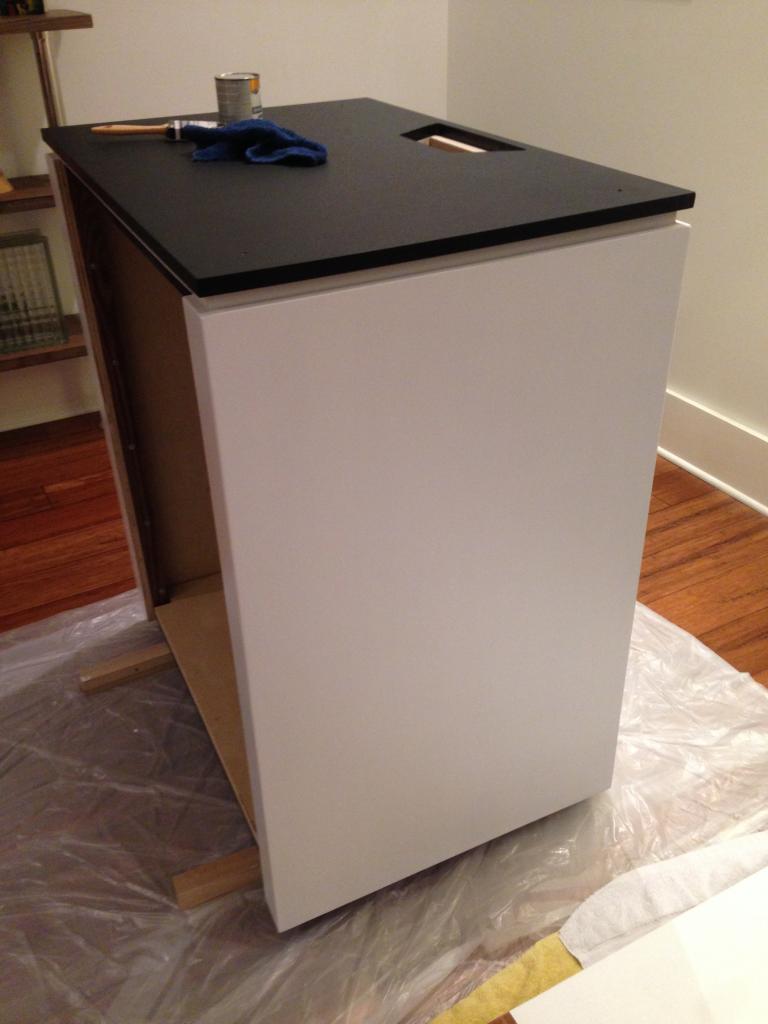
Added some desk gromets for the MP10's. Didn't want the wires running all over the tank. I will have to open up the controller and see how to remove the wire to run through the holes. Figured polished nickel would be a nice touch.
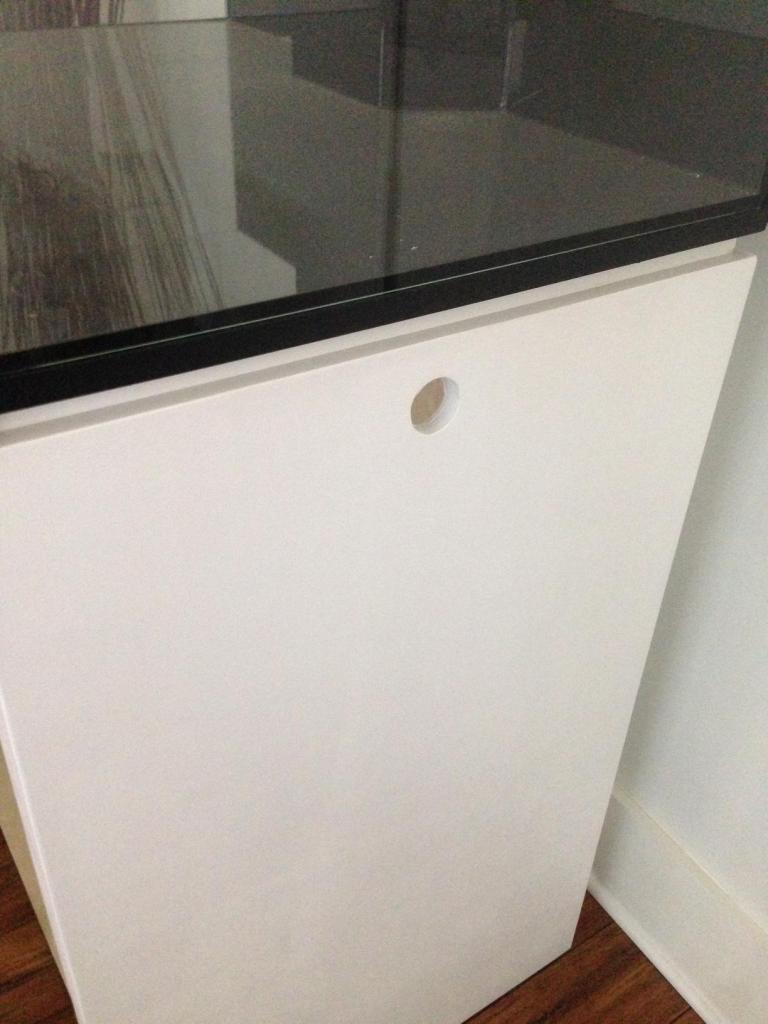

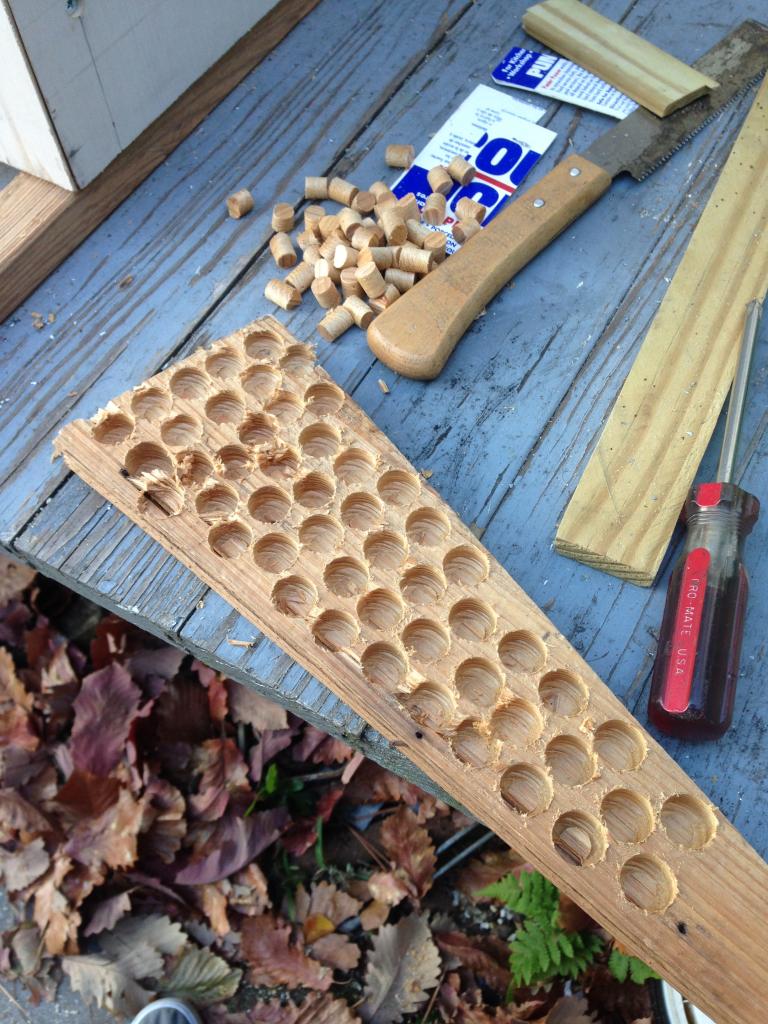
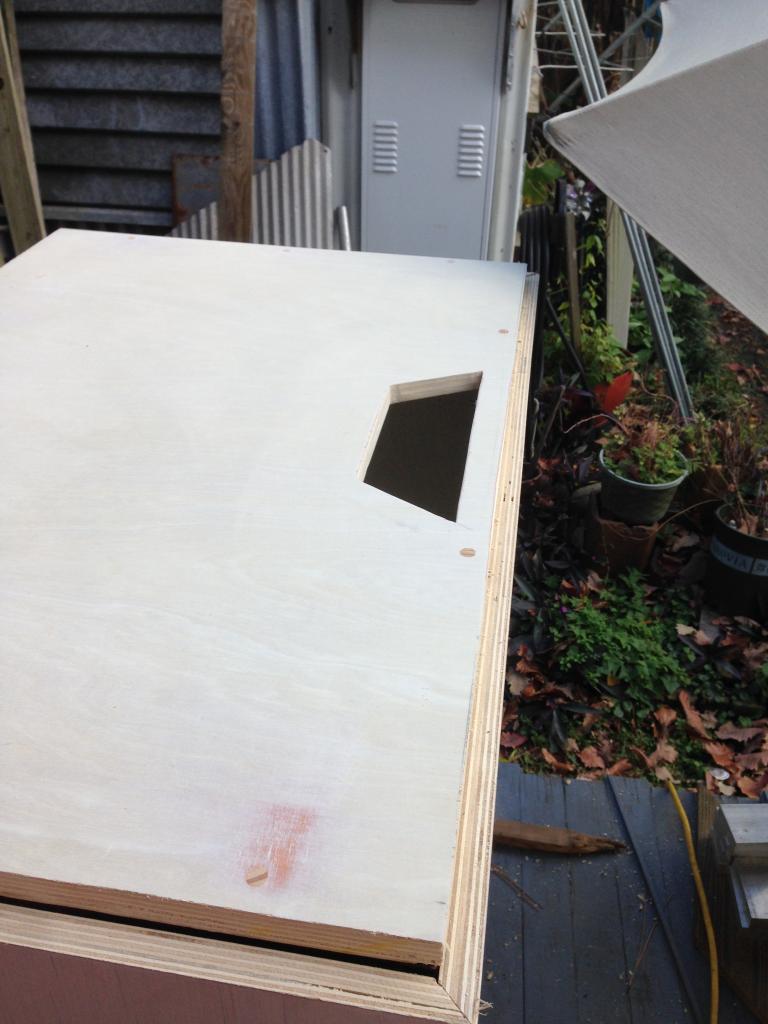
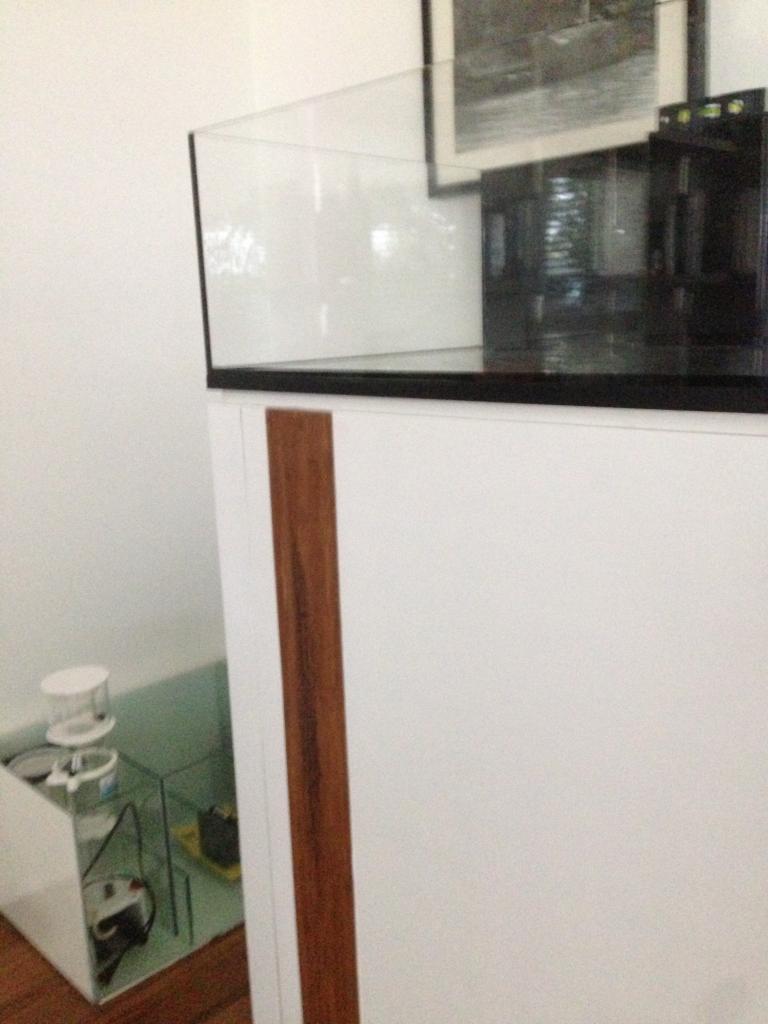
Because of not wanting to show the wood grain on the edges my pops recommended beveling them at a 45 degree angle.. this way the sides are all clean. This prevented me from using the entire front as the door. So we had to cut the door out. I picked up some european inset hinges and they buckled from the weight of the 3/4' Birch plywood. I will have to revisit the hinges.. for the time being I purchased some nice hefty magnets and chiseled out some spots for them and flush mounted them to the door. They hold on to the steel frame without issue. Hinges will be needed in the near future as the wear and tear of opening the door the way I have to now will get old... but for now, it will do. If anyone has some good carpentry skills and wants to assist with installing hinges let me know.. i'm afraid I'll screw it up.
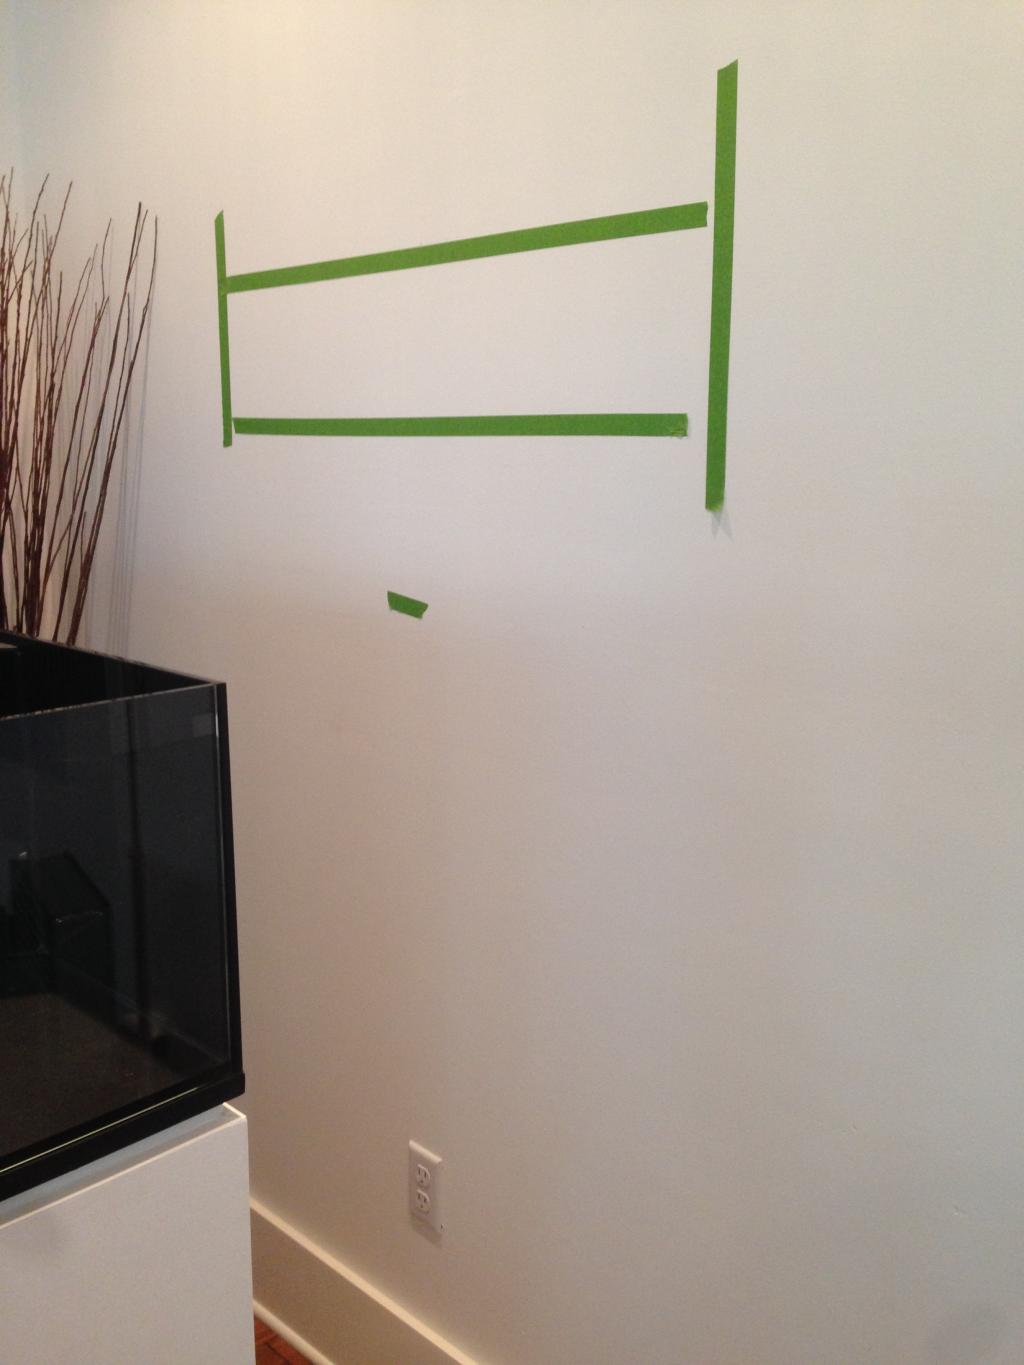
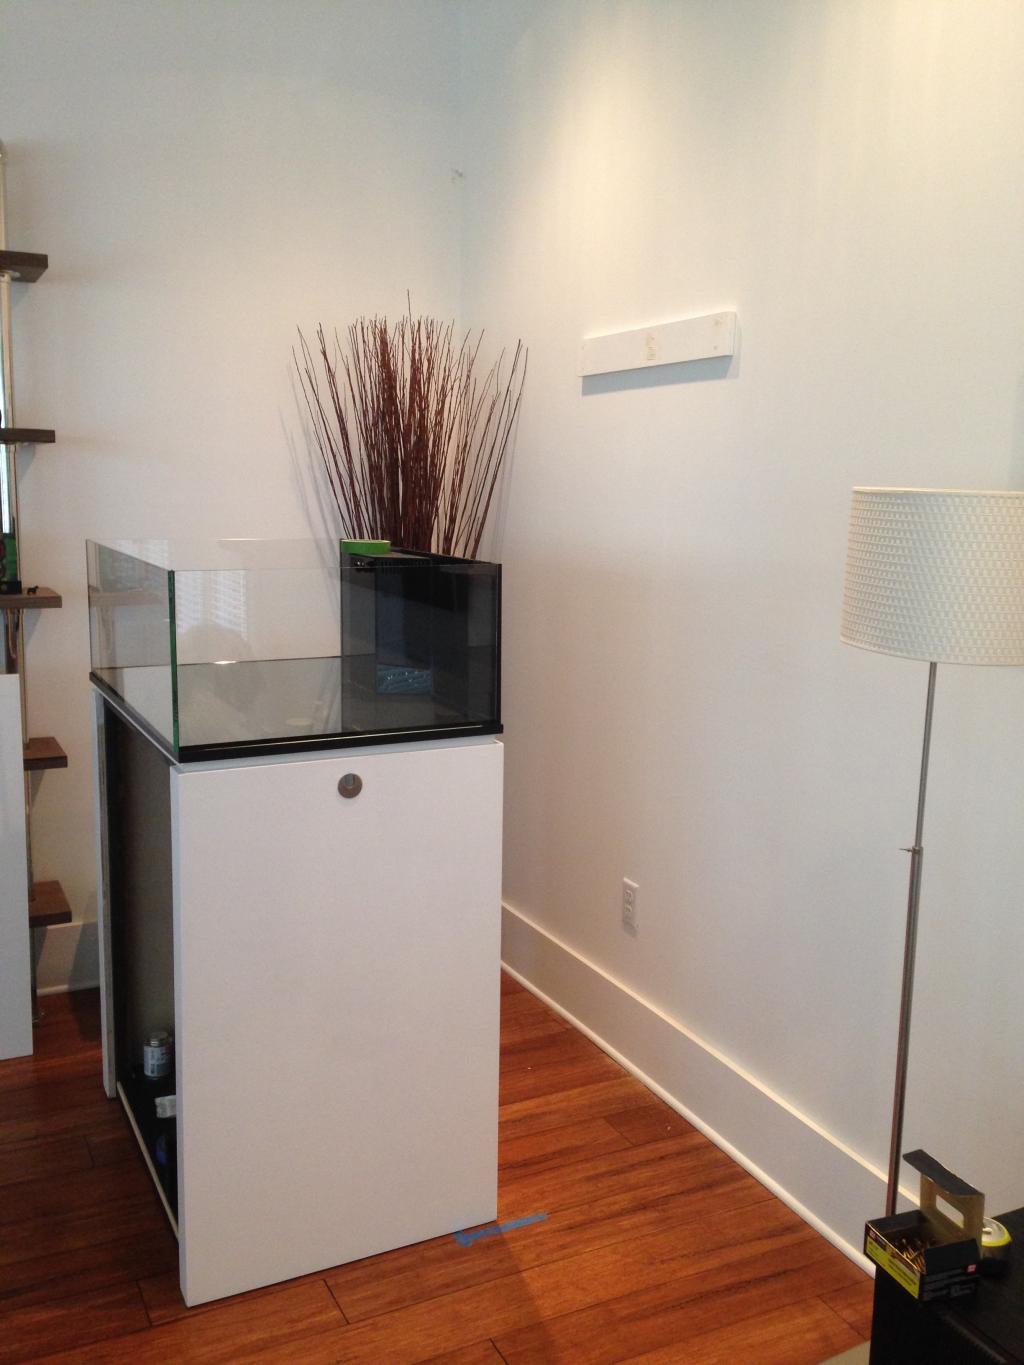
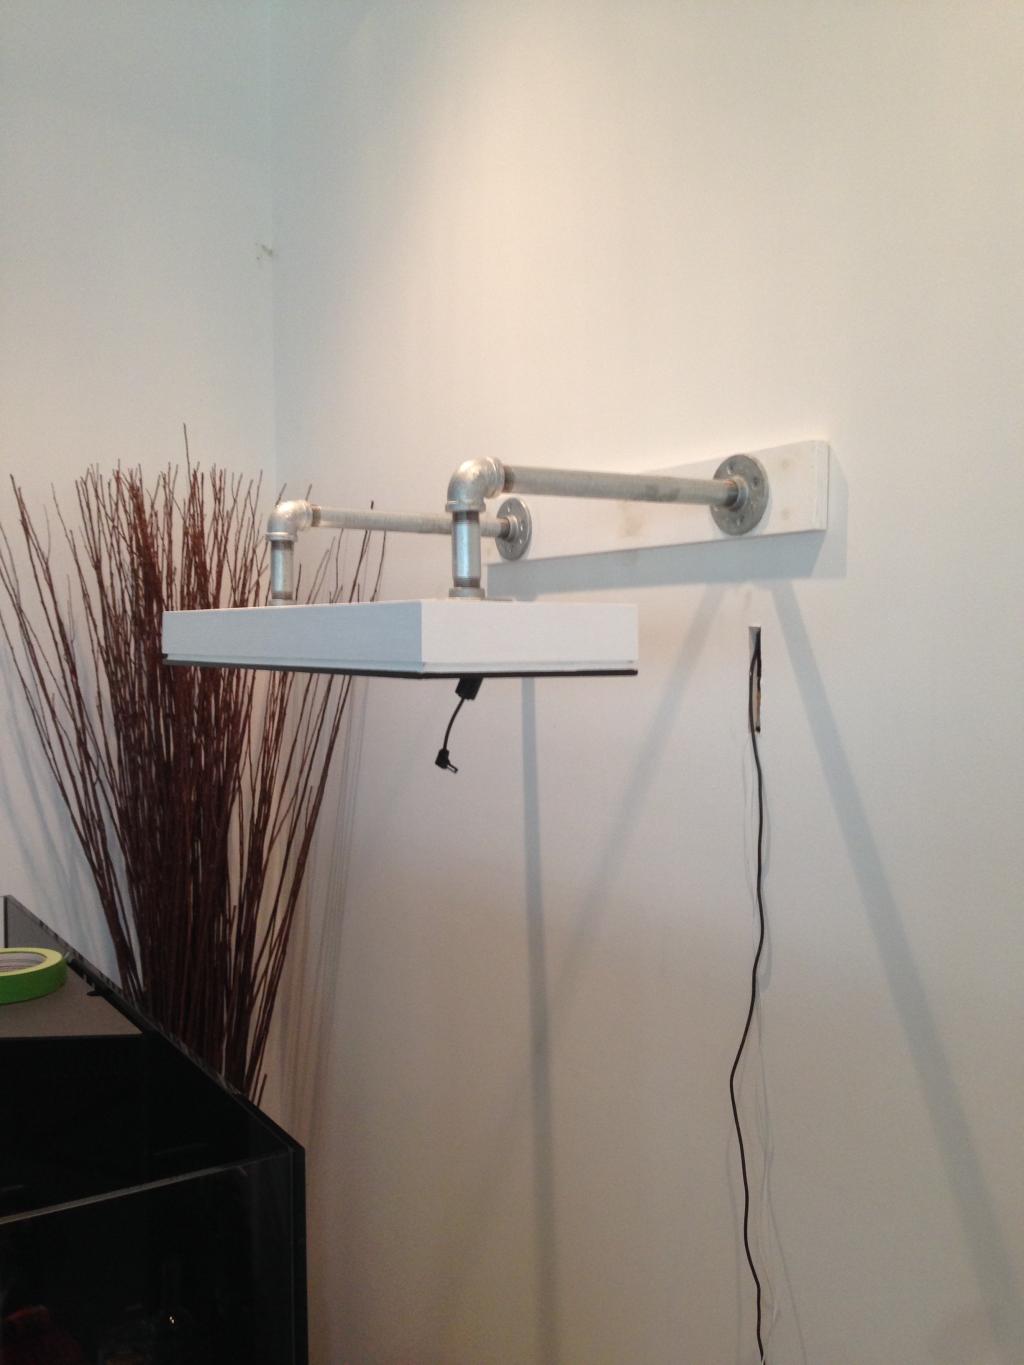
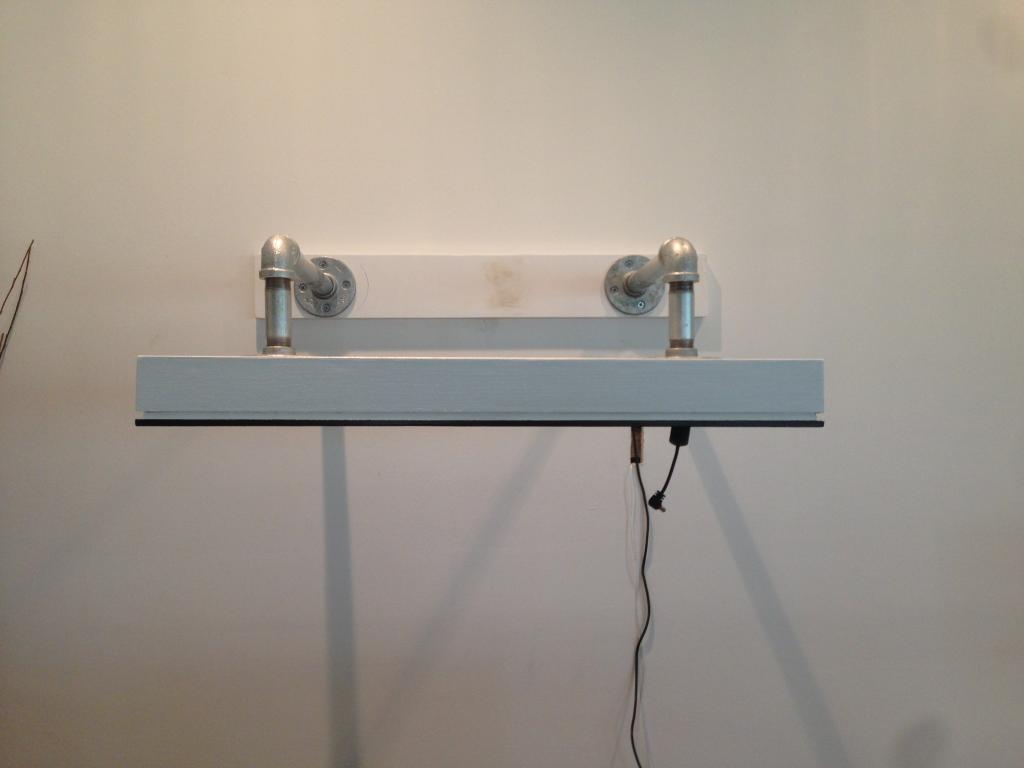
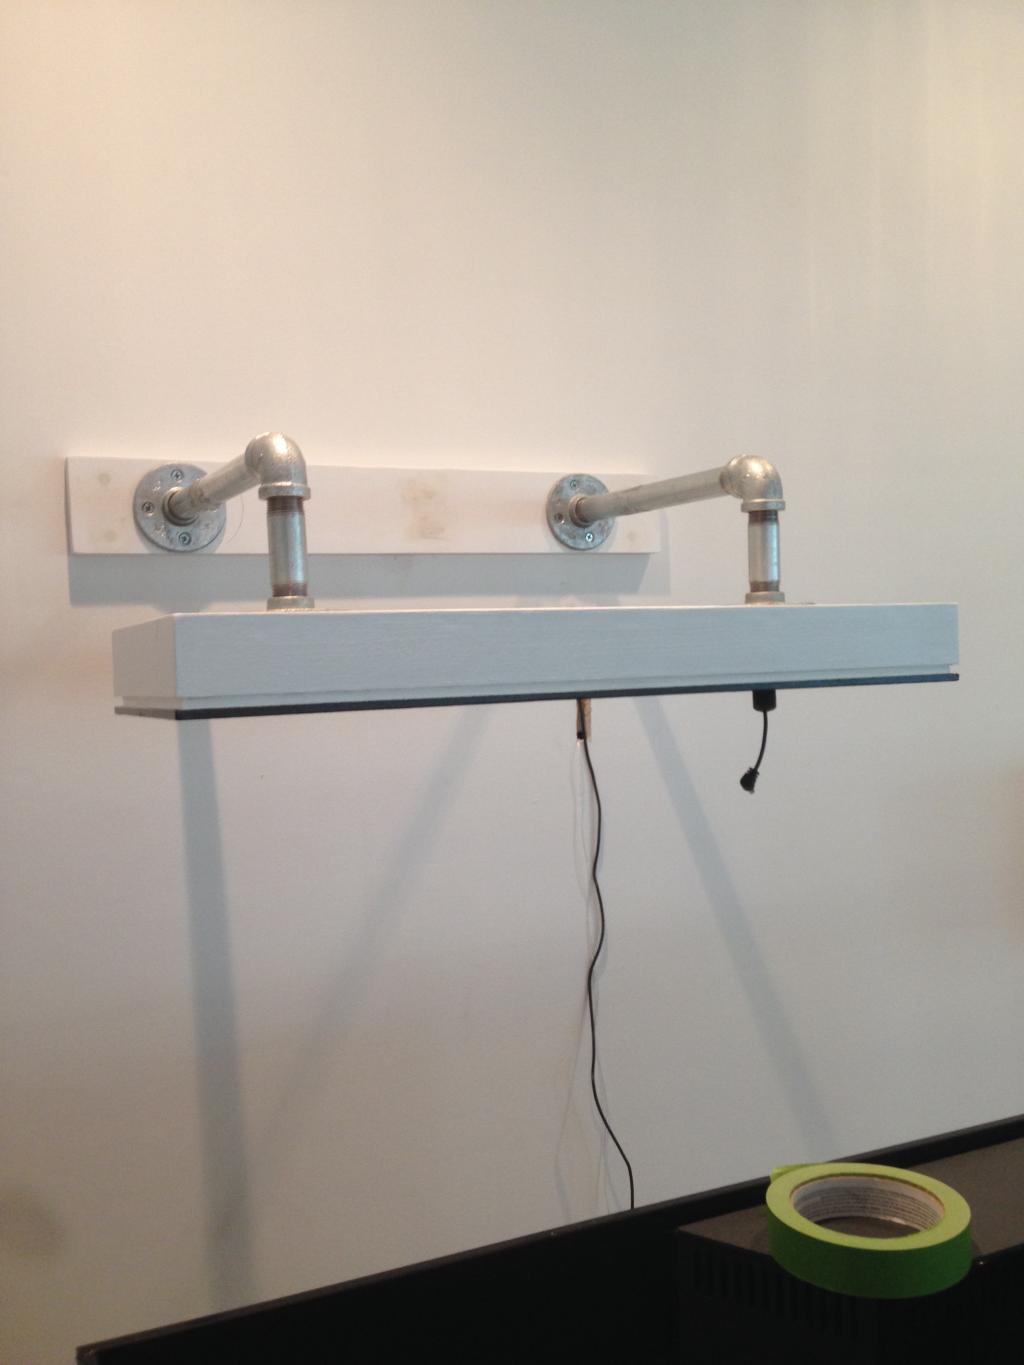
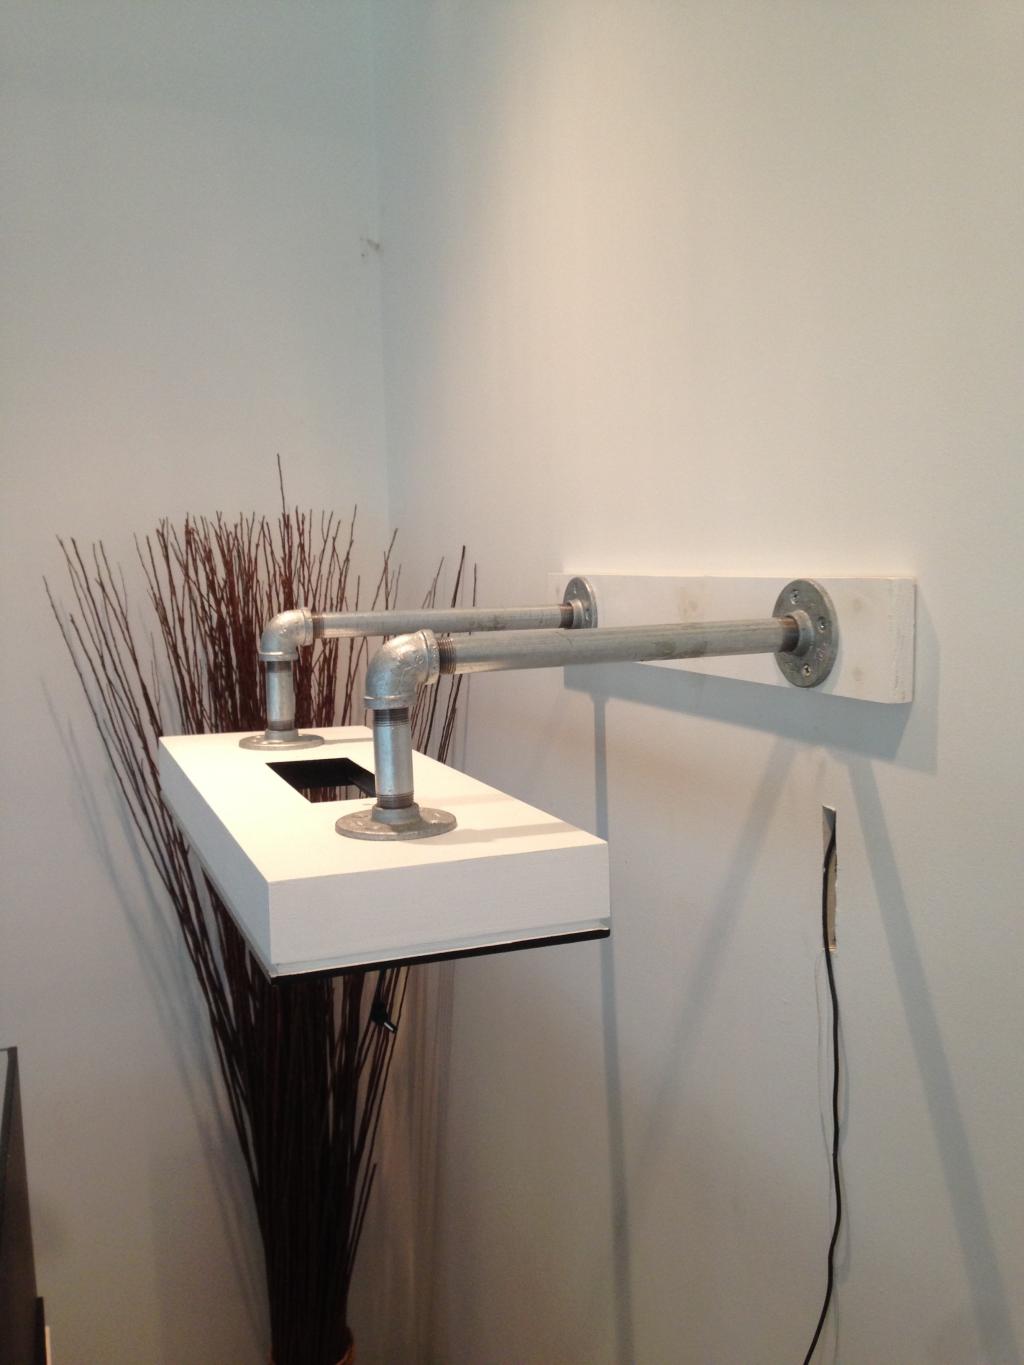
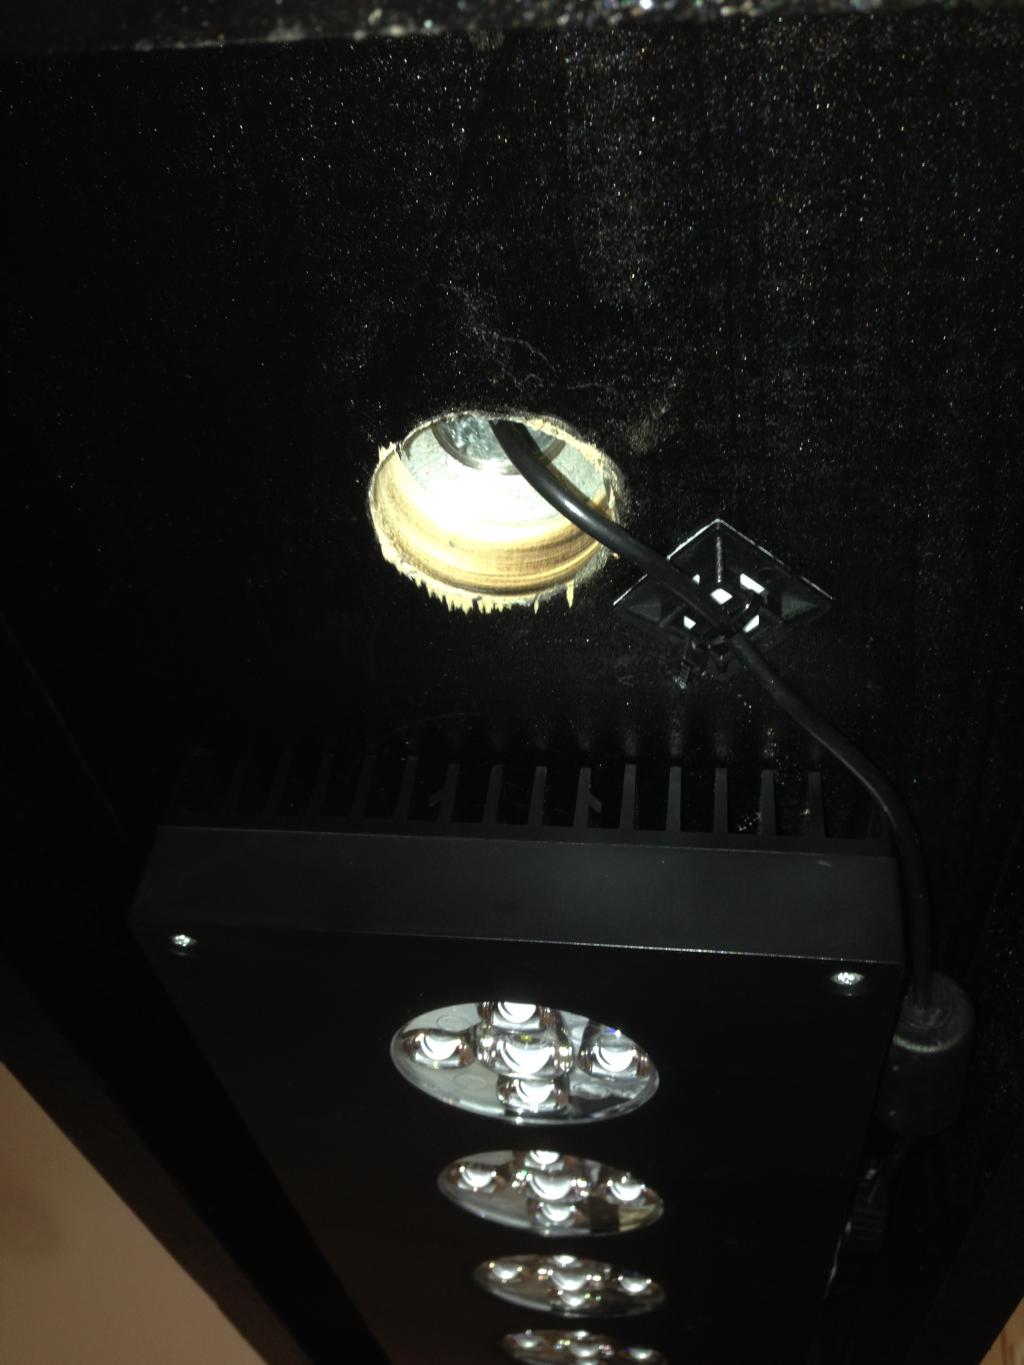
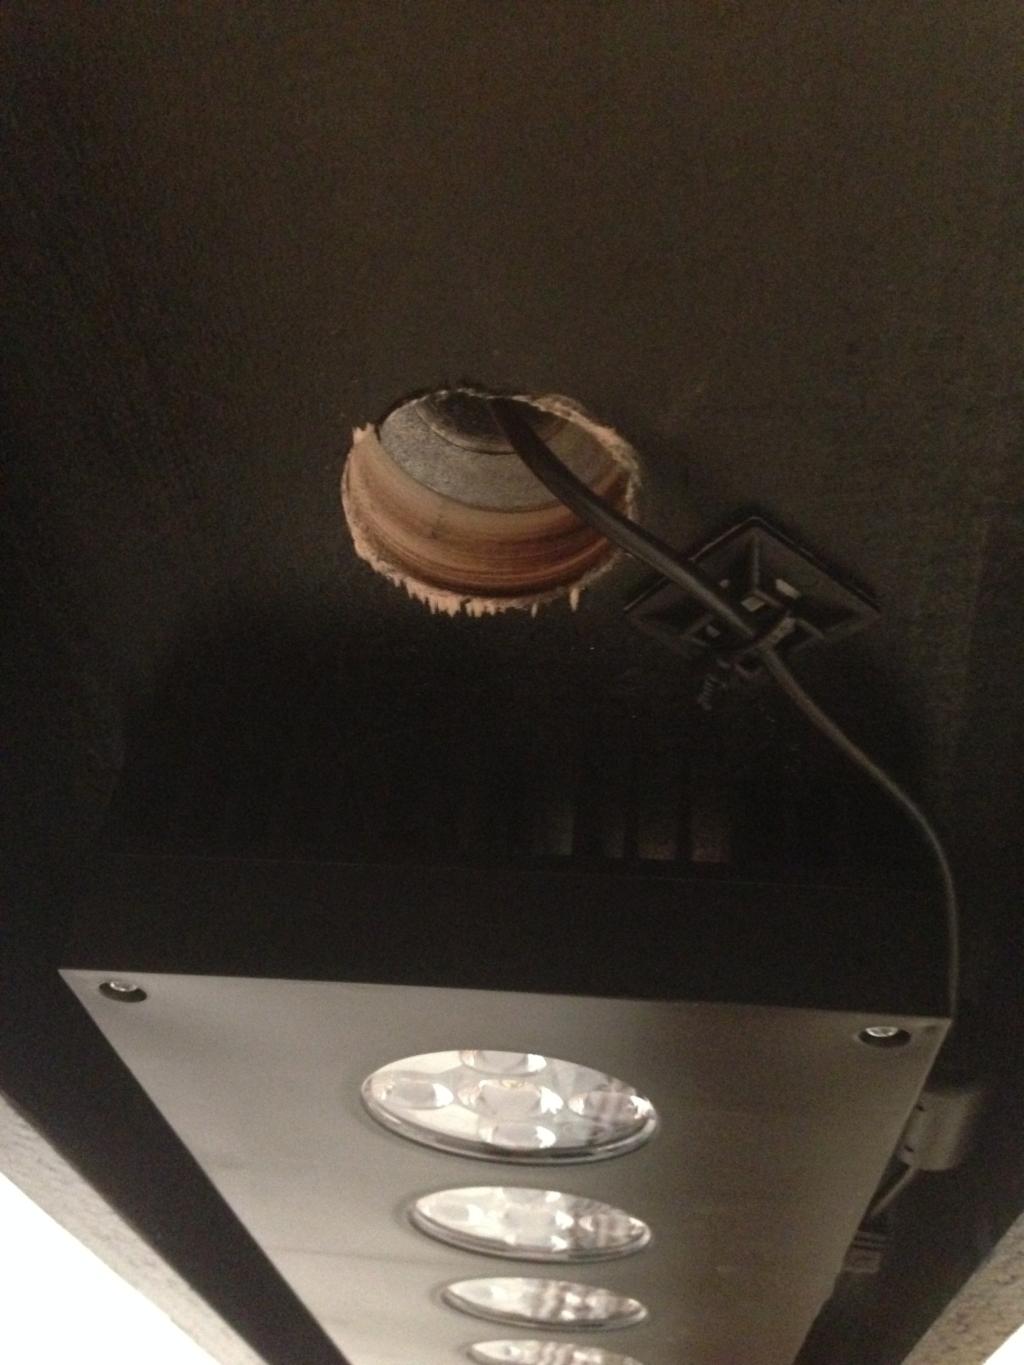
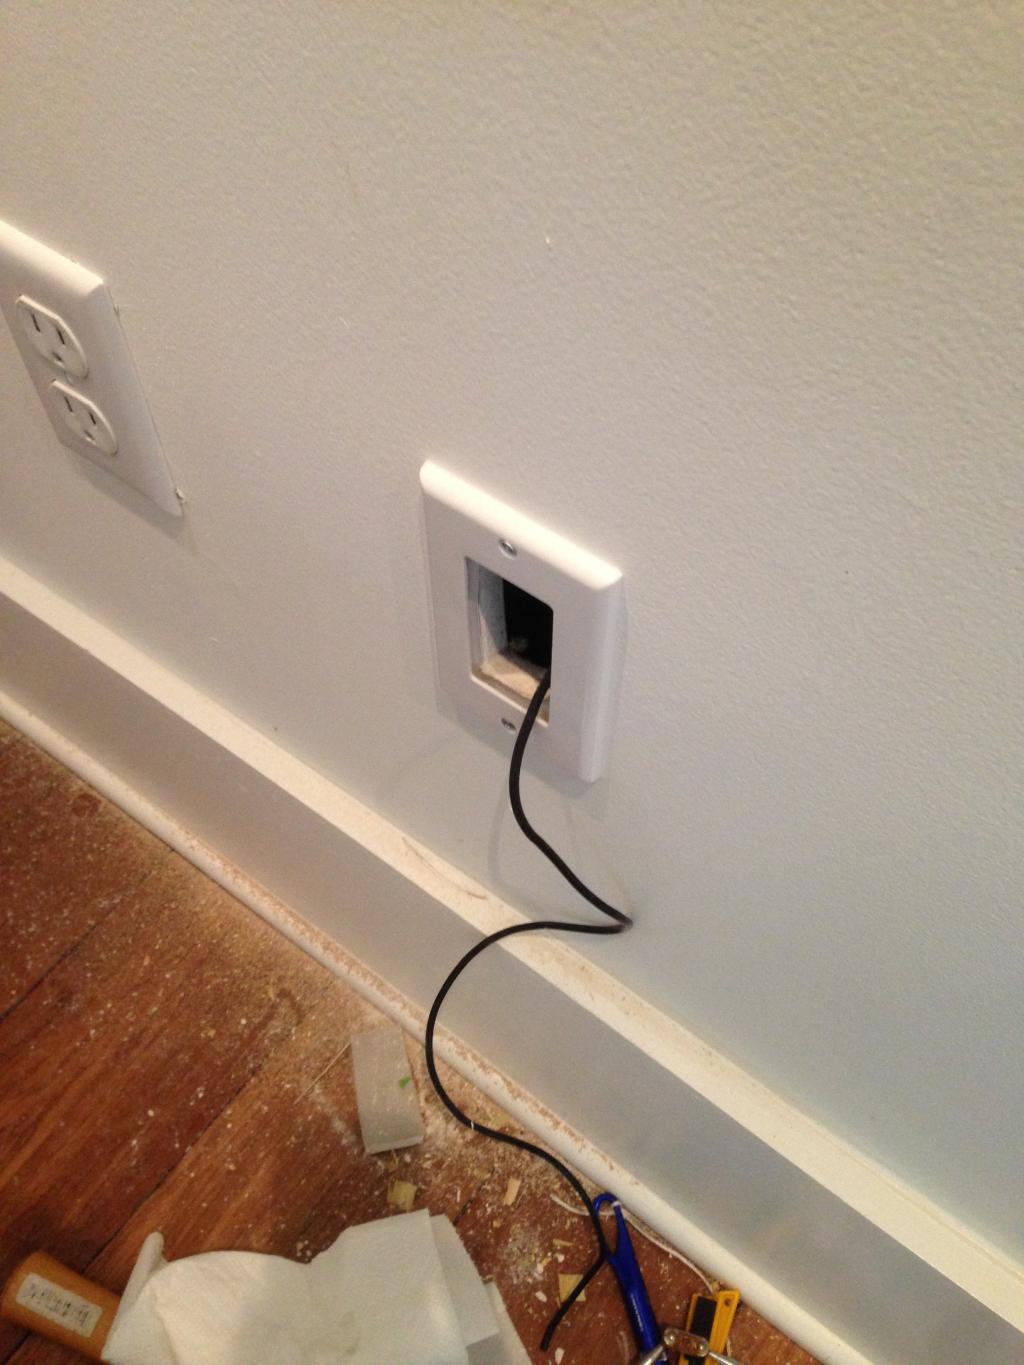
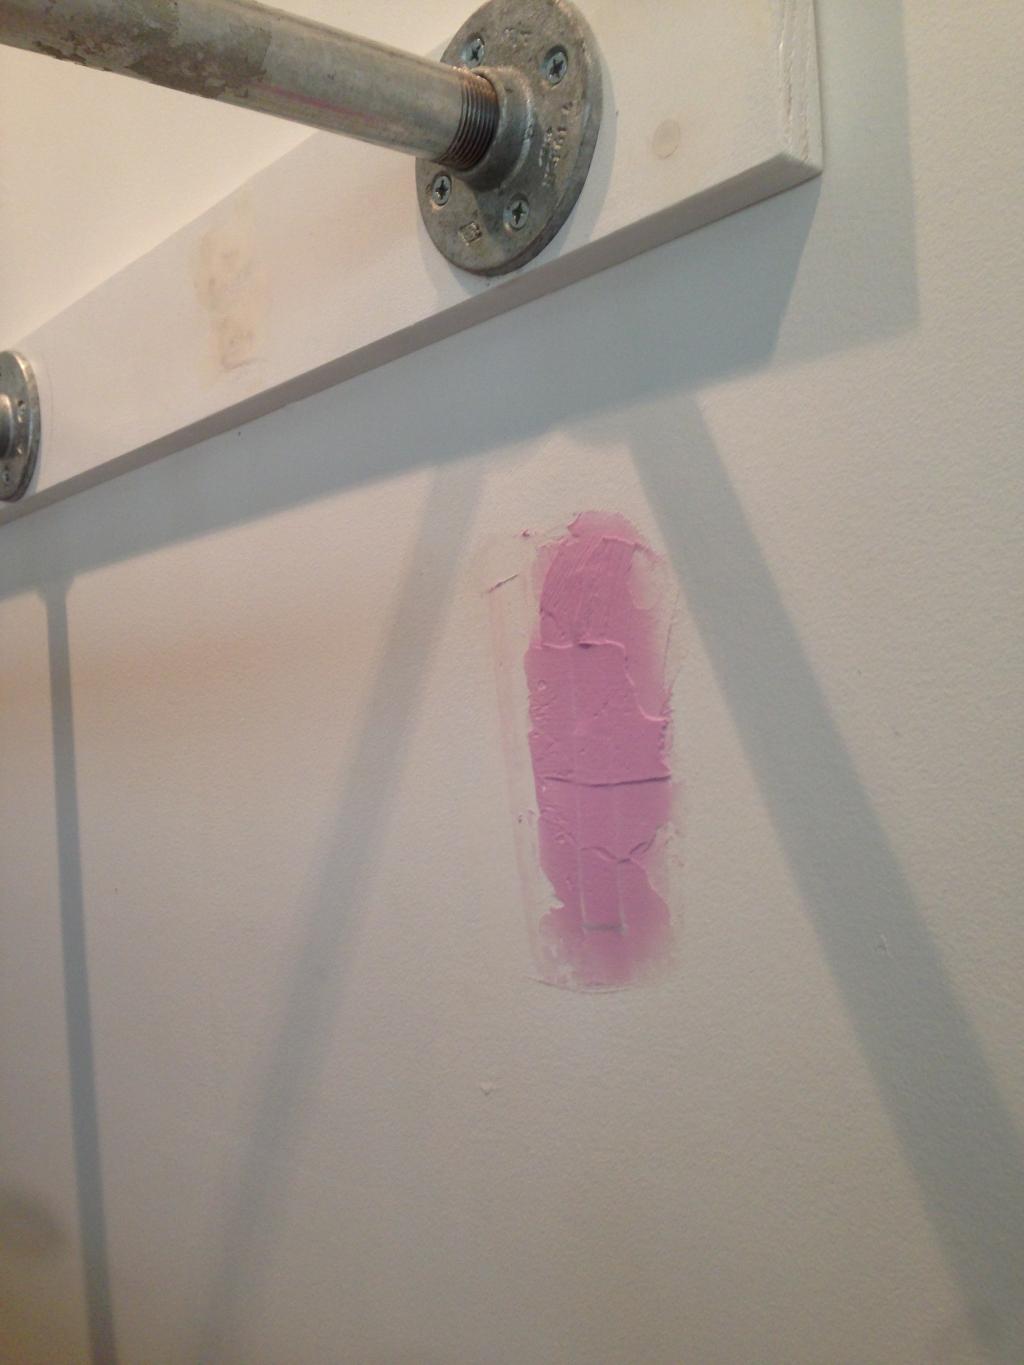
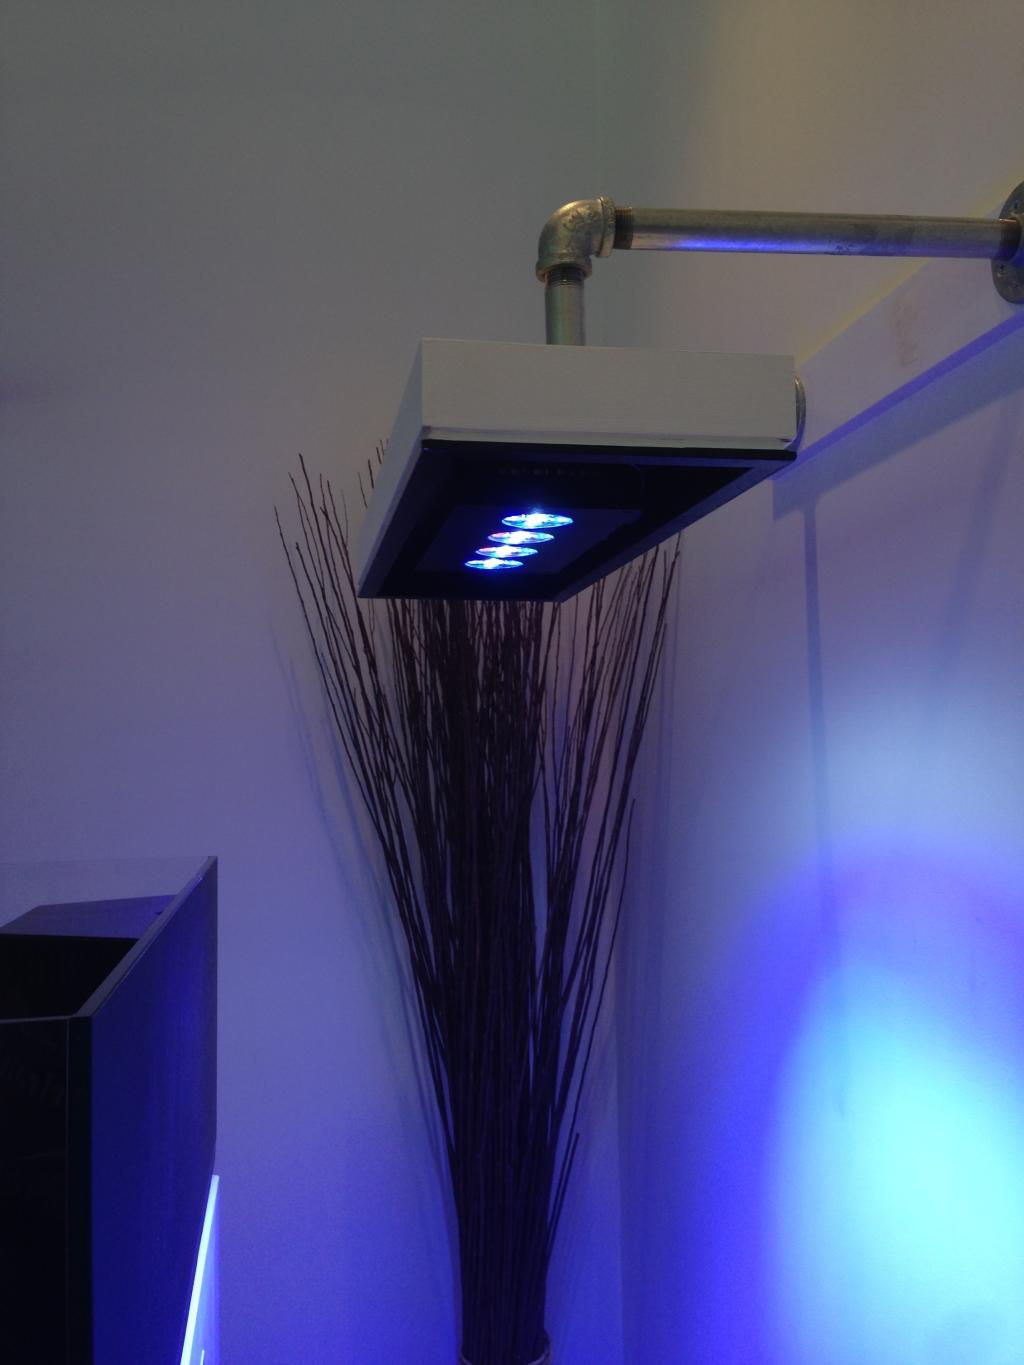
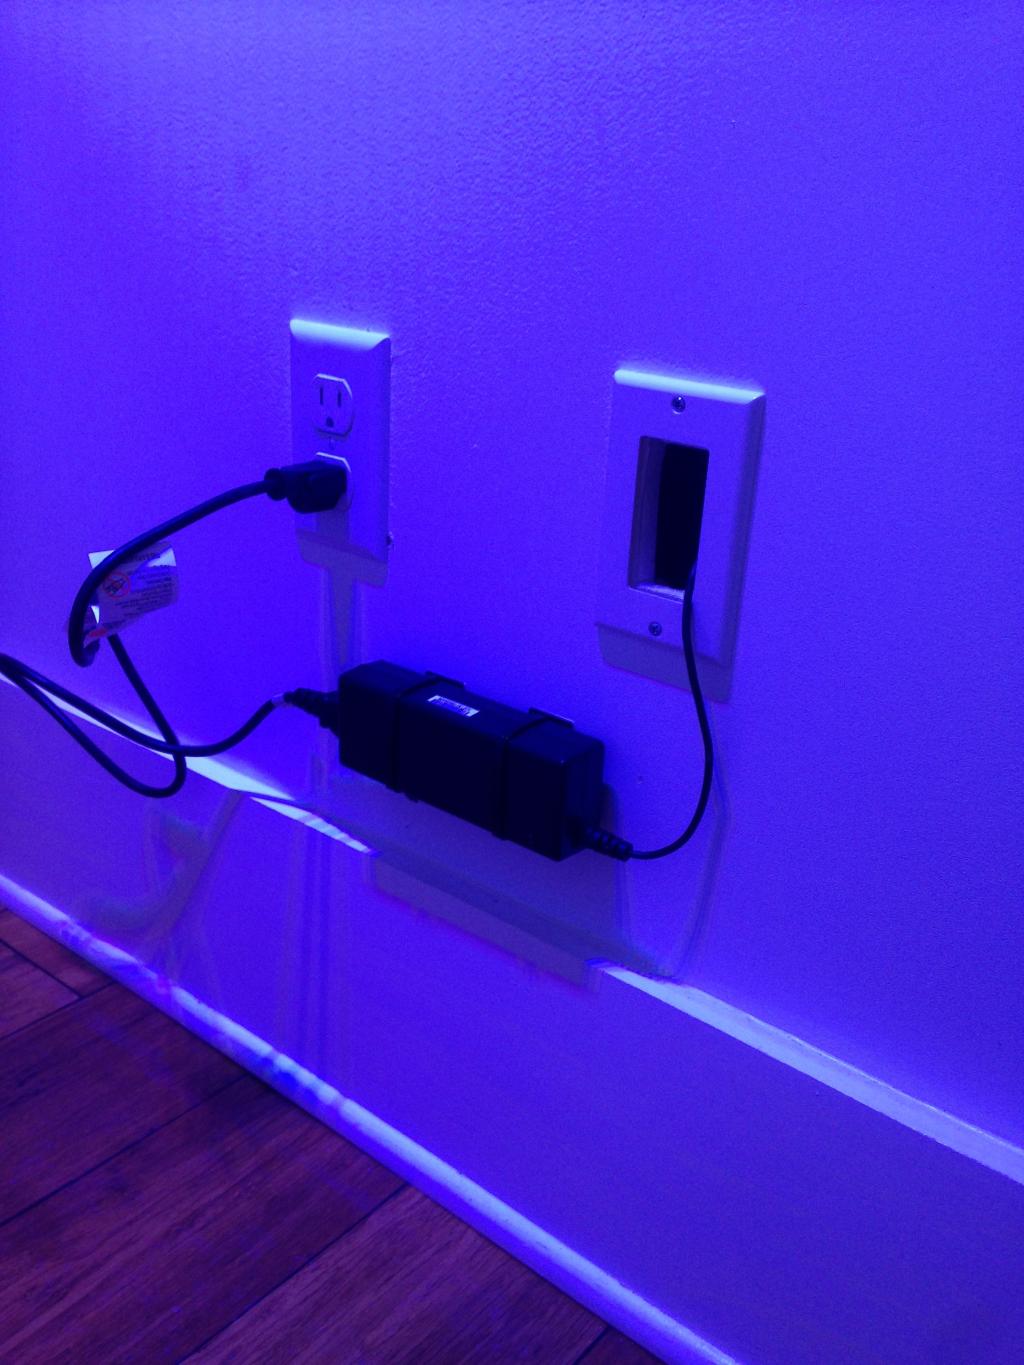
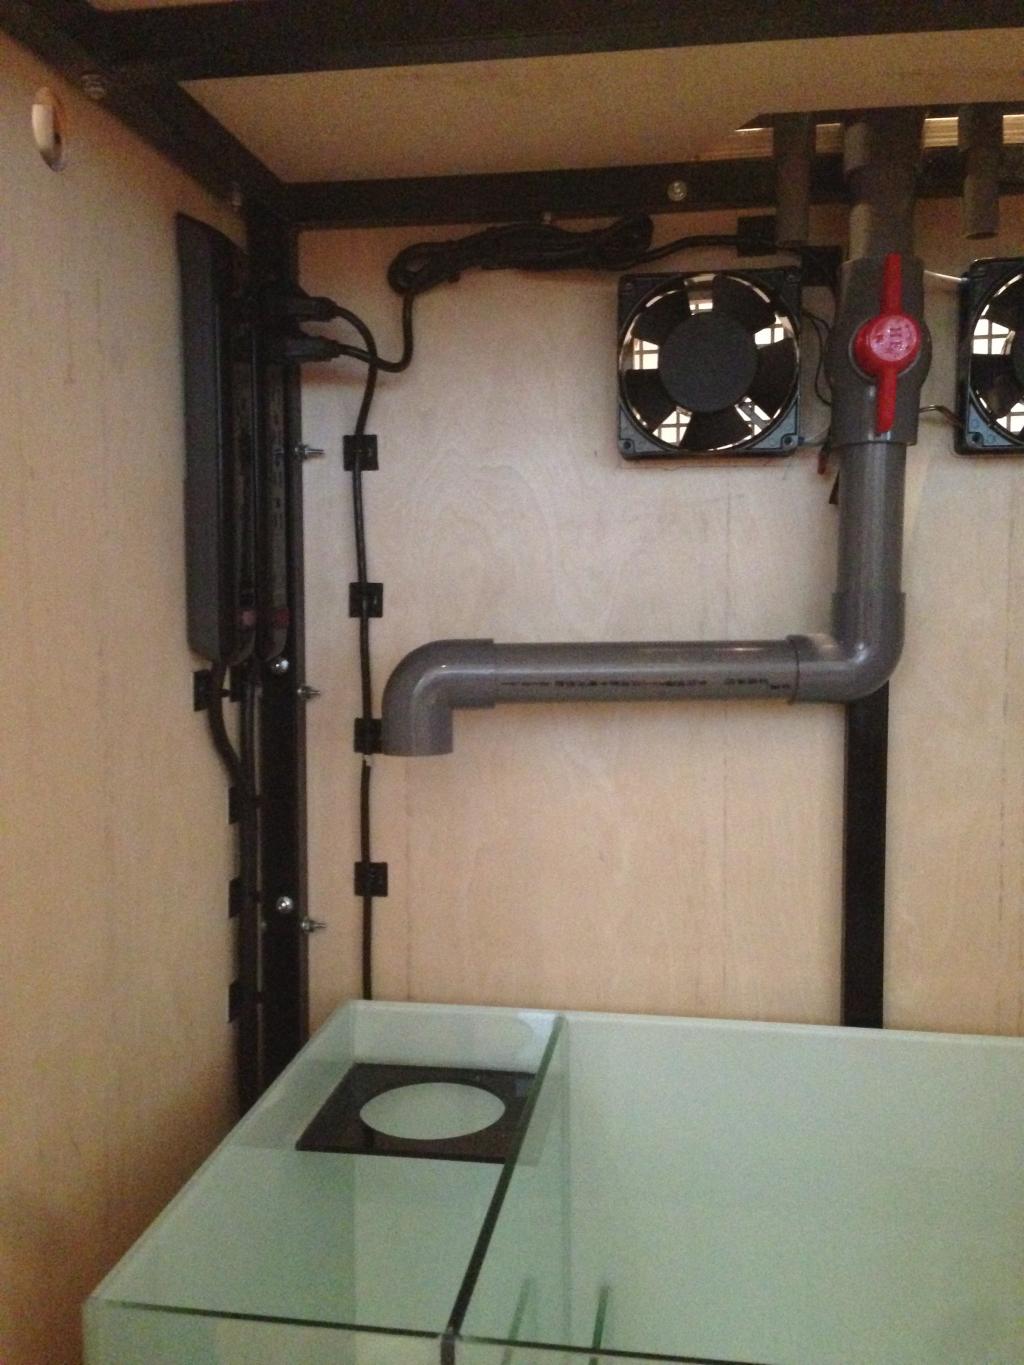
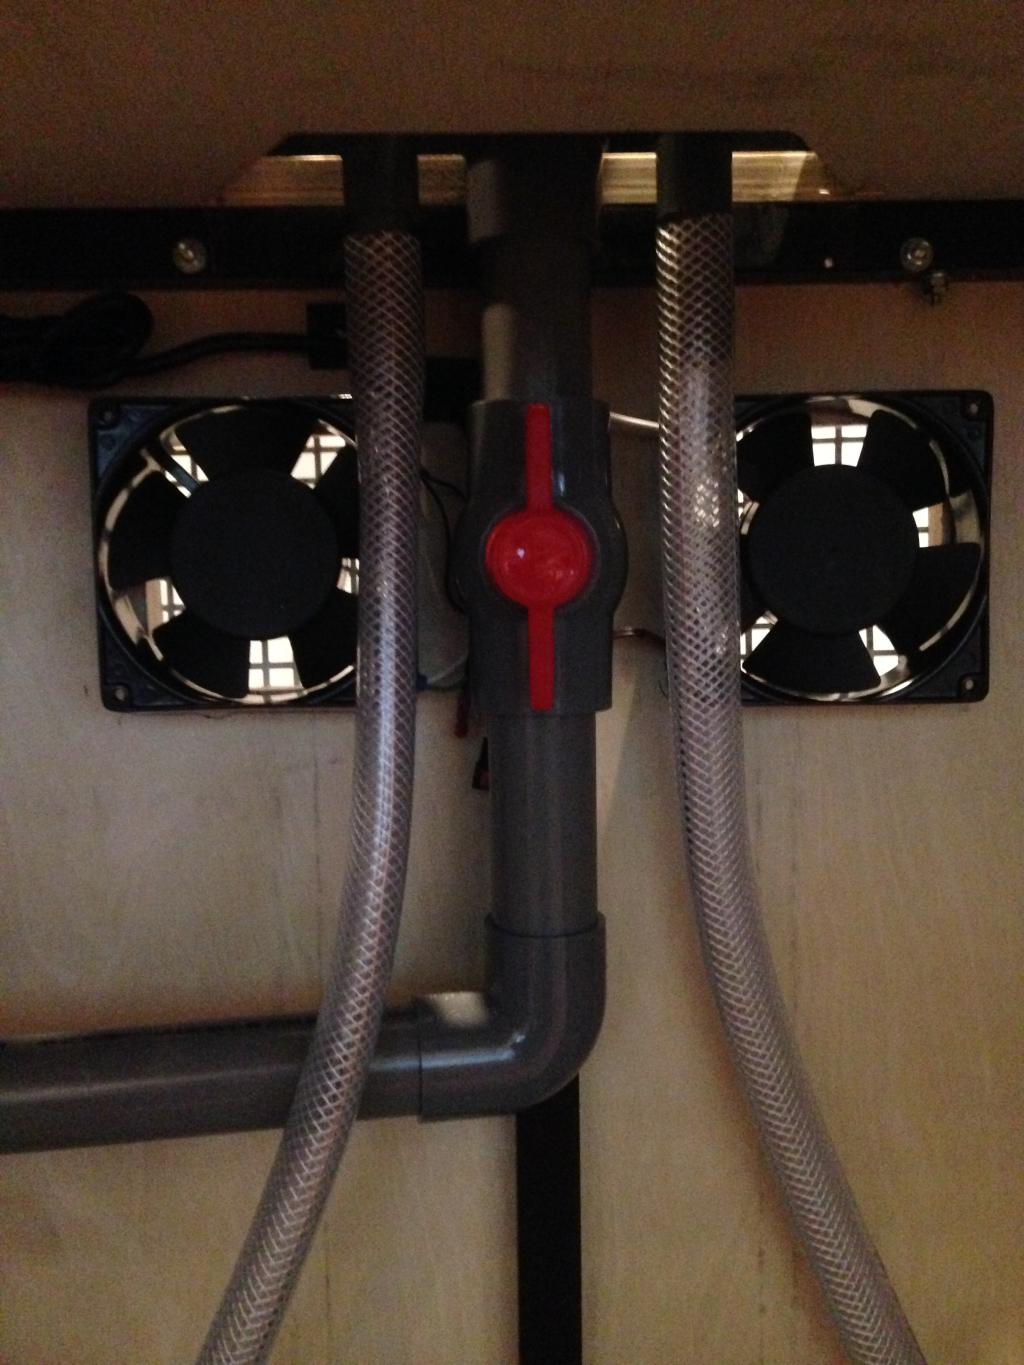
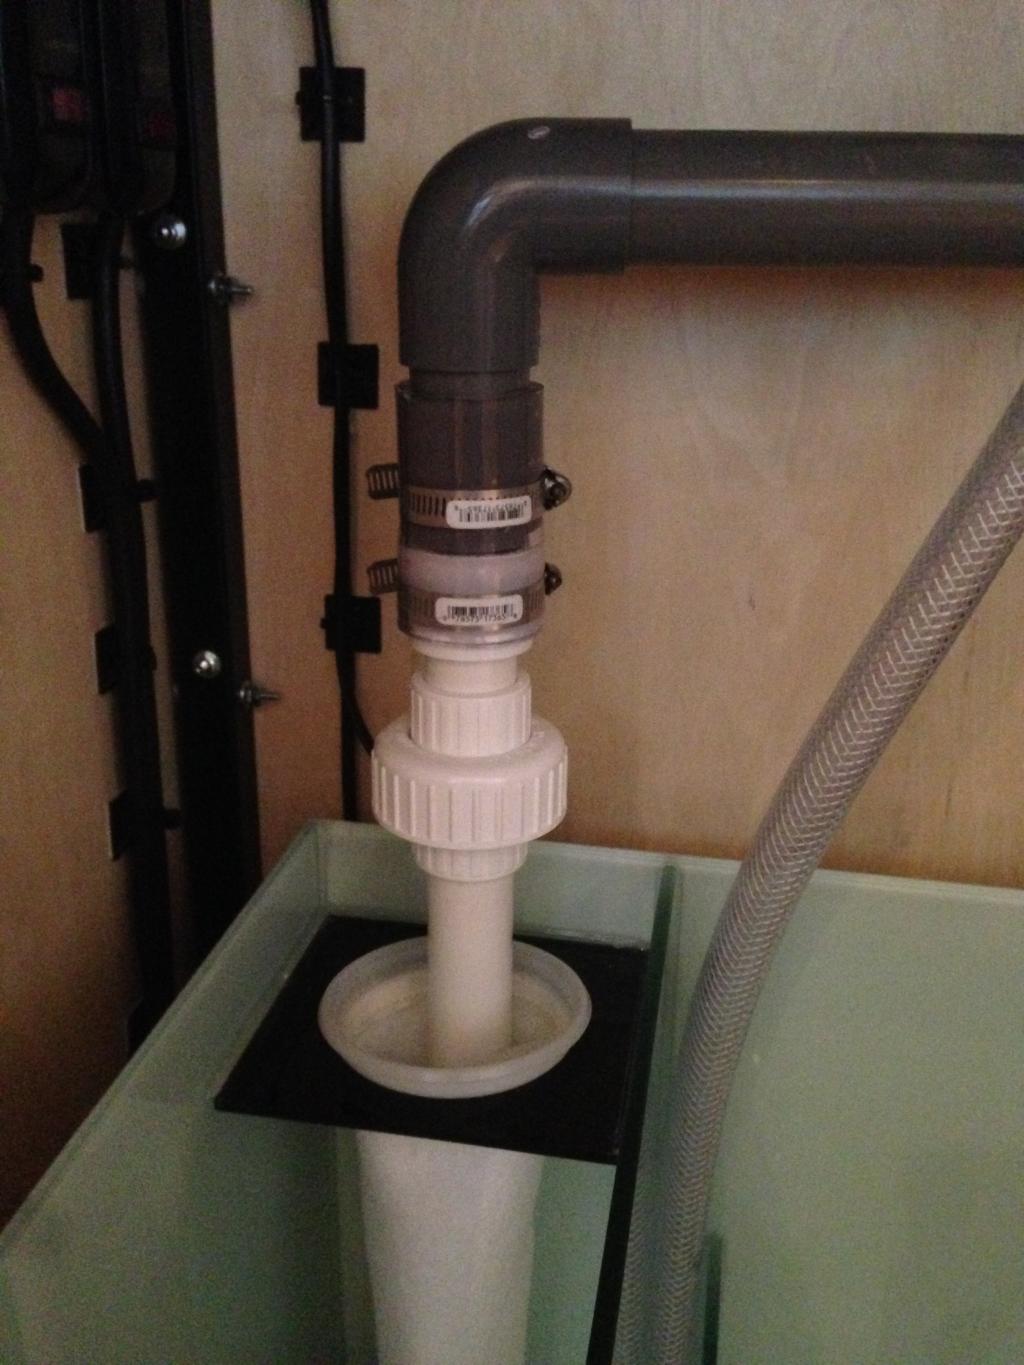
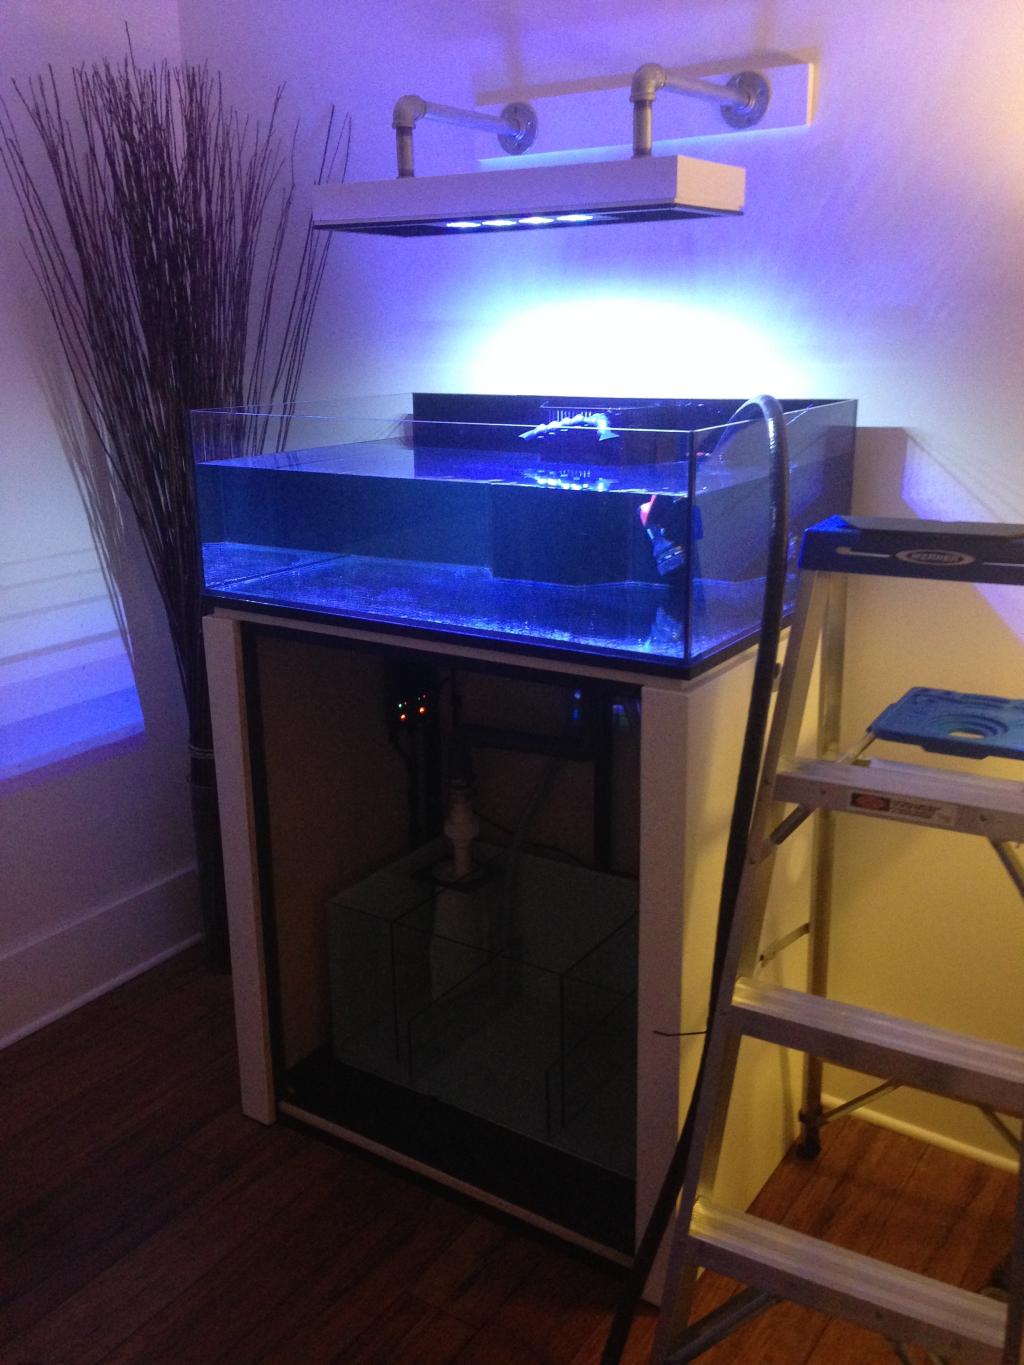
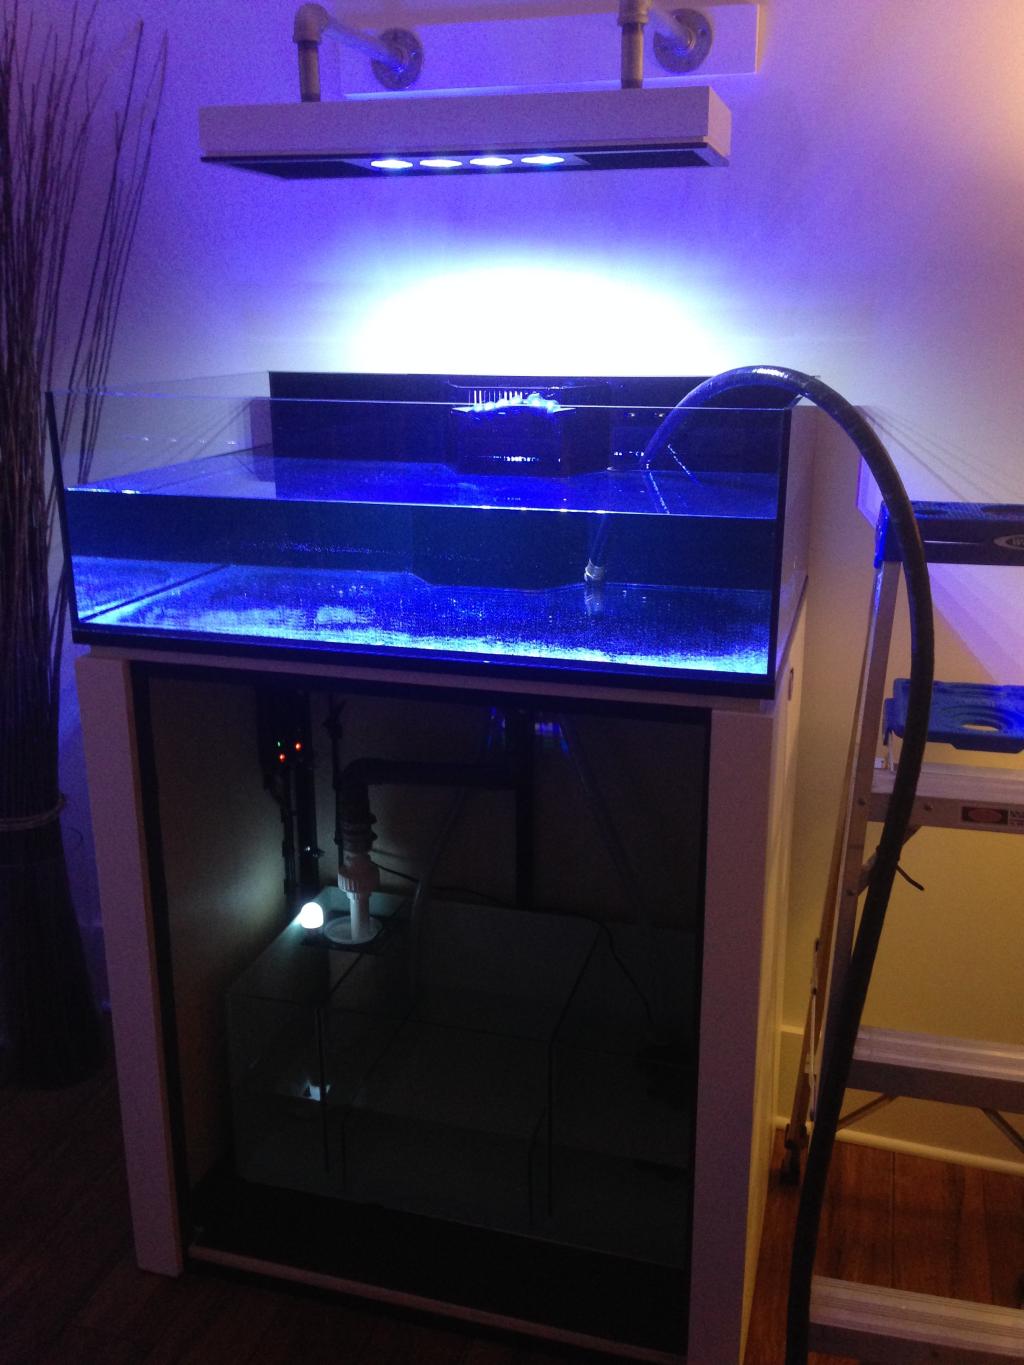
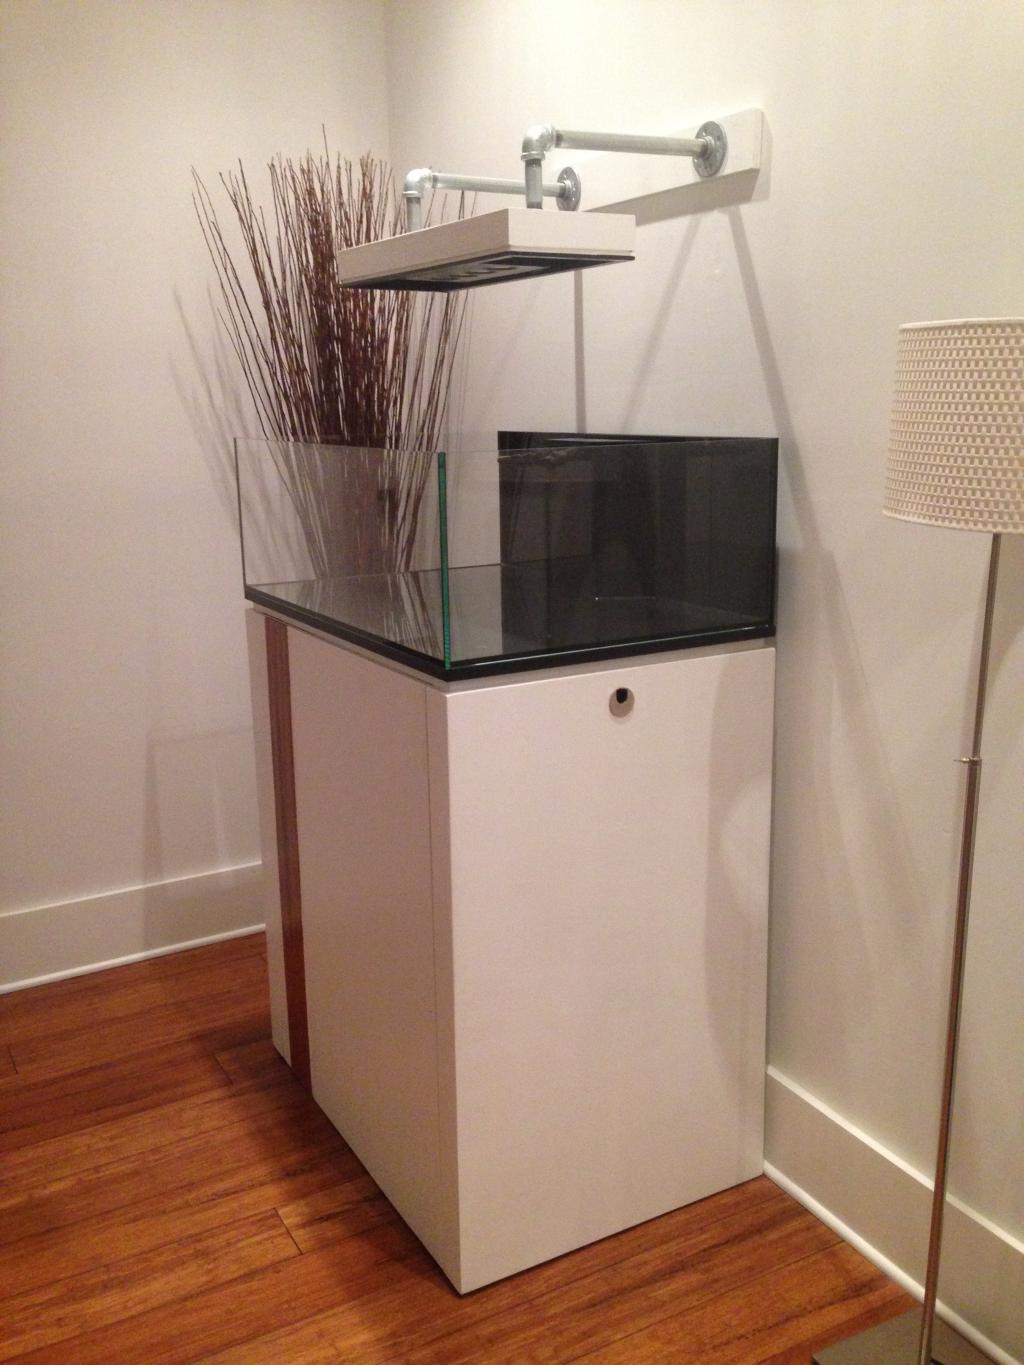
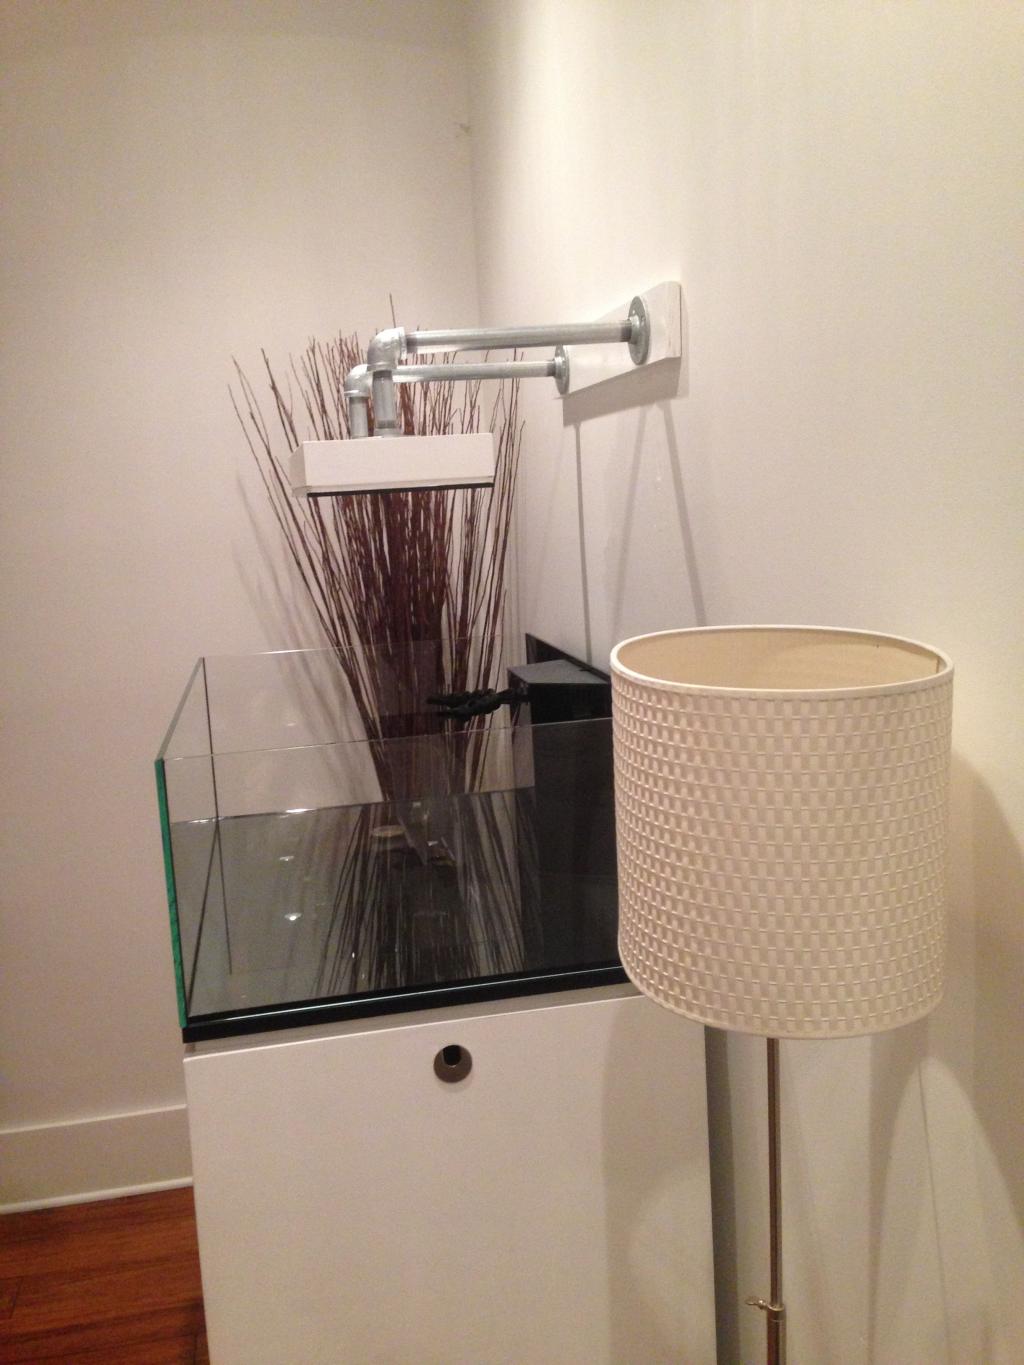
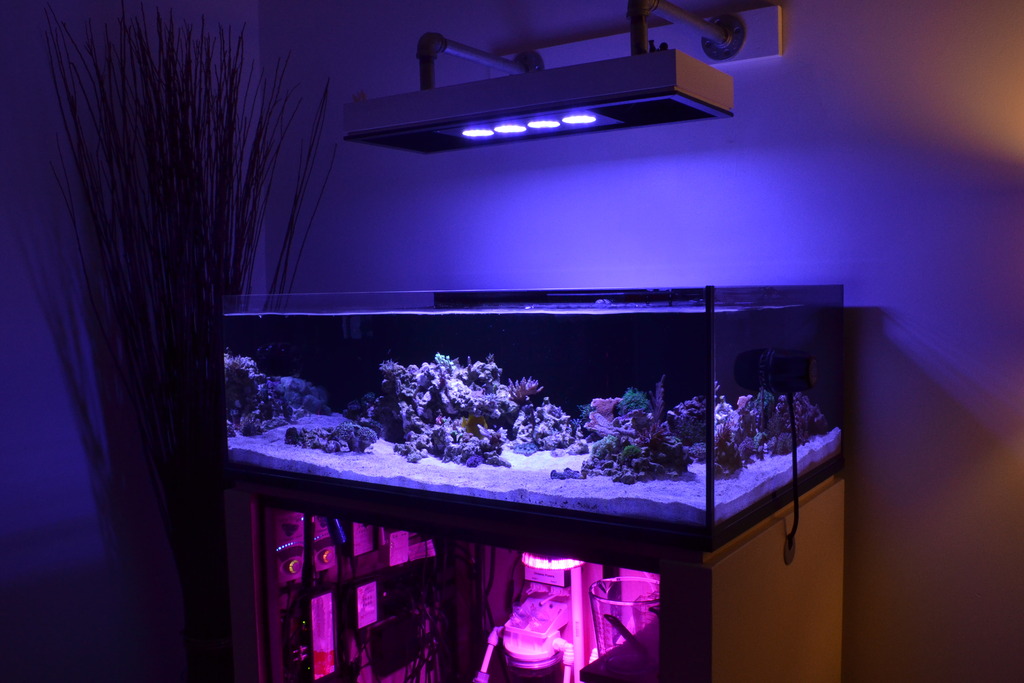
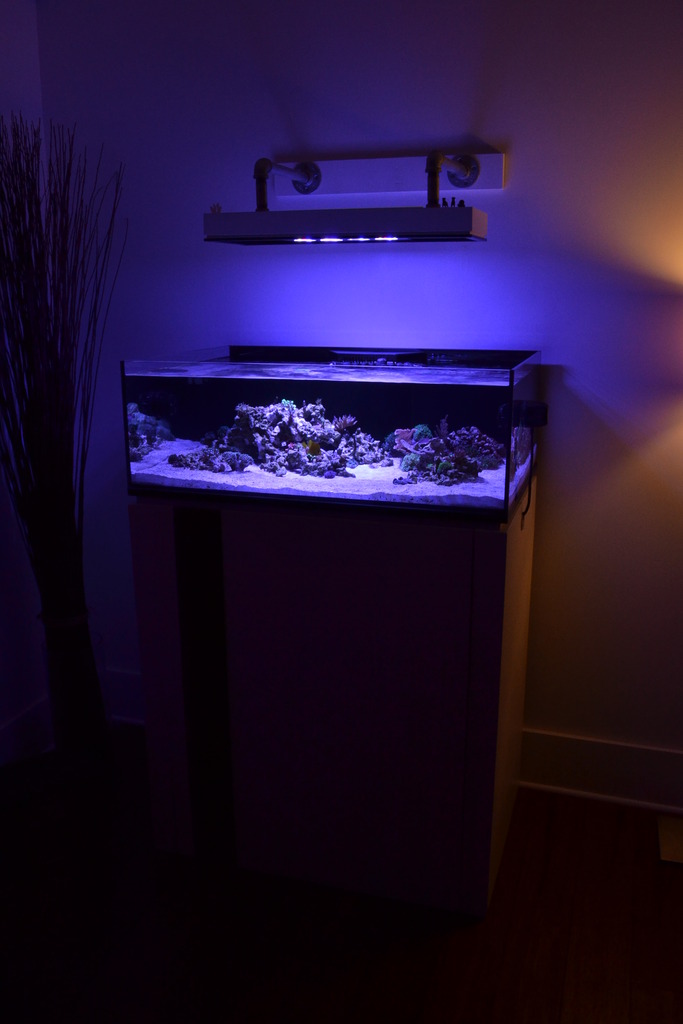
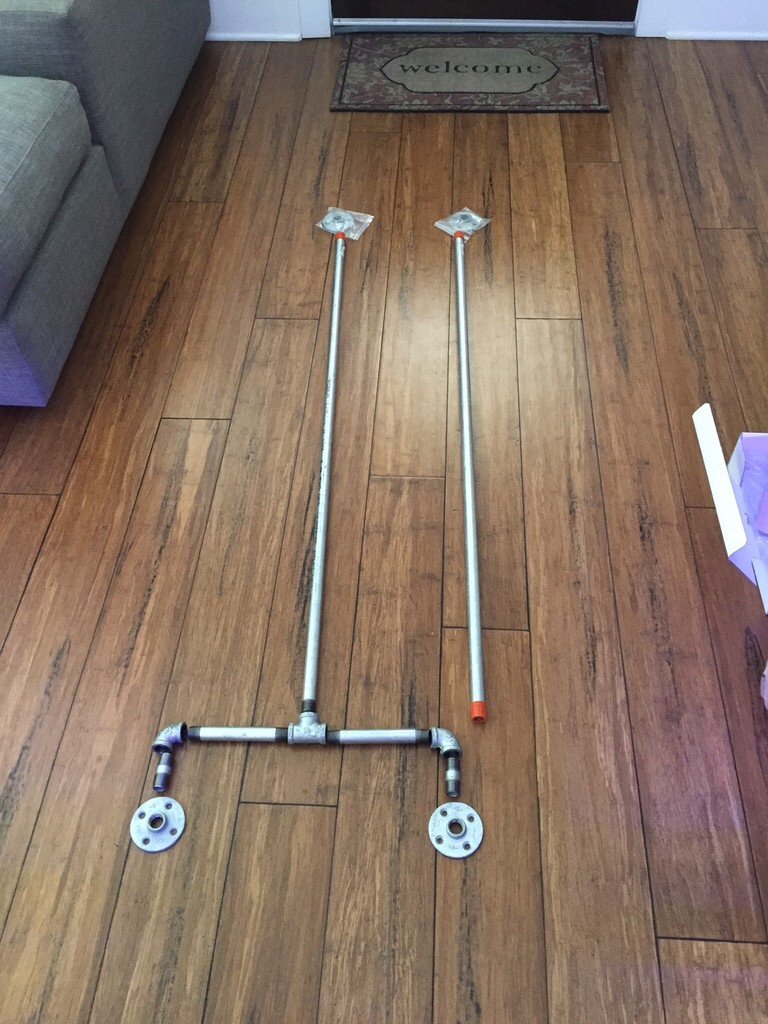
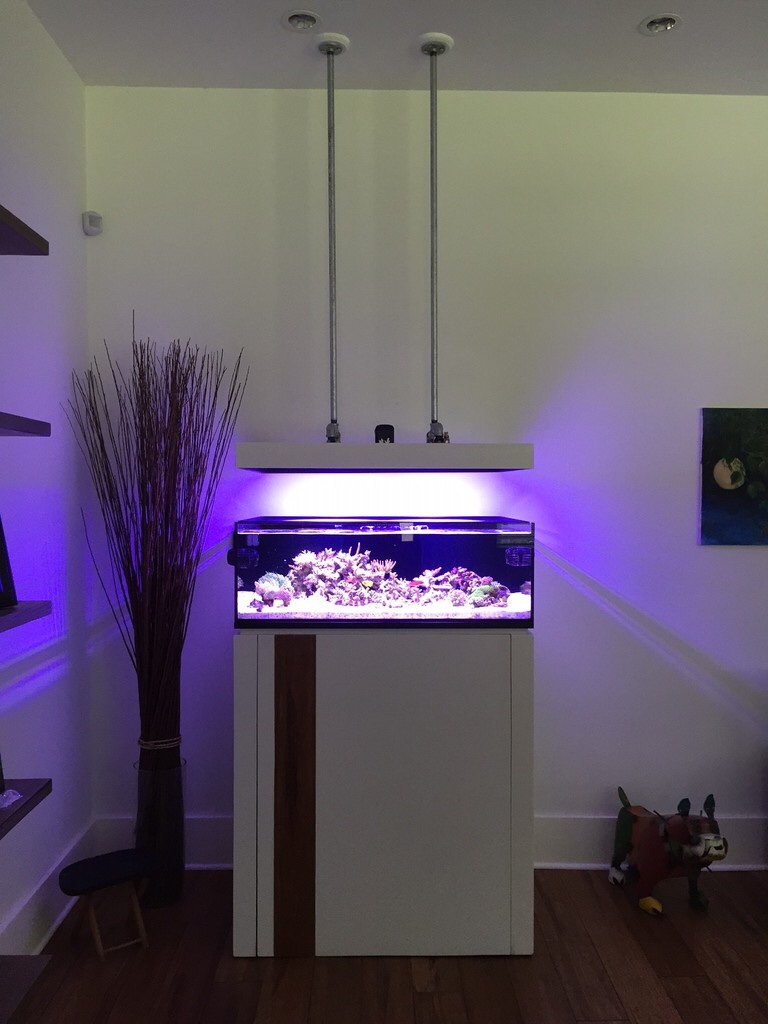
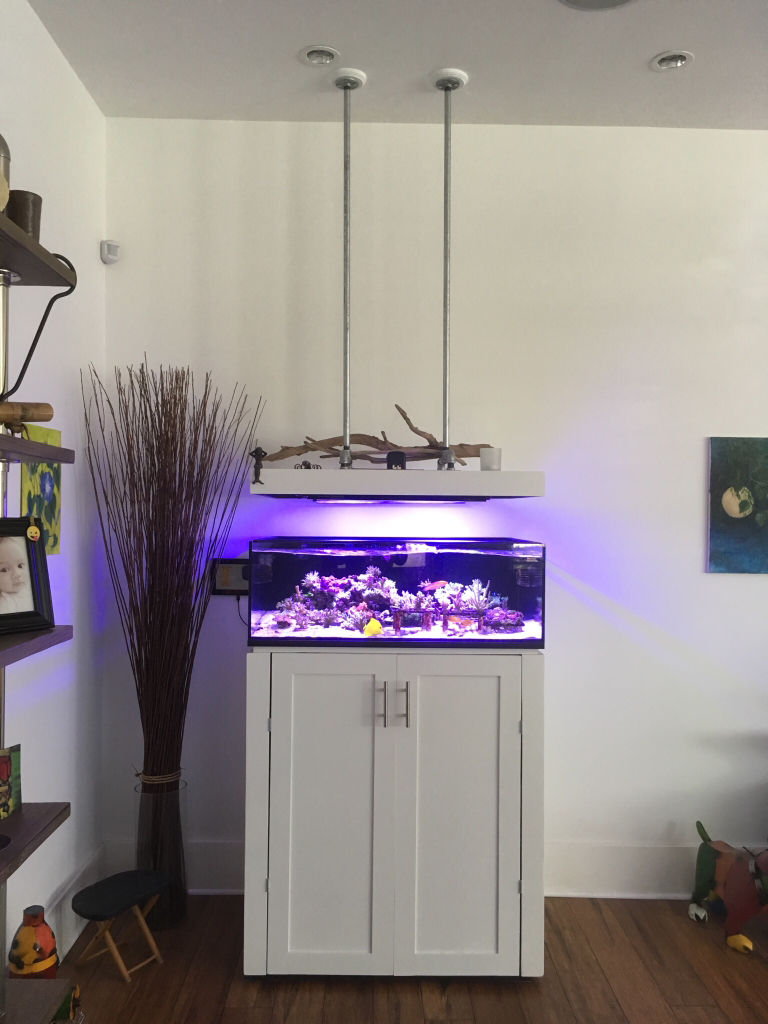
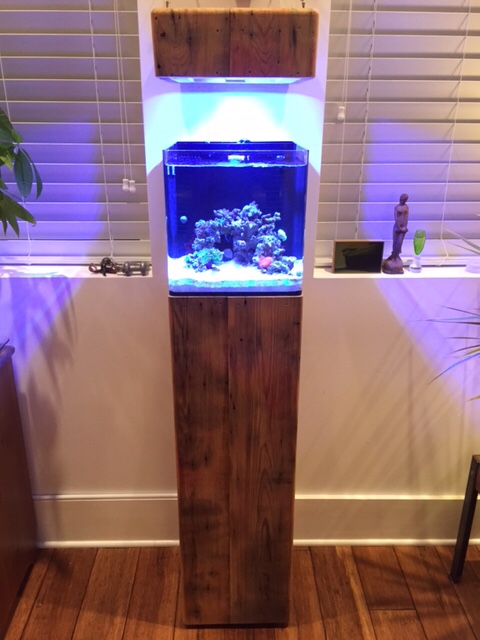
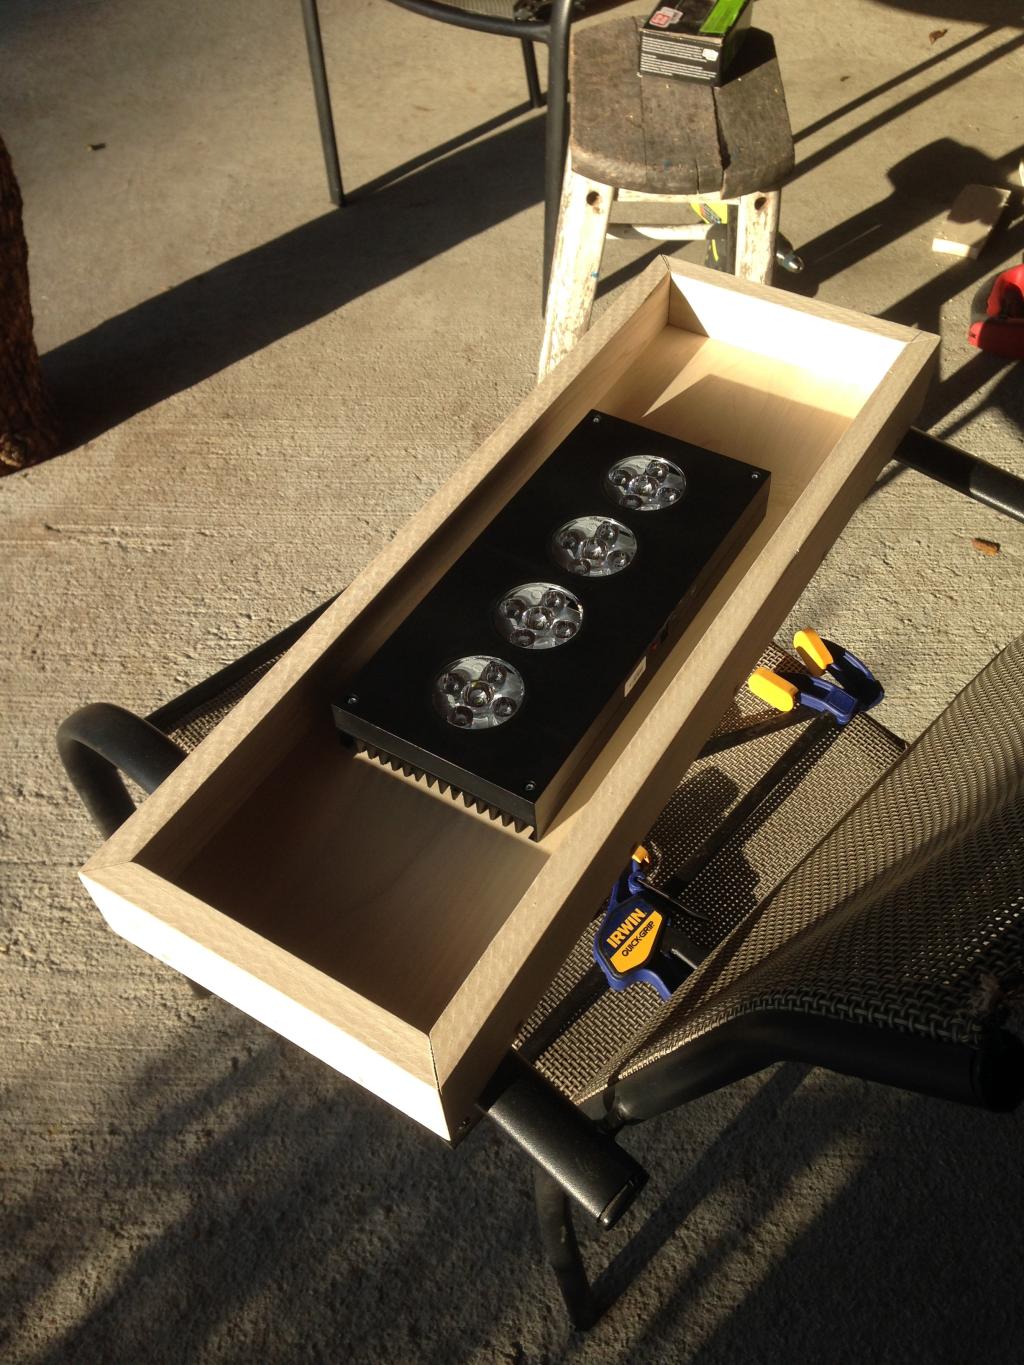
Next I will be working on the light housing which will be suspended from the wall with galvanized pipes.. kind of add an industrial look to it. Wires will be run through the wall and through the pipes themselves. Goal is to have no wires showing...
I'll post some updates here in about a week... Hope you guys enjoy the build....=)
****Update
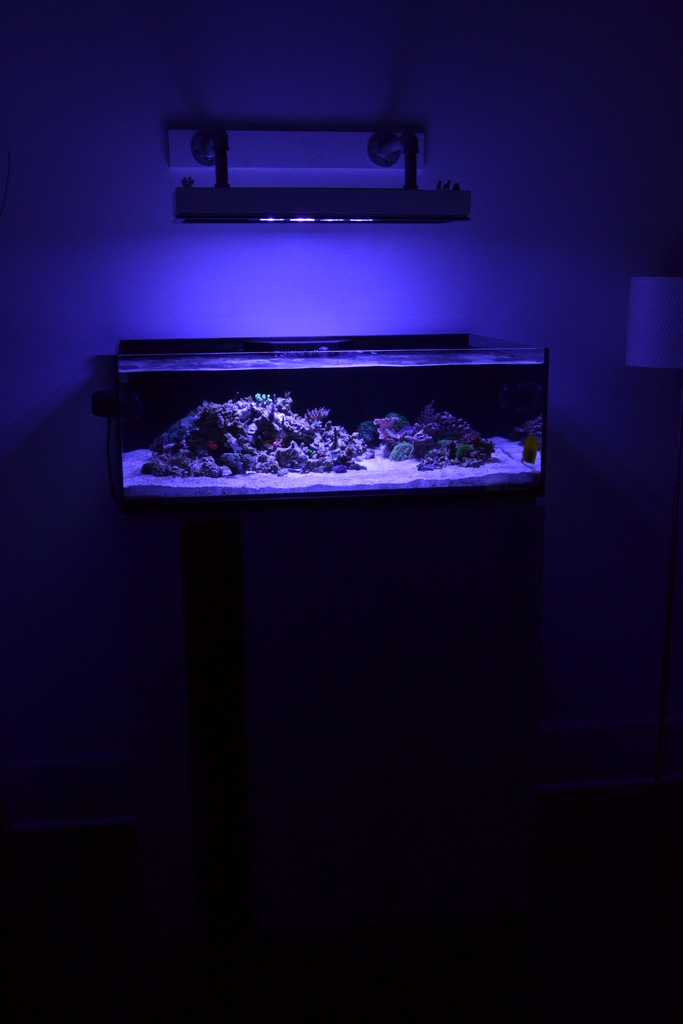
Long day.. finally decided to get off my butt and hang the light.. my back is killing me..
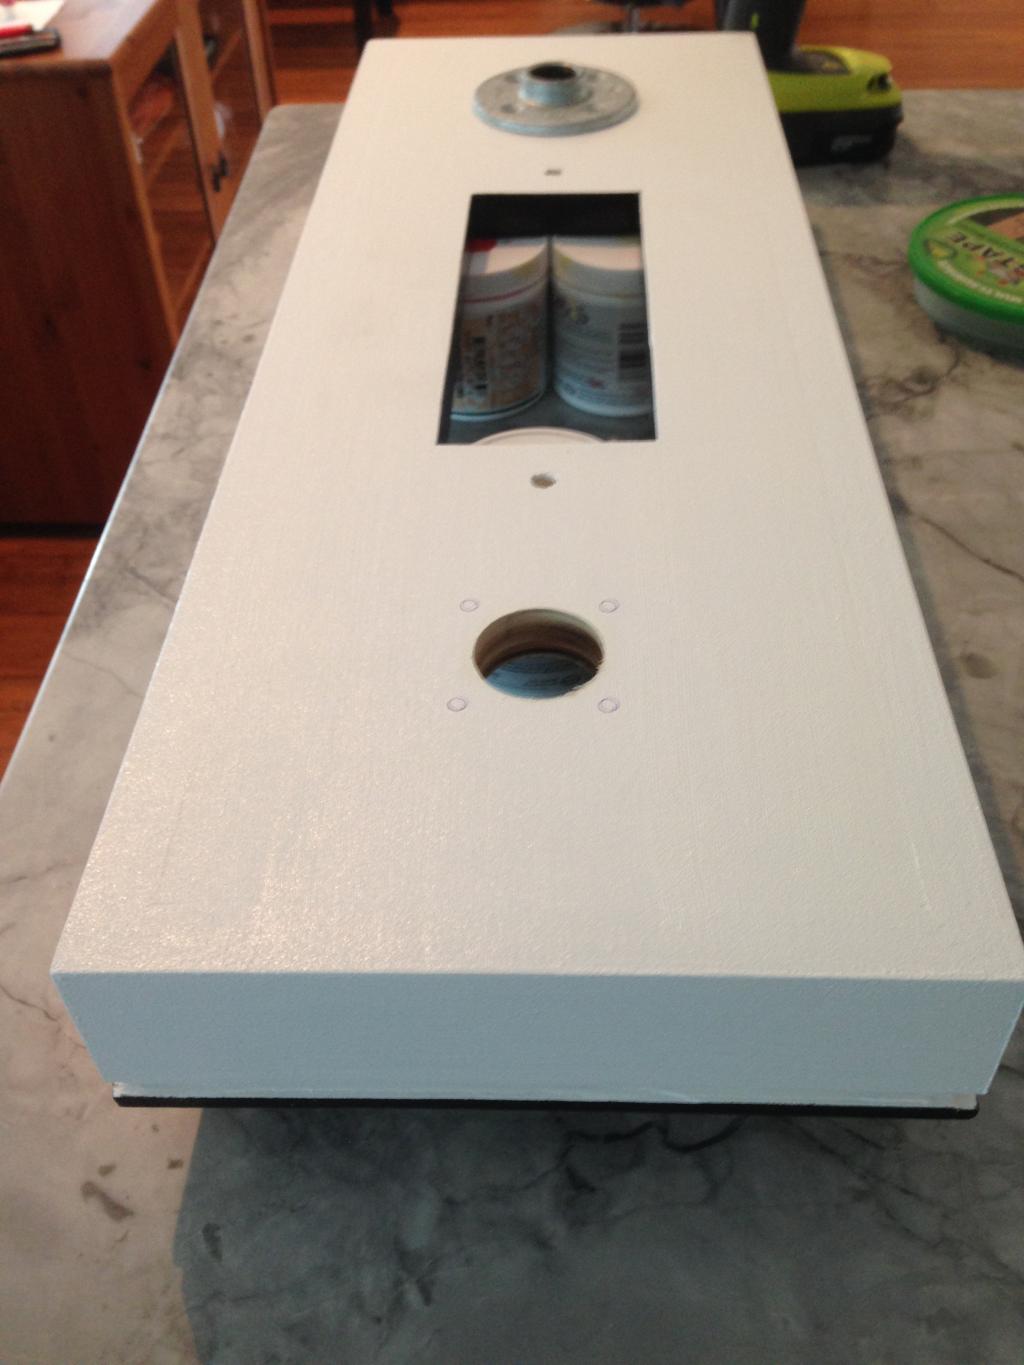
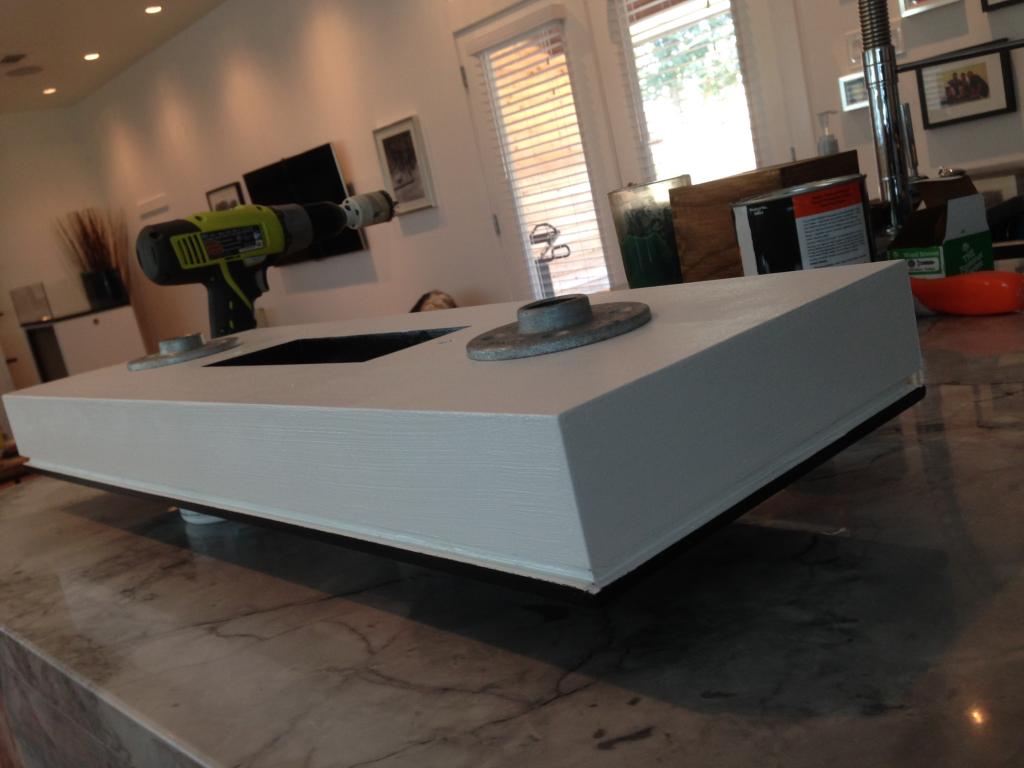
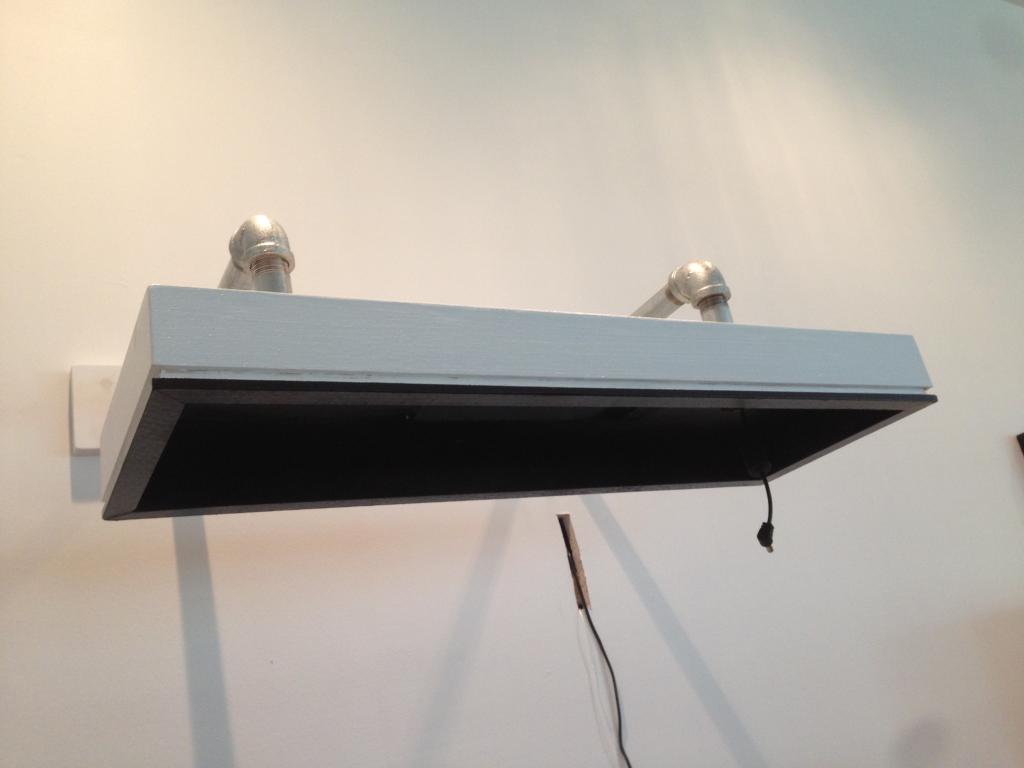
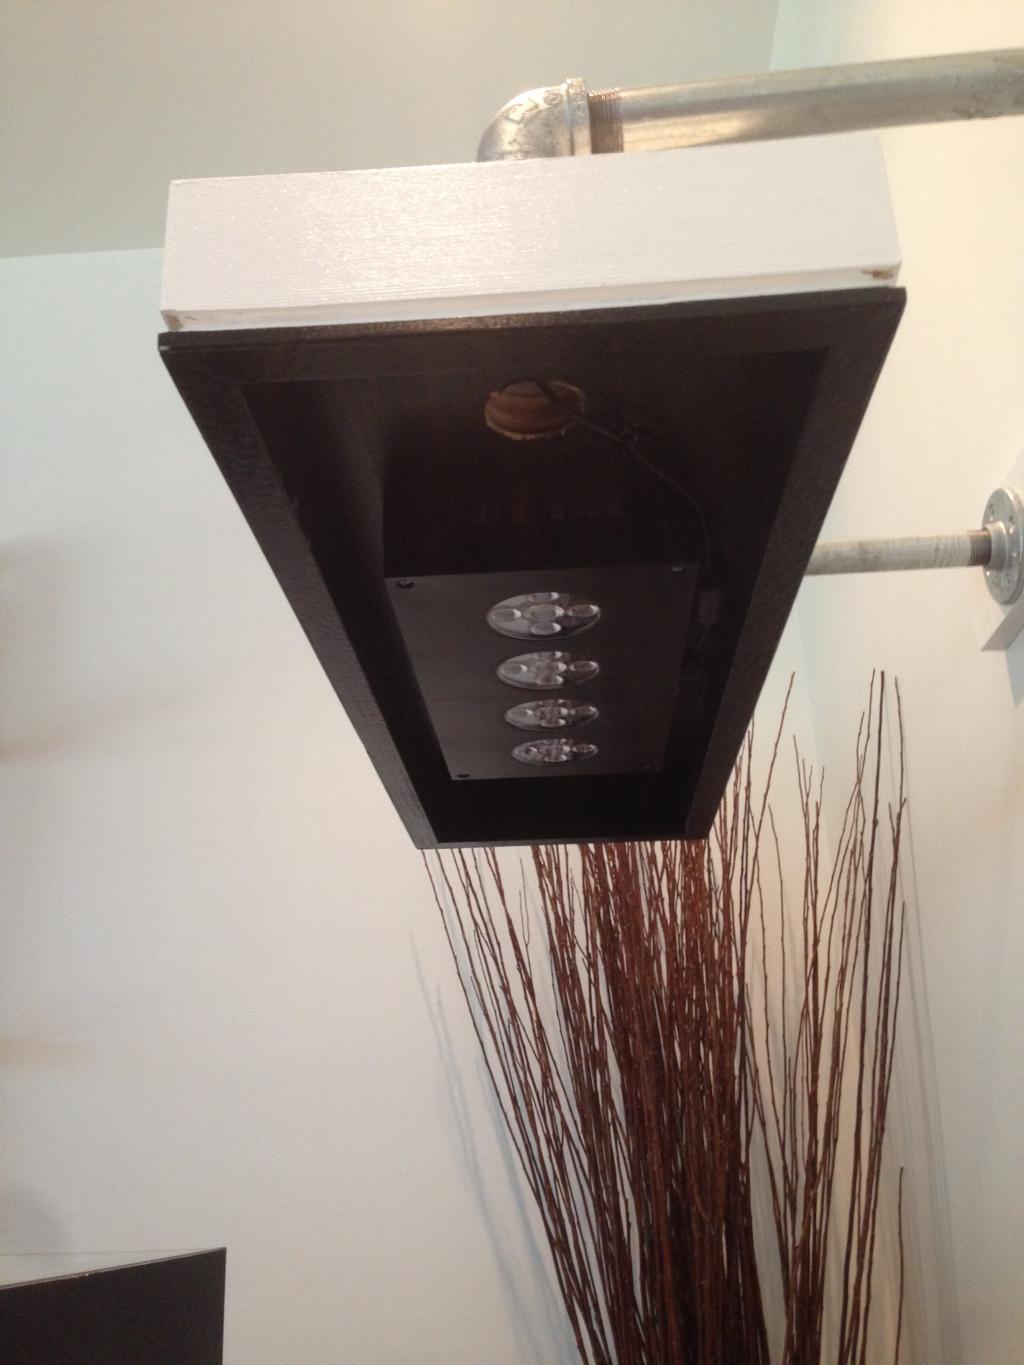
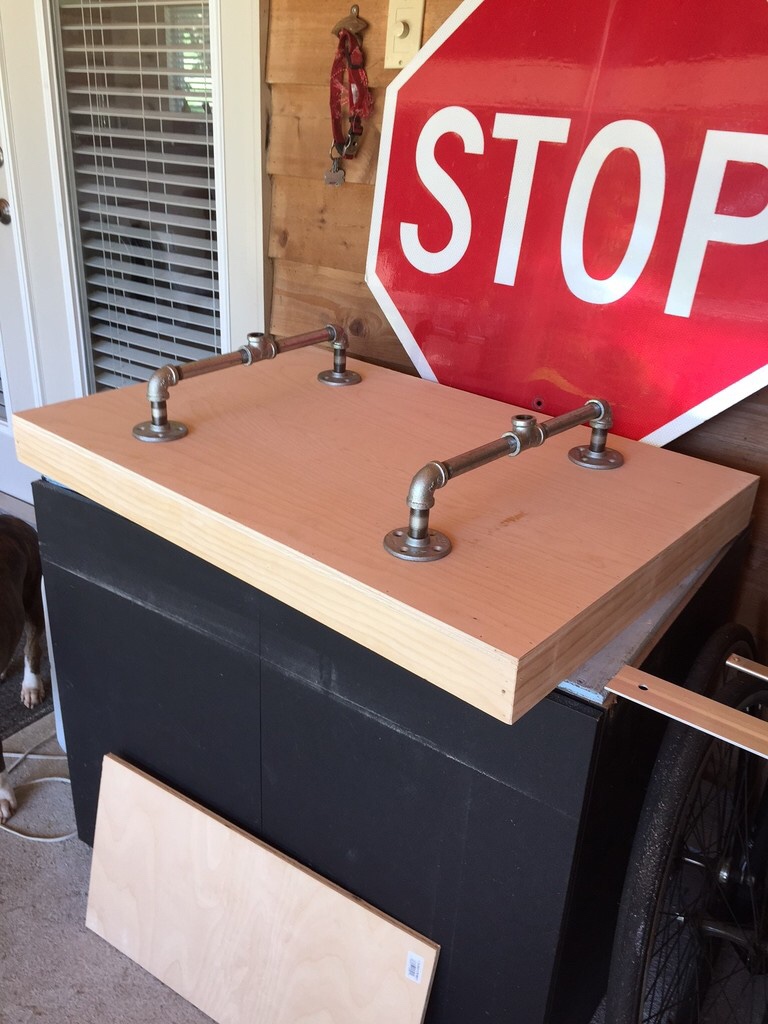
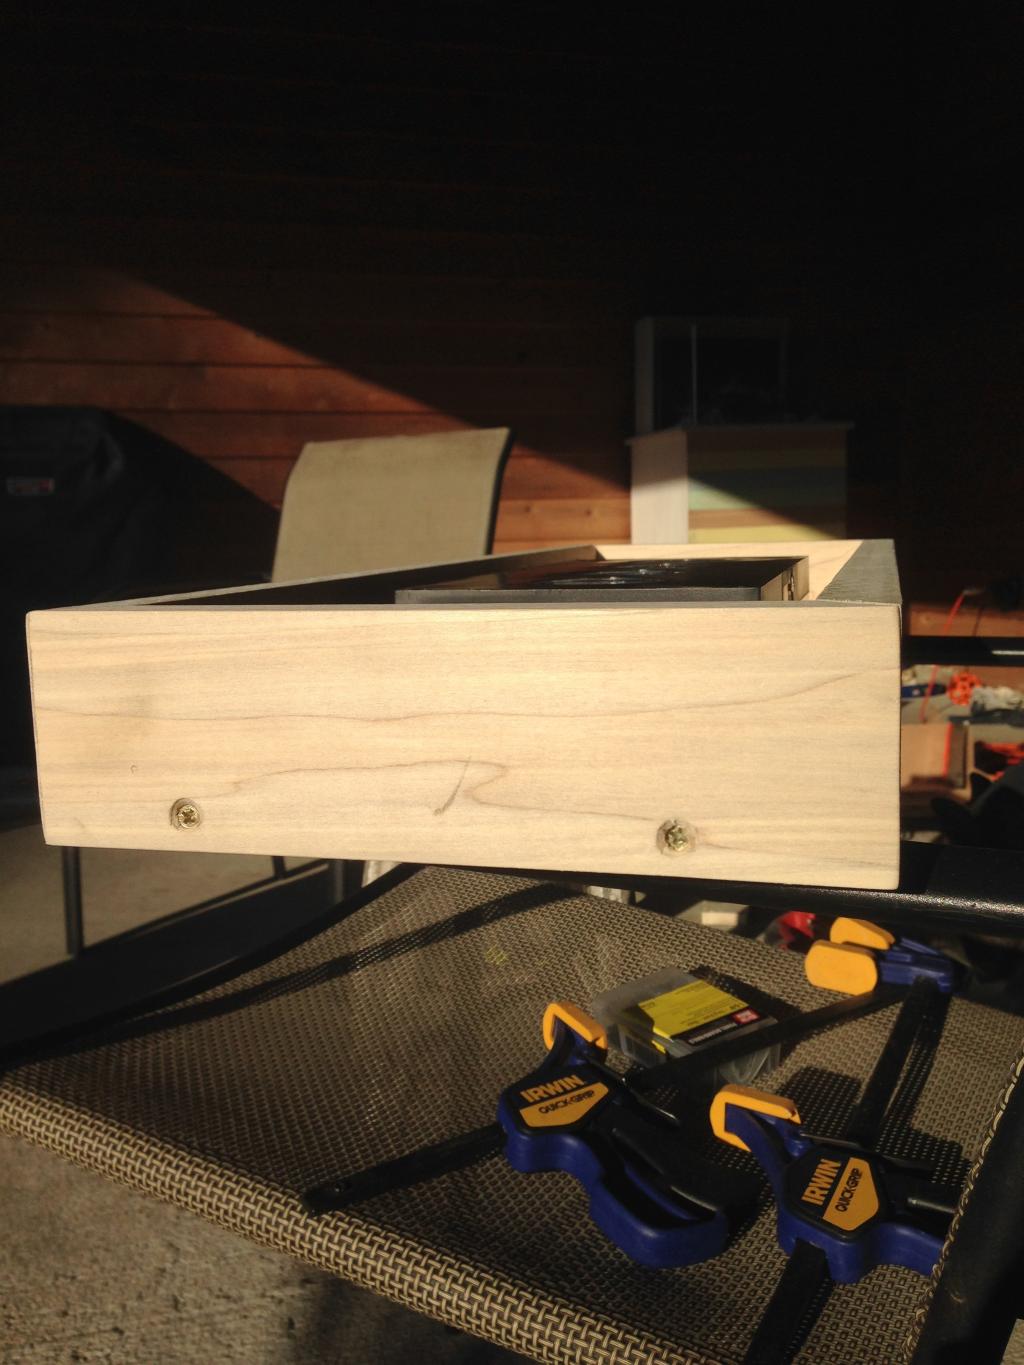
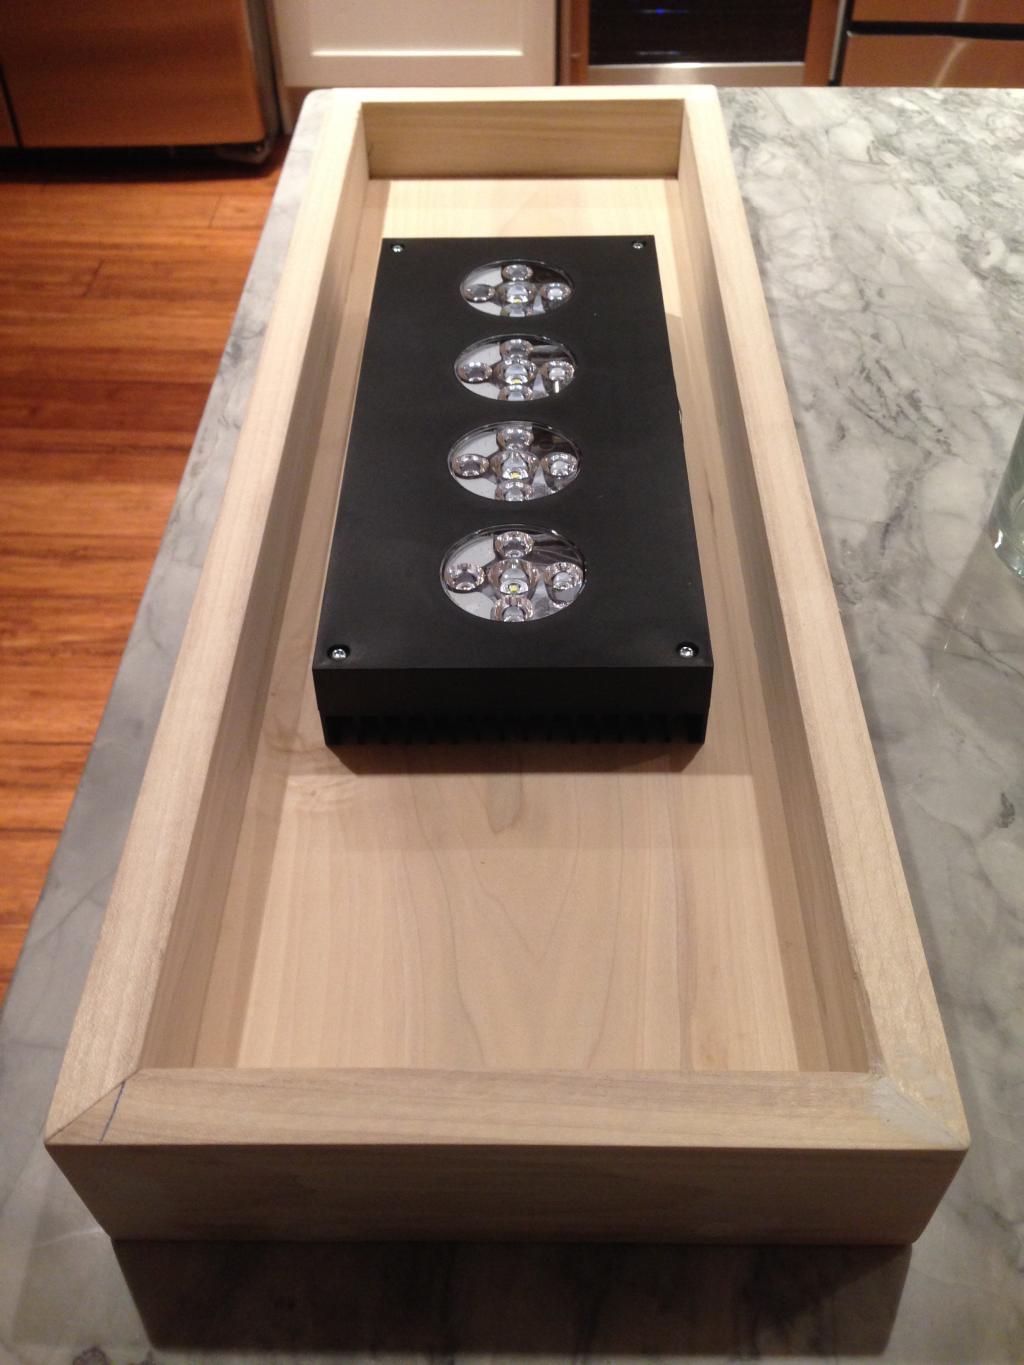
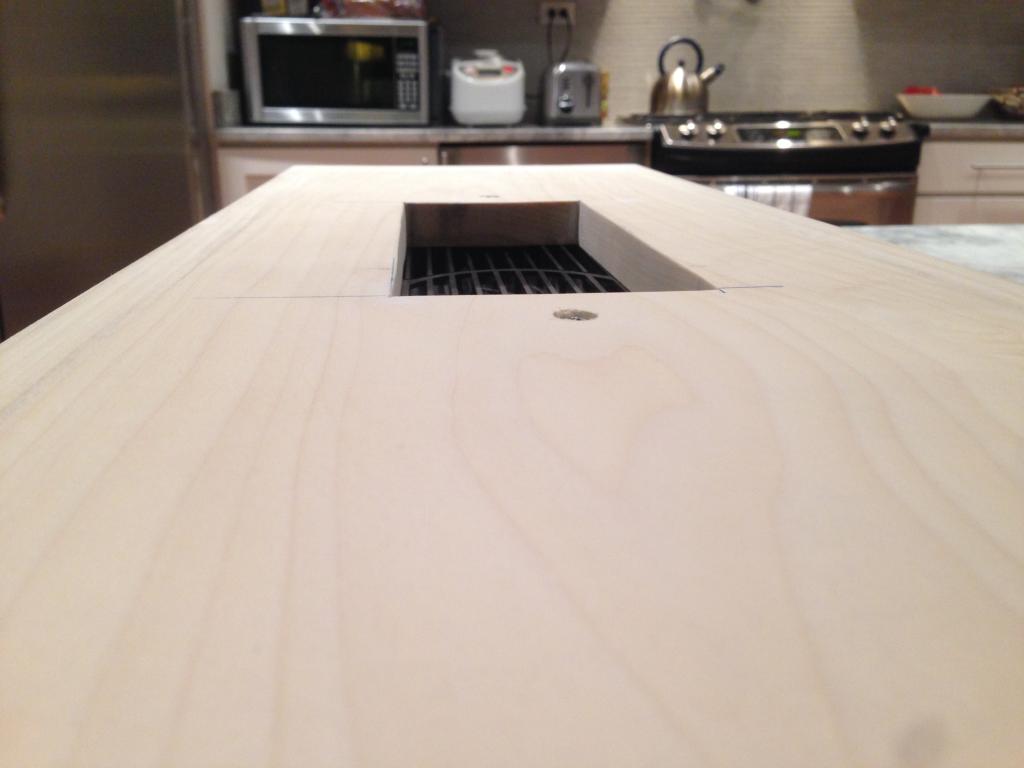
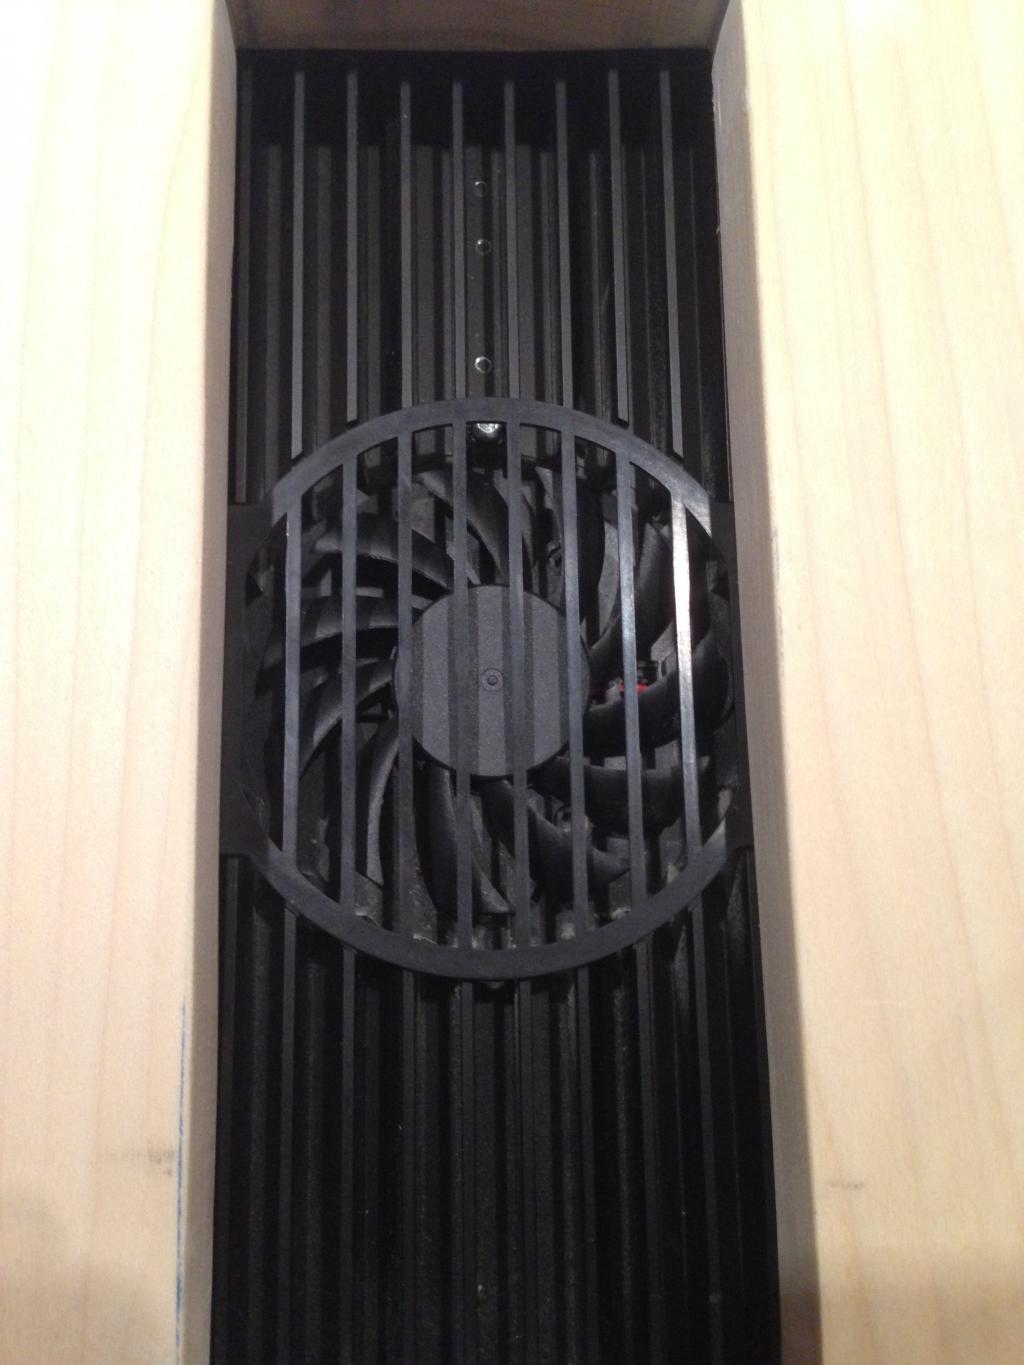
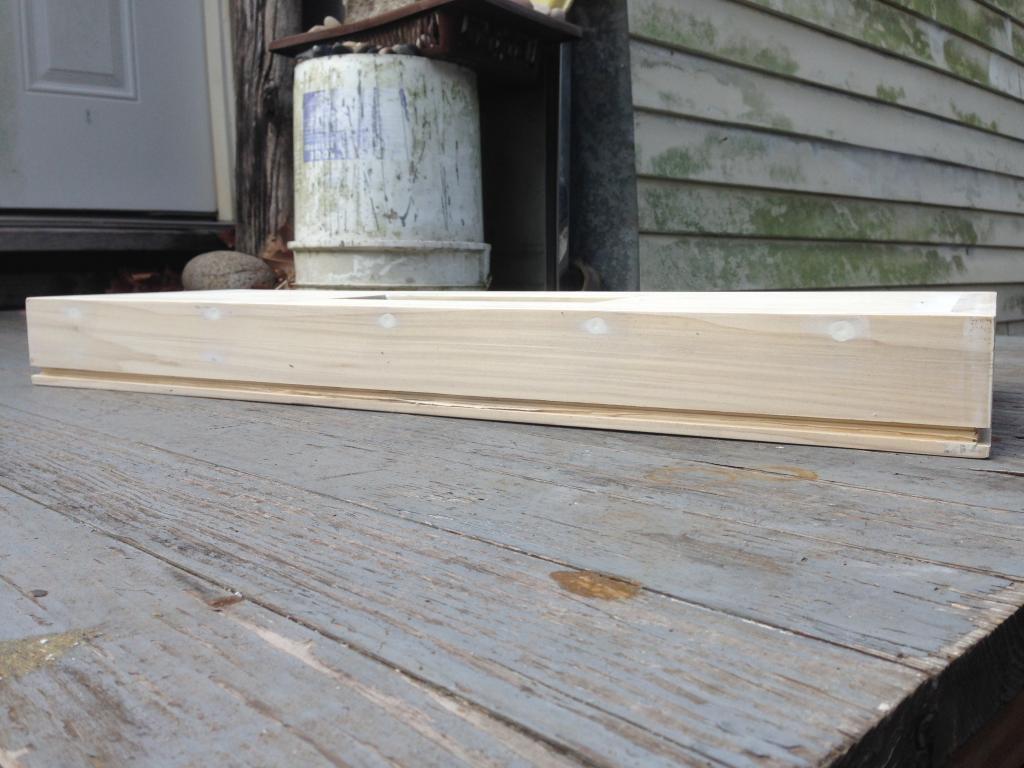
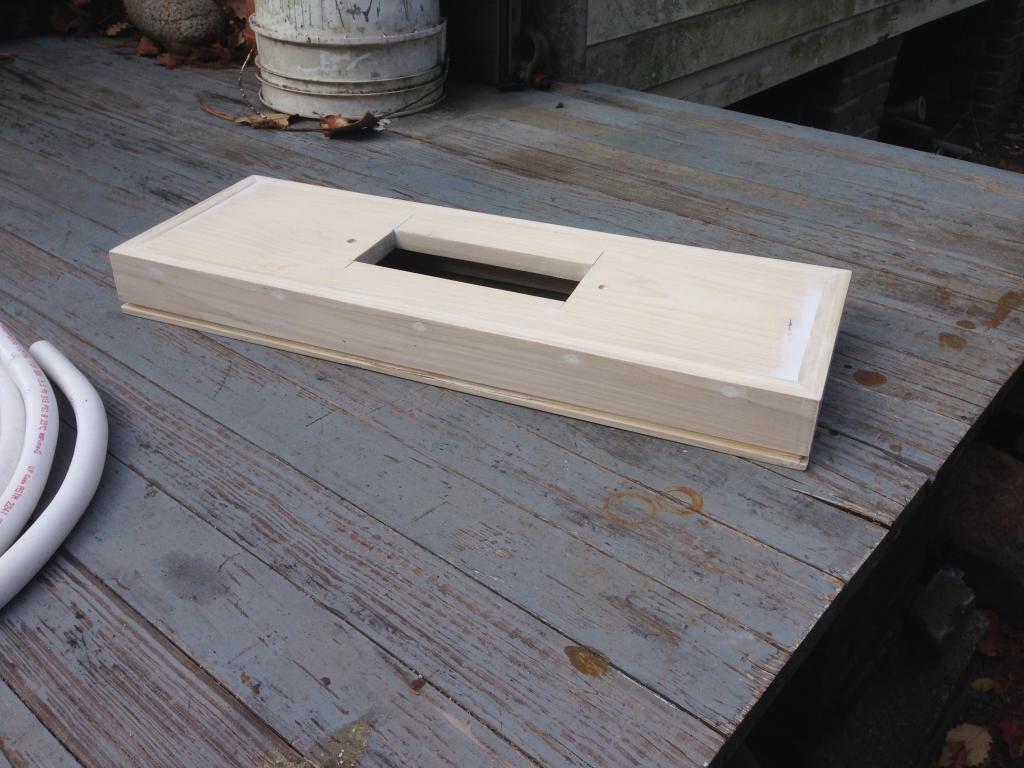
I started off by making the light housing:
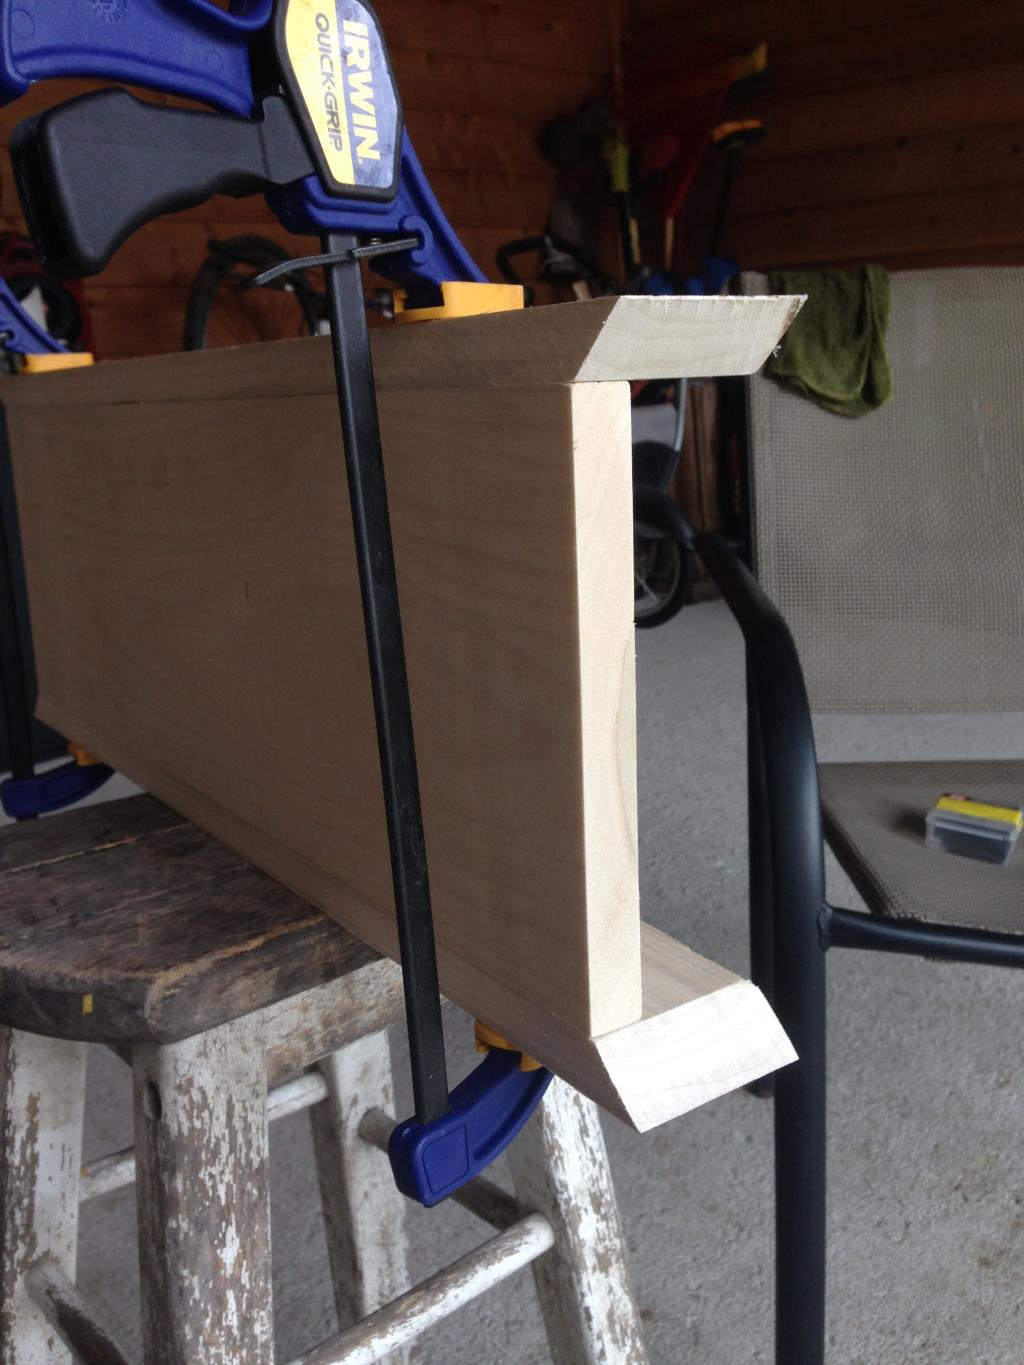


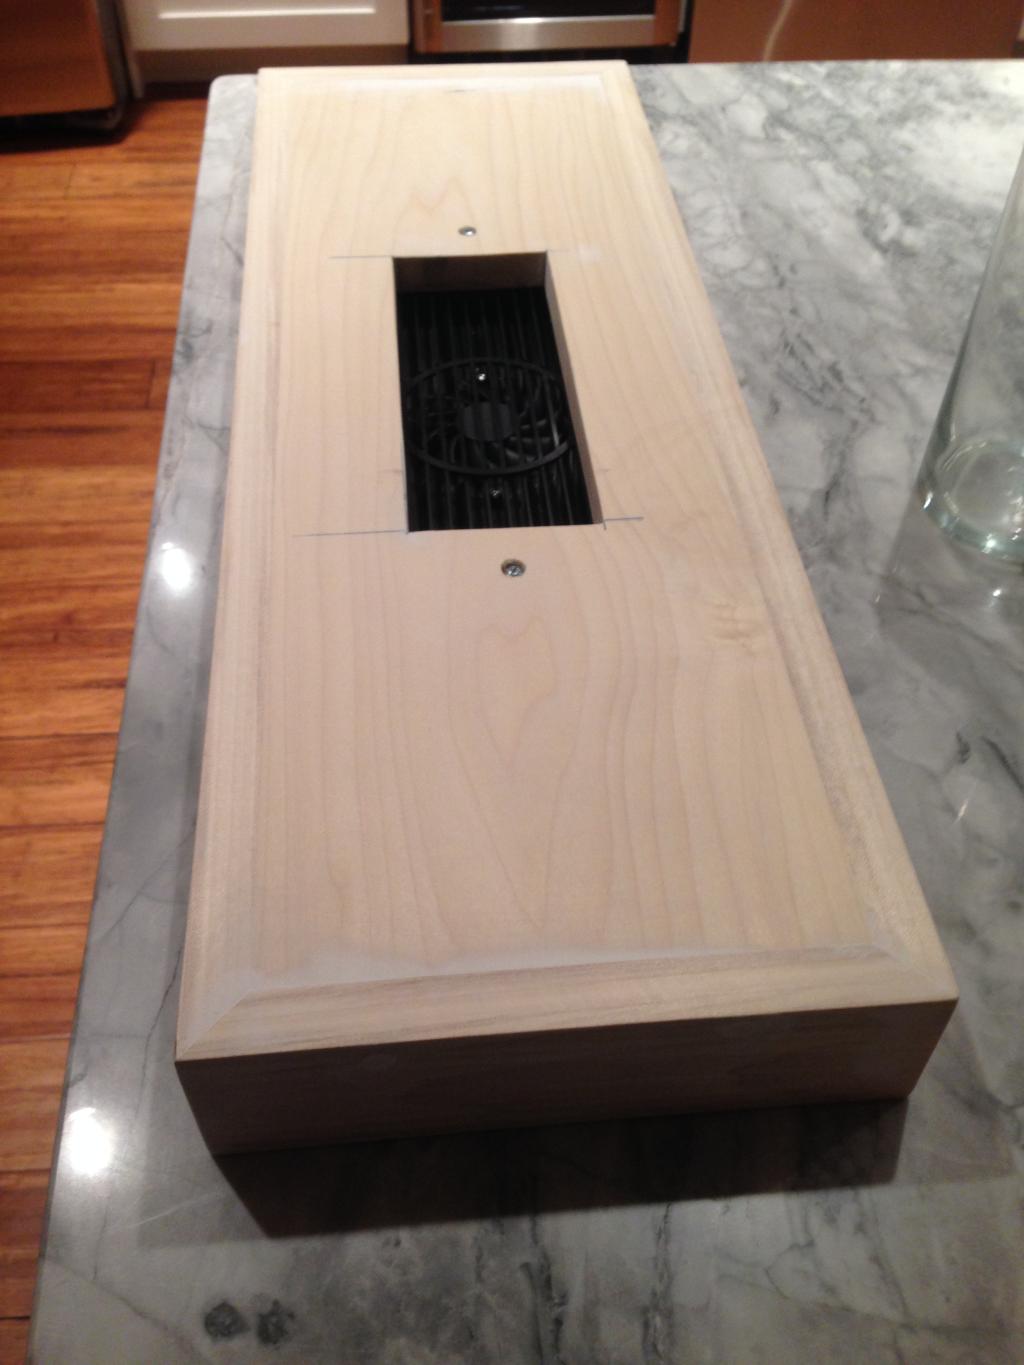
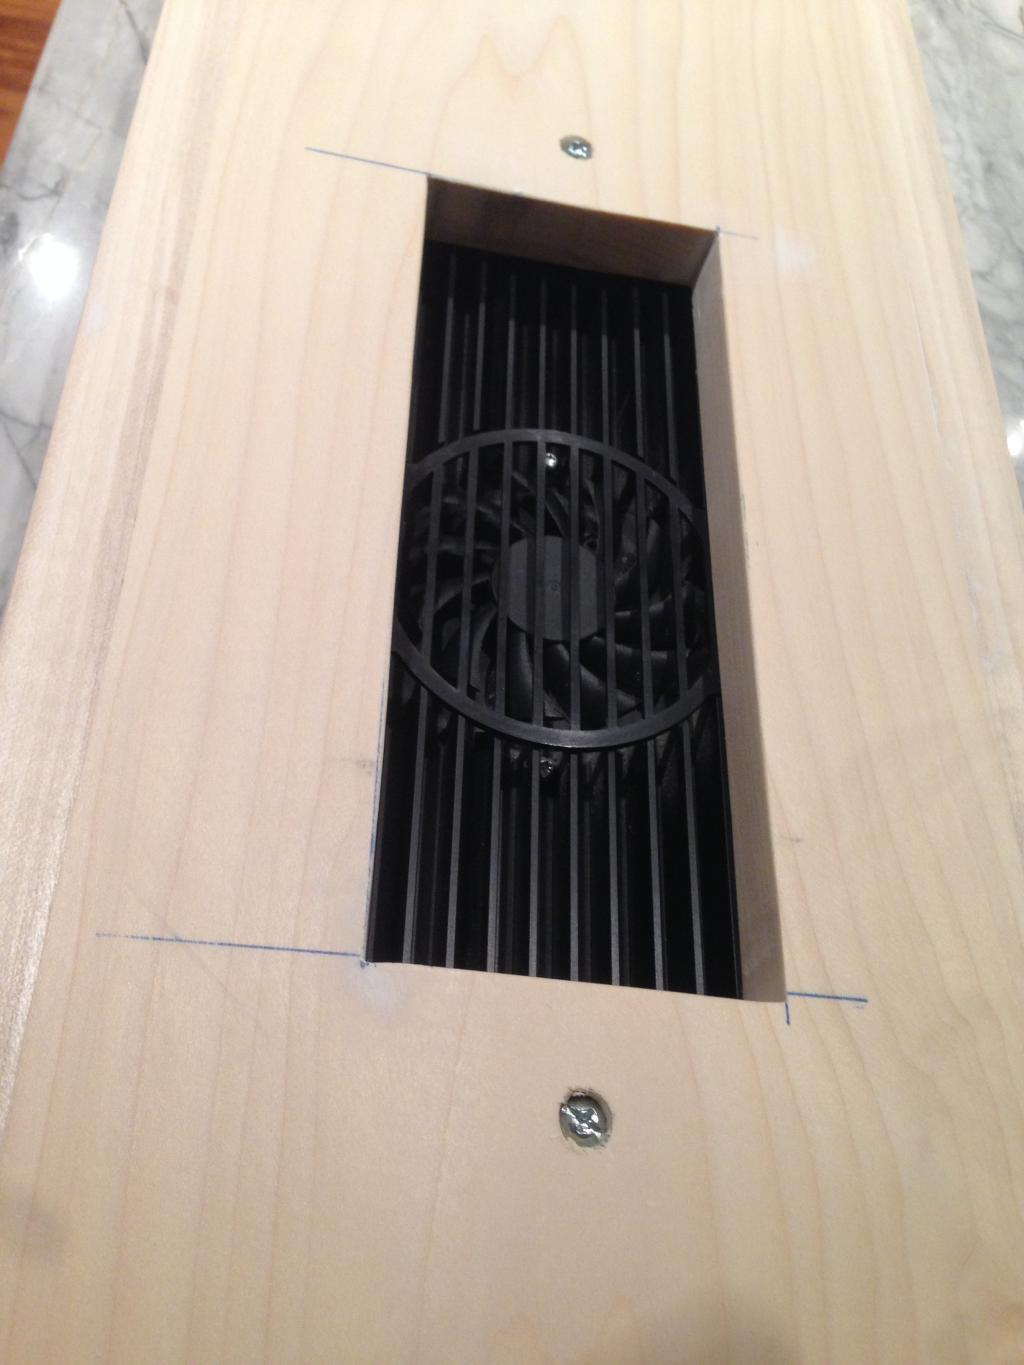
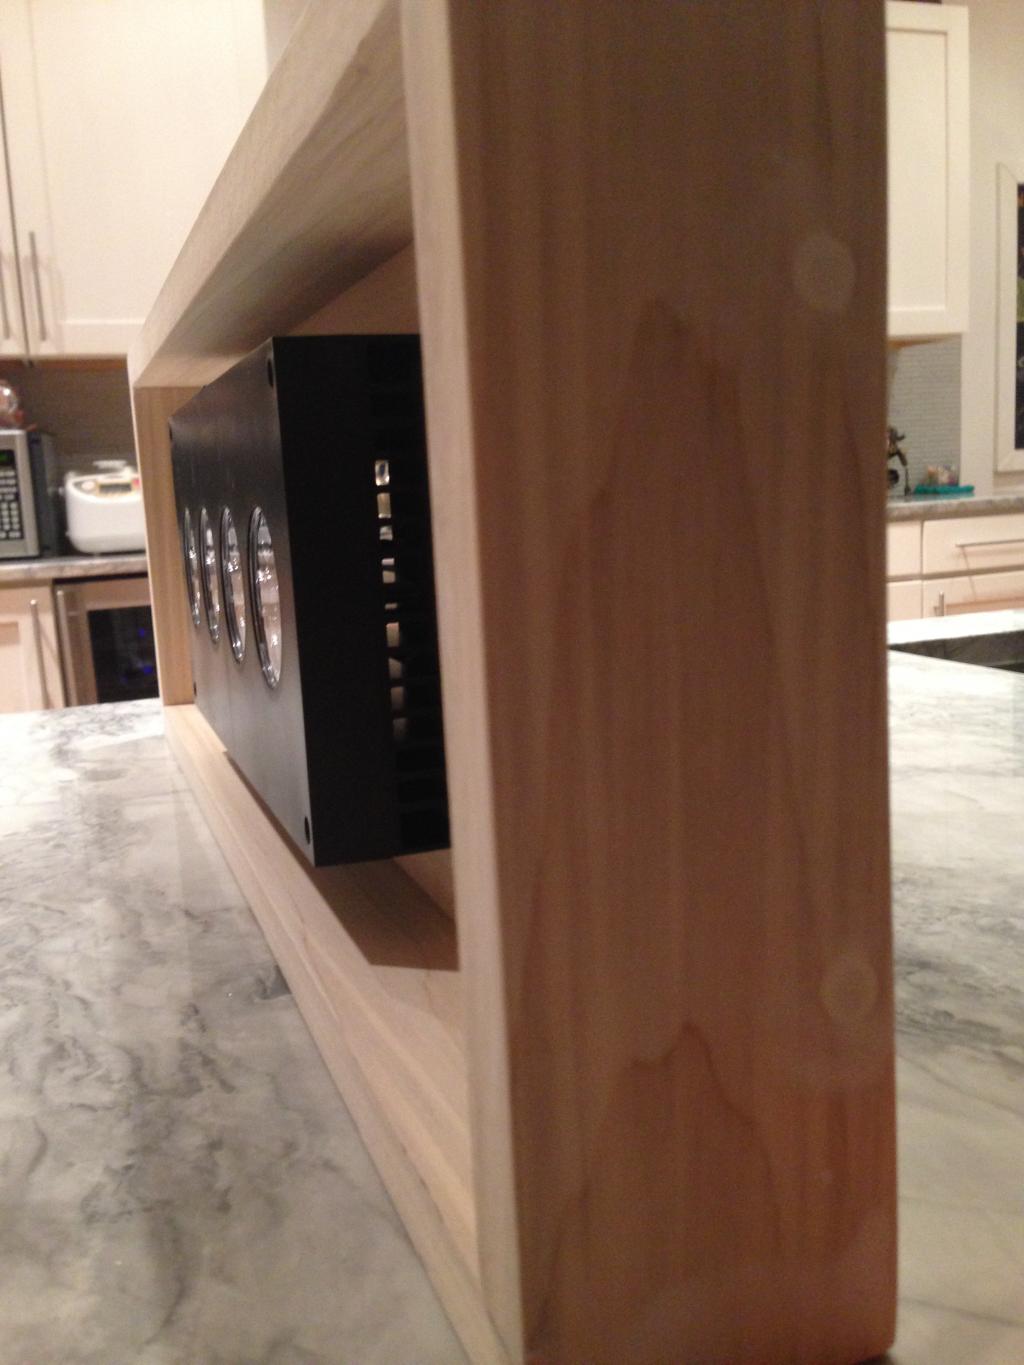
Decided I wanted to add a bit of a custom touch to match the stand:

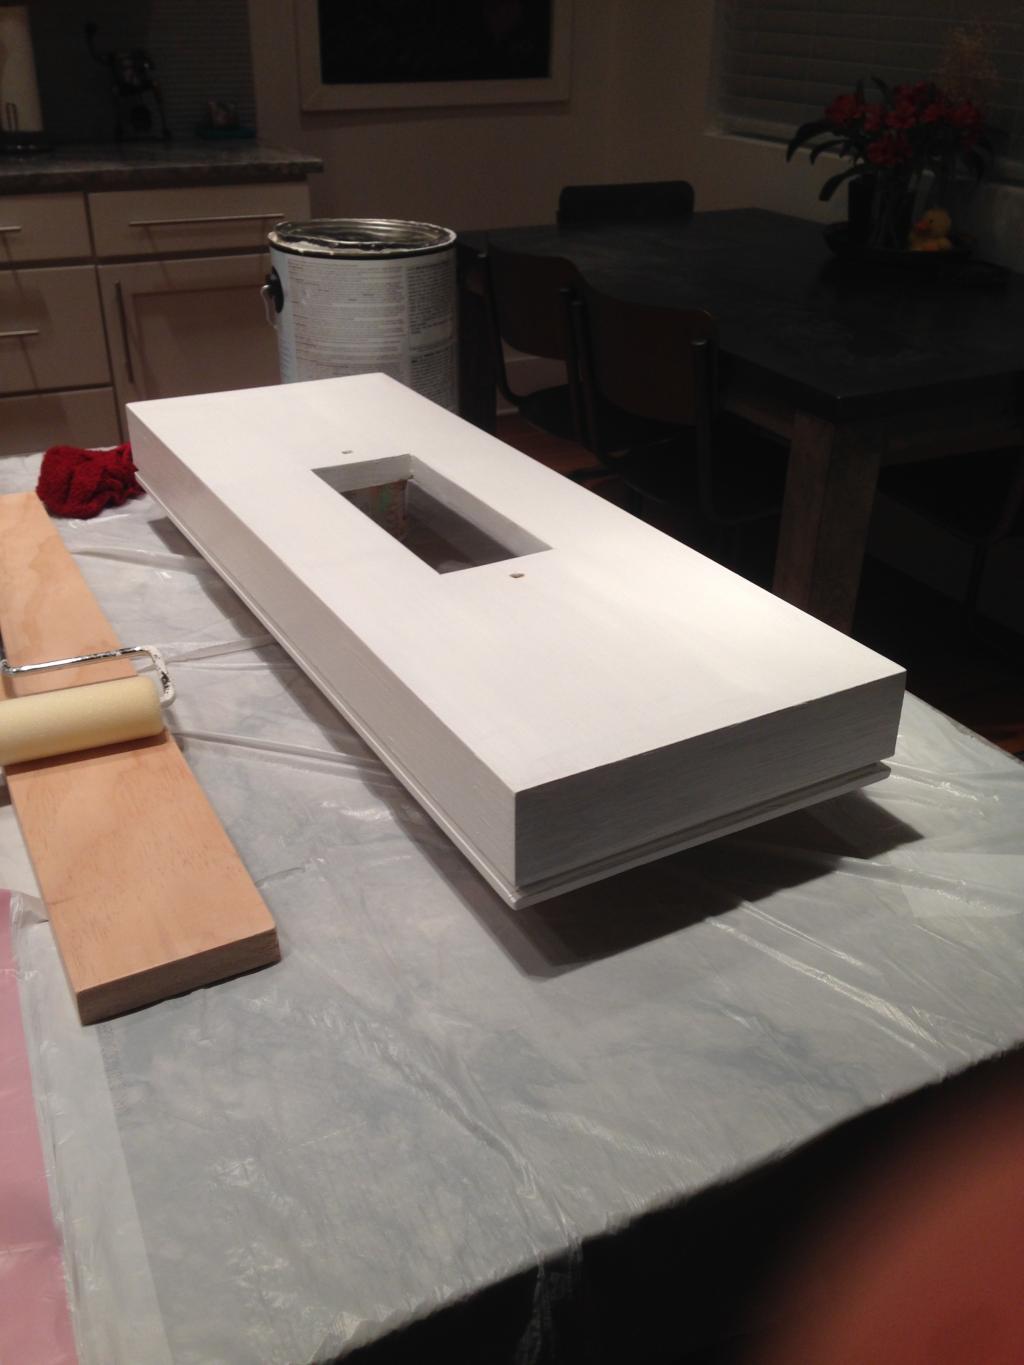
Now for some paint:
Equipment List (Current as of July 2015)
CadLights 45G Shallow Artisan II
Hydra 52 (15" off water top) (debating on adding another Hydra 52 or going T5/LED Hybrid)
2x MP10's
Sicce 2.0 Return
Vertex Omega 130 (Modded with air valve to restrict flow)
Cadlights 30G sump
Apex Full w/Ecotech Module
2x BRS Mini Reactors (Carbon/GFO)
Par38 blue/red LED for sump (on 24 hours for caulerpa)
5G ATO box made by yours truly
Smart ATO
BRS 5 Stage RODI Unit
Livestock:
Corals: (SPS/LPS) At the moment, too much to list.. I went completely overboard with my SPS.. 40+ frags and counting.. I think I did this subconsciously (that's what I tell the misses anyway) so I can be "forced" into buying a new bigger tank here soon when things grow out.. Also have about 10 different Torches/Hammers/Frogspawn, and a few Zoas..
Fish: T*** :|, Wrasses (Filamented, McCoskers, and Fairy), and a pair of Lyretail Anthias.
The tank came with a Cadlights stand which from what I've read and what I came to find was your typical MDF type setup. I was "ok" with this but was wanting something of better quality and a tad bit taller. When I went to pick my tank up from a member here he actually had a steel frame he built with plans to skin it in the future. It was also about 12" taller than the Cadlights stand. Instead of using the Cadlights stand I decided to work on the frame and not have to move things around later down the line.
The person I bought the tank from had a different idea on how he wanted to skin the stand than I did, so I had to make some slight accommodations to get the look I wanted. Anyway, here is the stand build out part that me and my pops did. I'll let the pictures do the talking. We used 3/4" Birch plywood for the skin... heavy stuff..
A quick test fit of the tank..
I decided I wanted to add some character to the front of the tank and had a left over piece of bamboo flooring from my house. PITA getting this thing planed down. But it kind of gives the stand a custom feel since the wood matches the house... Anyway,....
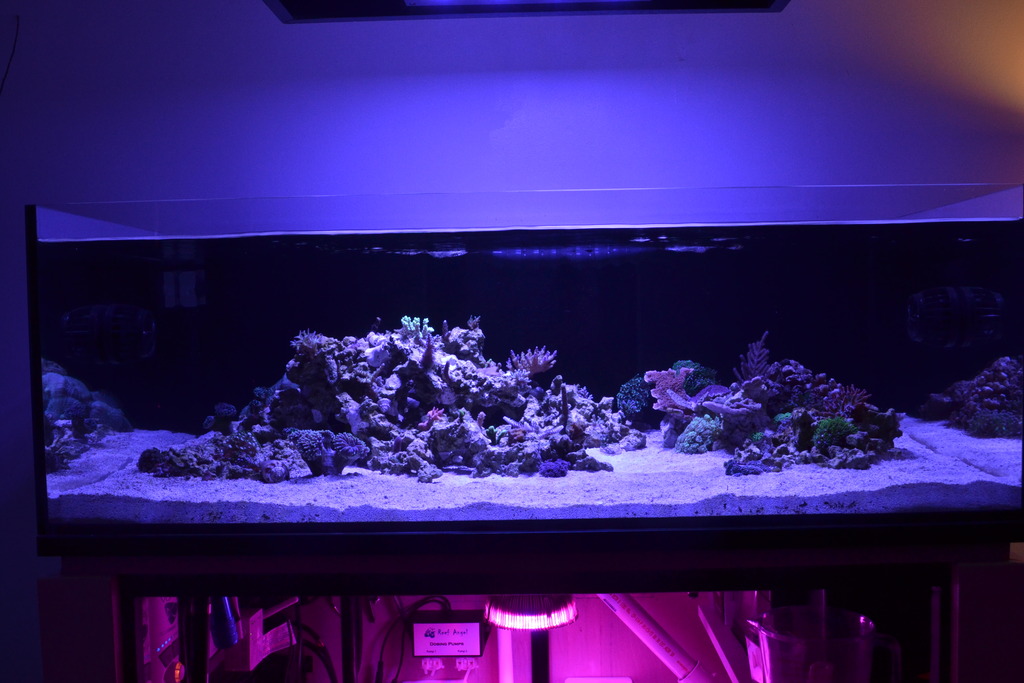
Just about done..
Added some desk gromets for the MP10's. Didn't want the wires running all over the tank. I will have to open up the controller and see how to remove the wire to run through the holes. Figured polished nickel would be a nice touch.
Because of not wanting to show the wood grain on the edges my pops recommended beveling them at a 45 degree angle.. this way the sides are all clean. This prevented me from using the entire front as the door. So we had to cut the door out. I picked up some european inset hinges and they buckled from the weight of the 3/4' Birch plywood. I will have to revisit the hinges.. for the time being I purchased some nice hefty magnets and chiseled out some spots for them and flush mounted them to the door. They hold on to the steel frame without issue. Hinges will be needed in the near future as the wear and tear of opening the door the way I have to now will get old... but for now, it will do. If anyone has some good carpentry skills and wants to assist with installing hinges let me know.. i'm afraid I'll screw it up.
Next I will be working on the light housing which will be suspended from the wall with galvanized pipes.. kind of add an industrial look to it. Wires will be run through the wall and through the pipes themselves. Goal is to have no wires showing...
I'll post some updates here in about a week... Hope you guys enjoy the build....=)
****Update
Long day.. finally decided to get off my butt and hang the light.. my back is killing me..
I started off by making the light housing:
Decided I wanted to add a bit of a custom touch to match the stand:
Now for some paint:
Last edited: