CDNess's 125G Build Thread

OP
OP
cdness

cdness

2006 - Present
View Badges
Joined
Jul 15, 2009
Messages
3,988
Reaction score
165
Location
West Fargo, ND
Rating - 0%
0   0   0
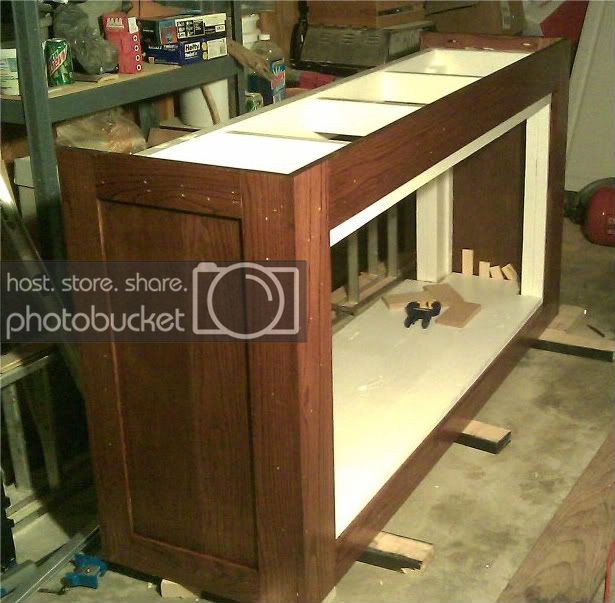
Well progress has been made over the weekend. It is not done yet, but fighting the colder weather up here makes things take a little longer to dry. I am hoping to poly coat tonight and get the stand fully assembled tomorrow. Here are some pics of the progress:

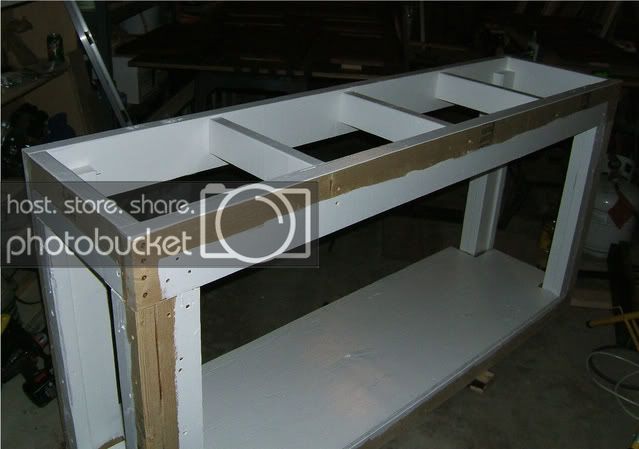
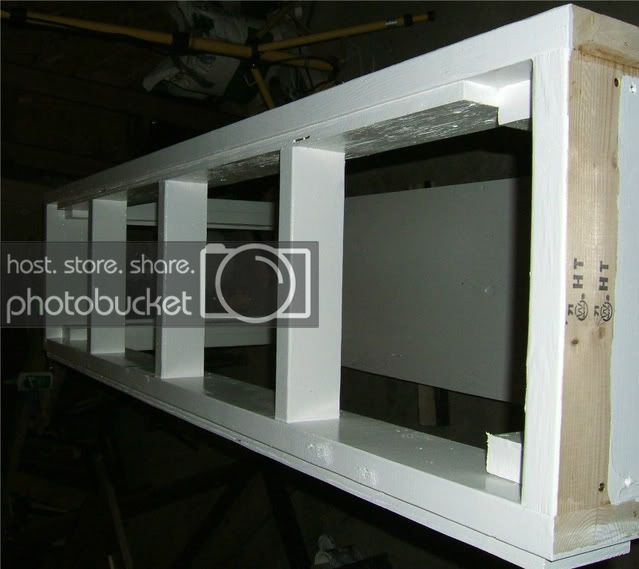
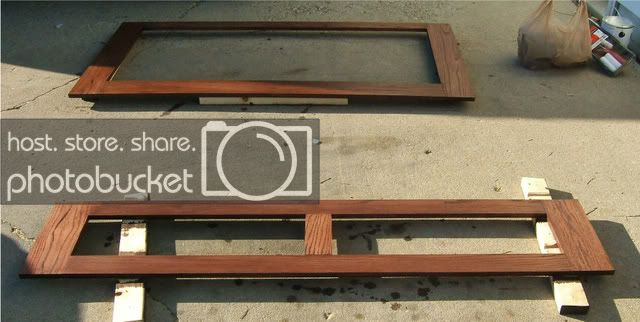
The cross members on the top of the stand have been installed. I did use some 3/4 plywood to strengthen the top 2x6s a bit. It was then primed with 2 coats of KILZ primer and one coat of latex acrylic paint in gloss white. I can say the KILZ primer is the best thing in the world for coverage. Also for those wondering it is super cheap at Walmart. Small parts of the stand were left un-primed and painted to allow me to use some glue on the oak face to make the attachment more rigid. I'll be using a nail gun to attach it to the stand which should work fine as long as there's glue as well. Pics below:

DSCF6392.jpg


DSCF6393.jpg


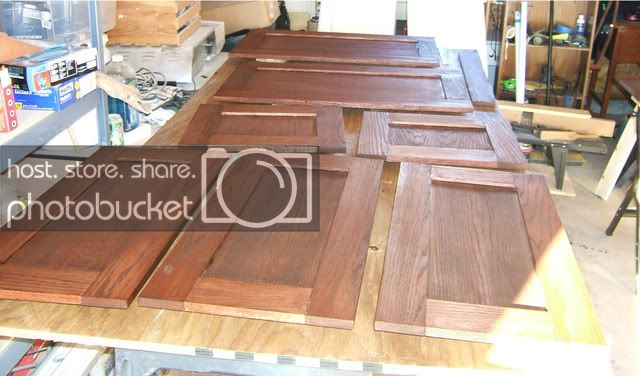
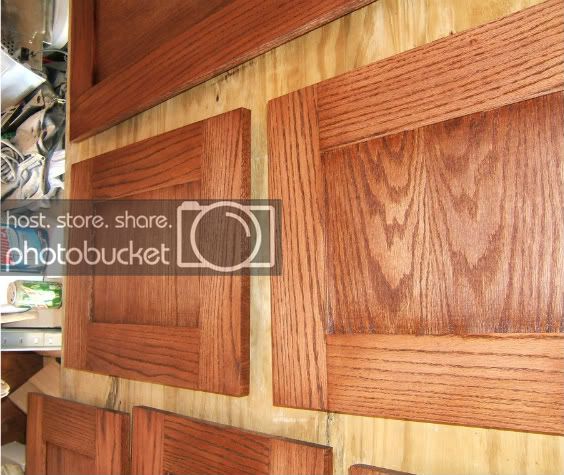
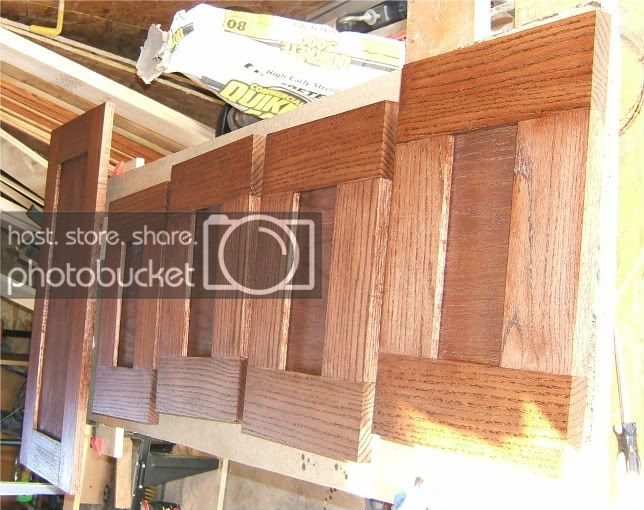
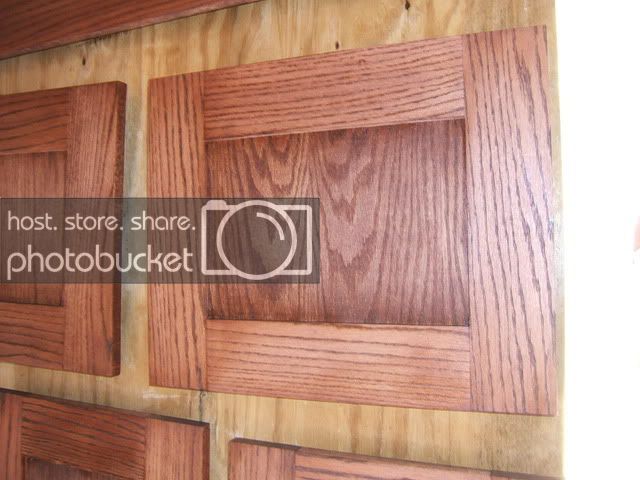
Next I got the cabinet doors and trim stained. I used a Minwax Red Oak color. The stain was applied with a rag and left to sit on the wood for 10 - 12 minutes. The colder weather makes it react and soak in a little slower so I had to add some time to get it right. I verified the color with the wife and it was OK'd so the next step is going to be the poly coat. Pics below:

DSCF6390.jpg


DSCF6387.jpg


DSCF6391.jpg


DSCF6388.jpg


DSCF6389.jpg


Next steps:

1 - Poly Coat the cabinet
2 - Build the framing for the canopy
3 - Attach the cabinet to the stand frame
4 - Plumbing

I can see the light at the end of the tunnel... Stay tuned for more info!
 
Last edited:
OP
OP
cdness

cdness

2006 - Present
View Badges
Joined
Jul 15, 2009
Messages
3,988
Reaction score
165
Location
West Fargo, ND
Rating - 0%
0   0   0
Do you see any issue with using glue and a nail gun to attach the face oak to the pine framing? I can use brad nails as well but would have to get filler. I just don't really want to have to drill and screw if I don't have to.

Any ideas?
 
OP
OP
cdness

cdness

2006 - Present
View Badges
Joined
Jul 15, 2009
Messages
3,988
Reaction score
165
Location
West Fargo, ND
Rating - 0%
0   0   0
Gorilla glue it will be then...

FYI 30 degree weather and polyurethane do not mix. It doesn't like to dry very fast. I put the first coat on Monday and last night there were still some spots that looked wet. Hopefully it will be dry tonight.

Do you think a second coat is going to be needed?

Is it an absolute must to sand between coats?

Sorted some buckets of random tank hardware for plumbing parts. Will be working on the plumbing this weekend. I can't wait for this to be done!
 

skinz78

10K Club member
View Badges
Joined
May 8, 2009
Messages
21,934
Reaction score
648
Location
lovely rainy NW Washington
Rating - 0%
0   0   0
I would do a second coat of Poly, it just gets better with every coat. I didn't sand my bookshelves and it turned out fine.
 
OP
OP
cdness

cdness

2006 - Present
View Badges
Joined
Jul 15, 2009
Messages
3,988
Reaction score
165
Location
West Fargo, ND
Rating - 0%
0   0   0
The second coat of poly has been applied to the oak. With the cooler weather in ND it is going to take a couple days to dry so I figure I'll be able to assemble the rest of the stand on Saturday. I'll post more pics.

Note to self: No more stand builds in the late fall or winter... Doing polyurethane coats in a not well ventilated garage with a massive propane heater running leave for very lightheaded Curtis :(

Does anyone know the bulkhead sizes I need to get for a standard 125G aqueon tank with the Corner-Flo system?

Would you recommend ordering the slip/slip, or slip/thread bulkheads and why?
 
OP
OP
cdness

cdness

2006 - Present
View Badges
Joined
Jul 15, 2009
Messages
3,988
Reaction score
165
Location
West Fargo, ND
Rating - 0%
0   0   0
I hate sump design and it is getting close to the wire here... Which is preferred and why:

SumpDesigns.jpg


Let me know if I should alter my measurements at all as well.
 

swannyson7

Moderator/Acro Aficianado
View Badges
Joined
Jan 17, 2010
Messages
6,715
Reaction score
297
Location
Bantam, Connecticut
Rating - 0%
0   0   0
I'm no pro, but I'd opt for Option 1. In option #3, I'd be afraid that water from your return (after being skimmed) won't have enough nutrients to really support much macro. Option #2 is a better option, but I don't think it would be fully utilizing your fuge or skimmer seeing as it is passing through either one or the other (that being said, this is similar to the way my sump is set up). Option #1 would allow the fuge to suck any remaining nutrients after the skimmer and would utilize both the fuge & skimmer to their full potential. Just my .02

Also, I'm assuming you're planning on building a stand for the skimmer? 14" is awfully deep...
 
OP
OP
cdness

cdness

2006 - Present
View Badges
Joined
Jul 15, 2009
Messages
3,988
Reaction score
165
Location
West Fargo, ND
Rating - 0%
0   0   0
Well progress has happened over the weekend. Not as much as I wanted, but progress anyway.

The main part of the oak face has been insyalled on the stand. I noticed that I think my saw is slightly, which is very noticeable on the longer pieces. I was able to shim it a little to line it all up again so noone will know but me (and the forums I guess). I still need to get the doors on it but that doesn't need to happen right away as that part is easy.

I started to assemble the plumbing for the closed loop and drains. I have the OM 4 way plumbed as well as 2 outputs that will be constant on. The plumbing will allow for two of the outputs of the 4 way to come from the back of the tank and 2 from the front, utilizing the center braces to run pipes to the front of the tank. I don't think I will be able to paint them as it is just too cold for it to cure right in the garage and the wife would kill me if I painted in the house when it is all closed up. Looks like I'll tear the closed loop down in the spring and give it a good coat of paint.

I bought the additional sand for the tank from the LFS. It is a caribsea sea floor sand, the same as what I currently have. I am going to try save the sand that's in my 75 as well, but we'll see how that goes. I don't want to lose all my nassarius breeding snails in the sandbed so it will require some sifting. I will probably rinse some of it and add it to the tank as well as 2 40 lb bags won't be enough. Sifting the sand for snails sounds like a great job for my wife.

I also ordered the glass for the baffles. I ordered 4 pieces 12" high x 17 1/8" wide. This will allow for easy placement and allow them to touch the bottom of the tank with the silicone there. I told the glass company I didn't care if it was imperfect glass so hopefully they give me a deal. I looked at all places locally for the GE Momentive 108 RTV Silicone and came up empty handed. Unfortunately the LFS charges $17.99 for the Aqueon stuff, but I think I'll just cave in and buy some. I am hoping he'll take some coral frags in trade for the silicone, but we'll see.

I will have more done tonight and will be sure to get some pictures up so the progress can be seen. It is looking better and better every day.
 
OP
OP
cdness

cdness

2006 - Present
View Badges
Joined
Jul 15, 2009
Messages
3,988
Reaction score
165
Location
West Fargo, ND
Rating - 0%
0   0   0
Well the sump was built last night but that's all the new progress I have for the build. I went with option 1 but lowered the baffle height to 12" instead of 14". This is still pretty high, but it will keep things flexible as well.

I changed up the plumbing a bit off the Dart pump as what I originally had was a bit too high. That should be done tonight. I am hoping to water test the 125 on Thursday evening and haul it inside on Friday before the switch over.
 
OP
OP
cdness

cdness

2006 - Present
View Badges
Joined
Jul 15, 2009
Messages
3,988
Reaction score
165
Location
West Fargo, ND
Rating - 0%
0   0   0
The next few days will be long days for sure. I have 2 days to complete the following list of stuff to do?

1. Make enough RODI water to fill the 125

2. Change out the seals on the dart pump

3. Finish the return and drain plumbing

4. Finish the closed loop plumbing

5. Put another coat of paint on the back of the tank

6. Assemble the canopy

7. Install the stand doors

8. Rinse the new bags of sand

9. Get rid of a ton of frags so I don't have to deal with them in the move...

I have people coming to help with the move on Saturday morning so I have the hands to help, but any more volunteers would be good as well. I just need to get the tank into a position where I can fill it with water. I may end up having to leave the sump offline if I cannot make enough water fast enough. Either that or mix some as I go.

I may not be able to update much in the next few days, but the next pictures you'll see will be of the completed 125G tank.
 

LegoZ81

Well-Known Member
View Badges
Joined
Oct 15, 2009
Messages
775
Reaction score
6
Location
IL
Rating - 0%
0   0   0
my choice would have been 1 or 3 with preference on 3 as you could provide lower flow thru the refuge.

I have in fact had a sump setup like that and REALLY liked it, biggest problem is marco makes it to the return.

I now have my refuge setup where it is remote, it is fed from the return and drains back, via overflow, to the sump thru a filter sock, this keeps the sump and the intake screen over the return pump clean.

There is not much of a difference between the two however.

Option 2 you will find a build up of detrius, so if you want sand in the refugium you will find it difficult to keep clean, that is unless you run a filter sock.
 
Last edited:

LegoZ81

Well-Known Member
View Badges
Joined
Oct 15, 2009
Messages
775
Reaction score
6
Location
IL
Rating - 0%
0   0   0
I've used both, it is possible to crack fittings with tape if WAY TOO MUCH is used and it is over tightened.
Both have about the same rate of leakage in my system.
Tape is WAY less messy.

I'd use the heavy duty Pink Teflon tape if I again re-did parts of my plumbing with the exception of my Reeflo Hammerhead Gold as they recommend using the paste.
 
OP
OP
cdness

cdness

2006 - Present
View Badges
Joined
Jul 15, 2009
Messages
3,988
Reaction score
165
Location
West Fargo, ND
Rating - 0%
0   0   0
Well Here's an update from last night... Tonight is going to be busy again for sure.

I tore apart my dart pump to replace the seals. When I did I found a cracked impeller and the fan was falling off the mounting on the back. This is just what I wanted to see close to the build completion. The impeller seemed to still have OK threads so I replaced the seals and put it all back together without the back fan. That will be taken to a motor shop to see if they have a replacement or can do something to reattach the plate fan to the collar.

I got the spaflex for the closed loop cut and glued. All of the loc-line pieces are atttached and ready to go. I was missing a few parts to finish the project so the last few glue joints will be tonight. I also need to plumb the returns and drains, but that is easier to measure with the sump in the stand and the tank on the stand. I am going to try get them upstairs tonight and do the measuring and gluing before bed.

I still need to figure out a good strainer for the 2" bulkhead. I had a nice lower profile one from a spa on my 75 with a 1.5" fitting, but I have been unable to source them for a 2" threaded fitting. I'll probably have to manufacture one tonight just to get by until I can find something.

The back of the tank is painted. 8 ox of the Krylon satin black was able to give it a decent coat. If it is bad when the lights come on I'll have to add more paint at a later time. That won't be hard as it has the first layer already so it shouldn't run too bad.

I am going to try assemble the canopy tonight. I was going to rip down some 2X4s I have already, but I think I'll just end up buying wood to make this go much faster. I don't have the time aymore to bother with the cash saving strategies. I have moved into get it done mode...lol

I have 50 gallons of water mixed up for new water currently and my wife is making more water at home today. I am going to save as much as I can from the 75G. I have local friends here who are bringing more water in the morning and also getting me another bucket to use for more water at my place. The local reefers near me have been great offering to help with stuff so I think this will go easier than I expect. I guess all my last moves involved the third floor of an apartment with no elevator so cake walk is more like it :(. This will be just an in-place replacement.

Thanks for the info LegoZ! I'll need the paste for the dart pump anyway so I'll use that on the threaded bulkheads as well. I will probably use it on the OM 4way too just to add some lubrication to the threads on that too.
 

Looking back to your reefing roots: Did you start with Instant Ocean salt?

  • I started with Instant Ocean salt.

    Votes: 197 70.6%
  • I did not start with Instant Ocean salt, but I have used it at some point.

    Votes: 21 7.5%
  • I did not start with Instant Ocean salt and have not used it.

    Votes: 53 19.0%
  • Other.

    Votes: 8 2.9%
Back
Top