

OP
OP
Yes, that would work perfectly. Adjustable speed is a bonus!!WallyB,
Was sifting through eBay and came across this.
Do you think this would work?
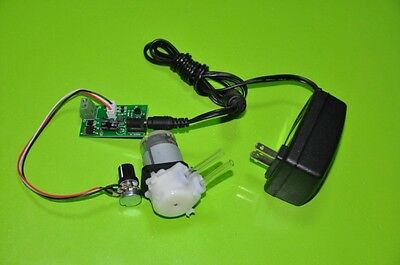
24V DC Dosing Pump Peristaltic Dosing Head Adjustable Speed For Aquarium Lab | eBay
Find many great new & used options and get the best deals for 24V DC Dosing Pump Peristaltic Dosing Head Adjustable Speed For Aquarium Lab at the best online prices at eBay! Free shipping for many products!www.ebay.com


") They sense the food is coming and hang around the feeder output spots. They don't freak out as much every time they see me going to the Fridge, or get close to the tank. At least they don't beg so that means I'm not suckered into feeding them too much. The feeder runs regularily few times a day and same small portions.
They sense the food is coming and hang around the feeder output spots. They don't freak out as much every time they see me going to the Fridge, or get close to the tank. At least they don't beg so that means I'm not suckered into feeding them too much. The feeder runs regularily few times a day and same small portions.


