Party time! I FINALLY got the wood. Would have happened a couple weeks ago, but the guy at the Lowe's in the city north of me was a bit of a jerk and talked down to me the whole time accusing me of not understanding the blueprint (schematic?).
Just wondering what order I should put it together in. Top and bottom frames first, of course, but from there, how do I make the legs so they'll go on correctly? Do I screw one upright into each corner, put the weight support pieces on, then put the top on and screw it down, or some other way? And how many screws should go in each board so it's secure, but not too many so it becomes weakened?
Also, since I don't have any large clamps or an assistant, what's the best way to hold the pieces still while I am screwing them into place so it doesn't get all wonky?


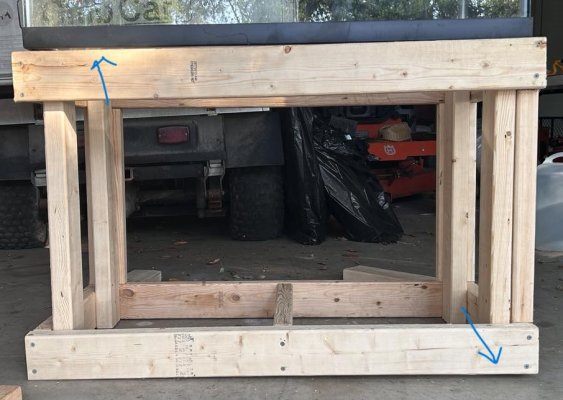
 It's square to itself, and all of the weight-bearing joints just slide into the space under the top bar, but this is what the corners look like. Is that shimmable (shimmable?) or is that way too far off to salvage? The bottom's a bit wobbly as well, but I figured with something under a corner it'd work, but this. . . Bah.