OP
OP

Bringing this one back to the top as I finally got around to finishing the LED driver box. I also bought a new halide fixture, with a much better reflector in it. Here are the FINISHED pictures. LOL!
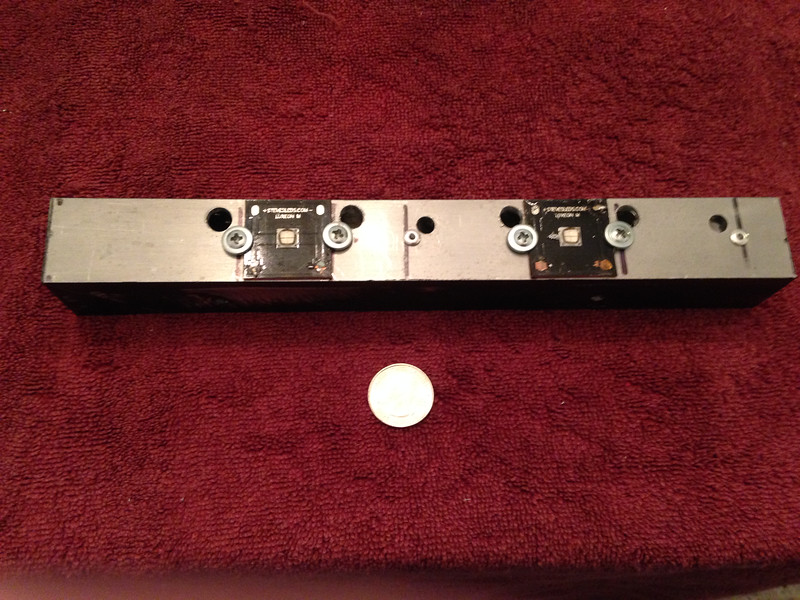
The heat sink is now only 10" in length, and yes it does get quite warm. I have added a thermal switch from Steve's LED's to the middle of the heat sink, and it has never tripped off. The quarter is there for scale.

Mounted to the side of the halide, this time I used a rubber grommet between the LED's and halide. The grommet creates an air gap to allow for better cooling, and less heat transfer from the halide to the LED.
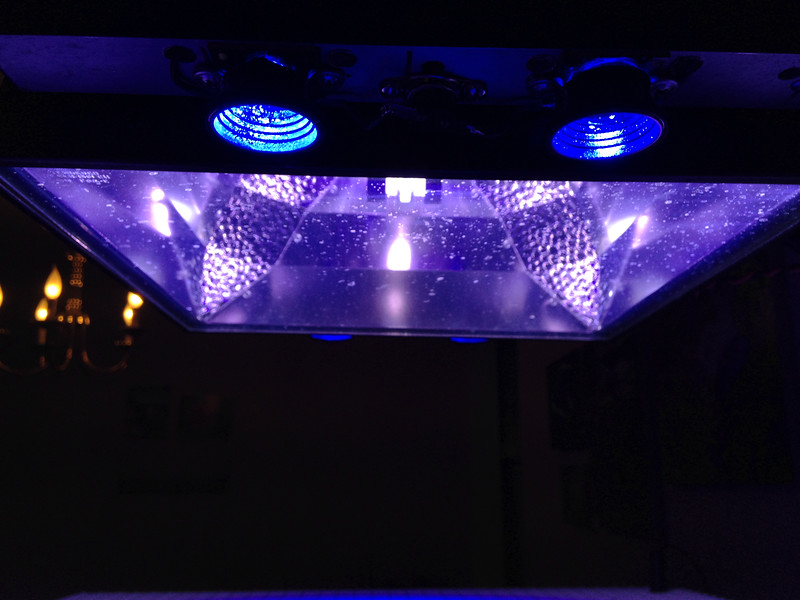
Lights on. This is taken with a Ushio 20K bulb that was about 12 months old, it has been replaced by a Phoenix 14K, which I like a lot more. I like the Phoenix even better than the Radium to be honest. The 14K Phoenix looks just a tad more blue to me, I know the charts show otherwise. Also the LED on the left is dim because I had touched the LED with the double sticky tape on the bottom of the reflector. The LED was on when I was placing those, and it started smoking immediately. I ended up replacing that particular emitter, and ordered a spare in case I do something stupid again.
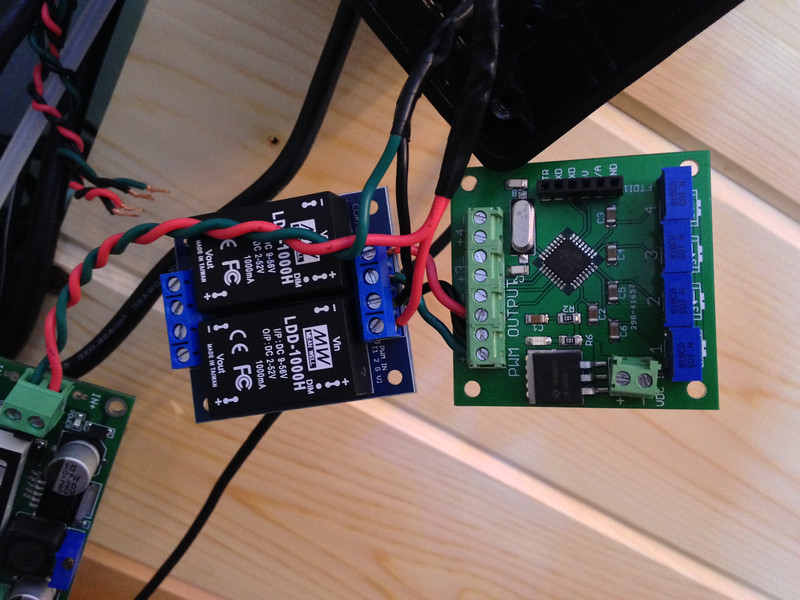
LDD's into the O2 Surplus manual PWM Dimmer. This works perfect for me, manual dimmer on LED's that are only there to enhance the color of the tank, and add a dawn/dusk effect to the halide.
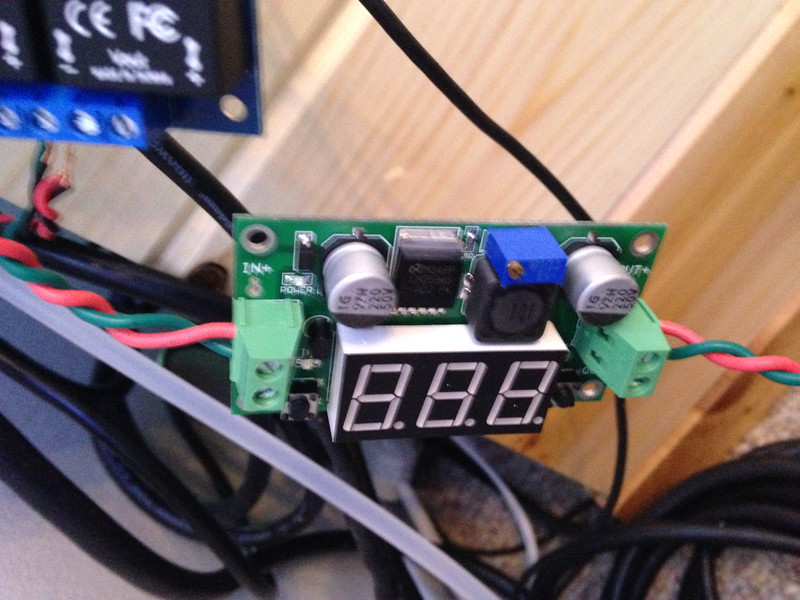
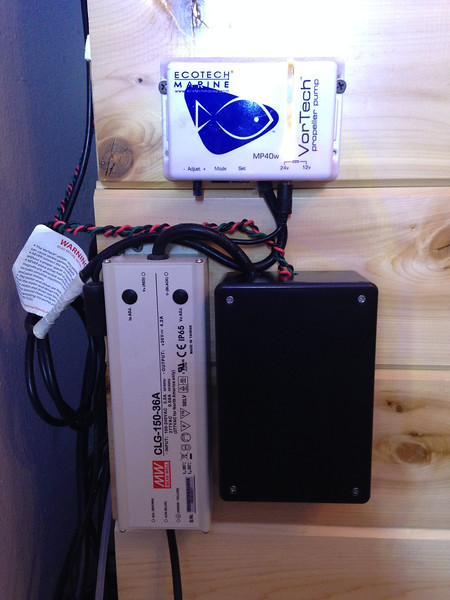
E-bay special voltage dropper. This takes the 36v from the LED power supply and drops it to 5.2V which goes into the O2 Surplus dimmer.
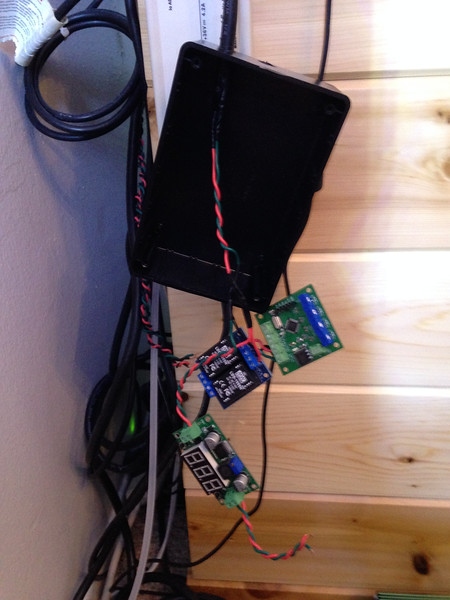
All 3 parts hanging before getting added to the project box.
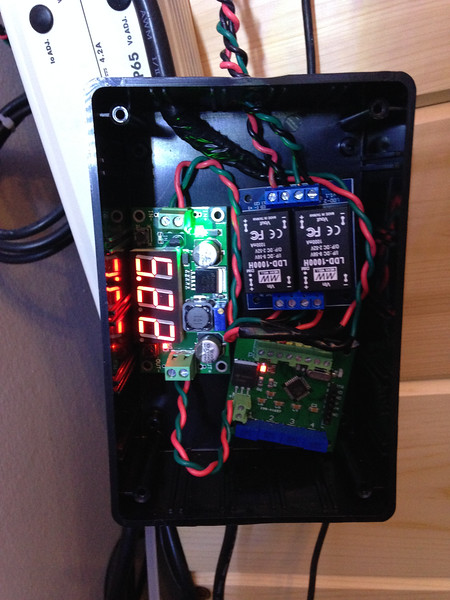
All placed in the box, you can see the voltage to the Dimmer at 5.22. I can also push a button and see the input voltage, which is 36.2.
And finally all buttoned up, looking much cleaner than having that dimmer hanging out in space.
The heat sink is now only 10" in length, and yes it does get quite warm. I have added a thermal switch from Steve's LED's to the middle of the heat sink, and it has never tripped off. The quarter is there for scale.
Mounted to the side of the halide, this time I used a rubber grommet between the LED's and halide. The grommet creates an air gap to allow for better cooling, and less heat transfer from the halide to the LED.
Lights on. This is taken with a Ushio 20K bulb that was about 12 months old, it has been replaced by a Phoenix 14K, which I like a lot more. I like the Phoenix even better than the Radium to be honest. The 14K Phoenix looks just a tad more blue to me, I know the charts show otherwise. Also the LED on the left is dim because I had touched the LED with the double sticky tape on the bottom of the reflector. The LED was on when I was placing those, and it started smoking immediately. I ended up replacing that particular emitter, and ordered a spare in case I do something stupid again.
LDD's into the O2 Surplus manual PWM Dimmer. This works perfect for me, manual dimmer on LED's that are only there to enhance the color of the tank, and add a dawn/dusk effect to the halide.
E-bay special voltage dropper. This takes the 36v from the LED power supply and drops it to 5.2V which goes into the O2 Surplus dimmer.
All 3 parts hanging before getting added to the project box.
All placed in the box, you can see the voltage to the Dimmer at 5.22. I can also push a button and see the input voltage, which is 36.2.
And finally all buttoned up, looking much cleaner than having that dimmer hanging out in space.