Inspired by this thread https://www.reef2reef.com/threads/cryptic-zone-do-you-believe-in-it.357341/ and some other reading I decided to see if I could split my sump between a cryptic zone and growing macroalage (red ogo.) I want to be very clear this is a bit of an experiment I have no idea if it will work out to create a cryptic zone in my sump but I felt this was a low effort attempt at trying to make that more favorable. Beware.. the result was ugly... There are a few things I would do differently if I did it again and ill list these below.
So what exactly are we building? Well.. Basically a dark cave with some stalactite like structures to break up the flow. The goal being the sponges, feather dusters and other creatures which will consume leftover organics to aid in filtration will find this are more favorable to grow in. It will sit on the bottom of my sump and get the display tank return flow directed through it, on top ill put the Macroalage I grow. In effect splitting my sump creating an under Cryptic zone and a top zone with light and plants.
Items Used:
If I did it again:
Design Concept

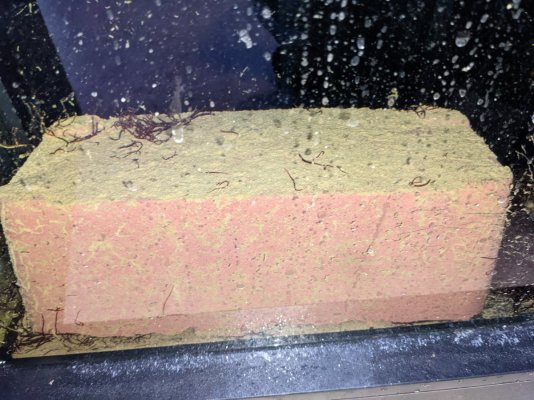
Making the cave exterior
Having never used the mortar before besides for 2 frags it took alittle getting used to, the first wall of the cave exterior was way to thin. The thickness of the average smart phone may be to much but it shouldn't be paper thin either. The plastic tote used is the perfect size for my sump allowing me to easily just make a rectangular cave. At this point I should have made holes in the mortar for my flow rather then making it solid.

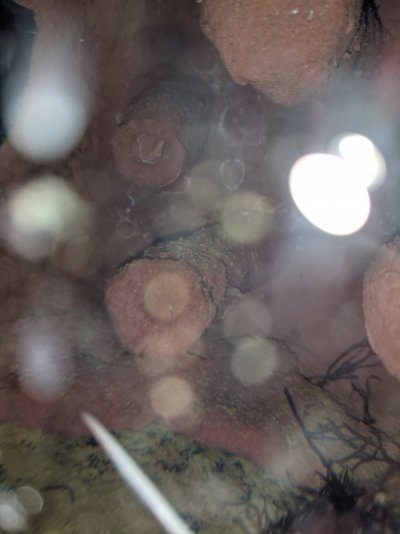
Adding some Stalactites
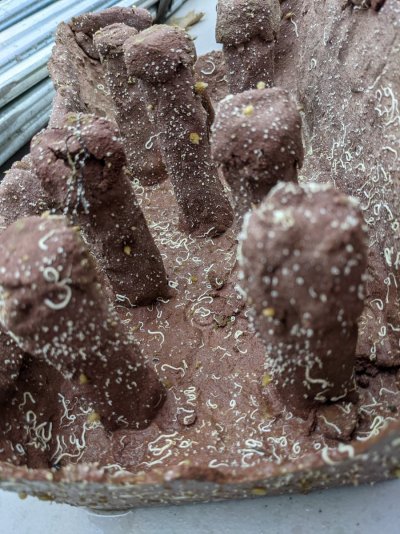
I found that it was easier to take the PVC tube with some mortar in hand and roll it between your hands to get them evenly covered. Trying to make caps for them right now didnt work out for me so I rolled and put in all the PVC Stalactite additions and let it set. After it had set for a while I came back and made some little caps, I also attempted to fix up some thing spots; I wouldnt recommend trying to fix any thin spots yet, wait until you remove it.


Remove from Plastic Tote
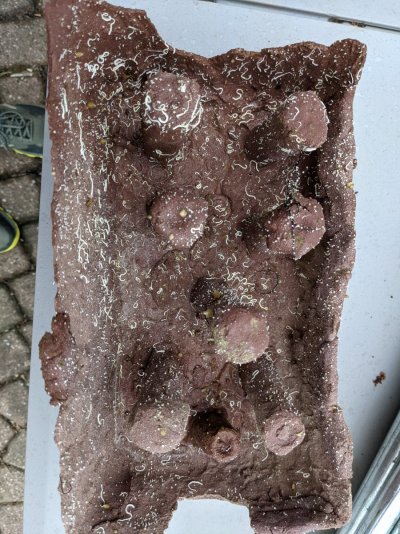
During this part I attempted to also cut holes in the dry mortar, I dont recommend this as much more will break then the area your trying to remove. It was rather simple to remove once dry i just flexed it a bit and flipped it over; the weight of it pulled it out. You can see here the result of to thin of mortar for the cave exterior.


Some Repairs
After removal from the mold I built up some more sides..
.jpg")
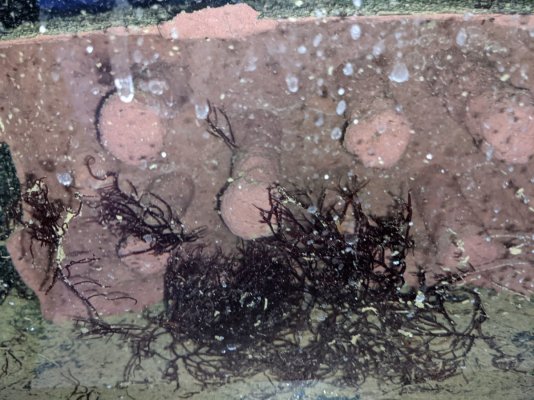
Its now finishing curing and will end up in my sump here later this week. I have a number of sponges and other filter feeders in my tanks (hitch hikers) and currently thinking about if ill seed this with something or just leave it be and let it grow on its own.
So what exactly are we building? Well.. Basically a dark cave with some stalactite like structures to break up the flow. The goal being the sponges, feather dusters and other creatures which will consume leftover organics to aid in filtration will find this are more favorable to grow in. It will sit on the bottom of my sump and get the display tank return flow directed through it, on top ill put the Macroalage I grow. In effect splitting my sump creating an under Cryptic zone and a top zone with light and plants.
Items Used:
- Small Plastic Tote - This was the mold for the Marco E400 and the exterior of the cave
- Marco E 400 Aquascape Mortar
- I have read that things grow better on Marco E400 Mortar then other epoxies and glues
- PVC Tube
- Saw (to cut pvc)
If I did it again:
- Thicker walls all around
- when the marco e 400 is done curing if its to thin it can be very brittle and snap apparent (this happened to me with 1 side of the cave wall
- Build the openings with the marco e400
- I built a solid box and then attempted to cut out the marco I needed to remove, it would have been better to just construct the openings how I wanted with the mortar
- Prep the PVC tubes
- with mortar around them or just make solid mortar stalagmites before so they could be pushed down easily into the cave structure
- While doing this I wondered if it would be good to let water flow through these and out of the cave, but I capped all of them in this design
Design Concept
Making the cave exterior
Having never used the mortar before besides for 2 frags it took alittle getting used to, the first wall of the cave exterior was way to thin. The thickness of the average smart phone may be to much but it shouldn't be paper thin either. The plastic tote used is the perfect size for my sump allowing me to easily just make a rectangular cave. At this point I should have made holes in the mortar for my flow rather then making it solid.
Adding some Stalactites
I found that it was easier to take the PVC tube with some mortar in hand and roll it between your hands to get them evenly covered. Trying to make caps for them right now didnt work out for me so I rolled and put in all the PVC Stalactite additions and let it set. After it had set for a while I came back and made some little caps, I also attempted to fix up some thing spots; I wouldnt recommend trying to fix any thin spots yet, wait until you remove it.
Remove from Plastic Tote
During this part I attempted to also cut holes in the dry mortar, I dont recommend this as much more will break then the area your trying to remove. It was rather simple to remove once dry i just flexed it a bit and flipped it over; the weight of it pulled it out. You can see here the result of to thin of mortar for the cave exterior.
Some Repairs
After removal from the mold I built up some more sides..
Its now finishing curing and will end up in my sump here later this week. I have a number of sponges and other filter feeders in my tanks (hitch hikers) and currently thinking about if ill seed this with something or just leave it be and let it grow on its own.


")