
Thickness Calculator
Tank construction is not hard, its a minimum labour job any teenager can do with great success, one element to consider when ordering glass is "edge work" this does not have to be a highly polished finish as it is usually hidden or covered, ask for an Arrissed edge, this means the glass will be run down a wet belt sander to leave a small beveled edge and remove any sharp, cutting and fragile areas. An Arrissed edge is the cheapest edge work and as edge work is charged by the linear inch it can make for huge savings.
Overflow and bulkhead holes in most shops charge about $10.00 a hole, buying a diamond bit is money well spent for future usage as they last a long time. The key to safety in drilling a pane/panel of glass is to allow 1 diameter of glass hole from edge, if in a corner do not make the hole equal distance from the edges as this is the weakest and most vulnerable location, 1 dia down and 1 1/2 dia over is safer.
Silicon is the standard adhesive for glass tanks, there are many suitable for use in several colors, check with the manufacturer, website or 1-800 # to be certain what you pick is suitable, some silicon's contain an anti fungal ingredient and will be deadly to some tank inhabitants, silicon STINKS! use in well vented areas, silicon is an air activated cure, the thicker you put it, the longer it takes to cure, acetic acid is emitted for some time and will be harmful or deadly to tank inhabitants (acetic acid)
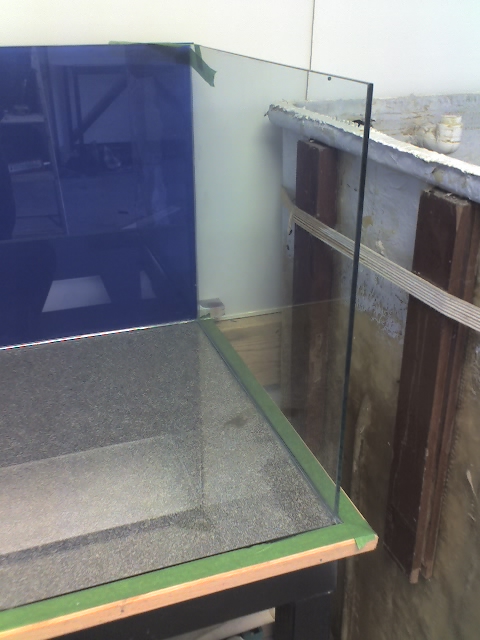
Working with glass can be dangerous, proper clothing, glass gloves and eye protection are highly recommended.
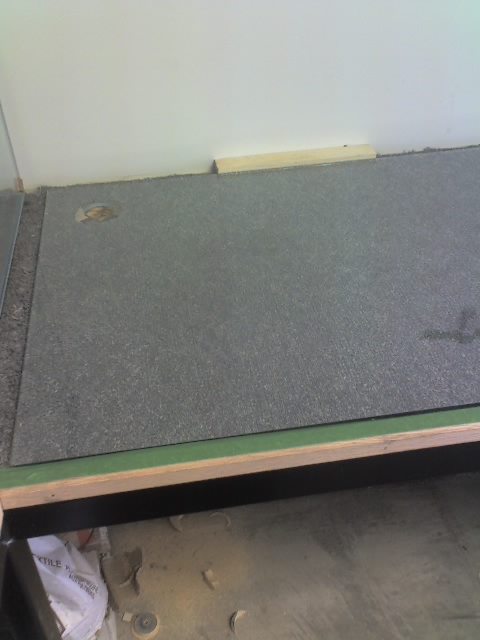
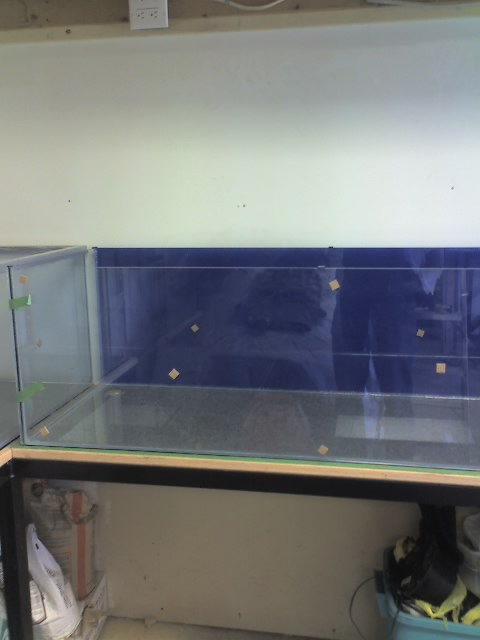
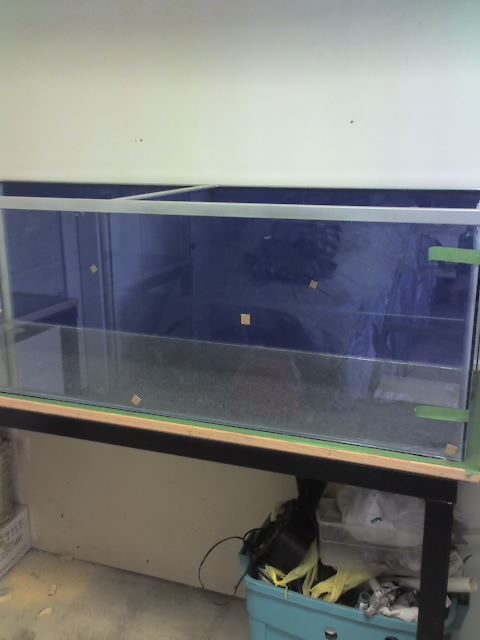
Masking tape, razor blades,paper towels, wooden blocks and a good flat rigid surface are about all thats needed, if you can work up against a wall even better as this will be a big assist in setting the first panel on the bed, spacing it away from the wall a bit with wood blocks is good and will allow you to move the tank later.
Top Trim can be a bit awkward but for a bit more money you can order extra glass and create a Euro style brace, this is usually a border of glass silicon ed in at the top on its edge at 90 degrees to the display panel, some larger tank will require an additional center brace, that is beyond the scope of this article. I fabricate top frames in 3/16 angel iron with 1'' legs and have this epoxied and powdercoated then silicon it in place at the end
Tank construction is not hard, its a minimum labour job any teenager can do with great success, one element to consider when ordering glass is "edge work" this does not have to be a highly polished finish as it is usually hidden or covered, ask for an Arrissed edge, this means the glass will be run down a wet belt sander to leave a small beveled edge and remove any sharp, cutting and fragile areas. An Arrissed edge is the cheapest edge work and as edge work is charged by the linear inch it can make for huge savings.
Overflow and bulkhead holes in most shops charge about $10.00 a hole, buying a diamond bit is money well spent for future usage as they last a long time. The key to safety in drilling a pane/panel of glass is to allow 1 diameter of glass hole from edge, if in a corner do not make the hole equal distance from the edges as this is the weakest and most vulnerable location, 1 dia down and 1 1/2 dia over is safer.
Silicon is the standard adhesive for glass tanks, there are many suitable for use in several colors, check with the manufacturer, website or 1-800 # to be certain what you pick is suitable, some silicon's contain an anti fungal ingredient and will be deadly to some tank inhabitants, silicon STINKS! use in well vented areas, silicon is an air activated cure, the thicker you put it, the longer it takes to cure, acetic acid is emitted for some time and will be harmful or deadly to tank inhabitants (acetic acid)
Working with glass can be dangerous, proper clothing, glass gloves and eye protection are highly recommended.
Masking tape, razor blades,paper towels, wooden blocks and a good flat rigid surface are about all thats needed, if you can work up against a wall even better as this will be a big assist in setting the first panel on the bed, spacing it away from the wall a bit with wood blocks is good and will allow you to move the tank later.
Top Trim can be a bit awkward but for a bit more money you can order extra glass and create a Euro style brace, this is usually a border of glass silicon ed in at the top on its edge at 90 degrees to the display panel, some larger tank will require an additional center brace, that is beyond the scope of this article. I fabricate top frames in 3/16 angel iron with 1'' legs and have this epoxied and powdercoated then silicon it in place at the end


")


