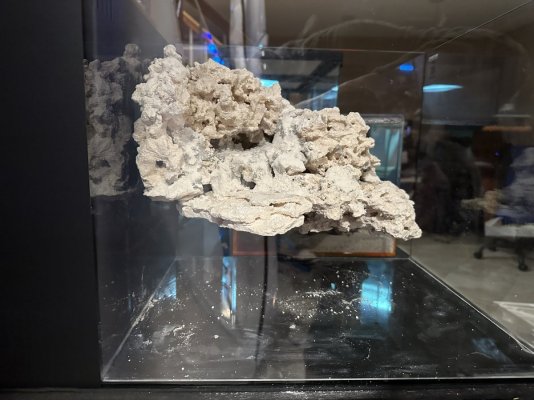
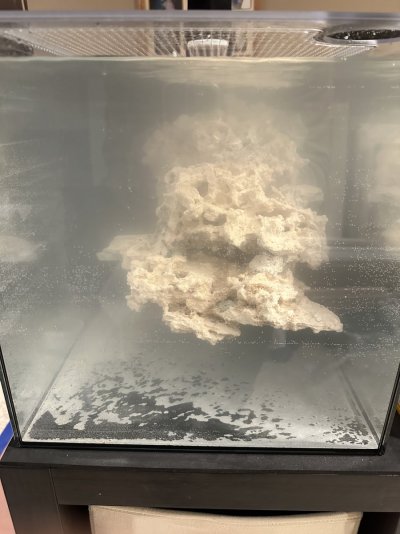
15G Floating SPS System

marcinpolak

Well-Known Member
View Badges
Joined
Nov 25, 2020
Messages
604
Reaction score
3,111
Location
Illinois
Rating - 0%
0   0   0
Hello!

As I said in my other thread (https://www.reef2reef.com/threads/4-8g-dominant-rare-soft-coral-build.956800/#post-10985606) I will be starting another tank along with this one. Well here is the beginning of that thread. This one is going to be a floating aquascape because I think they are absolutely gorgeous. I also have been wanting to try a full sps system. Any tips would be awesome.

Equipment-
- 15 Gallon Waterbox Peninsula
- Sicce Syncra Silent 0.5
- VCA Return Nozzle
- AI Nero 3
- Maxspect Jump 2k Gyre
- 75W Aquael Heater with Inkbird Controller
- NF-1 Nano Protein Skimmer
- EcoTech Radion XR15 Pro Led with the RMS Mount System
- Kraken reef lid with feeder cup
- Kraken reef overflow screen
- AutoAqua Smart auto water changer
- Neptune Apex system w/ trident

Filtration-
~10 lbs of Marco Rocks
- Polyp Lab Genesis Rock Booster
- 2 gallon automatic water change

Fish-
- Court Jester Goby
- Yellow Candy Hogfish
- Clownfish

Coral-
Unsure just yet, I will start with easier sps and build my way up. Most sps will be from Battle Coral!

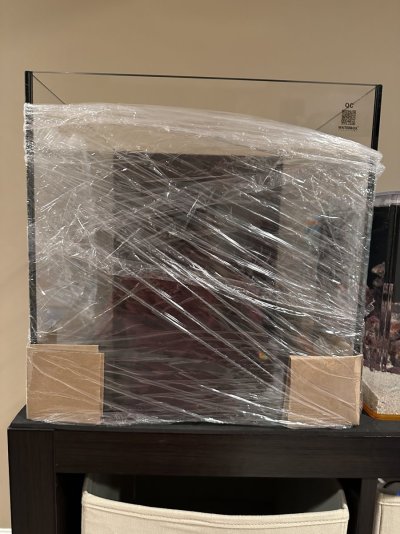
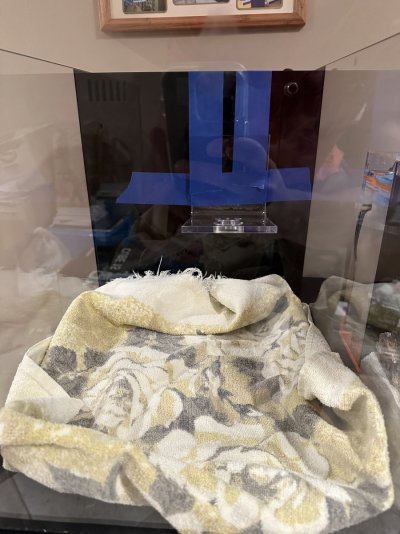
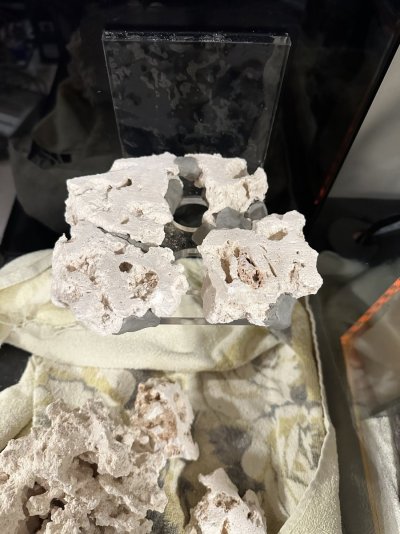
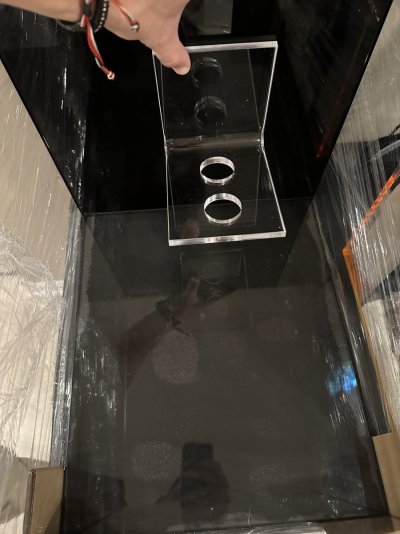
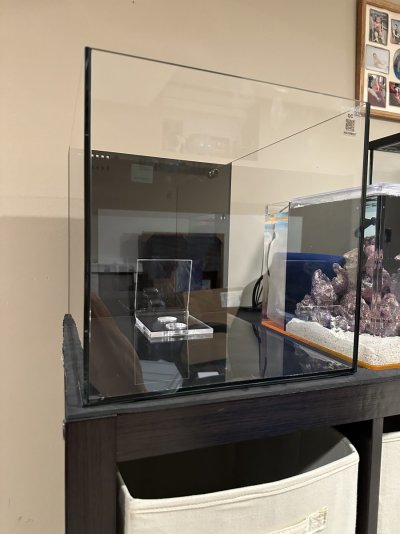
The piece I was waiting for was finally finished and it’s the acrylic L-Bracket. Ended up doing a custom order and the company who did it answered all my questions as well which was awesome.

I plan on attaching the L-Bracket in a little bit but for now enjoy some pictures of the tank without anything but a lone L-Bracket.
DC4227DB-27F0-4735-AF4B-930CE40617CD.jpeg A50C6062-6B63-4440-A5EE-9FAD7B85E77F.jpeg 657B4E36-5B9C-4CA5-9CFB-8005BC742AB9.jpeg
 
Last edited:
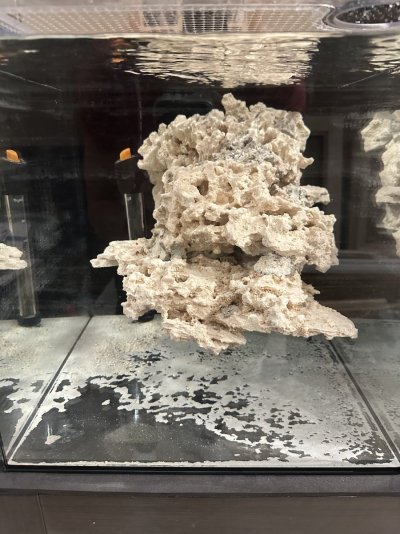
OP
OP
marcinpolak

marcinpolak

Well-Known Member
View Badges
Joined
Nov 25, 2020
Messages
604
Reaction score
3,111
Location
Illinois
Rating - 0%
0   0   0
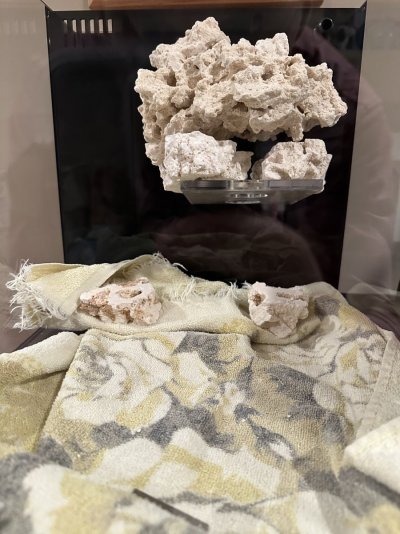
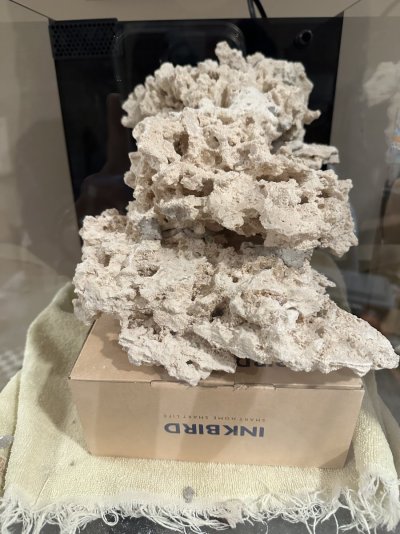
I’m waiting on the epoxy to come in so that I could put the first couple of rocks on the acrylic bracket. Then the real fun begins. But I have been playing with how it would look at the start of it.
 

Attachments

  • 2D5DDBF5-237C-46BC-9969-4C5E8A618A62.jpeg
    2D5DDBF5-237C-46BC-9969-4C5E8A618A62.jpeg
    207.7 KB · Views: 120
OP
OP
marcinpolak

marcinpolak

Well-Known Member
View Badges
Joined
Nov 25, 2020
Messages
604
Reaction score
3,111
Location
Illinois
Rating - 0%
0   0   0
And… the epoxy came in. So naturally I start trying to epoxy the first couple of rocks and so far so good.
 

Attachments

  • 4642CF35-28B0-429B-8E17-D5FC7A9A6579.jpeg
    4642CF35-28B0-429B-8E17-D5FC7A9A6579.jpeg
    187.3 KB · Views: 146

V A R I A N T

Active Member
View Badges
Joined
Oct 18, 2021
Messages
424
Reaction score
492
Location
Washington
Rating - 0%
0   0   0
Did you offset the L bracket to make room for the Nero? Noticed the structure isn't on center and assumed this was intentional.
 
OP
OP
marcinpolak

marcinpolak

Well-Known Member
View Badges
Joined
Nov 25, 2020
Messages
604
Reaction score
3,111
Location
Illinois
Rating - 0%
0   0   0
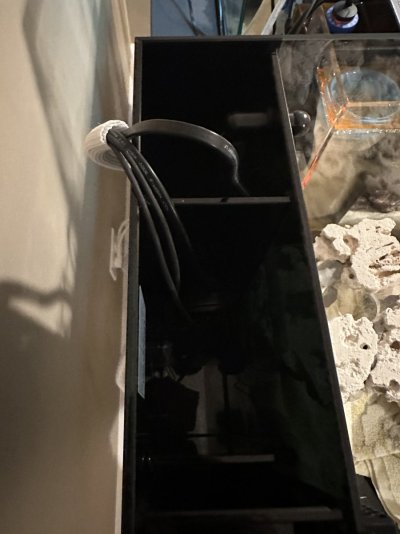
Update!

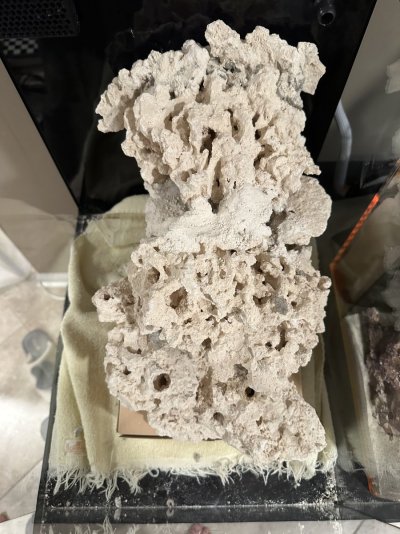
I started doing some cable management before water gets into the tank and also started to cement all the rocks together. It’s taking some time due to work and making sure everything is cured.
 

Attachments

  • 05B7AD7C-4FE1-4D4F-8819-F8CD8F2B911F.jpeg
    05B7AD7C-4FE1-4D4F-8819-F8CD8F2B911F.jpeg
    121.8 KB · Views: 119
  • 8B5AE168-8C01-40BB-929F-0B13FB5B0F31.jpeg
    8B5AE168-8C01-40BB-929F-0B13FB5B0F31.jpeg
    213 KB · Views: 96
  • FAB9D022-337F-4110-A9E4-94F6D541A8A1.jpeg
    FAB9D022-337F-4110-A9E4-94F6D541A8A1.jpeg
    249.8 KB · Views: 105
OP
OP
marcinpolak

marcinpolak

Well-Known Member
View Badges
Joined
Nov 25, 2020
Messages
604
Reaction score
3,111
Location
Illinois
Rating - 0%
0   0   0
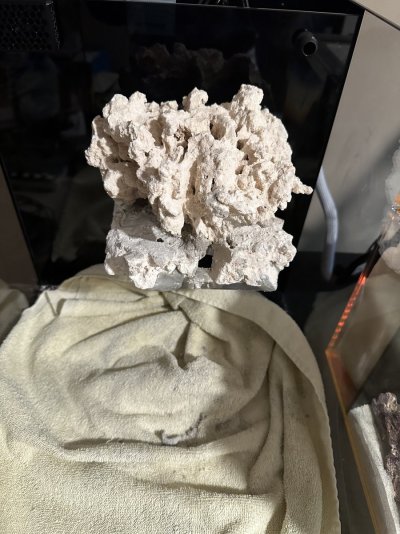
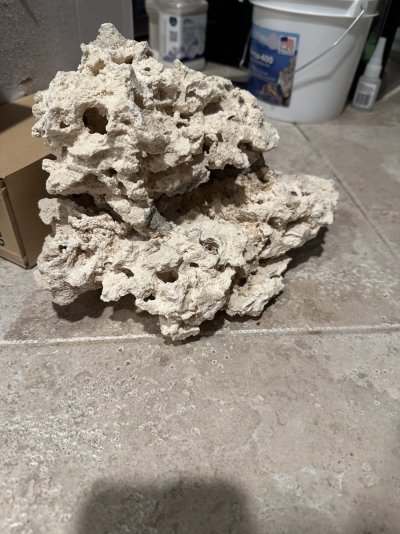
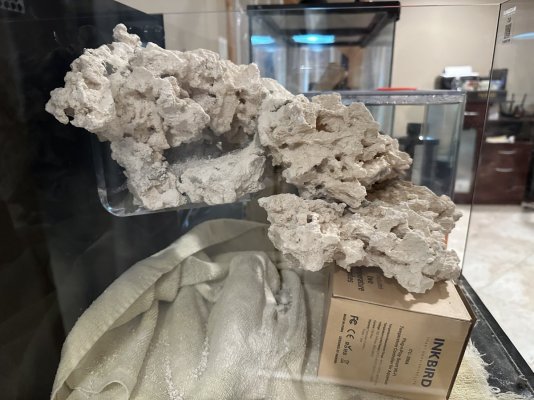
Cemented the two main big pieces together. Then I cemented some smaller rocks to hide the acrylic bracket. Some progress pictures below and the only thing is the side picture feels off. Need to hide the acrylic bracket better and add a shelf somewhere. But should have water in it next week!
 

Attachments

  • A6F4C6F5-12F9-4C5F-A9FF-CBCDA1A66BC2.jpeg
    A6F4C6F5-12F9-4C5F-A9FF-CBCDA1A66BC2.jpeg
    207.7 KB · Views: 94
  • CC2931FB-1247-4BC1-9CB3-BAD4F996E355.jpeg
    CC2931FB-1247-4BC1-9CB3-BAD4F996E355.jpeg
    229.5 KB · Views: 105
  • 44031F60-E2ED-4DE7-86FC-374130420C8D.jpeg
    44031F60-E2ED-4DE7-86FC-374130420C8D.jpeg
    190.9 KB · Views: 143
OP
OP
marcinpolak

marcinpolak

Well-Known Member
View Badges
Joined
Nov 25, 2020
Messages
604
Reaction score
3,111
Location
Illinois
Rating - 0%
0   0   0
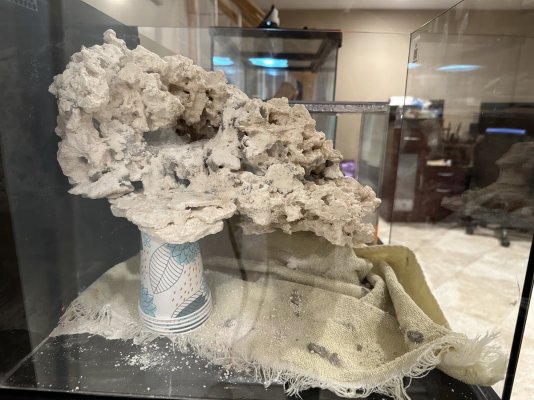
Alas! We are floating, have to clean the bottom of the tank but other than that it’s ready for water. I will hold off on the water since I’ll be on a 2 week vacation.

Side note - I decided I will be switching the light to a Radion XR15 G6 Pro
 

Attachments

  • 2D88B211-0BFF-4467-9476-67EF7DE70DCE.jpeg
    2D88B211-0BFF-4467-9476-67EF7DE70DCE.jpeg
    178.7 KB · Views: 169
OP
OP
marcinpolak

marcinpolak

Well-Known Member
View Badges
Joined
Nov 25, 2020
Messages
604
Reaction score
3,111
Location
Illinois
Rating - 0%
0   0   0
Finally added water to the tank, started the initial cycle and I also added some live rock rubble in the 1st chamber. Also need the Nero 3 which comes next week to help clean the bottom from all Marco dust.
 

Attachments

  • F4E7C7A5-AC7F-490A-A2AC-2BB636D208D7.jpeg
    F4E7C7A5-AC7F-490A-A2AC-2BB636D208D7.jpeg
    162.6 KB · Views: 127

goody

Well-Known Member
View Badges
Joined
Jan 2, 2010
Messages
726
Reaction score
68
Location
Carlsbad, CA
Rating - 0%
0   0   0
Love this? Will you be adding more sand or going mainly bare bottom? If adding more sand, how deep?
 

Creating a strong bulwark: Did you consider floor support for your reef tank?

  • I put a major focus on floor support.

    Votes: 45 41.3%
  • I put minimal focus on floor support.

    Votes: 23 21.1%
  • I put no focus on floor support.

    Votes: 38 34.9%
  • Other.

    Votes: 3 2.8%
Back
Top