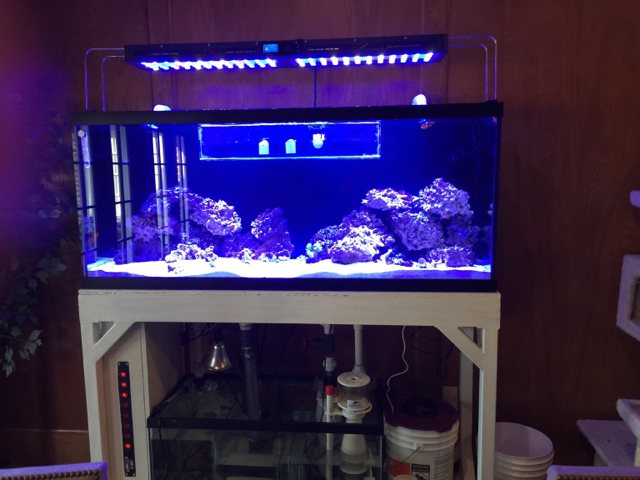
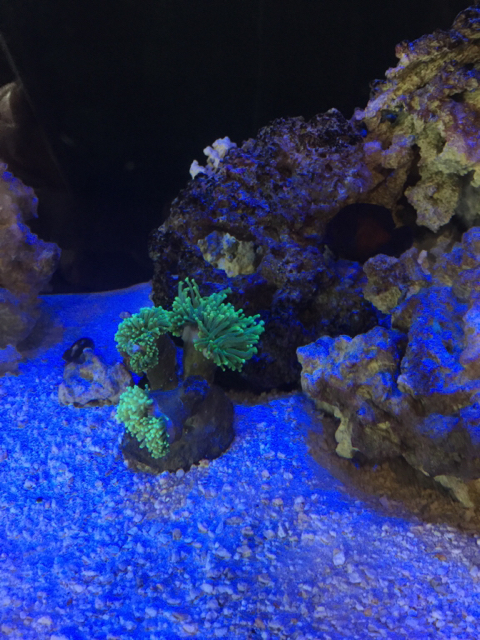
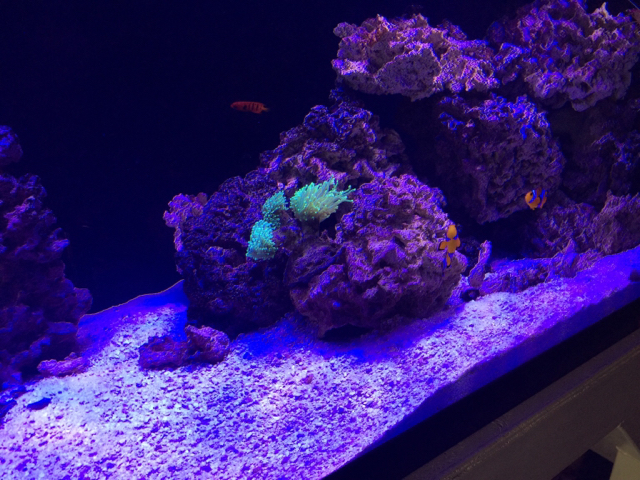
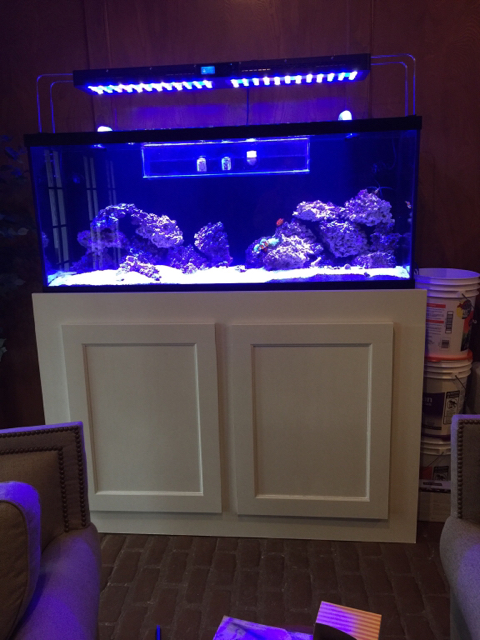
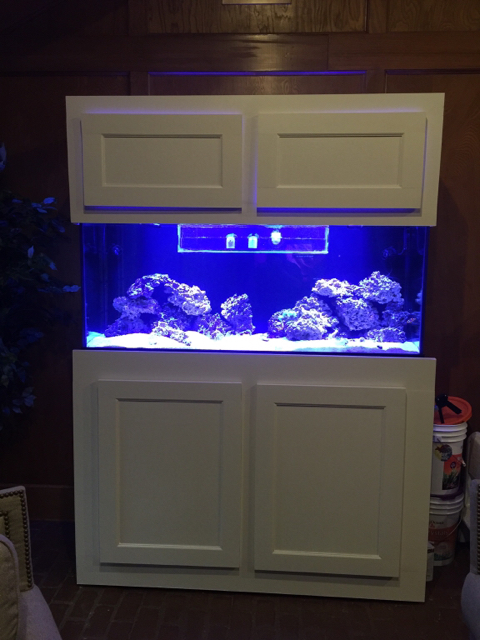
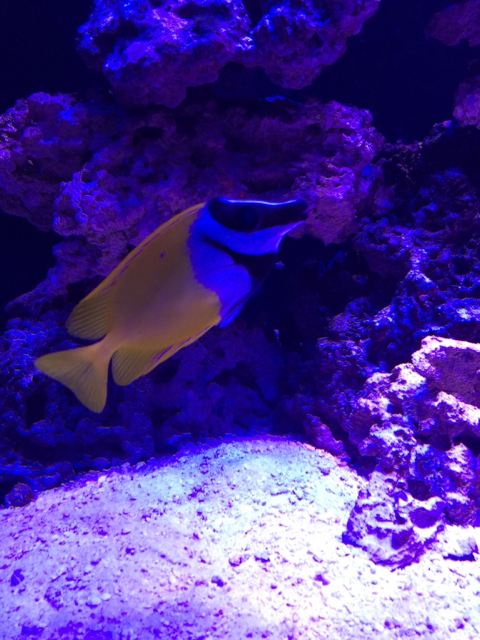
I recently picked up a 120 extra high (60x18x26) on CL to replace a 75 I have had running for 2.5 years. The 75 was in desperate need of a new drain setup and would require a coast to coast overflow due to the previous owner drilling holes in the corners of the back pane. Since I would have to tear the tank down to do this I decided to shop for a 5' or 6' tank and open the door for more fish. After a few weeks of looking I came across the Marineland tank below. It was set up as a freshwater tank so it came with a ton of gravel, undergravel filter, decorations, FW lights, canister filter, air pumps and a Vortex diatom filter. The FW accessories will be swapped over to my current 75 gallon after the livestock is moved out and my wife's turtles and guppies will be moving into the 75.

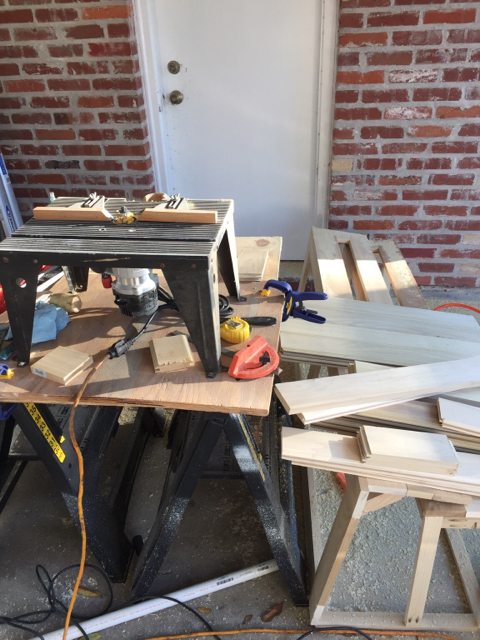
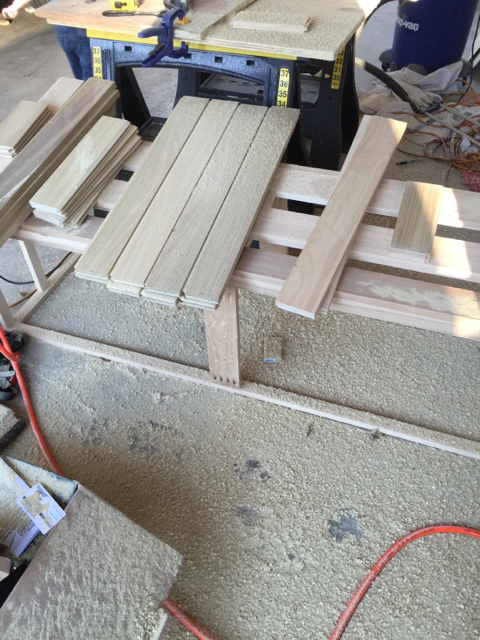
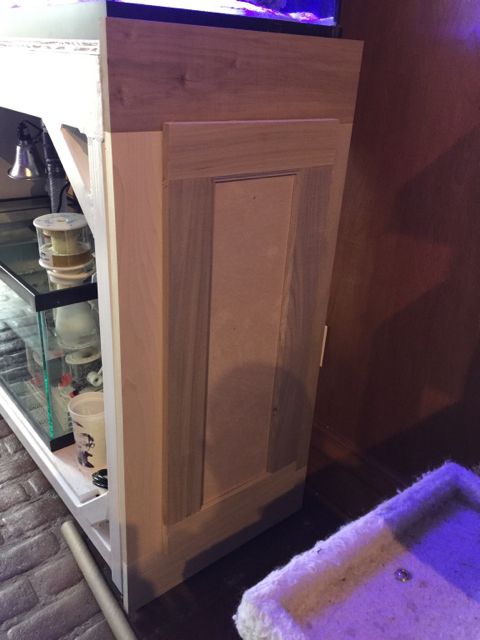
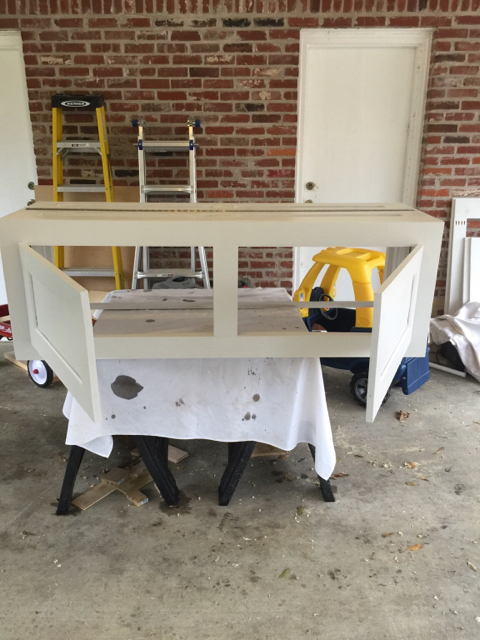
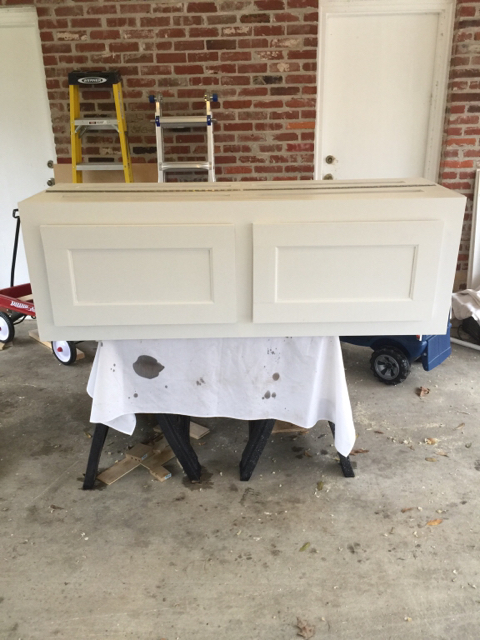
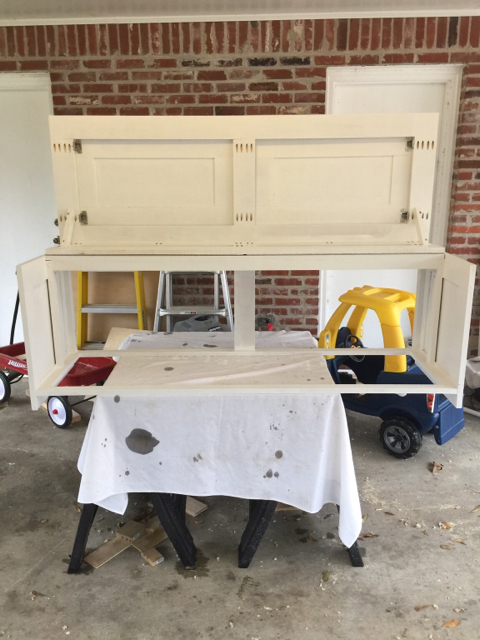
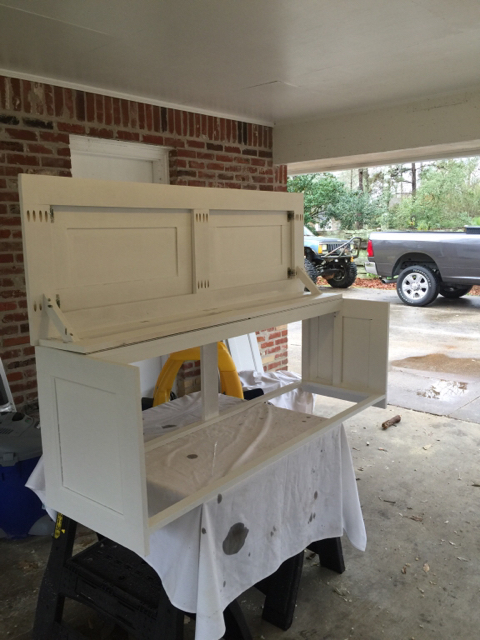
The tank did not come with a stand and I just happened to have a few sticks of 2" .120 wall square tubing, C4x5.4 channel and a welder laying around so I went to work building a stand for the tank. The goal was to have the center of the stand open so I would have maximum access to the sump and based on my calculations and a SolidWorks model (yes I am an engineer") )the 4" channel with gussets would provide the needed strength to accomplish this.
)the 4" channel with gussets would provide the needed strength to accomplish this.

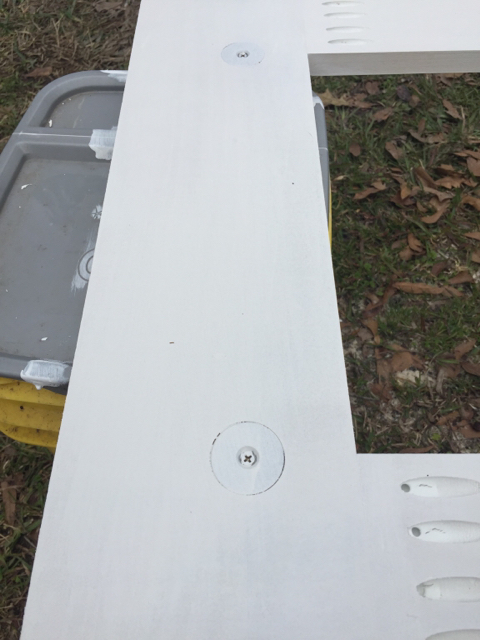
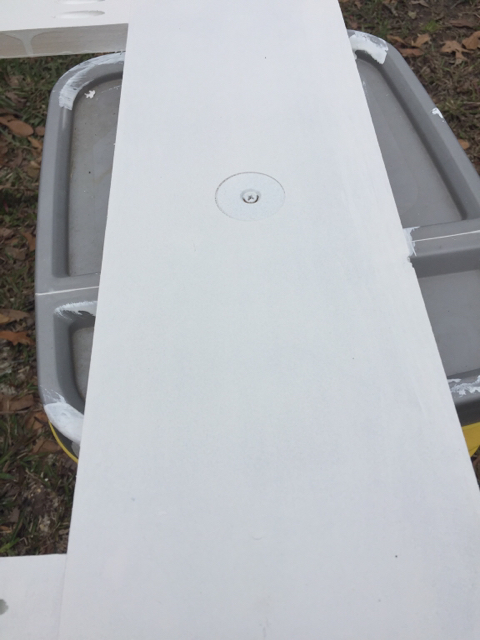
After welding the stand was painted white and I installed some adjustable feet to level it before moving it inside.

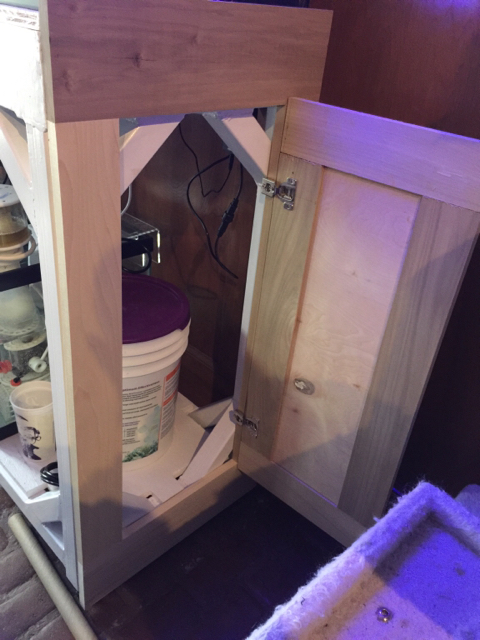
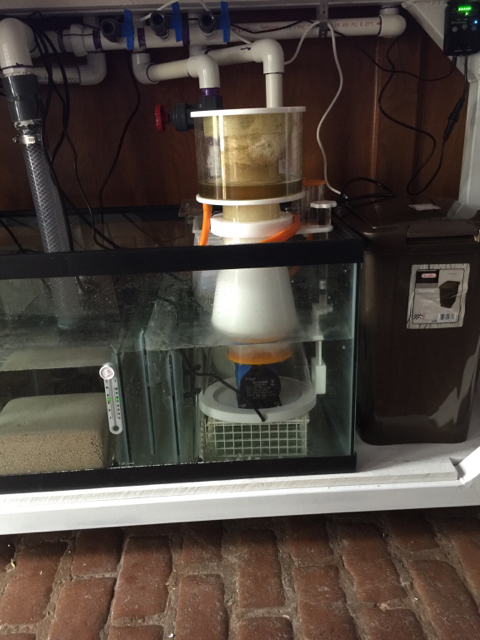
During the last week plumbed the bean animal drain and return lines and installed the 40B sump before filling the tank with RO/DI water for a leak test. After the successful leak test I added my salt and sand and the tank has been running with some spare heaters the last few days to bring it up to temp.

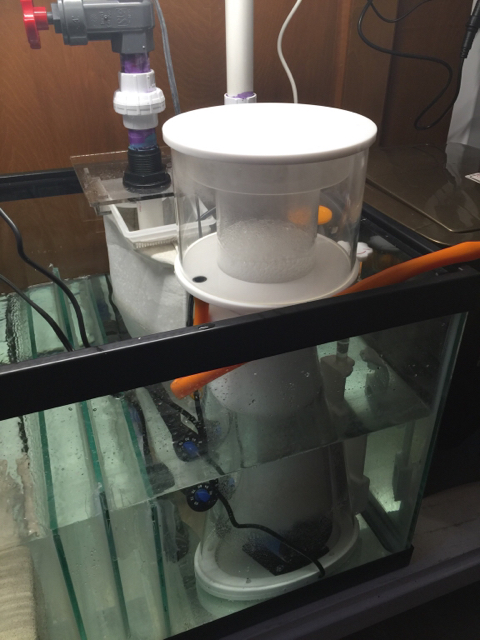
I will be moving my livestock and rocks from the 75 into the tank tomorrow and will be borrowing the curve 5 skimmer from the 75 while I wait for my new D700 skimmer to arrive next week. The equipment list for the new tank is as follows and most everything is either here or on its way.
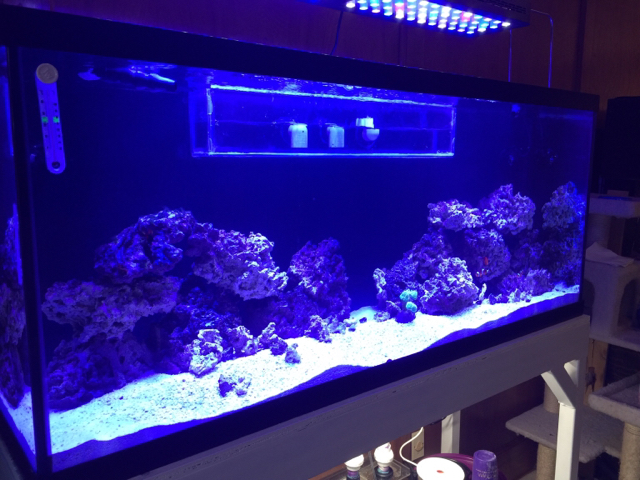
The sump will have a refugium in the far left compartment fed by the open channel drain of the overflow. I also installed a manifold in the return with 3 ball valves so I can run another line to the refugium for additional flow if needed along with carbon and GFO reacors as needed.
I will hopefully post some more pictures of the successful swap tomorrow!
The tank did not come with a stand and I just happened to have a few sticks of 2" .120 wall square tubing, C4x5.4 channel and a welder laying around so I went to work building a stand for the tank. The goal was to have the center of the stand open so I would have maximum access to the sump and based on my calculations and a SolidWorks model (yes I am an engineer
)the 4" channel with gussets would provide the needed strength to accomplish this.
After welding the stand was painted white and I installed some adjustable feet to level it before moving it inside.
During the last week plumbed the bean animal drain and return lines and installed the 40B sump before filling the tank with RO/DI water for a leak test. After the successful leak test I added my salt and sand and the tank has been running with some spare heaters the last few days to bring it up to temp.
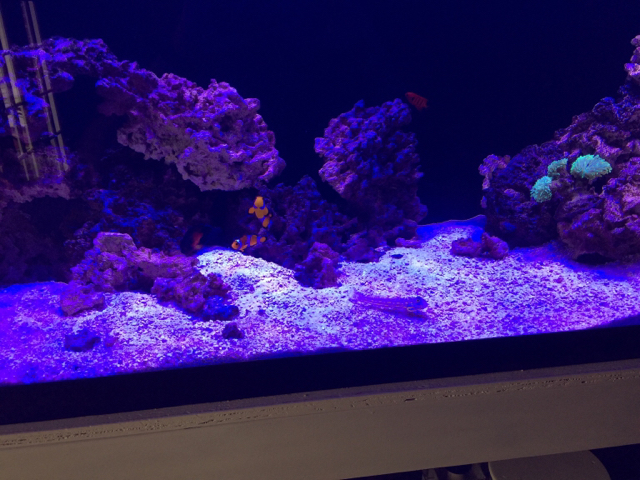
I will be moving my livestock and rocks from the 75 into the tank tomorrow and will be borrowing the curve 5 skimmer from the 75 while I wait for my new D700 skimmer to arrive next week. The equipment list for the new tank is as follows and most everything is either here or on its way.
- Coral Box D700 skimmer (had to try it out for the price)
- Reefbreeders Photon 48 long
- Jebao DCS-12000 return pump
- 2 Jebao RW-8 powerheads
- 2 Eheim Jager 250 watt heaters
- 140lbs Marco Rocks sand
- 80lbs live rock from 75 gallon
The sump will have a refugium in the far left compartment fed by the open channel drain of the overflow. I also installed a manifold in the return with 3 ball valves so I can run another line to the refugium for additional flow if needed along with carbon and GFO reacors as needed.
I will hopefully post some more pictures of the successful swap tomorrow!