OP
OP
redfishbluefish
Stay Positive, Stay Productive
View Badges
Super Moderator
Ultimate Member
Reef Squad
Excellence Award
Article Contributor
NJRC Member
Hospitality Award
My Tank Thread
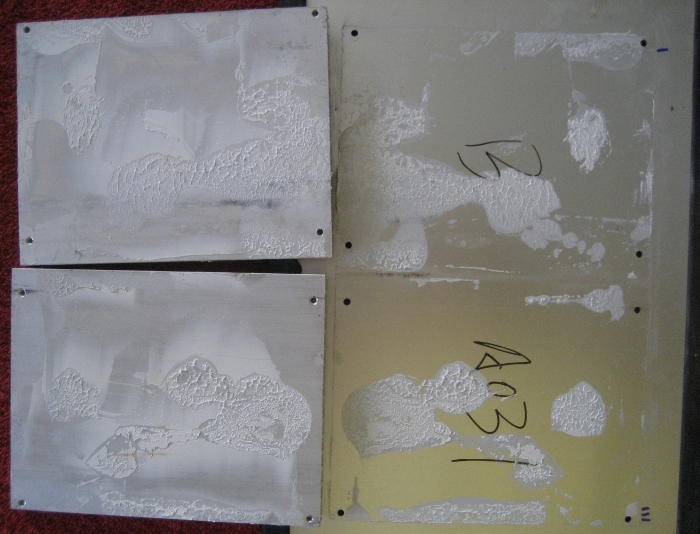
The second batch of 50 blue LEDs arrived today. I soldered in the 40 new LEDs and applied the Arctic Silver Ceramique 2 thermal compound on the finned aluminum. I did this by first distributing the compound over the plate.
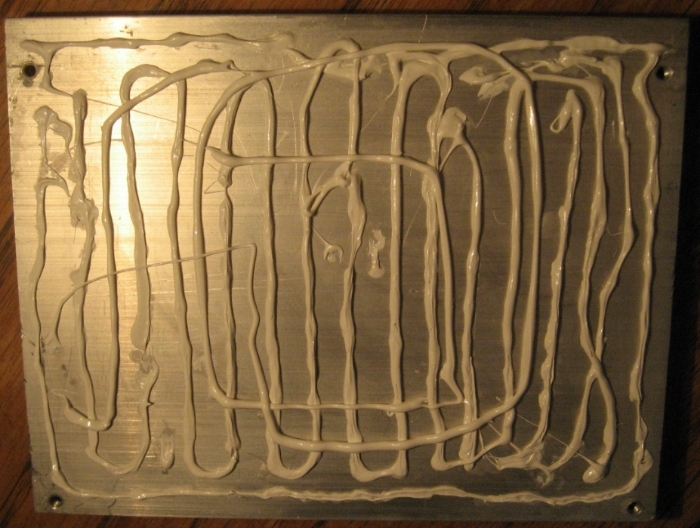
By the way, one $7 tube (25g), of this compound does the two plates in a fixture.
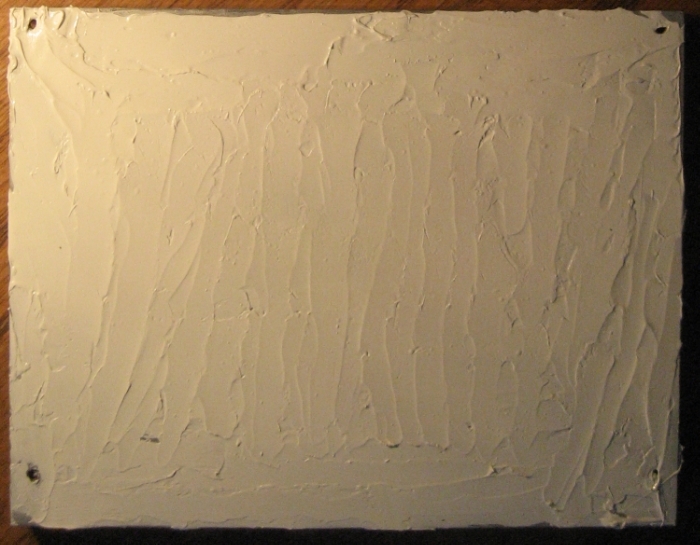
I then spread this compound around like icing a cake. Now this is what the proper amount of compound looks like on one of these plates.
So I'm now back to where I started......two Apollo's working properly over my tank! Wooo Hooo!
I still have another eBay China fixture coming in some time this week and I now want to pull apart the TauTronics that I was using while I fixed the Apollos and see what's wrong with that. The blues on that fixture went out 3-4 days ago and I'm thinking its a driver. It never ends!

By the way, one $7 tube (25g), of this compound does the two plates in a fixture.
I then spread this compound around like icing a cake. Now this is what the proper amount of compound looks like on one of these plates.

So I'm now back to where I started......two Apollo's working properly over my tank! Wooo Hooo!
I still have another eBay China fixture coming in some time this week and I now want to pull apart the TauTronics that I was using while I fixed the Apollos and see what's wrong with that. The blues on that fixture went out 3-4 days ago and I'm thinking its a driver. It never ends!