Bo0sted 40b Build

bo0sted2g

Active Member
View Badges
Joined
Jan 20, 2017
Messages
419
Reaction score
405
Location
Vail Colorado
Rating - 0%
0   0   0
Well long overdue I figured I should start a build thread for the new tank.

Current equipment list:
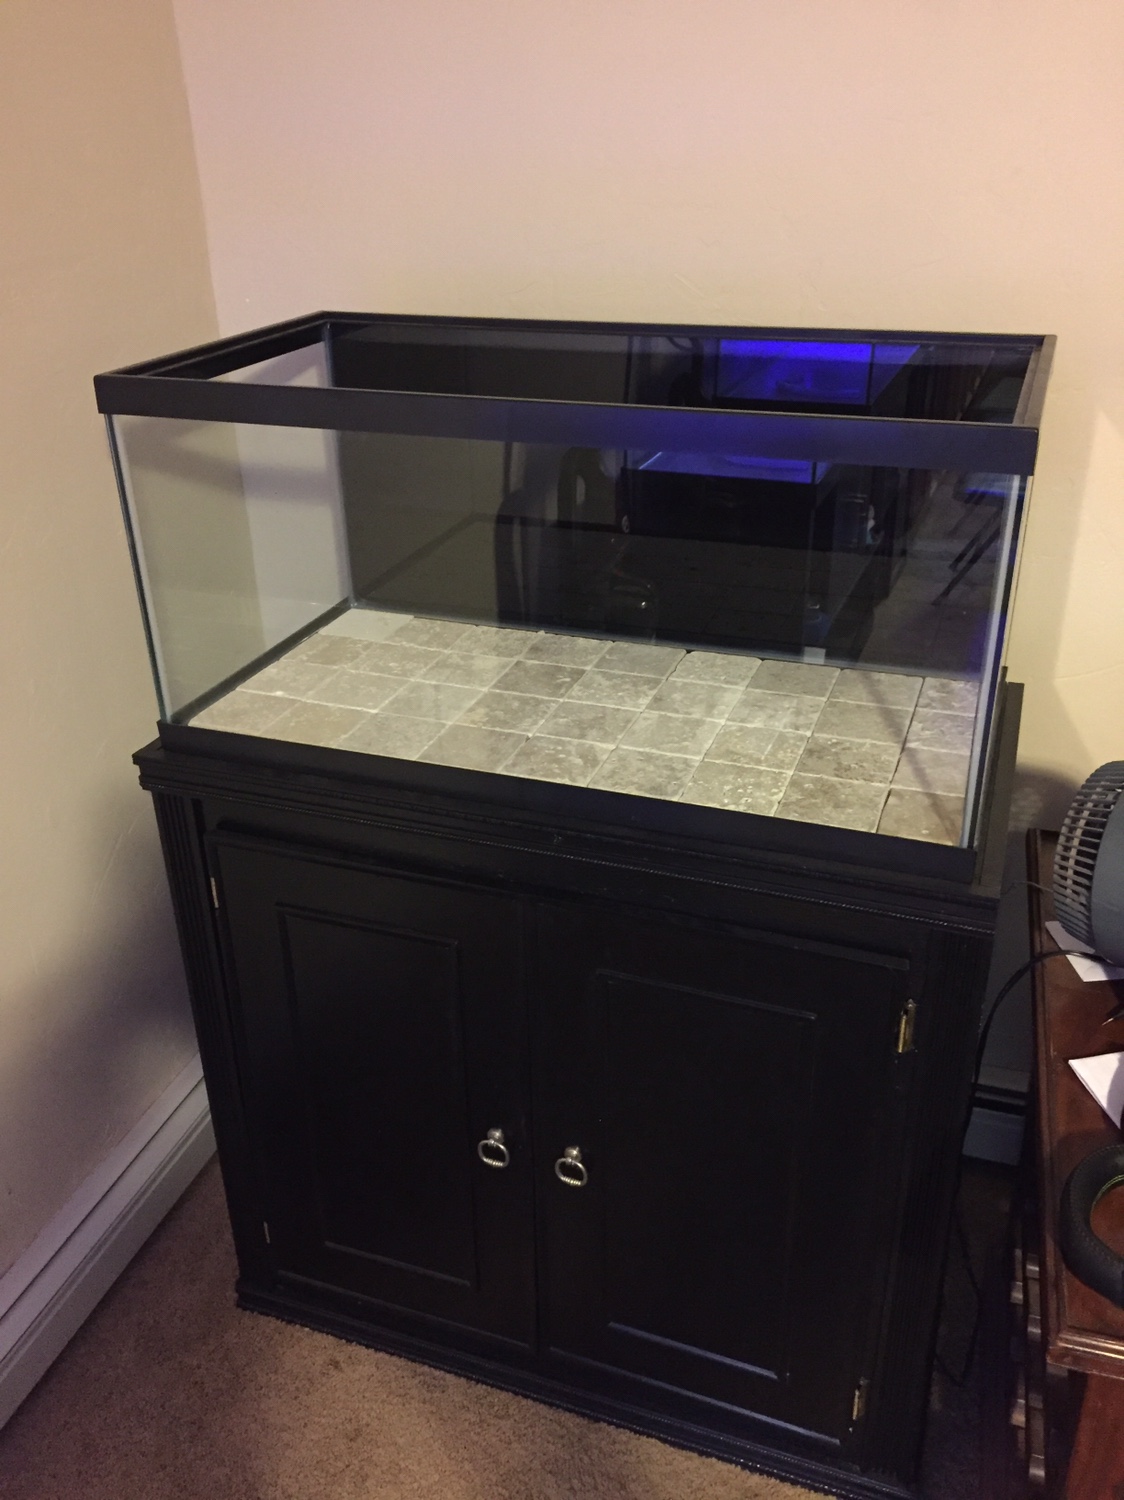
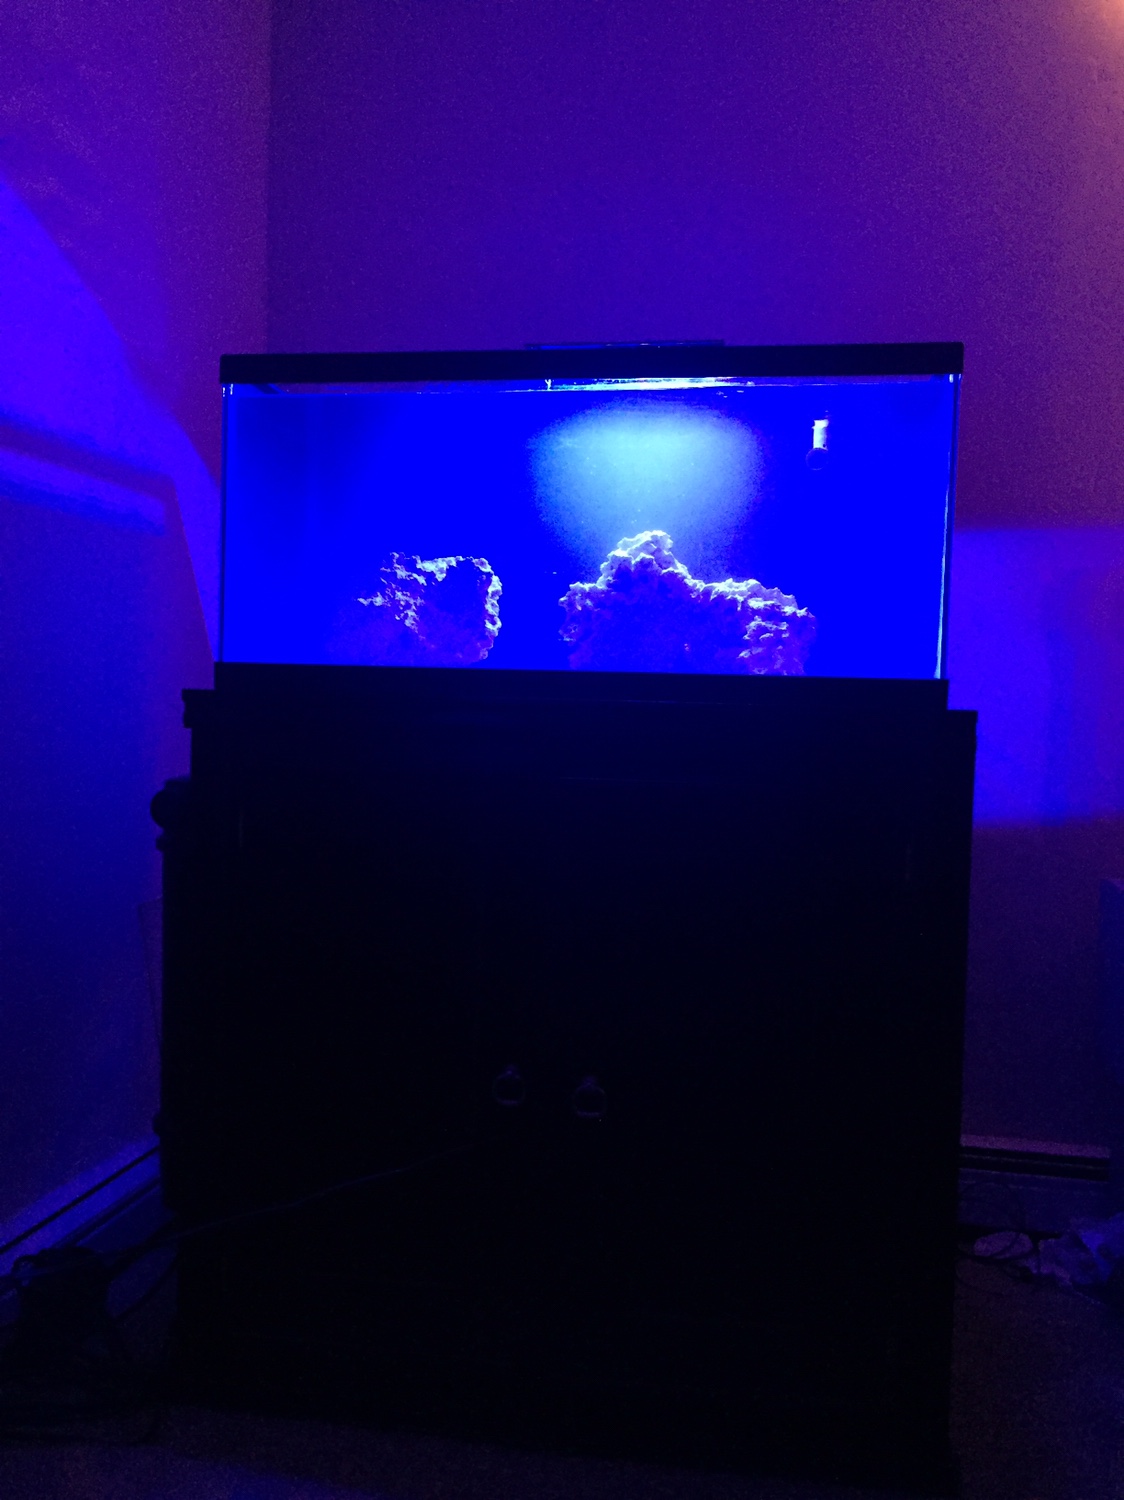
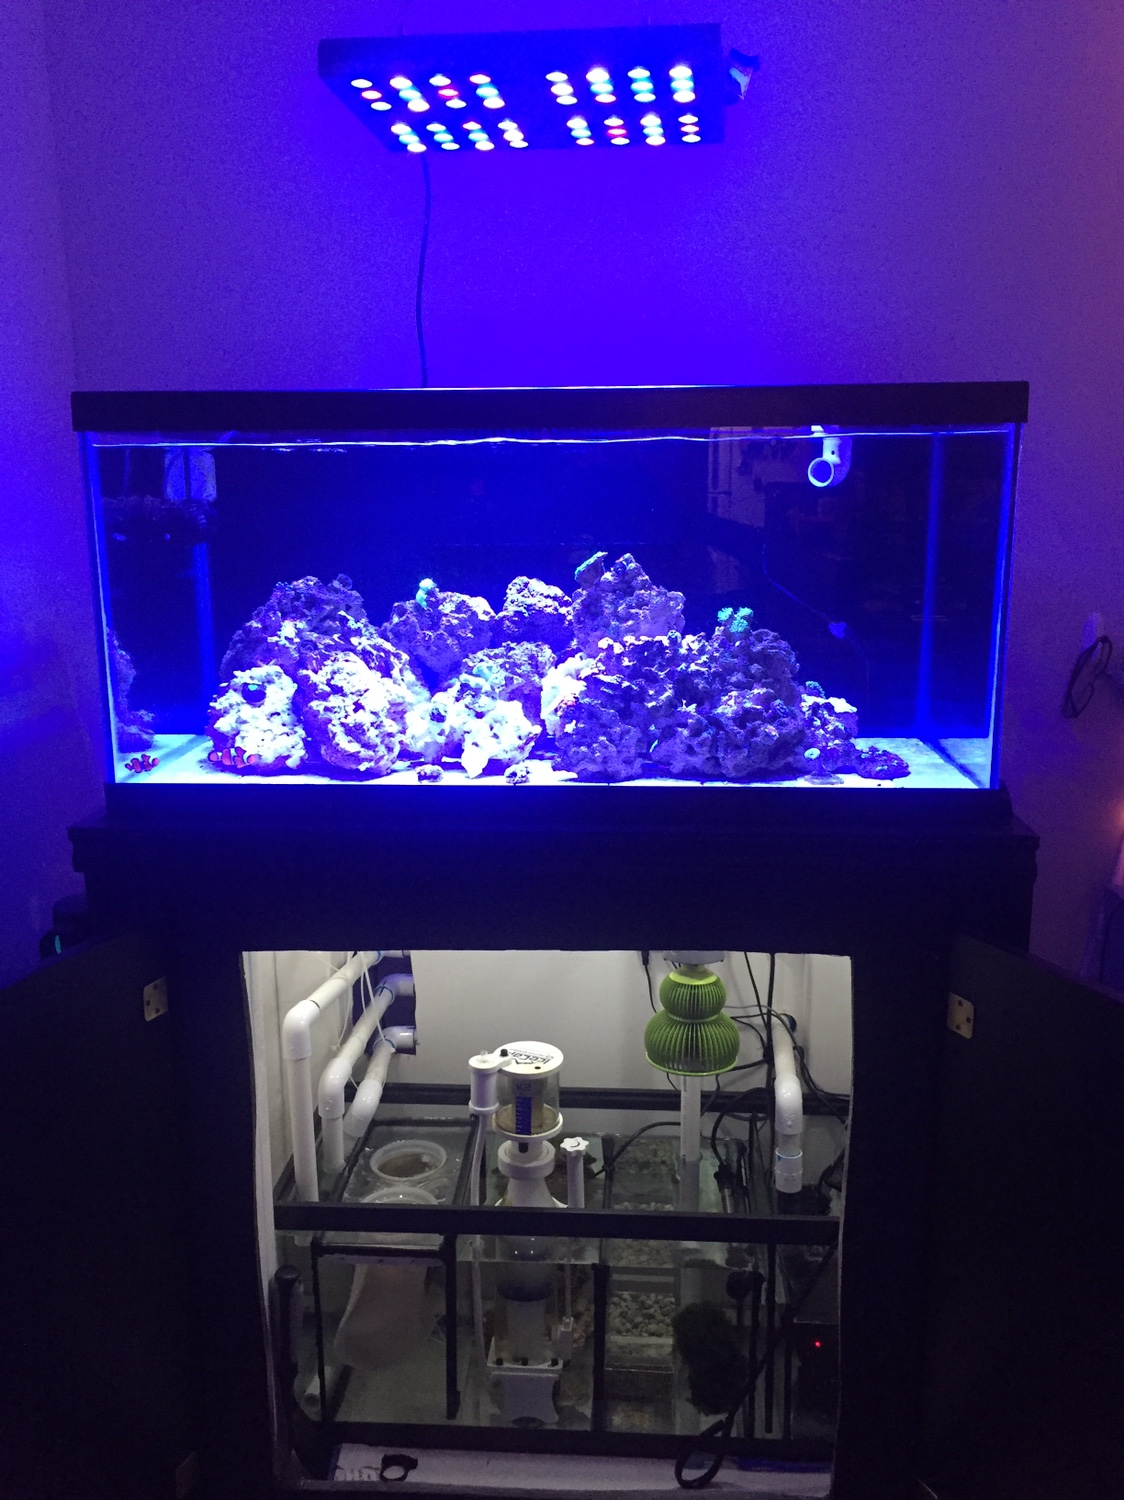
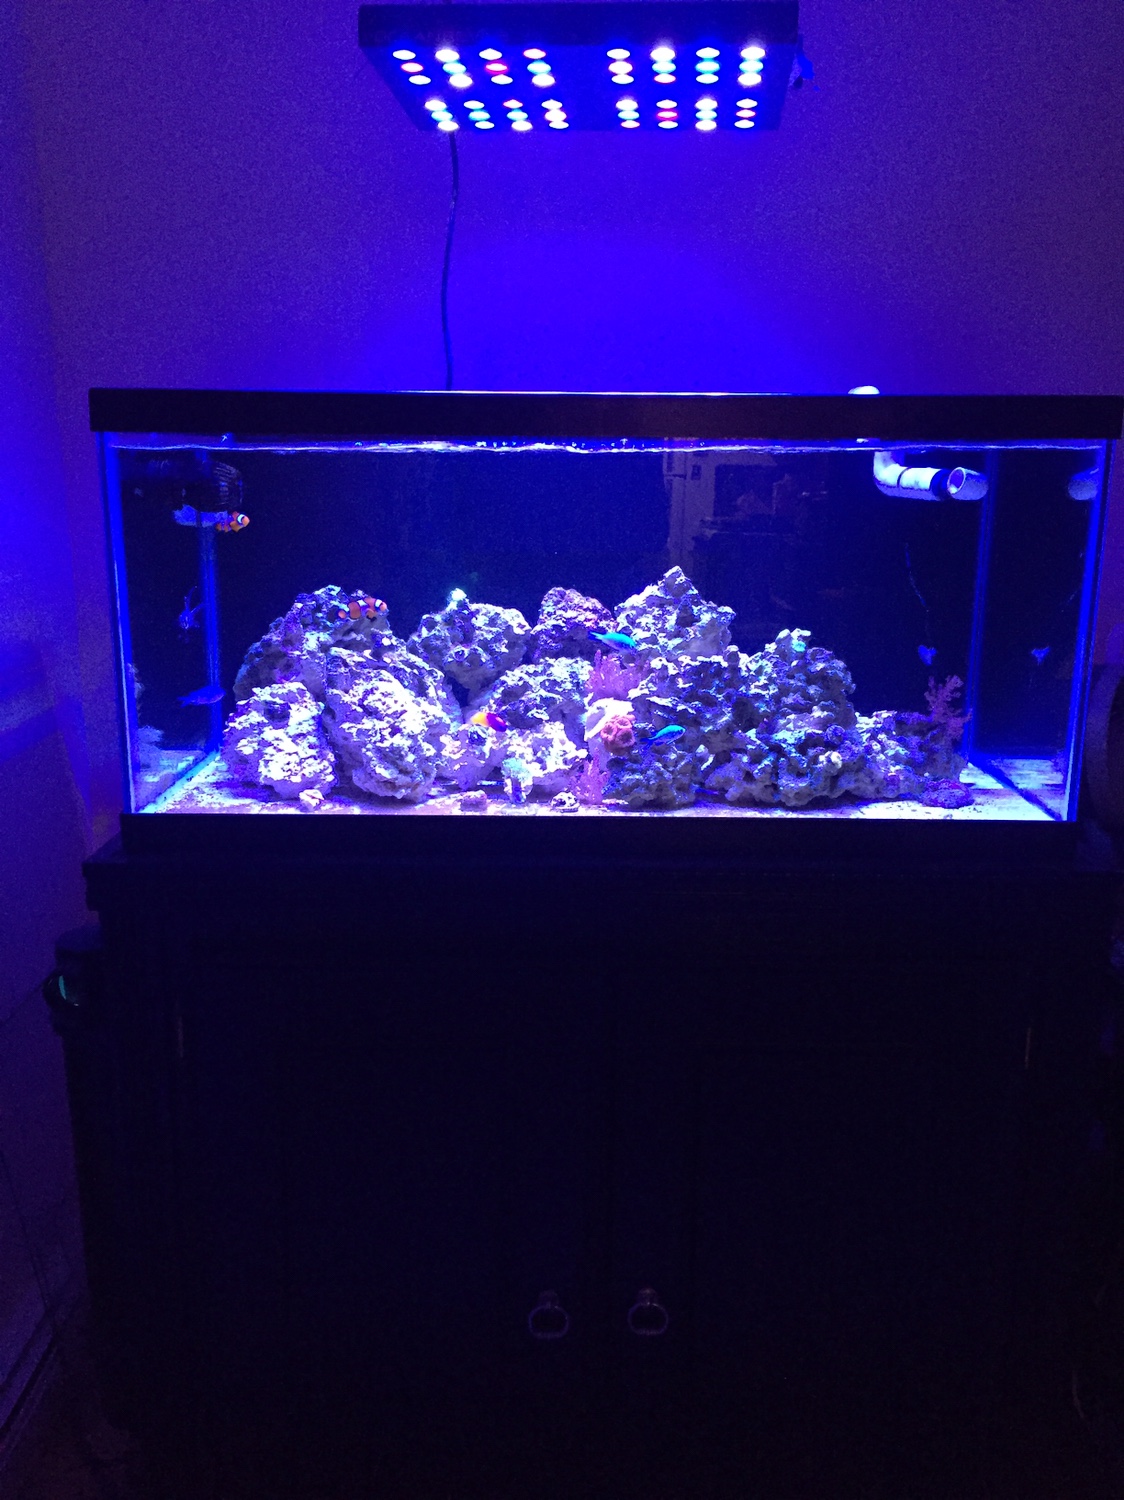
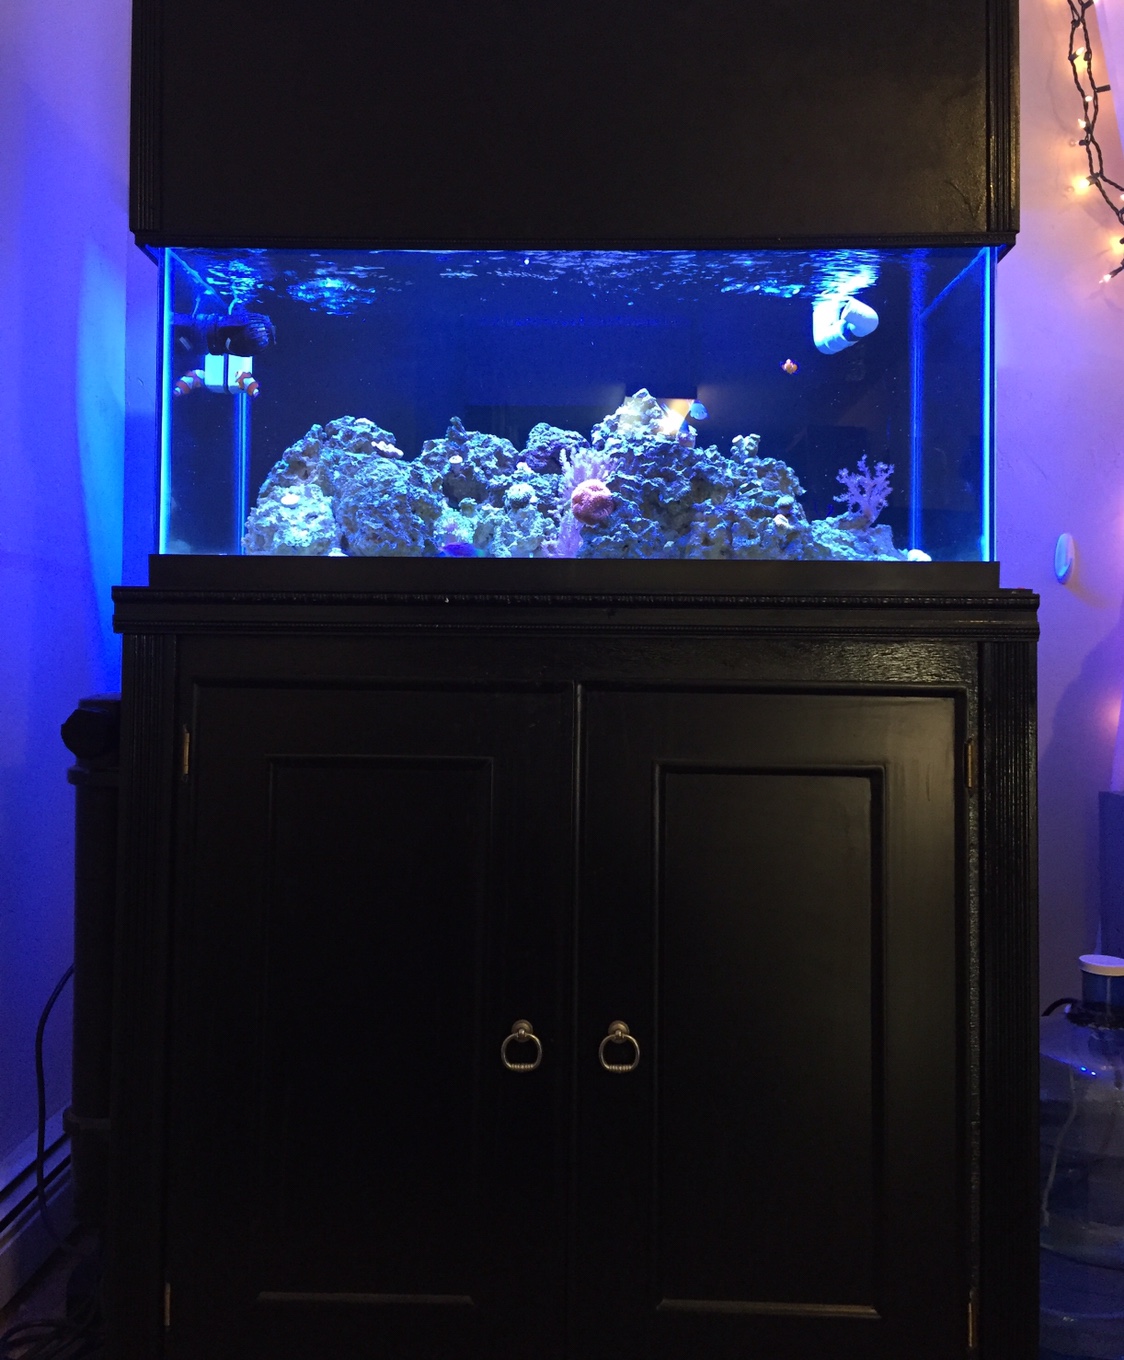
-40 gal breeder display tank
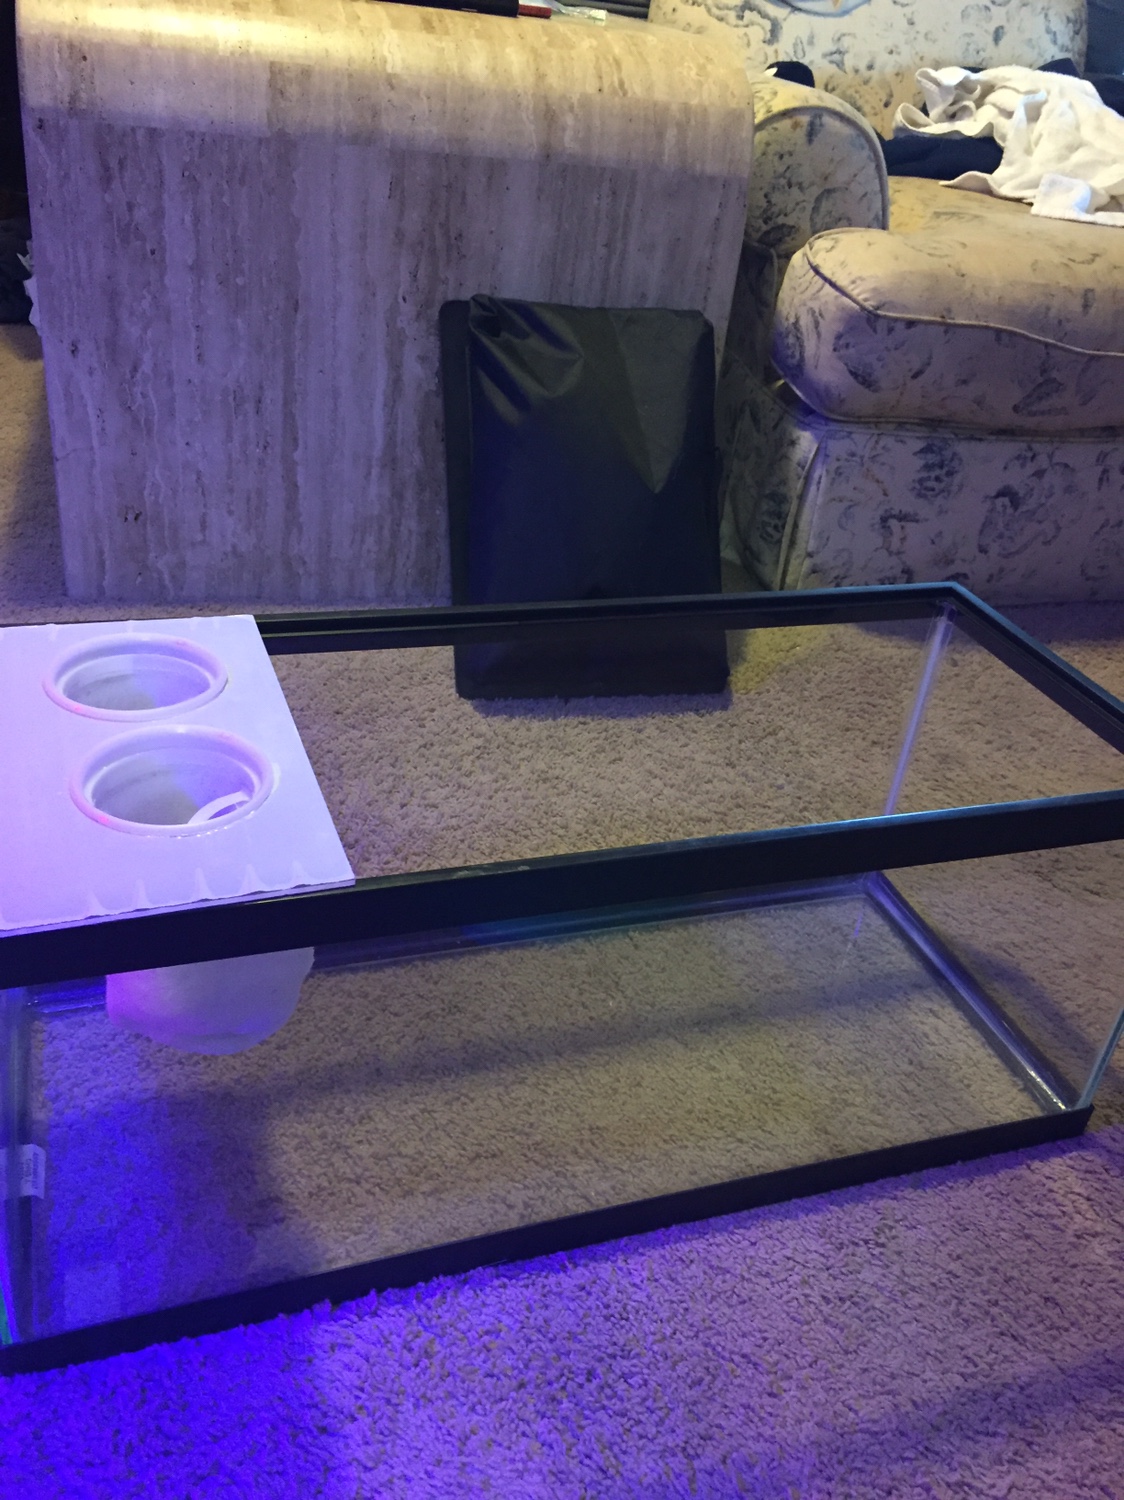
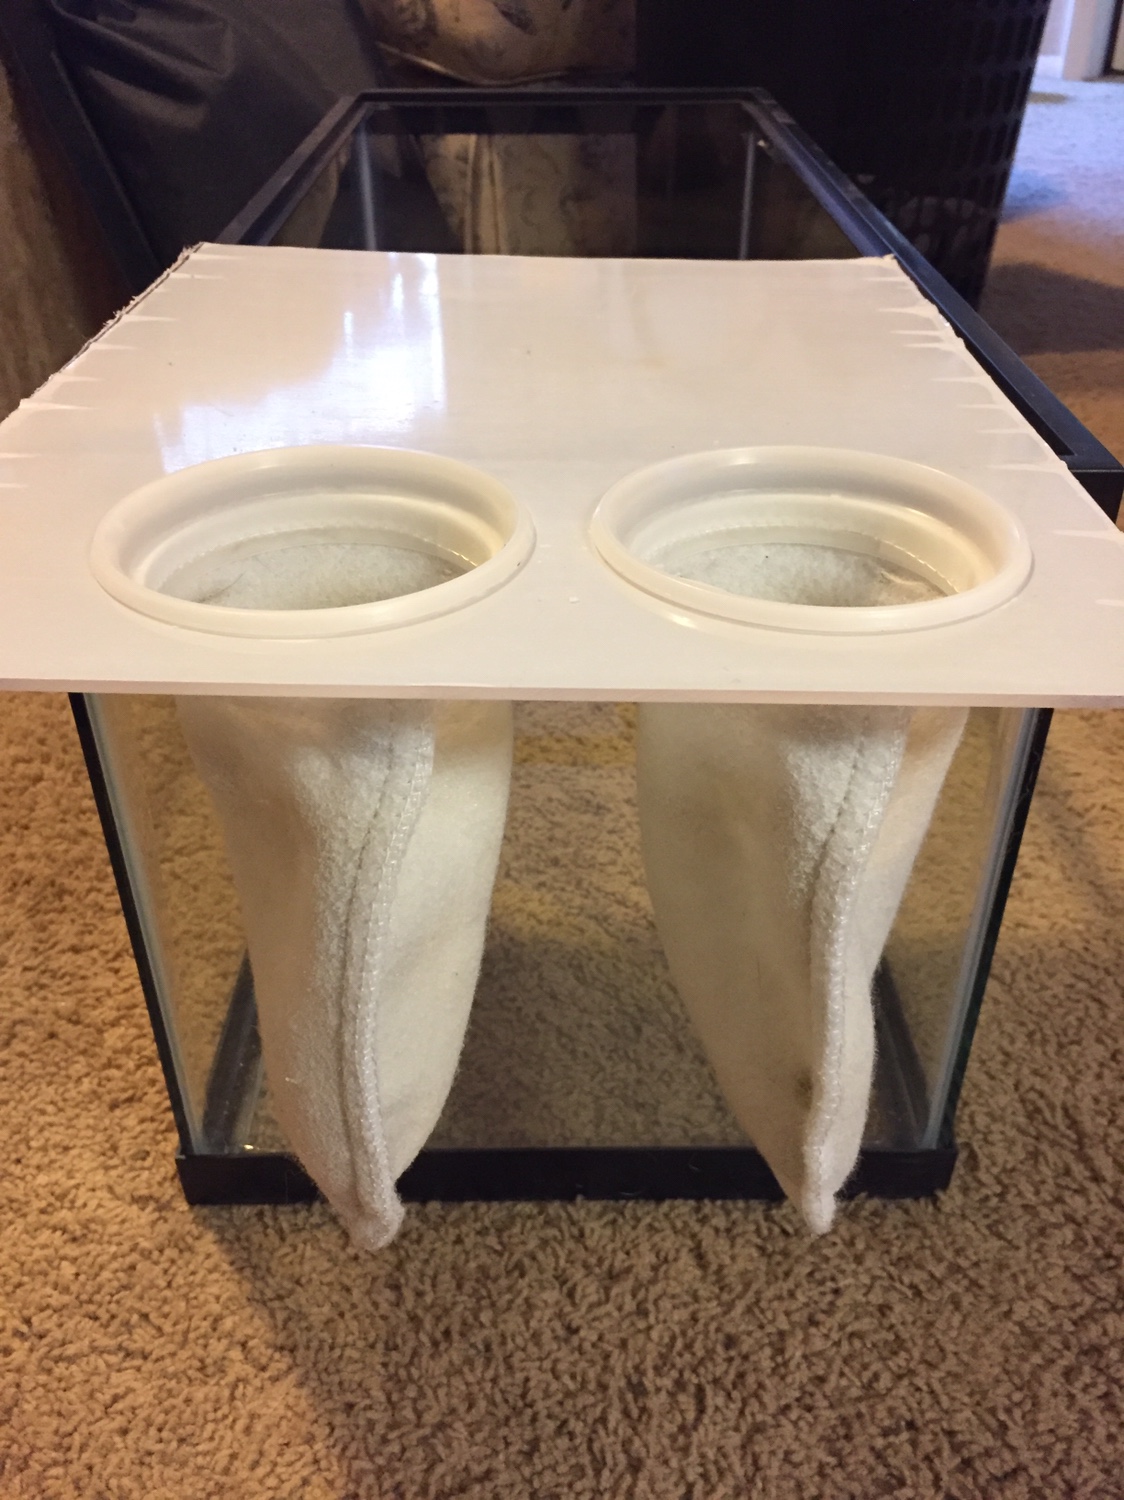
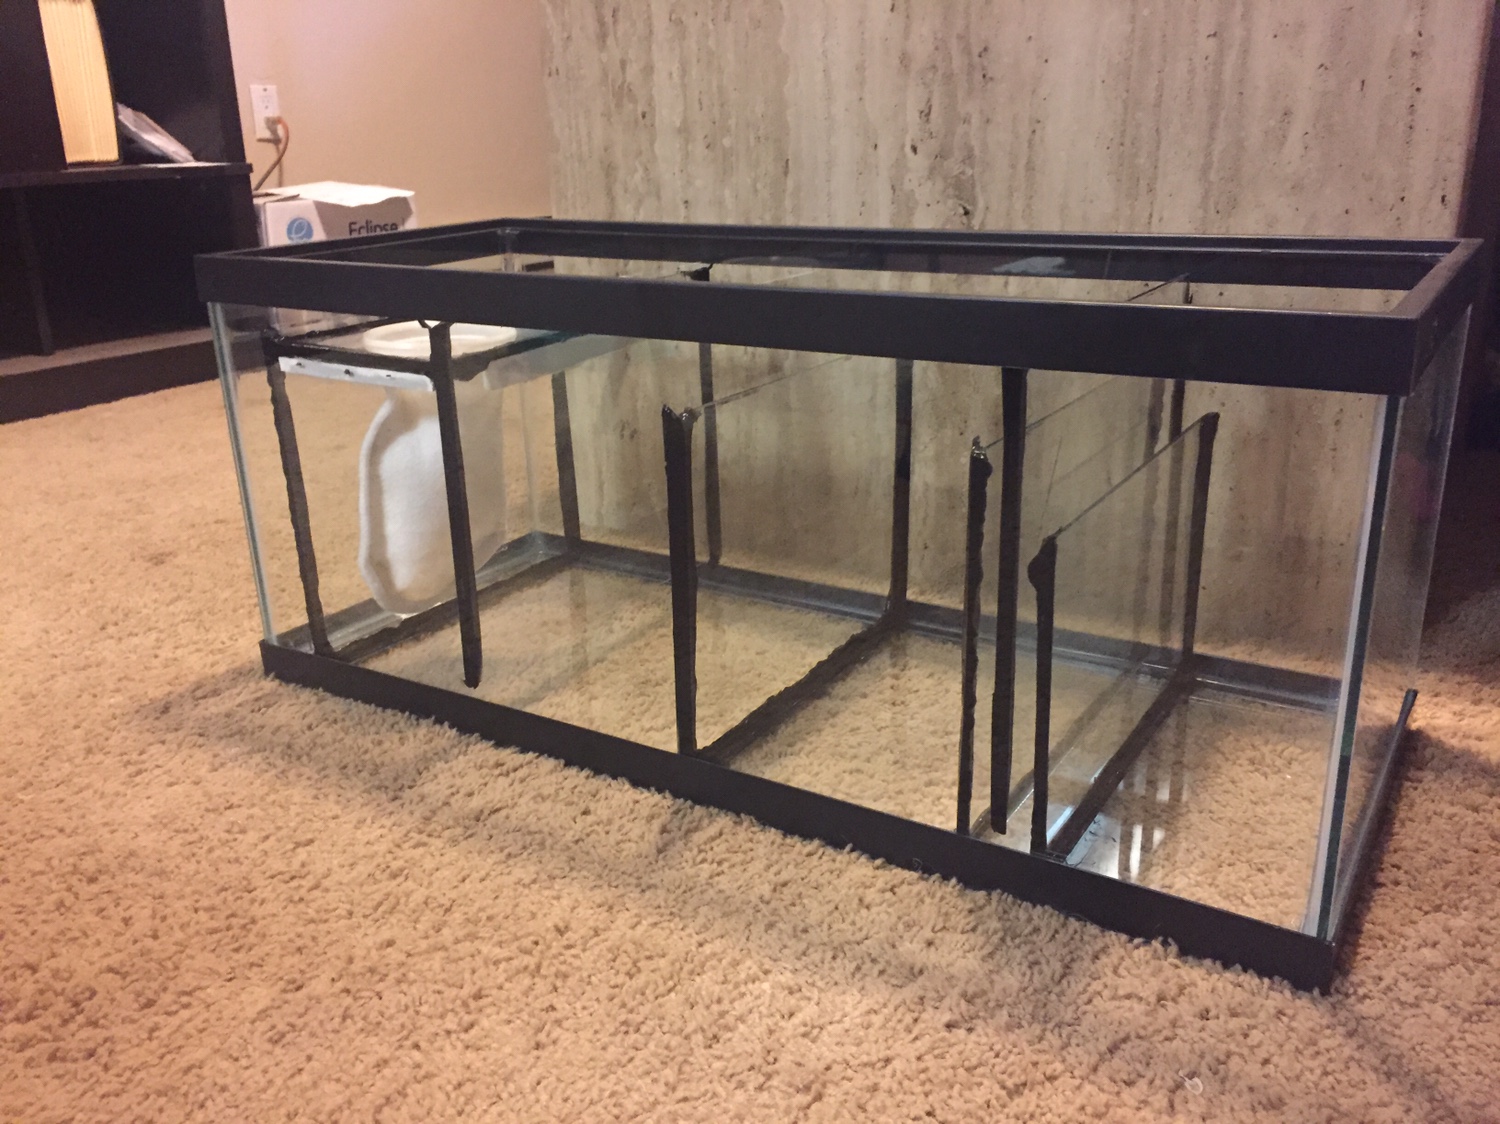
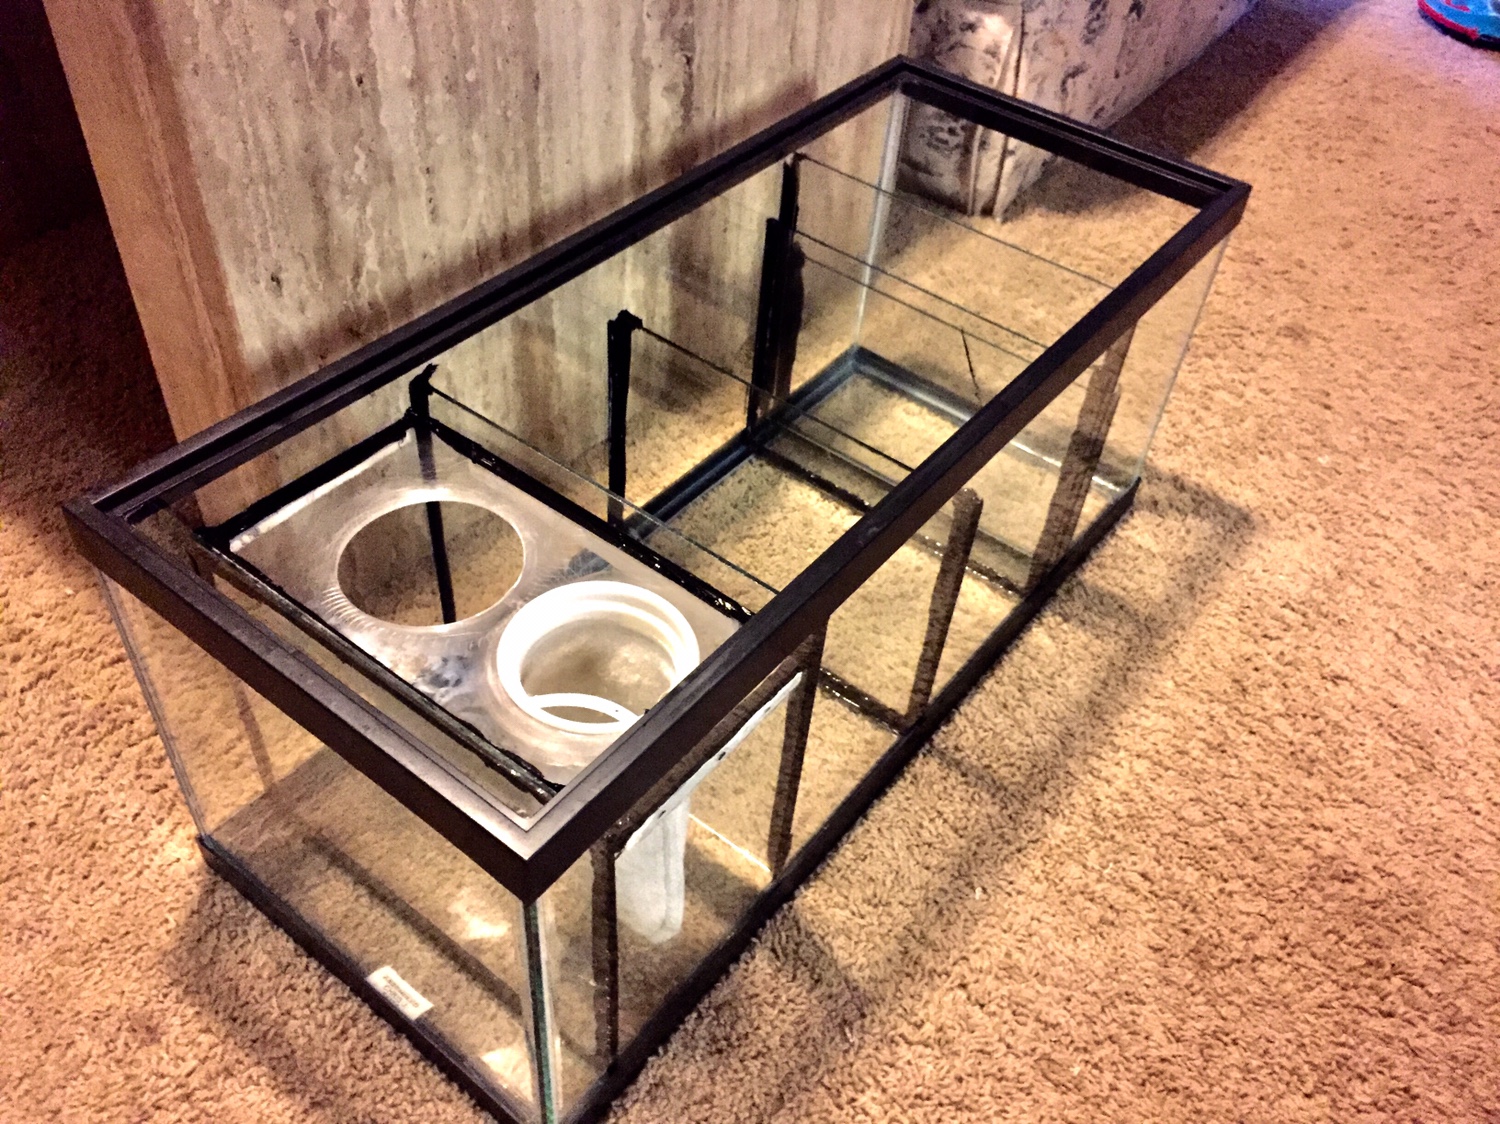
-20g long custom sump
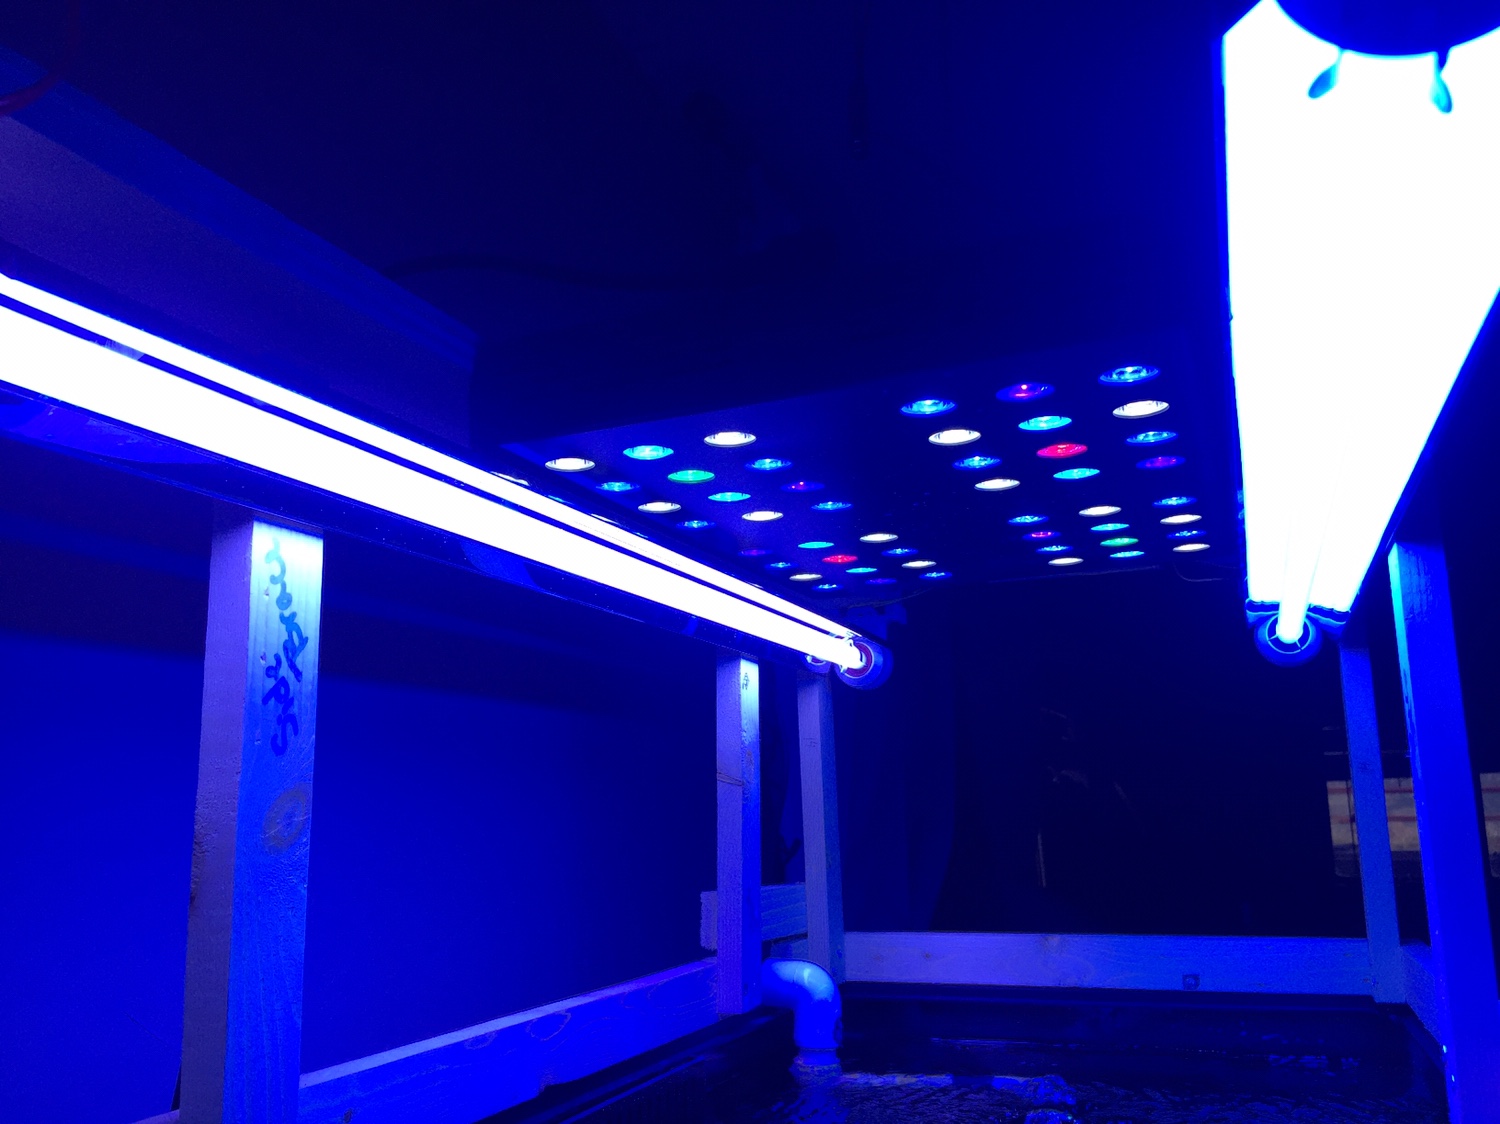
-Ocean revive T-247-b LED's
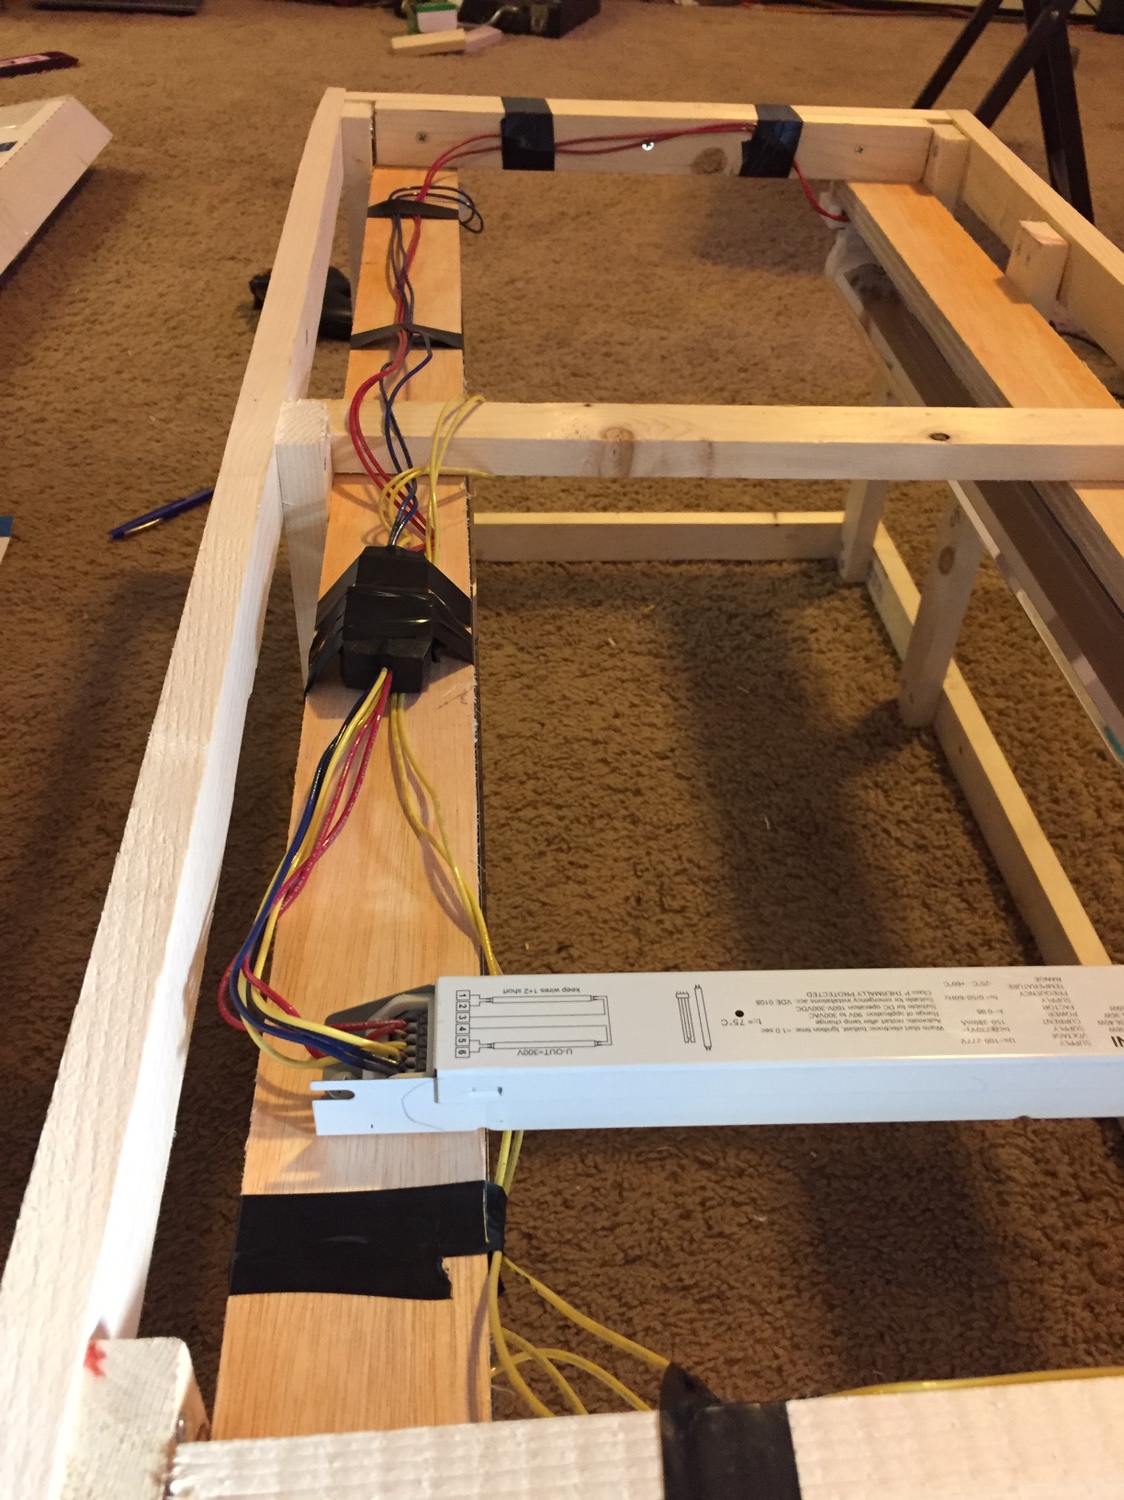
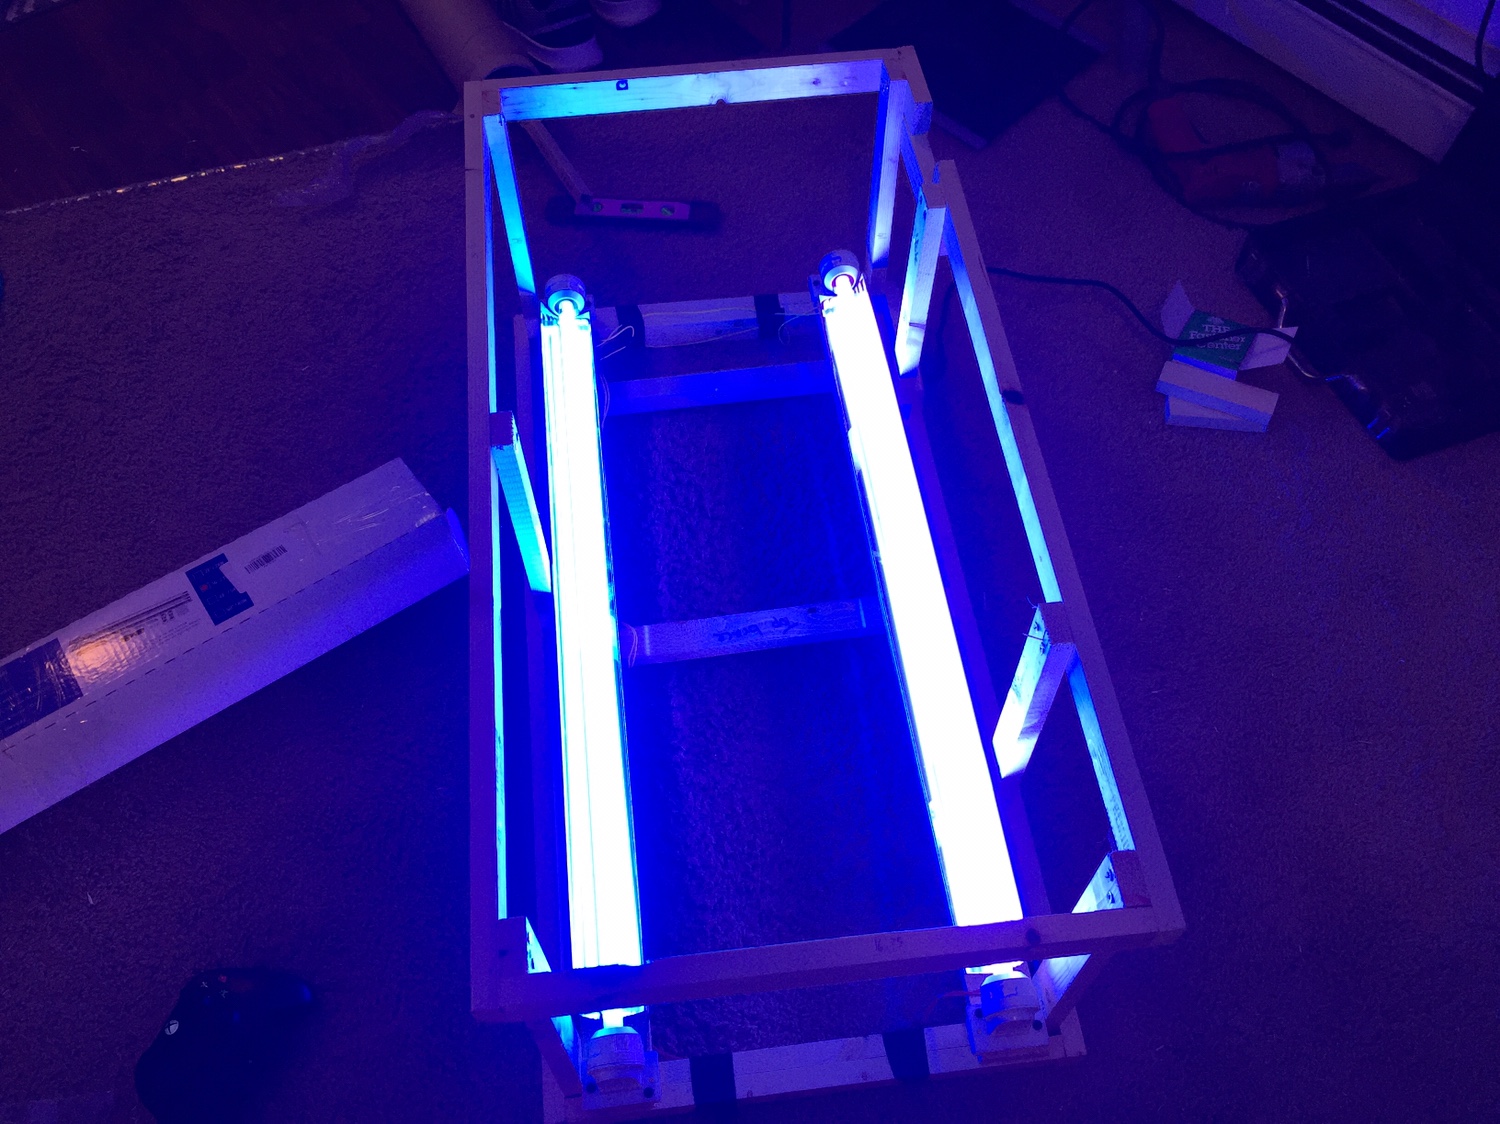
-BRS 2 T5 retrofit kit
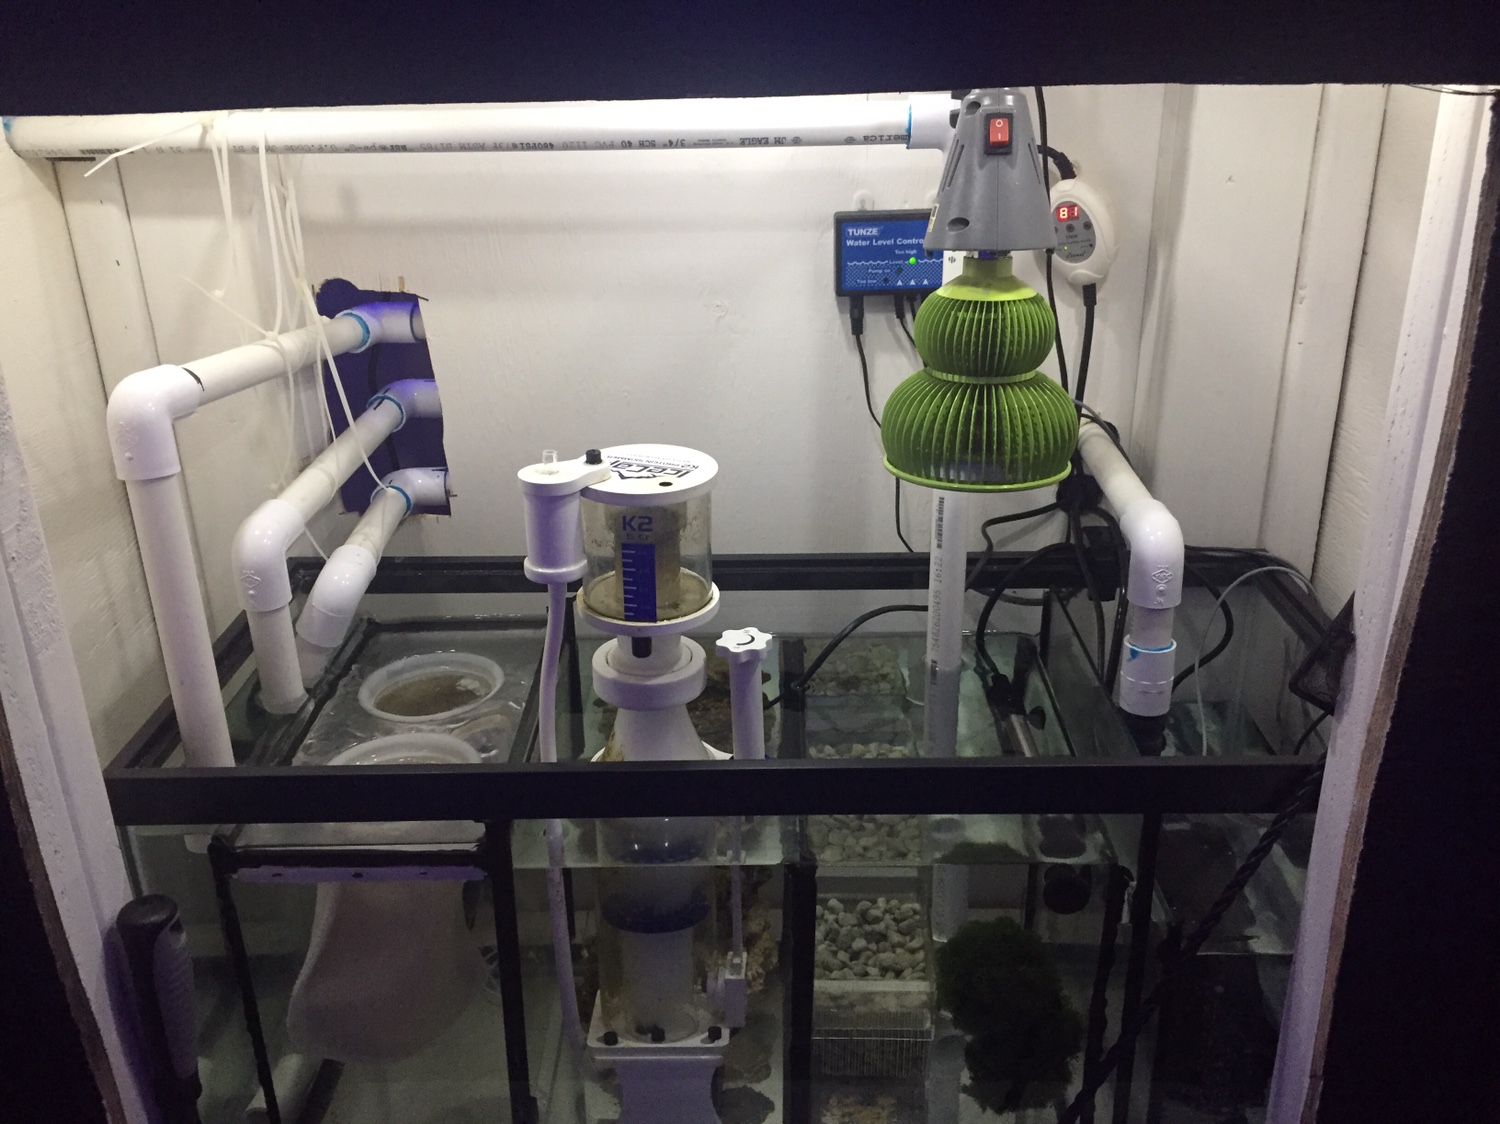
-Jebao dct 6000 return pump
-2 150w finnex titanium heaters
-Jebao wavemaker
-Icecap k2-50 protein skimmer
-VCA random flow generator nozzle


Current livestock list:
-2 paired Occelaris Clownfish
-6 line wrasse
-Bangaii Cardinal
-Royal gramma
-3 blue/green chromis
-3 Margherita snails
-2 Turbo snails
-3 Astrea snails
-1 hermit crab


It's been up and running for a few months now but we'll go from the start.

I had a 30g acrylic cube that started to bow. (Build thread for that can be found here)
https://www.reef2reef.com/threads/bo0sted-cube-build-thread-30g.326605/
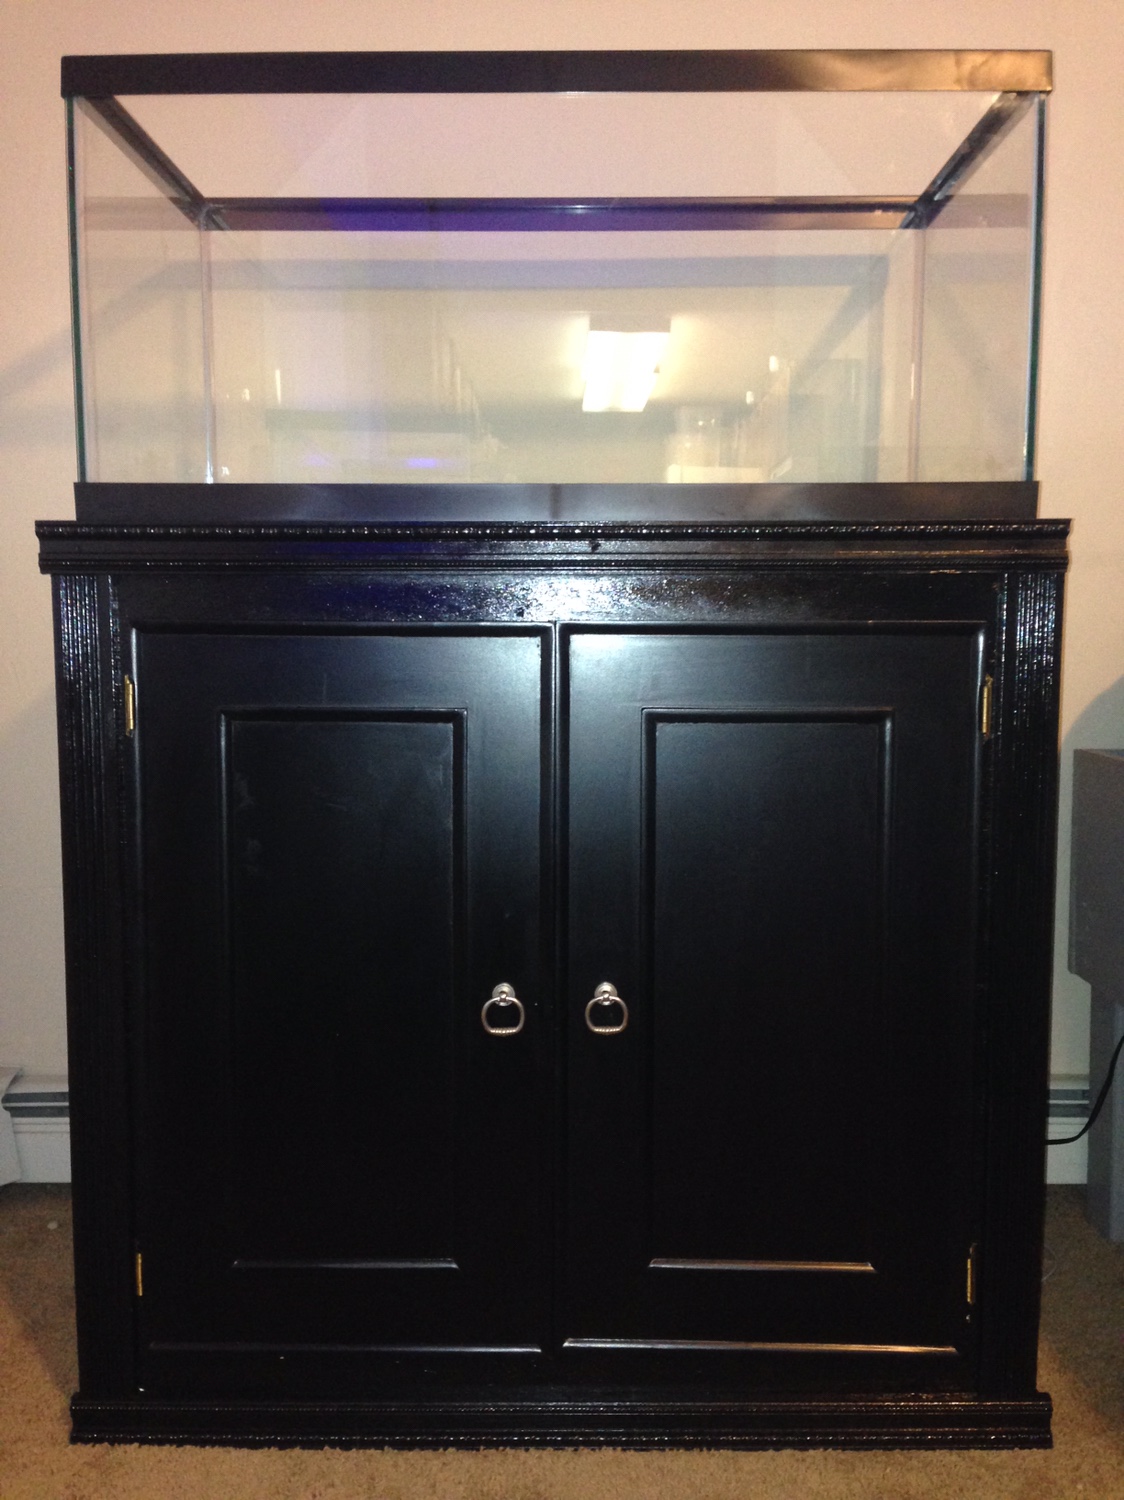
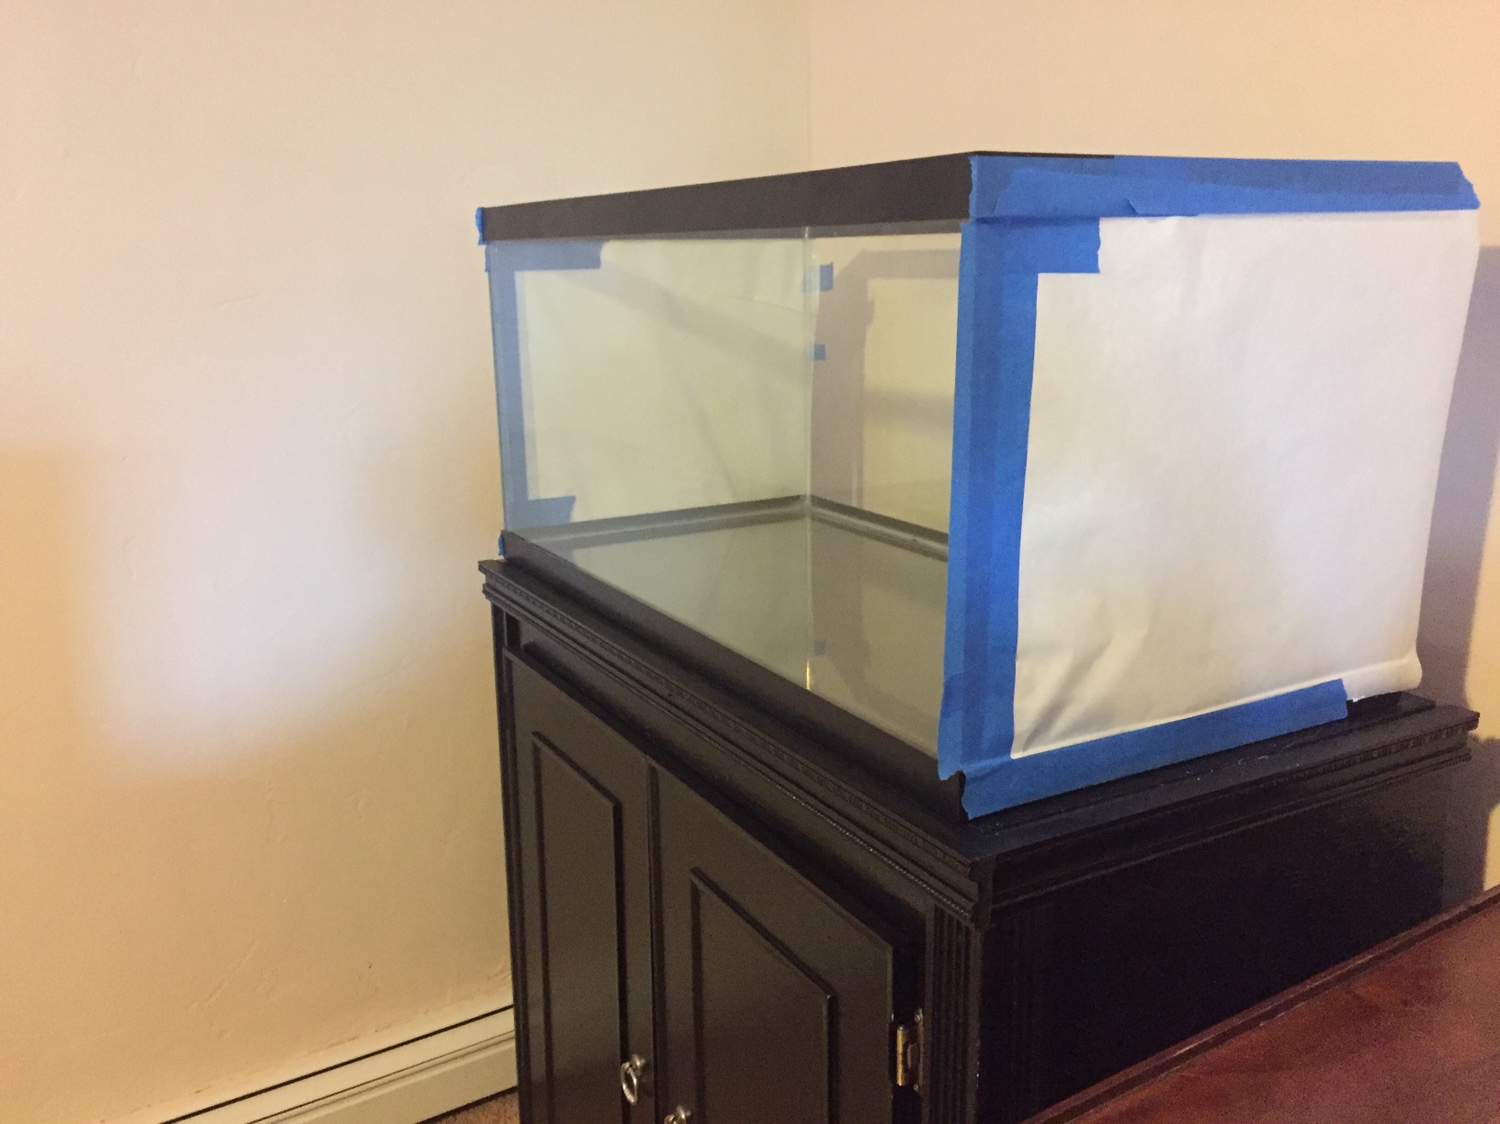
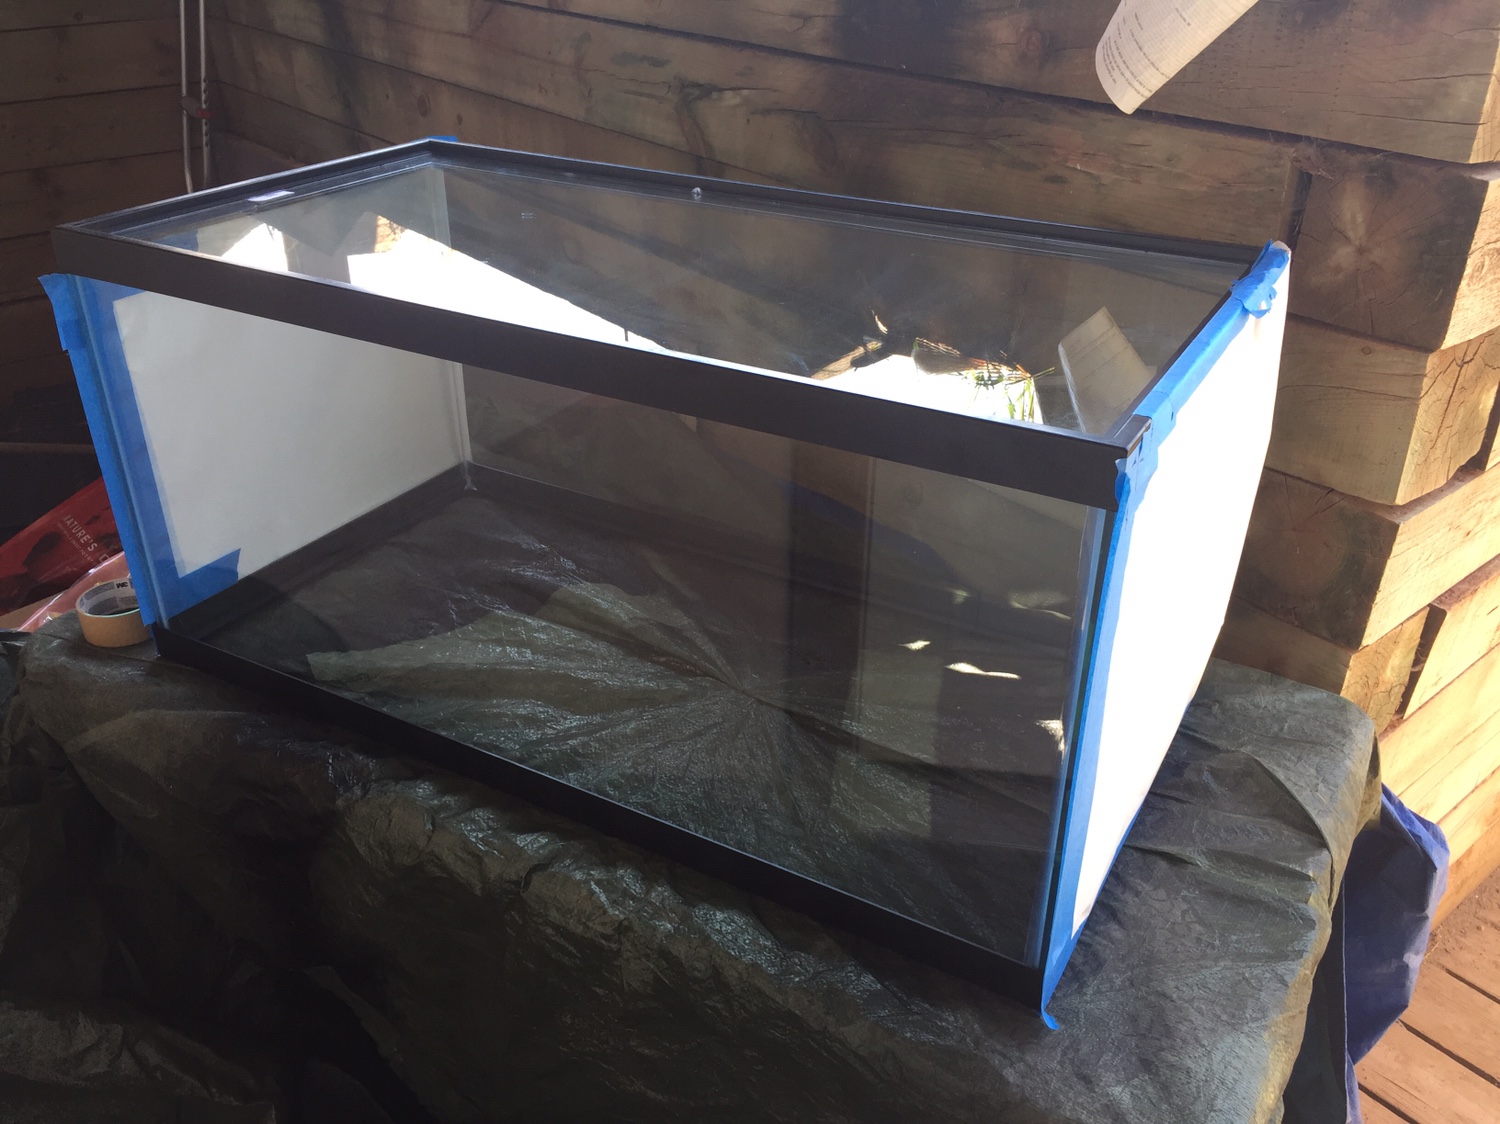
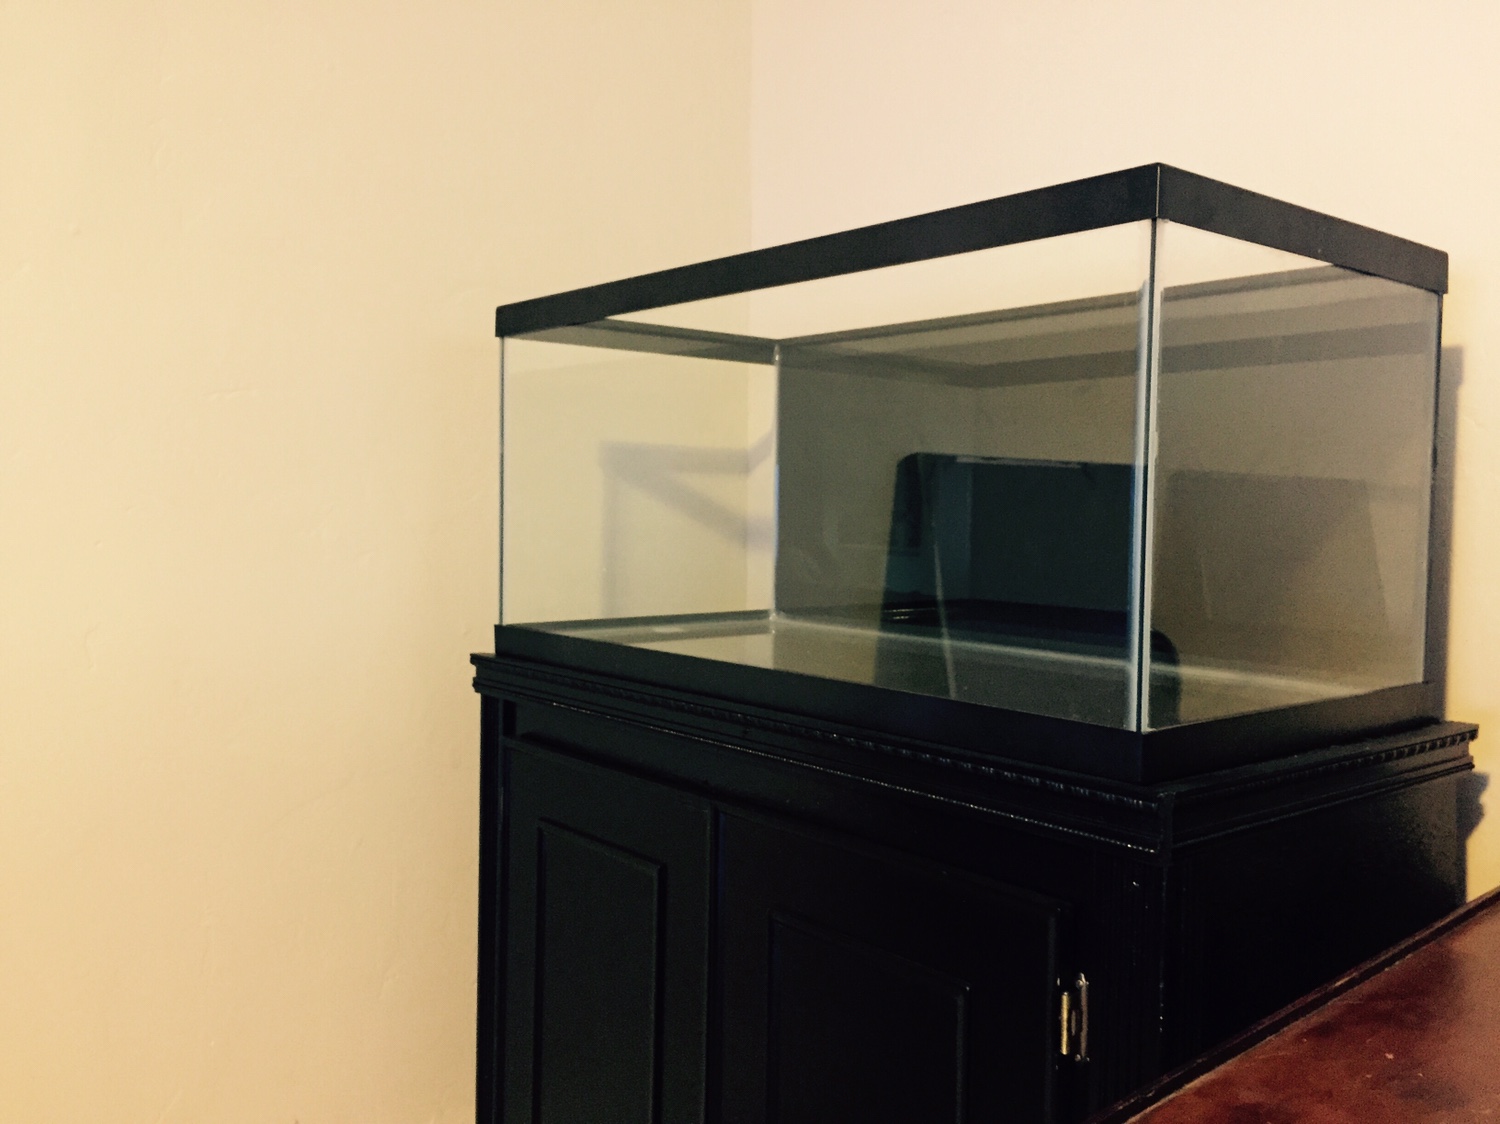
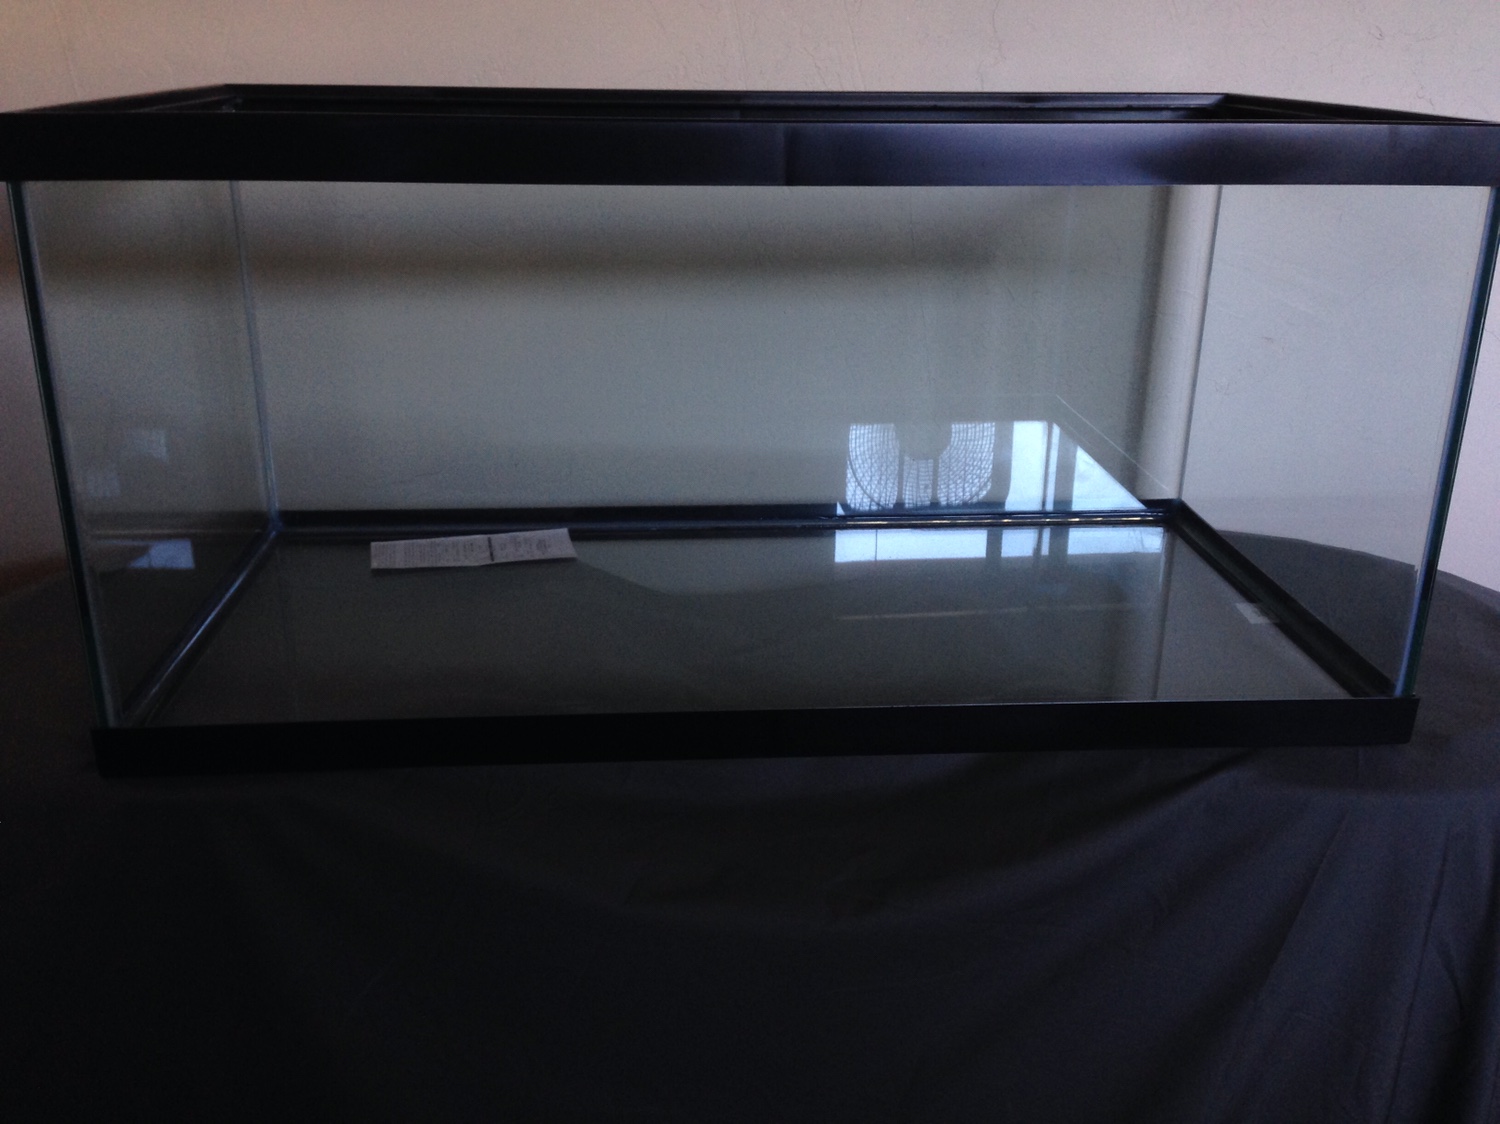
So I ran over to the local pet I and hit the $1 per gallon sale and picked up a 40b and a 20l for the sump.
5fd0ef68f5b8b91a86f2e6982d02c19a.jpg

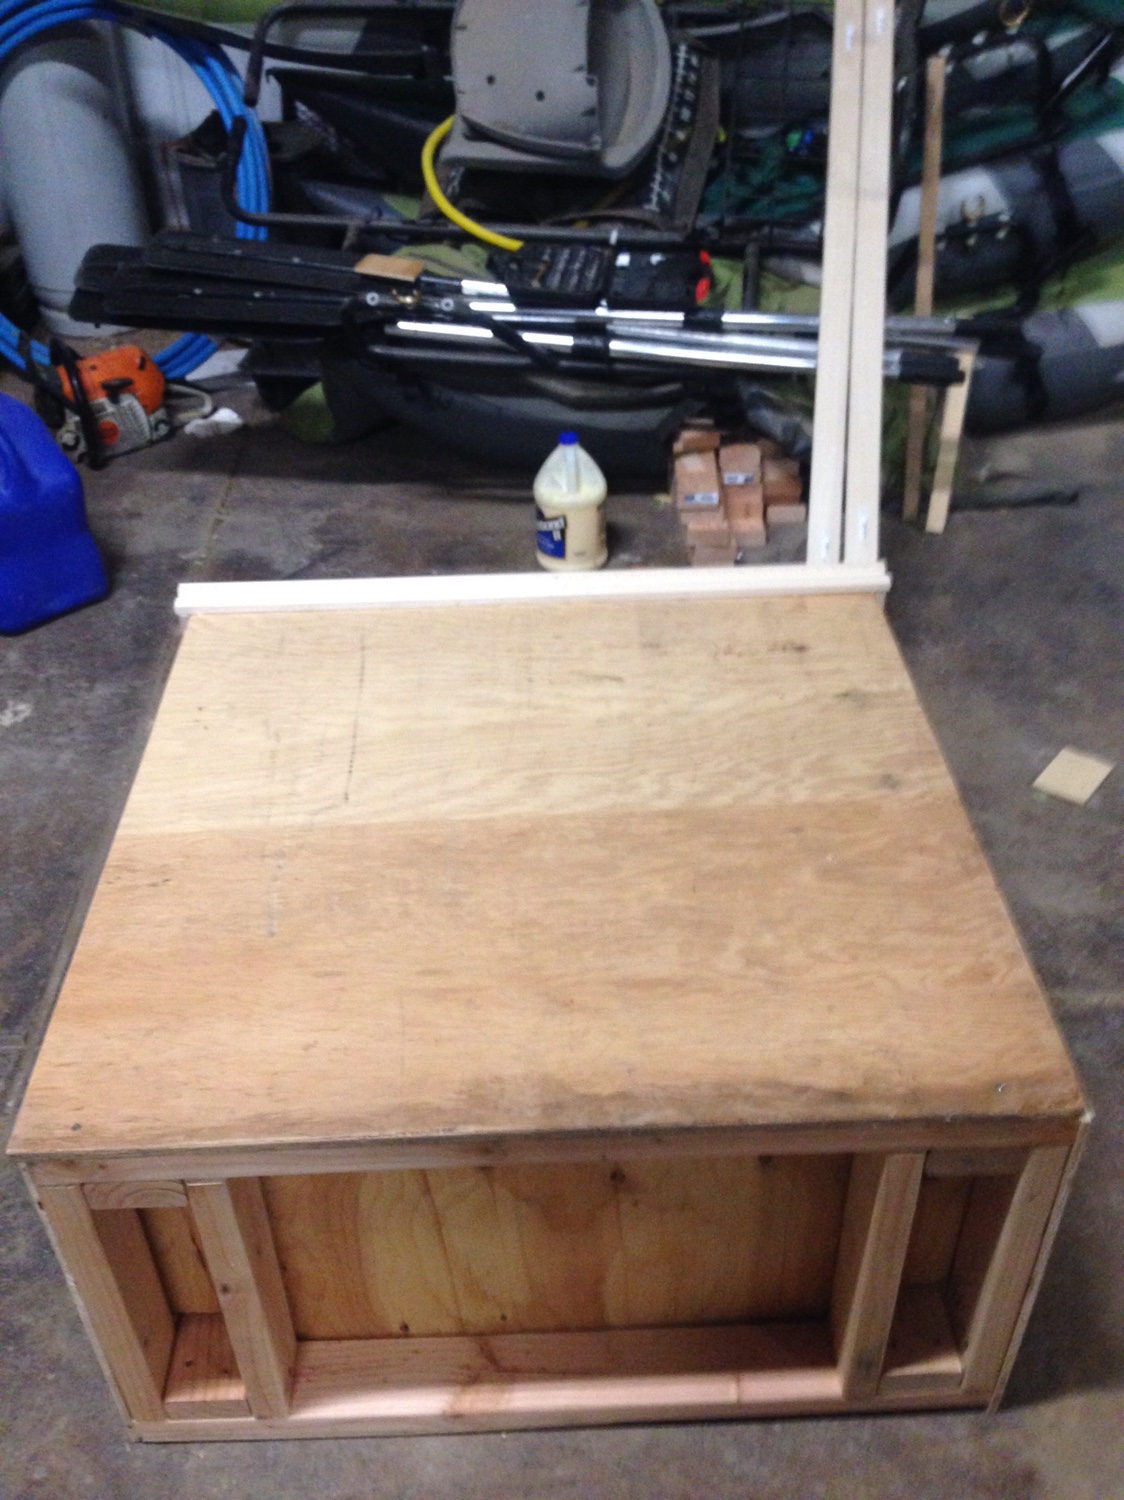
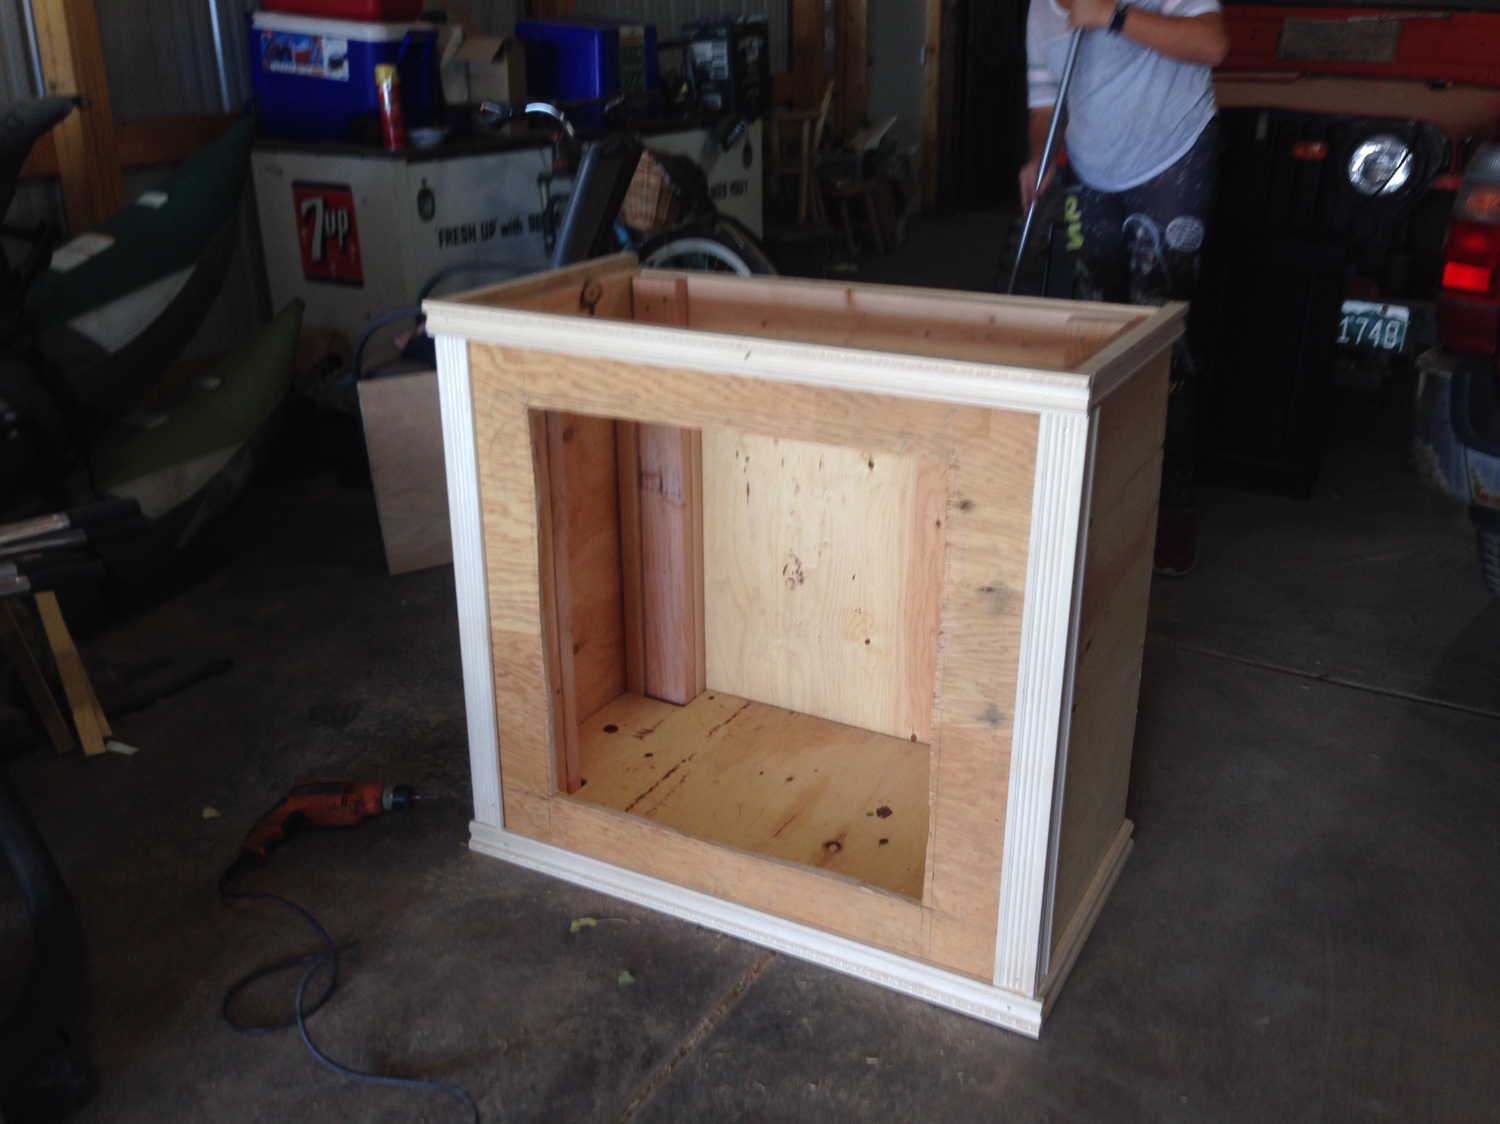
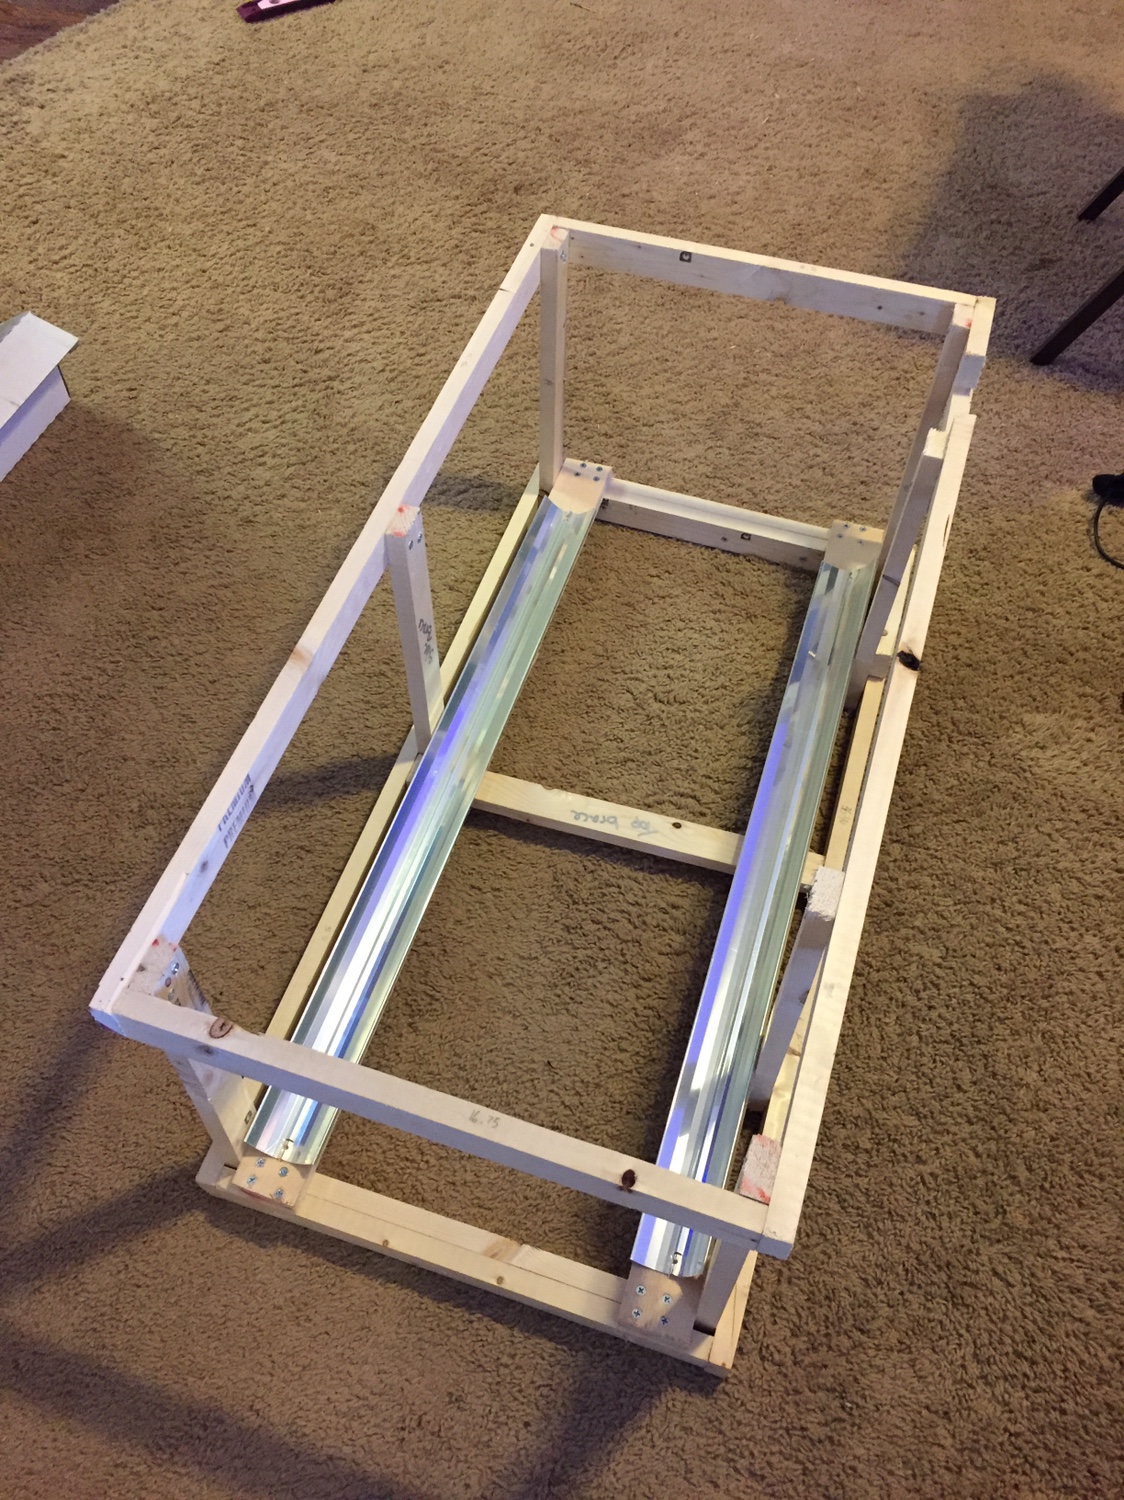
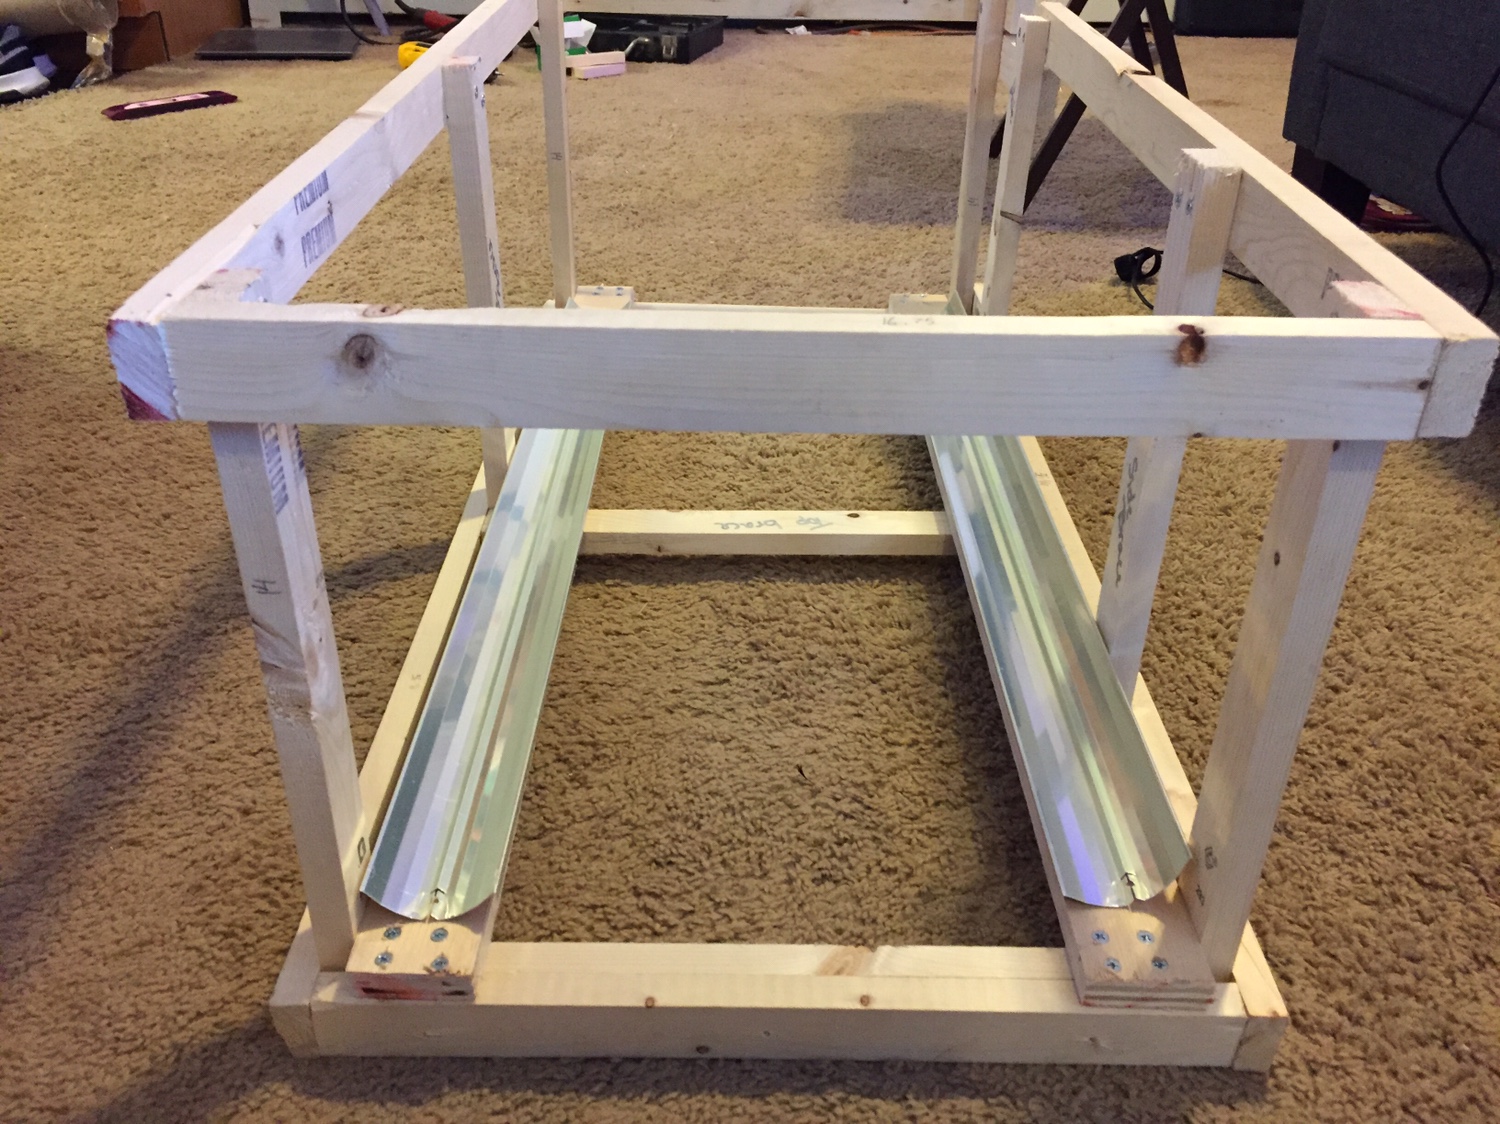
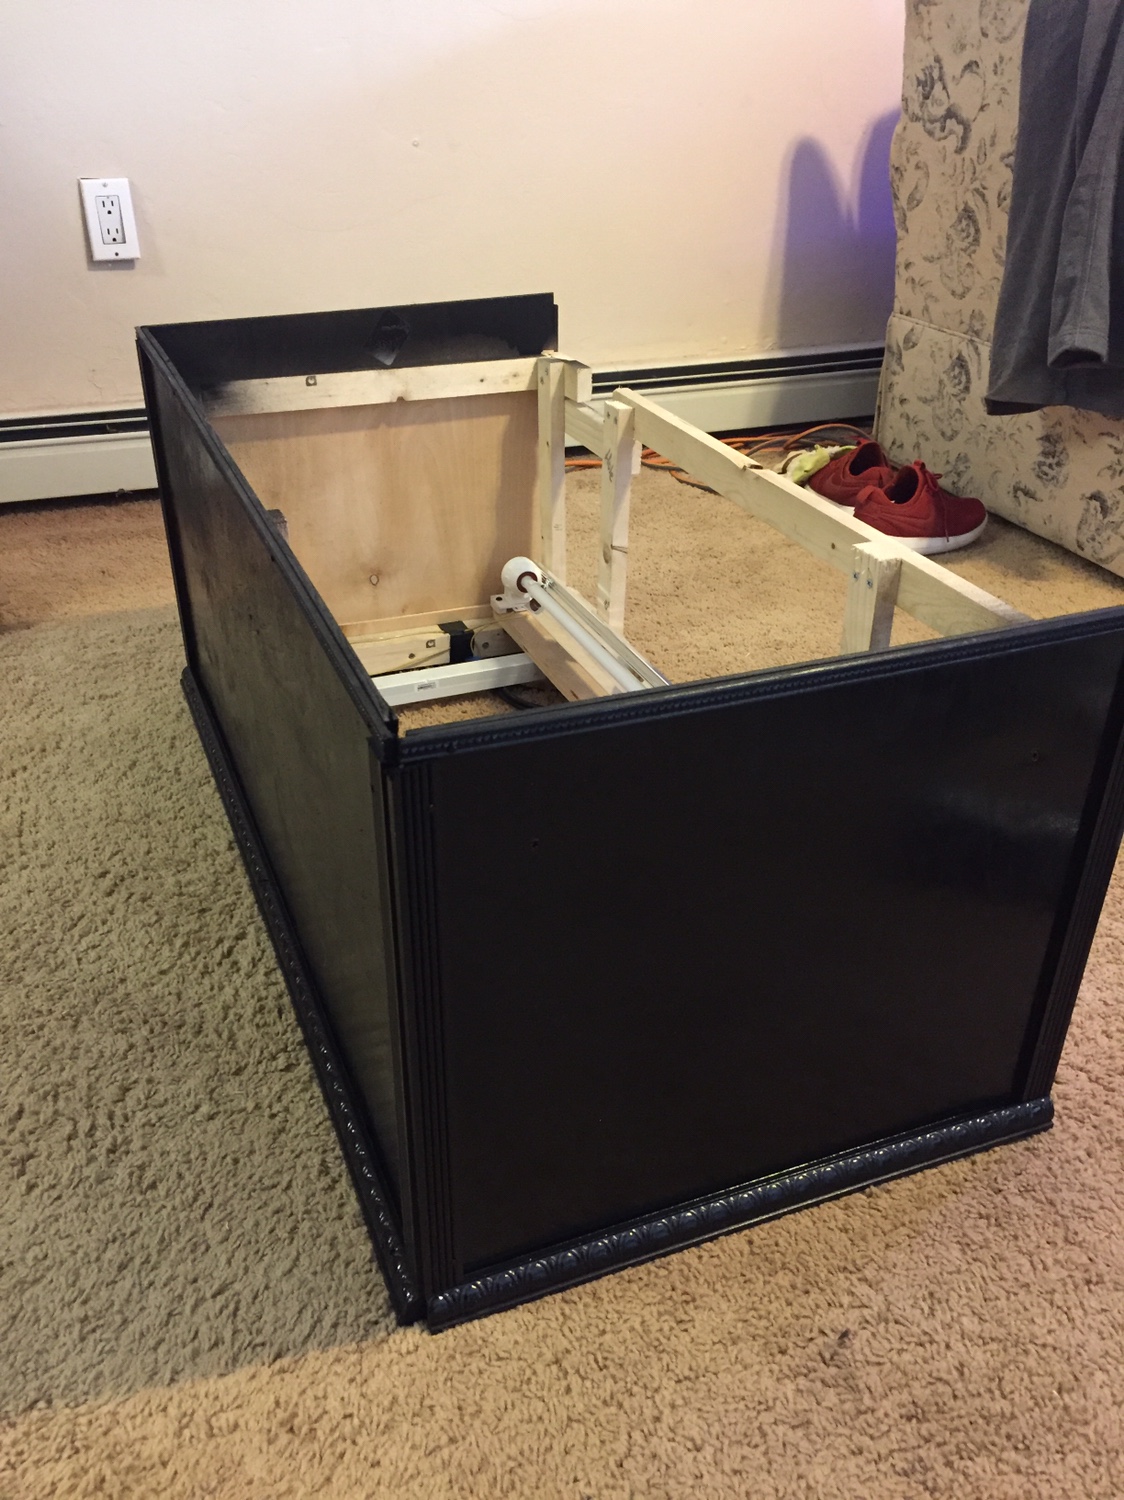
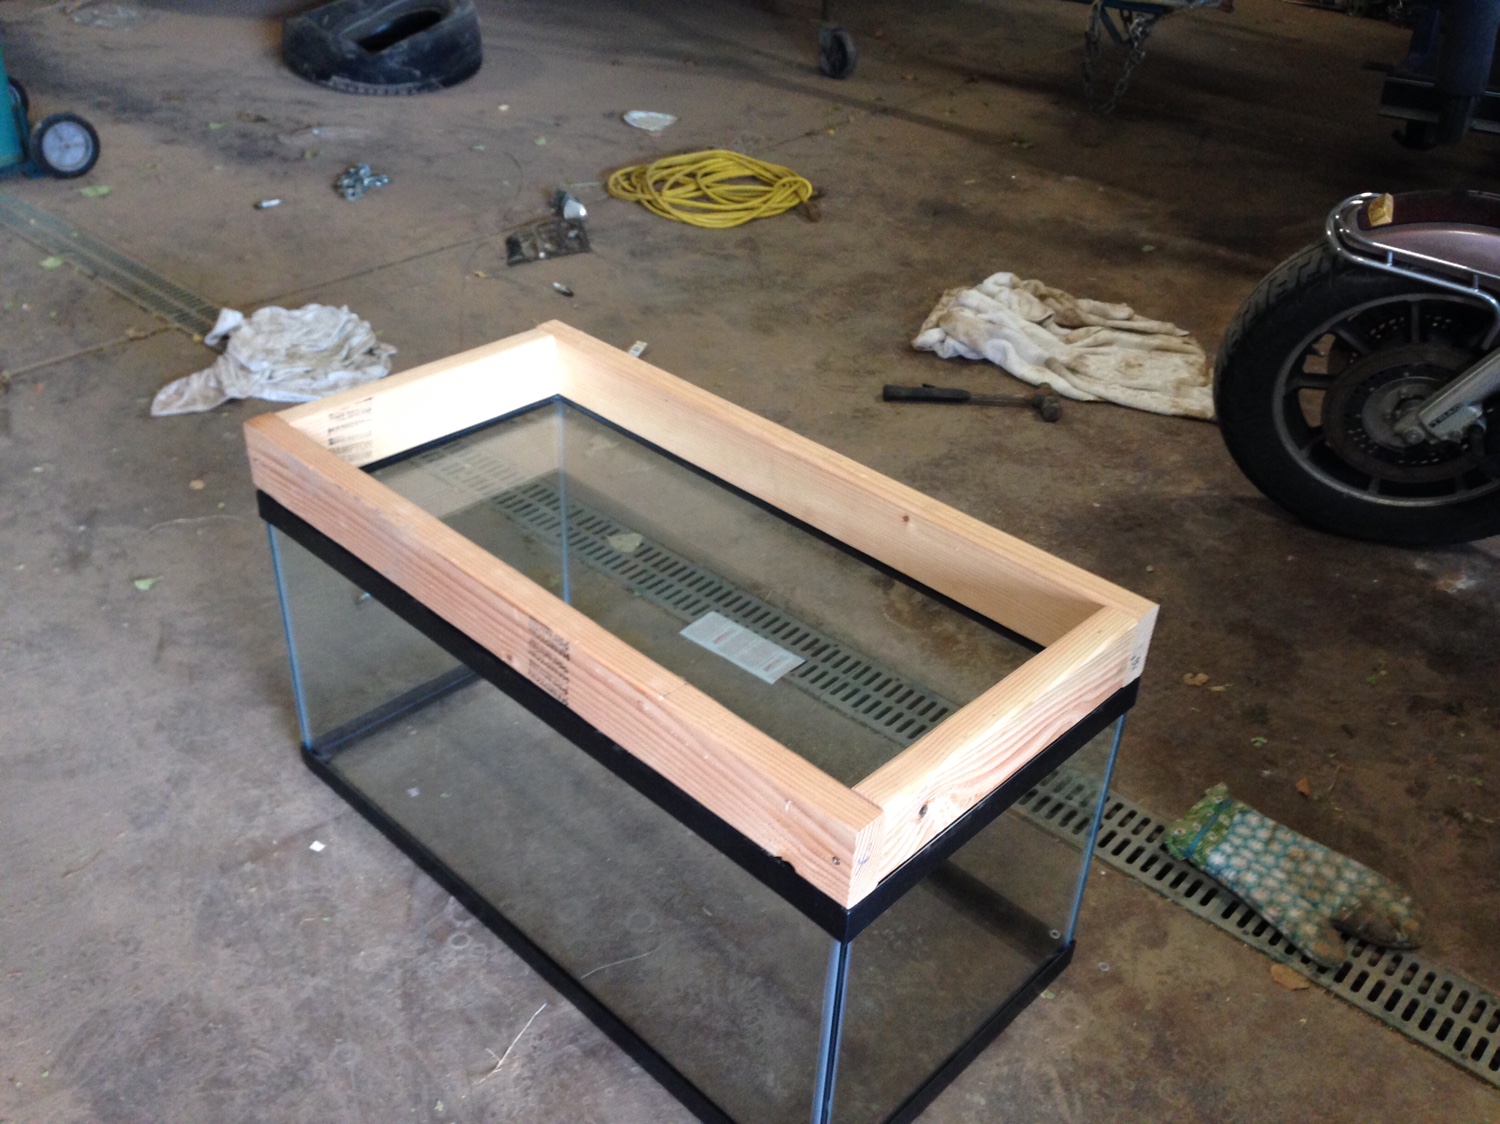
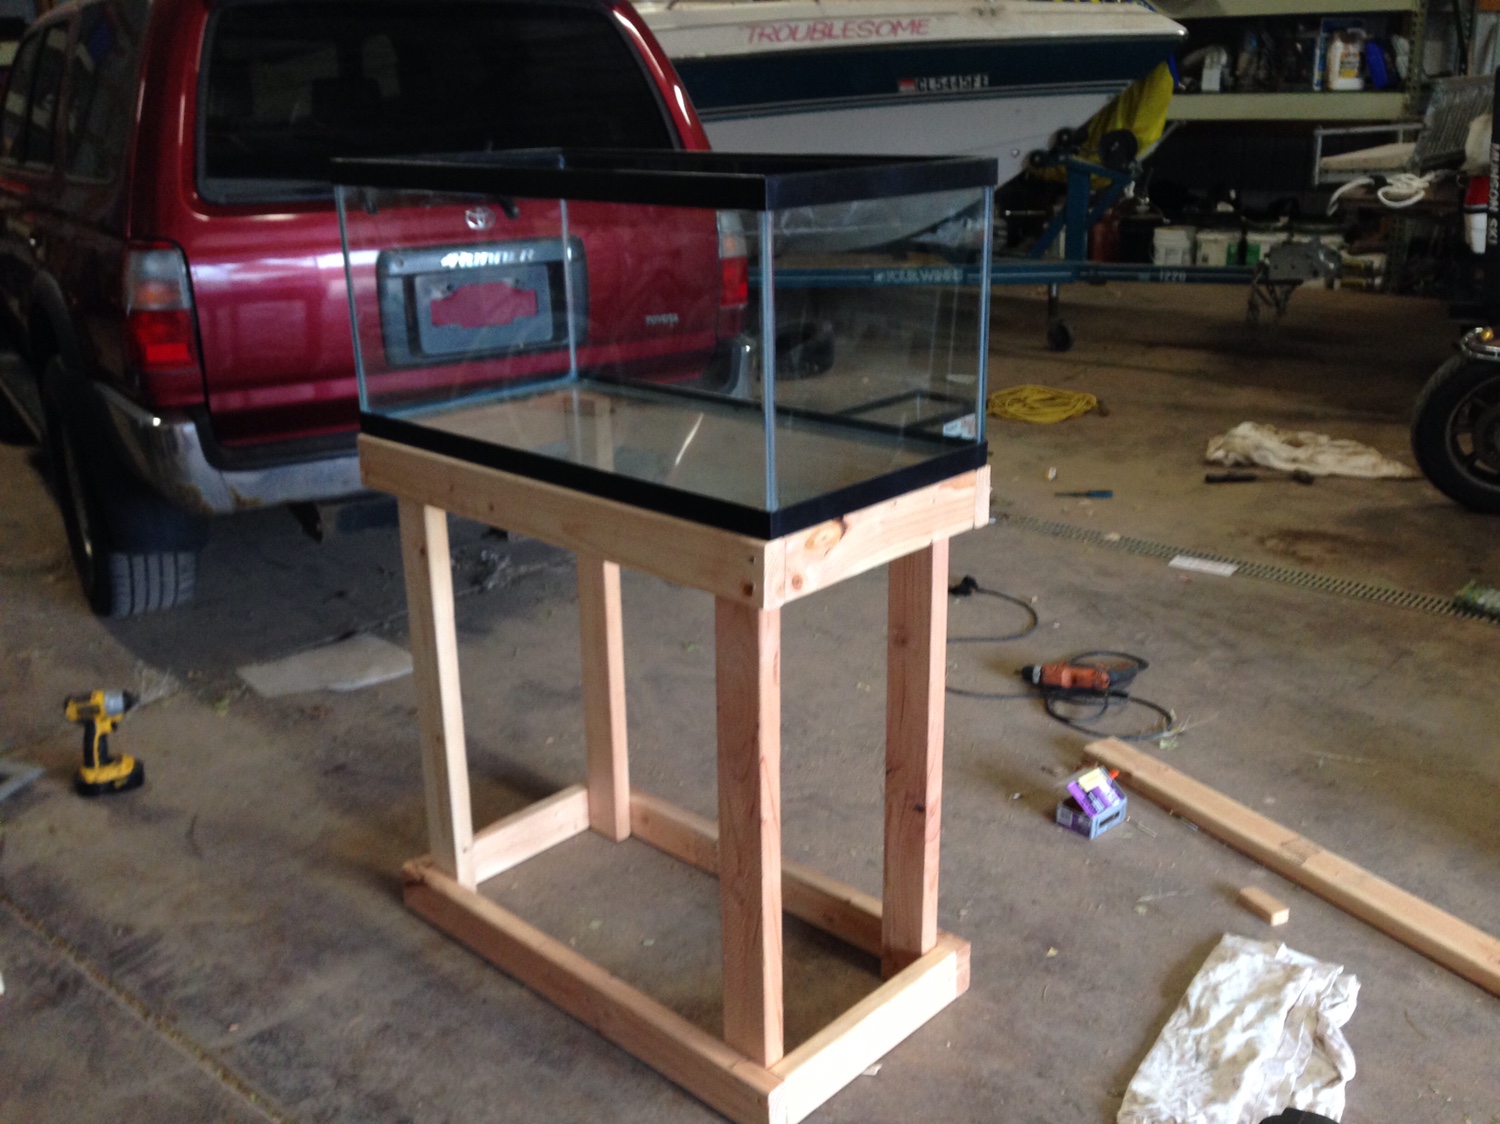
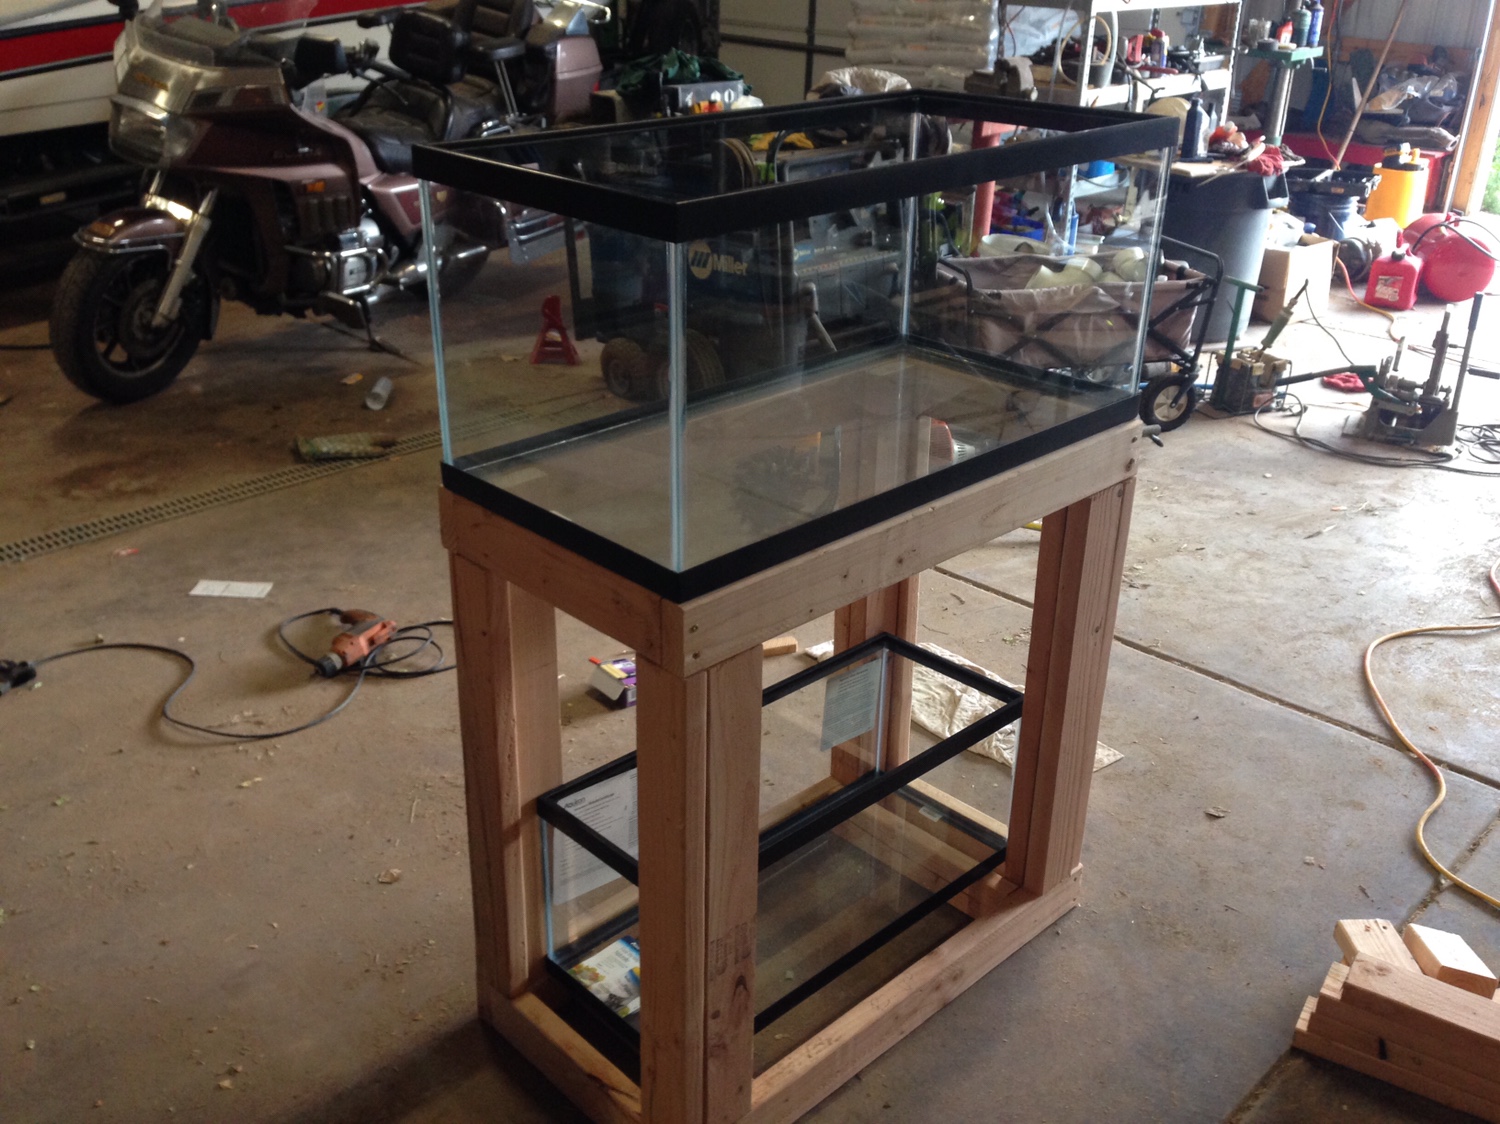
After that I went to Home Depot and picked up some 2x4 to start building the stand.
ba370d5123ee186c505090bedf804f82.jpg

ca459d7309b2874aa034db3eaa401719.jpg

18530c7e65cf45a4de9ca3d03e3a7121.jpg
 
Last edited:
OP
OP
bo0sted2g

bo0sted2g

Active Member
View Badges
Joined
Jan 20, 2017
Messages
419
Reaction score
405
Location
Vail Colorado
Rating - 0%
0   0   0
Now it was time to wrap the outside with ply wood and cut an opening for the doors. Luckily I had a bunch of scrap plywood laying around at work so it didn't cost me anything to skin it.
c3a6de981d20d0aeb5968a85141fff39.jpg

0a5e1e967f3673c7d557a9474eac09d6.jpg


Now she's ready for a few layers of black gloss paint on the outside and I used white pool and shower paint for the inside
4cd5da2683902a3af8132747b36fb53b.jpg

df74bba46380abbaf49d8cb231a6def7.jpg

Here's the final product! Not too shabby for my first real wood working project!
6a681202c890c67c03fb7736d2c91131.jpg
 
OP
OP
bo0sted2g

bo0sted2g

Active Member
View Badges
Joined
Jan 20, 2017
Messages
419
Reaction score
405
Location
Vail Colorado
Rating - 0%
0   0   0
After having a nasty outbreak of Dino's in my last tank and having to rip out the sandbed I decided this time we were going to go "barebottom" but never really liked the sterile look of nothing on the bottom. So after reading though a few threads I came across a few people who have had success with using uncured travertine tiles. This in my eyes was the happy median to a semi natural looking substrate while not having sand.
3f7db2abe200cfeabf4a956788d5b7d8.jpg


Next I needed to drill the tank for the overflow. I originally wanted to go with the synergy ghost overflow but ended up going with the Eshopps eclipse L because it was half the price and INCLUDED the diamond coated hole saw. I was really nervous about drilling my first tank but it was a breeze! Unfortunately working with the hose and power tools I was unable to take pictures during this process.

So here it is drilled,installed and the plumbing mocked up. I ran out of paint on the back but no one will see that anyway. I was also still trying to figure out where I was going to mount my UV sterilizer. It's final location is now on the side of the stand.

cef9b4ec89df28cbf132996936381009.jpg
 
OP
OP
bo0sted2g

bo0sted2g

Active Member
View Badges
Joined
Jan 20, 2017
Messages
419
Reaction score
405
Location
Vail Colorado
Rating - 0%
0   0   0
Time to build the new sump. My last one I built just had the filter sock on the end of the pvc drain pipe and I felt I could improve the design so I wouldn't have to submerge the sock to change them out. I took an idea from some of the higher end sump systems and built a filter sock holder so I can just pull them out and drop in a new one.
50c36ea13e2901edfe3f2b82e6ec51f0.jpg

db13f9c8f4d9f8da97cb8840b7a968da.jpg

Then I went back to Home Depot bought a sheet of glass and cut some baffles for the sump and siliconed them in place.
57e01bbb272bae85636bb632d003f65c.jpg

863a674f22c7967d67ff51c48ca17144.jpg
 

Ruben's Reef

Ruben's Reef
View Badges
Joined
Jun 8, 2017
Messages
6,108
Reaction score
42,234
Location
Tampa
Rating - 0%
0   0   0
Nice build. Like the sump. Following.
 

D805

Community Member
View Badges
Joined
Dec 7, 2017
Messages
28
Reaction score
22
Rating - 0%
0   0   0
Nice build. How are the tiles working out for you? Never seen that done before.
 
OP
OP
bo0sted2g

bo0sted2g

Active Member
View Badges
Joined
Jan 20, 2017
Messages
419
Reaction score
405
Location
Vail Colorado
Rating - 0%
0   0   0
When transferring everything over to the new tank I used 100% of the 30g water plus another 20-30g of fresh saltwater that I salinity and temperature matched to the old tank. I also used the same lights and rock and skimmer. So basically the only thing that changed was the glass tank that housed everything.

Not sure where I went wrong I have a suspicion that I might not have let the silicone in the sump cure long enough but I managed to wipe out more than 50% I'm my corals from the old tank. Here's a FTS right before I tore it down.
ae3aaa7381c7e17b244cf5efb2a791ab.jpg


My Duncan's, neon green hammer, frogspawn, purple hammer, grinch Acans, starburst Acans, all brown jellied and died. All my zoas except the ugly un named ones closed up and disappeared.

Here is some of the aftermath.
91ad3e3850e960b8e8f3832a41f411ca.jpg
 
OP
OP
bo0sted2g

bo0sted2g

Active Member
View Badges
Joined
Jan 20, 2017
Messages
419
Reaction score
405
Location
Vail Colorado
Rating - 0%
0   0   0
Nice build. How are the tiles working out for you? Never seen that done before.

They are working out great! I'll try to find the link of the build I got the idea from for you. but eventually they start getting encrusted with corraline algae and look awesome. Travertine is also used as frag tiles sometimes so you could make a zoa carpet or encrust them with whatever you want really. some detritus accumulates in the cracks but nothing that a quick turkey baster cant blow out every now and then.
 
OP
OP
bo0sted2g

bo0sted2g

Active Member
View Badges
Joined
Jan 20, 2017
Messages
419
Reaction score
405
Location
Vail Colorado
Rating - 0%
0   0   0
Being in a longer tank the single Ocean revive T247 fixture wasn't enough to cover the 36" length of the 40b. So I ordered a T5 retrofit from BRS. This allowed me to keep the LED's while getting the benefits from T5 lighting.

I have never done any electrical work so was kind of nervous wiring my own fixture but it was easy and the instructions were straight forward.

I decided the best way to mount this on the tank was to build a canopy. This also gave me the opportunity to cover the water line gap between the tank trim that was driving me nuts.
bb05d7875c4c17cd84d7e1d612f09a31.jpg

e114760870994992f576011258a6b944.jpg

7d27e682b0060a9775e8ec203dd9116a.jpg

426b73c9937978d01f88b0ad7a423dec.jpg

d6395b4744e6b7ec67db92ae11ab4ff8.jpg

8e6d1393afd4e21801e580054c6227e8.jpg
 

hybridazn

Acro killer.....
View Badges
Joined
Apr 29, 2010
Messages
7,929
Reaction score
10,544
Location
Grapeville PA
Rating - 0%
0   0   0
Nice build!

I see you also like to torture yourself with not only aquariums but also dsm's lol. I did as well. Here is a pic of my 95 gst from years back

Screenshot_20180206-173957.jpg
 

Reefing threads: Do you wear gear from reef brands?

  • I wear reef gear everywhere.

    Votes: 17 15.5%
  • I wear reef gear primarily at fish events and my LFS.

    Votes: 6 5.5%
  • I wear reef gear primarily for water changes and tank maintenance.

    Votes: 0 0.0%
  • I wear reef gear primarily to relax where I live.

    Votes: 18 16.4%
  • I don’t wear gear from reef brands.

    Votes: 61 55.5%
  • Other.

    Votes: 8 7.3%
Back
Top