Summary:
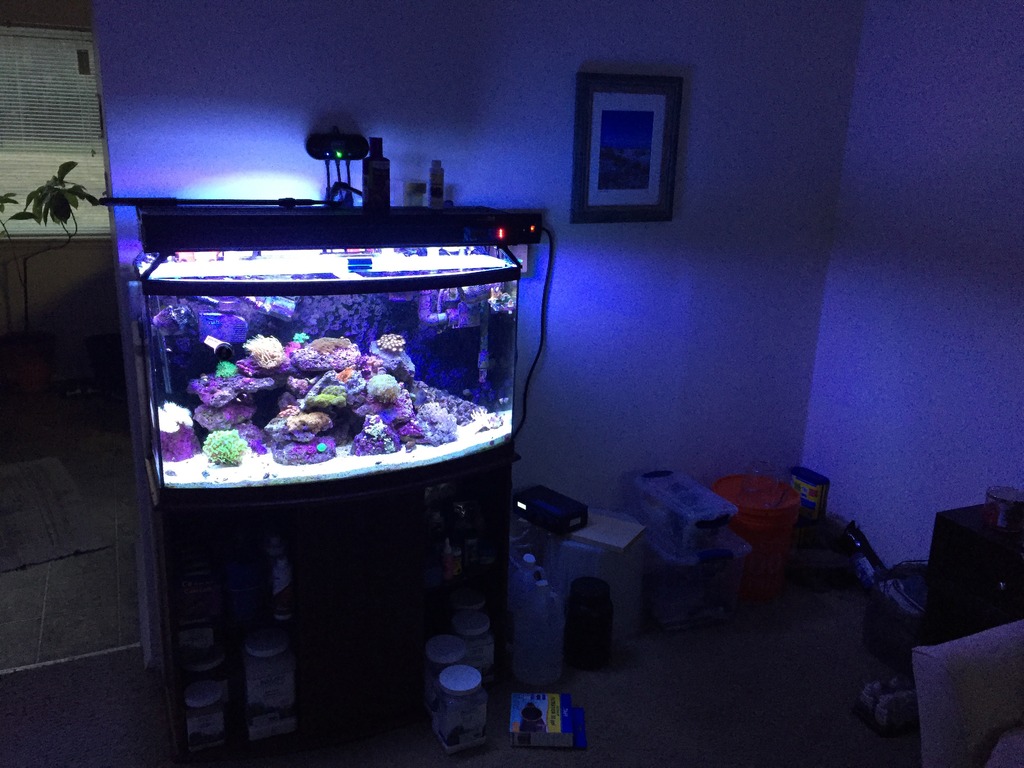
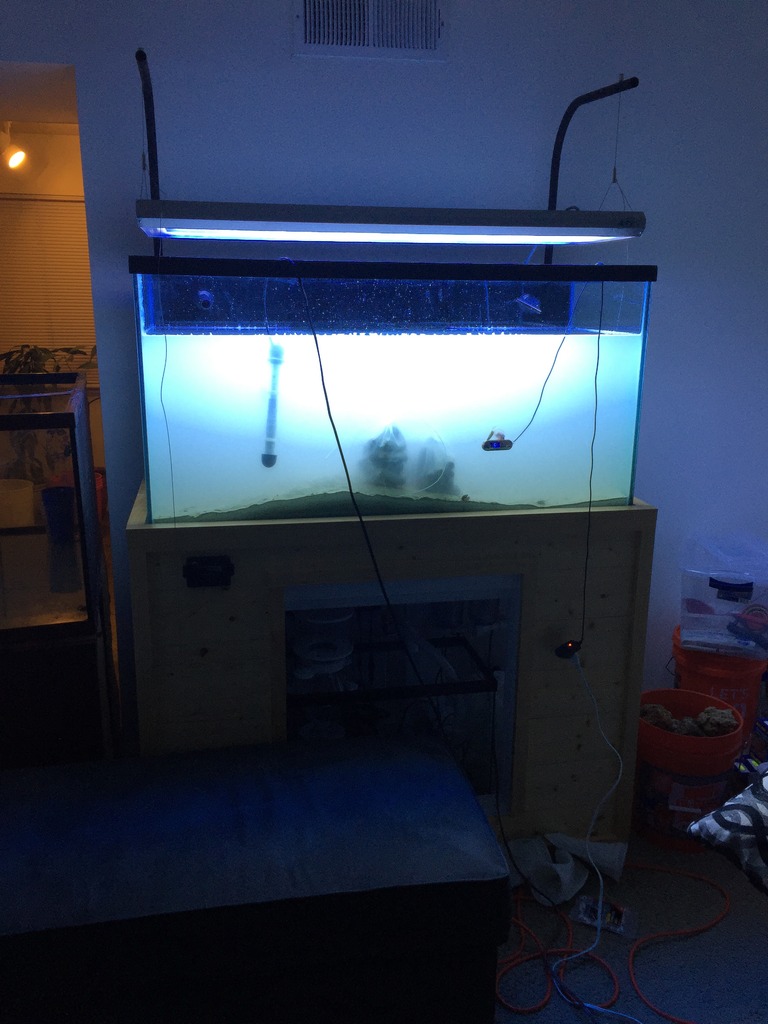
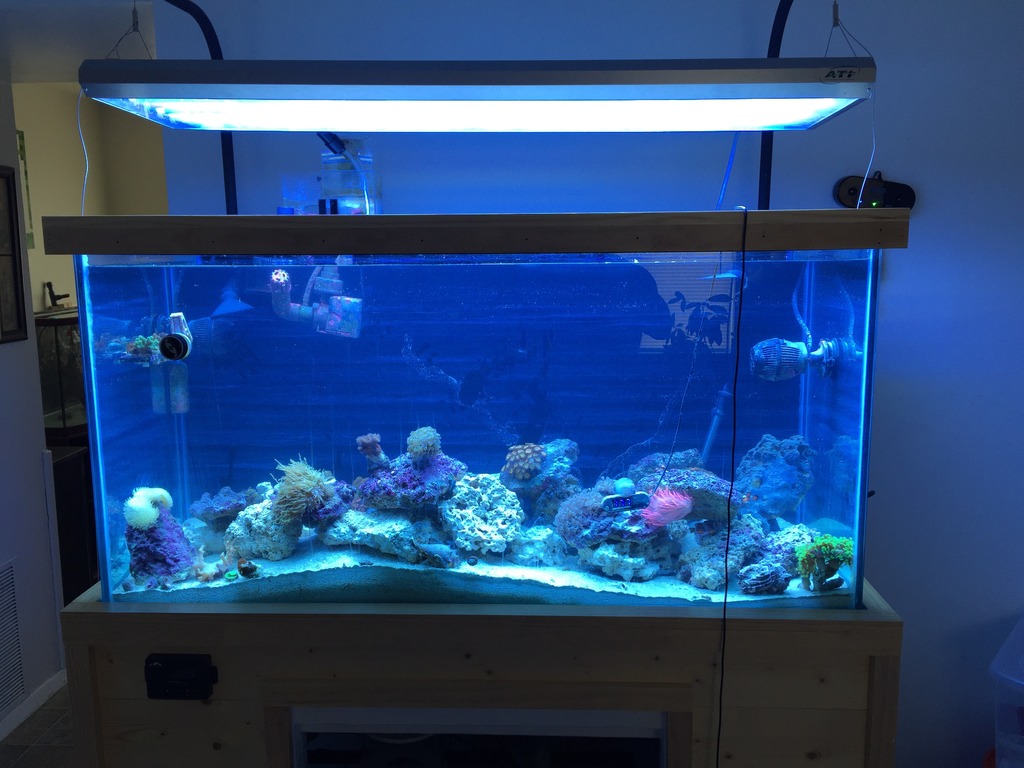
This is my first custom build, transitioning from a 46G bowfront. Many more pictures and details to come. Almost all of this build was a first time experience, I would do some things differently, but that's all part of the learning process! This build has taken me about 8 months to complete as i've researched and completed the majority of the work myself. I built the stand, put new seals in the tank, drilled the tank, designed and crafted the sump, built the conduit light posts, did all the plumbing and electrical.
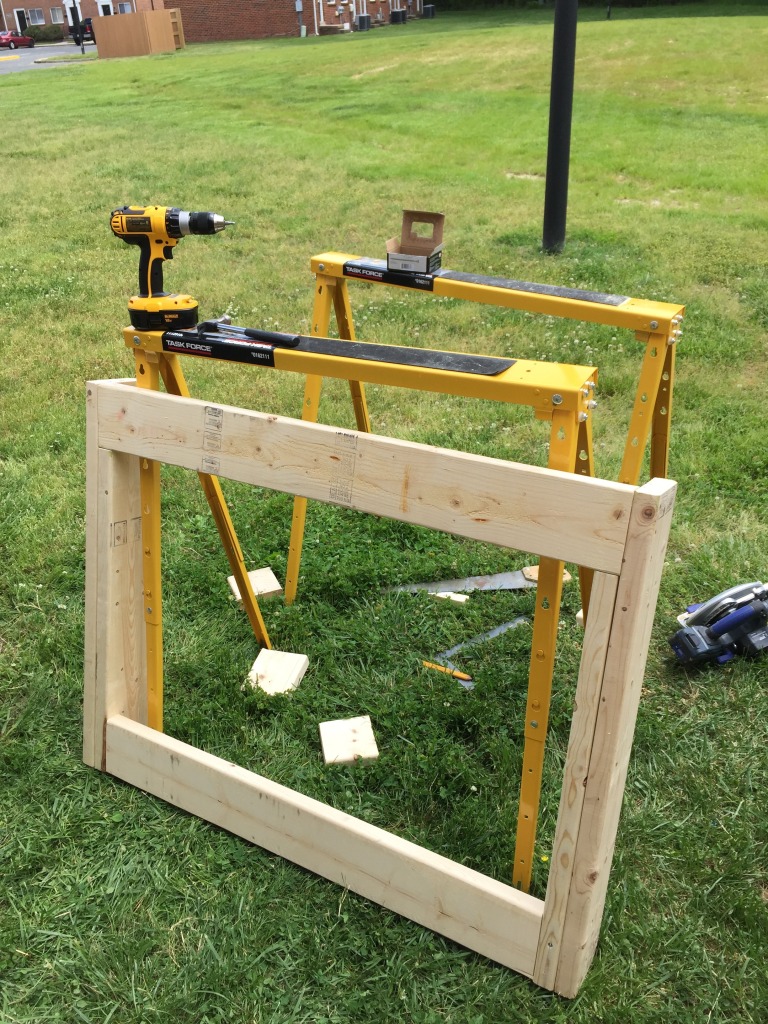
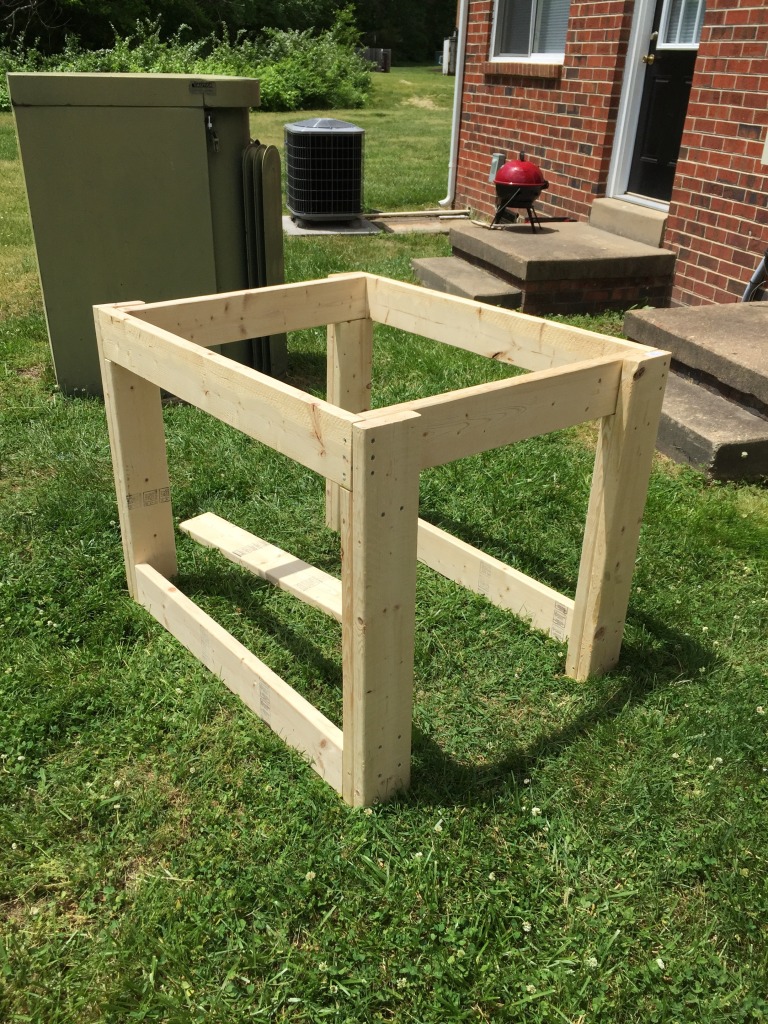
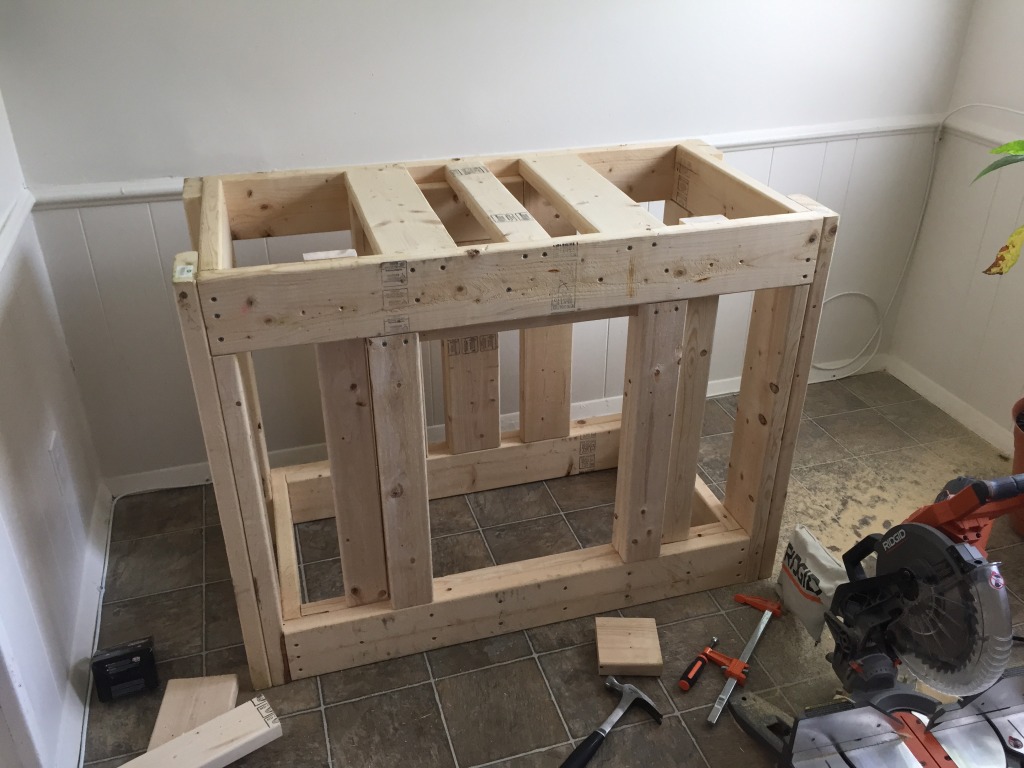
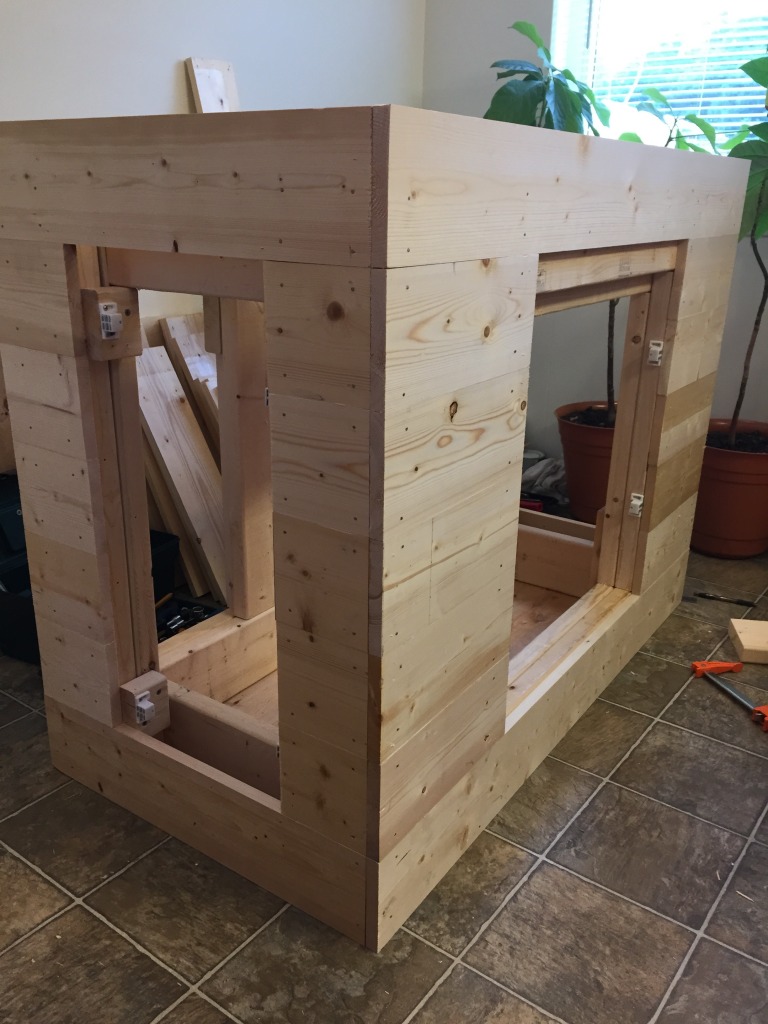
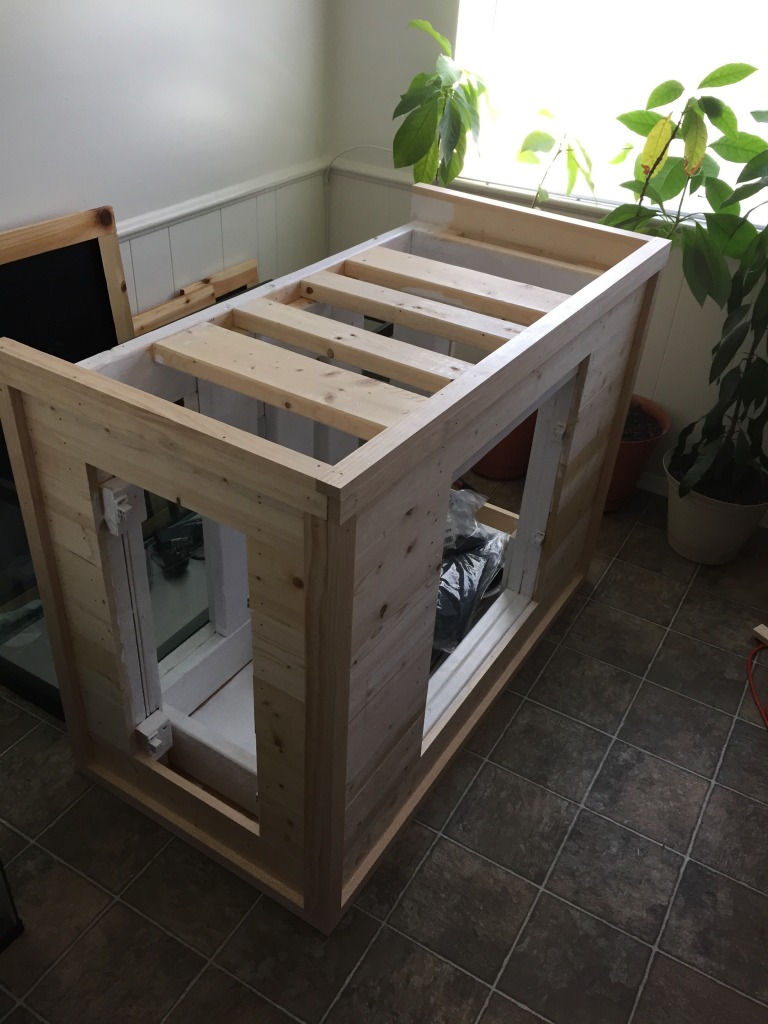
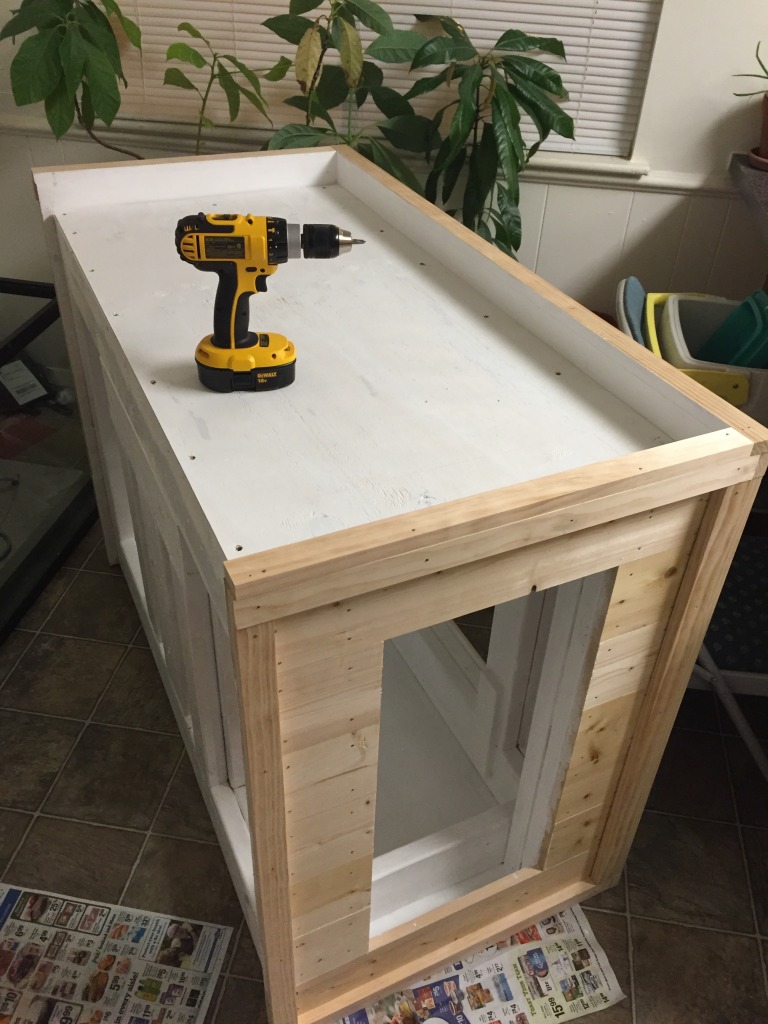
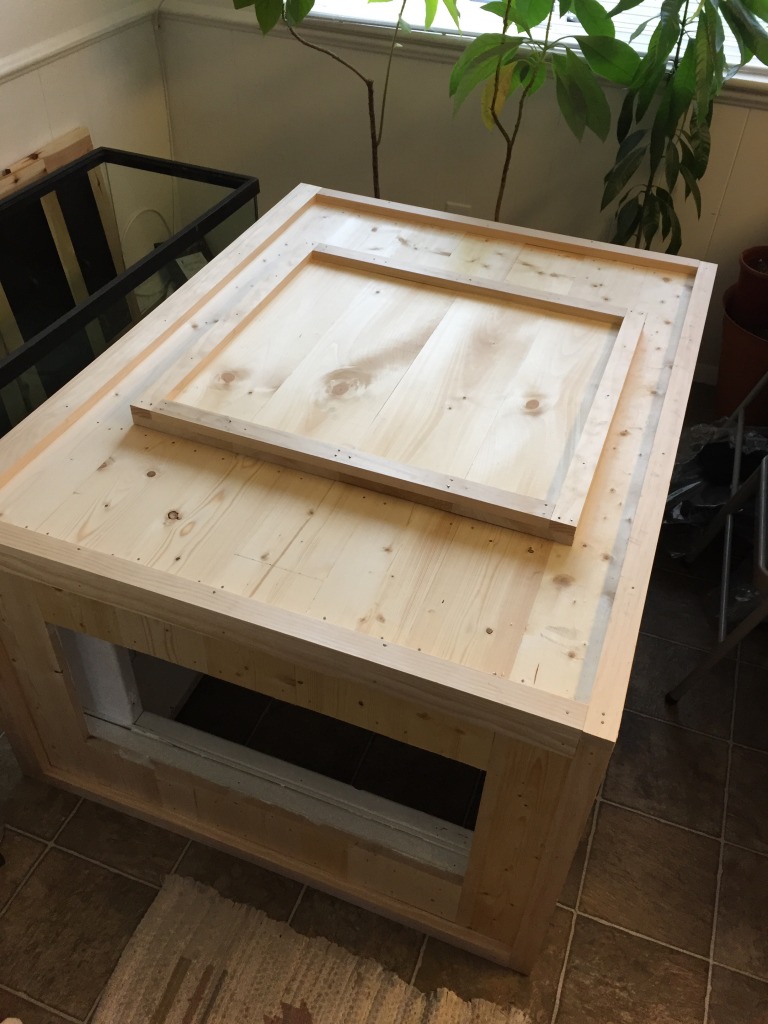
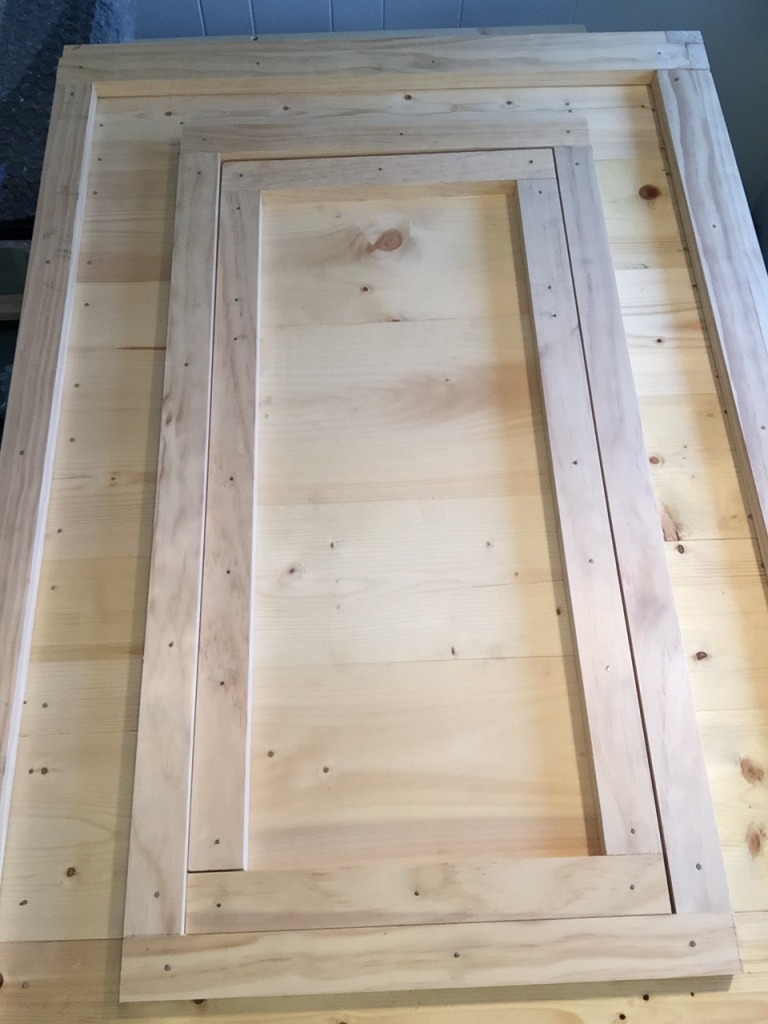
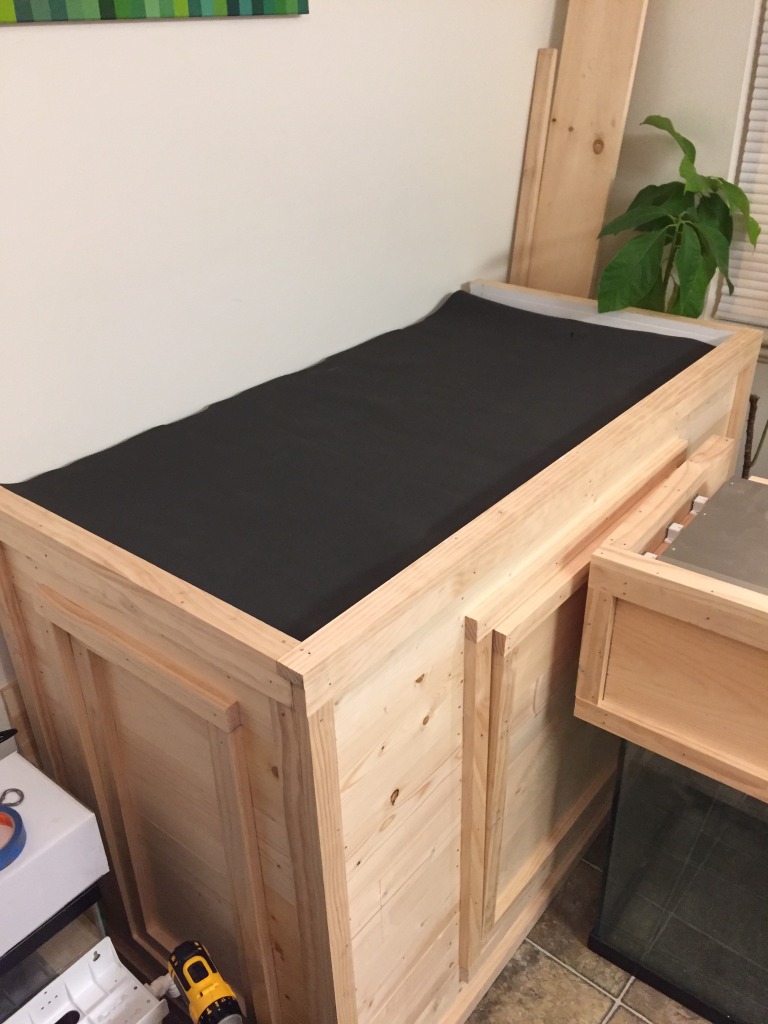
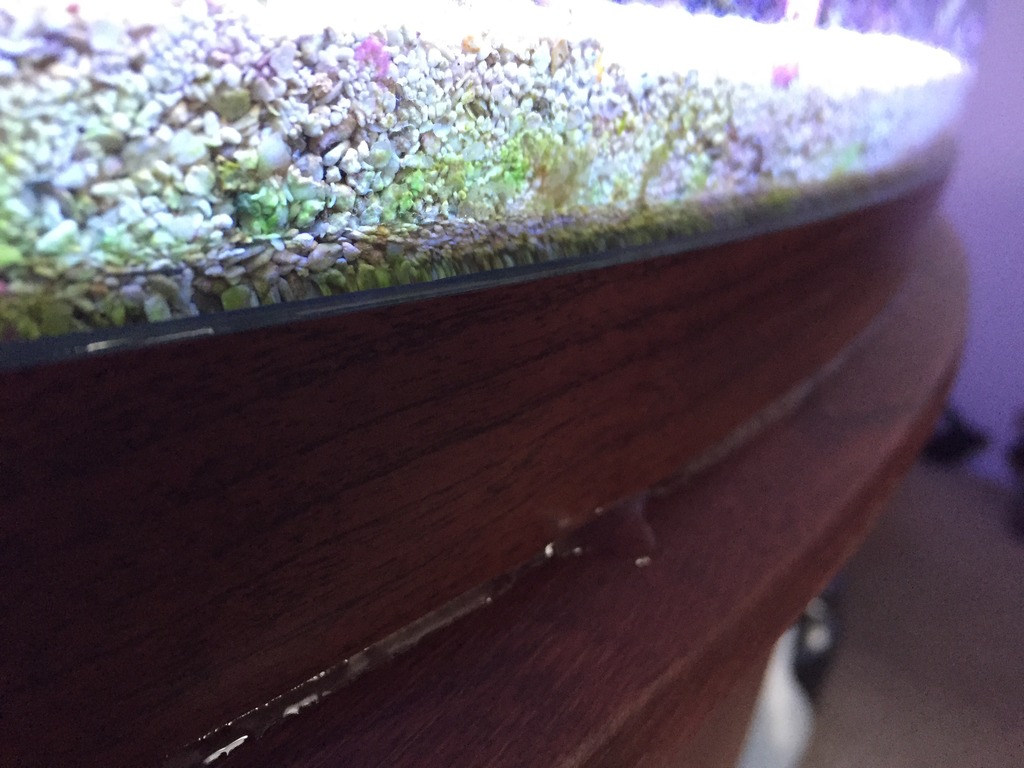
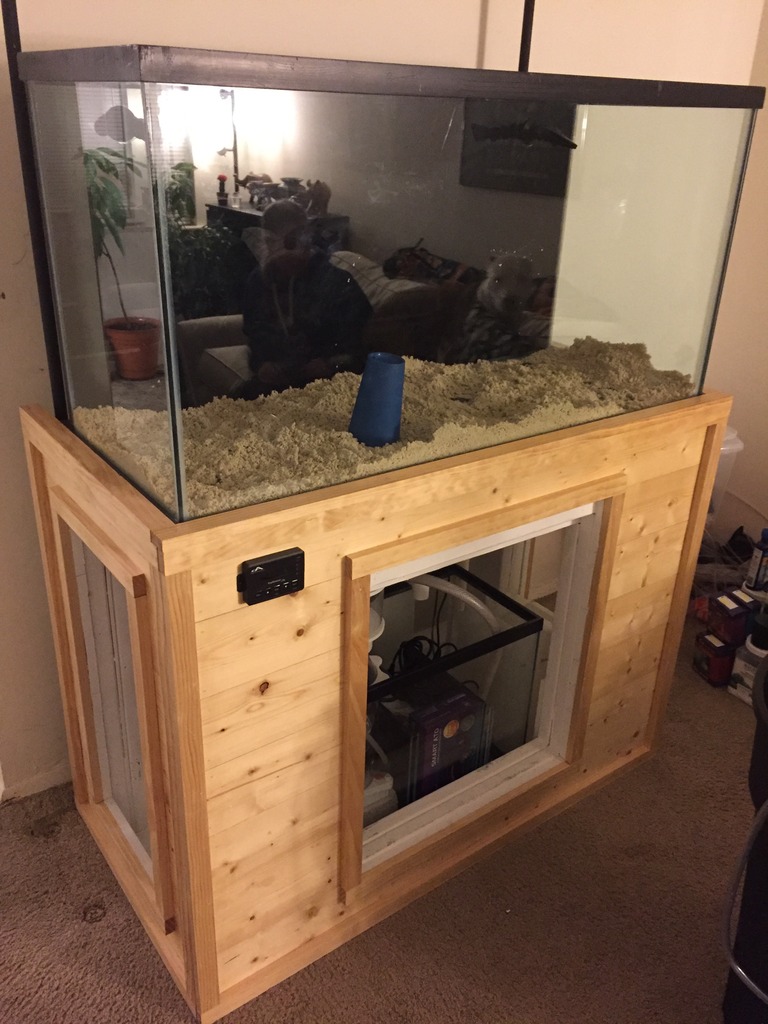
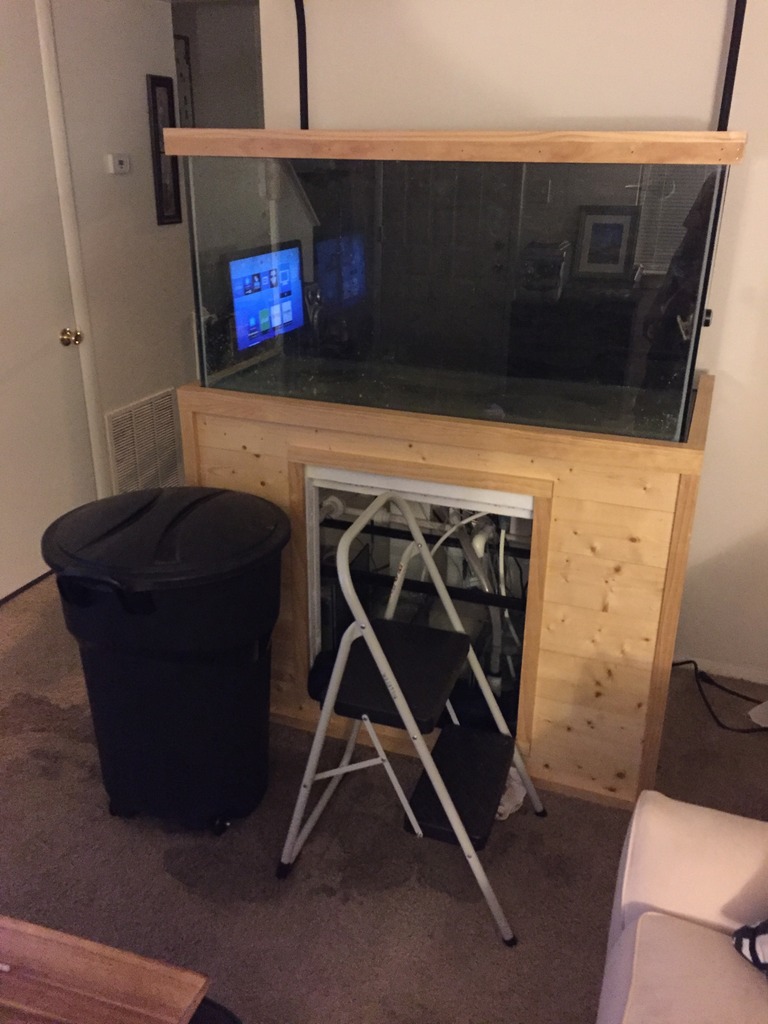
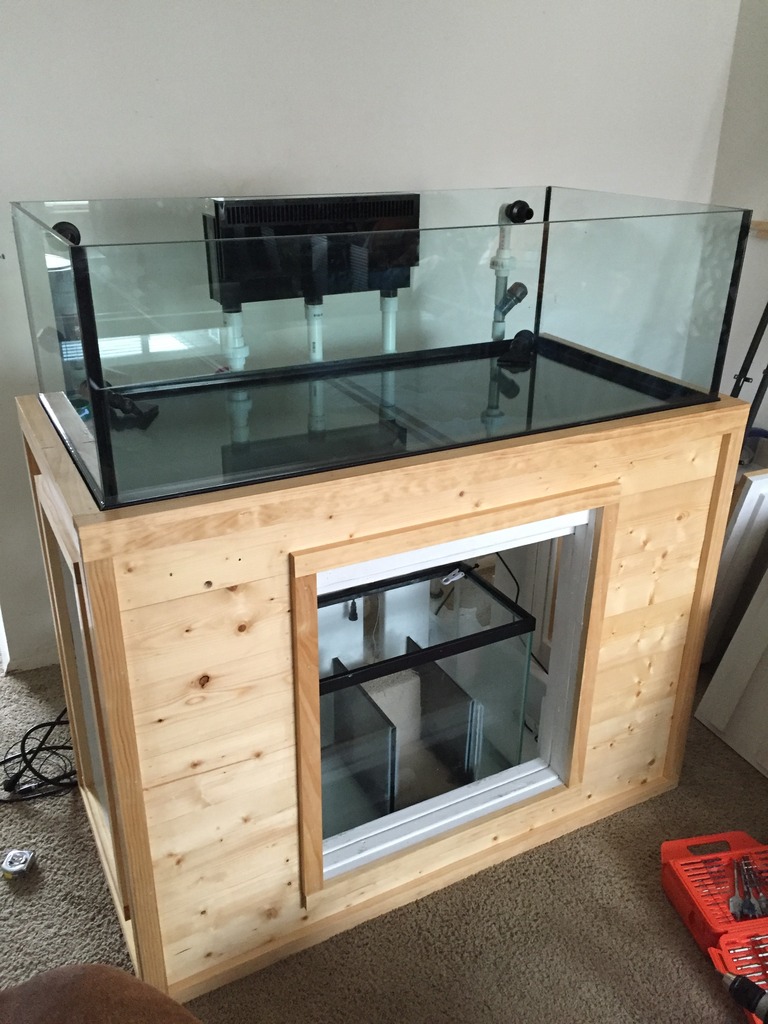
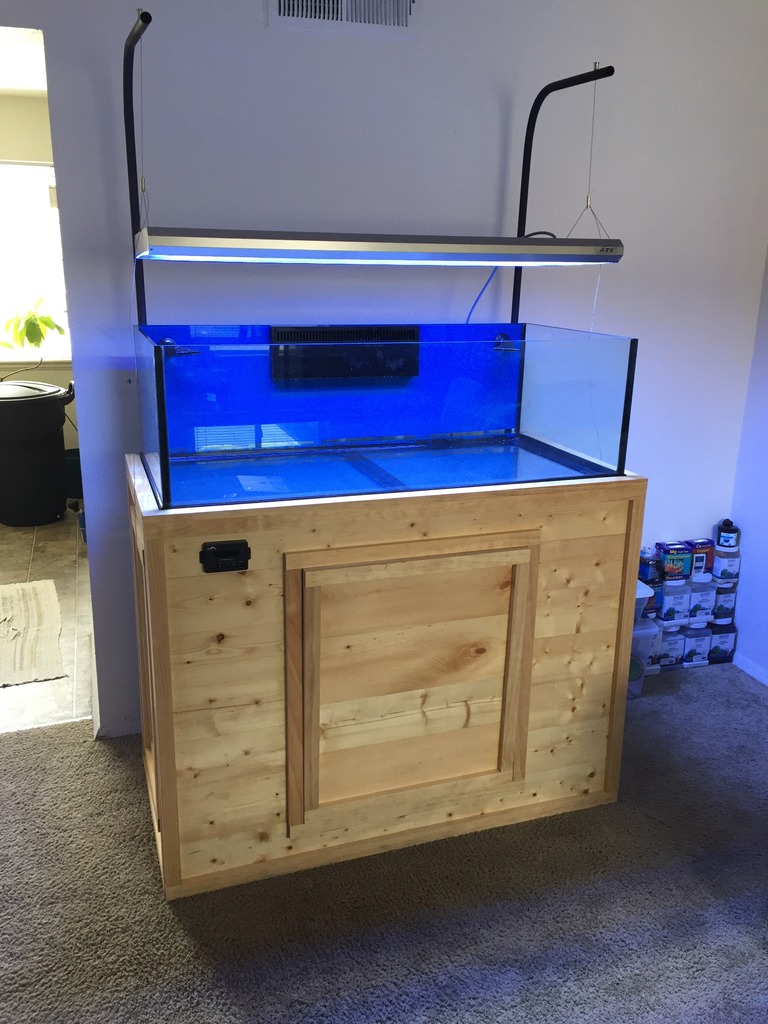
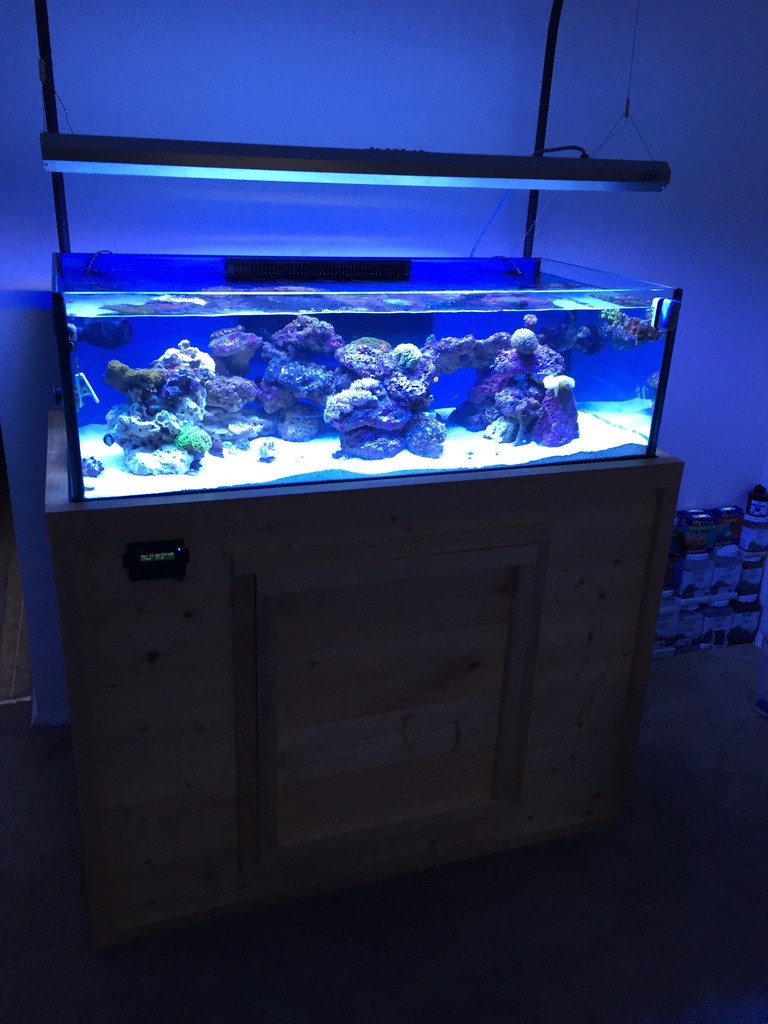
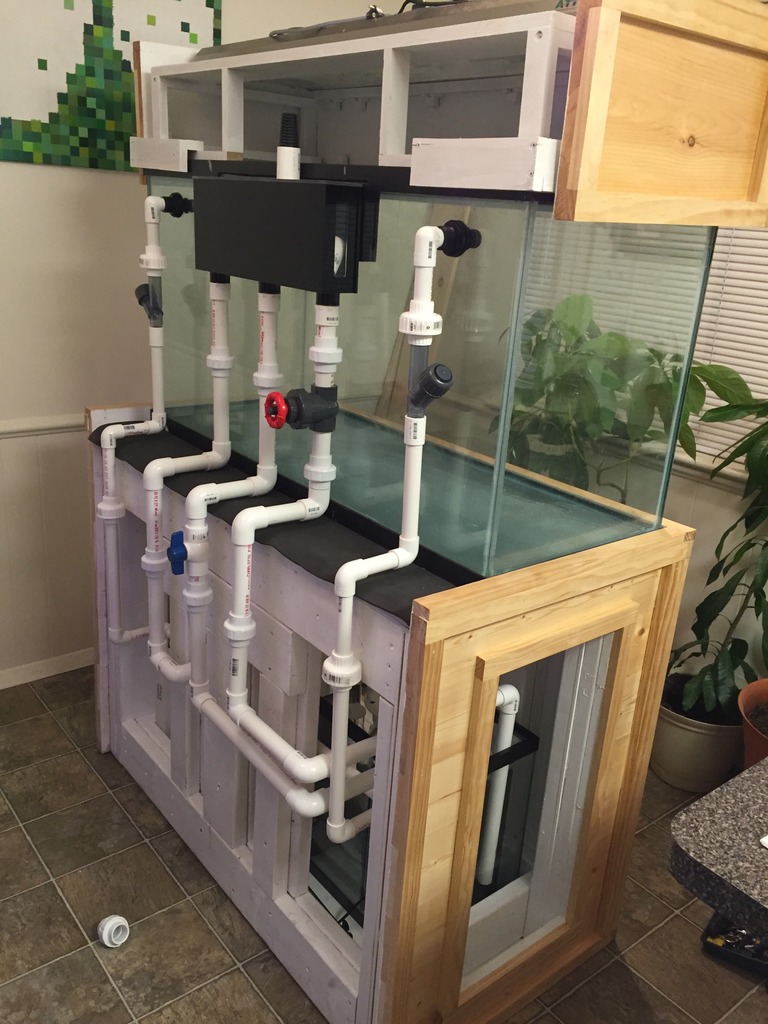
Stand
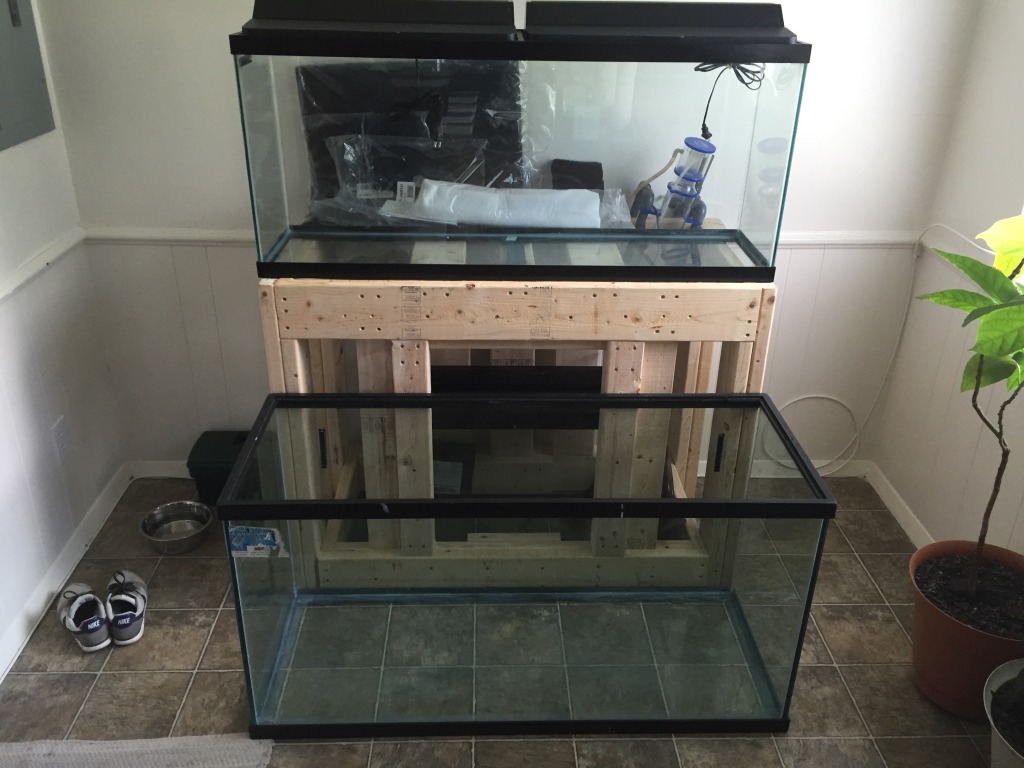
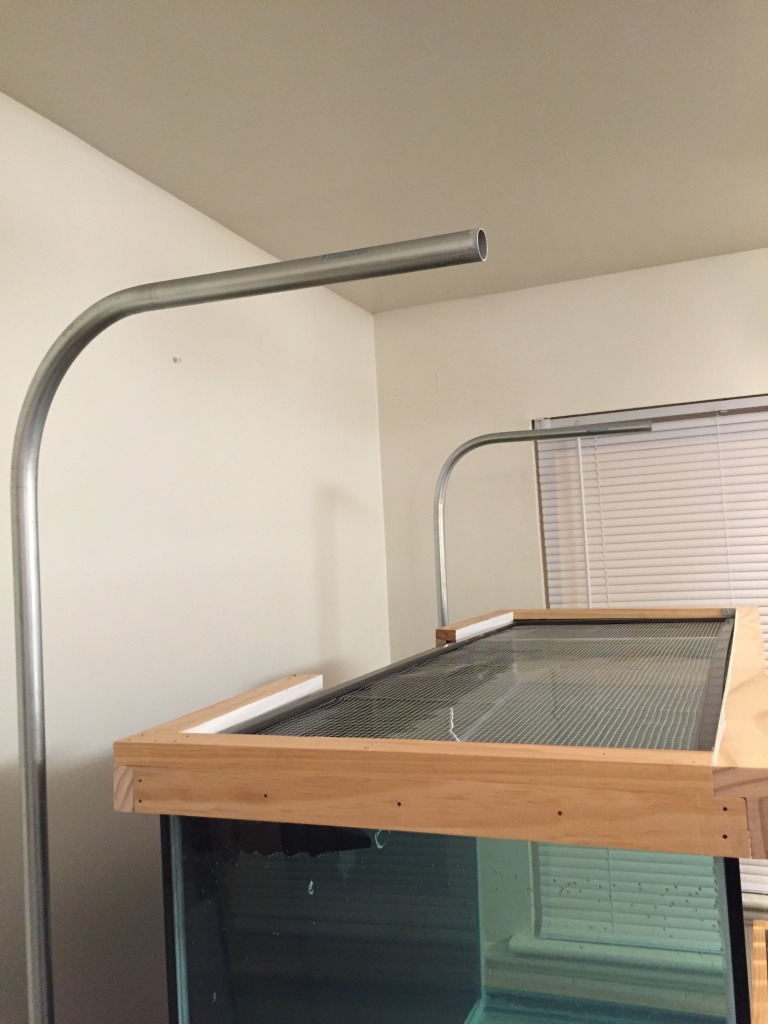
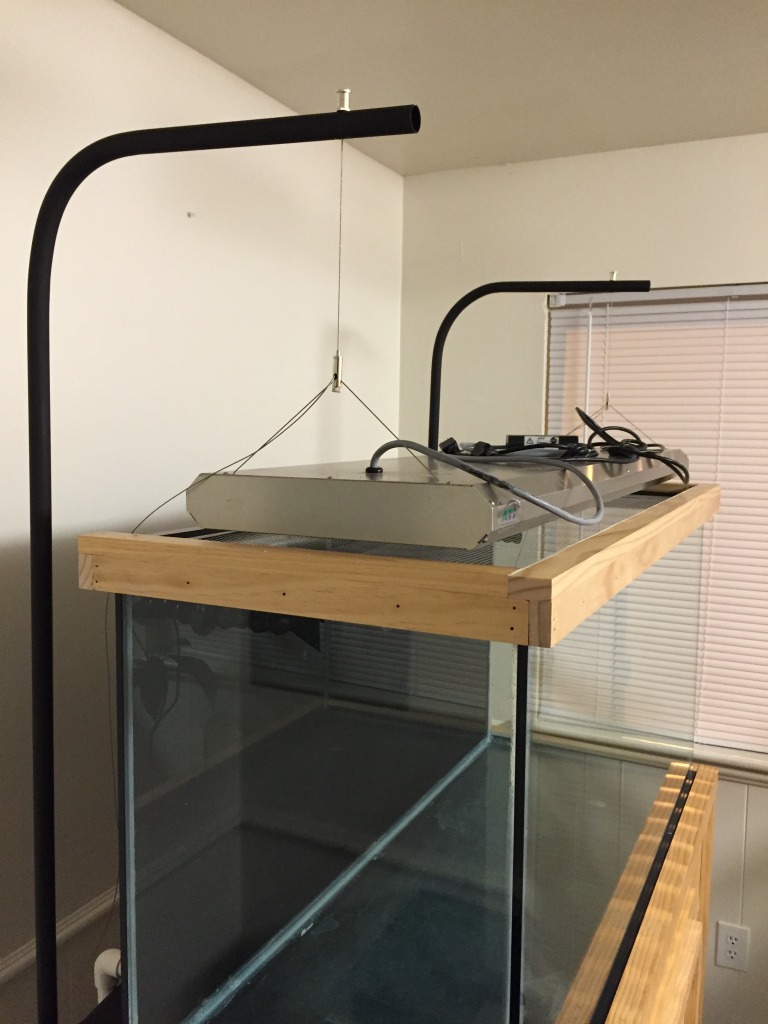
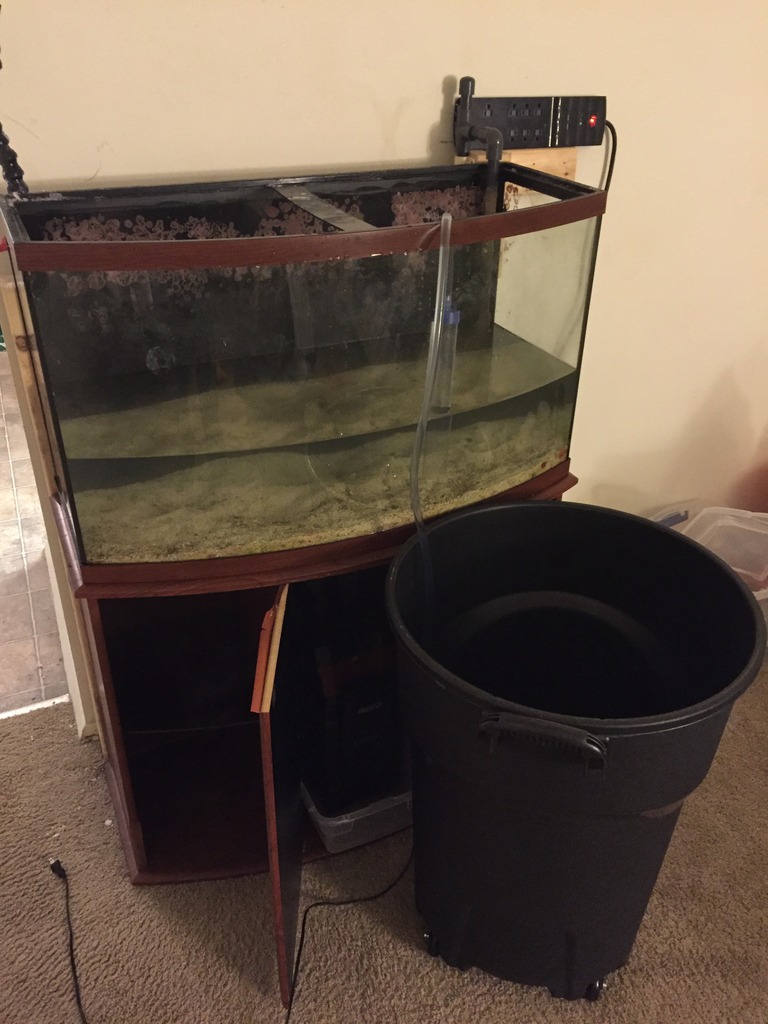
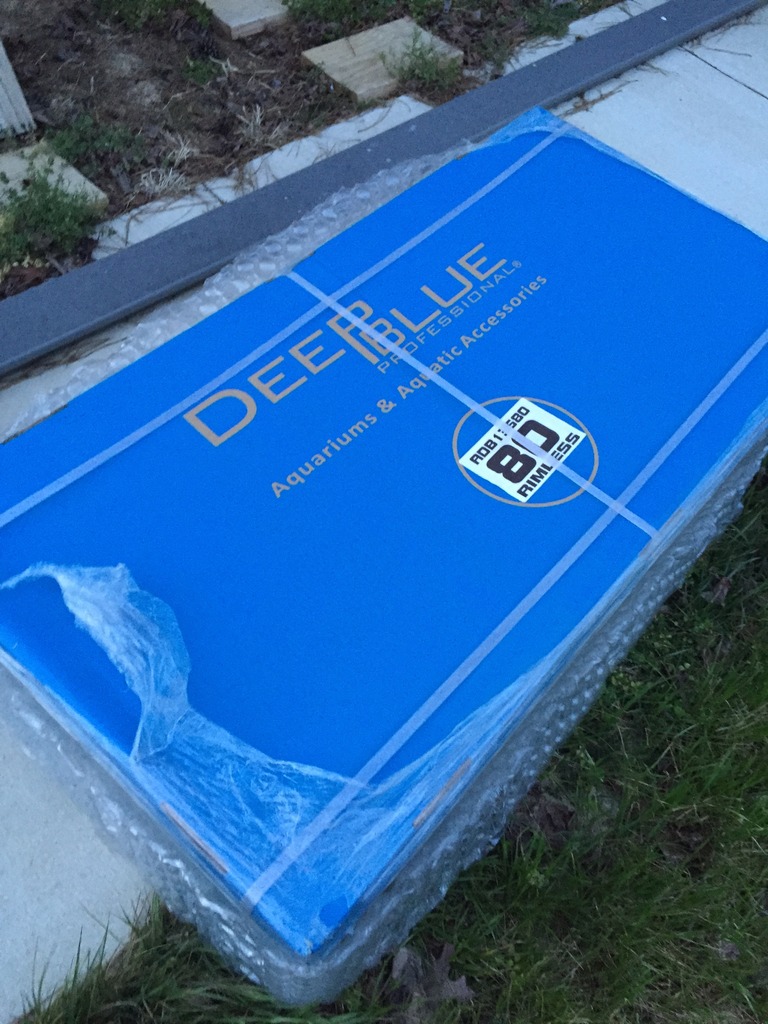
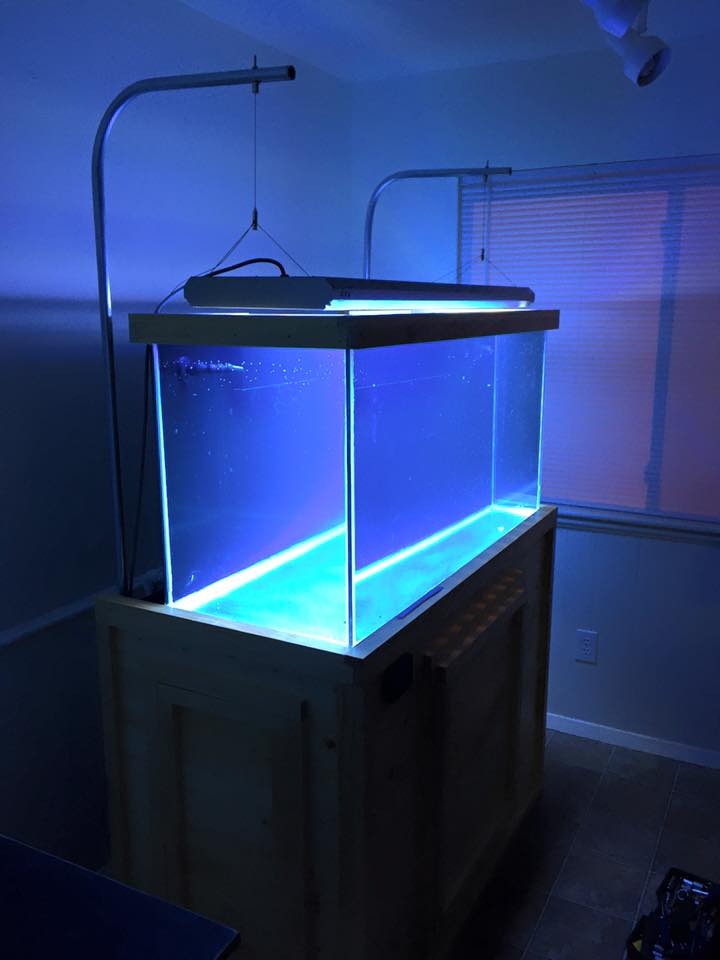
The stand was originally built for a 120, which explains the extra space behind the current tank. I found this tank on craigslist for $60; which is why i re-did the seals. I will eventually replace the 80 with a 120. The canopy design changed over time. I initially built a large canopy to house the light fixture, I soon found this to be a total pain and decided to suspend the light instead with conduit.
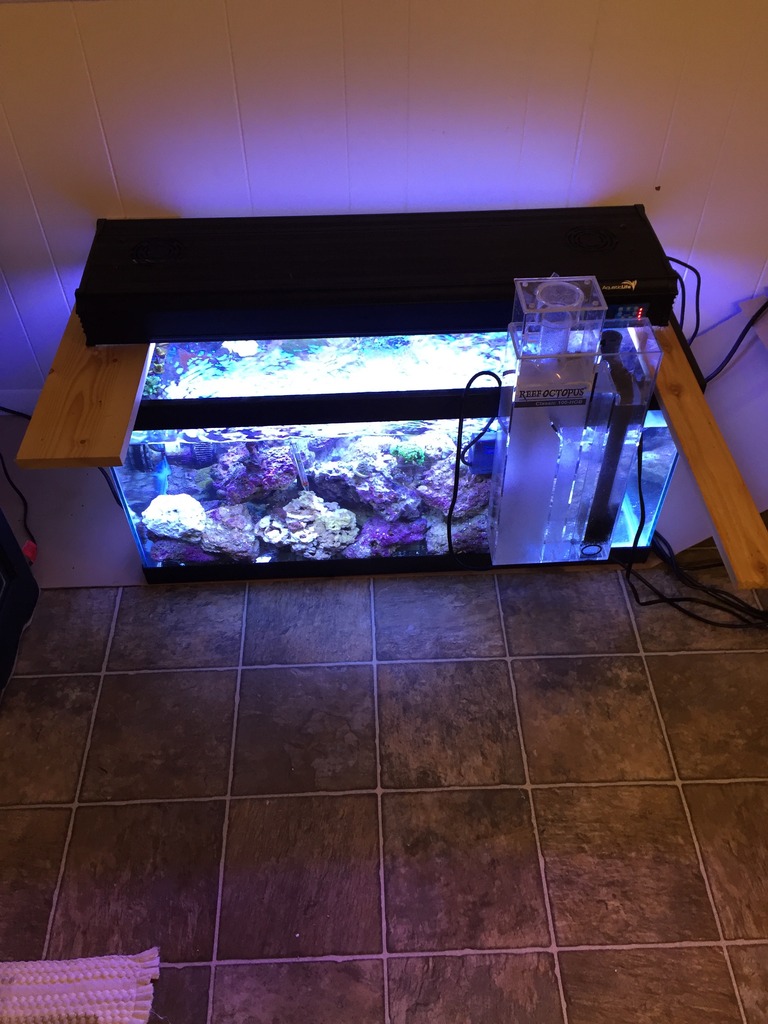
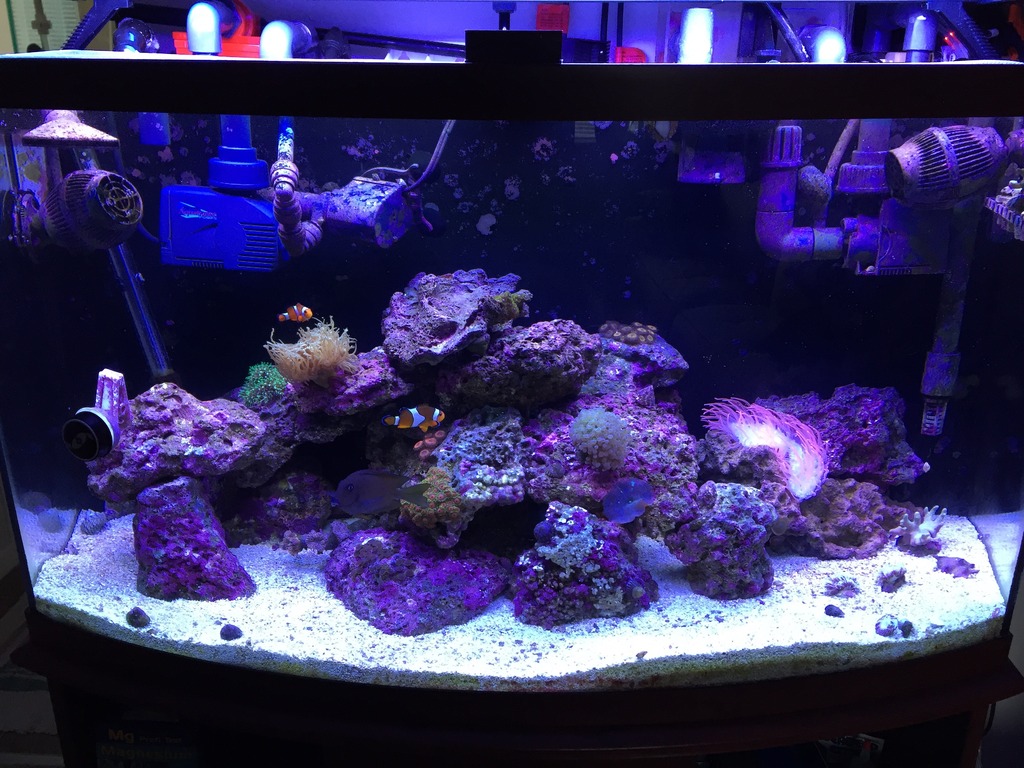
Tank
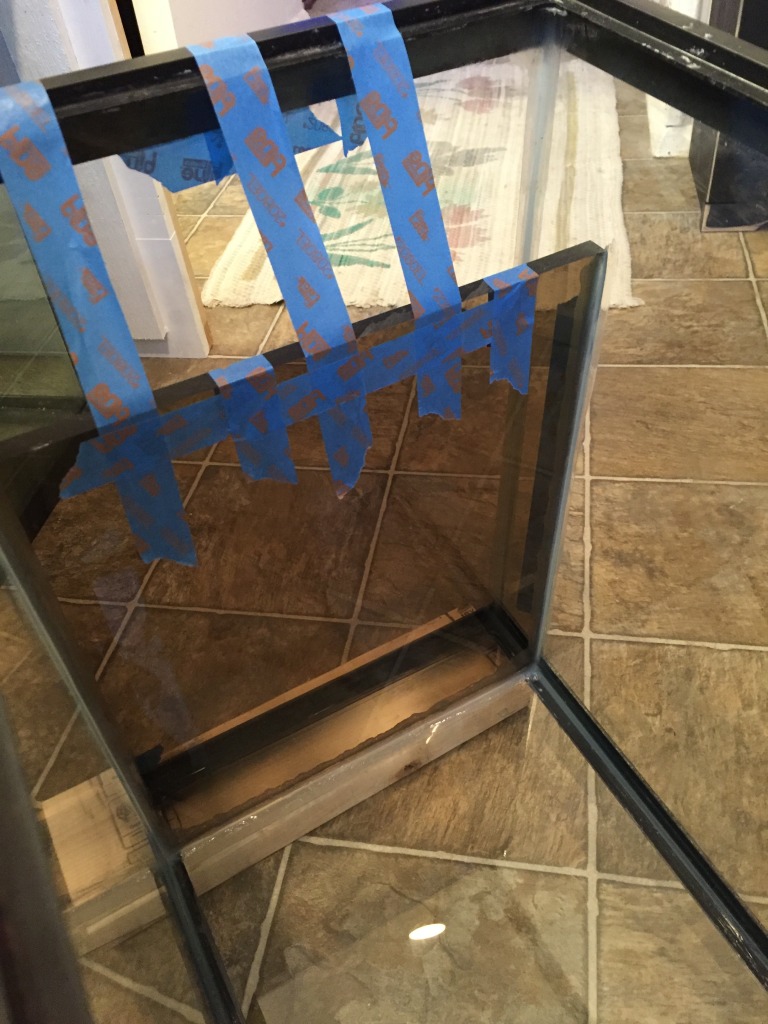
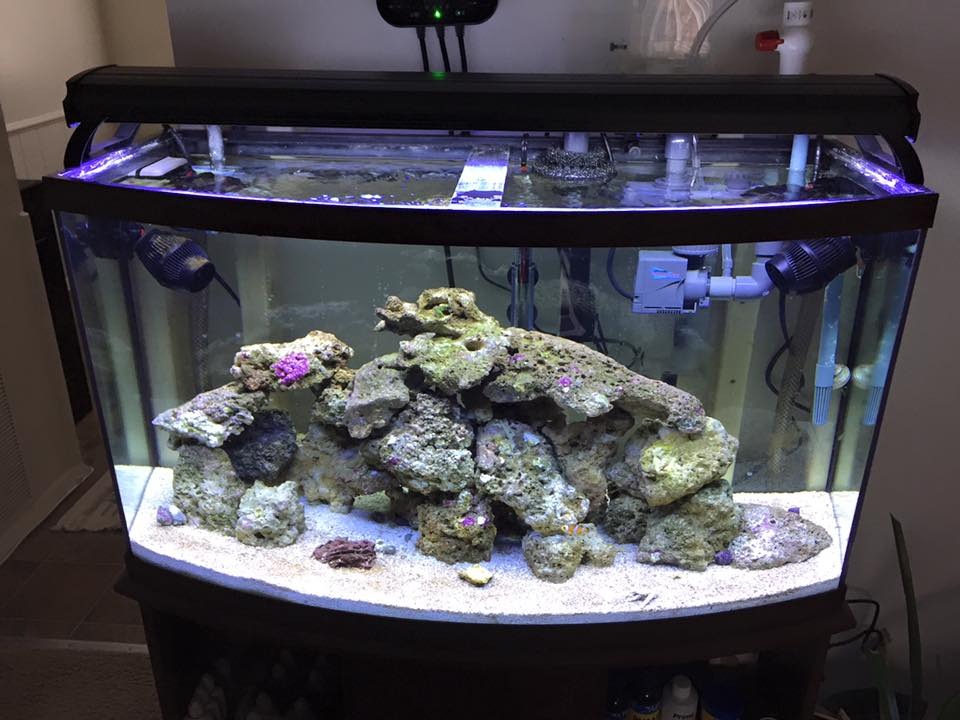
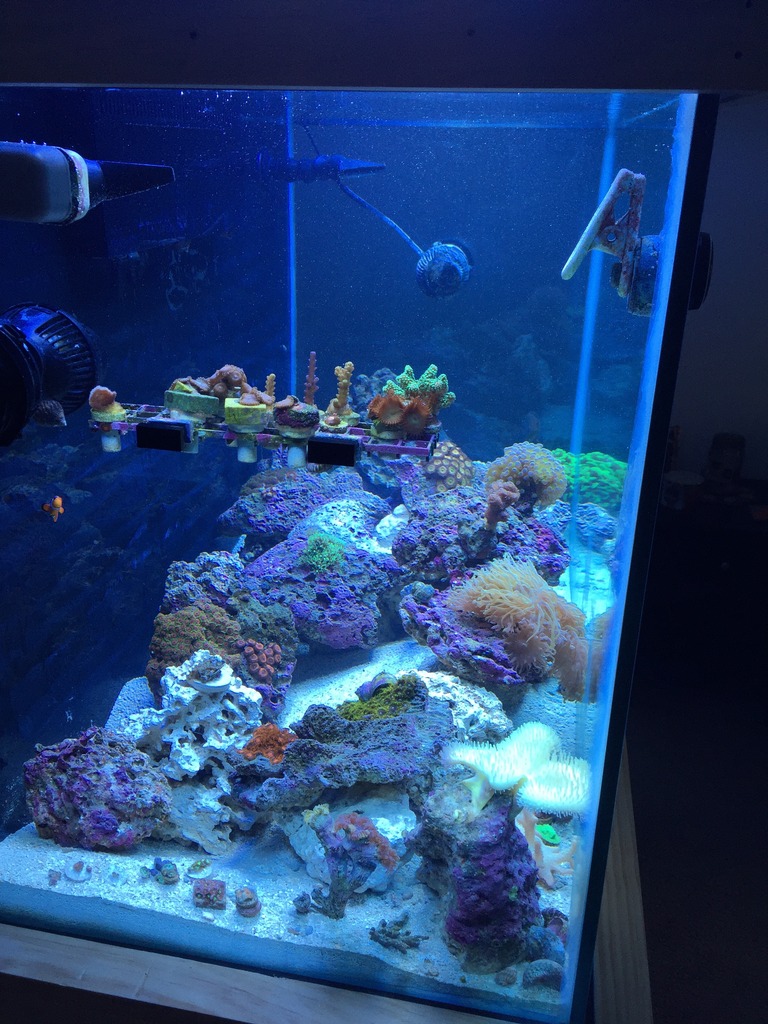
- 80G
- 4'
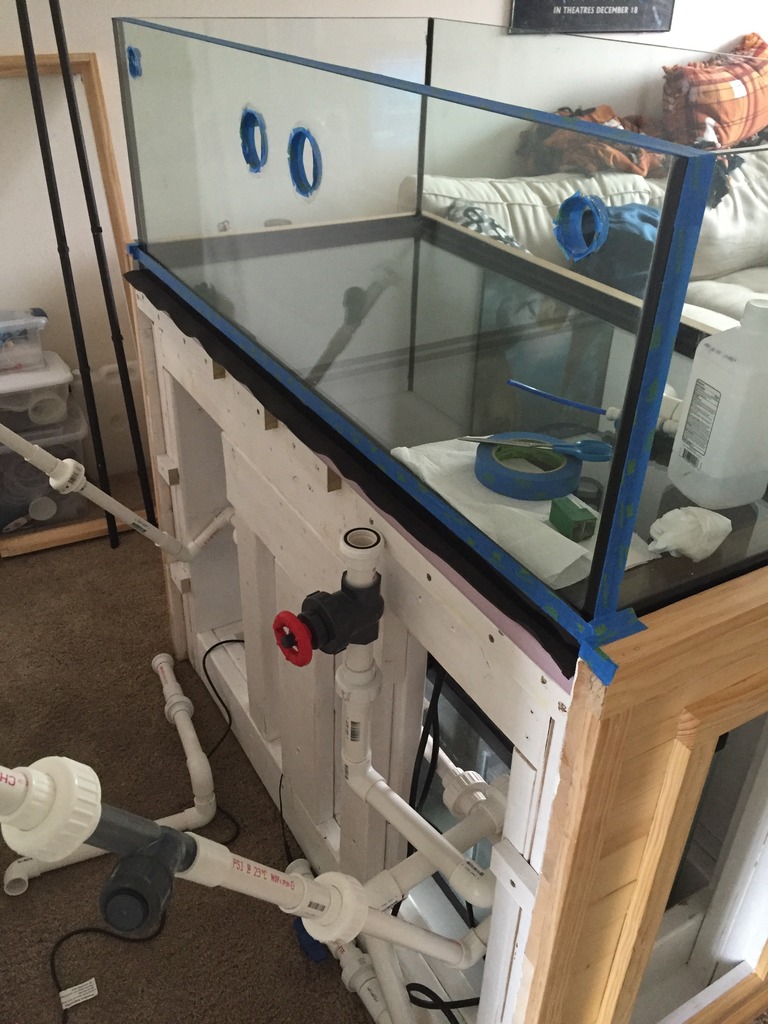
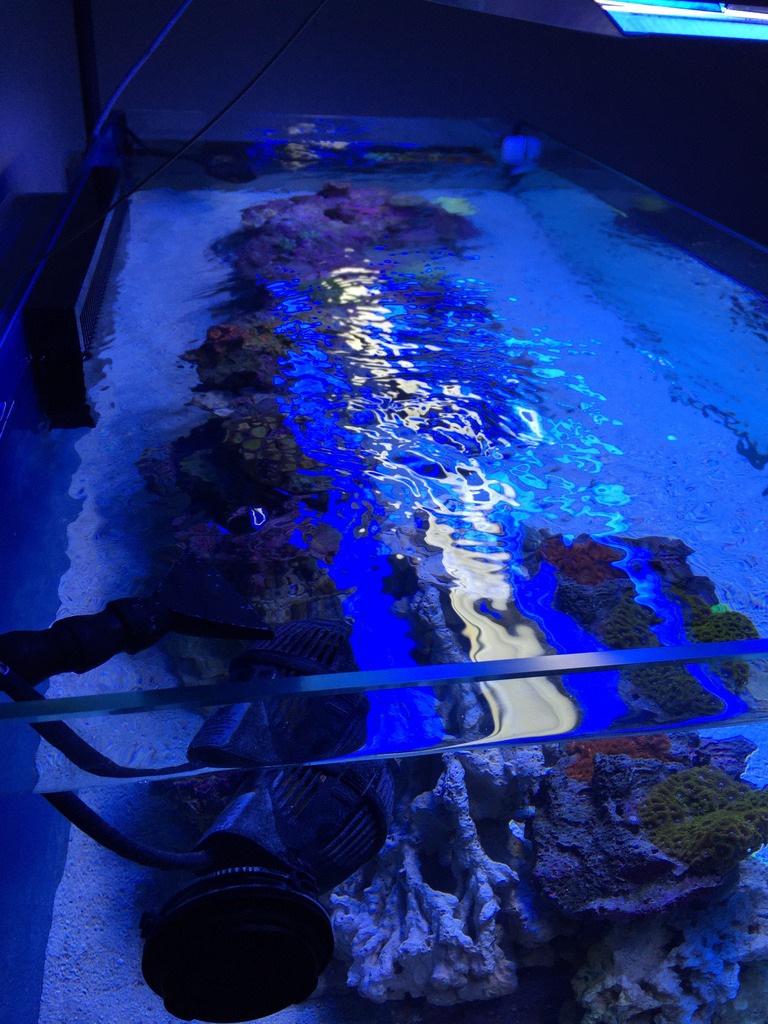
- Reef Savvy Ghost Overflow
- Dual Returns
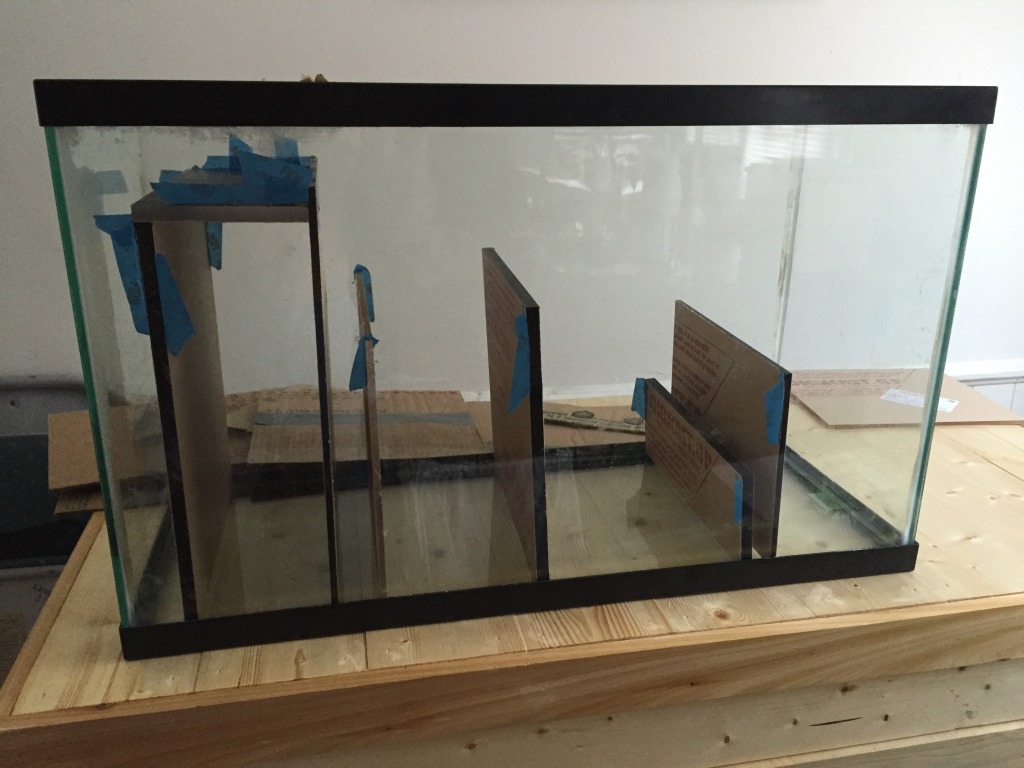
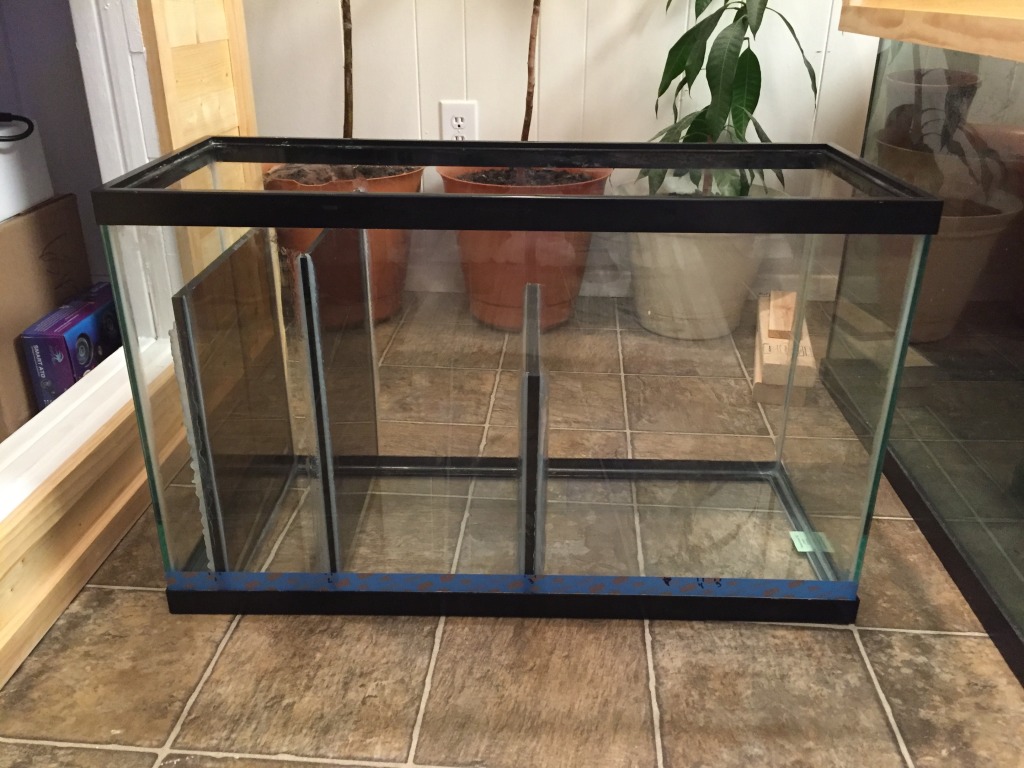
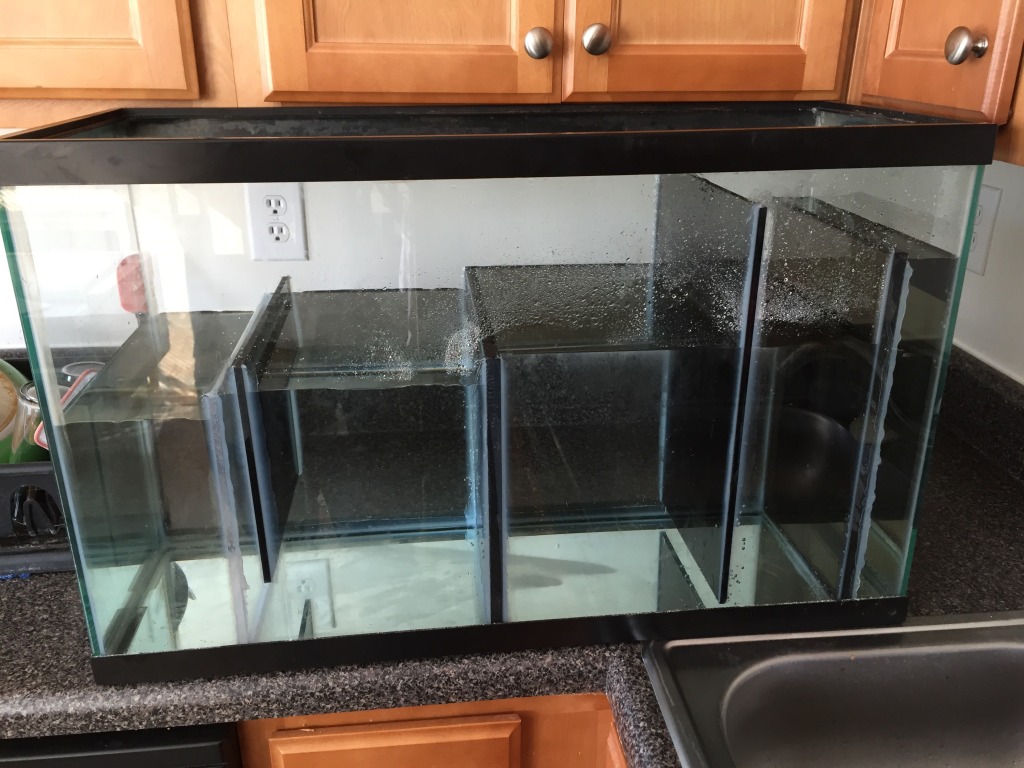
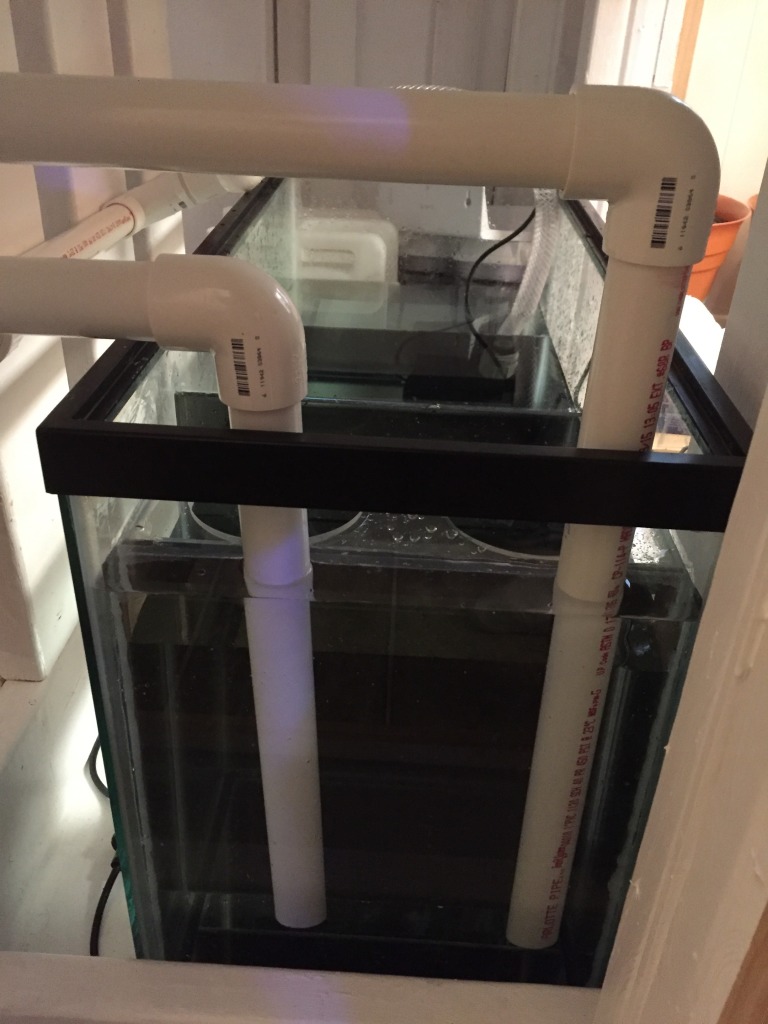
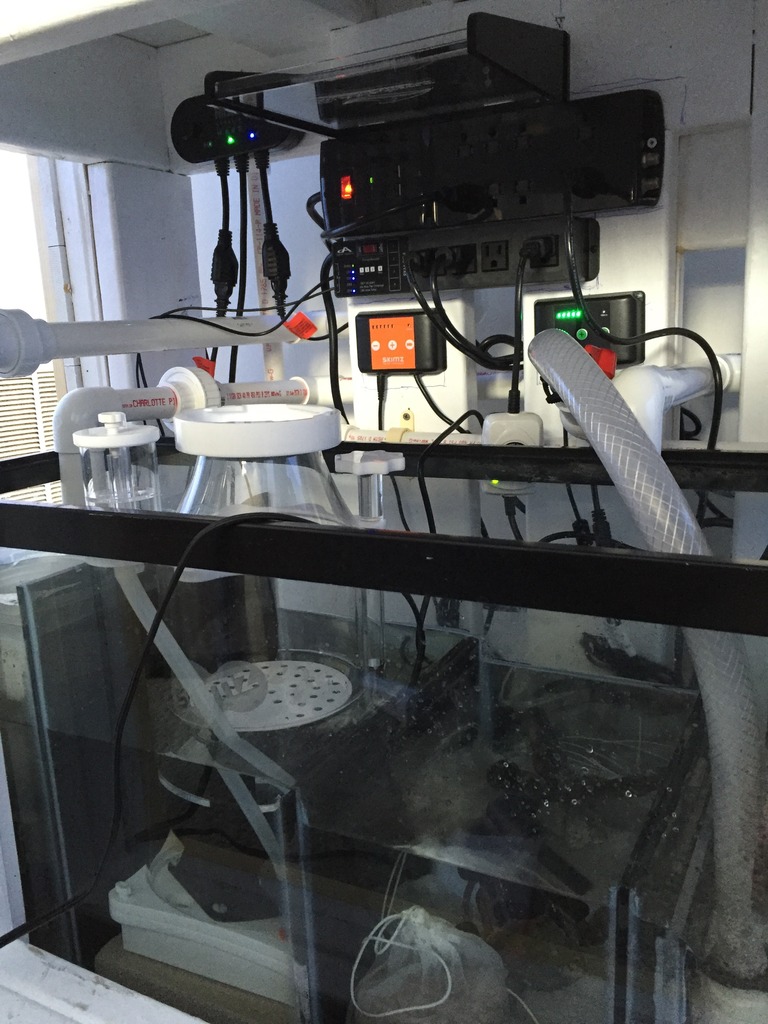
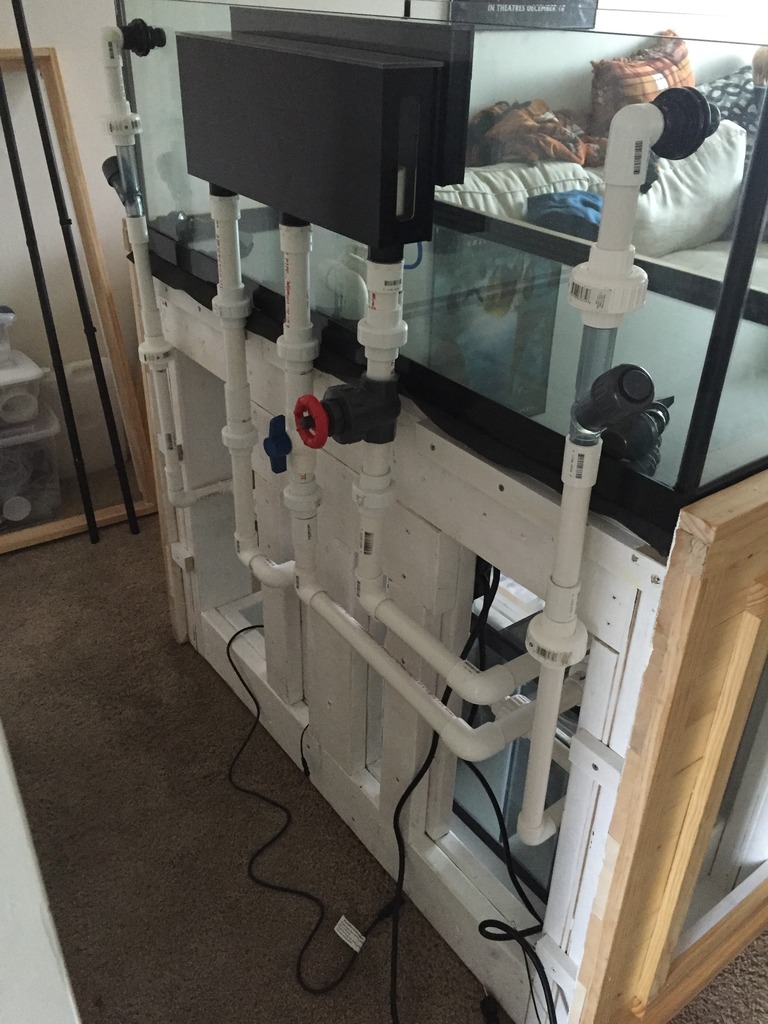
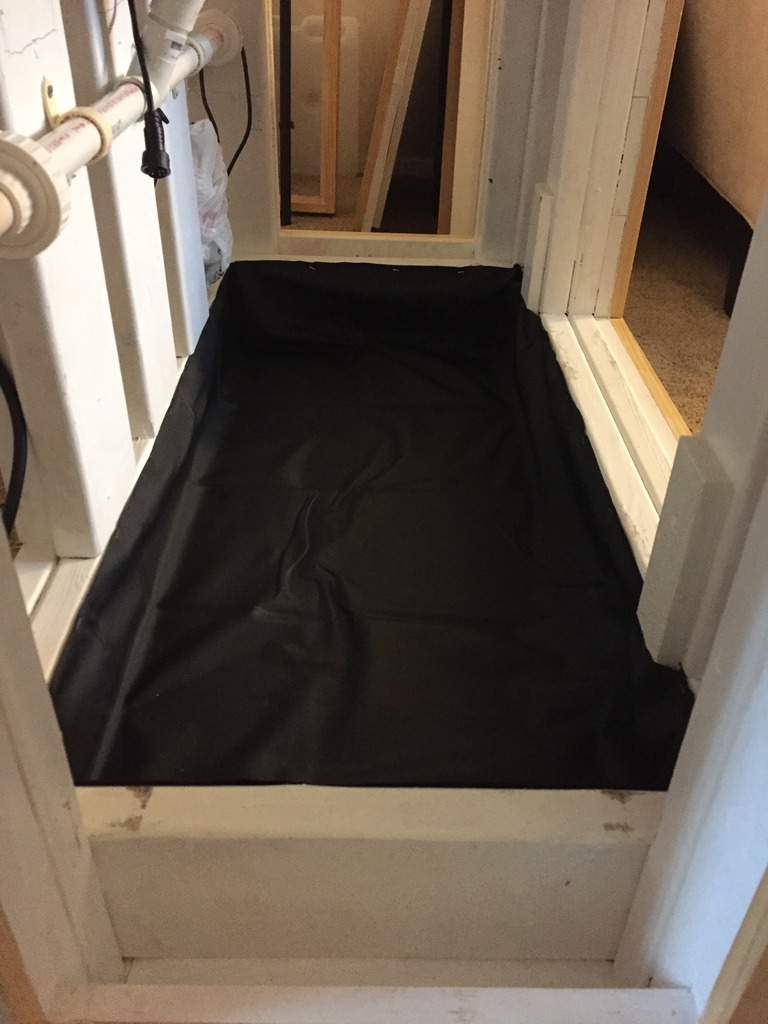
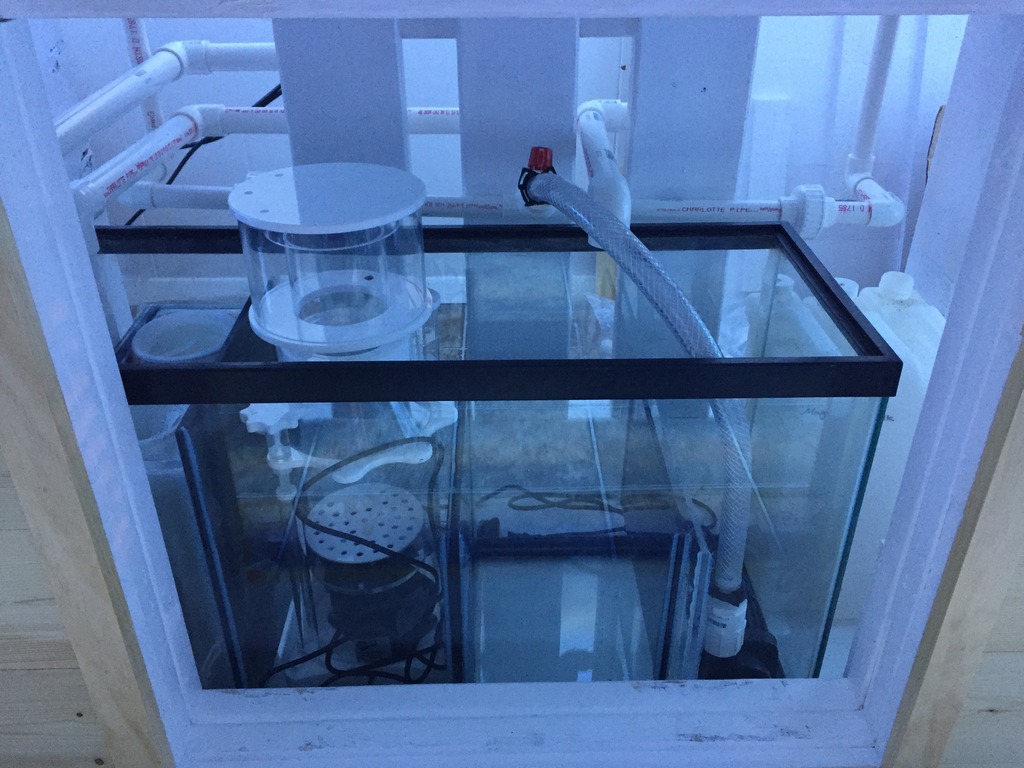
Sump
- 30G
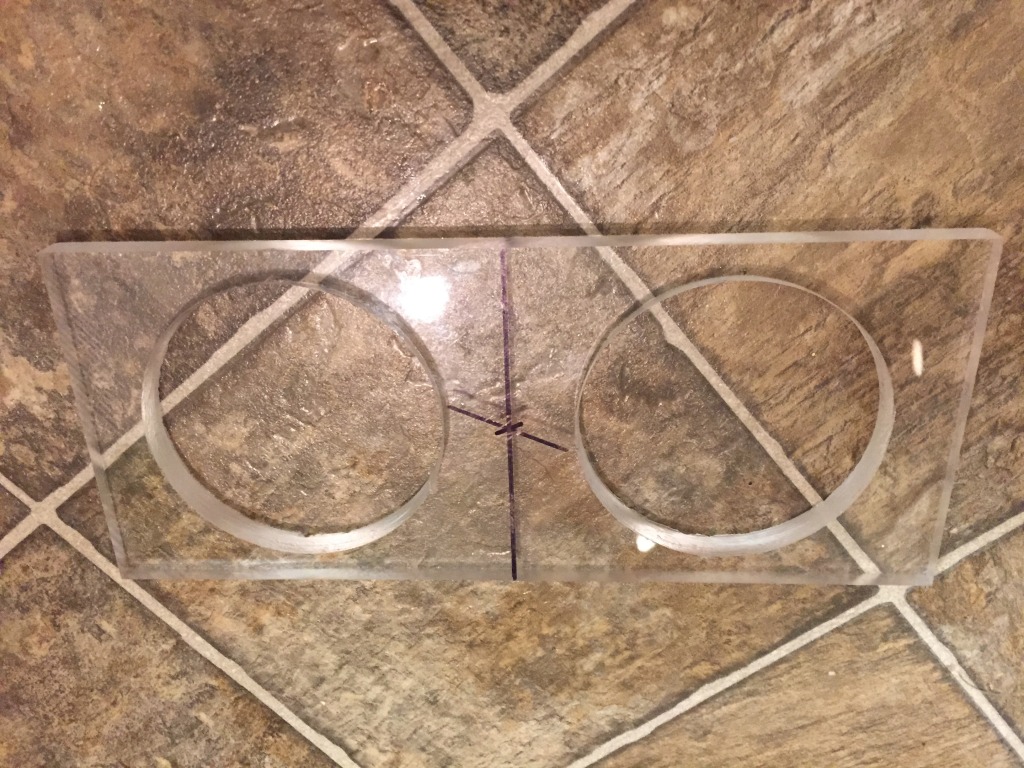
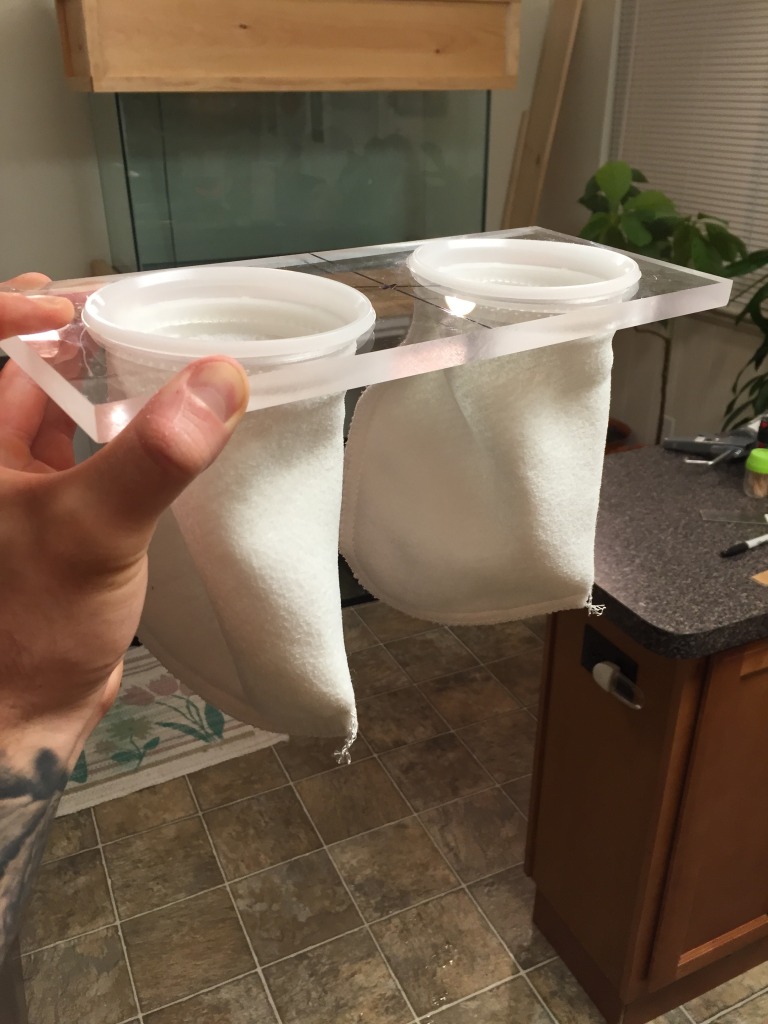
- Dual Filter Sock
Equipment
- Skimmer: Skimz Monster SM163 DC Internal
- Carbon/GFO Reactor: BRS Dual with MJ1200 pump
- Biopellet Reactor: Reef Octopus 90EXT HOB
- Return Pump: Jebao DC
- Controller: Reef Keeper Lite
- Heater: 300W Finnex Deluxe Titanium Heating Tube
- Light: ATI Sunpower 6 Bulb T5
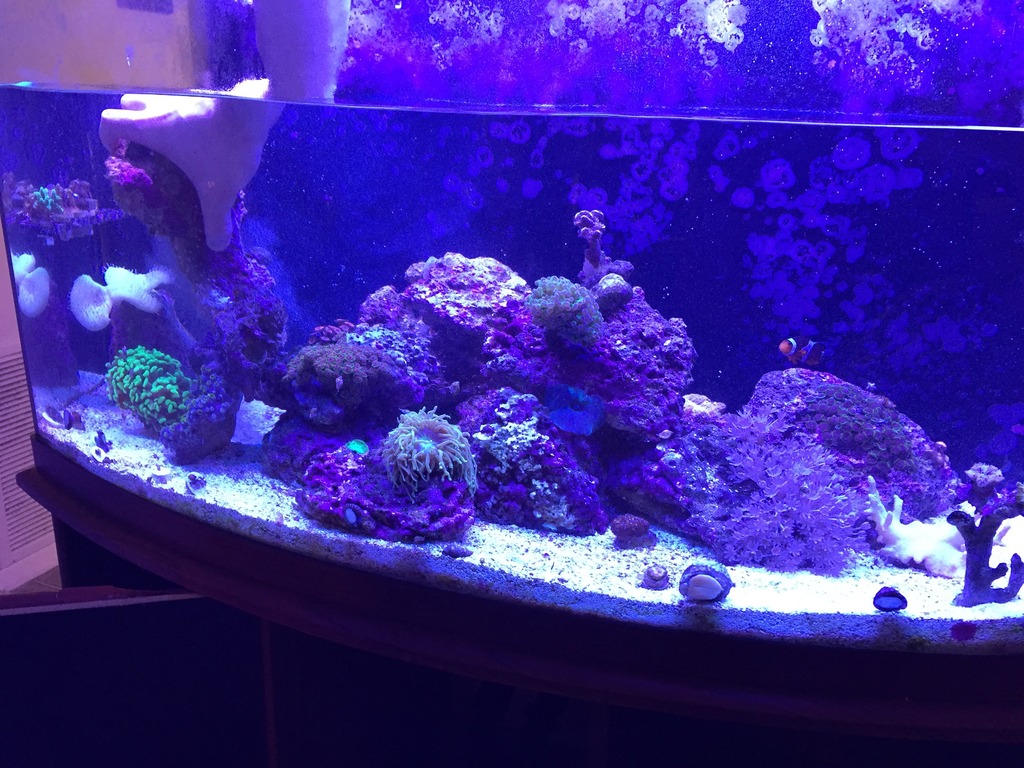
Current Status
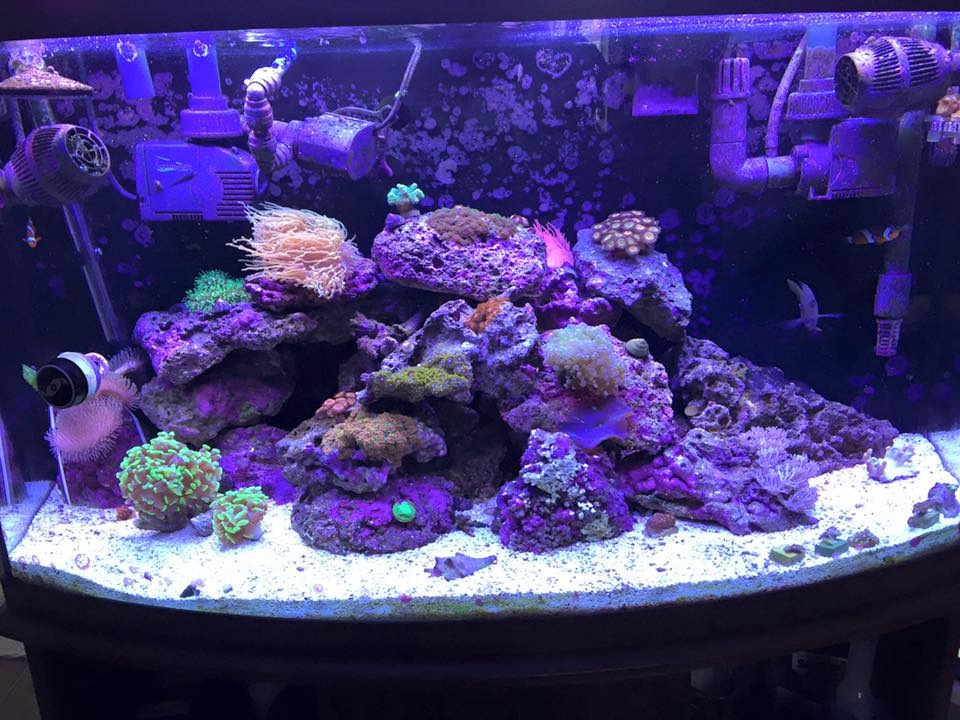
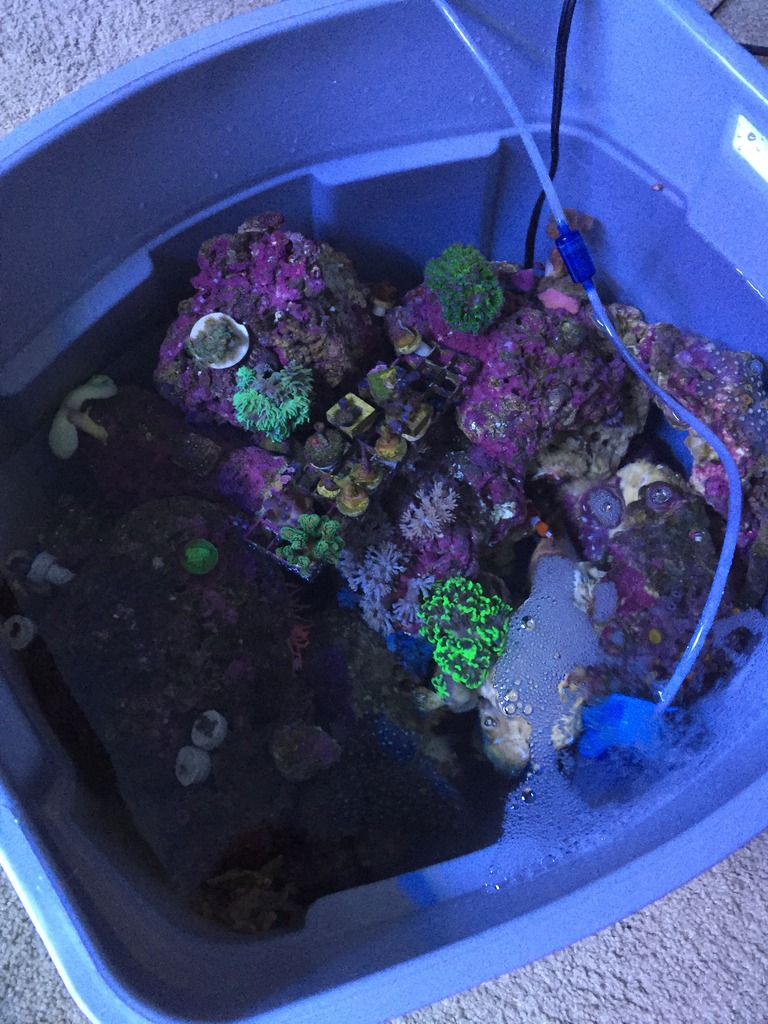
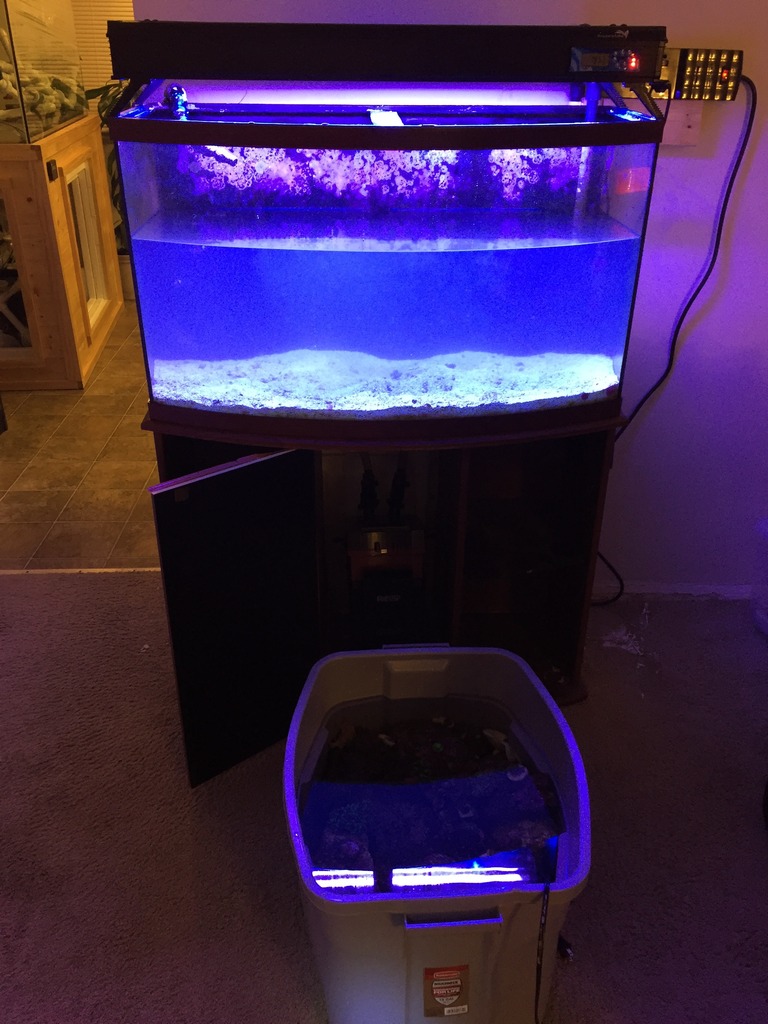
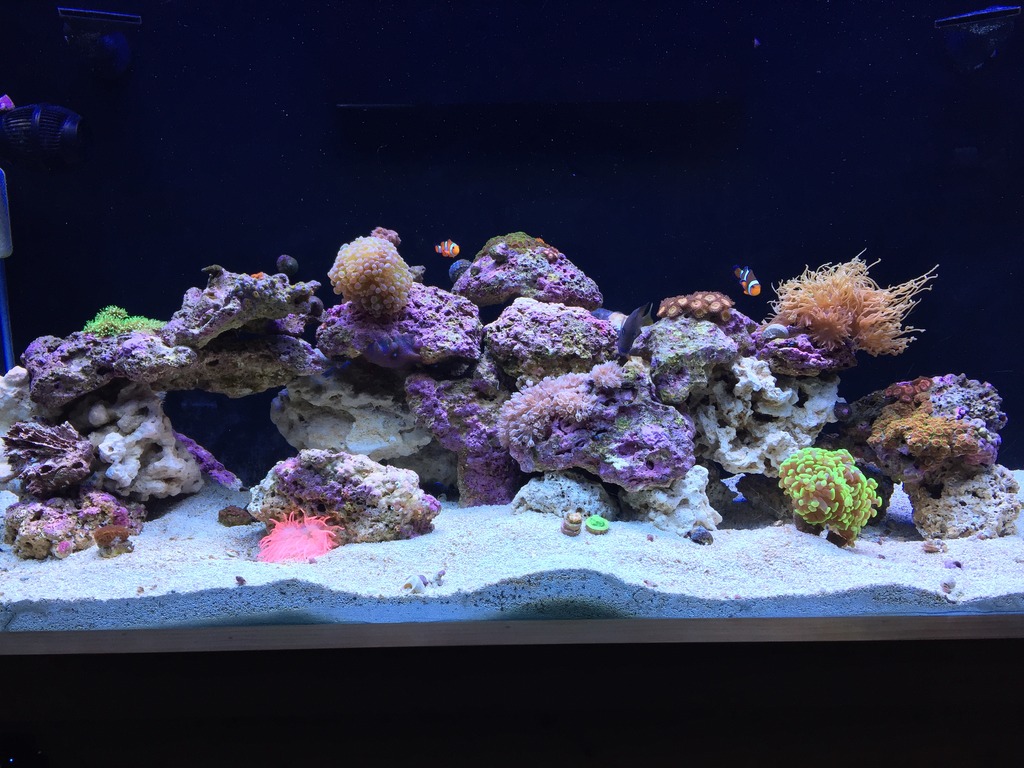
The tank is currently testing with fresh water. In a few weeks, I will break it down, move it into place, and remove all the live stock from my 46G bow front and use it to stock this new 80G .
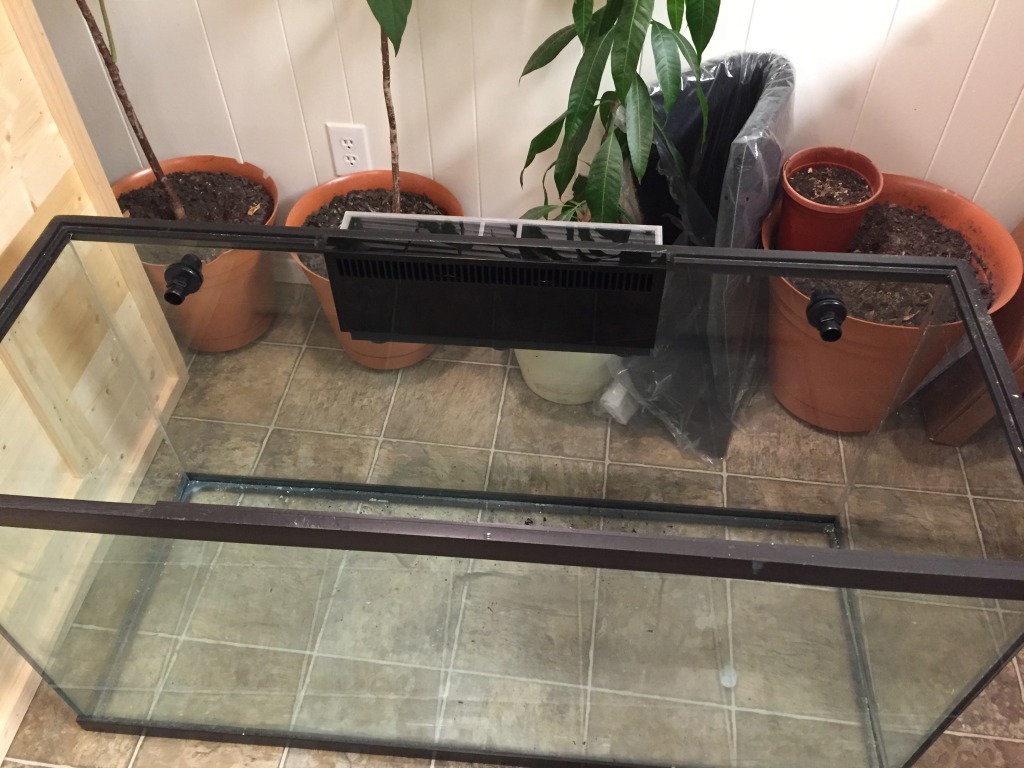
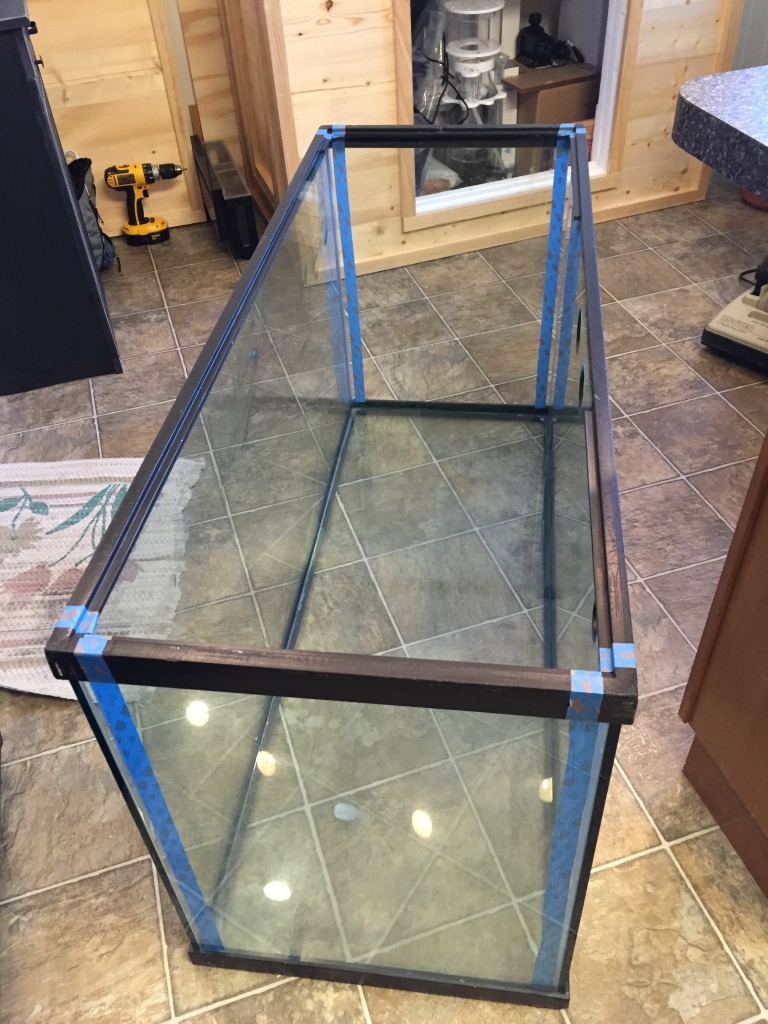
Tank:
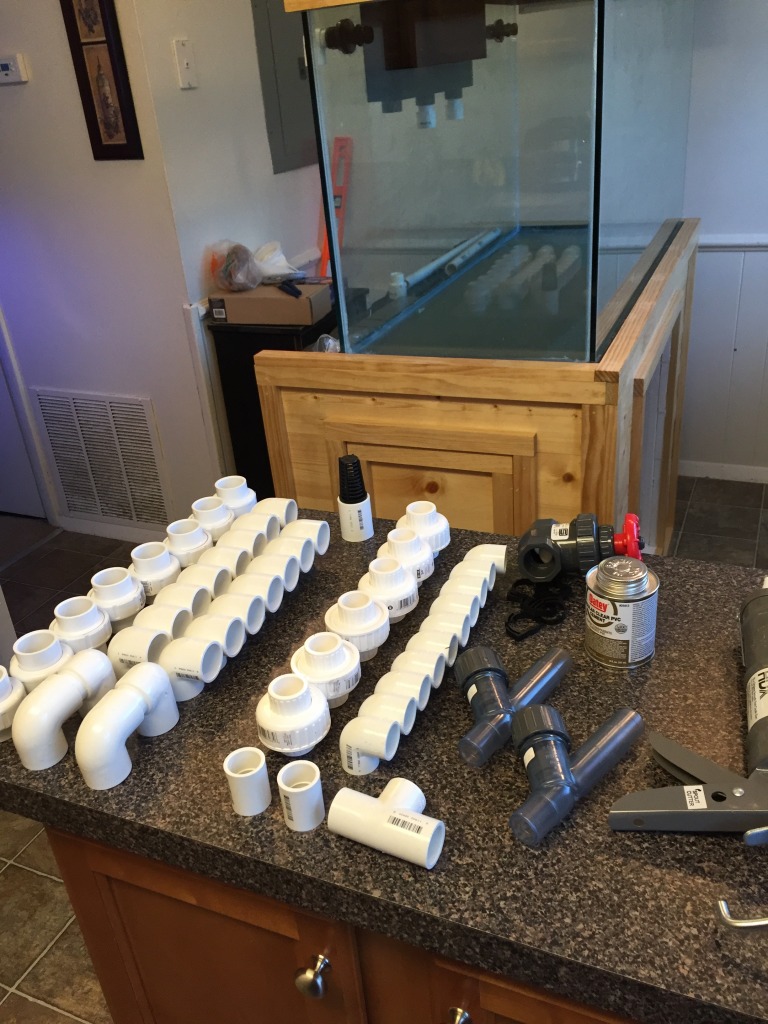
Plumbing
Sump
BowFront (12-12-2015)
This is my first custom build, transitioning from a 46G bowfront. Many more pictures and details to come. Almost all of this build was a first time experience, I would do some things differently, but that's all part of the learning process! This build has taken me about 8 months to complete as i've researched and completed the majority of the work myself. I built the stand, put new seals in the tank, drilled the tank, designed and crafted the sump, built the conduit light posts, did all the plumbing and electrical.
Stand
The stand was originally built for a 120, which explains the extra space behind the current tank. I found this tank on craigslist for $60; which is why i re-did the seals. I will eventually replace the 80 with a 120. The canopy design changed over time. I initially built a large canopy to house the light fixture, I soon found this to be a total pain and decided to suspend the light instead with conduit.
Tank
- 80G
- 4'
- Reef Savvy Ghost Overflow
- Dual Returns
Sump
- 30G
- Dual Filter Sock
Equipment
- Skimmer: Skimz Monster SM163 DC Internal
- Carbon/GFO Reactor: BRS Dual with MJ1200 pump
- Biopellet Reactor: Reef Octopus 90EXT HOB
- Return Pump: Jebao DC
- Controller: Reef Keeper Lite
- Heater: 300W Finnex Deluxe Titanium Heating Tube
- Light: ATI Sunpower 6 Bulb T5
Current Status
The tank is currently testing with fresh water. In a few weeks, I will break it down, move it into place, and remove all the live stock from my 46G bow front and use it to stock this new 80G .
Tank:
Plumbing
Sump
BowFront (12-12-2015)