dave's 185 sps tank

THE MAD REEFER

Well-Known Member
View Badges
Joined
Jun 4, 2013
Messages
643
Reaction score
1
Location
dayton ohio
Rating - 0%
0   0   0
this build was started a few months ago but I will take the next few posts to get everyone caught up, enjoy and please feel free to comment

well let me tell you guys, I have found that my fiancée must really love me

we were out just checking some stuff out at different places today and we stopped in at a LFS and was looking at some used tanks , we spotted some stuff and had to get, bulbs for her t5 fixture on the 30 long, algae clip for the 75 sps of mine, and a few other things. Then their it was a used tank sitting their, so of coarse being a man I had to go check it out and see this big tank sitting for sale.

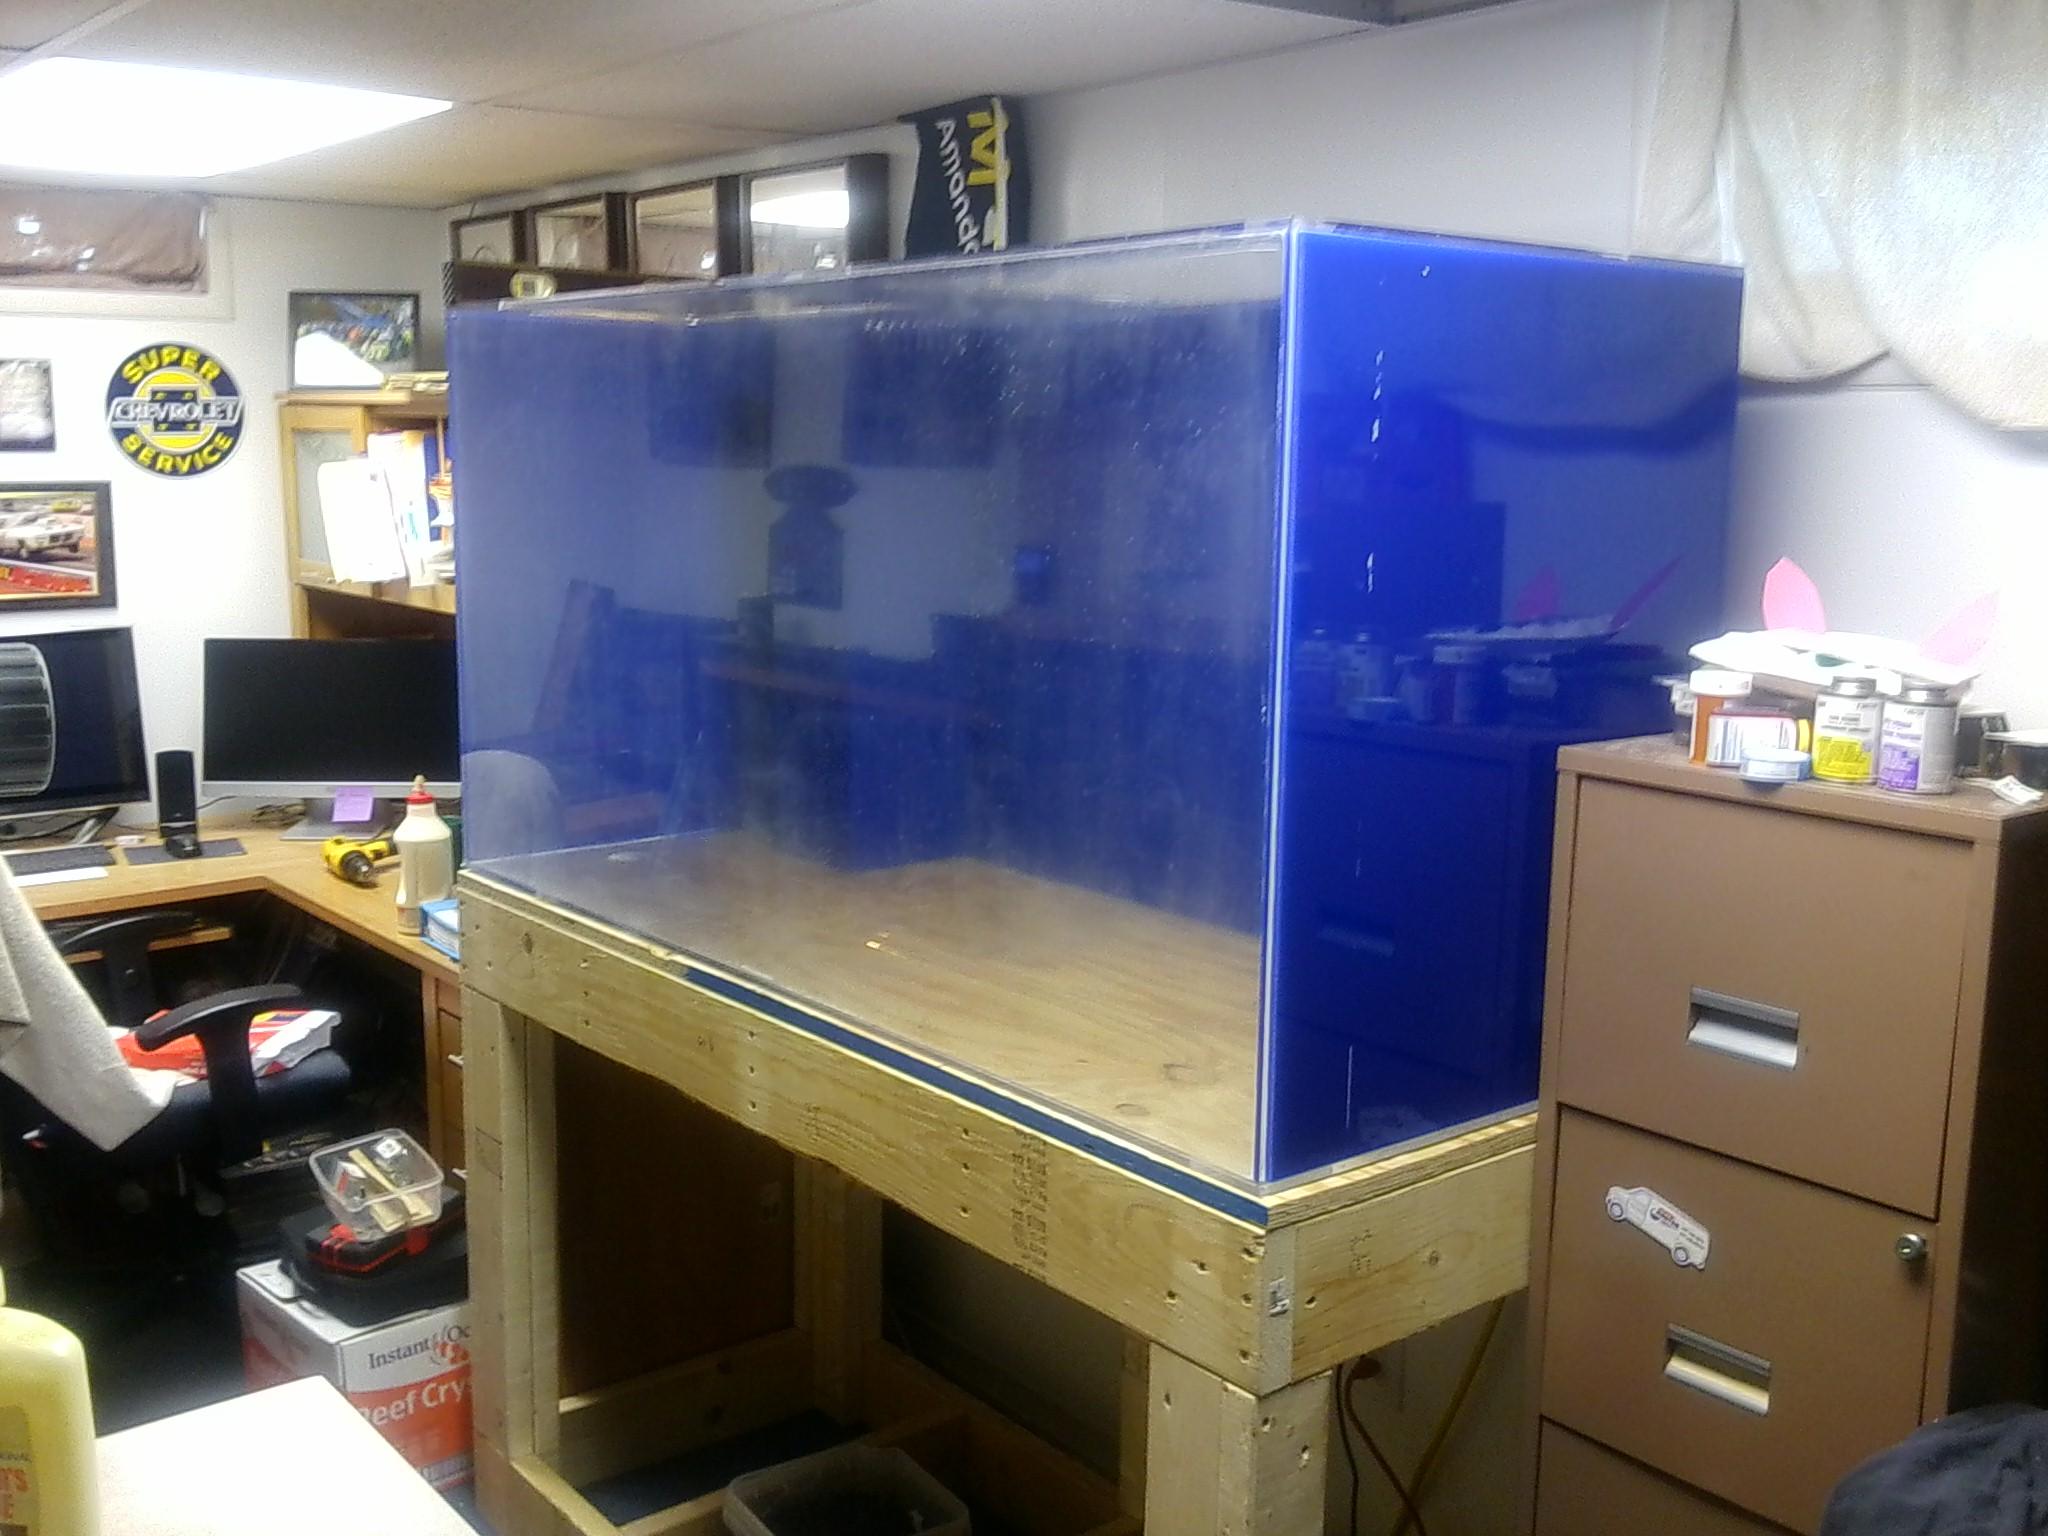
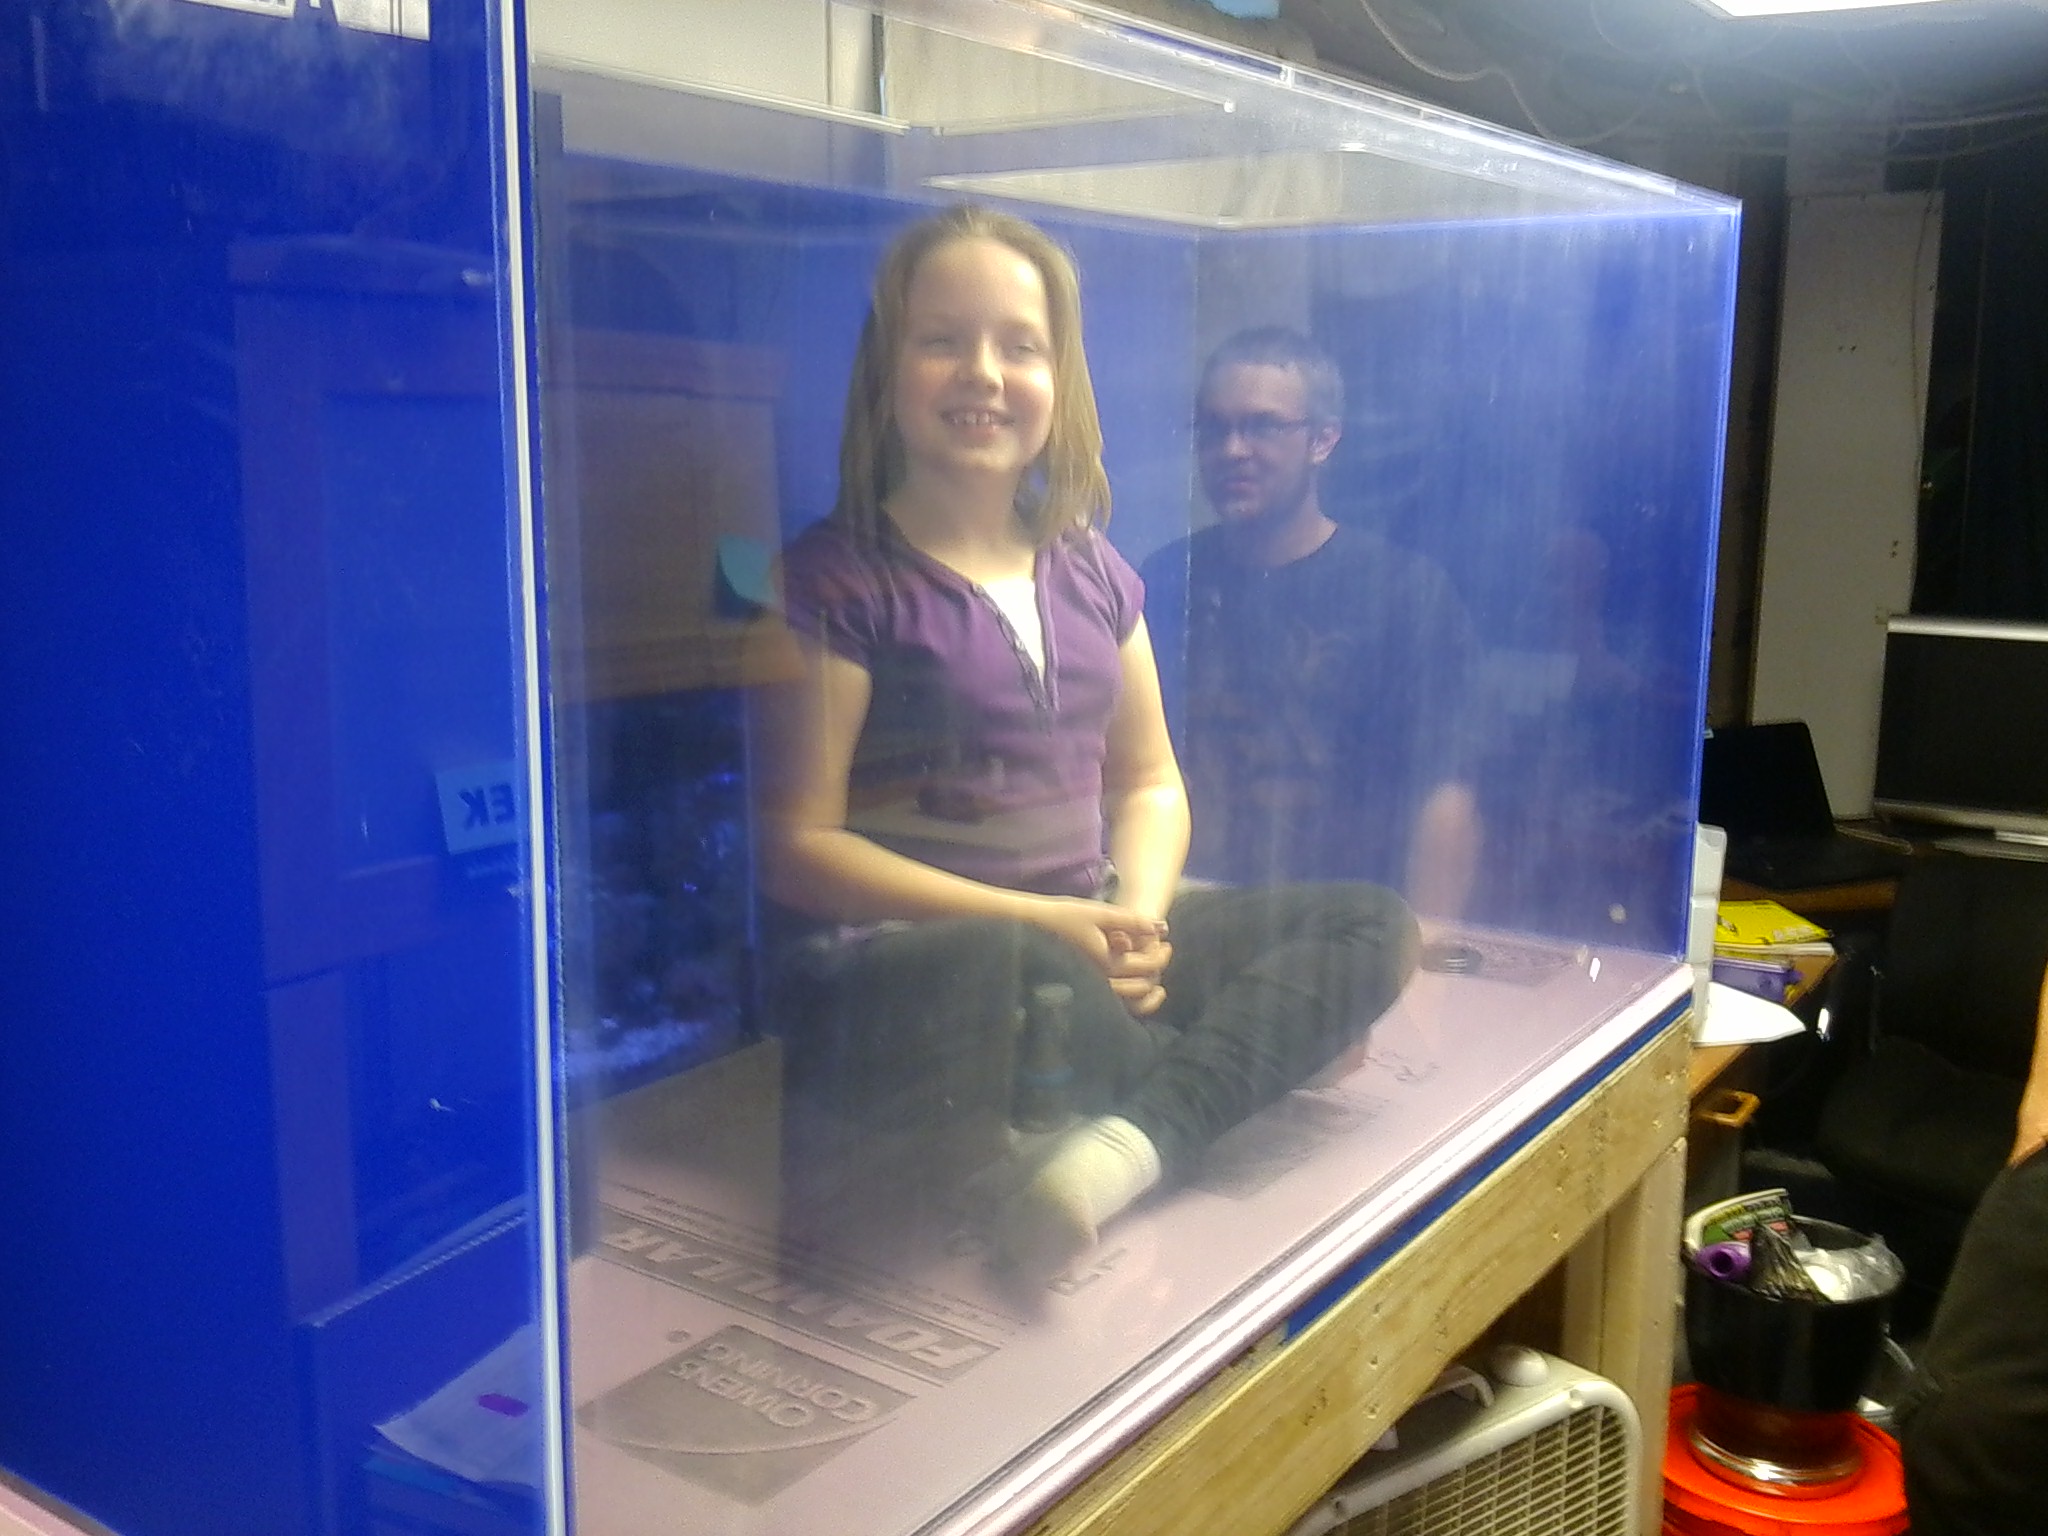
this thing stood just as tall as beth (my fiancée) and I was cracking jokes at her about it, then she popped the question of how big it was, so I measured it 60 long, 24 deep and 30 tall, take all that and divide and I came up with 187 gallon. So she went and found someone, which I didn't know she was doing, then someone from the store came back where I was and put a sold tag on the unit........... :'(

I was still talking to beth and explaining that this size of a tank would be a heck of a reef set up for me and what I want to do, I explained to her that being acrylic that this big monster weighs just as much as my glass 75 that I just got done setting up, maybe one day I might be getting something like this for my corals but not today as I cant afford the thing I am sure. when we were getting ready to walk away I had to look at the tag the LFS placed on it and see what it said............SOLD, HOLD FOR DAVE.............I am thinking some lucky guy got this and he even has my name.

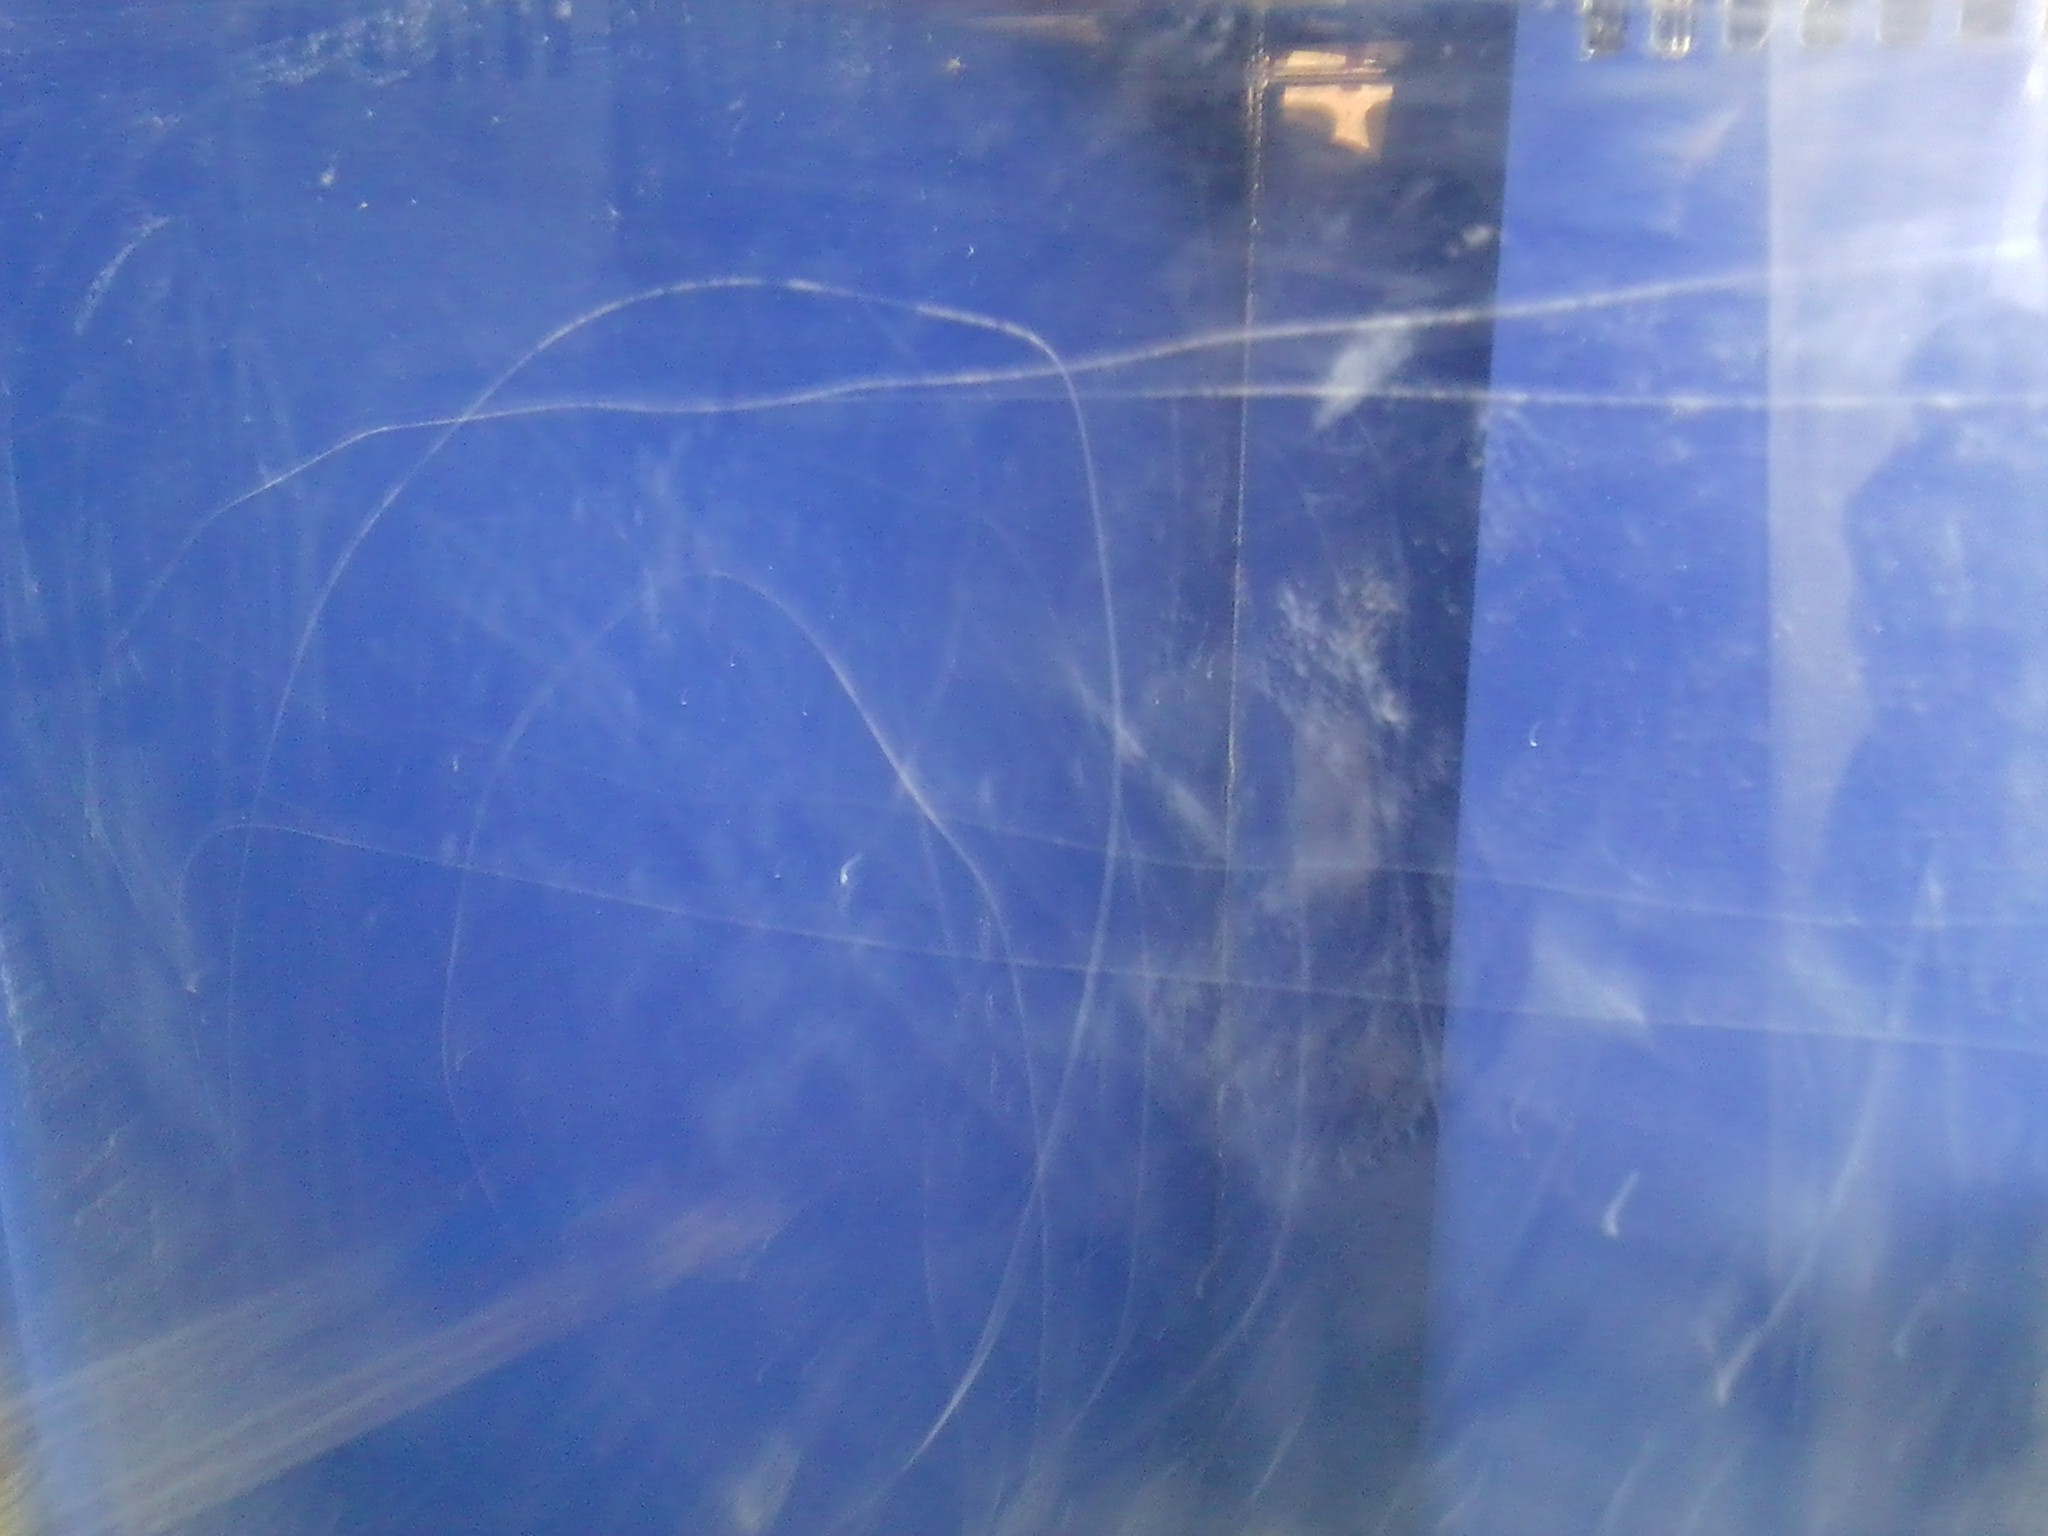
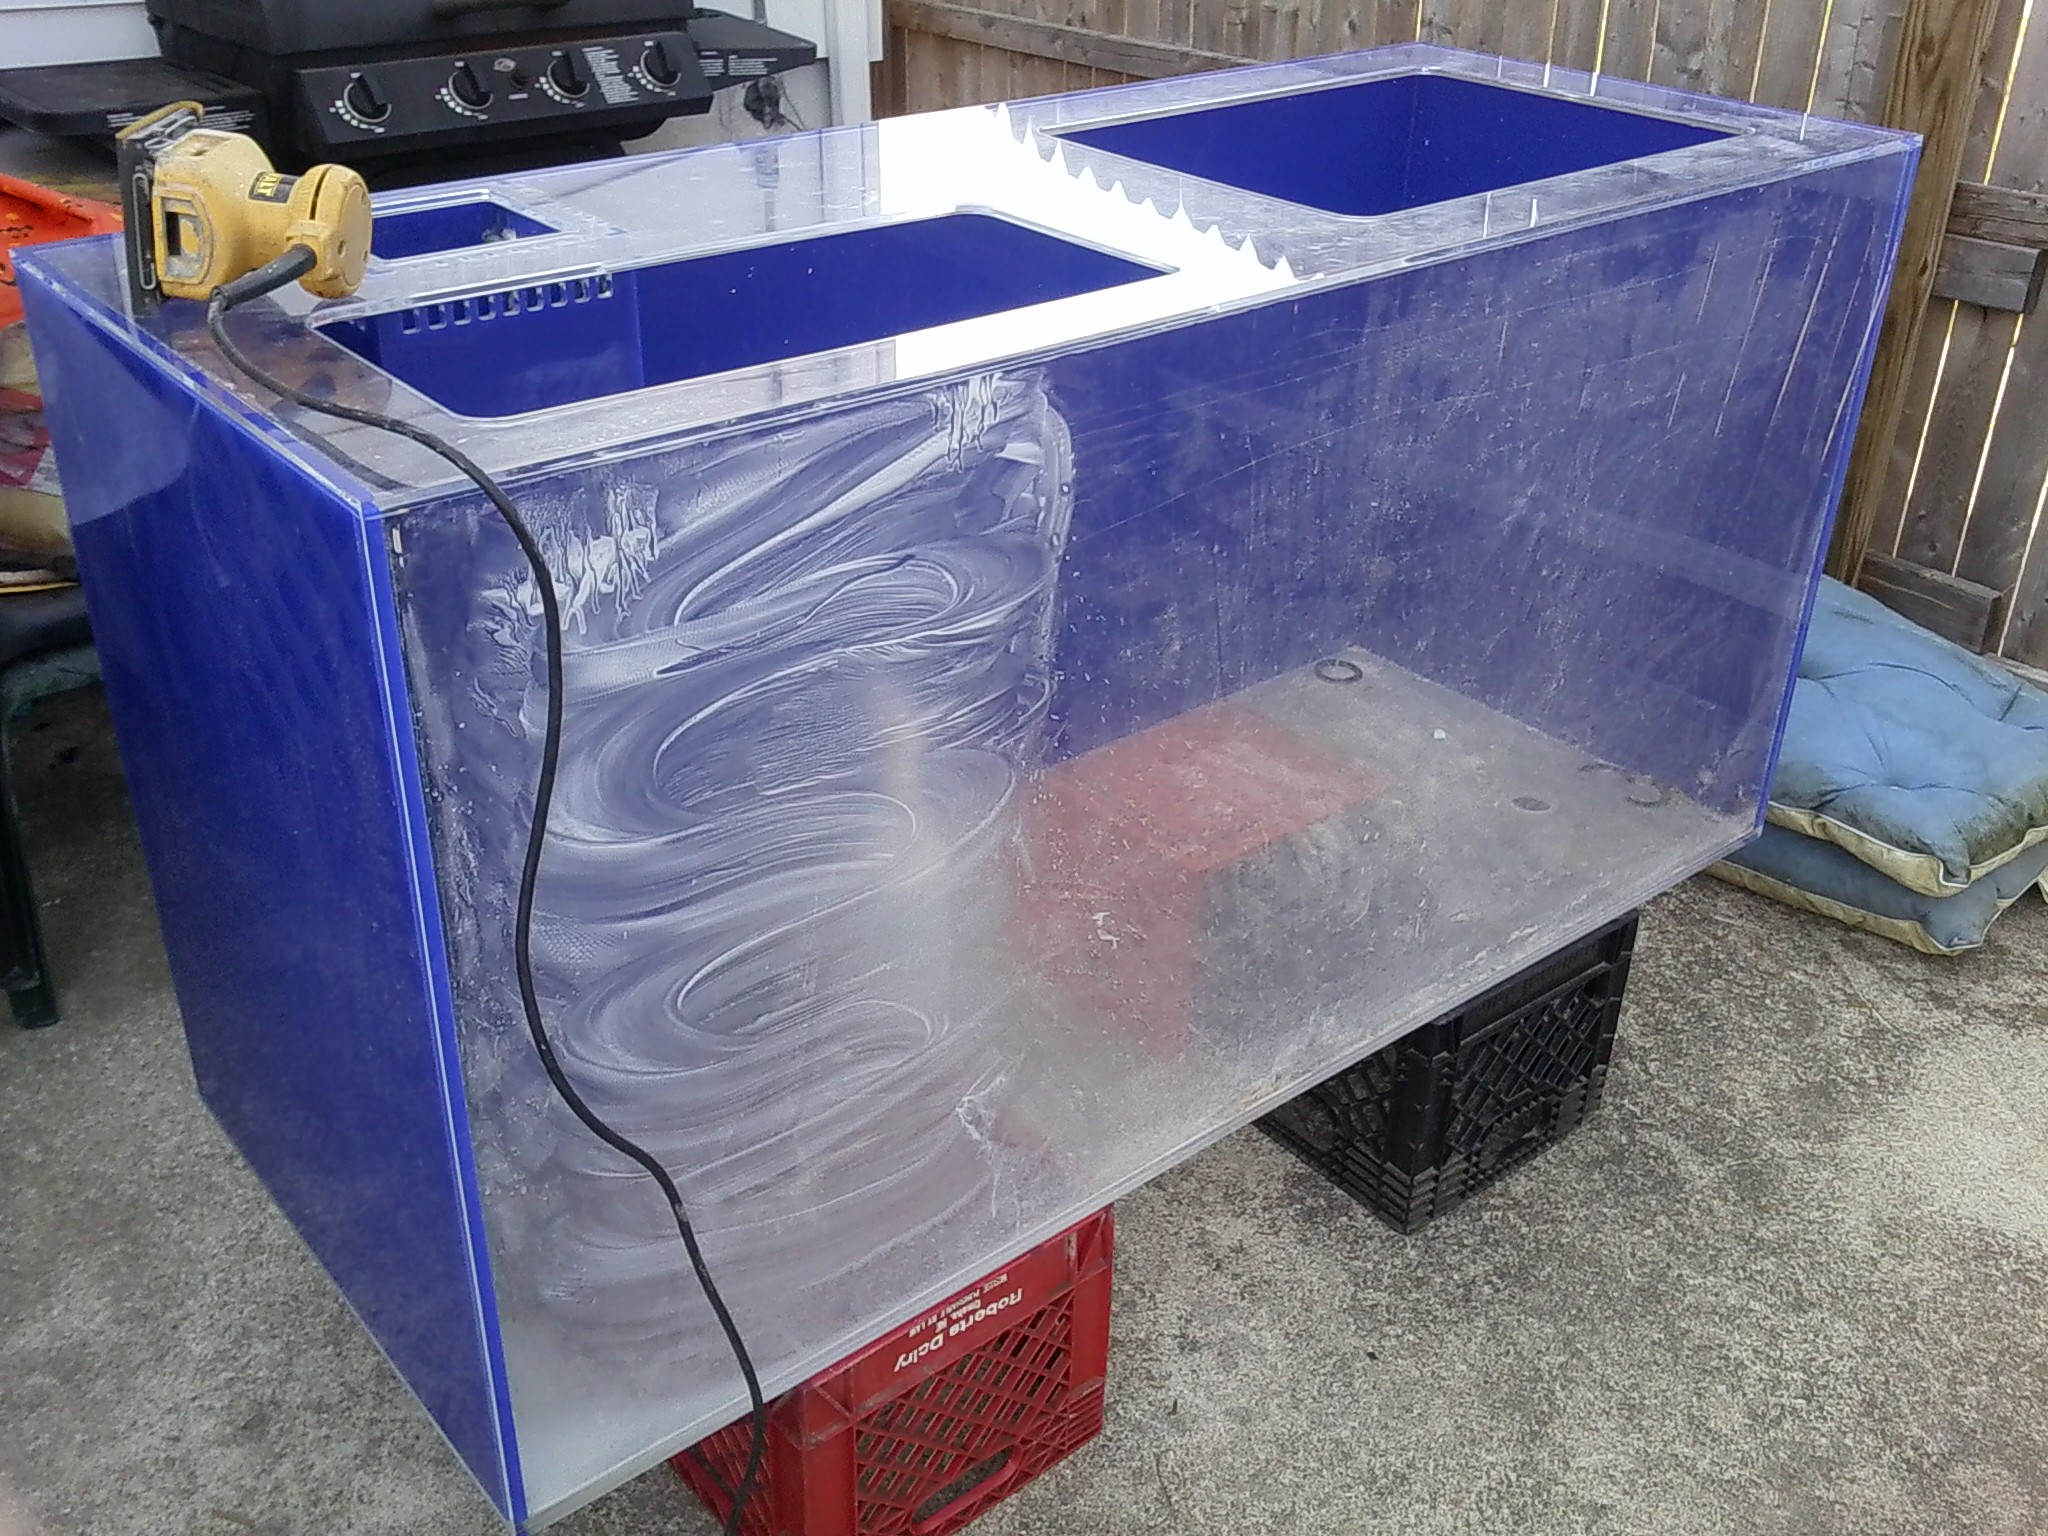
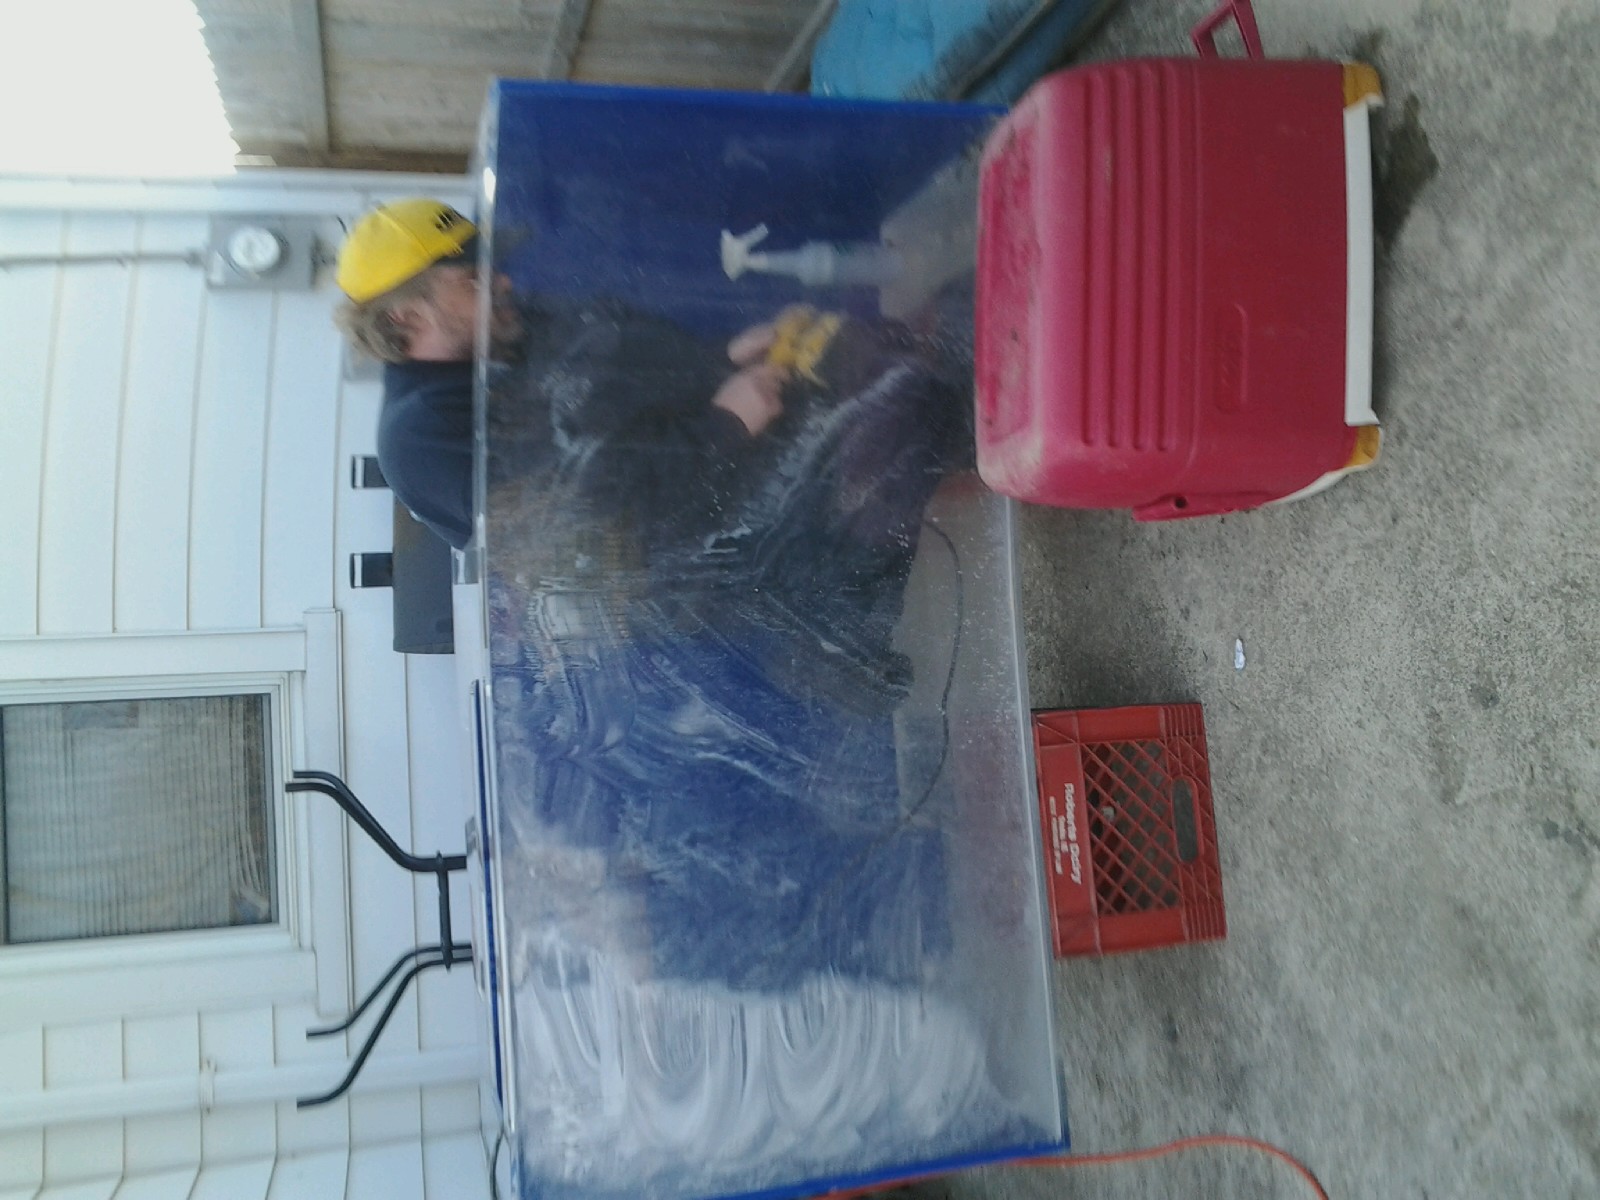
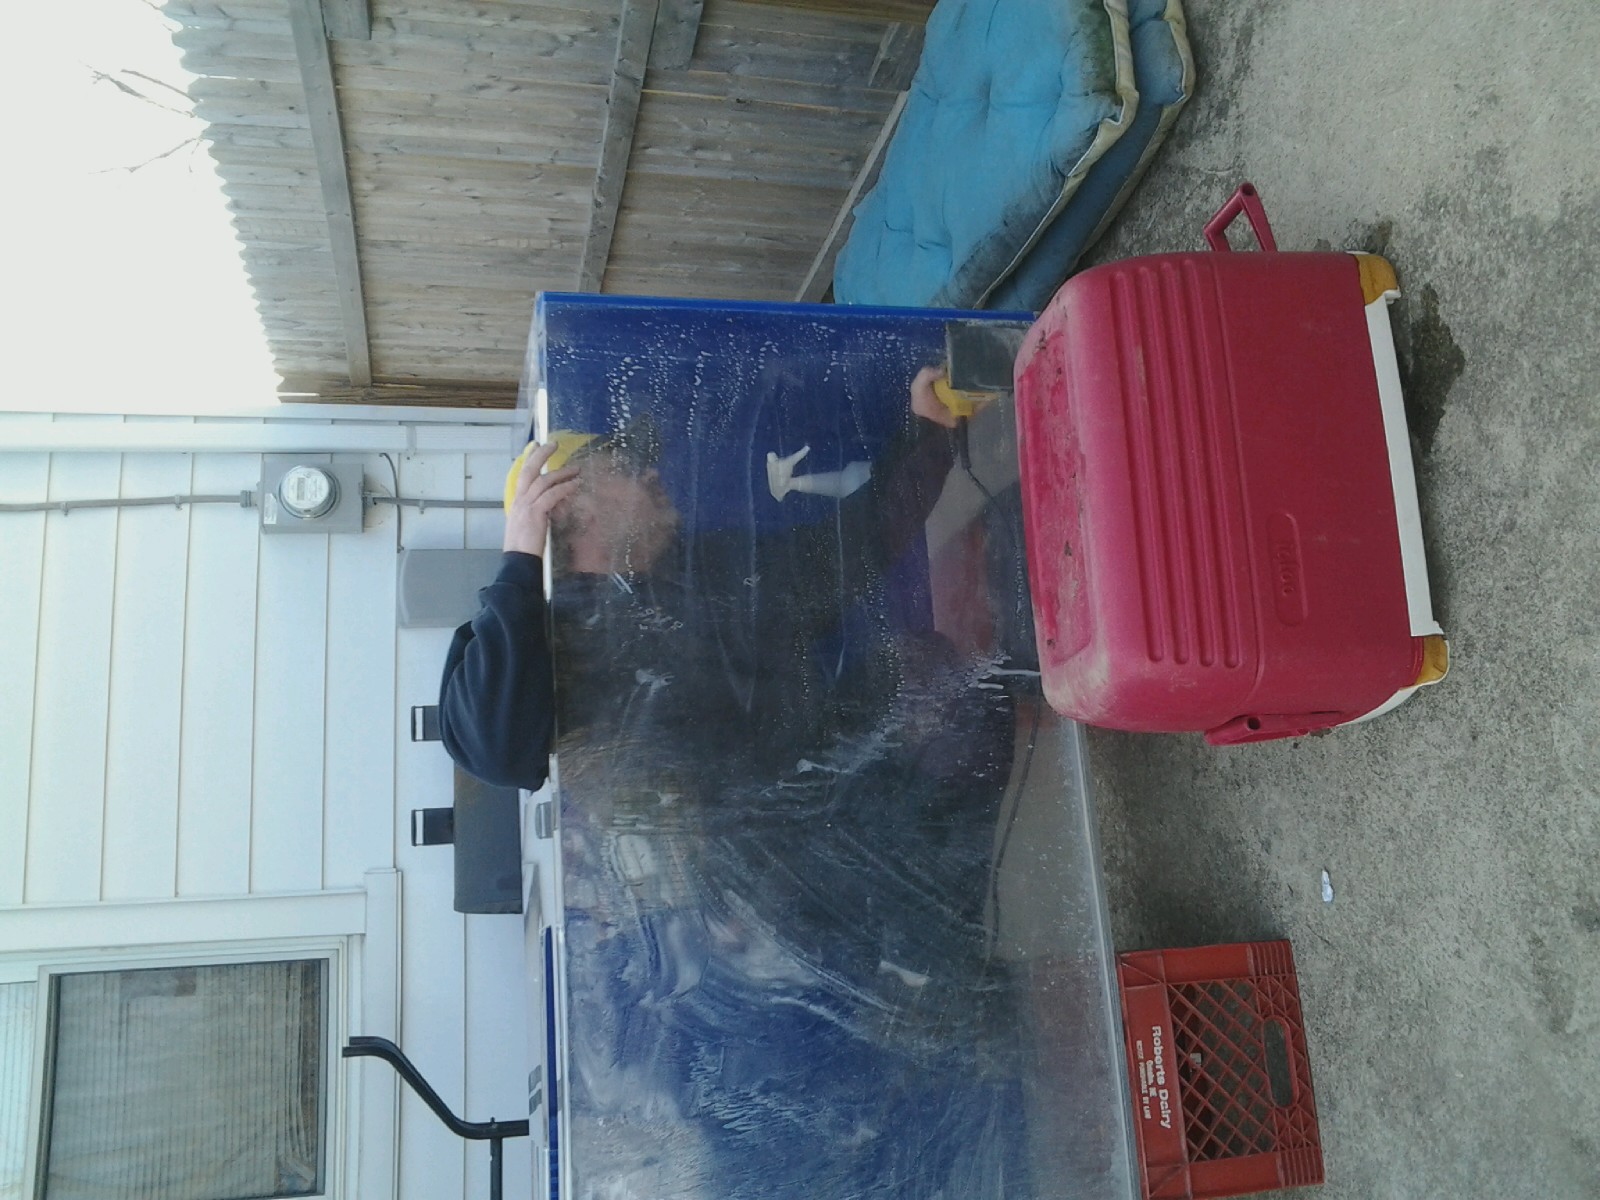
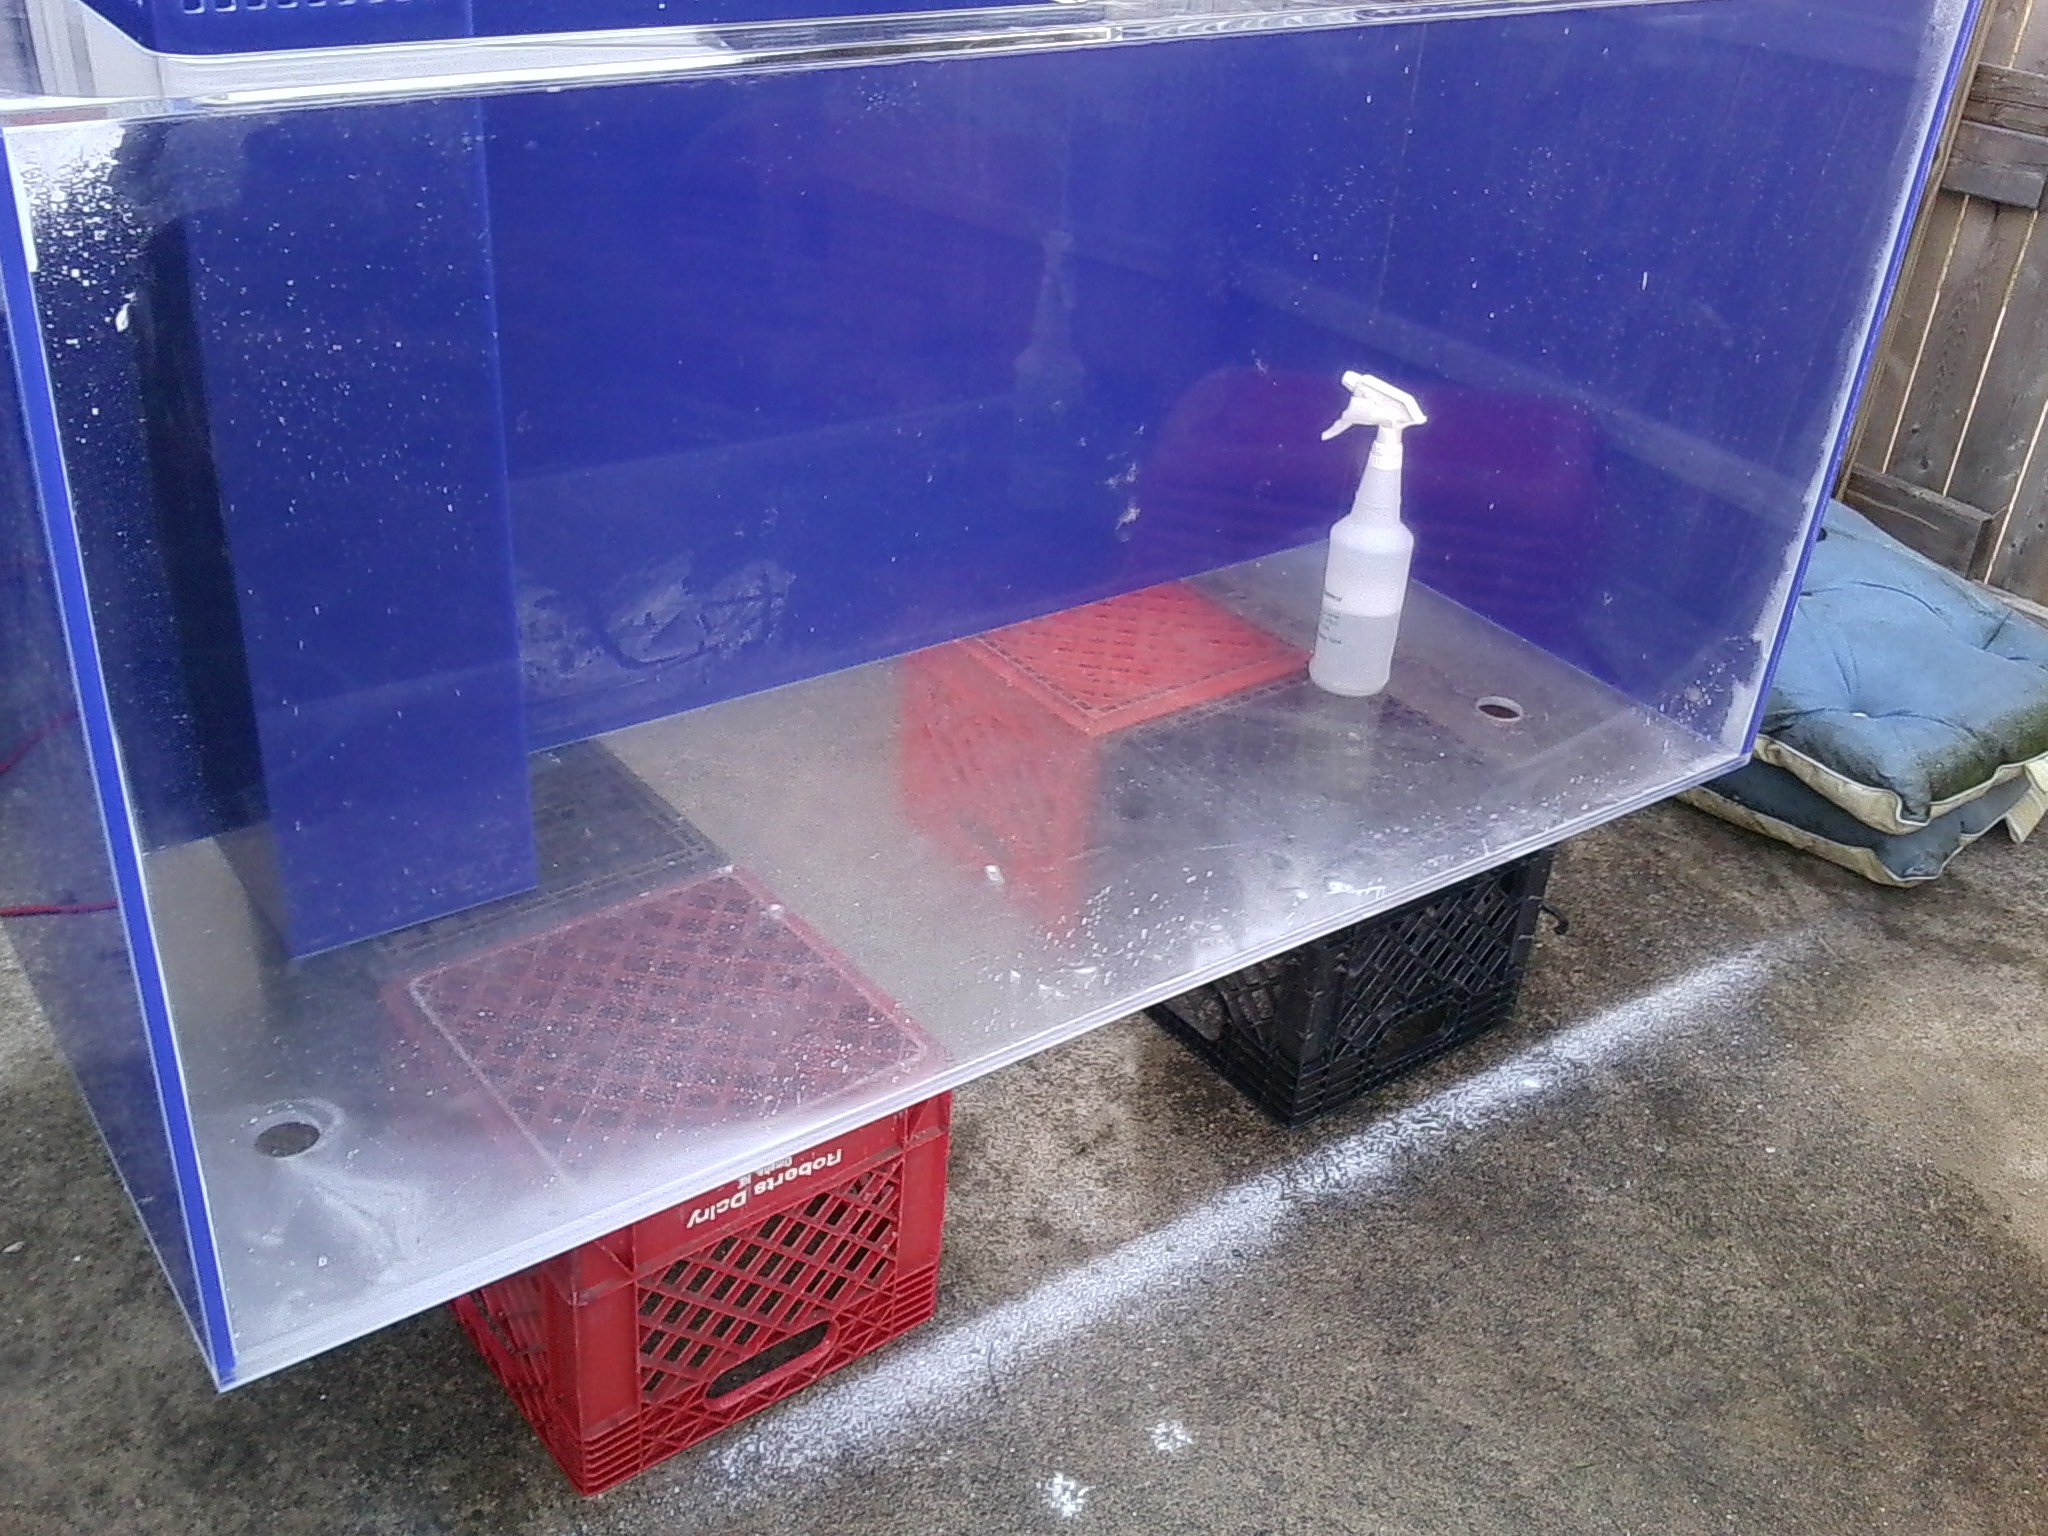
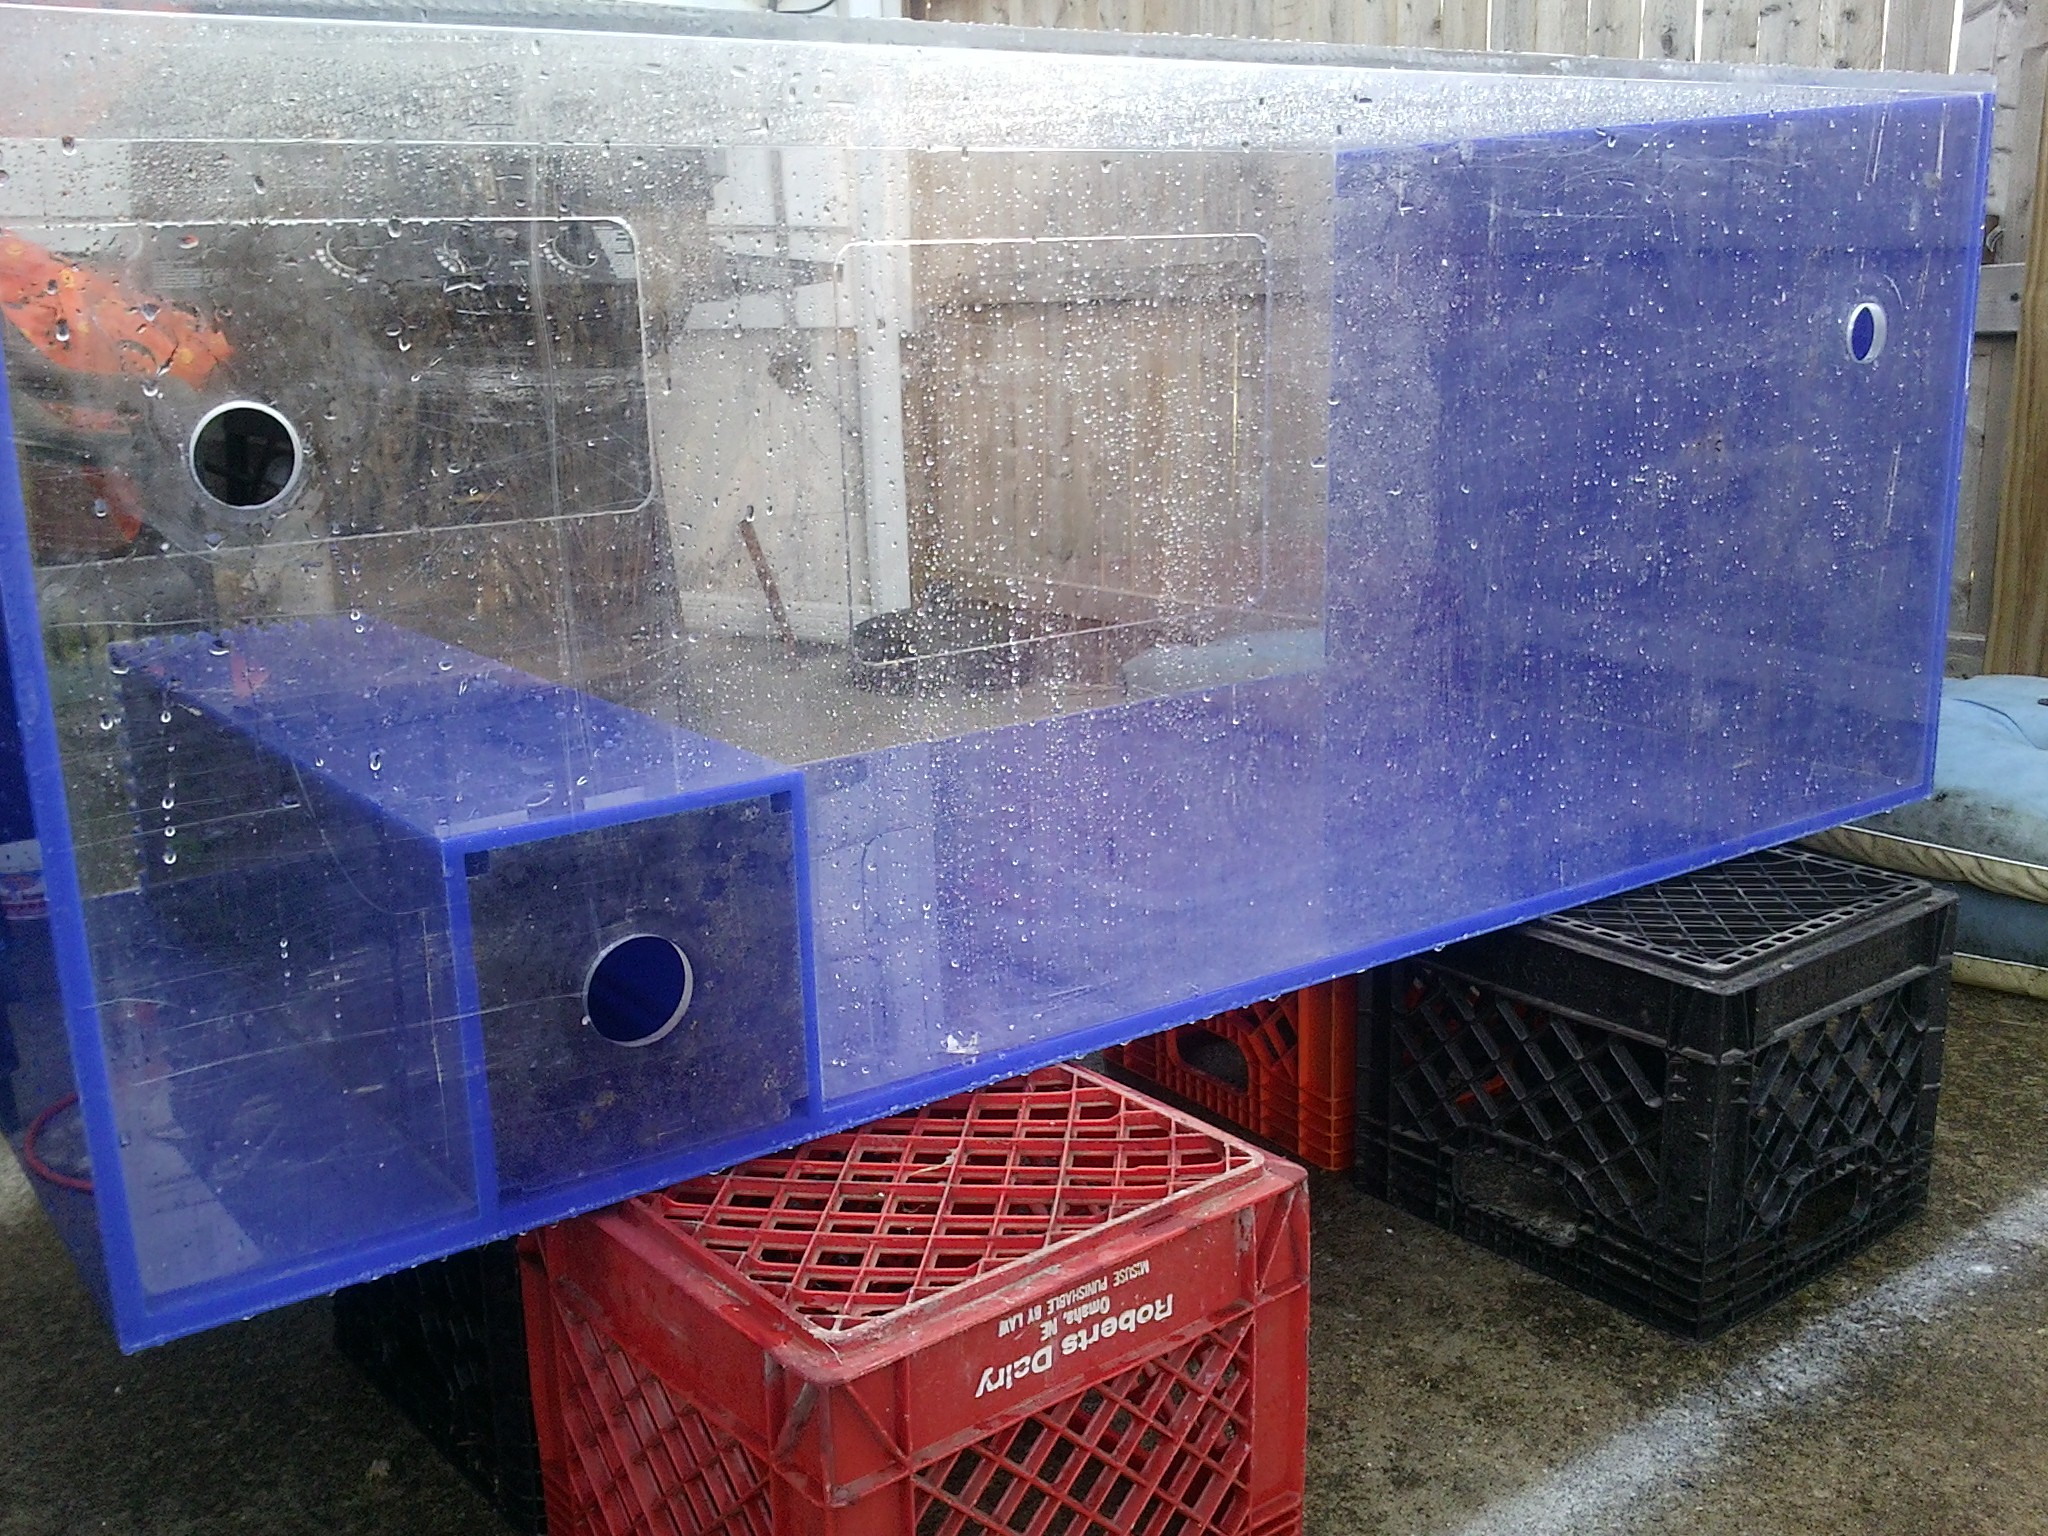
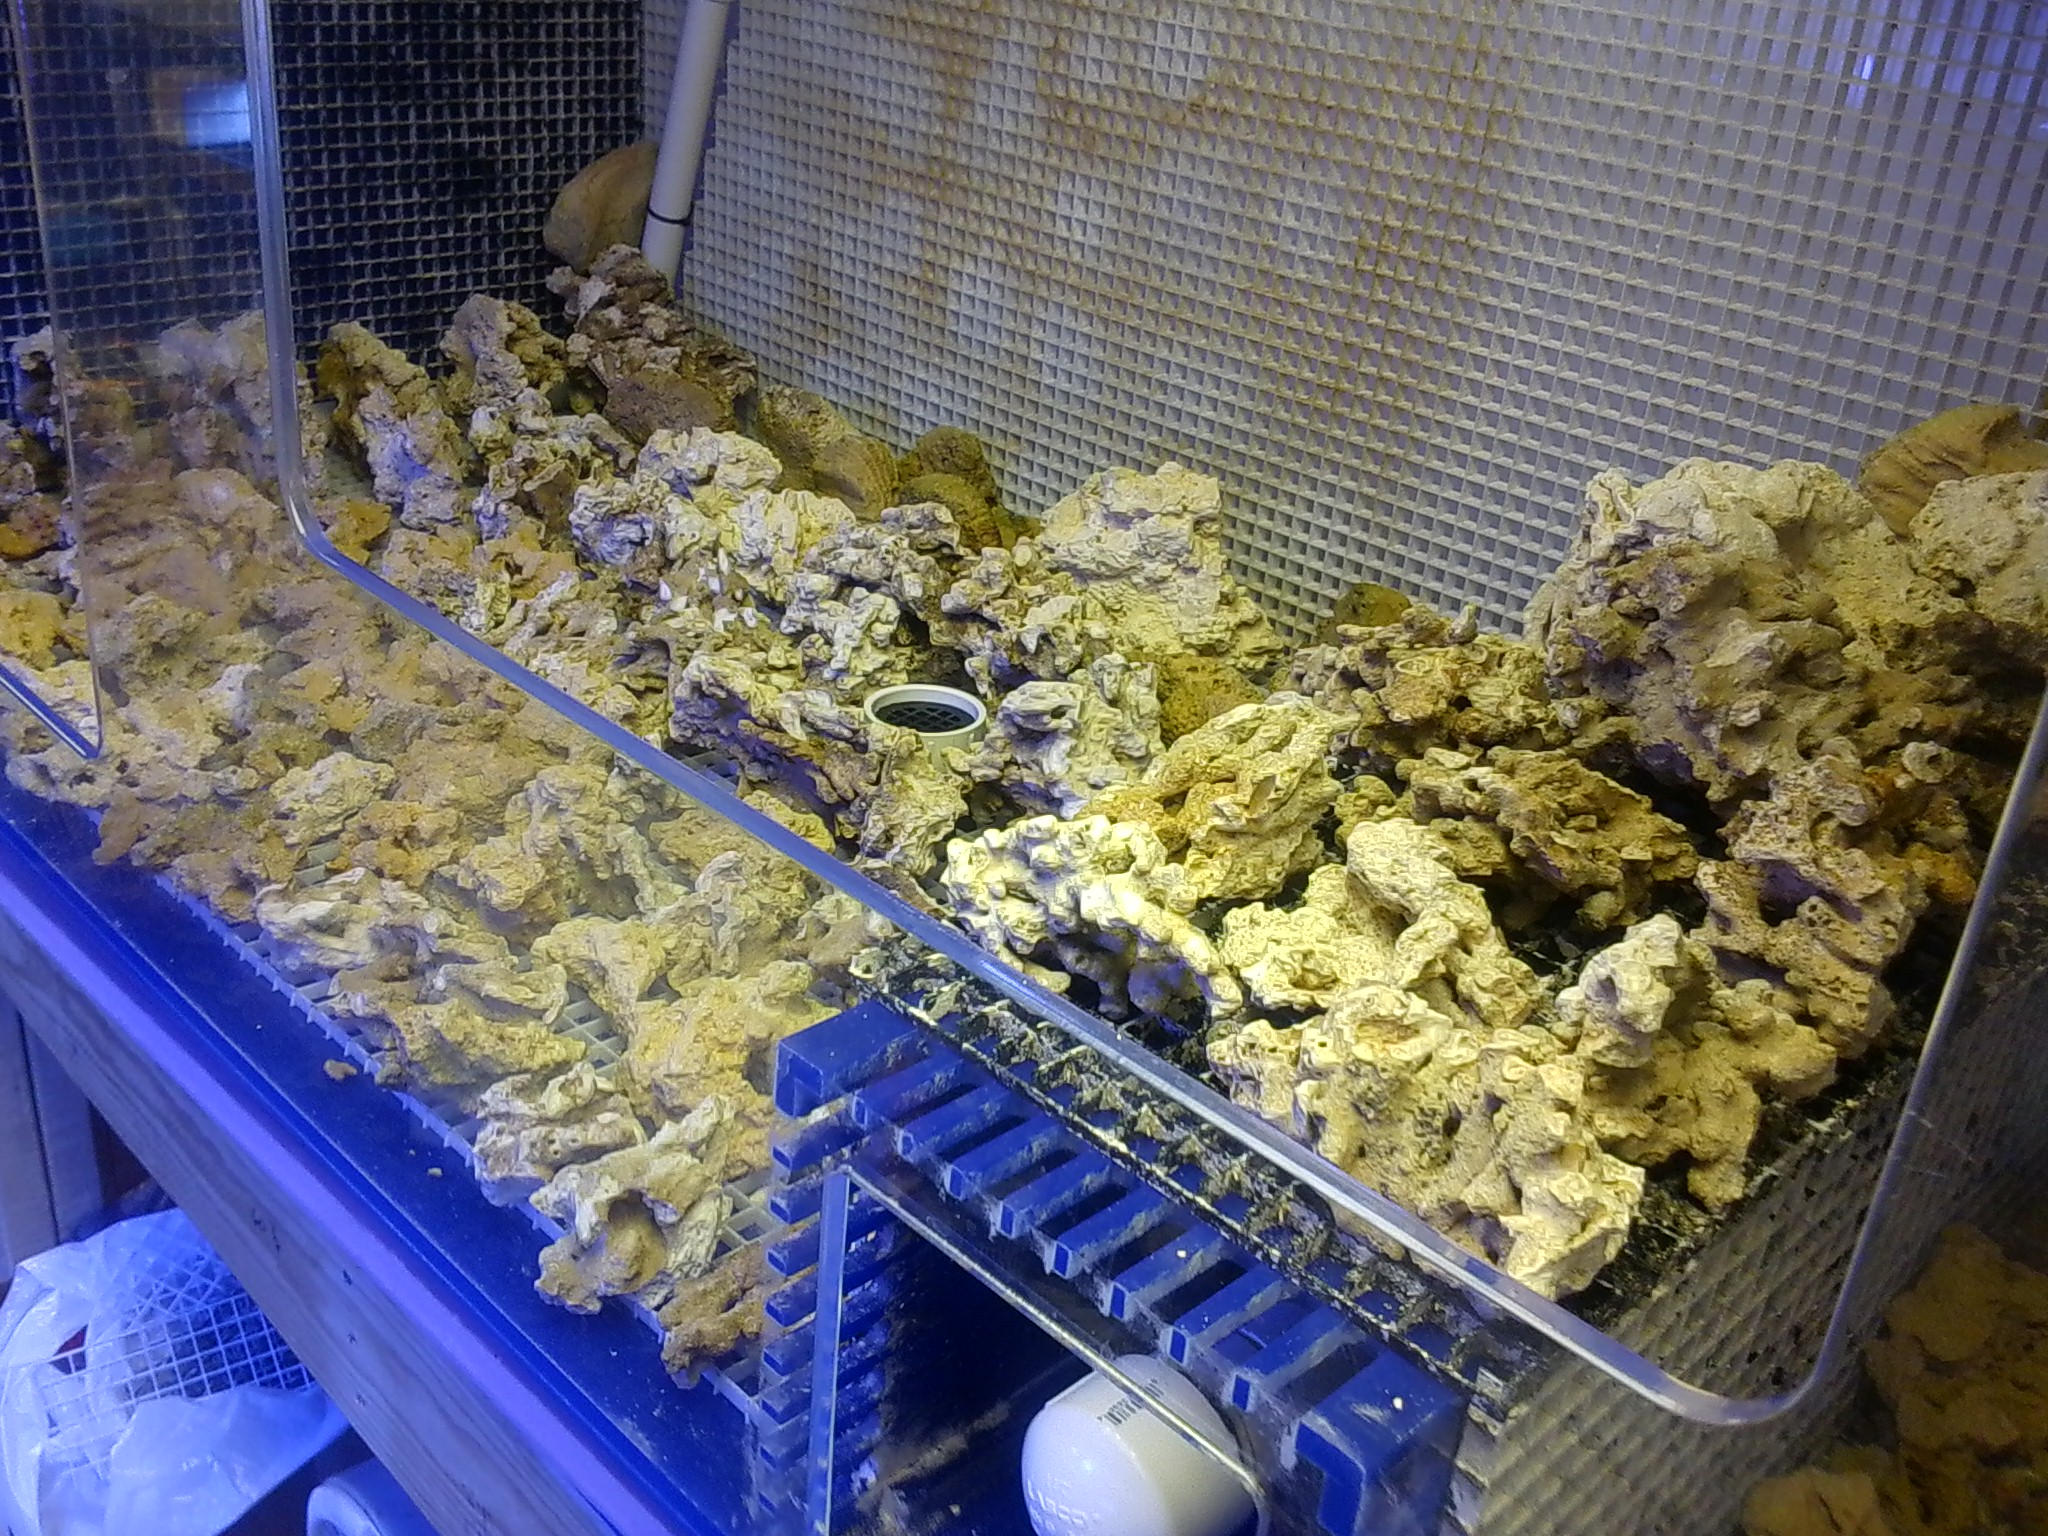
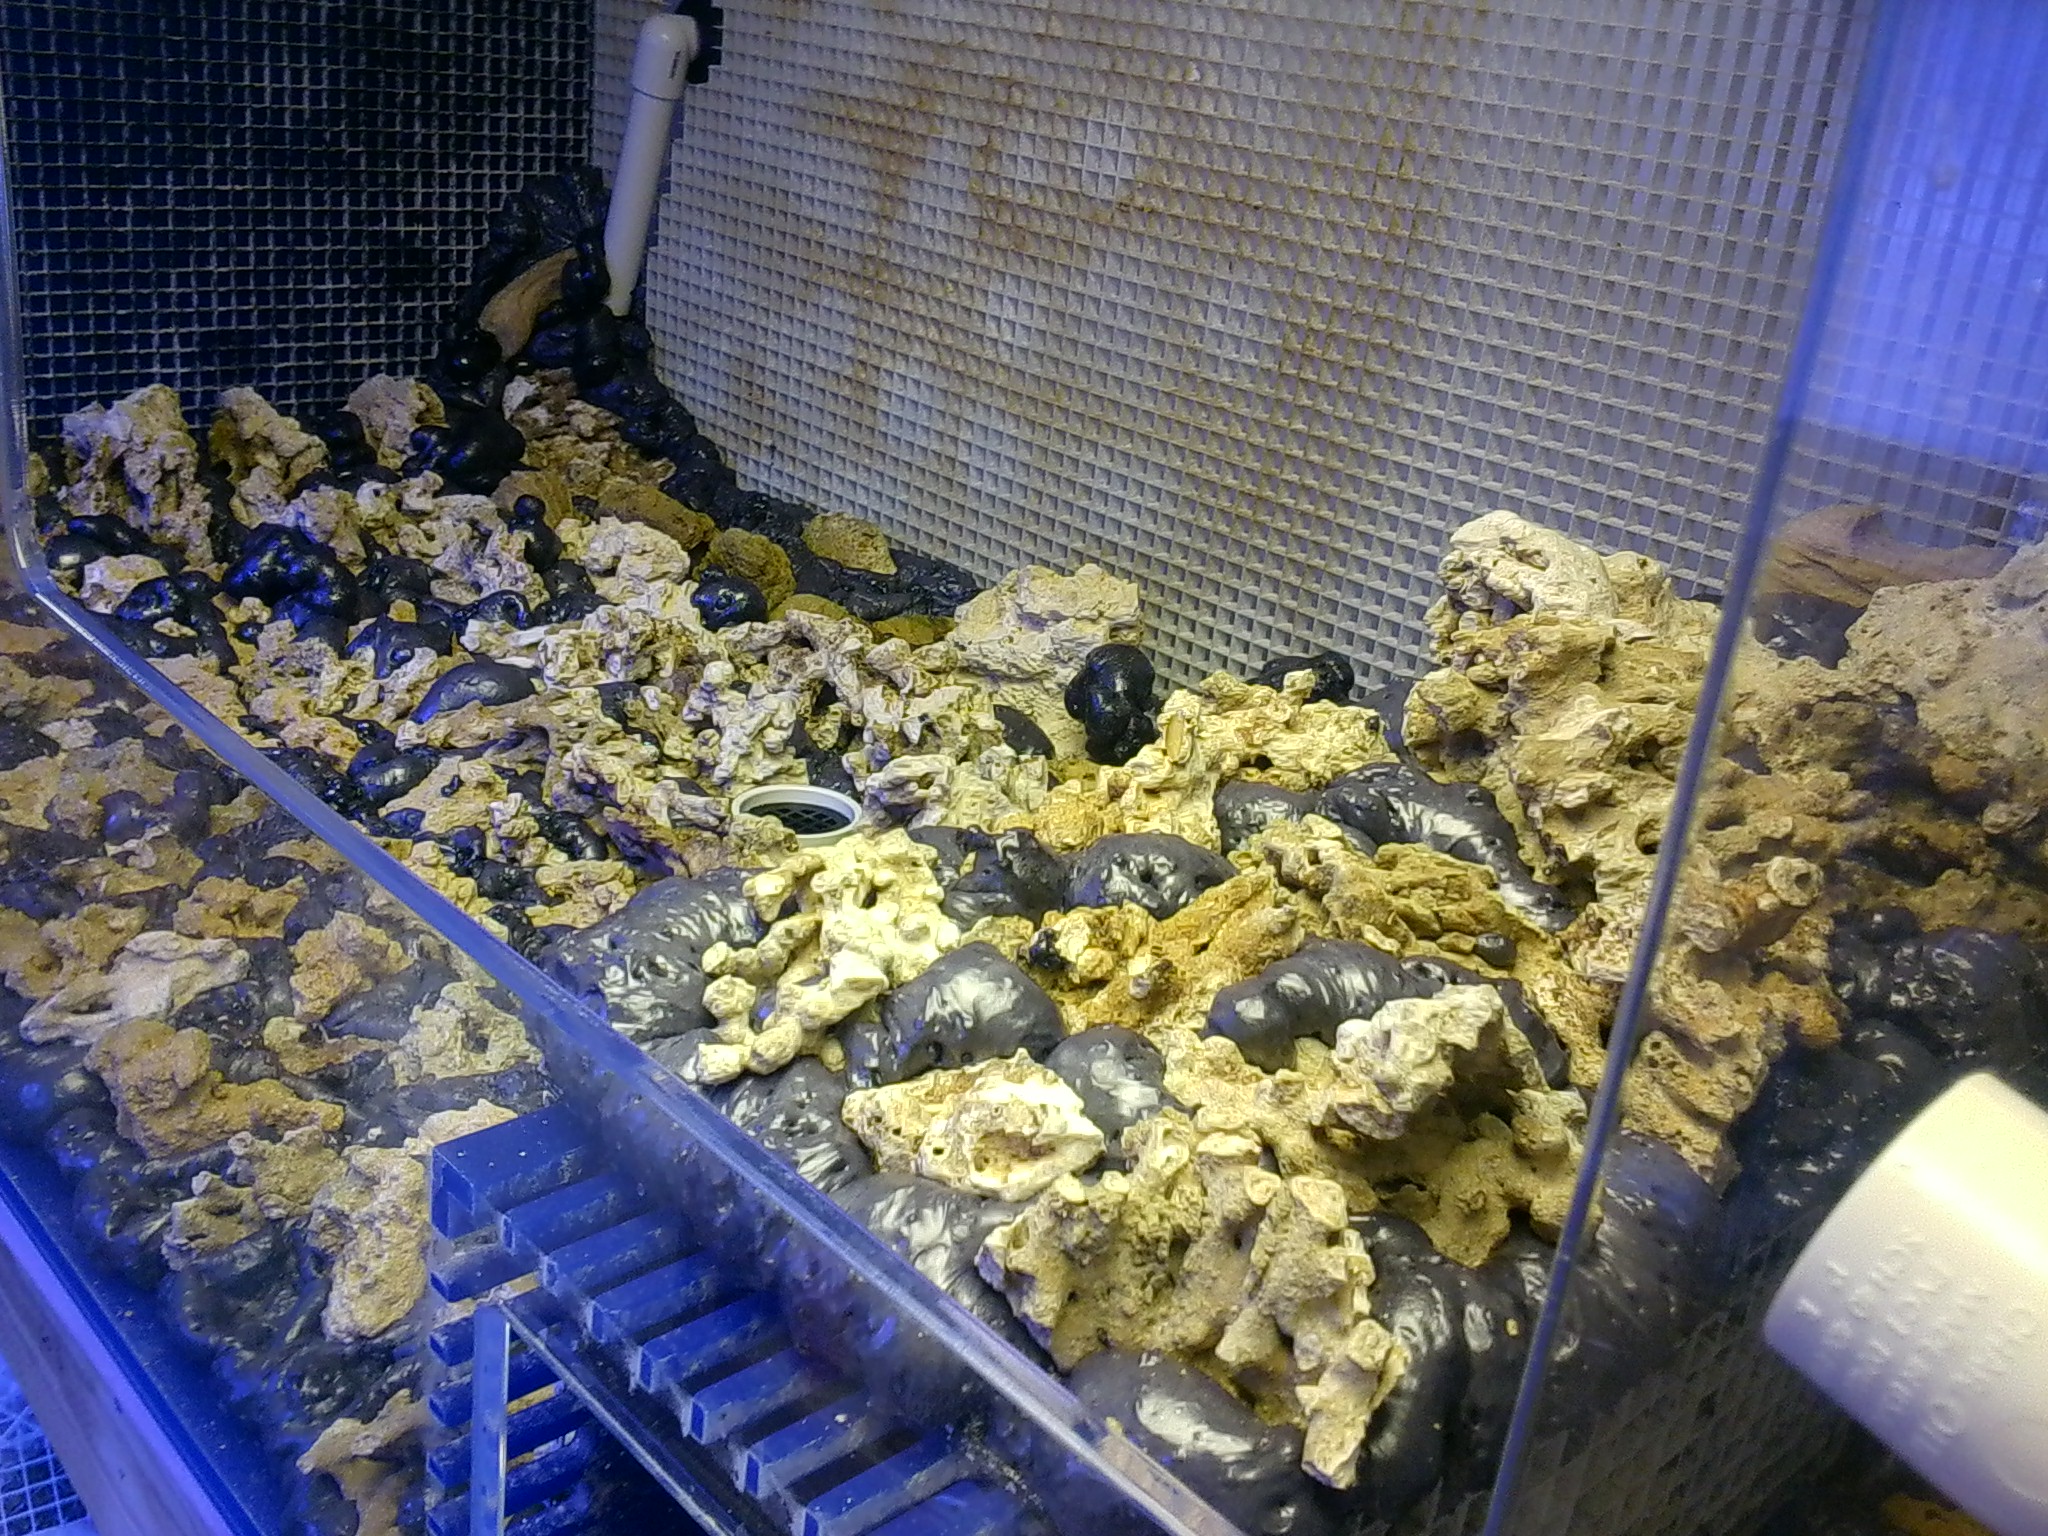
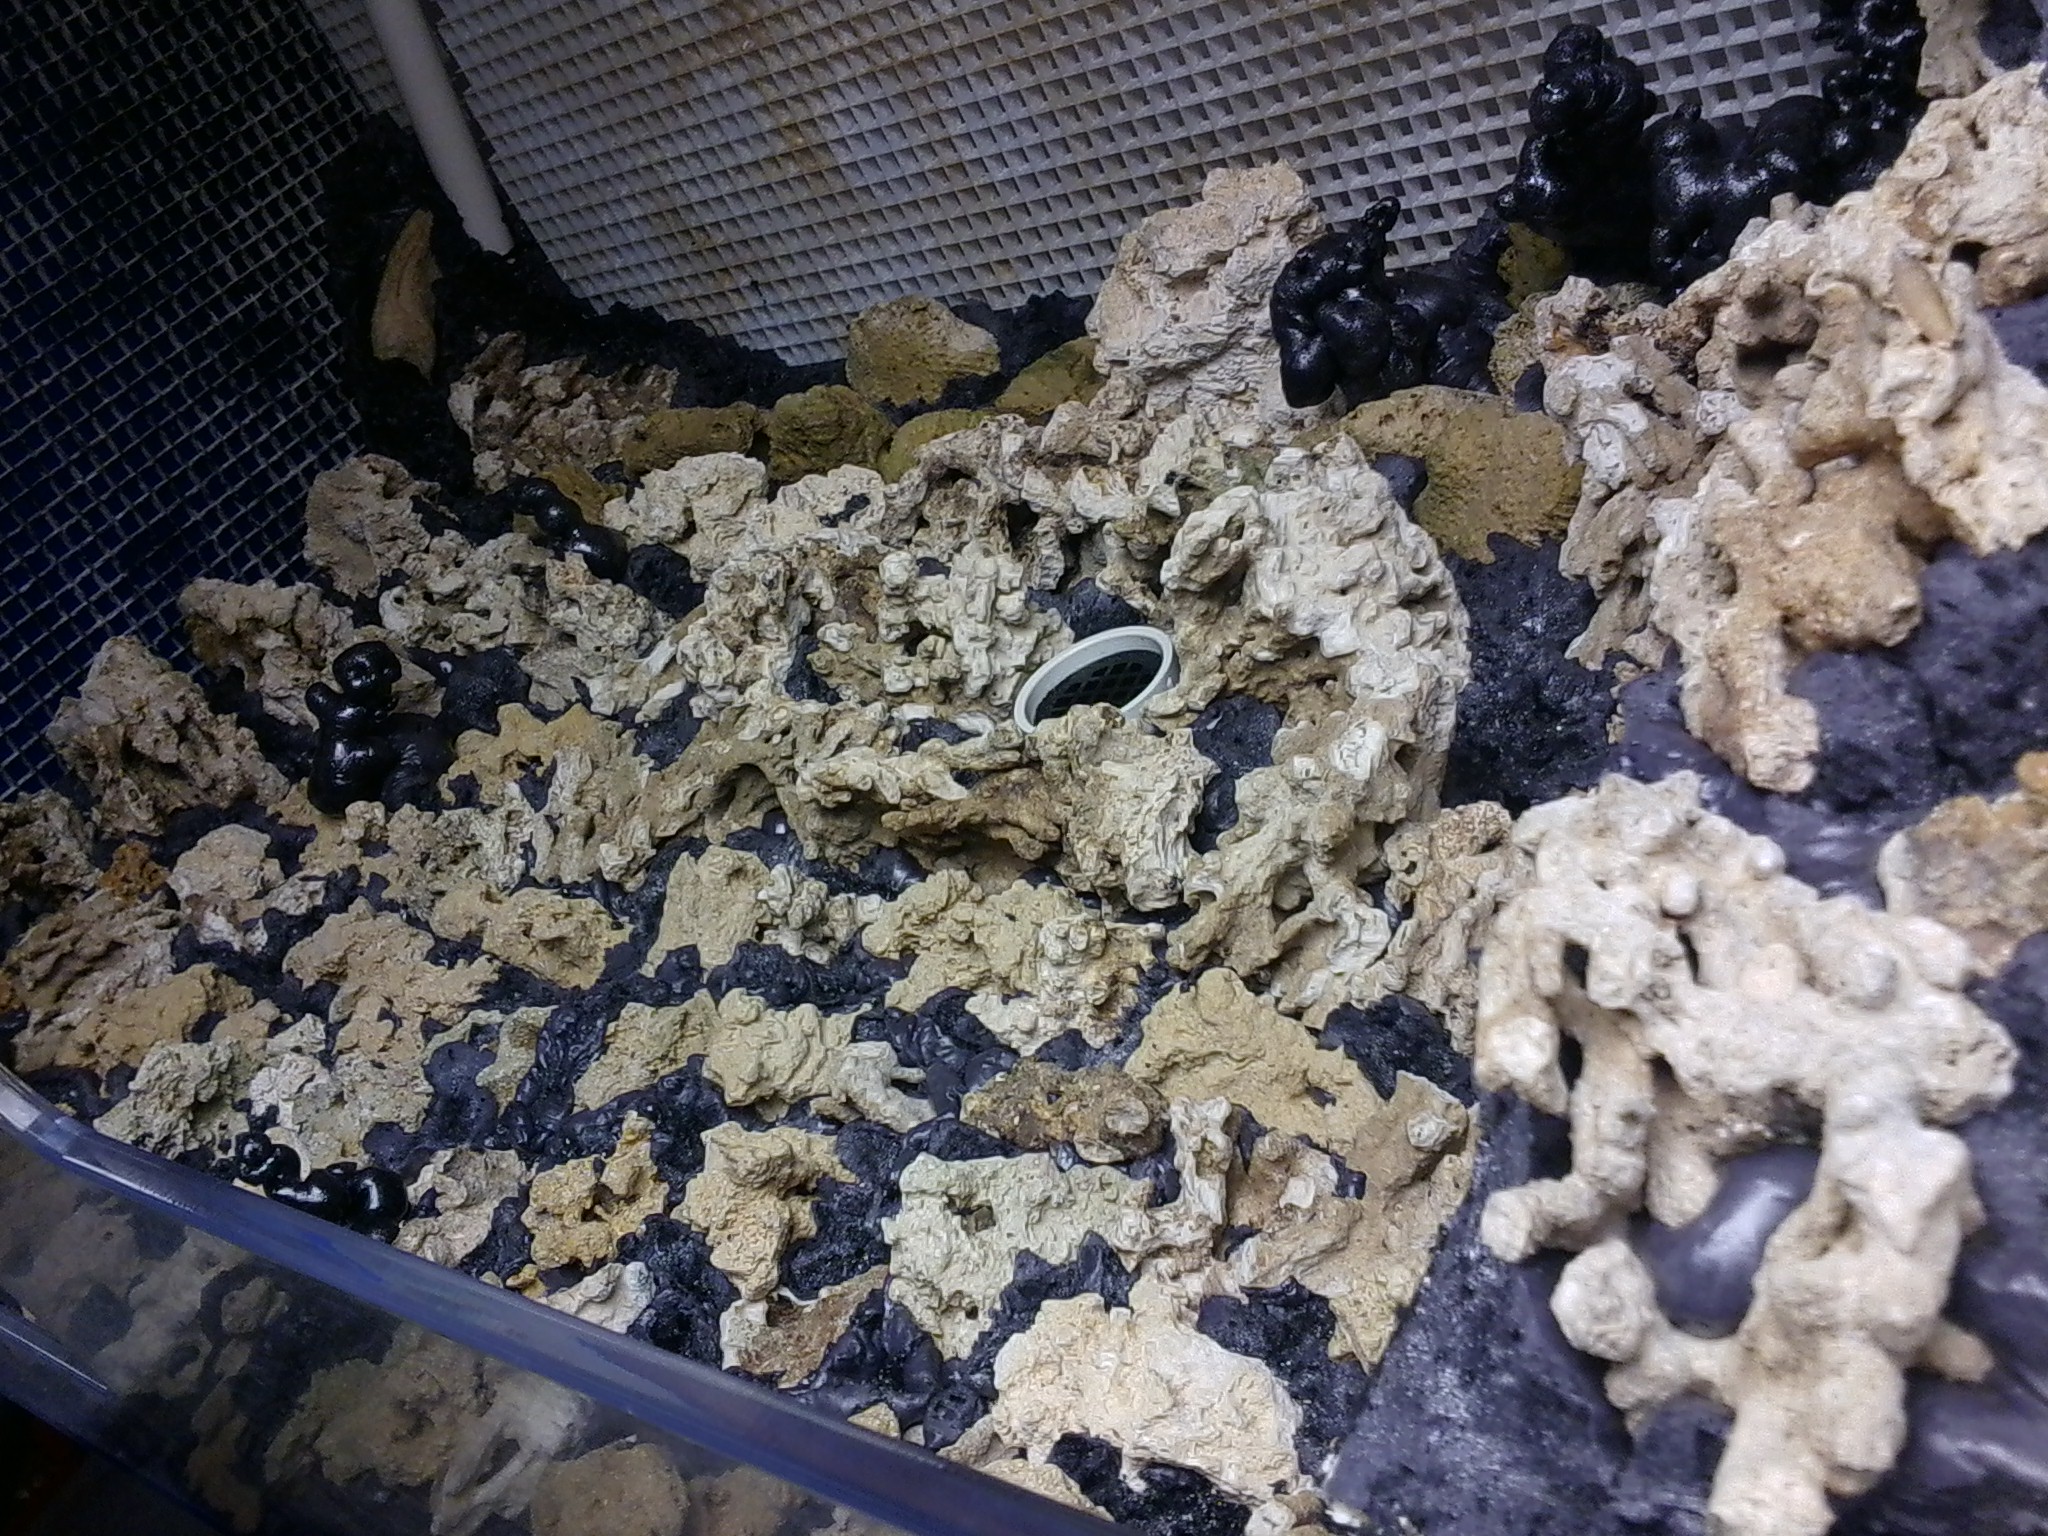
As we were walking away the owner asked me if I was coming back today to get it or when I will be back, I sort of shrugged it off and kept walking. Beth stopped me and asked if I was going to answer him....... ??? ...........then that's when she told me that she bought the tank for me. We got out to the kia and I told her I would not be able to pick it up until Tuesday but it needs a cleaning and a few scratched rubbed out on the front panel, it has the back and both sides blued out and has 2 bulk head holes drilled in the center of the tank 4 inches form the side walls for return from sump......

dsc0652s.jpg


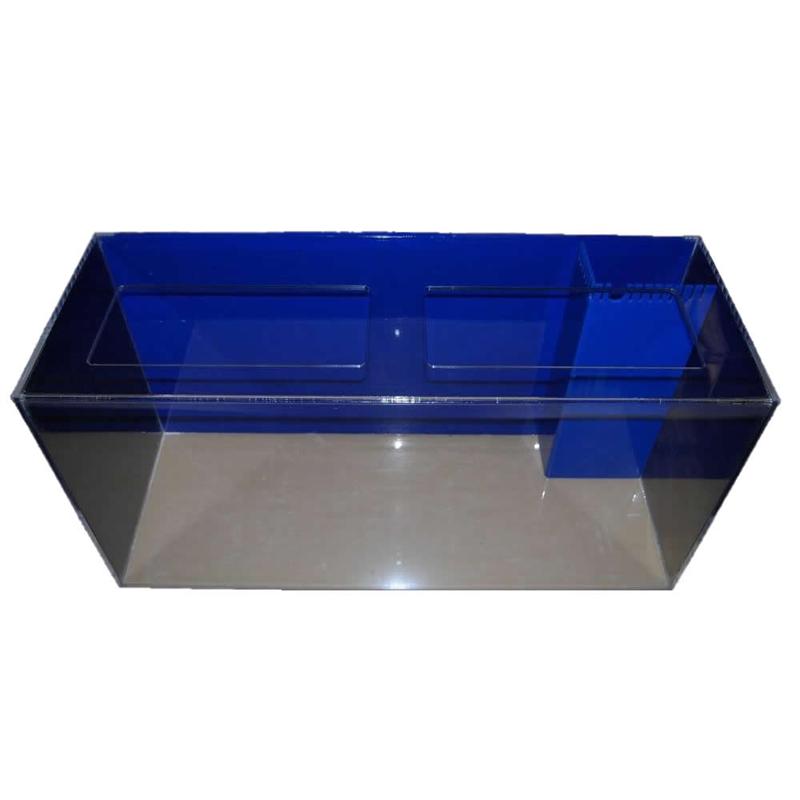
it looks something like the pic above, I will be getting pics come Tuesday,

and it looks like the 75 I have set up is going to be the new home to her softies and other things, less the apex, power heads and a few other items that I am going to take to the 187, but the whole moral to this story is that I have found a women that loves me and didn't know anything about the saltwater hobby and she supports me with the whole thing.

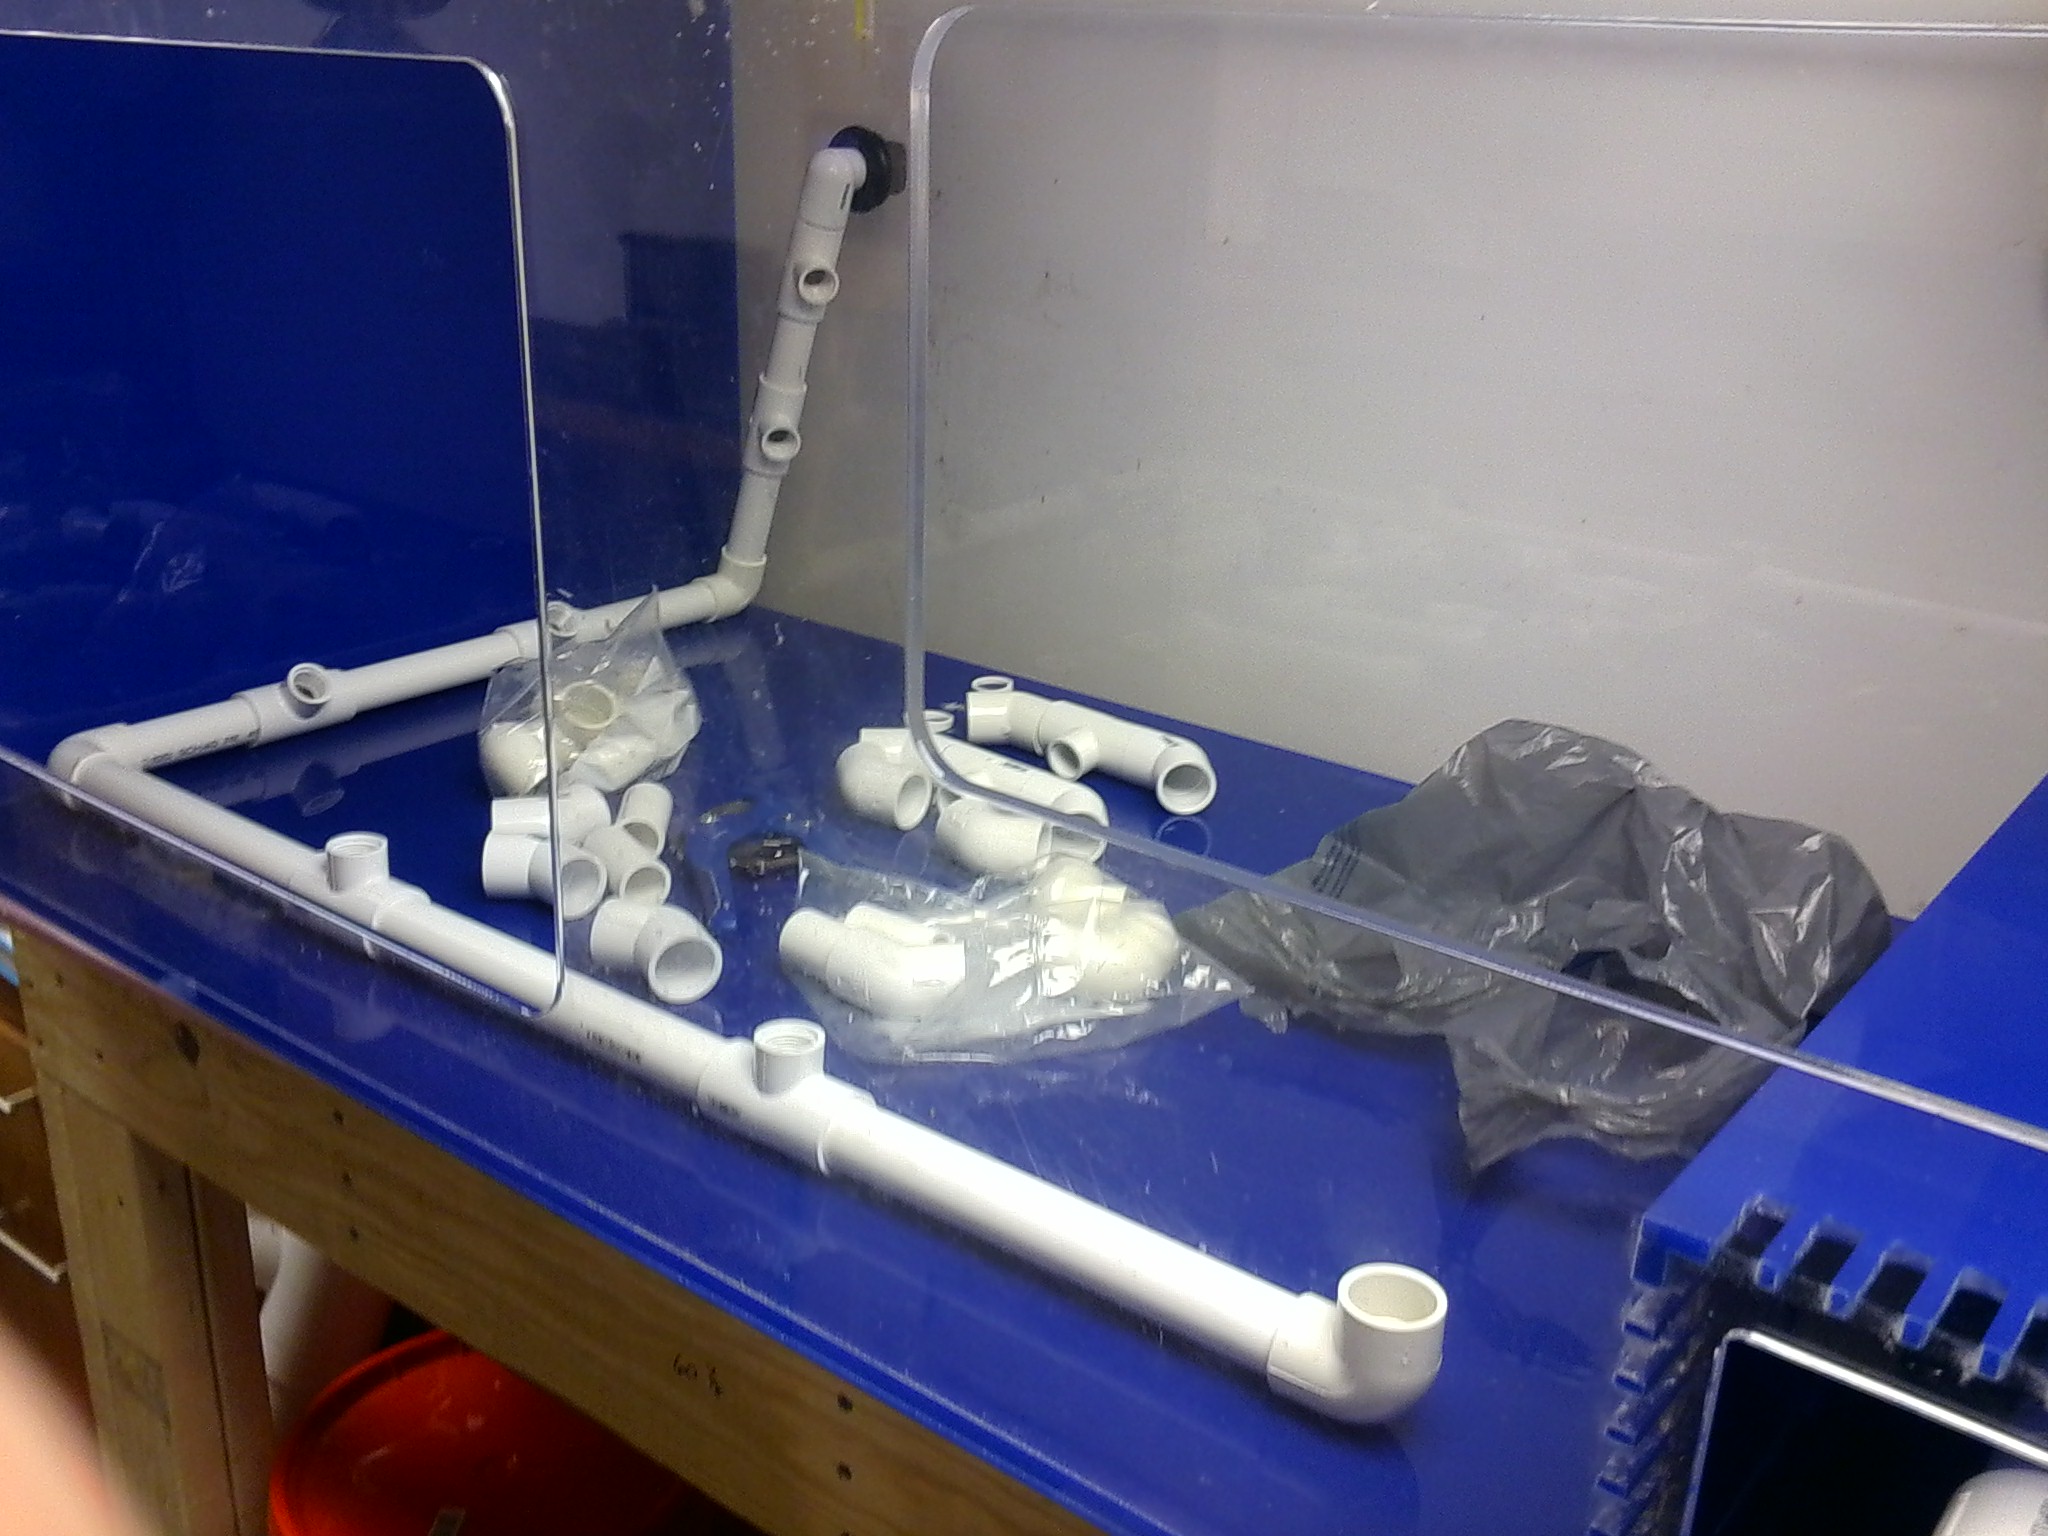
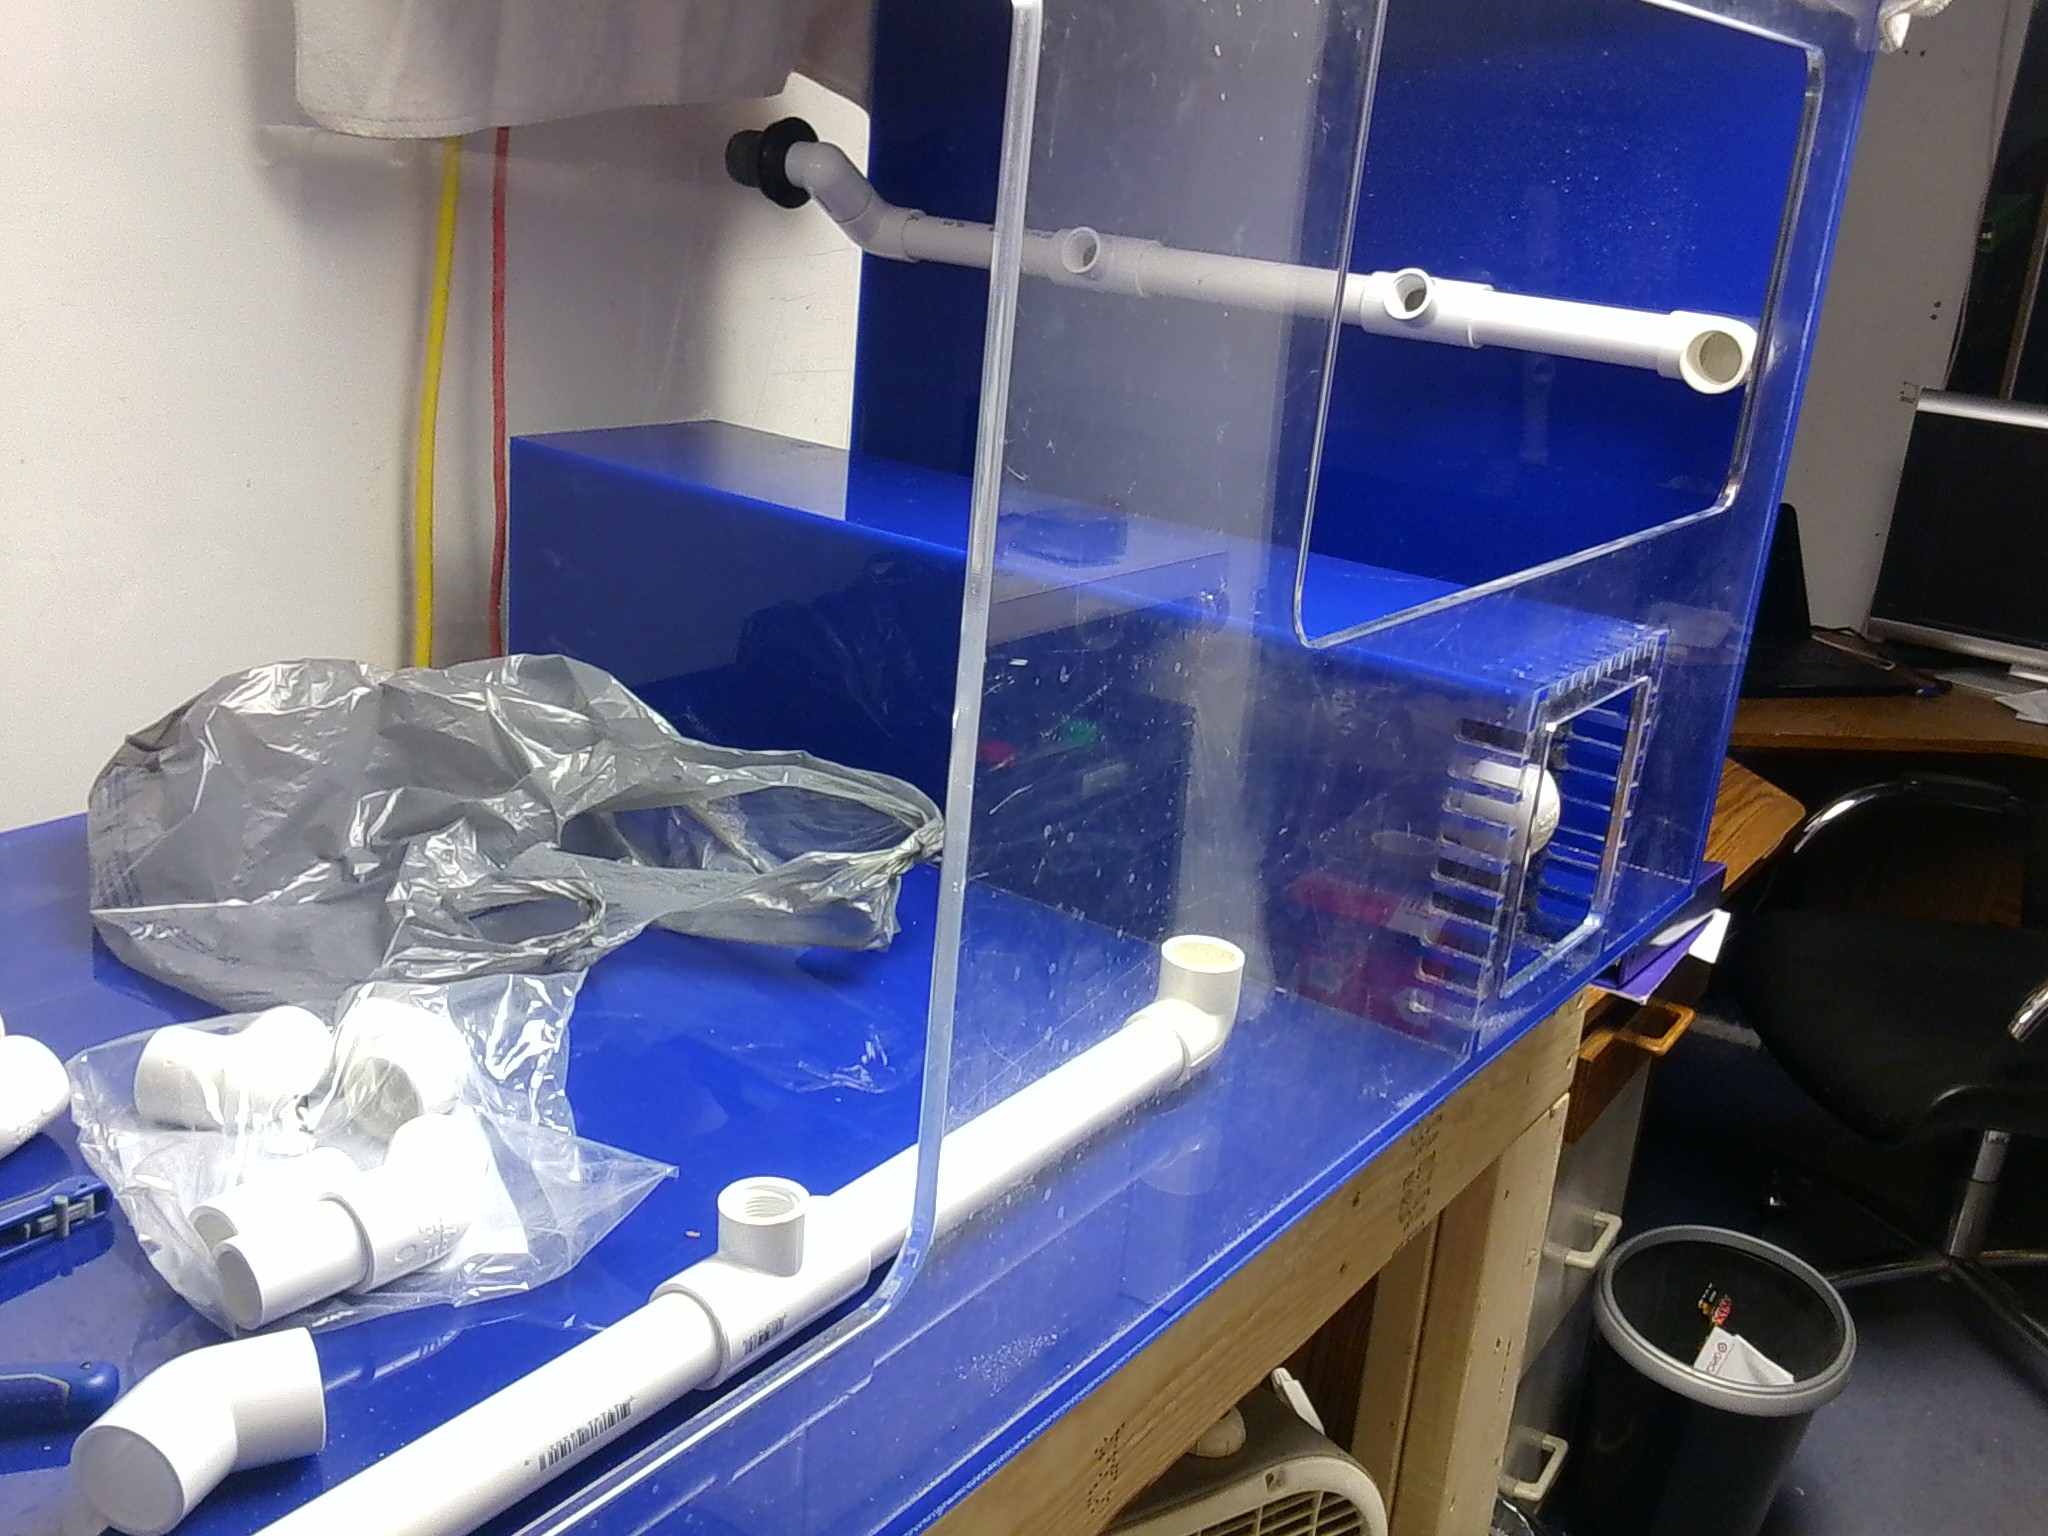
but enough of that, keep coming back as I will be posting pics throughout the build process
 
OP
OP
THE MAD REEFER

THE MAD REEFER

Well-Known Member
View Badges
Joined
Jun 4, 2013
Messages
643
Reaction score
1
Location
dayton ohio
Rating - 0%
0   0   0
the build is gonna be long, im thinking a few months before it is up and running
but now its time to think about a DIY stand, I have 6'-9" from floor to ceiling in my office / fish room (as its turning out to be slowly)
so with the tank being 30 tall I am left with about 50" to play with but if I use a 75 gallon as a sump / refuge I need a minimal of 24" in the bottom not including the framing
but I still want to be able to access this thing as it is deep
this is where I am debating on 2x6 or 2x8 construction
has anyone built a stand for this size of tank?????
I am going to put 1" plywood for the floor where the sump goes and under the display tank also with 1"foam to help with the leveling of the tank as well
well time to due some research before I go running up to Michigan to get my baby girl, Amanda (7 yr) from her moms, she is going to love this new tank as well
I am trying to bring her up with the saltwater for 2 reasons, education and the hope that she will have her own tank one day
 
OP
OP
THE MAD REEFER

THE MAD REEFER

Well-Known Member
View Badges
Joined
Jun 4, 2013
Messages
643
Reaction score
1
Location
dayton ohio
Rating - 0%
0   0   0
well I went and picked up the tank tonight and got it as far as the house, I need to go to have the top measured for lids as I don't like the lids that came with the tank do I figured its in the van and can wait a day or two to unload

0402131907.jpg


as you can see that the tank is sitting on some healthy lumber
its for the DIY stand that I am going to be doing as well

0402131908.jpg


but as you can see that I have a little work to do before I can start setting the tank up and filling it up with items
the whole face is scratched on the inside............ :'(
I will have my work cut out to get it back into shape, the outside is fine its just the inside piece
gonna do this like I used to do when I used to do tank maintenance back in my younger years
 
OP
OP
THE MAD REEFER

THE MAD REEFER

Well-Known Member
View Badges
Joined
Jun 4, 2013
Messages
643
Reaction score
1
Location
dayton ohio
Rating - 0%
0   0   0
well today is the day.......

SANDING PARTY.......for 1..... :laugh:

0405131724.jpg


I could just barely reach the bottom so lets dive into this with everything I got.......

mmspicture2h.jpg


mmspicturee.jpg


sorry for the pics being sideways
my fiancée took them without me knowing and she didn't rotate them when she sent them to me,
I tried to rotate them, worked on my computer but didn't take here???????

well here's the finished product and a close up of the same corner that was scratched to hell,
actually the whole tank was, but its fixed now

0405131924.jpg


0405131925.jpg


well it still needs a bath.........tomorrow after I get back from working on the general managers daughters car

but for now, I am off to go get my blonde naso tang for my sps tank,
so my baby emperor angle wont be alone and have someone to play nice with...... 8)
 
OP
OP
THE MAD REEFER

THE MAD REEFER

Well-Known Member
View Badges
Joined
Jun 4, 2013
Messages
643
Reaction score
1
Location
dayton ohio
Rating - 0%
0   0   0
yes I am considering a closed loop being its going to be a sps tank
so if I used the 2 wholes in the display tank as part of the closed loop I was going to make another hole in the overflow box for return to tank from sump
then I was going to put another hole in the center of the back panel toward the top for the drain to the closed loop
am I going to be ok with this????

on another not I have started building the stand, going to leave the front center brace out for more room to play under the tank and get the sump in and out as well
I am going to double the 2x6 around the front all the way around the front side, this will also give me a little more room in front of the tank so I can have about a 5"shelf their by the time im done with the stand, going to line the outside with oak or birch plywood probably going to use 3/4" front and back and 1/2" on sides

I need to level this tank, but was wondering since I use 1" blue or pink foam under my tanks for self leveling also, besides pre leveling, does this method apply to acrylic tanks as well???

here is a pic of the set up as it will be in my office, notice the 11" clearance at the top to ceiling, im cutting it close I know, but I need to have room for a 75 gallon sump


0407130959.jpg
 
OP
OP
THE MAD REEFER

THE MAD REEFER

Well-Known Member
View Badges
Joined
Jun 4, 2013
Messages
643
Reaction score
1
Location
dayton ohio
Rating - 0%
0   0   0
ok guys I know I have been slacking but my daughter has been having behavioral issues these last 18 days since she came back from her moms house so I have not been doing to much until today, we have had 2 days of no screaming or throwing a fit......ya hooooo

but anyways.........

heres a pic of my daughter after she helped me put bulkheads in the tank due to the height issue that I am having at the moment

0425131943.jpg


but now starts the pluming of the closed loop system, I have done so much research the last month or two that my brain is fried, please tell me good or bad what you think, if it may work, or whatever......lol

0501132216.jpg


0501132216a.jpg


I know that the ends are just 90 degree elbows right now I didn't pick up any threaded ends yet but this will give you the idea of what im trying to do
I will end up getting a OM4 I am sure but right now I just want to get this part figured out so I can move on to the rock walls I am going to be doing
 
OP
OP
THE MAD REEFER

THE MAD REEFER

Well-Known Member
View Badges
Joined
Jun 4, 2013
Messages
643
Reaction score
1
Location
dayton ohio
Rating - 0%
0   0   0
ok as I promised.....pics

I have about 85 lbs on the back wall alone with 2 more walls to go besides the main scaping that needs to be done
these pics are takin with the tank on its back

but I am debating on leaving the foam alone and letting it coral line up on its own or using resin and sand to give it a rock texture
any ideas guys and gals

0606132007.jpg


0606131858.jpg


now to let it sit and dry for 24 hrs and then figure if I want to cut the foam back or leave it alone.......... :-\
 
OP
OP
THE MAD REEFER

THE MAD REEFER

Well-Known Member
View Badges
Joined
Jun 4, 2013
Messages
643
Reaction score
1
Location
dayton ohio
Rating - 0%
0   0   0
tonight I started to peel and rough up the wall of foam so it don't have bubbles around the rock


as far as spraying the foam.....I have to find a 2 part epoxy resin that is water safe, wont leach chemicals into the water, brush it on and apply reef sand by hand, probably gonna have to do 2 or 3 coats to cover the foam


0608130123.jpg
 
OP
OP
THE MAD REEFER

THE MAD REEFER

Well-Known Member
View Badges
Joined
Jun 4, 2013
Messages
643
Reaction score
1
Location
dayton ohio
Rating - 0%
0   0   0
well last night I decided to get ambitious.........
I stood the tank on end on the floor and started laying out rock again

xmui.jpg


after about 4 cans of foam I decided to go to bed and let it cure overnight
this morning I woke and decided to play a bit before I went to work and start peeling excess foam
and allow the rock to start to show through
after about an hour or so I finally got most of the excess foam out of their and this was the final site before I left

ixb2.jpg


when I get home tonight from getting 2 cans of foam I will flip the tank and work on the other side
and also start getting ready to work on facing the stand it will sit on
 
OP
OP
THE MAD REEFER

THE MAD REEFER

Well-Known Member
View Badges
Joined
Jun 4, 2013
Messages
643
Reaction score
1
Location
dayton ohio
Rating - 0%
0   0   0
I think I am going to let mother nature take her coarse and allow the foam to just coral line algee to take over
............
so I will have to look at black foam between the rocks for about 6 months, but I may be able to help it along
by keeping alk, mag and cal higher for about 3-4 months as I wont have anything in tank for a bit to allow it to cycle totally before adding corals
 

tangboy

Well-Known Member
View Badges
Joined
Aug 11, 2007
Messages
570
Reaction score
42
Rating - 0%
0   0   0
Interesting take on a build... Looks awesome. I'm not sure about the foam thing... Never heard of it before.
 

Mrfresh

Valuable Member
View Badges
Joined
Mar 6, 2013
Messages
1,084
Reaction score
6
Location
Sd Cali
Rating - 0%
0   0   0
I've seen people poor sand on it while the it was still wet....
It's not my thing but nicely done
Hope u like it. I heard its a pain to remove.
 
OP
OP
THE MAD REEFER

THE MAD REEFER

Well-Known Member
View Badges
Joined
Jun 4, 2013
Messages
643
Reaction score
1
Location
dayton ohio
Rating - 0%
0   0   0
last night I went and rescued this pair of tangs


esnx.jpg


the orange shoulder is about 2", not including the tail,
now they reside in a 15 gallon bare quarantine tank for at least a month
 
OP
OP
THE MAD REEFER

THE MAD REEFER

Well-Known Member
View Badges
Joined
Jun 4, 2013
Messages
643
Reaction score
1
Location
dayton ohio
Rating - 0%
0   0   0
well this has been a good working weekend for the reef tank build

I decided to go out and buy the board to cover the exterior and flush mount the doors

xbcj.jpg


started to paint the interior of the tank so it wont soak up the salt water moisture

xaia.jpg


today I got my son to come over and also with a little help from my step daughter boyfriend, the 3 of us man handled the tank back onto the stand
so heres a pic of what it is starting to look like
I still have to go big rock hunting for a few center pieces so I can give the fish something to swim around and mount corals to
sounds like a road trip to reef systems in Columbus is in my near future

ra77.jpg


also picked up a extra 90 gallon tank, for the misses when she outgrows the 75, or maybe sooner....lol
picked up a mag 12 for the return coming from the sump
picked up a panworld 100 px-x for the closed loop
and a bunch of pluming parts for the monster
 
OP
OP
THE MAD REEFER

THE MAD REEFER

Well-Known Member
View Badges
Joined
Jun 4, 2013
Messages
643
Reaction score
1
Location
dayton ohio
Rating - 0%
0   0   0
I am looking for a good canister type filter to install before my closed loop pump, any suggestions??????
 

Just grow it: Have you ever added CO2 to your reef tank?

  • I currently use a CO2 with my reef tank.

    Votes: 2 4.9%
  • I don’t currently use CO2 with my reef tank, but I have in the past.

    Votes: 1 2.4%
  • I have never used CO2 with my reef tank, but I plan to in the future.

    Votes: 2 4.9%
  • I have never used CO2 with my reef tank and have no plans to in the future.

    Votes: 33 80.5%
  • Other.

    Votes: 3 7.3%
Back
Top