Jr'sReef 400 gallon tank

Jr'sReef

Active Member
View Badges
Joined
Jan 20, 2018
Messages
432
Reaction score
394
Rating - 0%
0   0   0
Good day R2R'rs figured I'd show my work in progress and see if anyone has ideas or comments as I keep working on it.
A little background, i started in the hobby with a 10 gallon and a "nemo" 10years ago. Fast forward 4 years later and I acquired a 55 and used the 10 as a fuge. At the time, I was reefing on a budget and used the "Berlin Method" after extensive research I jumped in and the system is still running strong. No skimmer, no uv, no reactors, no scrubbers, etc. the only thing it has is a filter Sock and occasional carbon bag too clear up the water. I did start using purigen in the tank recently. However the tank is loaded with live rock and my first attempt of a faux rock wall using great stuff which turned out better than I expected. It still holding up perfectly.
IMG_8187.JPG
IMG_8191.jpg


About 8 months ago I was searching the app "offer up" and found a 400gallon tank for free. I couldn't believe it soooo I went to check it out and sure enough, perfect tank but I had to take it that day as the owner was moving and the next day it would belong to the new owner of the house.
Heaviest tank I've ever carried lol, we needed 7 guys. It's a glass tank!
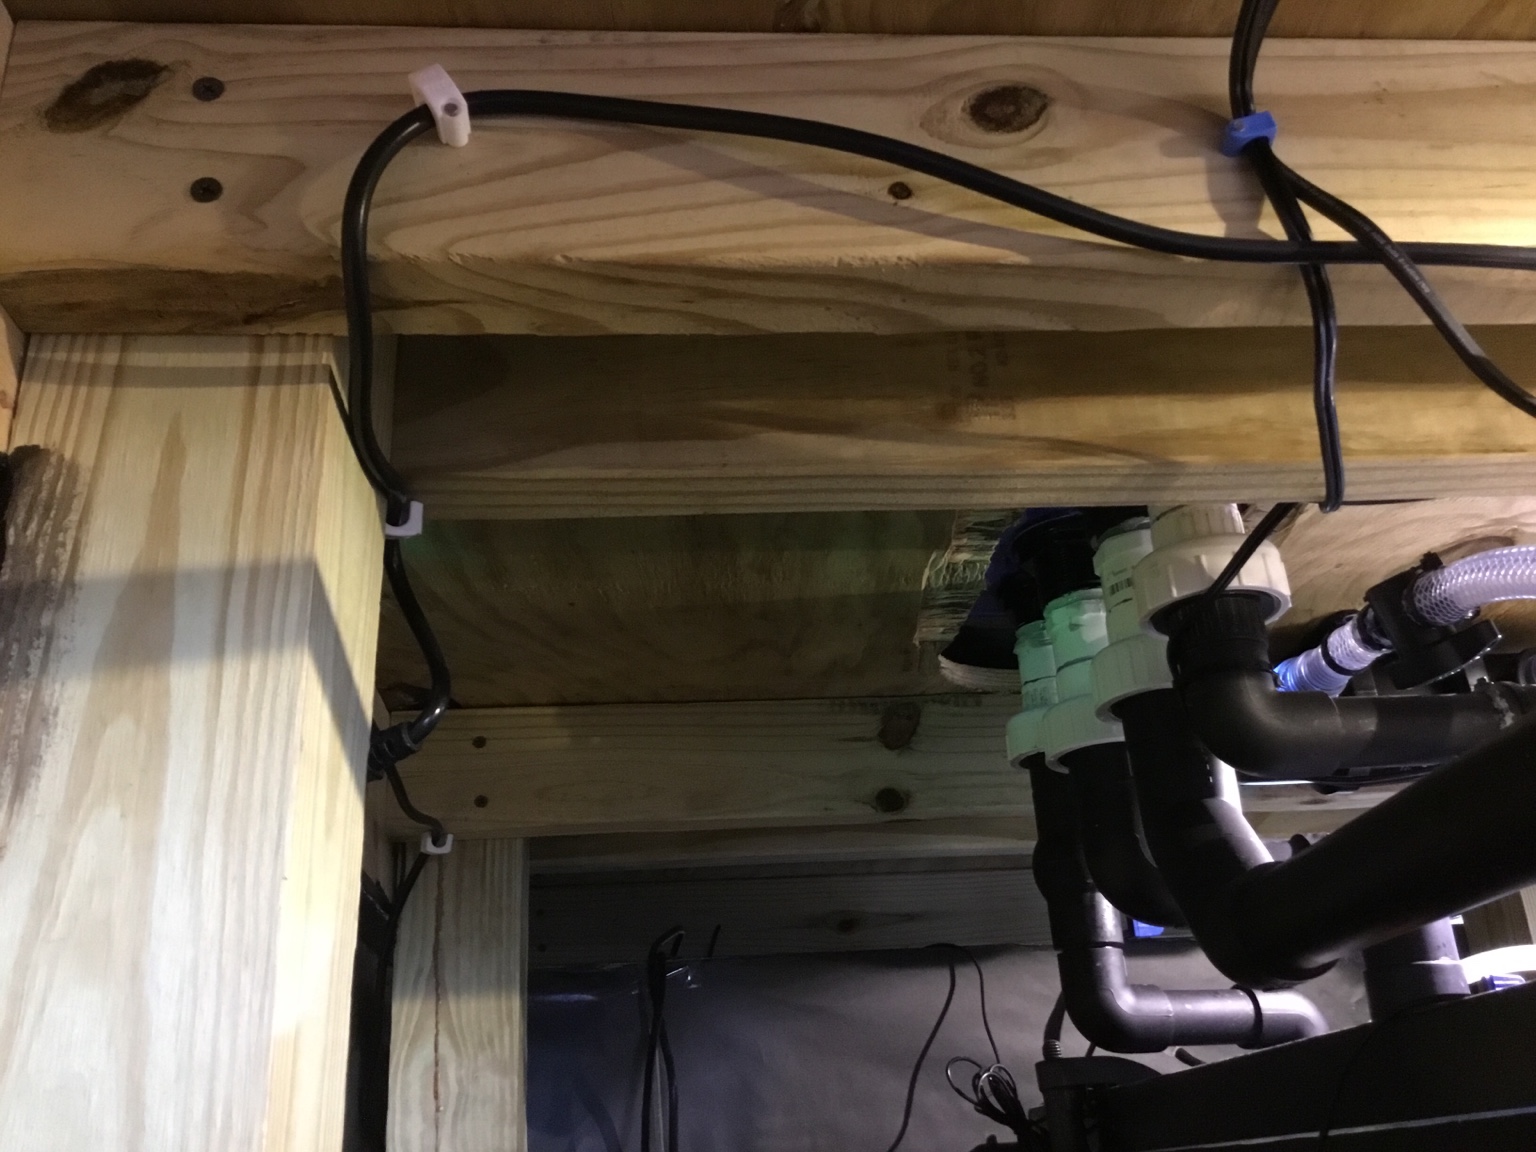
Got it into my house and took a while to gather info and ideas
IMG_8192.JPG

IMG_8194.jpg

It has a center overflow which to me is pretty ugly so I started thinking of ways to hide it. Naturally, already having done a faux wall with foam it clicked and started working on it.
IMG_8195.JPG

IMG_8234.JPG

IMG_8235.JPG


I then figured I'd do the whole back of the tank since I was already in the process. This time tho, I wanted to create more caves, tunnels, in case I ever get an eel and paint it a color that would look more like a reef instead of a lagoon like my 55.

IMG_8389.JPG

IMG_8388.JPG

IMG_8385.JPG
IMG_8391.JPG
IMG_8394.JPG
 
OP
OP
Jr'sReef

Jr'sReef

Active Member
View Badges
Joined
Jan 20, 2018
Messages
432
Reaction score
394
Rating - 0%
0   0   0
It all started to come together, I wish I would have left some spot open to mount some wave makers on the rear of the tank blended in with the faux rock but that will be for my next build lol [emoji85]
IMG_8383.JPG
IMG_8384.JPG


After installing the over flow faux rock I started the back wall. Since the foam has rock integrated into it with the foam I needed a few extra hands to help me carry it soooo it wouldn't snap from the weight. But slowly got her into place and used silicone 100% to hold it in place. (If not it will want to float regardless of the rock built into it)
IMG_8398.JPG
IMG_8396.JPG
IMG_8395.JPG


Next was sand, I used sand locally since I live in Miami. Cleaned it rigorously for 2 weeks as I used bleach and the vinegar process then let it sit in prime and ro/di for a few days. Probably overkill.
Gathered rock locally too (not from the ocean) this is limestone base rock and put it through the same process.
IMG_8862.JPG


Then I added the water which was not the easiest to do when you need 400 gallons. I decided to make my own water station. I bought a BRS 75gpd with the water saver feature 150gpd ro/di 3 stage. Bought two 55 gallon plastic barrels and plumbed it all up, hid it under a wood box I built and stained.
IMG_9203.JPG
IMG_9201.JPG

4 days later, the tank is full and salt is added to begin the cycle.
The water station will be one salt and one as RO/DI water.

I installed the over flow using a modified bean animal. Plumbed to a jeabo dcp-10000 that goes to the DT up a pipe to a T then T again for a total of four return jets. Two are flared nozzles and two random flow generators by vivid creations.

IMG_9208.jpg
IMG_9209.jpg


I wanted a fuge but felt I need more space for filters etc so I went with a 55 sump and a 60gal for the ATO. In the sump I added a 7" filter Sock to catch the bigger stuff, then planned a skimmer, to a diy bubble trap made from two large foam filter blocks, then to a small section that will contain LR, then back to the pump to be pumped to the DT.
Fast forward two months, was thanksgiving break and I jumped on a bunch of deals. I bought a vertex omega 180i skimmer, a tunze osmolator ato, a TLF kalk Reactor 300, BRS dual Reactor gfo/gac, some Salifert tests, a jebao 18w UV light( turned on 1/20/18), salinity refractometer and some other non important essentials.

Here's the sump pics (taken today 1/25/18)
IMG_9211.JPG

IMG_9210.JPG
IMG_9213.JPG
IMG_9216.JPG
IMG_9214.JPG
IMG_9212.JPG
 
Last edited:

revhtree

Owner Administrator
View Badges
Joined
May 8, 2006
Messages
47,837
Reaction score
87,709
Rating - 100%
1   0   0
Very cool!
 

S-t-r-e-t-c-h

Well-Known Member
View Badges
Joined
Aug 28, 2017
Messages
791
Reaction score
1,905
Location
Gainesville, FL
Rating - 0%
0   0   0
Wow, great find! Looks like the start of a great tank!

Hate to say it though, but that stand makes me nervous. It should hold vertically, but it doesn't look like it has a ton of side to side support, so the concern would be that it could twist. Looks like only a handful of wood screws to keep that from happening.

Hopefully someone will chime in and tell me I'm wrong... :eek:
 
OP
OP
Jr'sReef

Jr'sReef

Active Member
View Badges
Joined
Jan 20, 2018
Messages
432
Reaction score
394
Rating - 0%
0   0   0
After the tank cycled I added hermits and snails turbos & margaritas. Weeks later I added 7 chromis, only 4 made it, two disappeared day 2 and one jumped weeks later when I added 4 clowns. Then I added a coral beauty and a sail fin tang and two yellow head jaw fish

IMG_8859.JPG
IMG_0030.JPG
IMG_0045.JPG
IMG_0020.JPG


For lights I added 5 dsuny LED's ( I know they aren't the best lights, but this tank is getting costly lol. For now they will do. They look great btw and are wifi which is another great feature.
I couldn't find a cabinet guy to make me a fish canopy or stand soooo I took that project myself. Built the canopy out of 3/4" birch ply I believe it was, stained it cherry black as well as the trim. Everything from Home Depot which made the build a easier.
I wanted the canopy to give me full access to the entire tank. Being so big I wanted to be able to get my head and shoulders I to it if I had an emergency or what not.
Here's what I made. Not the best but proud of it lol
IMG_9170.JPG

IMG_9220.JPG

IMG_9219.JPG
IMG_9222.JPG


Now I'm stuck with how to build the bottom cabinets. I was thinking instead of doors, just having the whole piece come off, maybe magnets? Ideas...

Soooo this is my tank, any ideas, recommendations, what would you do or put in it? Let me hear it, as this tank is still young and I do things to it almost daily
 
OP
OP
Jr'sReef

Jr'sReef

Active Member
View Badges
Joined
Jan 20, 2018
Messages
432
Reaction score
394
Rating - 0%
0   0   0
The tank stand vertical pillars using 4x4's 8 total, braced by 2x6 on the top and bottom. Then it has a 3/4" ply wood top and bottom. The top sandwiching each 4x4 using 2x4's as "trusses"
it held up for the previous owner hope it's not an issue.

c5e943f11ecd55d001cac34a9d6b4943.jpg
 
OP
OP
Jr'sReef

Jr'sReef

Active Member
View Badges
Joined
Jan 20, 2018
Messages
432
Reaction score
394
Rating - 0%
0   0   0
Tank update. It’s been 8 months since I’ve updated this thread and the tank mates and corals are doing well. I have added a few things to the canopy. Added three 4ft T5HO dual bulb fixtures. More for the color aspect than anything so I cheated out and bought them at Home Depot for like 30$ each. Wired them up to a WiFi timer hooked up to my IPad. 4 coral plus bulbs for mid day lighting and 2 actinic bulbs for sunrise and sunsets for color pop.

IMG_1435.JPG


The Dsuny LED lights still kicking, although I have had to replace the power cords on all 5 so far. They seem to overheat and fail. Although the replacements ( provided by warranty by SunFo) Seem to be upgraded versions and have been flawless so far knock on wood.

I have added a Jebao CP 150 crossflow pump, absolutely love it and easy to clean.

Thinking of adding a cryptic zone, using a 30gallon slim trash can, filling with rock, pods and then covering it with the lid. Putting bulk heads, and hooking it up to a pump in the sump/fuge. Just to have a pod sanctuary’s well as benefit from all the filter feeders and sponges from it. Please chime in your thoughts on this.

Here are some updated pics of the tank.
IMG_1431.JPG
IMG_1432.JPG
IMG_1433.JPG
IMG_1434.JPG
IMG_1436.JPG
IMG_1437.JPG
IMG_1417.JPG
IMG_1420.JPG
IMG_1421.JPG
IMG_1426.JPG
IMG_1428.JPG
IMG_1429.JPG
IMG_1422.JPG
IMG_1418.JPG
IMG_1442.JPG
 

Crabs McJones

I'm so shi-nay
View Badges
Joined
Jul 24, 2017
Messages
27,298
Reaction score
138,270
Location
Wisconsin
Rating - 0%
0   0   0
Very great setup! Following along :D
 

PJfish

New Member
View Badges
Joined
Jul 4, 2018
Messages
1
Reaction score
0
Location
Marin County Ca
Rating - 0%
0   0   0
Great tank..Can you give a bit more info on the faux wall as in what brand foam and length of cure time also if it was a magnet for algea....Thinking about that idea on a 220 build
THANKS
 

Looking for the spotlight: Do your fish notice the lighting in your reef tank?

  • My fish seem to regularly respond to the lighting in my reef tank.

    Votes: 104 75.9%
  • My fish seem to occasionally respond to the lighting in my tank.

    Votes: 15 10.9%
  • My fish seem to rarely respond to the lighting in my tank.

    Votes: 8 5.8%
  • My fish seem to never respond to the lighting in my tank.

    Votes: 3 2.2%
  • I don’t pay enough attention to my fish to notice if they respond to the lighting.

    Votes: 3 2.2%
  • I don’t have any fish in my tank.

    Votes: 2 1.5%
  • Other.

    Votes: 2 1.5%
Back
Top