Started a thread back in 2015 at nano-reef.
Converted the 20 Gallon to a 110 July 4, 2019. But see below for 20 Gallon Long setup, and later for 110 Updates.

See the 20 Gallon Long Rimless Build below. Feel free to follow along. I keep this thread up to date with new tank updates and equipment. Feel free to chime in, ask any questions, etc.
Got Wet, May 11, 2015.
THE BUILD:
I finally decided to start my 20 gallon rimless build.
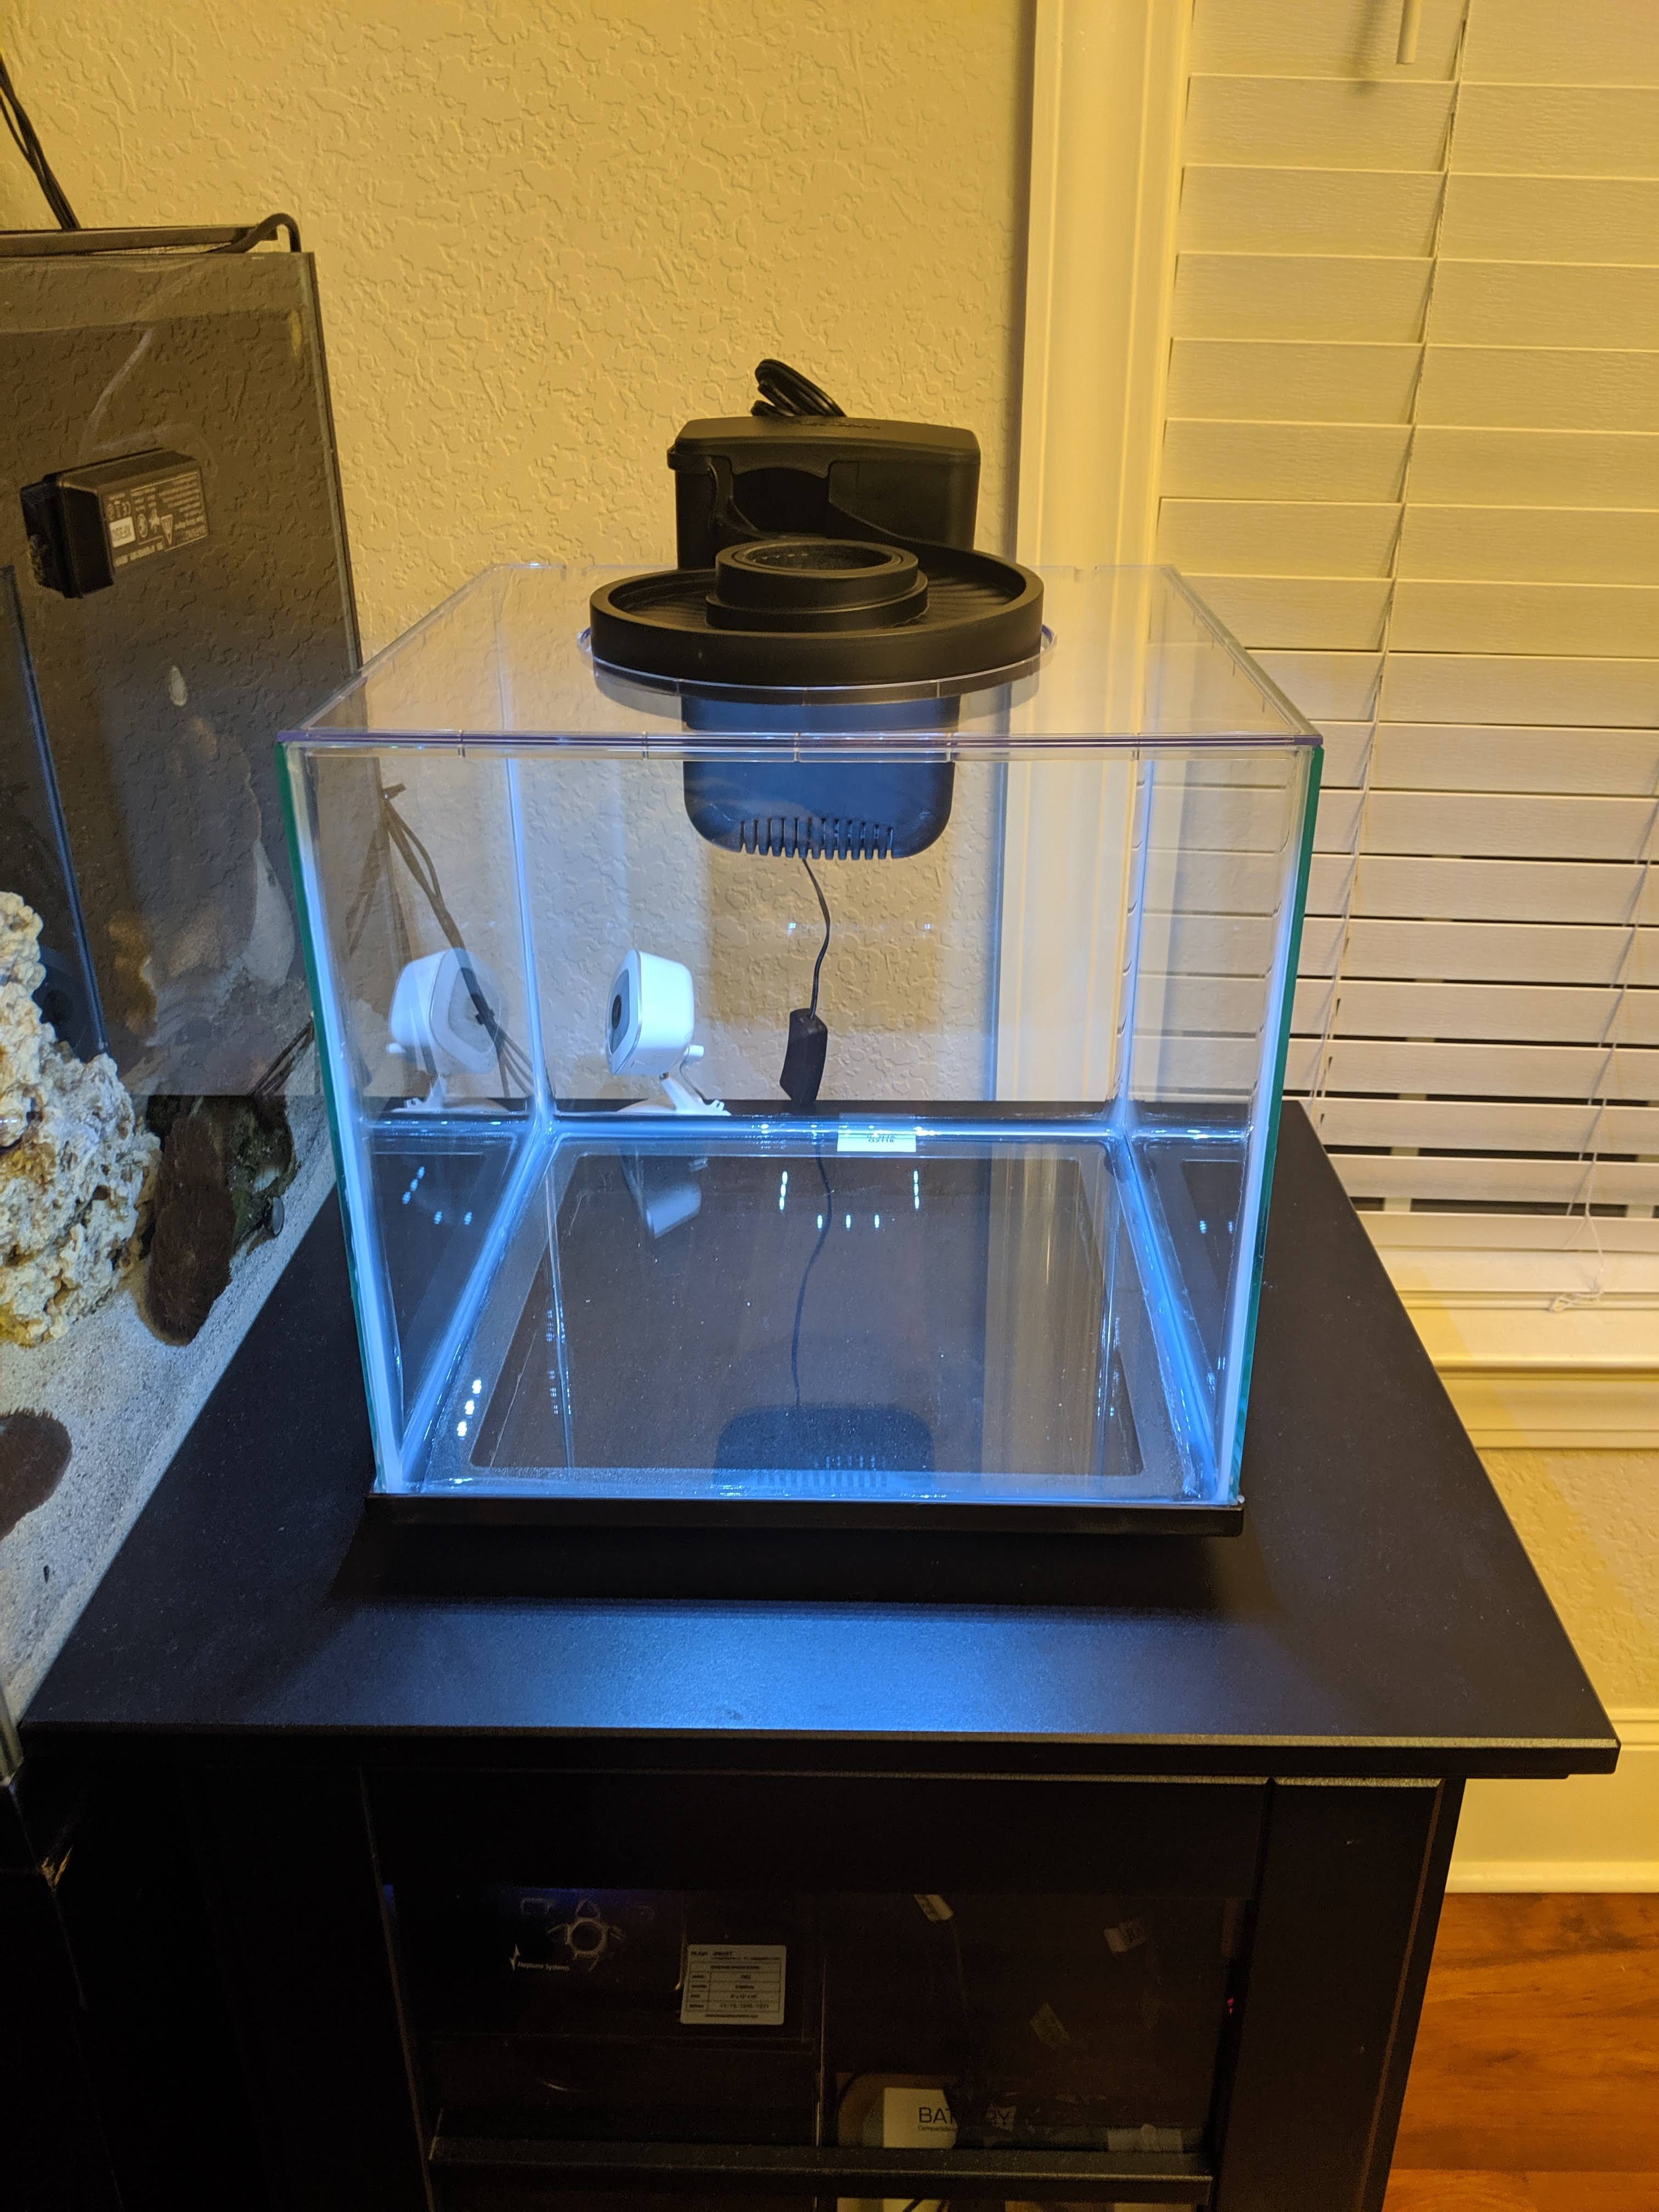
I started with a AIO 12 gallon reef. Which I moved all the below over to the new 20.
- Mp10W Vortech
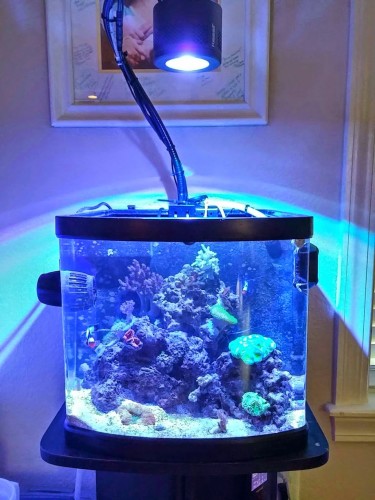
- A360W Kessil with controller
-ATO
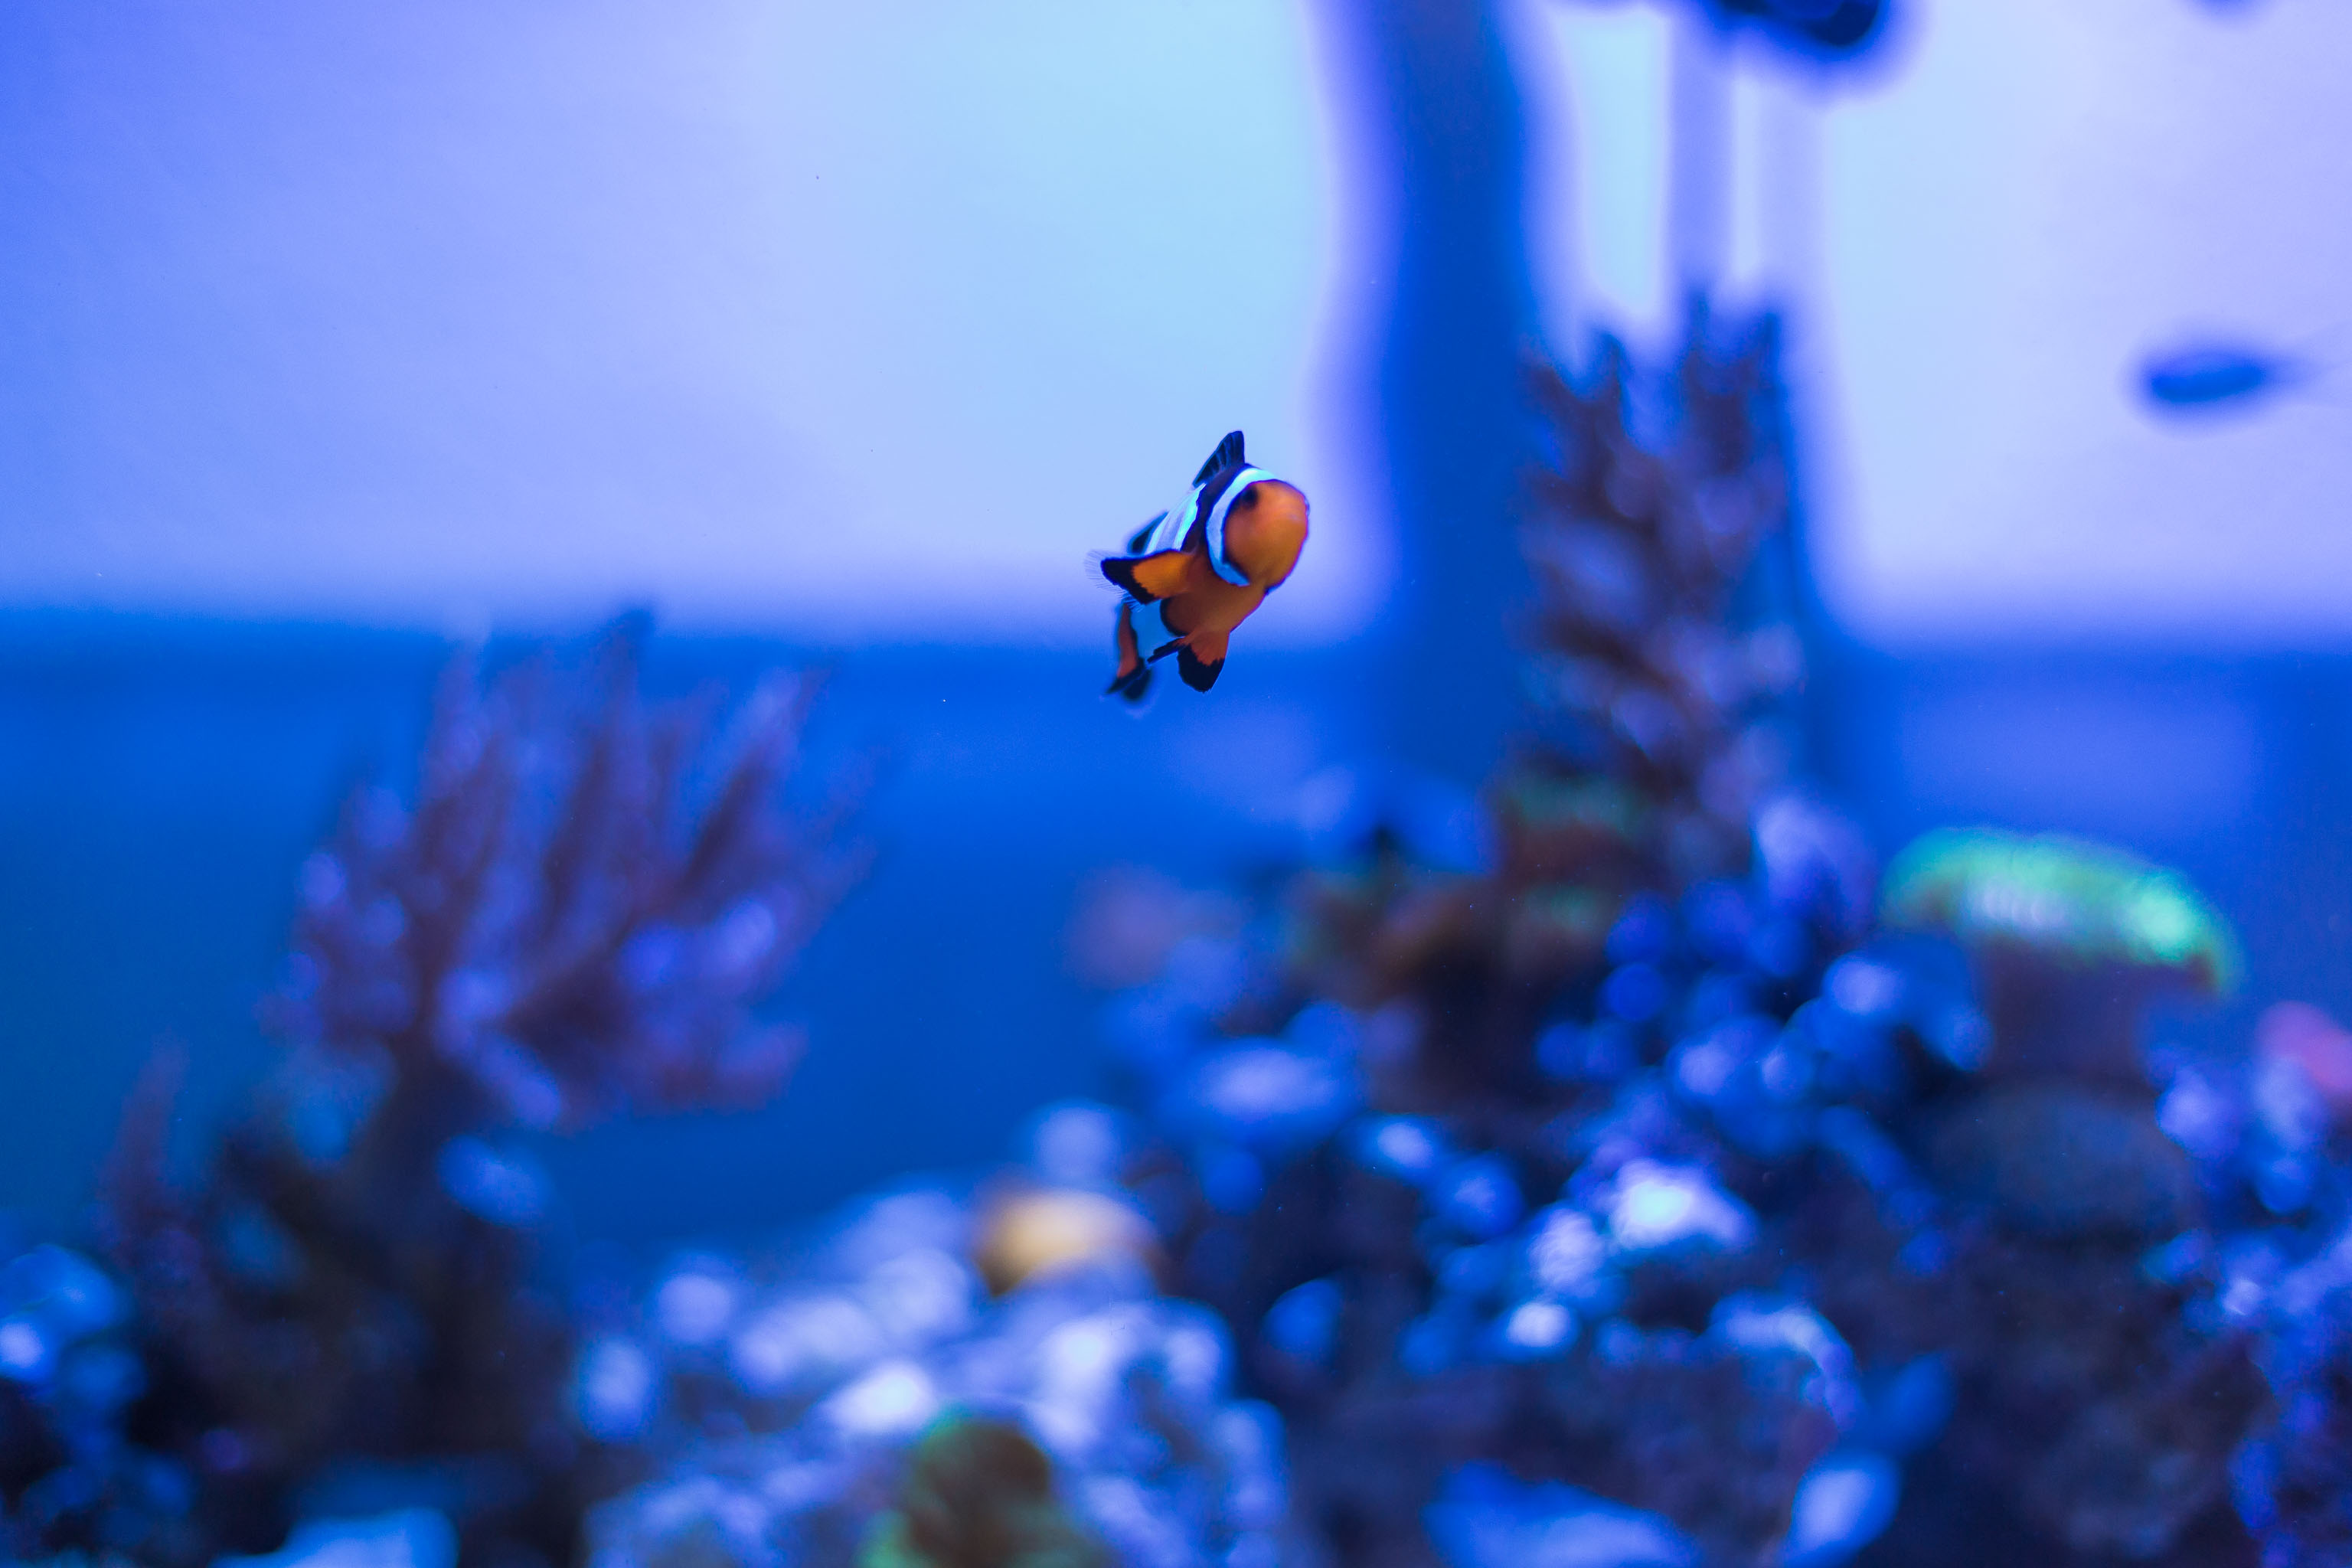
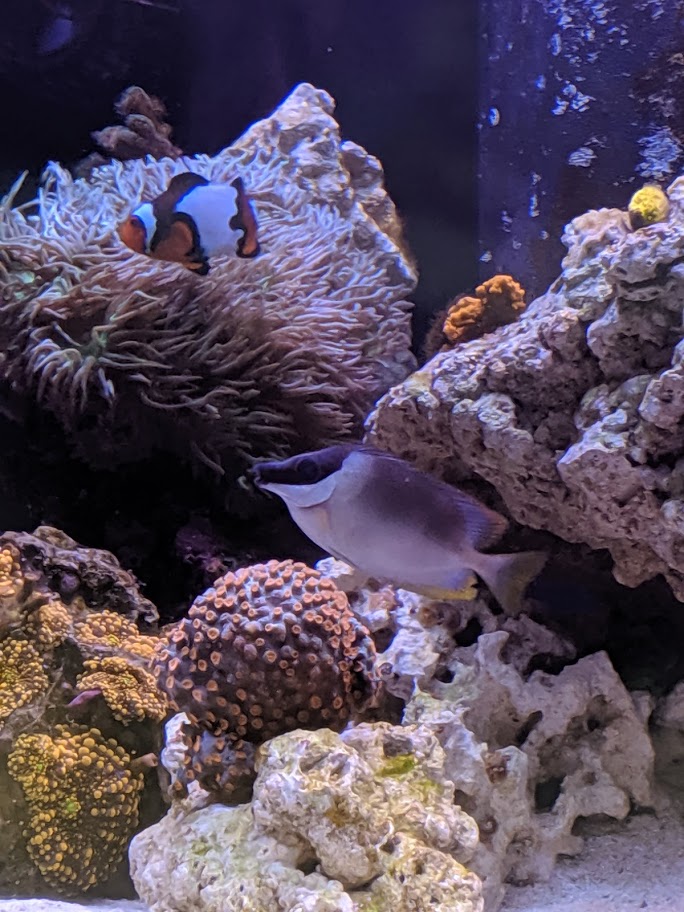
- Two Snowflake clowns (male and female) Yellow Watchman/Pistol Pair
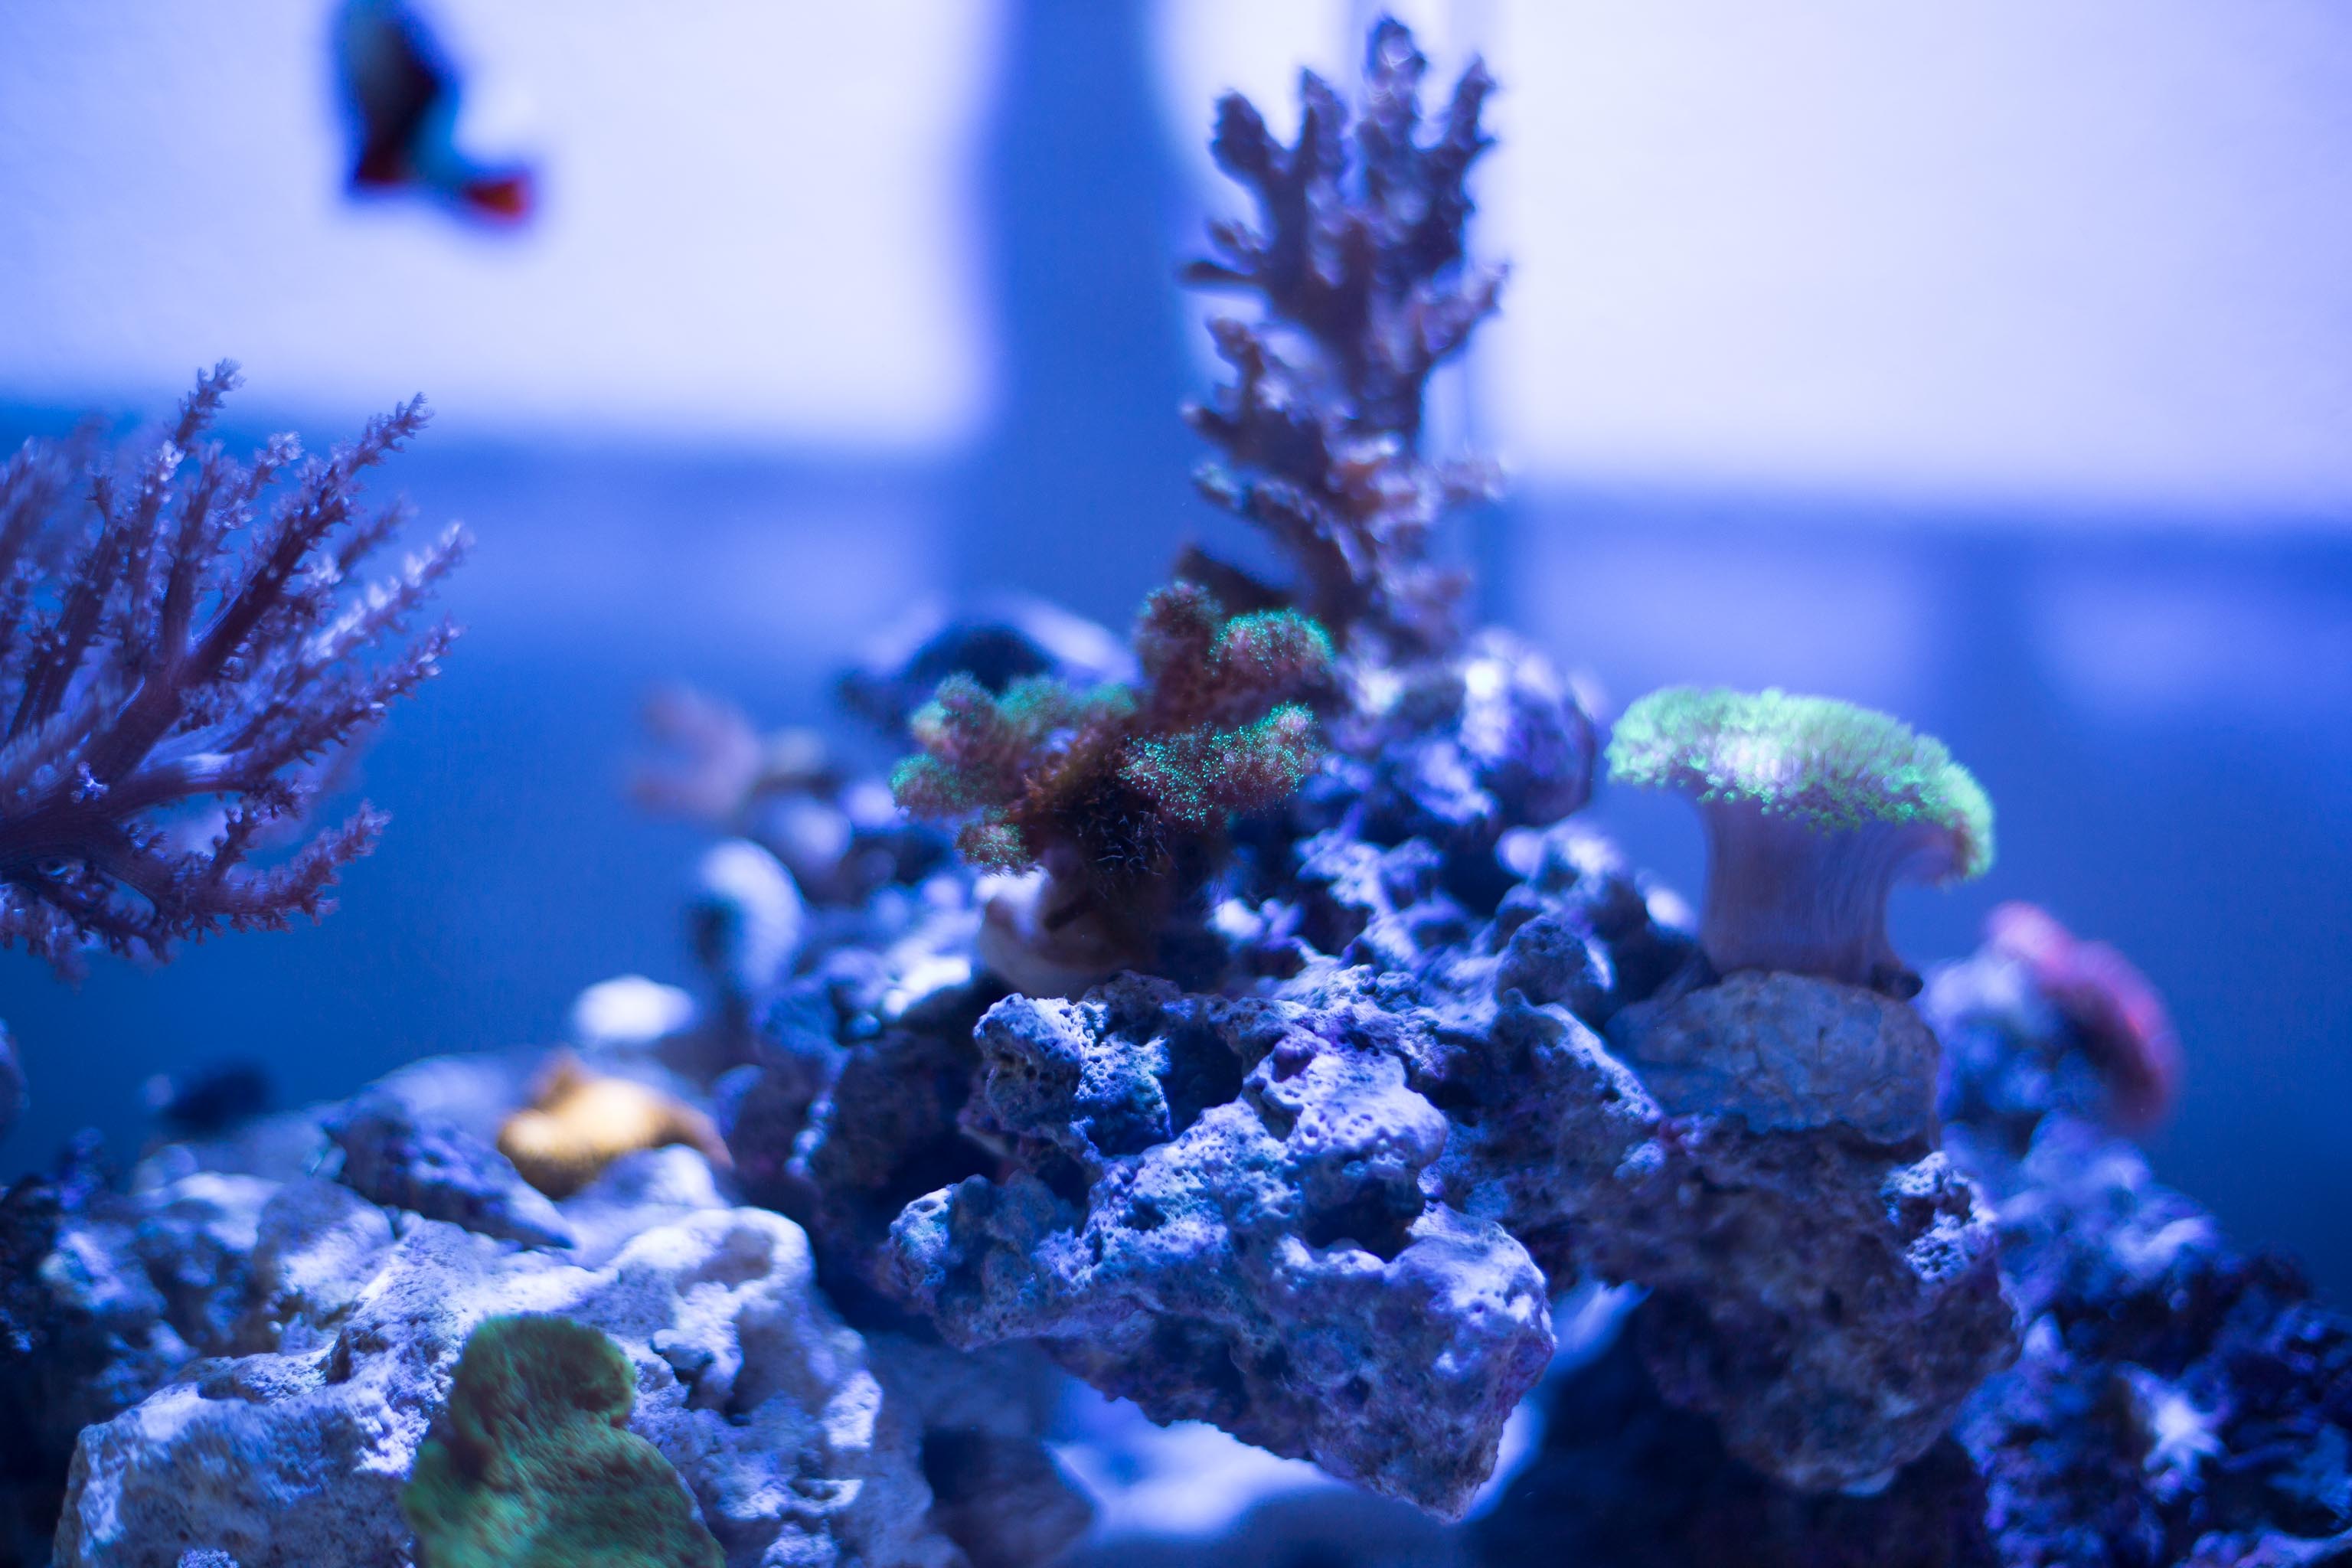
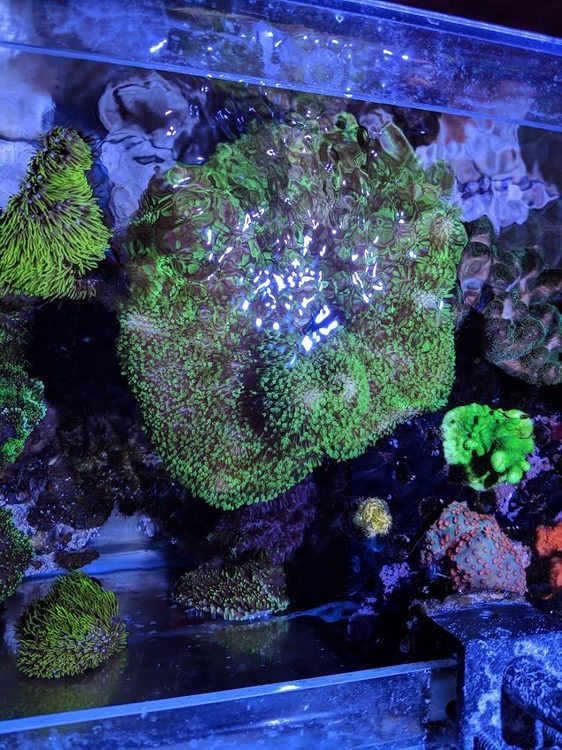
-Various LPS and SPS
Here I will keep updates on how things are going, purchases, DIY, etc. With the help of one of my closest friends, this tank has so far had great progress and been a very smooth build. So here we go...
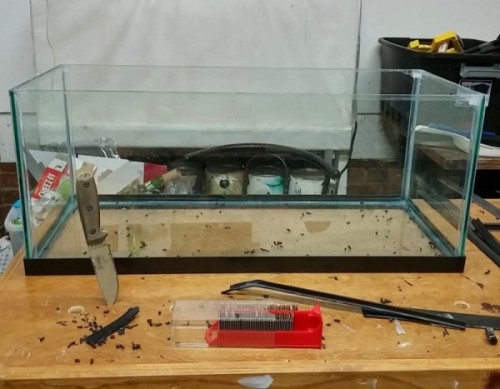
We will start with a Marineland 20 gallon long tank I bought at Petco during their $ 1-gallon sale - (forgot to take pictures.)

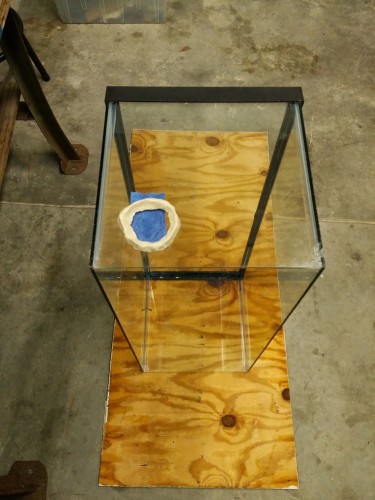
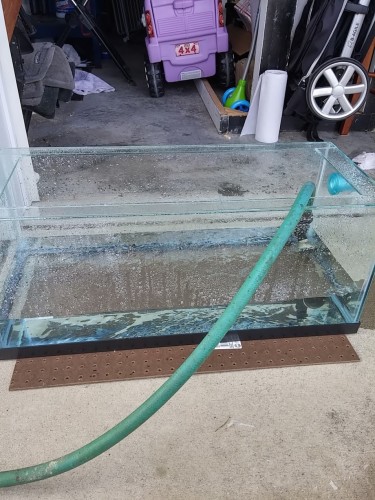
Next we started by shaving the top rim until we could take it off and shave off all silicone left by the rim -
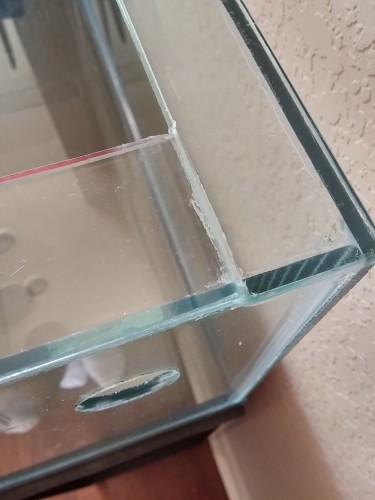
Next was the hardest part by far, drilling a 3/4" overflow and a 1/2" return.
After the holes were drilled
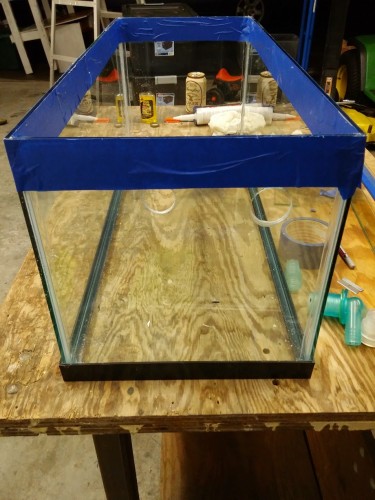
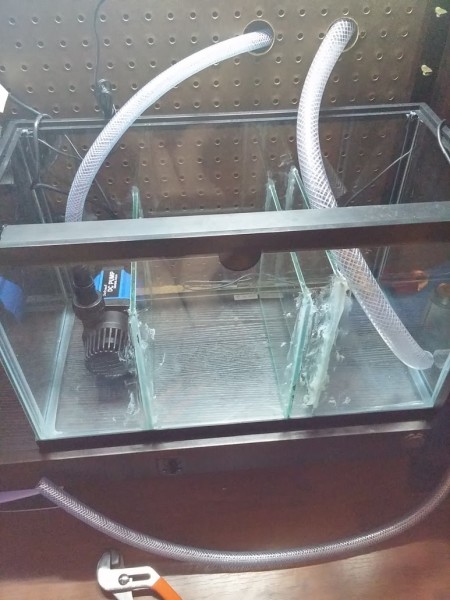
") now was taping the edges to silicone the custom glass pieces that were cut to create a euro-brace for some extra support.
now was taping the edges to silicone the custom glass pieces that were cut to create a euro-brace for some extra support.
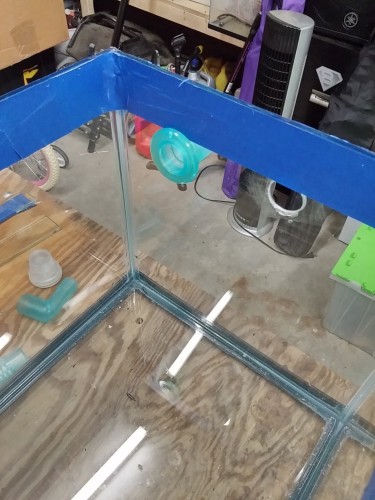
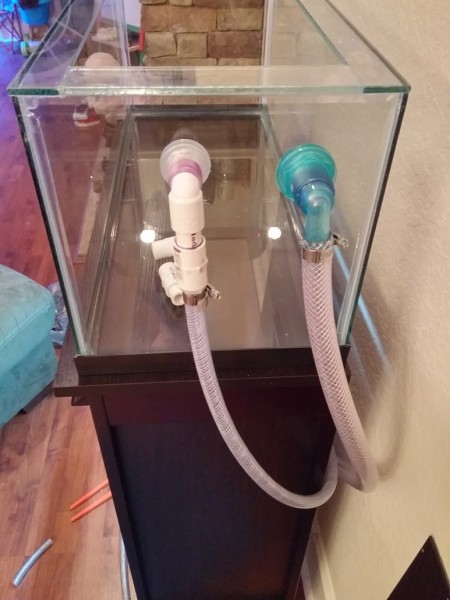
Closer look at the edge, and a look at the clear(blue) bulkheads that will be used.
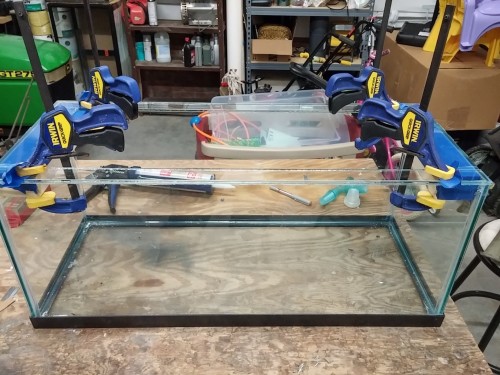
Now, wait for the silicone to dry for a few days or so, before performing a water test. In the meantime, stand time!
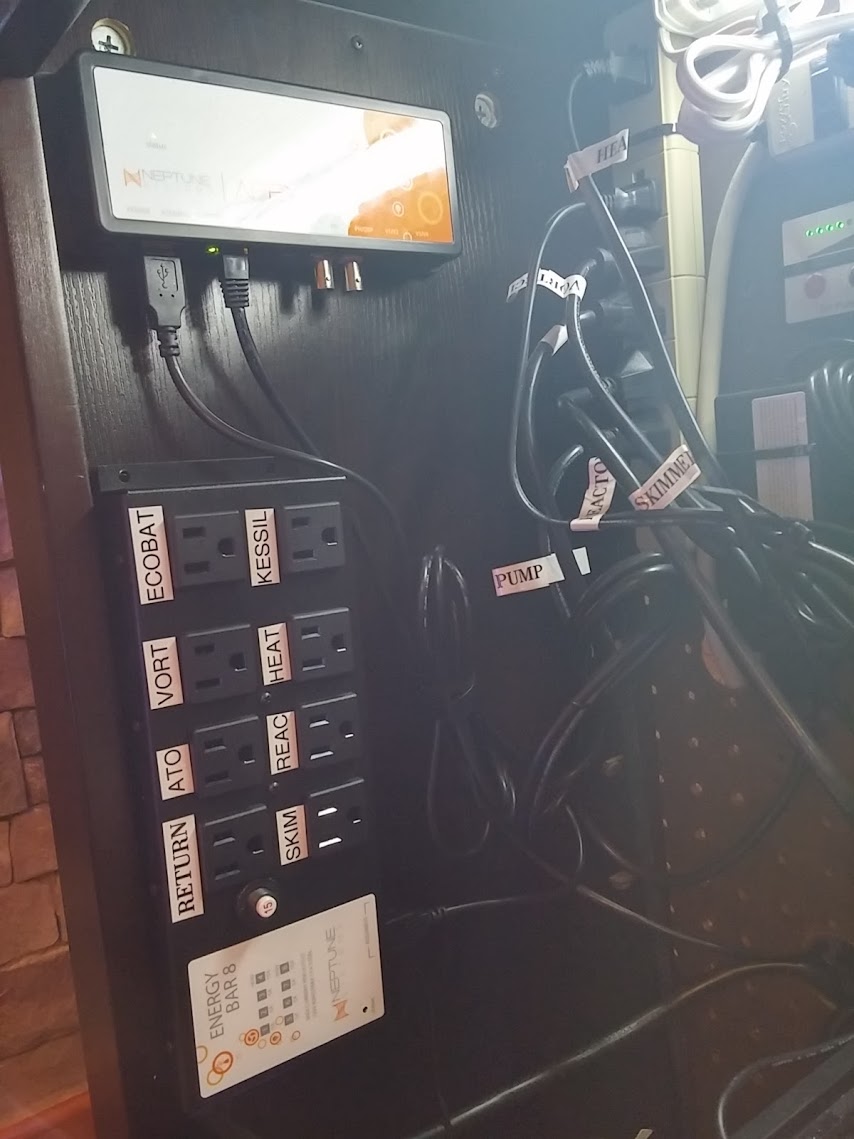
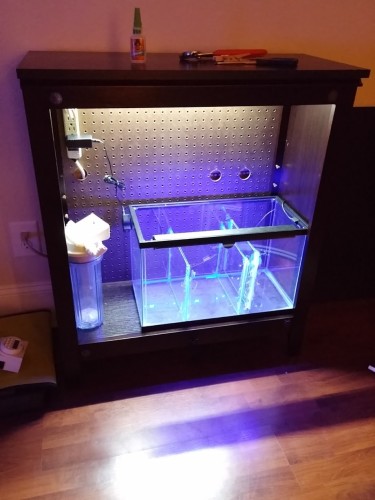
The stand that will be used is actually a bookcase that I purchased. It had a backer on it that I used for the door in which I attached magnets too, to snap in place when not inside the stand. As for the back I purchased and had cut at lowes a piece of pegboard. I did this so, inside the stand, I can hang stuff as well as keep everything nicely organized.
The Sump I created a while back prior to getting the tank. The sump seen is a 10gallon with three baffles in place. Sump lighting is an out/in water led with white and actinic lighting. I also will be running a BRS gfo/carbon reactor.
I am still debating on what pump to get. Looking between a DC Jaebo or an eheim for the return. For a skimmer, I plan to purchase the SCA-301. But still needing to get some more plumbing parts before ordering, so not in a rush.
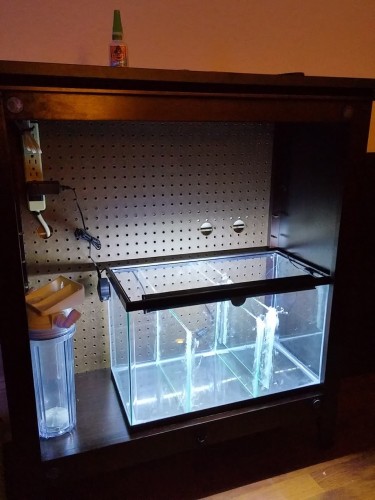
Next I added some in stand lighting for when I need to clean inside the stand or work on changing stuff out etc.
Now that the silicone has dried, now clean up of all extra silicone that I can cut away and that would not be needed as well as a pre-test rinse.
Pump and plumbing

May 10, 2015
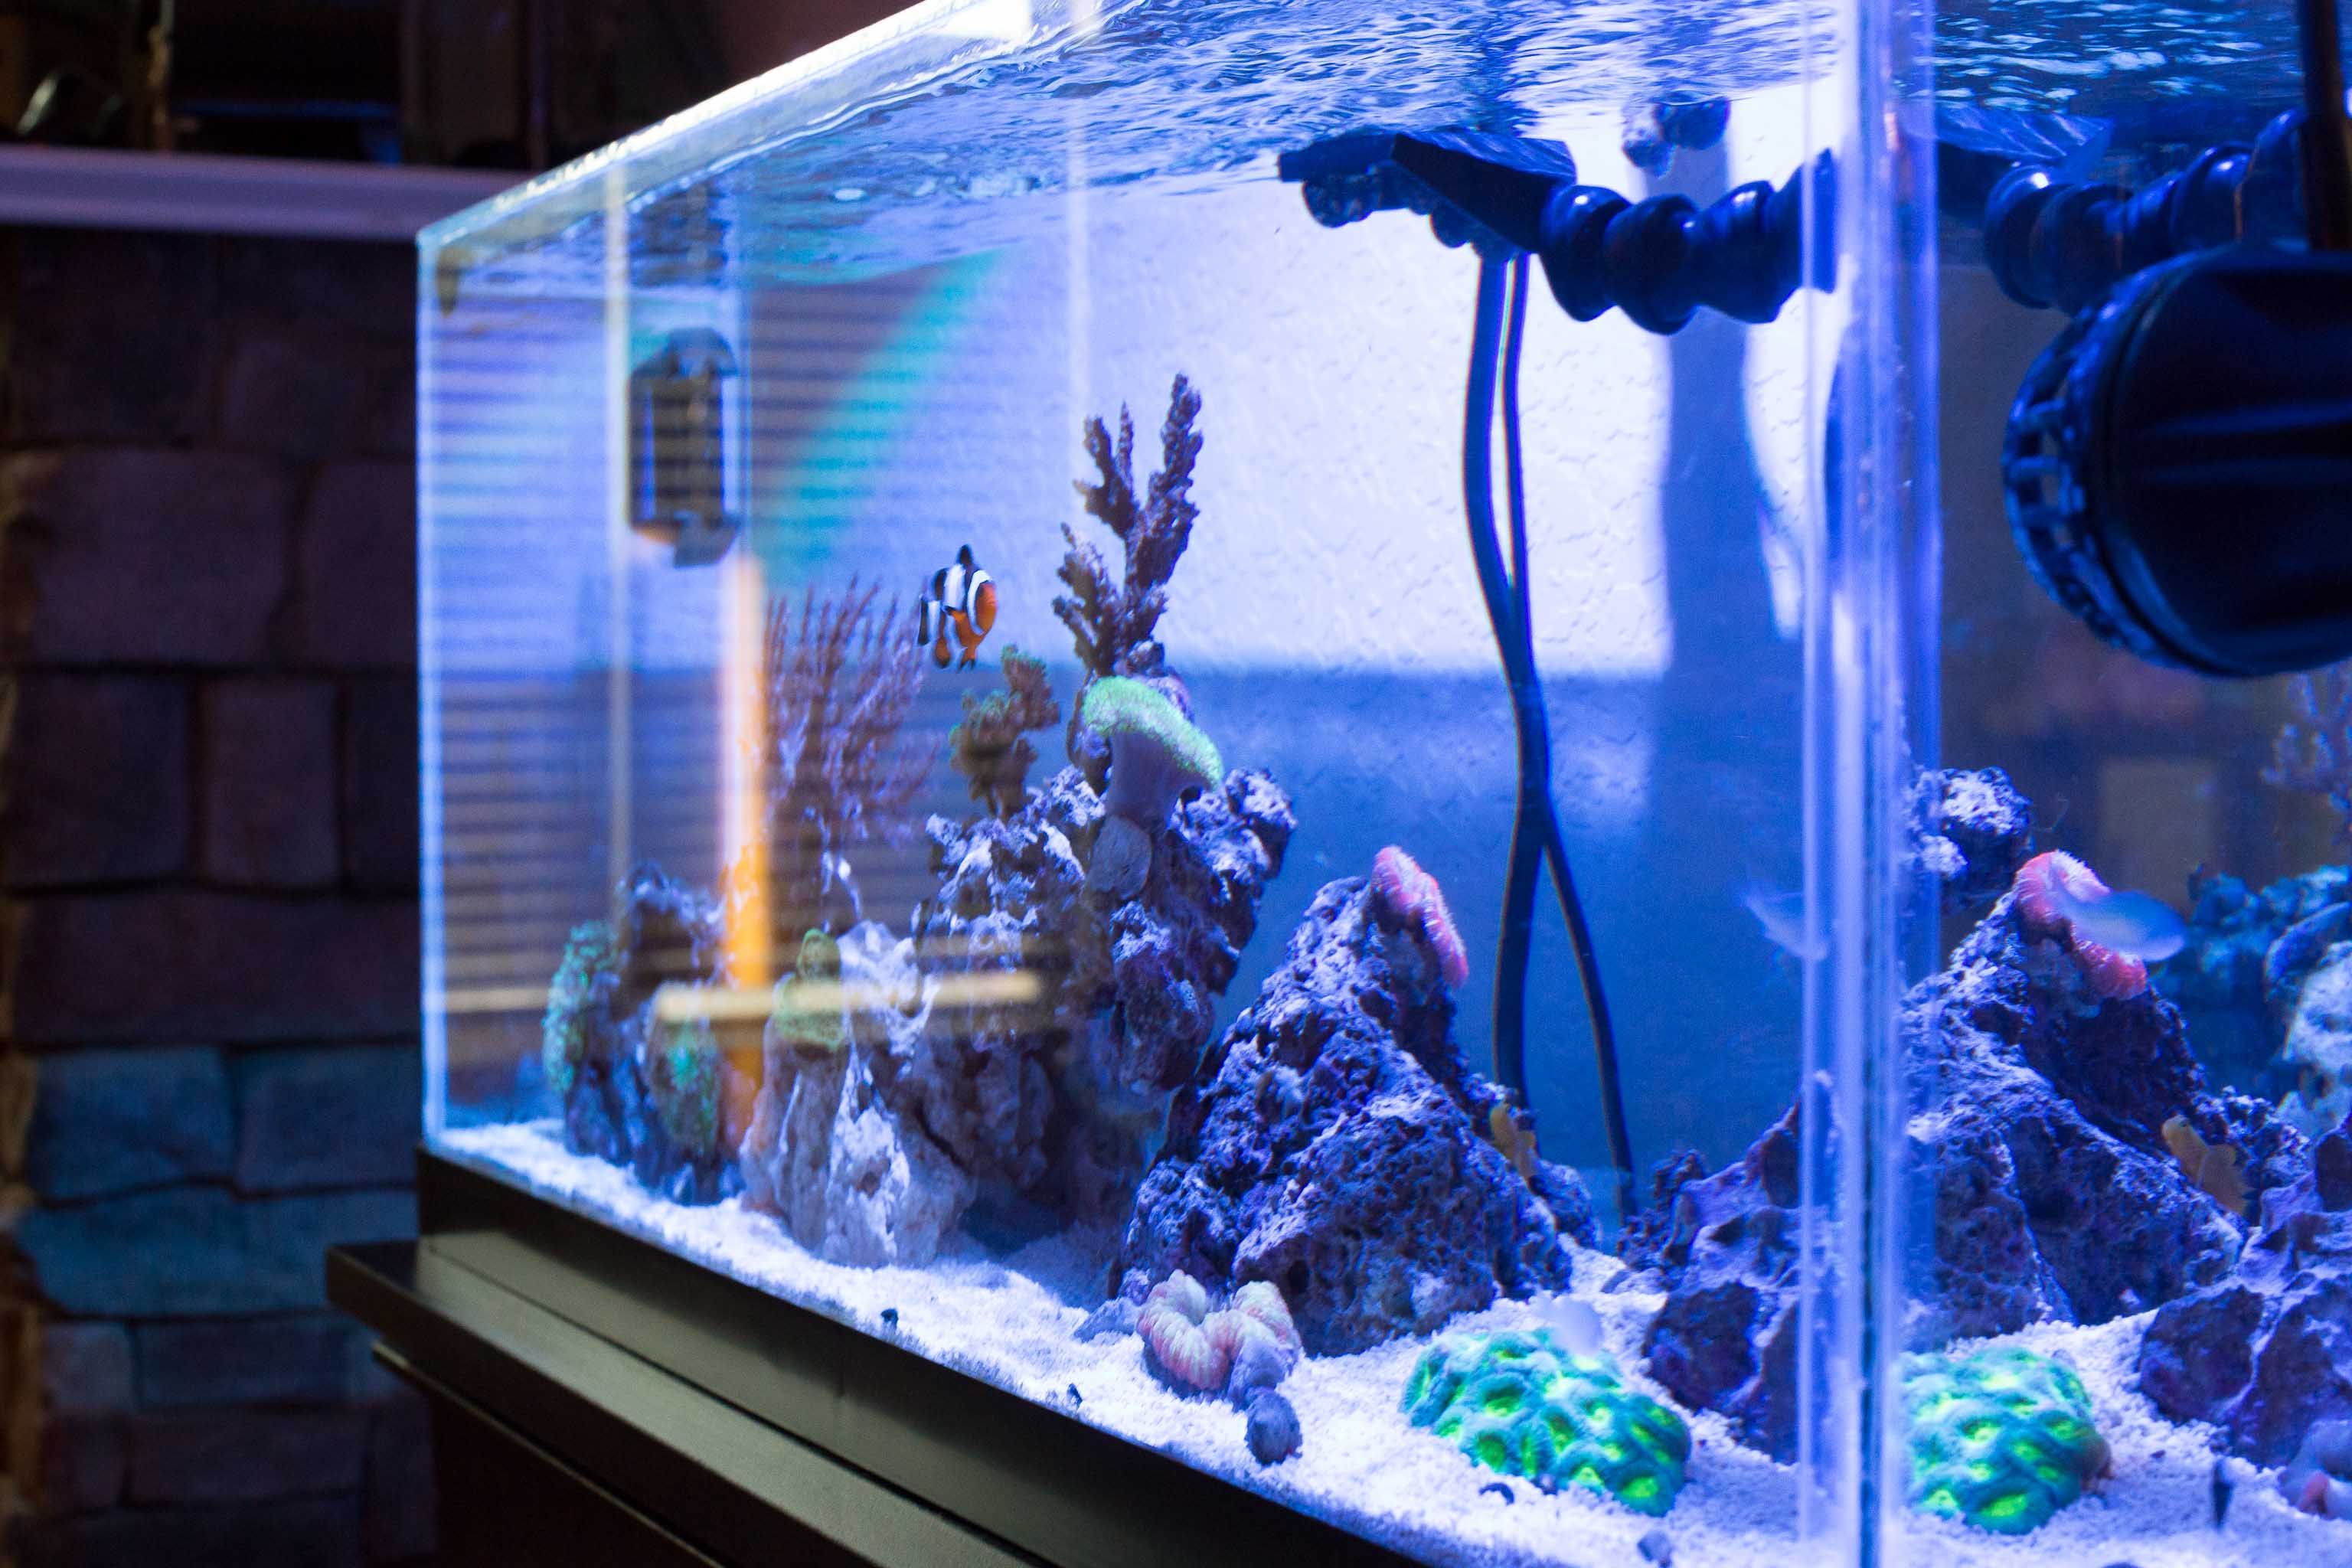
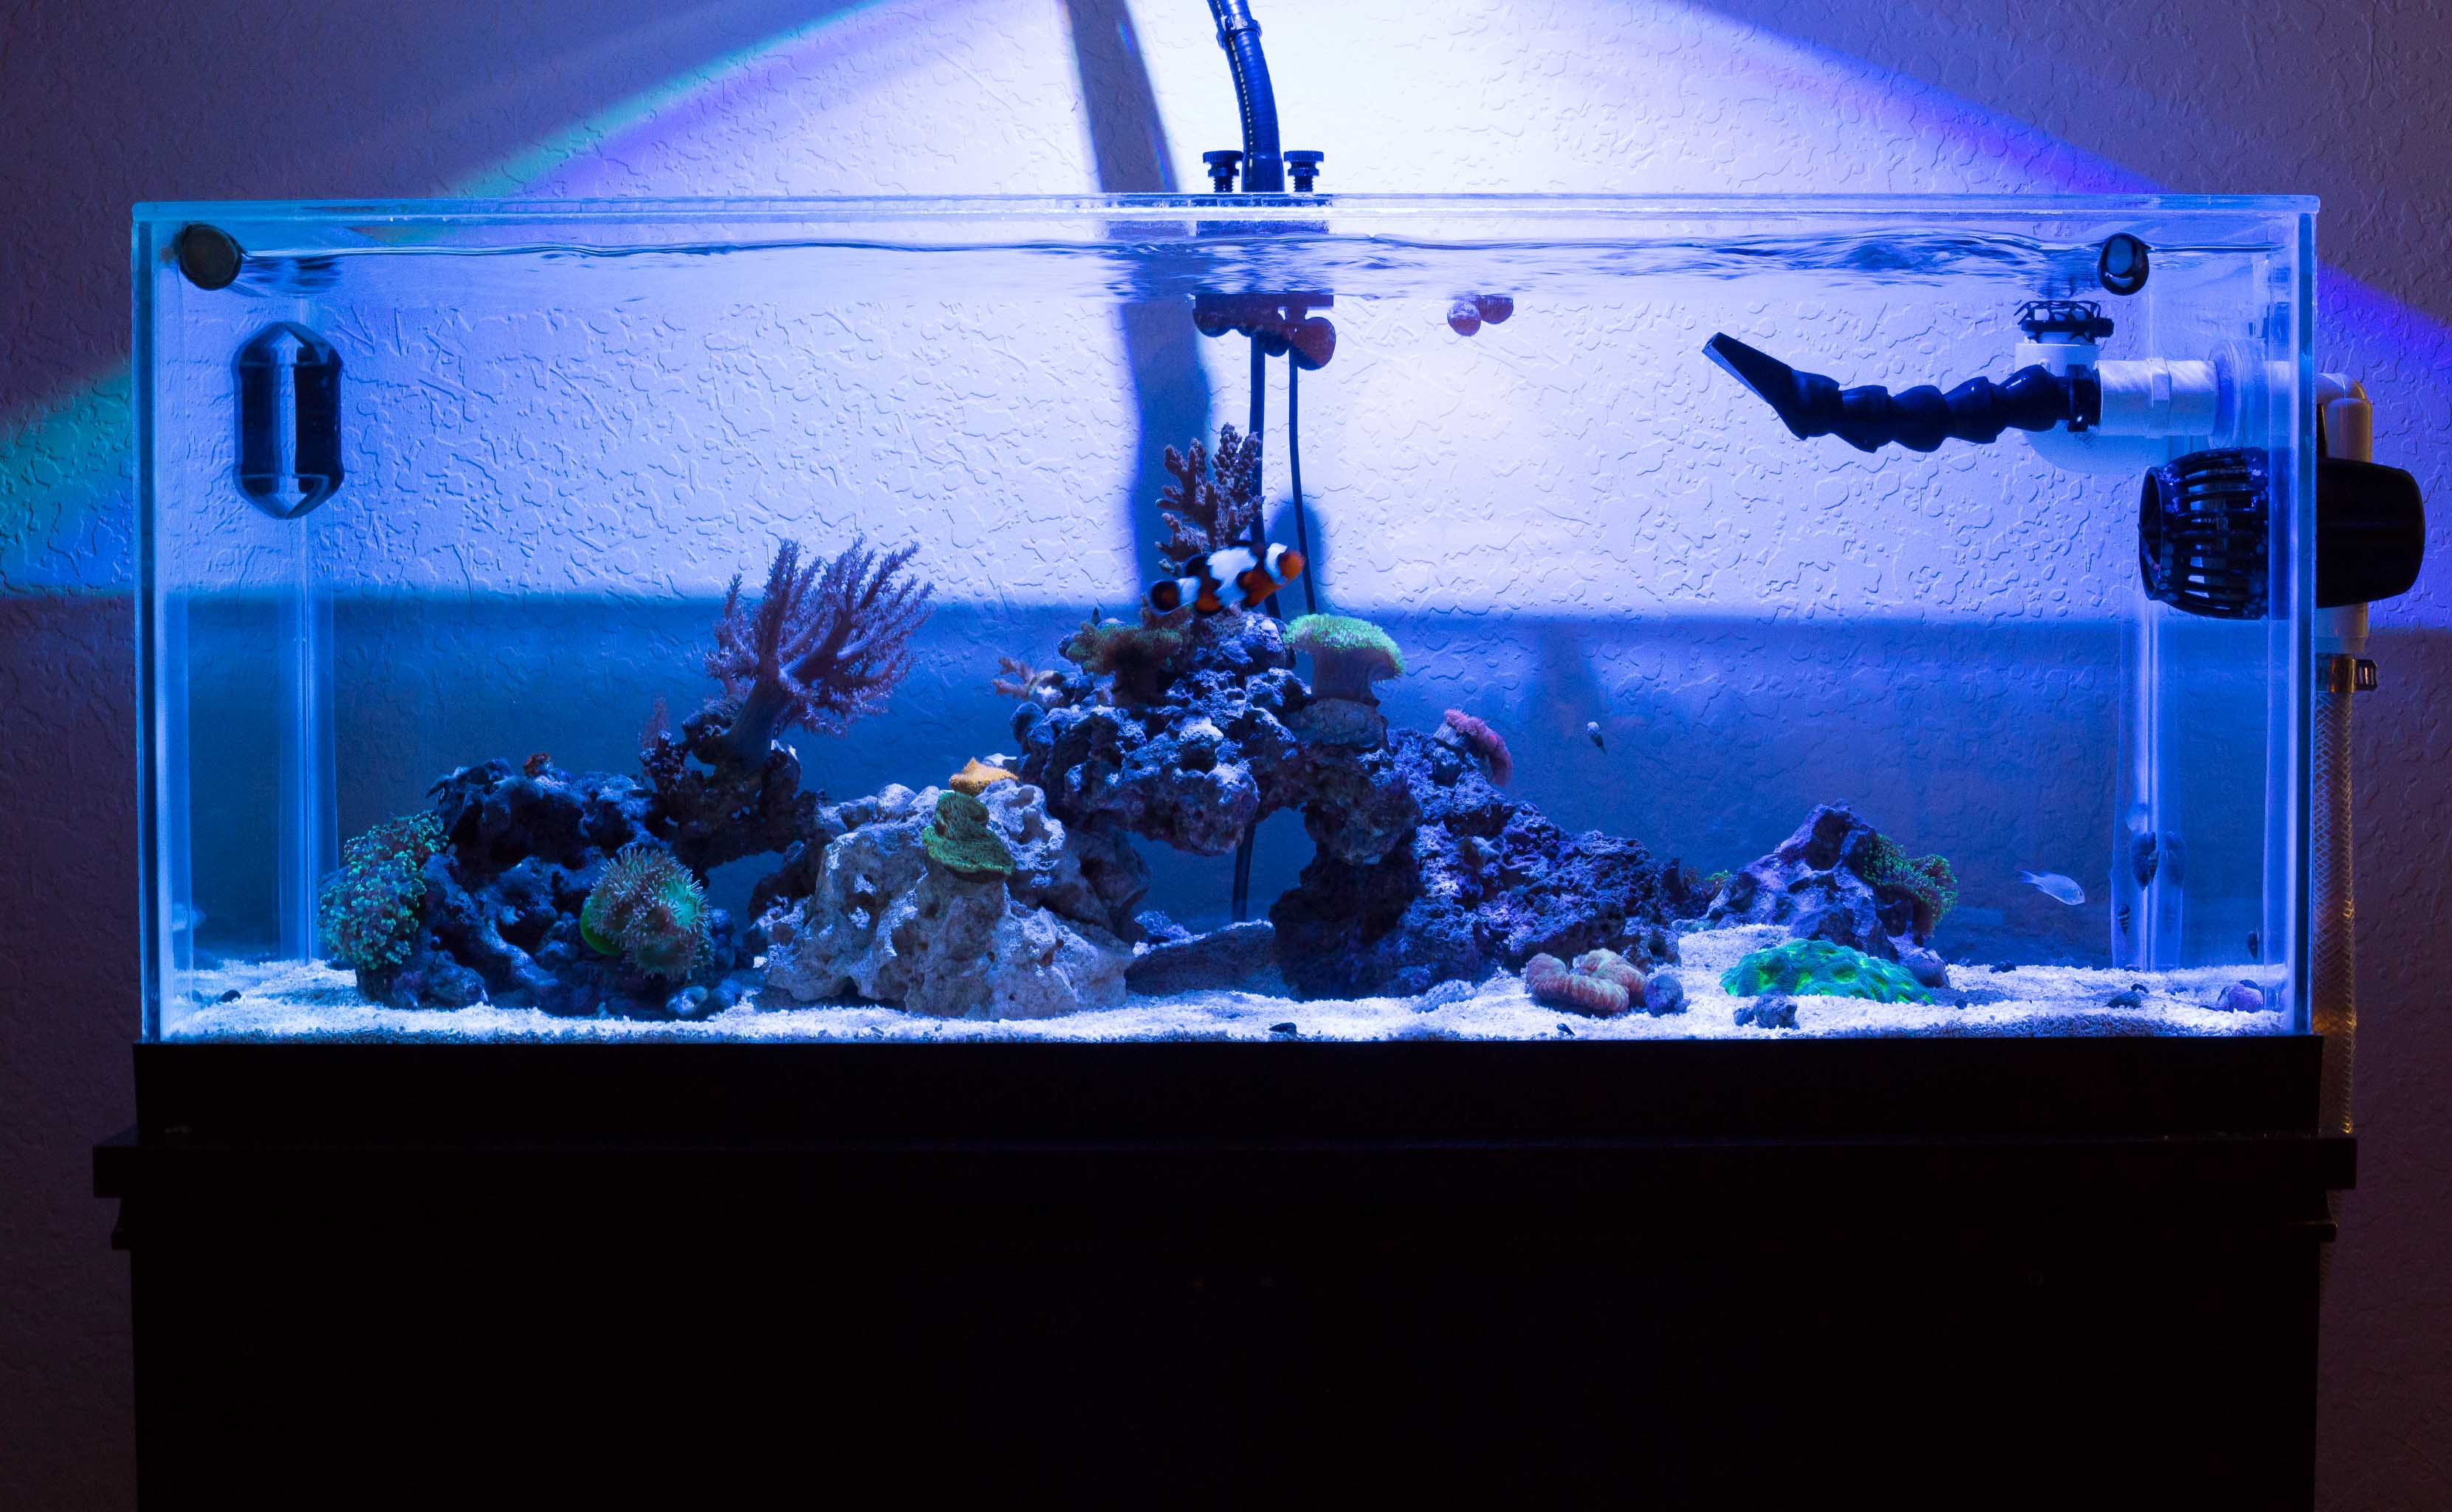
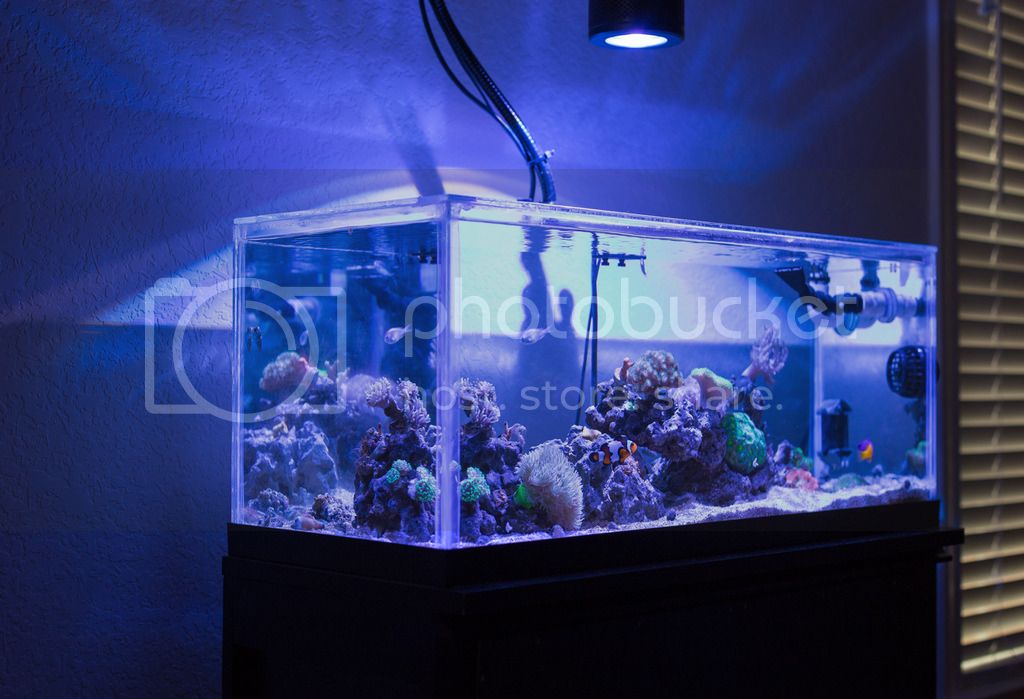
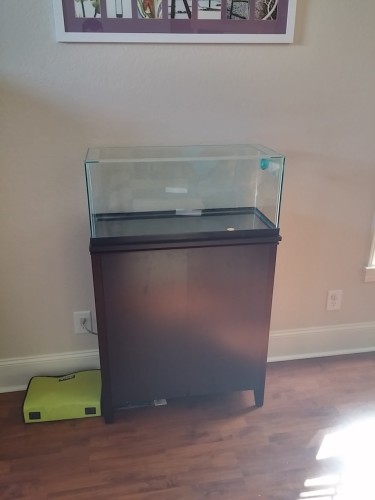
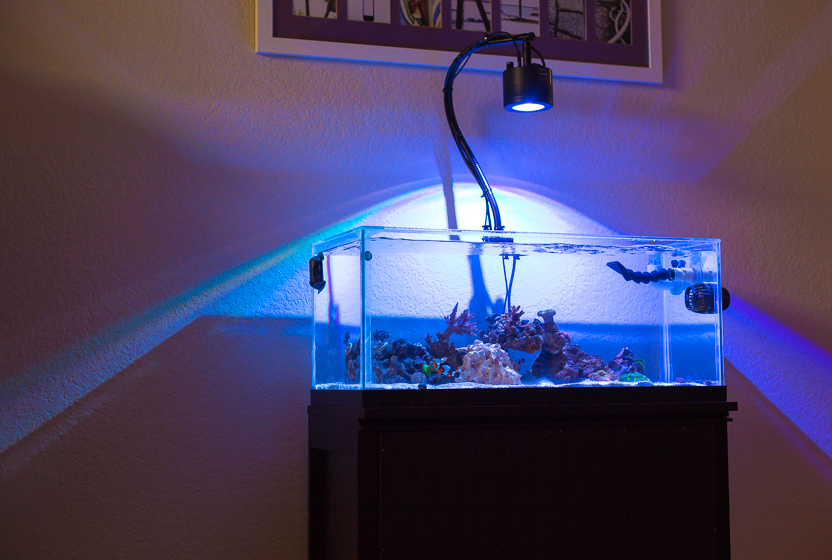
Past few days I have spent setting up the 20, getting supplies, making adjustments but as promised here she is!! I will continue to update the progress of this tank, coral growth, etc here.

Converted the 20 Gallon to a 110 July 4, 2019. But see below for 20 Gallon Long setup, and later for 110 Updates.
See the 20 Gallon Long Rimless Build below. Feel free to follow along. I keep this thread up to date with new tank updates and equipment. Feel free to chime in, ask any questions, etc.
Got Wet, May 11, 2015.
THE BUILD:
I finally decided to start my 20 gallon rimless build.
I started with a AIO 12 gallon reef. Which I moved all the below over to the new 20.
- Mp10W Vortech
- A360W Kessil with controller
-ATO
- Two Snowflake clowns (male and female) Yellow Watchman/Pistol Pair
-Various LPS and SPS
Here I will keep updates on how things are going, purchases, DIY, etc. With the help of one of my closest friends, this tank has so far had great progress and been a very smooth build. So here we go...
We will start with a Marineland 20 gallon long tank I bought at Petco during their $ 1-gallon sale - (forgot to take pictures.)
Next we started by shaving the top rim until we could take it off and shave off all silicone left by the rim -
Next was the hardest part by far, drilling a 3/4" overflow and a 1/2" return.
After the holes were drilled
Closer look at the edge, and a look at the clear(blue) bulkheads that will be used.
Now, wait for the silicone to dry for a few days or so, before performing a water test. In the meantime, stand time!
The stand that will be used is actually a bookcase that I purchased. It had a backer on it that I used for the door in which I attached magnets too, to snap in place when not inside the stand. As for the back I purchased and had cut at lowes a piece of pegboard. I did this so, inside the stand, I can hang stuff as well as keep everything nicely organized.
The Sump I created a while back prior to getting the tank. The sump seen is a 10gallon with three baffles in place. Sump lighting is an out/in water led with white and actinic lighting. I also will be running a BRS gfo/carbon reactor.
I am still debating on what pump to get. Looking between a DC Jaebo or an eheim for the return. For a skimmer, I plan to purchase the SCA-301. But still needing to get some more plumbing parts before ordering, so not in a rush.
Next I added some in stand lighting for when I need to clean inside the stand or work on changing stuff out etc.
Now that the silicone has dried, now clean up of all extra silicone that I can cut away and that would not be needed as well as a pre-test rinse.
Pump and plumbing
May 10, 2015
Past few days I have spent setting up the 20, getting supplies, making adjustments but as promised here she is!! I will continue to update the progress of this tank, coral growth, etc here.