My 300g to 130g upgrade!

OP
OP
DaveMorris

DaveMorris

MACNA2016 Co-Chair
View Badges
Joined
May 9, 2009
Messages
786
Reaction score
562
Location
San Diego, CA
Rating - 0%
0   0   0
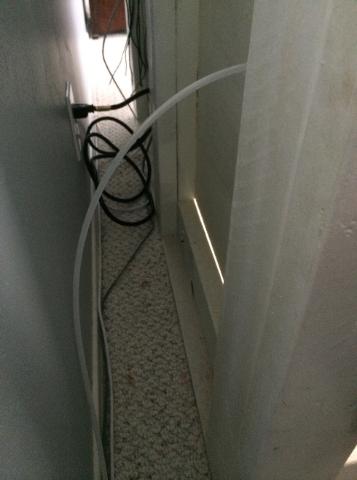
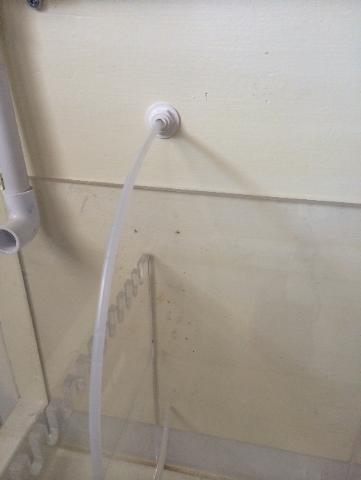
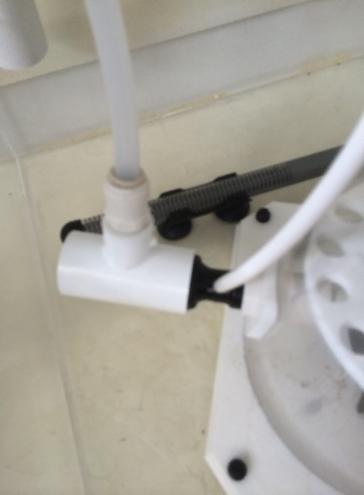
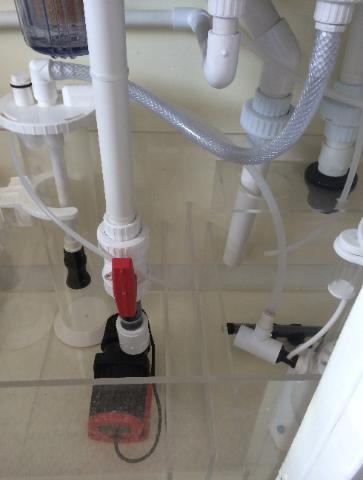
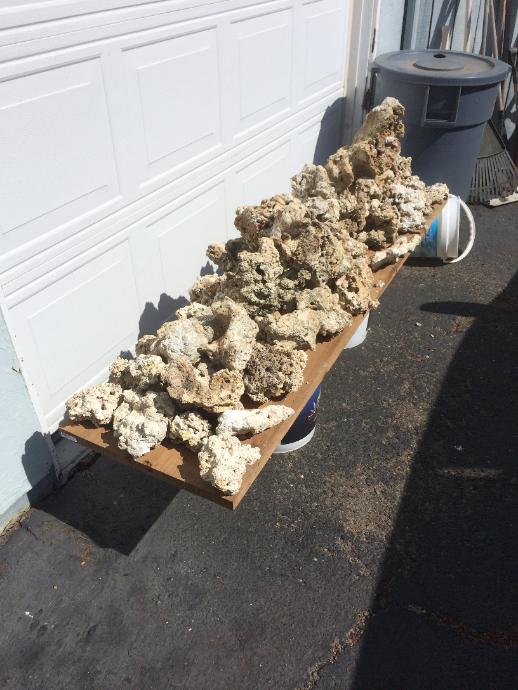
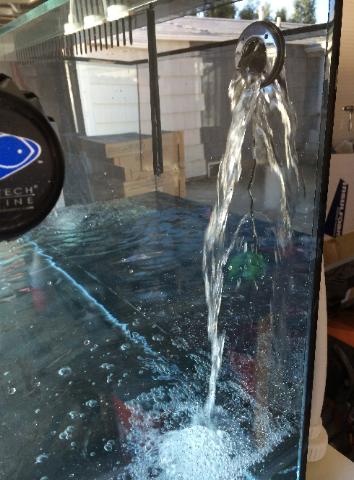
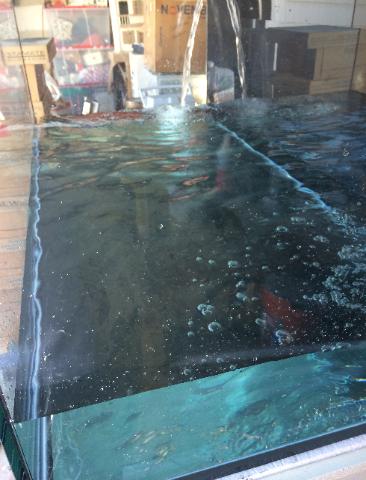
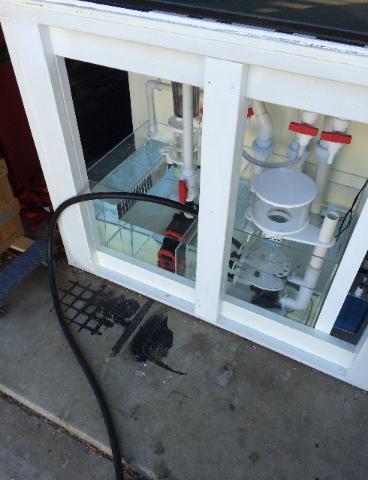
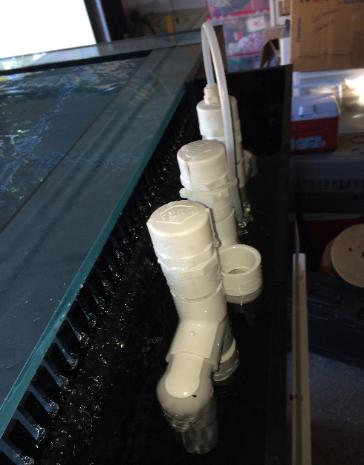
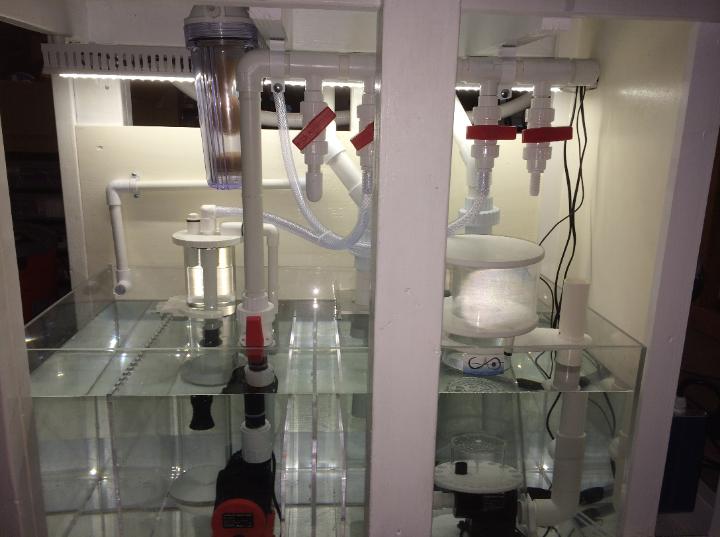
Today, yes on Christmas Eve, I got my PC4's labeled and drilled the holes in my stand top for the two return lines. I'm just about ready to get the tank on the stand, do the final plumbing bits and do a full water test. I can't wait. A few days ago I walked into AquaSD and that was a mistake. Too many cool corals that I want to get in my tank.
 
OP
OP
DaveMorris

DaveMorris

MACNA2016 Co-Chair
View Badges
Joined
May 9, 2009
Messages
786
Reaction score
562
Location
San Diego, CA
Rating - 0%
0   0   0
I got the intakes built and placed in my overflow today. When I get to doing the water test we will see if I did it good enough to be truly silent. Hopefully at the end of the week.
 
OP
OP
DaveMorris

DaveMorris

MACNA2016 Co-Chair
View Badges
Joined
May 9, 2009
Messages
786
Reaction score
562
Location
San Diego, CA
Rating - 0%
0   0   0
It's been a while, but tomorrow is the big day…time to do a water test. Got all the plumbing done and now I just need to find the leaks and make sure that the Diablo pump is ballsy enough.
 

NeveSSL

2500 Club Member
View Badges
Joined
Jul 20, 2007
Messages
2,642
Reaction score
240
Location
Kodak
Rating - 0%
0   0   0
Awesome! Looking forward to the results.

Brandon
 
OP
OP
DaveMorris

DaveMorris

MACNA2016 Co-Chair
View Badges
Joined
May 9, 2009
Messages
786
Reaction score
562
Location
San Diego, CA
Rating - 0%
0   0   0
Today was my water test day!

IMG_0621-354x480.jpg
IMG_0622-366x480.jpg

With all of the plumbing done, it was finally time to see how the water flows.

IMG_0623-368x480.jpg

I filled my sump and let the Diablo pump push the water into the tank.

IMG_0625-364x465.jpg

And the Bean Animal drains are working just as they should. It only took a couple minutes to get the flow adjusted on the siphon line. And let me say, this is truly a silent drain system. No sound whatsoever.

IMG_0628-349x480.jpg
IMG_0626-346x465.jpg

Even with the water level dropping as much as you see on the left, there is still plenty of room in the sump, as you can see on the right. No check valve here! Also, no leaks in the plumbing and everything seems to be running great.

I am pleasantly surprised at how totally quiet this set up is. With the Diablo return and the CADLights 1220 skimmer, this system is literally silent while running. It came out even better than I had hoped.
 

NeveSSL

2500 Club Member
View Badges
Joined
Jul 20, 2007
Messages
2,642
Reaction score
240
Location
Kodak
Rating - 0%
0   0   0
Awesome, Dave! Glad to hear its working the way you expected!

Brandon
 

ManOfSalt

Active Member
View Badges
Joined
Jan 27, 2014
Messages
225
Reaction score
2
Location
Sydney, Australia
Rating - 0%
0   0   0
ugh what a ridiculous arsenal of love! This setup just makes me drool... I hope to have that much space one day to go bonkers with my 130.
 
OP
OP
DaveMorris

DaveMorris

MACNA2016 Co-Chair
View Badges
Joined
May 9, 2009
Messages
786
Reaction score
562
Location
San Diego, CA
Rating - 0%
0   0   0
I need to make a couple of adjustments to the drains to insure that my siphon line is able to purge all of the air out. Sometimes on start up it takes forever to actually run correctly. I had it running for our SDMAS meeting the other night since I was hosting the meeting. Lots of nice compliments. I am happy with it so far. With any luck I will have enough of a break from work to get it in the house and actually running with saltwater sometime in March. I still need to finish my lighting setup as well.
 

revhtree

Owner Administrator
View Badges
Joined
May 8, 2006
Messages
47,828
Reaction score
87,661
Rating - 100%
1   0   0
We need some photos!
 
OP
OP
DaveMorris

DaveMorris

MACNA2016 Co-Chair
View Badges
Joined
May 9, 2009
Messages
786
Reaction score
562
Location
San Diego, CA
Rating - 0%
0   0   0
Today I made a little more progress toward getting this tank in the house. I began the long process of tearing out all of our ugly carpet in the living room to resurface the hardwood floors. Once I get the floors re-done, I can get the tank inside and get it running. I'm going to get back to work on the lights tonight as well.
 
OP
OP
DaveMorris

DaveMorris

MACNA2016 Co-Chair
View Badges
Joined
May 9, 2009
Messages
786
Reaction score
562
Location
San Diego, CA
Rating - 0%
0   0   0
I have finished a little more wire management. I mounted a box on the back of the stand and have the power cables for the three PC4's running into it. I've got a single power cable coming out. Nice and neat.
IMG_0639-358x480.jpg
IMG_0638-362x480.jpg

Clean, neat, and best of all…waterproof. Now I won't need to have a power strip behind the tank to create a fire hazard.

I also have my under tank lighting working.
IMG_0641-720x537.jpg
 

NeveSSL

2500 Club Member
View Badges
Joined
Jul 20, 2007
Messages
2,642
Reaction score
240
Location
Kodak
Rating - 0%
0   0   0
That is awesome, Dave! Love those electrical boxes. Do you have any pics of the inside?

Brandon
 
OP
OP
DaveMorris

DaveMorris

MACNA2016 Co-Chair
View Badges
Joined
May 9, 2009
Messages
786
Reaction score
562
Location
San Diego, CA
Rating - 0%
0   0   0
On the inside it is just a kludge of wire nuts. I cut the plugs off the PC4 cables and just connected them to the supply cable.
 
OP
OP
DaveMorris

DaveMorris

MACNA2016 Co-Chair
View Badges
Joined
May 9, 2009
Messages
786
Reaction score
562
Location
San Diego, CA
Rating - 0%
0   0   0
Well it has been quite a while since I posted an update here. I have made some more progress, but alas, I still don't have water in it. :( Hopefully that will happen in the next week or so. So here is what I've done:

My ATO system will consist of an Avast Marine top off kit equipped with the connection for the DA switch ports. This top off uses a small rigid tube connected to an airline that uses air pressure to trigger a relay to close. There are no moving parts and it is virtually impossible for a snail or algae to effect its operation. I used a similar system before and it worked great. I prefer something like this instead of relying on float switches exclusively. I will have a backup system of float switches but the Avast system will be the main trigger. When the water level is low the RKE will turn on a MJ600 pump that is in the 55g drum holding my RODI top off water. This drum will be in the garage which is directly under my living room. I ran a 1/4" tube up through the floor and into the back of the stand. I got a hold of a bulkhead JG fitting to bring the tubing through the wall of the stand and into the sump.

IMG_0769-357x480.jpg
IMG_0766-361x480.jpg

Eventually I will trim down the tubing so that it doesn't reach the water level in the sump. That would cause a siphon and drain a bunch of water down into the reservoir.

I also made a little mod to attach to the venturi on my skimmer to feed the output of my bio pellet reactor directly into the skimmer.

IMG_0771-364x495.jpg
IMG_0772-363x480.jpg

The reactor is a Hydro Aquatics reactor and it is fed from the manifold that my return pump is connected to. I am going to be using Prodibio for my bacteria dosing and will be using the entire line of Prodibio supplements. I won about 6 months worth in the raffle at MACNA so I will be set for a while. I have read about quite a few systems that have been running real good using Prodibio so I decided I would give it a go.


I picked up about 45lbs of Seaflor Aragamite sand today so I could start building my rock work. I hope to start that tomorrow. I took the rock that was in my 300g and stored it in a couple barrels for the last year that it has taken me to get this 130g system up and running. All of the rock has been sitting out in the sun for the last week getting nice and dry. It wasn't very "alive" last year anyway. I'll get the rock scape put together with everything dry so I can change it 50 times like I always do. Only this time it will be much cleaner since it won't be under water. I placed egg crate on the bottom of the tank to keep the rock from sitting directly on the glass bottom. I needed the sand to fill in all of the little egg crate squares under the rock. I will build the bottom layer of the rock and then fill in the rest of the sand around it. This way my critters won't be able to undermine the rock and topple it over.
I have to turn this:
IMG_0770-518x690.jpg

into a beautiful work of art. We'll see how it goes....

More updates a little later on.
 

Reefing threads: Do you wear gear from reef brands?

  • I wear reef gear everywhere.

    Votes: 47 16.4%
  • I wear reef gear primarily at fish events and my LFS.

    Votes: 18 6.3%
  • I wear reef gear primarily for water changes and tank maintenance.

    Votes: 1 0.3%
  • I wear reef gear primarily to relax where I live.

    Votes: 35 12.2%
  • I don’t wear gear from reef brands.

    Votes: 167 58.2%
  • Other.

    Votes: 19 6.6%
Back
Top