


So I posted this on another forum a while back but thought it could help some people out here too.
I read an article that states that LEDs can loose there intensity dramatically fast if there not cleaned regularly. Well I've been cleaning my radions every 6 months sense I've got them. So I've decided that sense it's been at least 5 months sense my last cleaning and it's starting to warm up I should clean them to export heat off them better.
So here's my write up
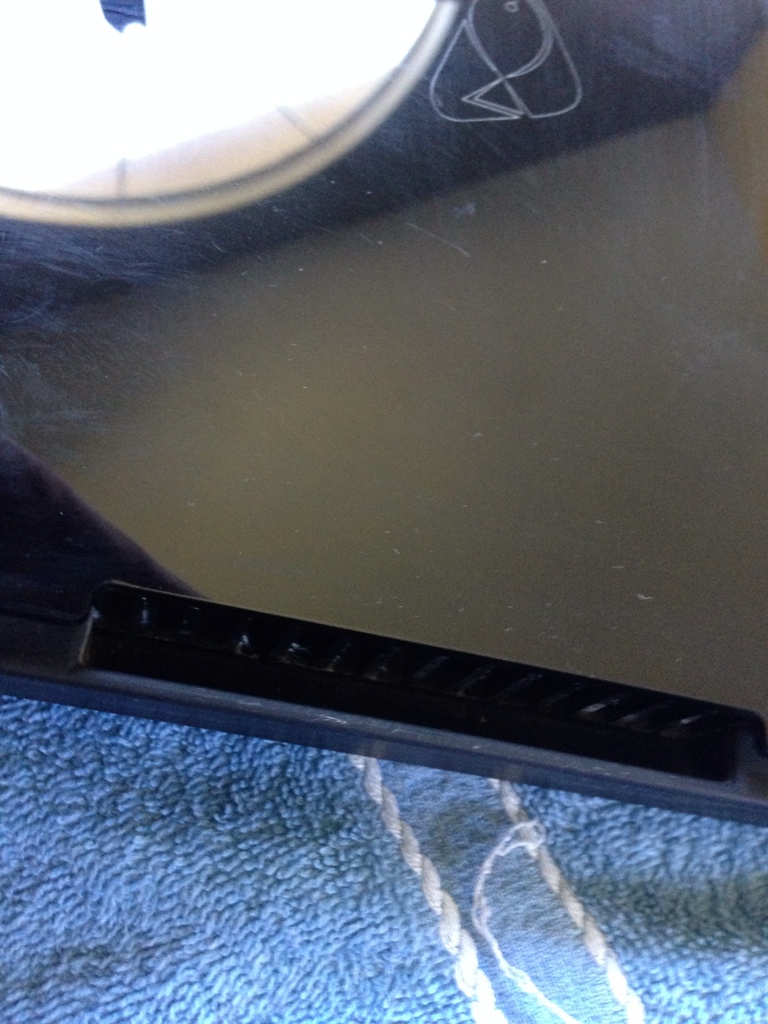
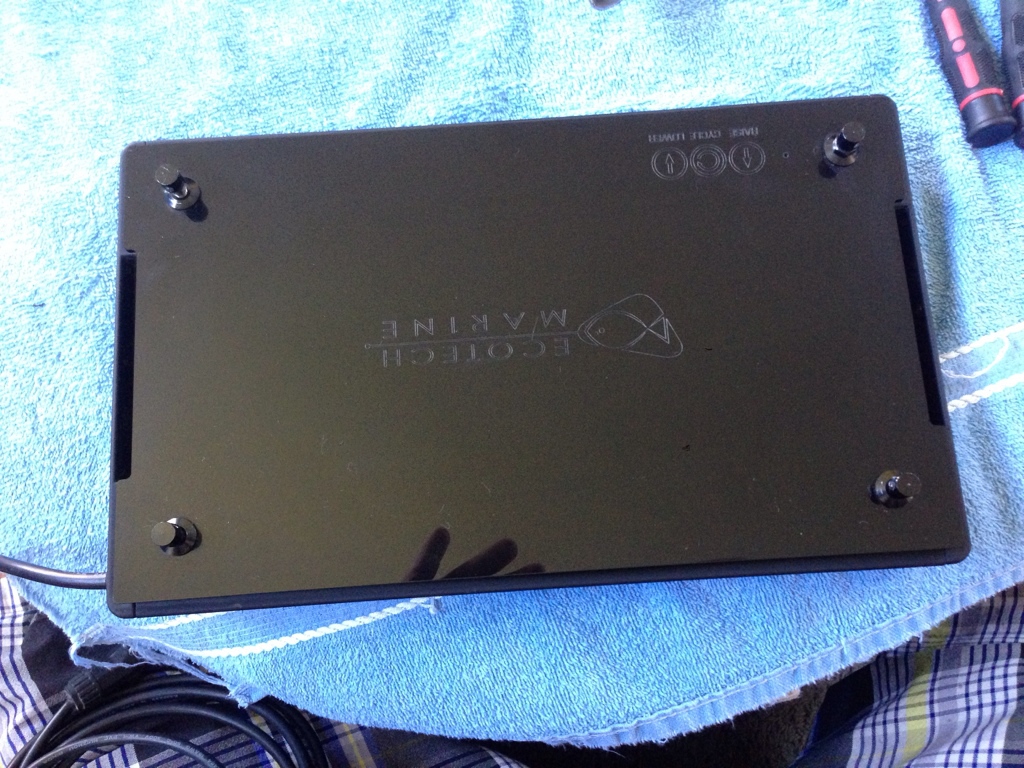
Start by laying the Radion face up
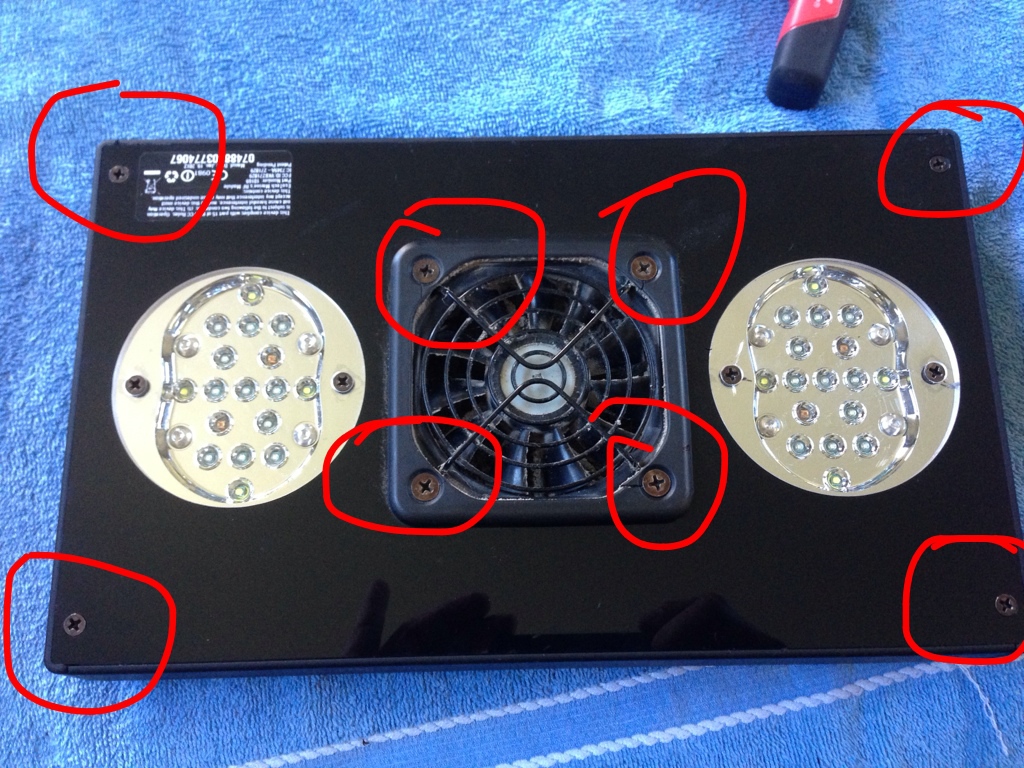
Unscrew the 8 screws. Keep the out side 4 separate from the fan grill screws. They are different sizes.
Then take the fan grill off and set aside and then the acrylic splash cover.
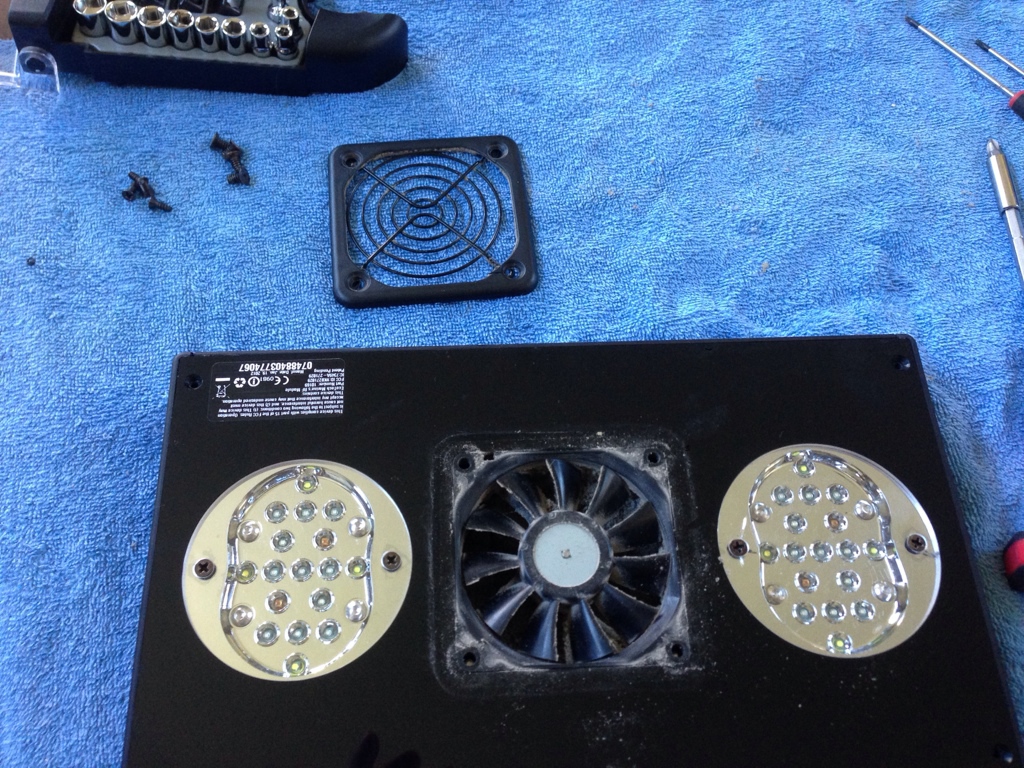
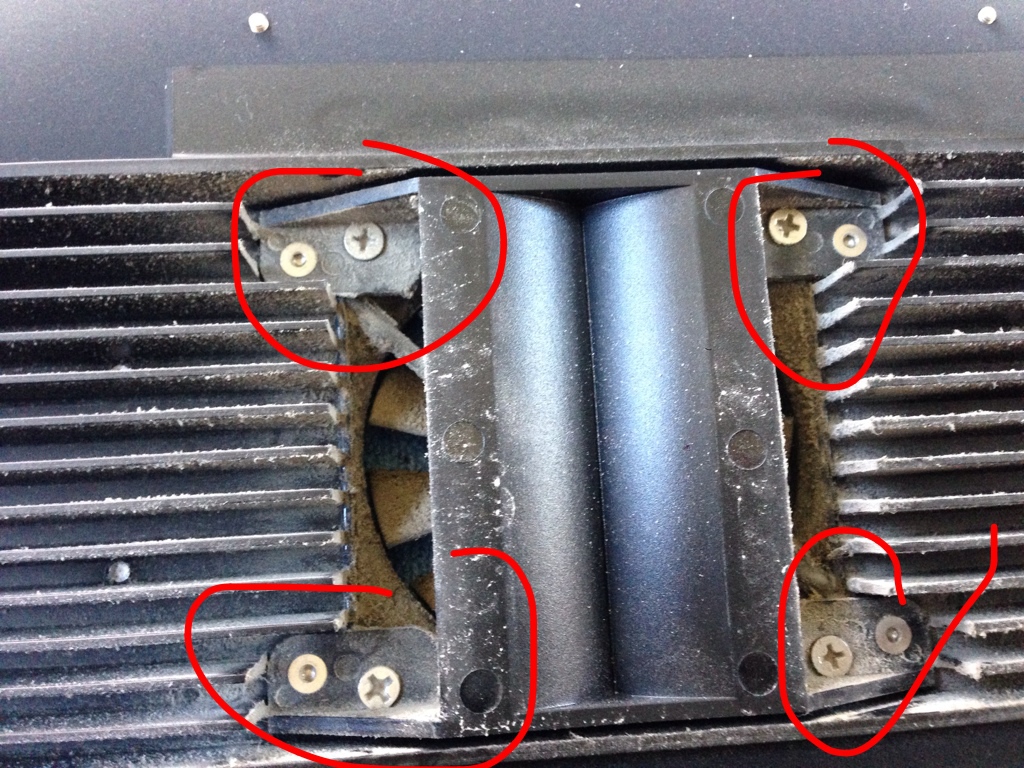
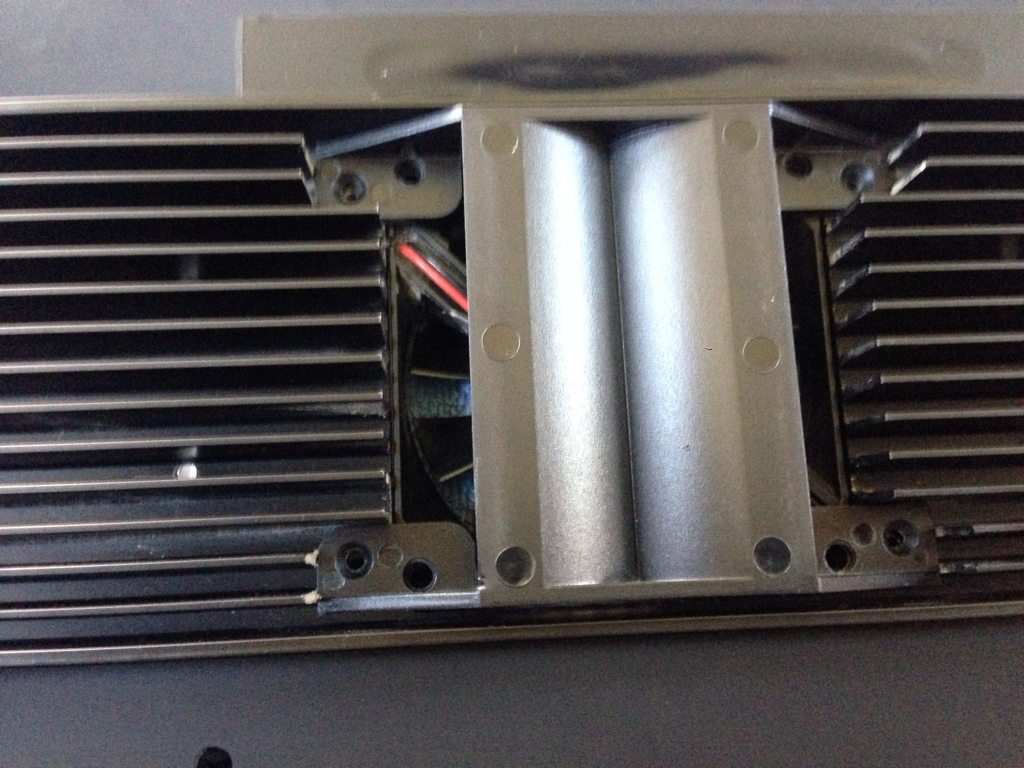
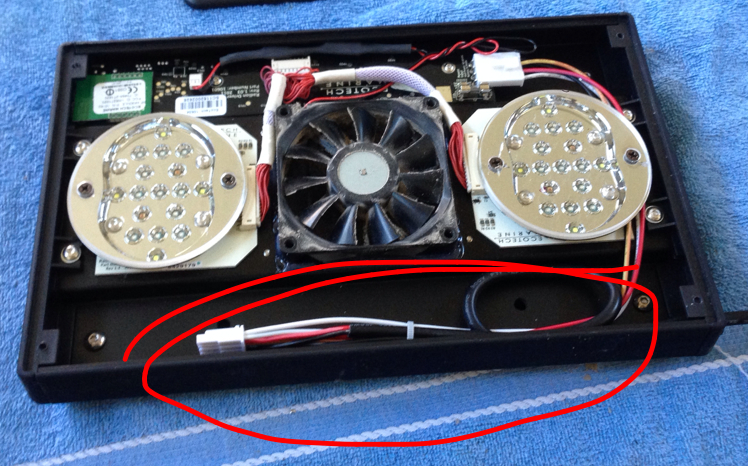
Now u see this

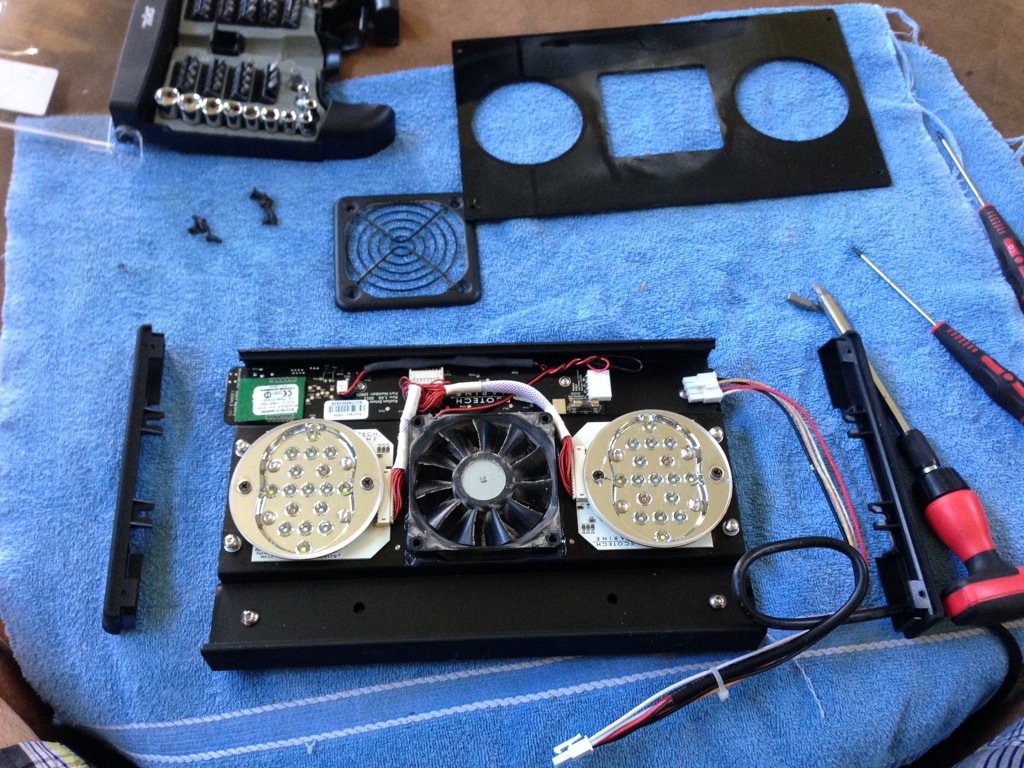
And unscrew the 4 screws circled in red. Then the side will come off. Unplug the power cord from board.
Now screw the 2 screws that hold the board down. Be carful the cable that connects the top buttons of the Radion is connected to the board on the under side so lift the board careful. Then put the cable out of its plug.

Now unscrew the 4 screws circled in red
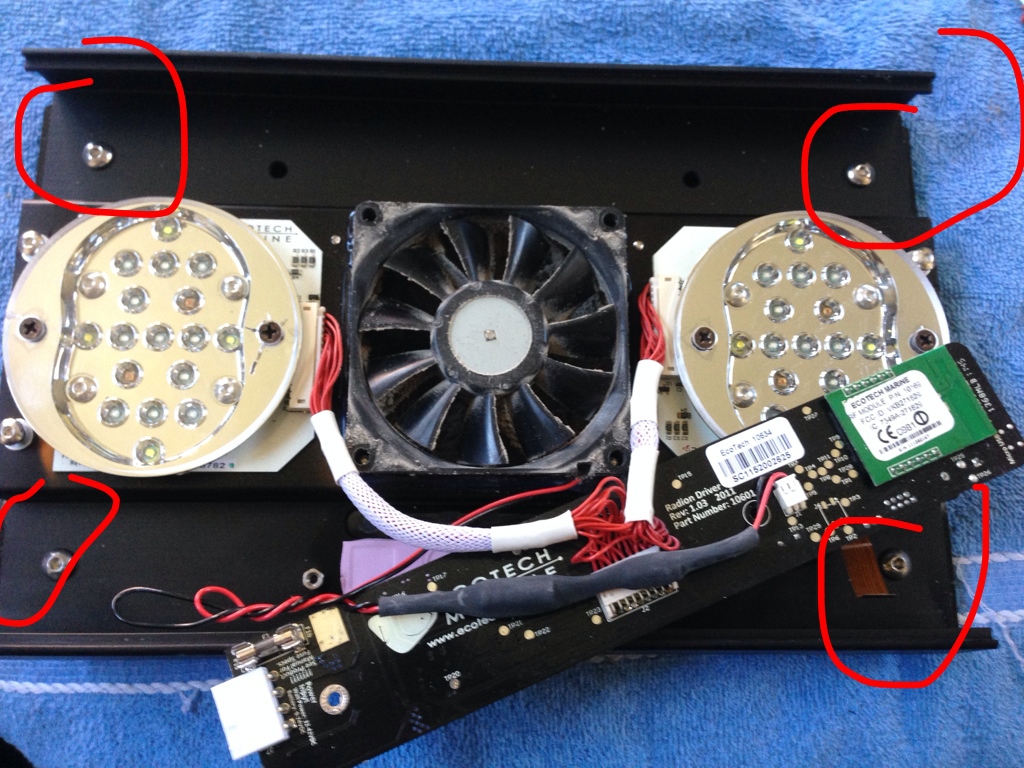
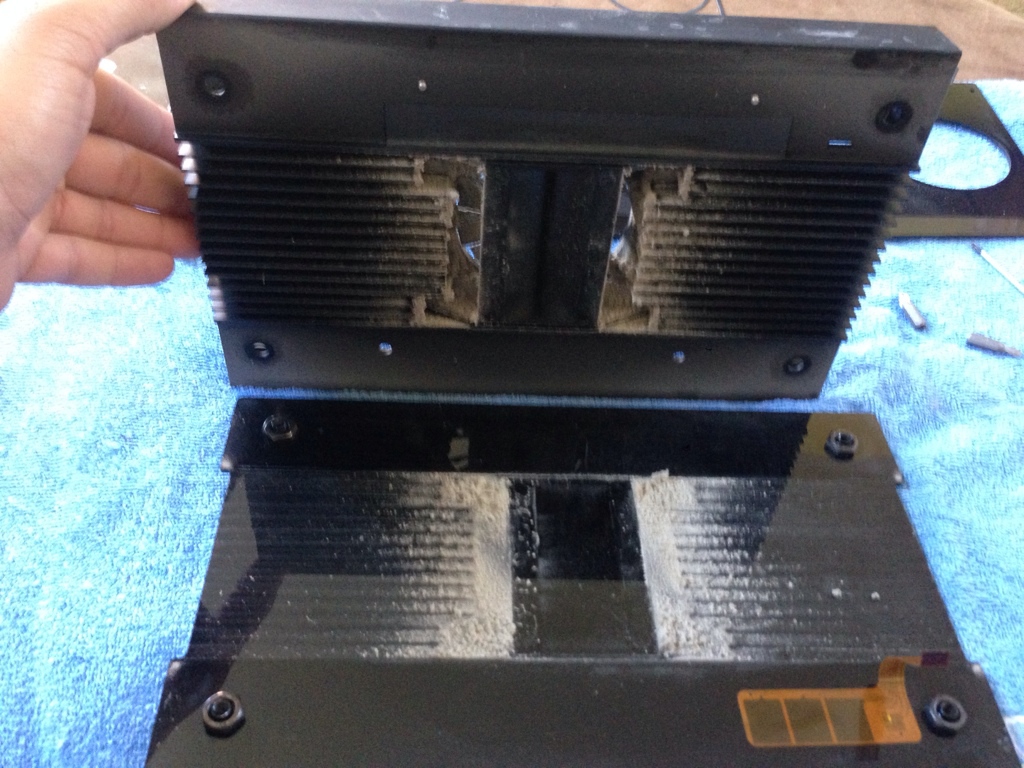
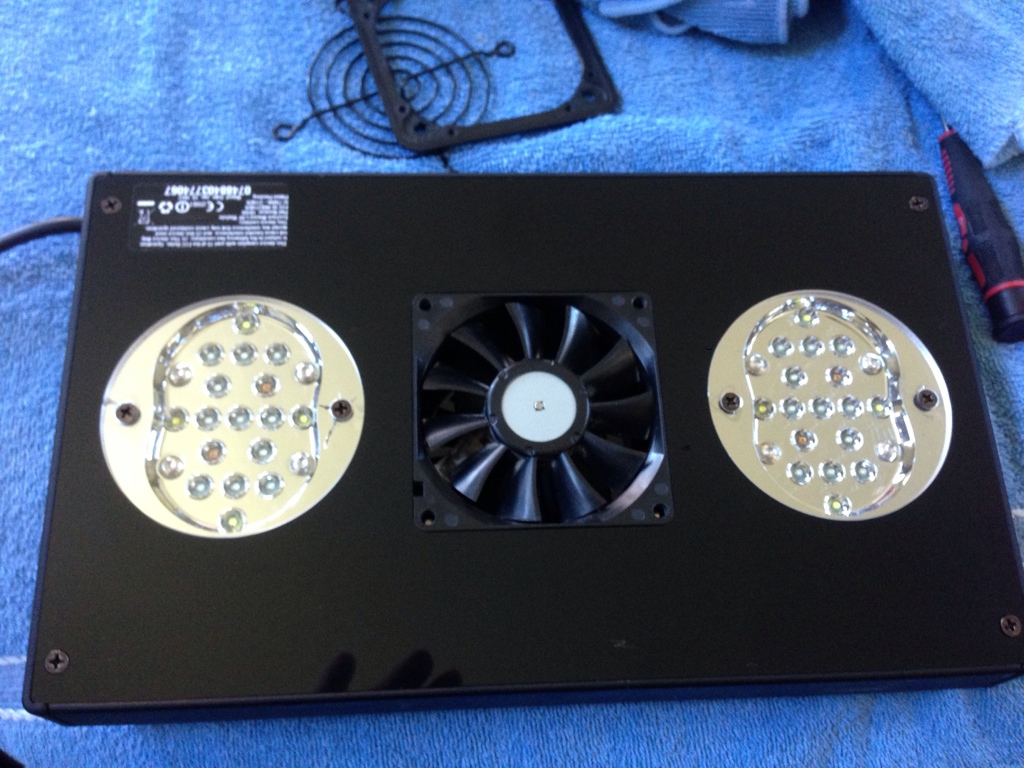
Flip the unit over (but I like to put one screw back to hold the board in place so It doesn't fall off or get damaged.) The top will now just come off and u should see all the dust.
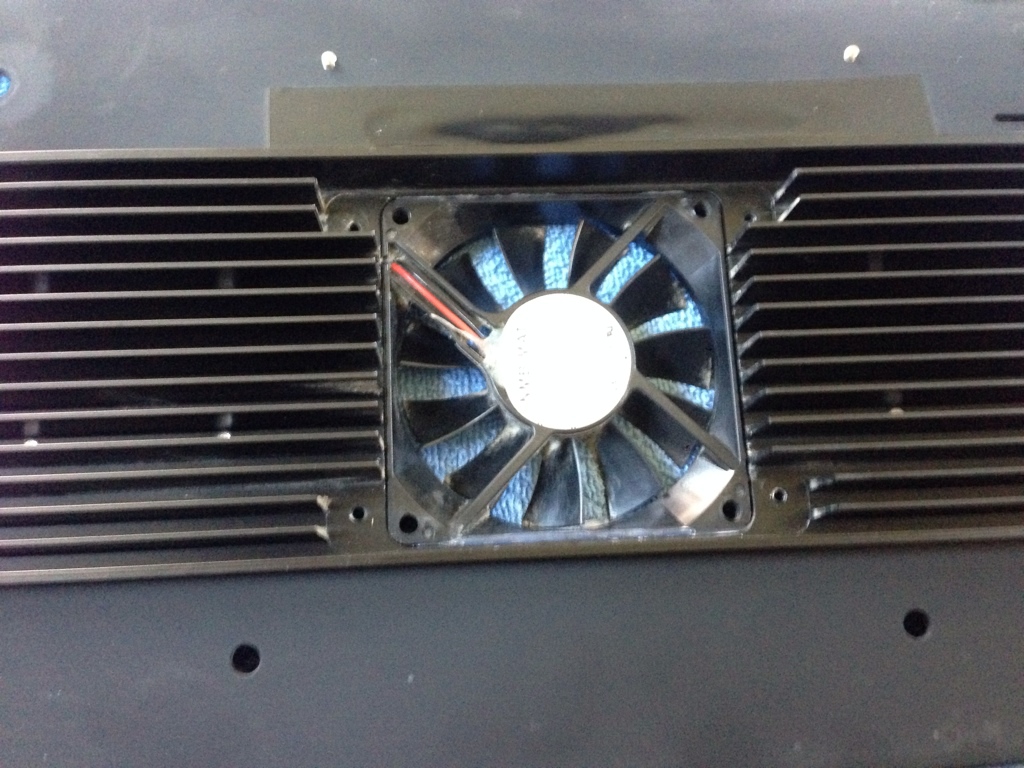
Now unscrew the 8 screws that hold the fan in place and air directioner.

Now flip the unit back over to take the fan off.
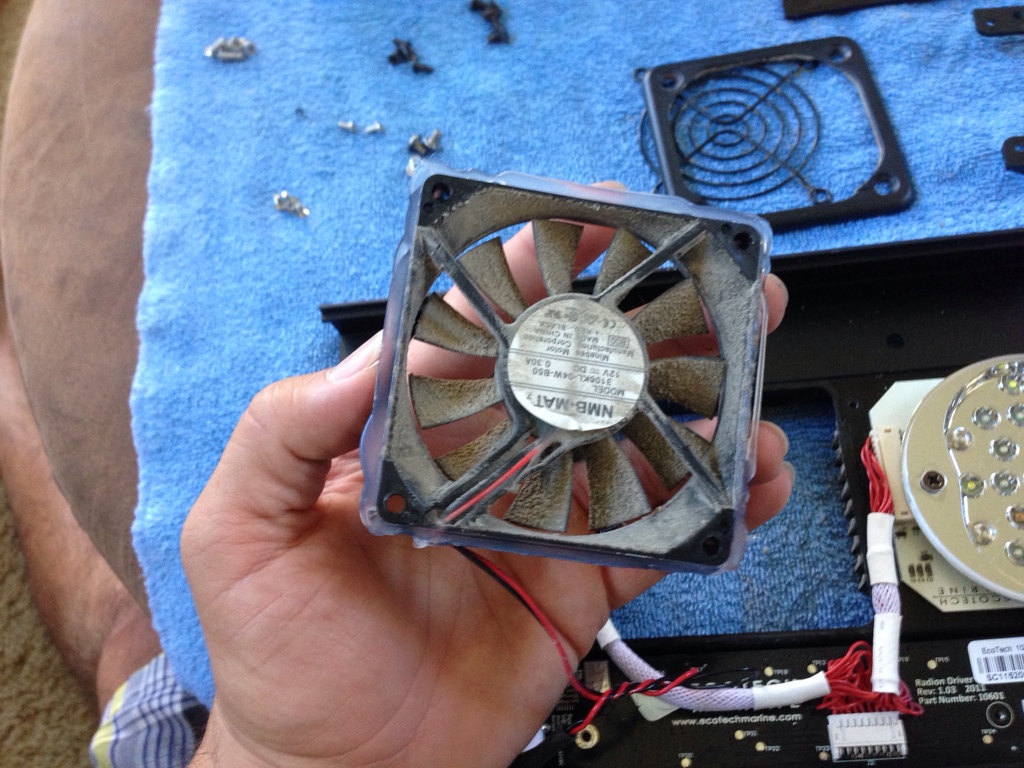
Pull the fan carefully there's glue holding it in place but it will come off. Also disconnect the plug for the fan from the board.
Now you can start cleaning every thing. I like to clean everything at once so I don't forget anything. I use a vac with the brush adapter and a few micro fiber towels.
Then put the unit back together in these step in reverse.
Make sure to clean the plastic side to get the dust off before u put it back together.

Have fun.
Here's a side note I will say other radions may vary on how things look inside but the screw positioning are still the same. On one of my radions the fan comes off when I take the 4 screws off that hold the cover on. I think it's a later model after they started having fan failures. So they make it easier to change the fan out. The other one doesn't have the extension plug for an upgrade kit
Then some videos to show how easy it really is.
Radion cleaning part 1
Radion cleaning part 2
Radion cleaning part 3
Also as a heads up. I'm not sure if cleaning will void any warranty. But my lights are way out of warranty. I would find out your warrant restrictions first before attempting to clean your light.
I read an article that states that LEDs can loose there intensity dramatically fast if there not cleaned regularly. Well I've been cleaning my radions every 6 months sense I've got them. So I've decided that sense it's been at least 5 months sense my last cleaning and it's starting to warm up I should clean them to export heat off them better.
So here's my write up
Start by laying the Radion face up
Unscrew the 8 screws. Keep the out side 4 separate from the fan grill screws. They are different sizes.
Then take the fan grill off and set aside and then the acrylic splash cover.
Now u see this
And unscrew the 4 screws circled in red. Then the side will come off. Unplug the power cord from board.
Now screw the 2 screws that hold the board down. Be carful the cable that connects the top buttons of the Radion is connected to the board on the under side so lift the board careful. Then put the cable out of its plug.
Now unscrew the 4 screws circled in red
Flip the unit over (but I like to put one screw back to hold the board in place so It doesn't fall off or get damaged.) The top will now just come off and u should see all the dust.
Now unscrew the 8 screws that hold the fan in place and air directioner.
Now flip the unit back over to take the fan off.
Pull the fan carefully there's glue holding it in place but it will come off. Also disconnect the plug for the fan from the board.
Now you can start cleaning every thing. I like to clean everything at once so I don't forget anything. I use a vac with the brush adapter and a few micro fiber towels.
Then put the unit back together in these step in reverse.
Make sure to clean the plastic side to get the dust off before u put it back together.
Have fun.
Here's a side note I will say other radions may vary on how things look inside but the screw positioning are still the same. On one of my radions the fan comes off when I take the 4 screws off that hold the cover on. I think it's a later model after they started having fan failures. So they make it easier to change the fan out. The other one doesn't have the extension plug for an upgrade kit
Then some videos to show how easy it really is.
Radion cleaning part 1
Radion cleaning part 2
Radion cleaning part 3
Also as a heads up. I'm not sure if cleaning will void any warranty. But my lights are way out of warranty. I would find out your warrant restrictions first before attempting to clean your light.


