Hello Community!
Getting back into the hobby after many a years and cross continent moves, because why not I got a redsea 425xl a couple of years ago and then the pandemic hit. Plans were put on hold. Finally getting to it two years later! I have been browsing through the forum and what a wealth of knowledge! I am so grateful to everyone who has, and continue to share their expertise and experiences - you are all an inspiration.
So here's the plan.
Kind of Ecosystem -
I keep going back and forth between a mixed reef and a SPS dominated one. we will see. that's why I haven't decided on some equipment like lights and reactors etc.
Display Tank -
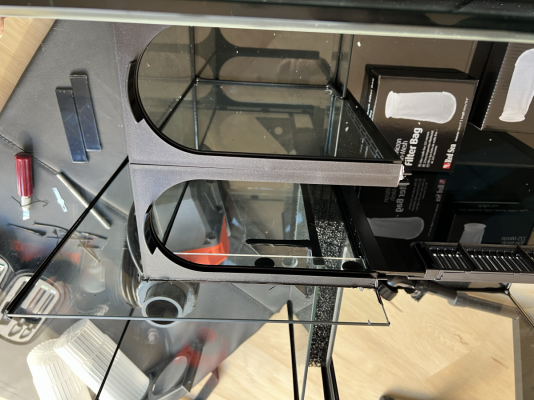
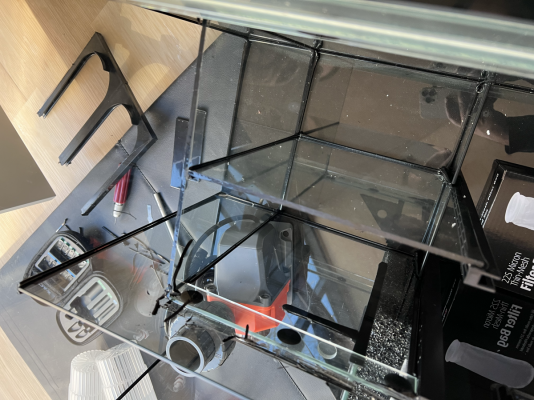
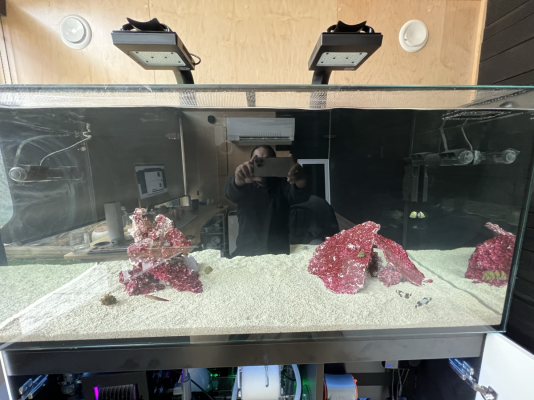
RedSea reefer 425XL - its roughly 90G DT and about 25G sump. Dimensions are 47"L, 22"h, 22"W.
Lights - haven't decided yet - leaning Radion XR15 (2 if mixed reef and 4 if SPS) but Neptune Sky is looking interesting as well.
Powerhead - Maxspect FX330 - I bought one two years ago so might as well use it. will decide others based on the kind of corals I end up with
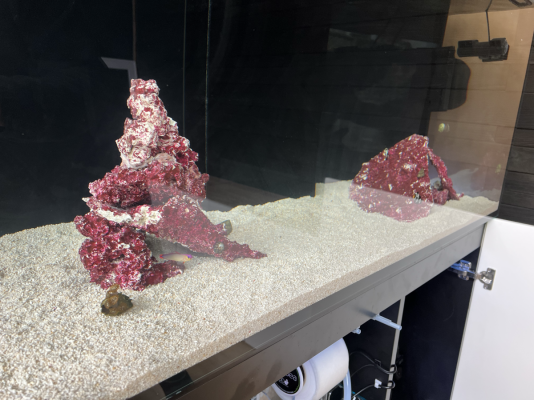
Rock - Real reef rock - have never used this but looks interesting. this will be my first non live Rock tank (eeee!)
Substrate - Tropic Eden reef flakes (can't remember the grain size as bought it a while ago and its been sitting in the basement)
Coral QT tank
Waterbox Cube10 - i have been meaning to try out waterbox and thought this is a good opportunity. Might do a separate build thread for this.
Fish QT - still trying to wrap my head around it
Sump -
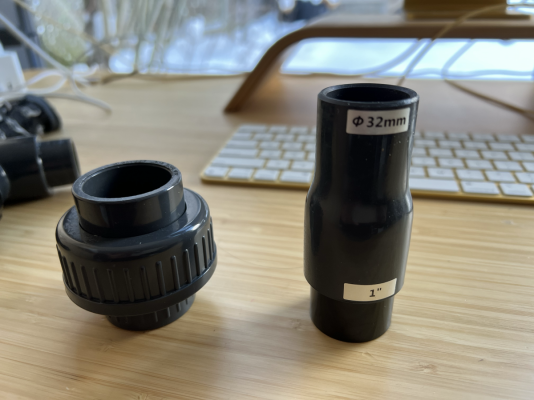
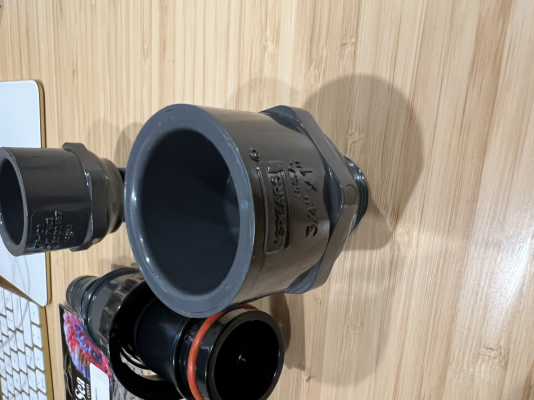
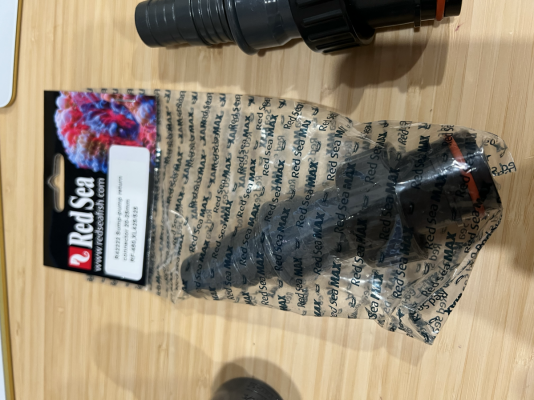
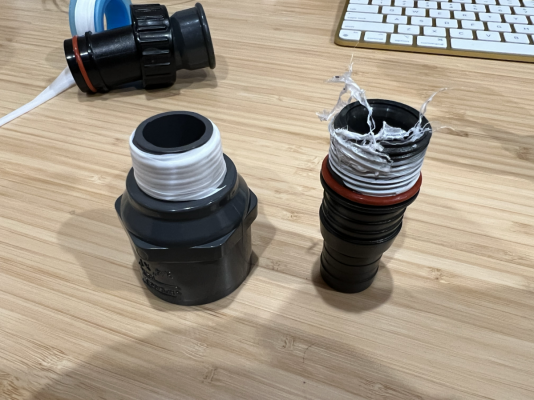
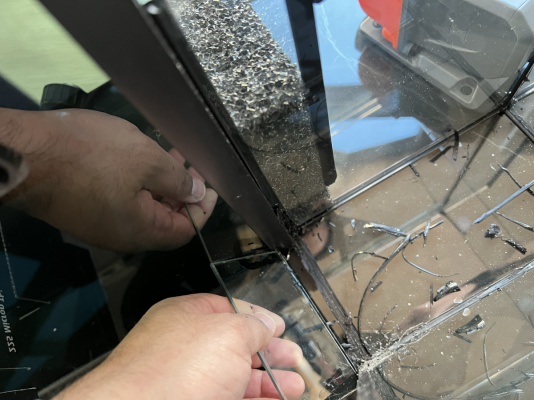
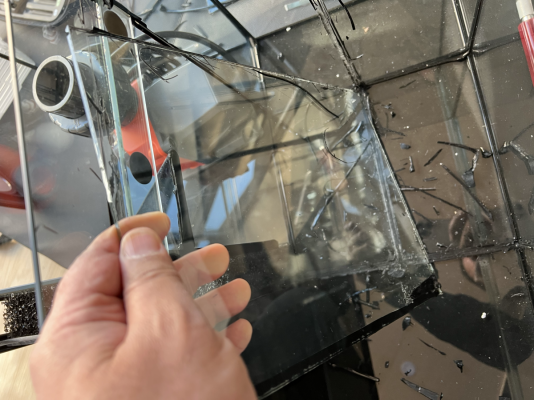
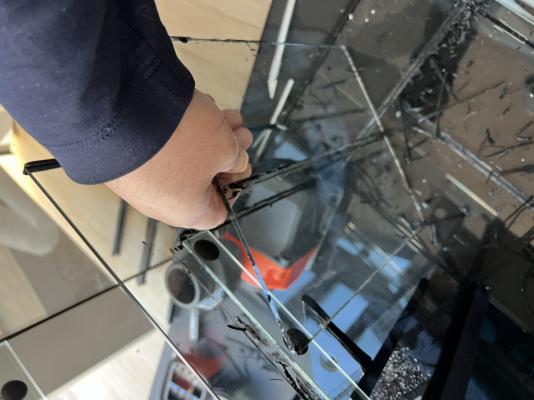
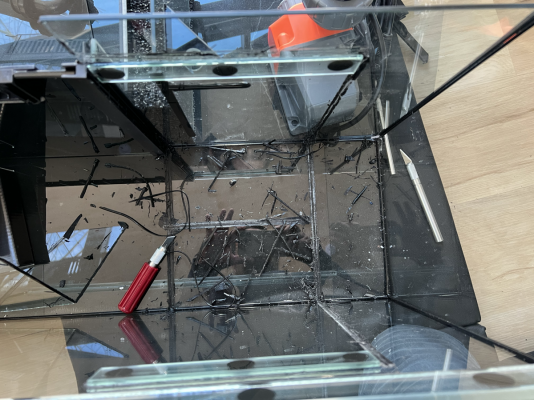
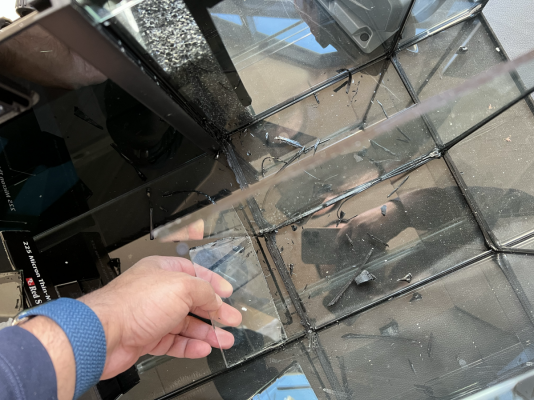
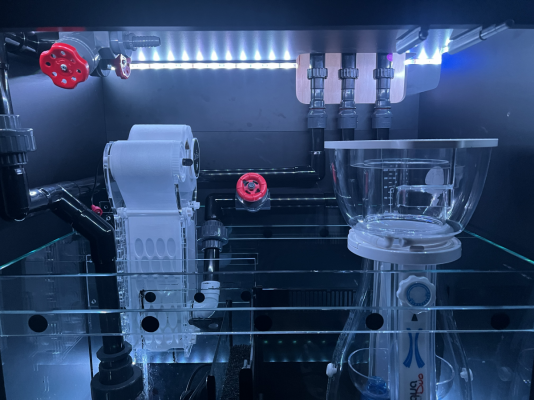
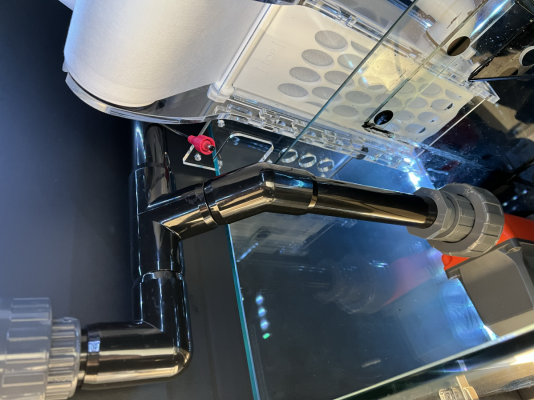
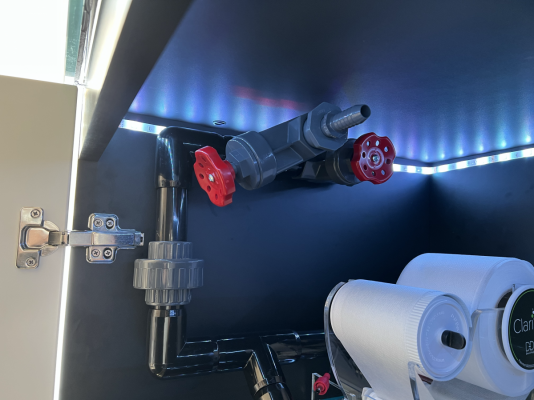
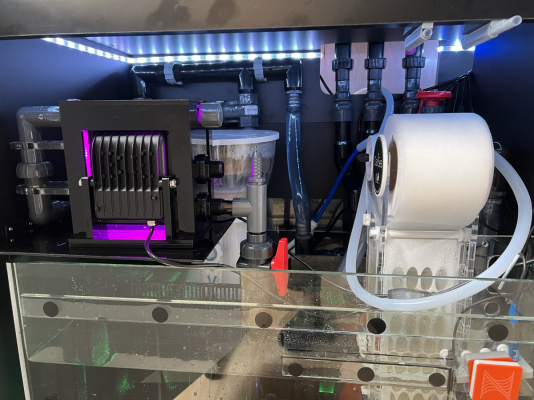
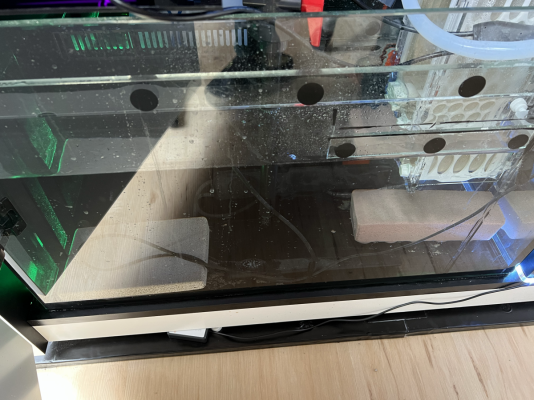
Plumbing - reconfigure redsea to include a manifold and move to standard sizes
Clarissa 3000 v3 - will need to take out the sock holder and a couple of baffles. Don't want to deal with changing socks
Skimmer - Maxspect Aeraqua duo - its an overkill for 90G but it can be dialled down.
Return pump - Neptune COR20 - this will run the return and the manifold
Algae Scrubber - haven't decided which one yet. but I like scrubbers better than Chaeto
UV - got a 15W but might not use it at all. and if I down it will be temporary and closed loop from the DT
Controller and stuff
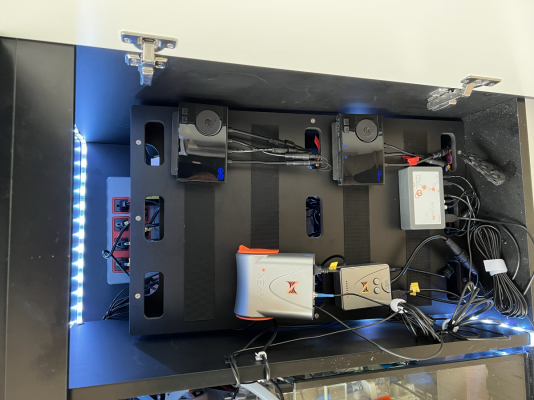
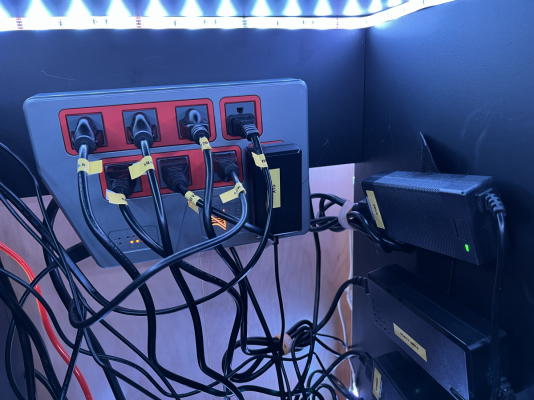
Neptune Apex El
Flow metering kit - bought it long ago so might as well use somewhere. in hindsight probably not needed.
ATO - neptune ATK v2 - debated between this and tunze (which I have used before) but decided to give Neptune a try, we will see.
ATO reservoir - IM Hydrofoil 15G
Adaptive Reef controller board
Dosing - will decide later
RODI water
AquaFx 5Stage RODI - 100GPD
Aquatic life booster pump - hopefully it will reduce water waste, we will see
XP flood guardian - interested in the included solenoid
I will be adding to this thread as I move along the process. I am excited to be back and freaked out as well! the hobby has changed so much in the last 15 years! Ah well, the goal is to experiment, have fun and learn
Once again, thanks for everyone who makes this hobby so rewarding!
Getting back into the hobby after many a years and cross continent moves, because why not
So here's the plan.
Kind of Ecosystem -
I keep going back and forth between a mixed reef and a SPS dominated one. we will see. that's why I haven't decided on some equipment like lights and reactors etc.
Display Tank -
RedSea reefer 425XL - its roughly 90G DT and about 25G sump. Dimensions are 47"L, 22"h, 22"W.
Lights - haven't decided yet - leaning Radion XR15 (2 if mixed reef and 4 if SPS) but Neptune Sky is looking interesting as well.
Powerhead - Maxspect FX330 - I bought one two years ago so might as well use it. will decide others based on the kind of corals I end up with
Rock - Real reef rock - have never used this but looks interesting. this will be my first non live Rock tank (eeee!)
Substrate - Tropic Eden reef flakes (can't remember the grain size as bought it a while ago and its been sitting in the basement)
Coral QT tank
Waterbox Cube10 - i have been meaning to try out waterbox and thought this is a good opportunity. Might do a separate build thread for this.
Fish QT - still trying to wrap my head around it
Sump -
Plumbing - reconfigure redsea to include a manifold and move to standard sizes
Clarissa 3000 v3 - will need to take out the sock holder and a couple of baffles. Don't want to deal with changing socks
Skimmer - Maxspect Aeraqua duo - its an overkill for 90G but it can be dialled down.
Return pump - Neptune COR20 - this will run the return and the manifold
Algae Scrubber - haven't decided which one yet. but I like scrubbers better than Chaeto
UV - got a 15W but might not use it at all. and if I down it will be temporary and closed loop from the DT
Controller and stuff
Neptune Apex El
Flow metering kit - bought it long ago so might as well use somewhere. in hindsight probably not needed.
ATO - neptune ATK v2 - debated between this and tunze (which I have used before) but decided to give Neptune a try, we will see.
ATO reservoir - IM Hydrofoil 15G
Adaptive Reef controller board
Dosing - will decide later
RODI water
AquaFx 5Stage RODI - 100GPD
Aquatic life booster pump - hopefully it will reduce water waste, we will see
XP flood guardian - interested in the included solenoid
I will be adding to this thread as I move along the process. I am excited to be back and freaked out as well! the hobby has changed so much in the last 15 years! Ah well, the goal is to experiment, have fun and learn
Once again, thanks for everyone who makes this hobby so rewarding!


