Your Average DIYer's 150 Penisula Tank Build

dragonfisher33

Well-Known Member
View Badges
Joined
Jan 12, 2014
Messages
663
Reaction score
145
Location
USA
Rating - 0%
0   0   0
Hello y'all, I think it's finally time to post my build progress here. It's been a little over 1 year since I started the build. Let me give a major shout out to @dbl since he helped me out tremendously on the project. I also want to thank my wife for the support since we were expecting our first child late last year. between the trimesters of the pregnancy and his arrival, the build has been delayed and postponed to the point where I almost wanted to cancel it even though i was half way through the stand build. I told her that I can give up this hobby for the new family but it was her who encourage me to work on it and see it through.

You may be wondering why I call this thread the "Average DIyer's" build. That's because 2 years ago I bought my first house with a finished basement. Before then, I had no carpentry work and had never touched any of the electrical tools in my life. My wife and I spent a good chunk of the first year renovating the house: sanding/re-staining the floor, painting the rooms, swapping out outlets, etc.

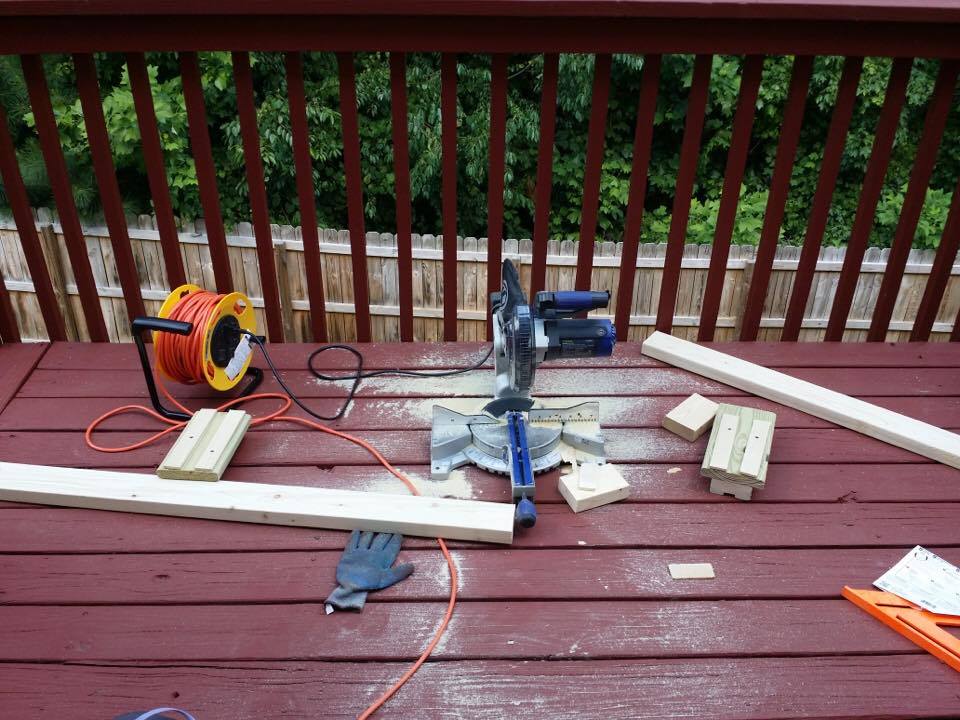
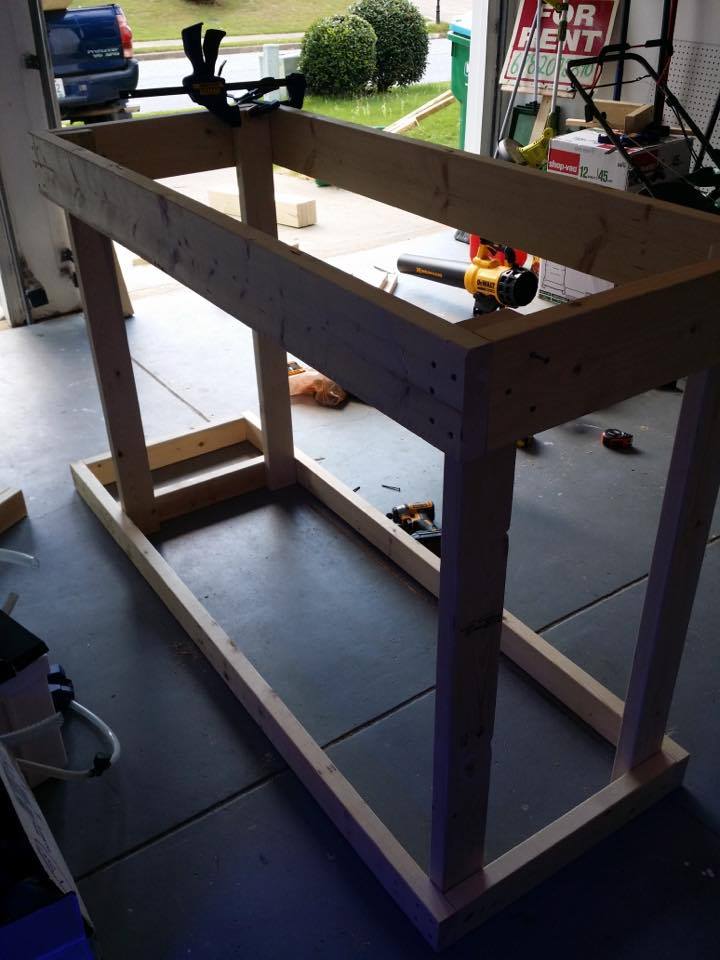
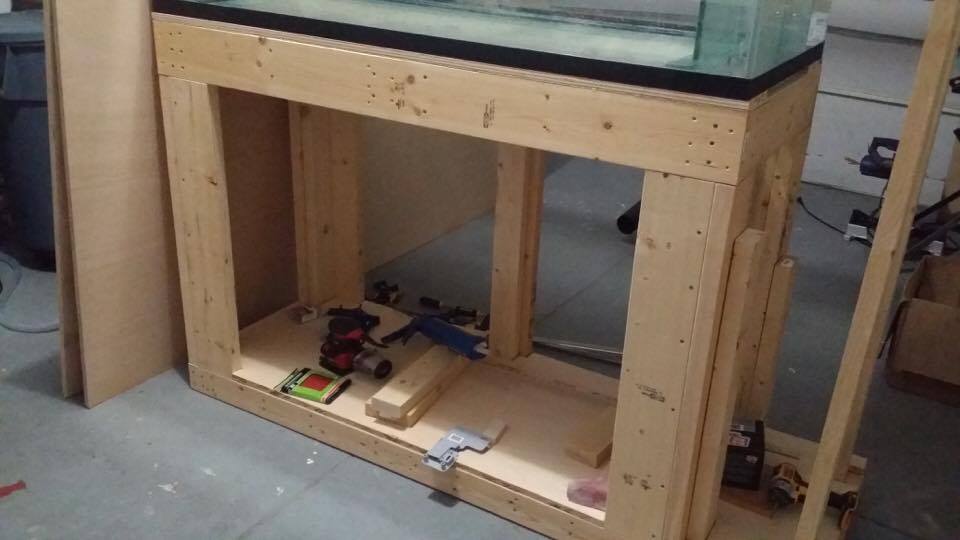
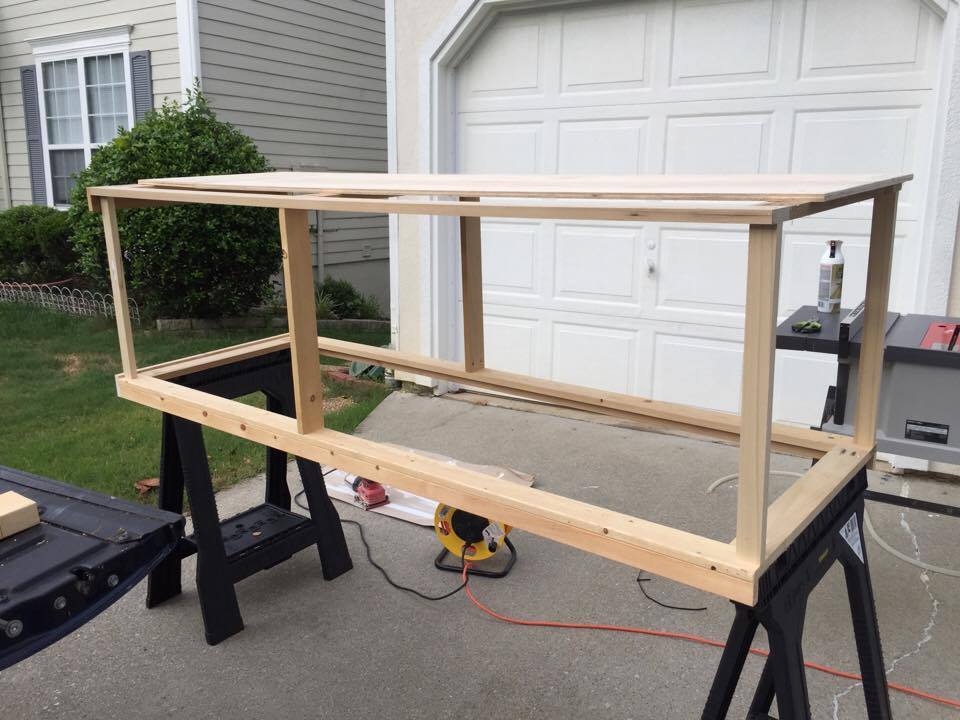
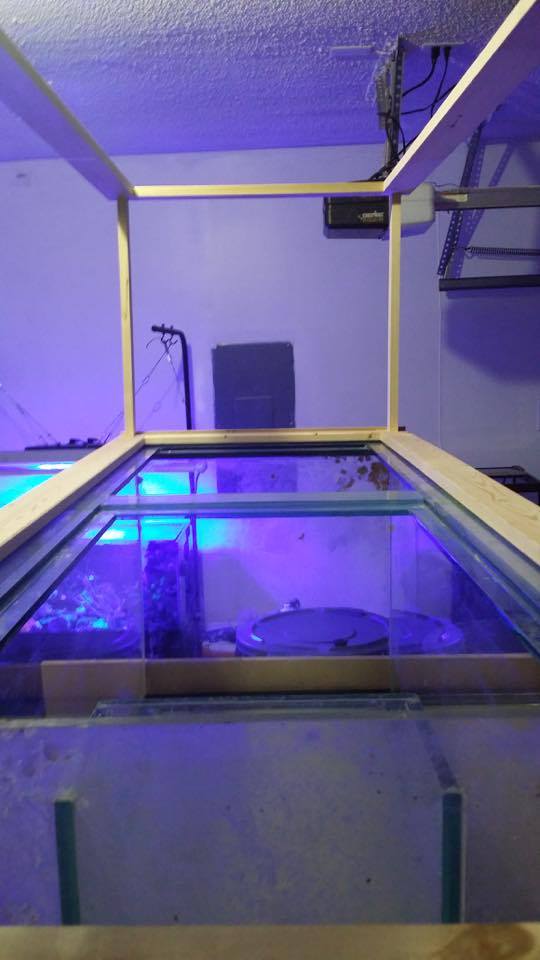
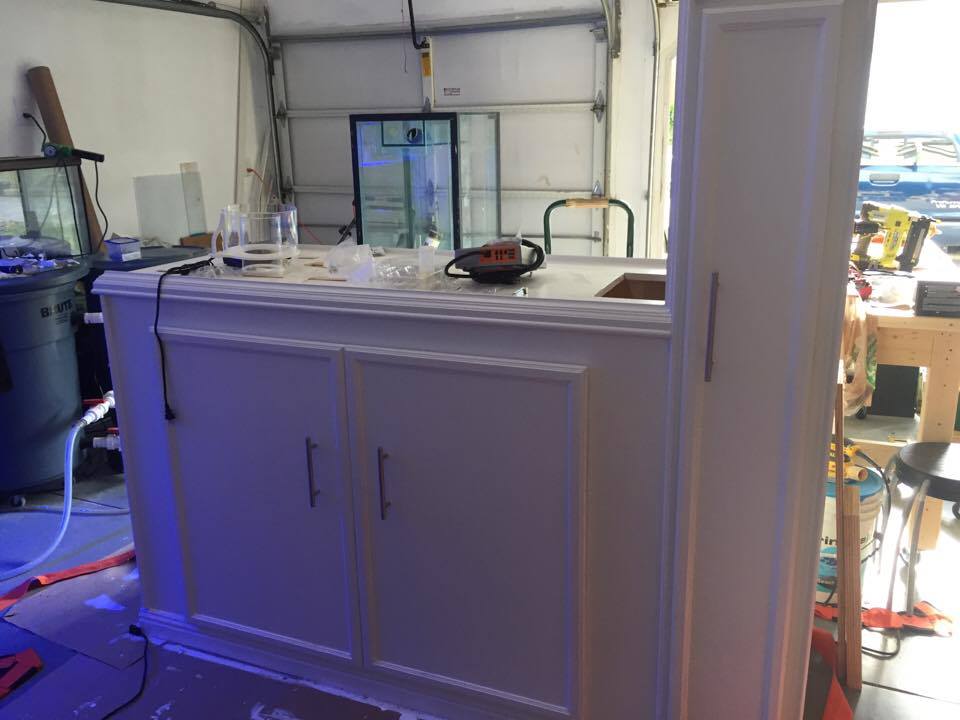
Last year I started contemplating seriously whether or not to get a bigger tank or just stay small with my 40B. Since I was addicted to the hobby, I pulled the trigger on a 5x2x2 Glasscage starfire peninsula style and starting drafting some initial idea for the tank. I went to get a quote for a stand+canopy from a local cabinet builder and he quoted me 5k as the starting point. any features such as drawers, type of finish, and etc are all additional. I have gotten other quotes as well but they are astronomical to say the least. So I told my wife that I can use this money to buy some tools and build it myself.
 
Last edited:
OP
OP
dragonfisher33

dragonfisher33

Well-Known Member
View Badges
Joined
Jan 12, 2014
Messages
663
Reaction score
145
Location
USA
Rating - 0%
0   0   0
When calculating the weight of the tank+stand+livestock, I concluded that the whole thing will weight over 1.5 ton. So before I started on the build, I researched and checked the load that a typical floor can hold. I have already known that this tank is going to be a room divider that separates the living room and the kitchen and will near or on the load bearing wall. two things caught my immediate attention. 1) the tank will sit in parallel with the joists of the main floor. 2) there are HOLES in the joists throughout the main floor joists.
20160629_081939_zpswnoy680x.jpeg

17c04289-1e4a-4e05-a9b2-ee49550985ea_zpswz6cln2s.jpg
 

dbl

It Takes Less Energy to be Nice
View Badges
Joined
Mar 13, 2014
Messages
15,945
Reaction score
90,198
Location
SW Florida
Rating - 0%
0   0   0
Hey, I remember that picture...lol. Good to see this coming to life again. If memory serves, you also had a baby during this time! Congrats on getting things rolling again. Signing up to follow along.
 
OP
OP
dragonfisher33

dragonfisher33

Well-Known Member
View Badges
Joined
Jan 12, 2014
Messages
663
Reaction score
145
Location
USA
Rating - 0%
0   0   0
Hey, I remember that picture...lol. Good to see this coming to life again. If memory serves, you also had a baby during this time! Congrats on getting things rolling again. Signing up to follow along.

hello David

yes, baby Aaron arrived in October.
 
OP
OP
dragonfisher33

dragonfisher33

Well-Known Member
View Badges
Joined
Jan 12, 2014
Messages
663
Reaction score
145
Location
USA
Rating - 0%
0   0   0
To resolve the issues with the weight, I was lucky in a way to find out the location where the tank is going to sit touches two of the i-joists. I ran a 2x8 on each side of the i-joists from the load bearing wall to as long as i can extend given the condition of the environment (HVAC duct work, wires, etc) to cover up the large holes. Then i cut 2 pieces of 30" 2x8 to form a bridge between the two i-joists. Then I went to Lowes and got 2 jack posts, 1 post per joist. with that, I should have more than what I need to support the weight of the tank.

link to the jack posts used.
https://www.lowes.com/pd/Akron-56-in-Adjustable-Jack-Post/3201385
 
Last edited:
OP
OP
dragonfisher33

dragonfisher33

Well-Known Member
View Badges
Joined
Jan 12, 2014
Messages
663
Reaction score
145
Location
USA
Rating - 0%
0   0   0
With the floor now taken care of, I looked up the stand template that most of you are familiar with and modified it since my tank is peninsula style.
images
 
OP
OP
dragonfisher33

dragonfisher33

Well-Known Member
View Badges
Joined
Jan 12, 2014
Messages
663
Reaction score
145
Location
USA
Rating - 0%
0   0   0
I started at the front of the house and then move to the deck depending on the time of the day. my house faces west, so there's no sunlight in the afternoon if i work on the deck, to my wife's chagrin of course;).
20136698_10154696184941027_1382296174_n.jpg
 
OP
OP
dragonfisher33

dragonfisher33

Well-Known Member
View Badges
Joined
Jan 12, 2014
Messages
663
Reaction score
145
Location
USA
Rating - 0%
0   0   0
here's the big box that I was able to complete in July

20134386_10154696184926027_1774803555_n.jpg
 
Last edited:
OP
OP
dragonfisher33

dragonfisher33

Well-Known Member
View Badges
Joined
Jan 12, 2014
Messages
663
Reaction score
145
Location
USA
Rating - 0%
0   0   0
part of me went overboard with the build since some of the supporting lumbers are not needed but rather for more support. I wanted to dock a car on the stand and not wanting it to collapse under any weight.
upload_2017-7-17_9-45-37.jpeg

upload_2017-7-17_9-44-52.jpeg

upload_2017-7-17_9-45-23.jpeg
 
OP
OP
dragonfisher33

dragonfisher33

Well-Known Member
View Badges
Joined
Jan 12, 2014
Messages
663
Reaction score
145
Location
USA
Rating - 0%
0   0   0
Adding a 3/4" plywood to the top of stand and another sheet to the bottom:
20136351_10154696207851027_1721601468_n.jpg
 
OP
OP
dragonfisher33

dragonfisher33

Well-Known Member
View Badges
Joined
Jan 12, 2014
Messages
663
Reaction score
145
Location
USA
Rating - 0%
0   0   0
for the canopy, I wanted to make it as light as possible. so i bought some furring strips from Lowes and made a frame out of it.
here's the goals for the canopy
1) Major-slide in and out of the tank
2) piano hinge on at least one side of the canopy
3) multiple doors.

20158085_10154698991581027_1706342319_n.jpg
 
OP
OP
dragonfisher33

dragonfisher33

Well-Known Member
View Badges
Joined
Jan 12, 2014
Messages
663
Reaction score
145
Location
USA
Rating - 0%
0   0   0
A lot of things were on hold after the building of the canopy due to the arrival of my son. whatever time that I did, I used on adding trims, sanding, priming, and multiple coats of paint. By April, this is the almost finished product. I added 1 door on the side, 2 doors in the front, 1 door where the pipe runs/extra space for other additions. I used slow close/soft close hinges on all doors as i hate the sound of door slamming.
20187676_10154699013476027_55683260_n.jpg
 
OP
OP
dragonfisher33

dragonfisher33

Well-Known Member
View Badges
Joined
Jan 12, 2014
Messages
663
Reaction score
145
Location
USA
Rating - 0%
0   0   0
I added a bracket toward the rear left corner, right by the side door. the idea is that the co2 tank is going to sit there while the calcium reactor sits on the main level. the brackets should hold a few hundred pounds. so a 10lb co2 tank should be fine. the calcium reactor is a MRC CR-4 with blue line 20HD pump.
20217179_10154699013466027_1709436750_n.jpg

20197137_10154699013481027_1580203586_n.jpg
 
OP
OP
dragonfisher33

dragonfisher33

Well-Known Member
View Badges
Joined
Jan 12, 2014
Messages
663
Reaction score
145
Location
USA
Rating - 0%
0   0   0
knowing how valuable the real estate is when you have to contain all equipment/parts into the stand, I added the spice rack to the top of left door and then will follow up with some drawers in the future.
20182721_10154699013416027_405128510_n.jpg
 
Back
Top