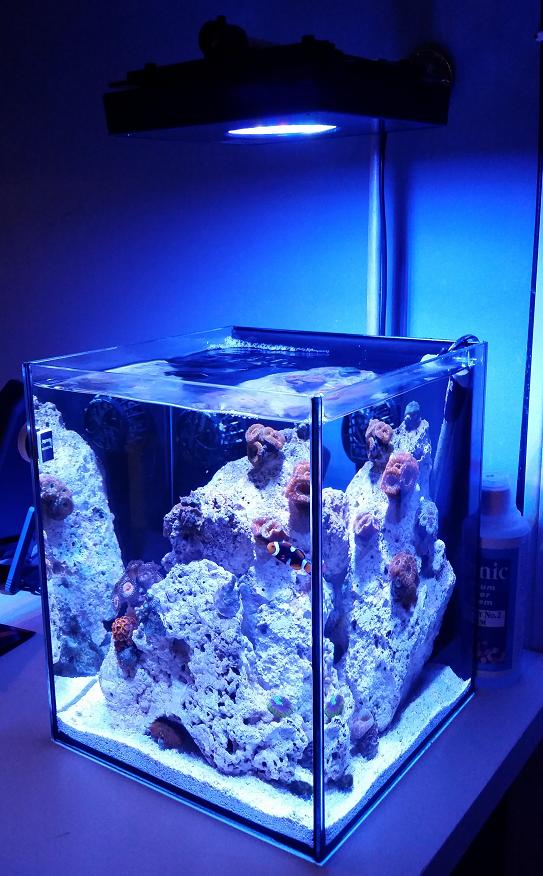
I was having some growing pains in my Ecopico a couple of months ago and have been thinking about a new tank. The post about this competition made me decide that it was the best time to start it, and now I almost ran too late! The previous tank was up for almost 3 years and the once frags had grown out and started to fight and kill each other for space. So, I decided to restart the tank and keep only acans and palys in it.
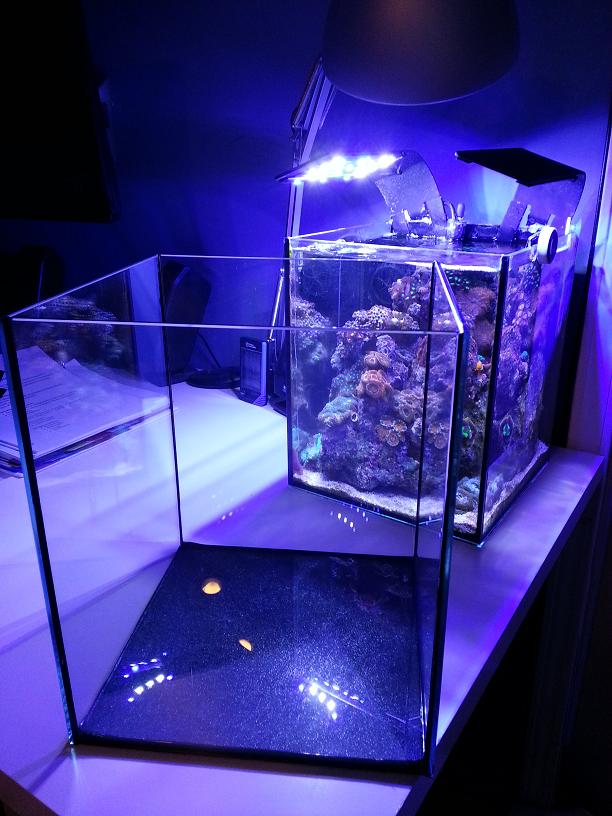
The original had sprung a small leak, and when I contacted Ecoxotic, they were nice enough to send me a replacement tank. So technically, the tank didnt cost me anything. I have since patched the original with some silicone to hold up while I sell off the livestock. Here is a shot of both tanks...
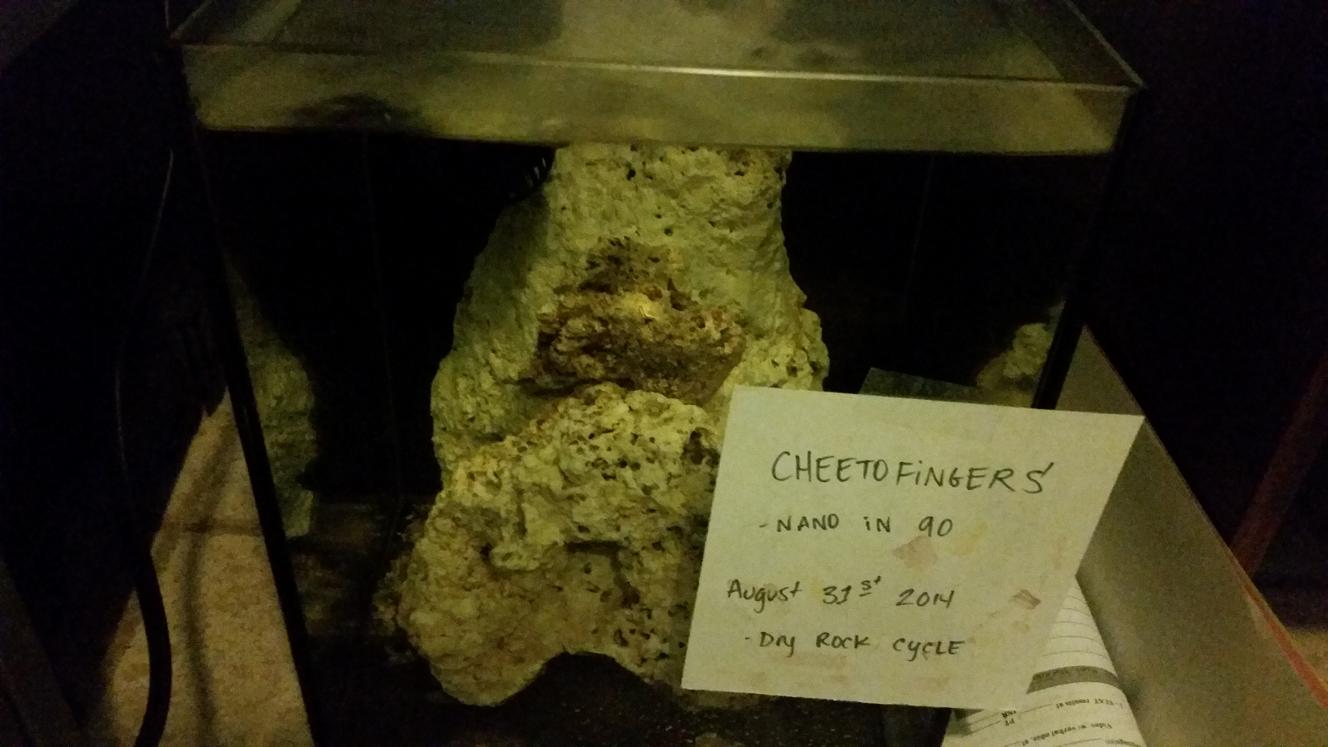
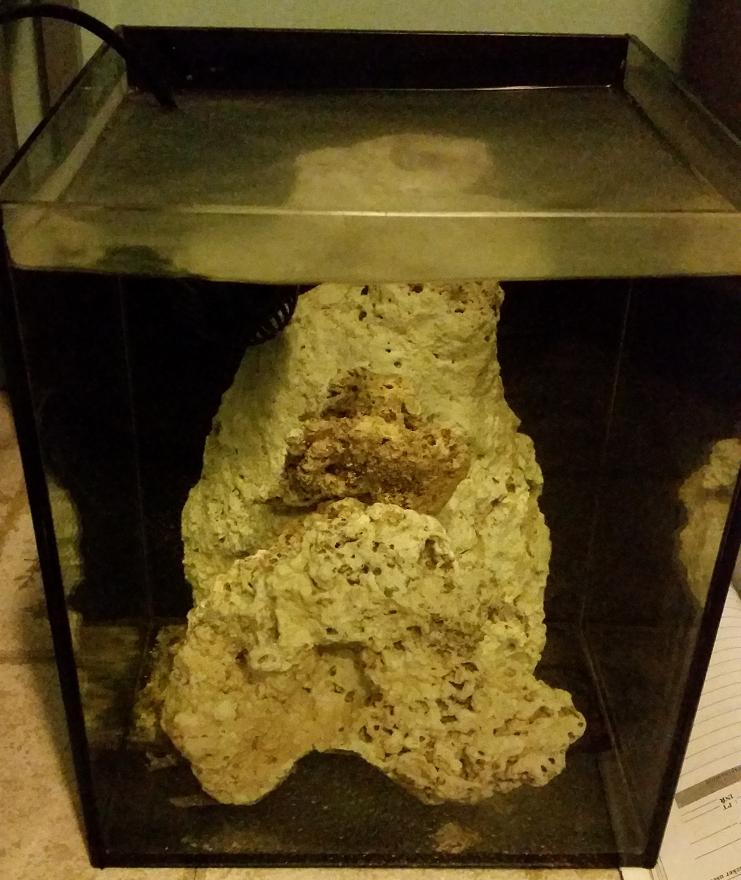
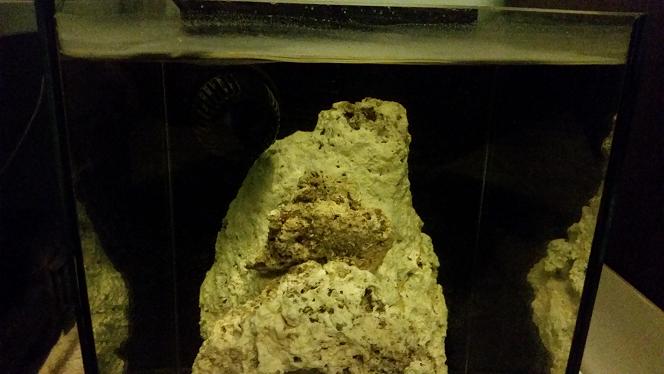
I then cut out a piece of cardboard the dimensions of the tank and started to arrange some dry rock that I had lying around. My last tank had too many interlocking pieces, and it was a pain to arrange anything in the tank. I wanted to go with 2 or 3 pieces at the most, so that it would be very simple. I took the large piece and banged it around on the sidewalk for a while, trying to get a good shape. I was happy with the big piece, because it has a large cylindrical gap in the back of the rock, which can be used to help hide the heater. Here is the only pic I managed to take of the experimental aquascaping process:

Since then, I taped off the tank and painted the back glass panel black. I used a can of Plasti-dip. Im not sure if other hobbyists have used the stuff before, but I decided to give it a try since any paint I have used before has peeled at the top of the tank, due to the inevitable salt creep. On this new tank, Im going to build a free standing light fixture, to minimize things hanging on the tank, and therefore the salt creep.
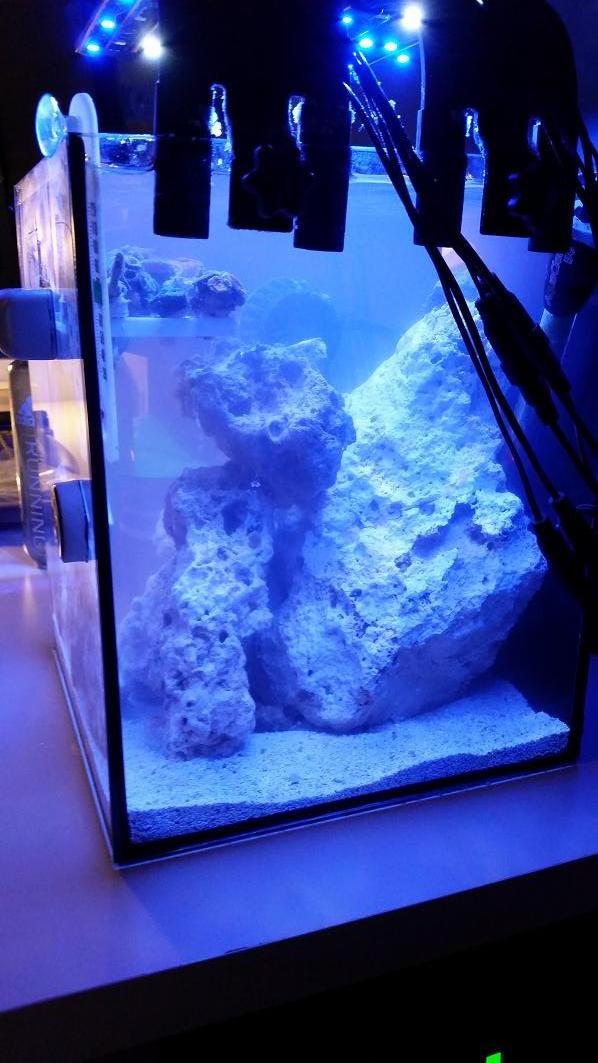
Here are some pics of the tank cycling: (about 3 weeks into a cycle)
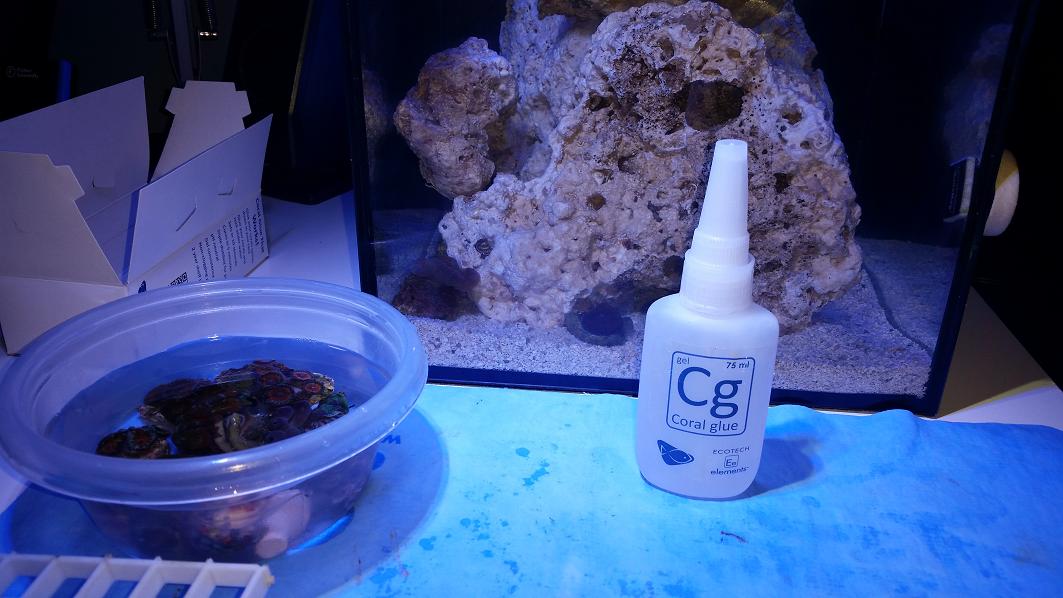
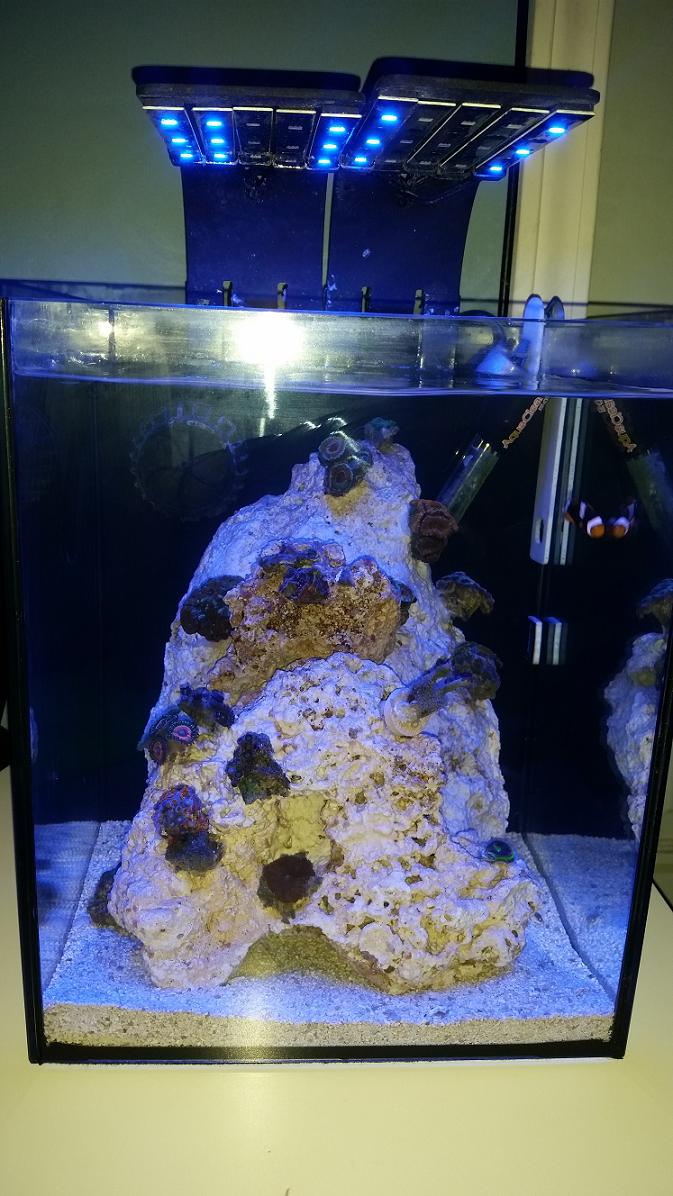
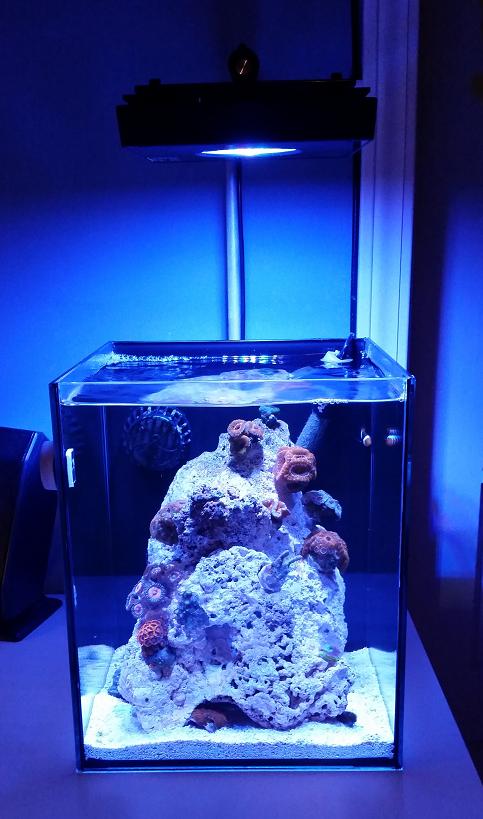
Once the tank is done cycling, I will add the sand from the previous tank, allow it to sit for a couple days while I retest the water, and then add any of the corals I wish to keep from my last setup")
Thanks for looking!
The original had sprung a small leak, and when I contacted Ecoxotic, they were nice enough to send me a replacement tank. So technically, the tank didnt cost me anything. I have since patched the original with some silicone to hold up while I sell off the livestock. Here is a shot of both tanks...
I then cut out a piece of cardboard the dimensions of the tank and started to arrange some dry rock that I had lying around. My last tank had too many interlocking pieces, and it was a pain to arrange anything in the tank. I wanted to go with 2 or 3 pieces at the most, so that it would be very simple. I took the large piece and banged it around on the sidewalk for a while, trying to get a good shape. I was happy with the big piece, because it has a large cylindrical gap in the back of the rock, which can be used to help hide the heater. Here is the only pic I managed to take of the experimental aquascaping process:
Since then, I taped off the tank and painted the back glass panel black. I used a can of Plasti-dip. Im not sure if other hobbyists have used the stuff before, but I decided to give it a try since any paint I have used before has peeled at the top of the tank, due to the inevitable salt creep. On this new tank, Im going to build a free standing light fixture, to minimize things hanging on the tank, and therefore the salt creep.
Here are some pics of the tank cycling: (about 3 weeks into a cycle)
Once the tank is done cycling, I will add the sand from the previous tank, allow it to sit for a couple days while I retest the water, and then add any of the corals I wish to keep from my last setup
Thanks for looking!