FYI, I did my lights out of 8020 as well. Mounted to the wall, and built sliding trays to move them for easier tank access. Let me know if you want to see them.A really tough part of this project was the lights. This was now around 2017ish and I knew lights were changing and I was now working for a lighting company that is now out of business. I wanted something that I could adapt if needed but also not rust away. I decided to go the 8020 option.
Here are some of the design I was looking at.

Navigation
Install the app
How to install the app on iOS
Follow along with the video below to see how to install our site as a web app on your home screen.
Note: This feature may not be available in some browsers.
More options
You are using an out of date browser. It may not display this or other websites correctly.
You should upgrade or use an alternative browser.
You should upgrade or use an alternative browser.
450 Gallons, My Peninsula build.
- Thread starter wishntoboutside
- Start date
- Tagged users None


Serious question, in the 7 years this has been set up, how many times has someone slammed that door against the tank?
OP
OP
8020 stuff is amazing. I wish I would have done the stand with it. Without jumping ahead it has now had three style of lights on it so far.FYI, I did my lights out of 8020 as well. Mounted to the wall, and built sliding trays to move them for easier tank access. Let me know if you want to see them.

OP
OP
I am dying you made me get up and look where it hits. lol. the door know would hit the steel frame below if it hits. there are no marks, but I have this cement dog that is used to hold door open every now and then. it blocks it.Serious question, in the 7 years this has been set up, how many times has someone slammed that door against the tank?
You are a brave brave man. My eyes went right to that shiny ball of death on the door. Cement dog putting in the work.I am dying you made me get up and look where it hits. lol. the door know would hit the steel frame below if it hits. there are no marks, but I have this cement dog that is used to hold door open every now and then. it blocks it.
OP
OP
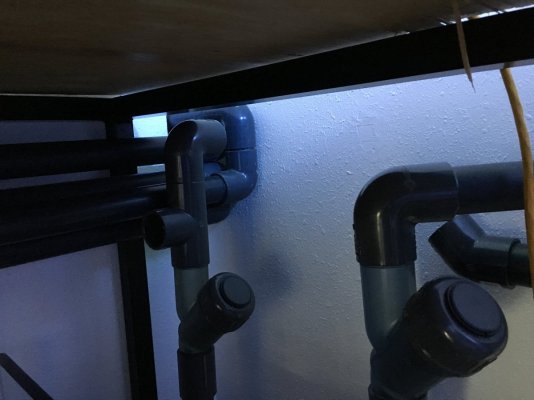
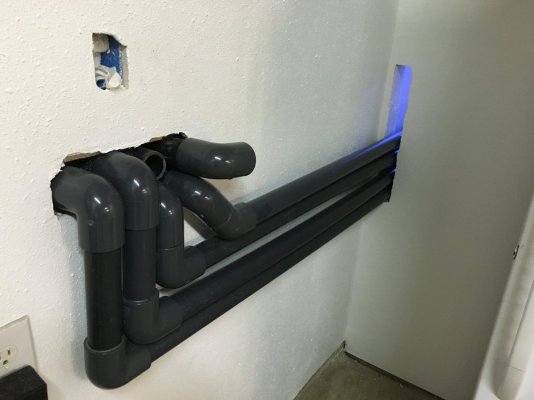
This was truly and exciting time as I had a lot of the equipment acquired. It was close to getting wet. I got the inline heater 2000 watt that i was looking for. I think I was on my forth order of parts thru supplyhouse.com and still needing things.
I got 2 Royal Exclusive RD3 230 watt pumps and a 300 skimmer. I never got a skimmer in a fancy bag before. I was not sure if smaller pumps would work as one pump was going thru an 80 watt UV and a outside chiller. The second pump was used as a return and manifold for things. I always liked the idea of two return pumps incase one dies.
I got 2 Royal Exclusive RD3 230 watt pumps and a 300 skimmer. I never got a skimmer in a fancy bag before. I was not sure if smaller pumps would work as one pump was going thru an 80 watt UV and a outside chiller. The second pump was used as a return and manifold for things. I always liked the idea of two return pumps incase one dies.

OP
OP
OP
OP
OP
OP
Around this point is when I was putting the pumps on there was an issue with one of the red dragon pumps. For those that do not know these pumps there is a Johnguest fitting on the back. this is to move water and cool motor better i am assuming. The fitting was broke. Called into support on this. I was advised that pump may have fell off a pallet and it is an easy fix. just glue it. My response was not good on this to say it mildly. I decided to send the pump to Scott and he gave it to me at a show. kind of sucked buying a brand new pump and ending that why but it is what it is. This was just another delay in getting things going.

OP
OP
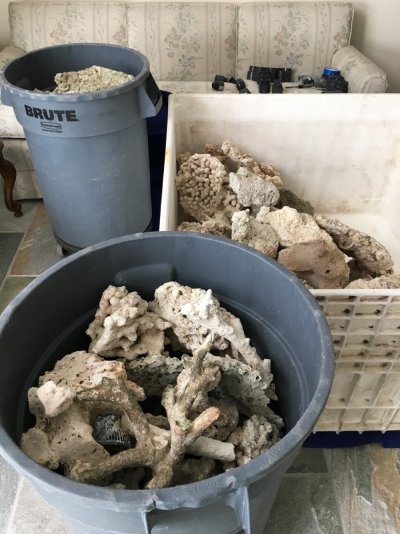
Here are some pictures of the process of the aquascaping. I think it was about two weeks until I settled. Some of was done in marco and hd mortor to build the arches. The thing about using cement. You truly figure it out how to do it it right after you are done. Gloves, popsicle sticks to spread. Brace all before applying cement as you do not want it to wiggle. let dry for a day and then flip or even add where you missed. mix small amounts of cement at a time.
Attachments
OP
OP
I will have better pictures to show here shortly as I will edit and add more pictures in the process.


OP
OP
Around this time I went to my 2nd out of state Reefapoolza. I had already been to Orlando. This time it was New York. I was working for Euroquatics at the time. I took this home with me on my pallet of trade show items.

OP
OP
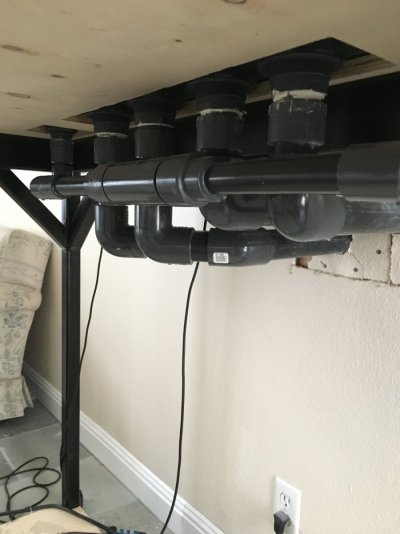
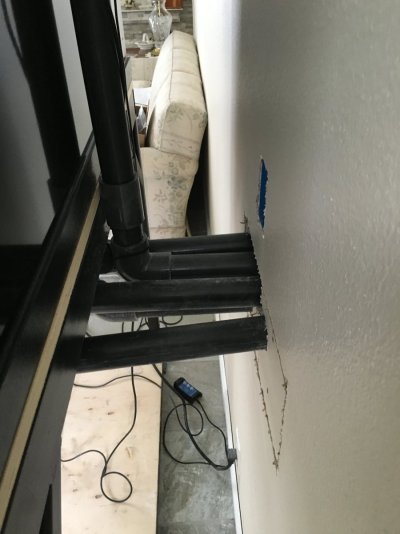
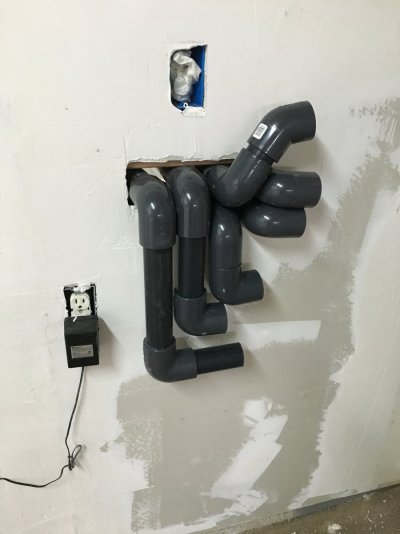
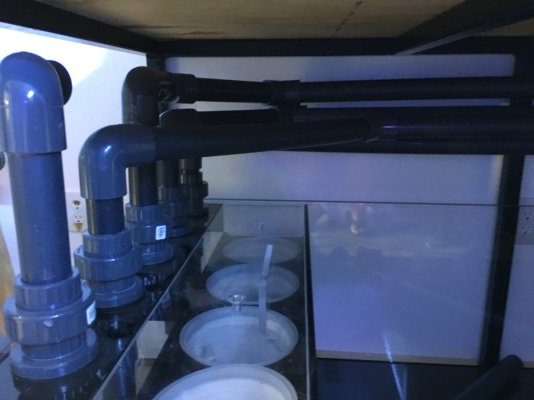
I failed to mention on the build I wanted to use Seaswirls for better random flow and really did not want the look of powerbeads one the Peninsula side.
OP
OP
Here are a couple pictures of my cement work =)


OP
OP
OP
OP
OP
OP
This was on August 9th, 2016 The aquarium was officially wet.
These views below have been my favorite viewing points since day one.
 Top down views are just amazing.

These views below have been my favorite viewing points since day one.

OP
OP
I was also in the progress of doing a fresh new canvas in the fish room.


OP
OP
I let the water run about a month or so, thru some shrimp to start the cycle. I also used some rock from an older system to go in the sump. lots of sponges. white, and yellow on the rock. I knew this would get it going quickly. It seemed like it was all down hill at this point. I was adding more fish.


Similar threads

- Replies
- 9
- Views
- 282
- Replies
- 38
- Views
- 2,258
- Replies
- 28
- Views
- 369


