Annnnnnd.... we're back. 
After a few months haitus (not counting the office nano), d2mini is back in the game!
A little background for those that do not know me, or a refresher for those that do...
My first real build (after getting my feet wet in reef keeping on a couple newbie disaster tanks) was a 135g cube that ended up being nicknamed "The Ecotech Cube" due to it being a bit of a Radion poster child in their marketing.
This tank went very well for a few years but life changes and we decided to move to a larger home, out in suburbia.
The new home afforded much more space for a build, including a full blown fish room in the garage.
Then after some unfortunate scratches to the tank and some changes I wanted to make to the fishroom, Part II of this build was spawned.
https://www.reef2reef.com/threads/d2minis-200g-reeftastic-reef-part-deux.178519/
But alas, life continues to change, and we decided that suburbia wasn't the best thing for our family. So after almost 4 years, it was time for this build to come to a close and start a new chapter both in ever day life and reefing. About 4 months since tearing down the 200g and selling off most of it, it's time to begin again!
So here we are.
Where to start.... hmmmm....
Well, let's start with the title of this build!
The move back into town required two things. A little belt tightening, and the loss of a lot of space! We went from a brand new 3500 sq ft home with 3 car attached garage to a 1960's (but completely remodeled) 2500 sq ft home with detached garage. So right off the bat, 1000 sq ft LESS. Second, no garage fish room being that it is not only detached, but also has no water supply or drain system. And the third little snag is that when the house was gutted and remodeled, they created a very open floor plan. Nice to live in, but this leaves very little wall space for a large aquarium! What were they thinking?! So not only is space a limitation in more than one way, but the location of the tank also needed a couple other considerations. One, I wanted it to be in a decent spot for enjoyment. The previous build was great, but it was outside of the main living space tucked away in the dining room. You had to go into that room to enjoy it. Second, I wanted to be able to run ATO and possibly AWC water lines from a water mixing station directly to the sump.
So with limited space, I'm forced to downsize. Not only will the tank be smaller, but no separate fish room. I'm back to "roughing it" with all equipment being shoved inside the stand. Oh the hardships some of us must face. The title of this thread is a bit of a play on words, combining the need to really pair down and focus on what is essential to my little reef, and my love of photography which is always a big part of my builds. I can compare it to my Leica M camera system, which is the ultimate in design and function, paired down to the bare essentials of photography.
With this in mind as I design this build, I'm making careful choices in equipment with specific attributes in mind:
It has to be necessary. Maybe not necessary to run a reef, but necessary to run it the way I want to run it.
It has to be high quality. Buy quality once, not junk several times.
It has to be proven. Either by my own past experience or by the experience of others.
It has to make my life easier.
It has to be beautifully designed if out in the open (e.g., the tank, stand, etc)
One other important aspect of the design is that I've decided this tank will be run using the "Triton Method". Mainly because the whole concept behind it, including running a large refugium for natural filtration, aligns with my own personal reef keeping mantra. So my sump will be custom built with certain design considerations for Triton.
Now let's look at the space!
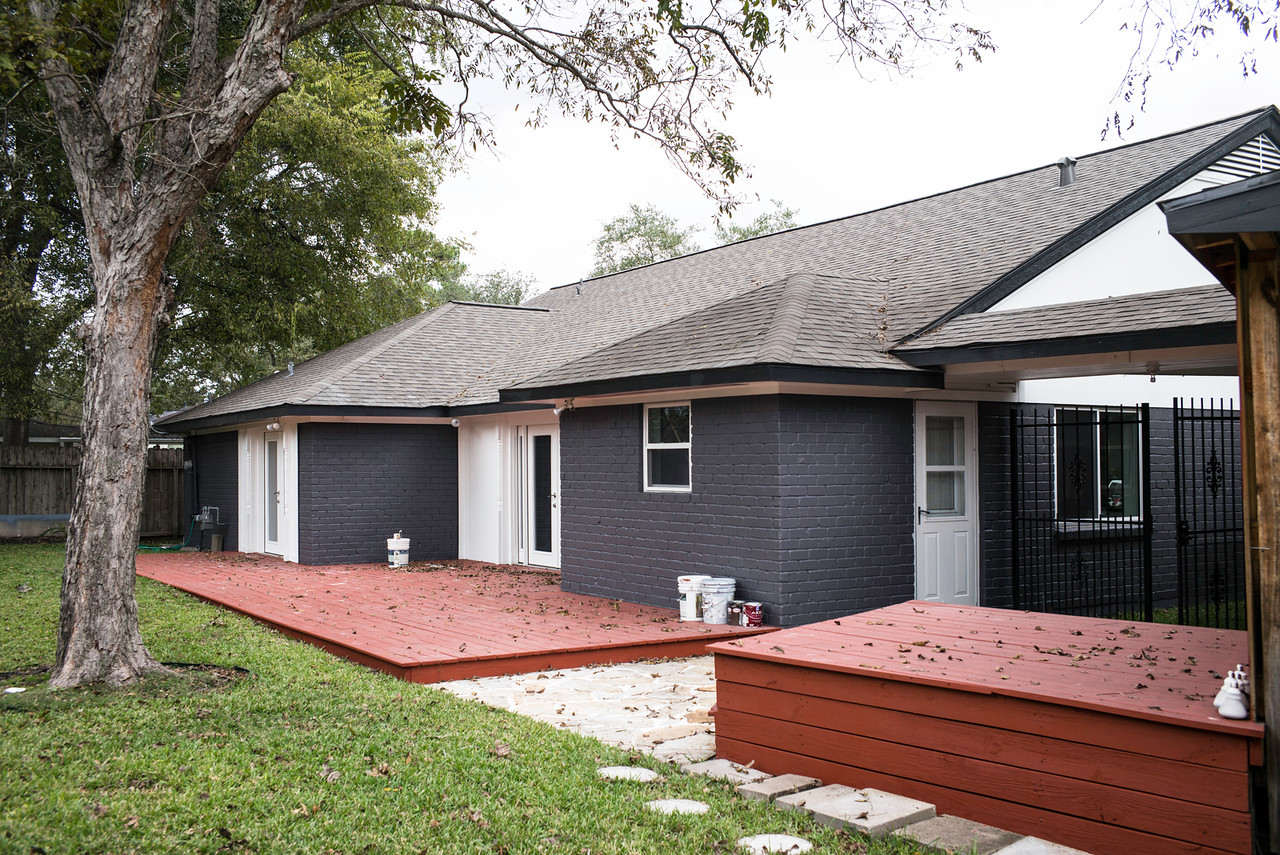
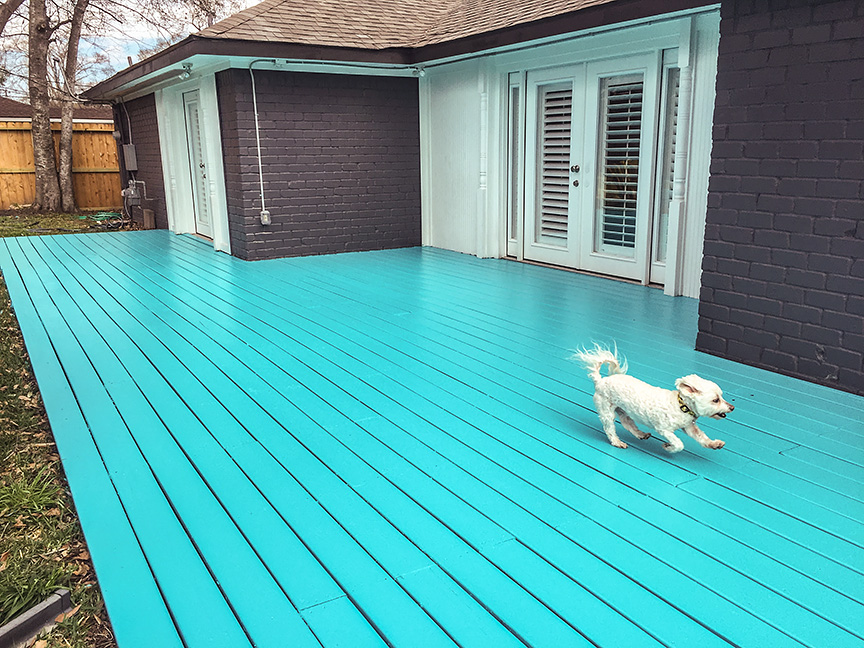
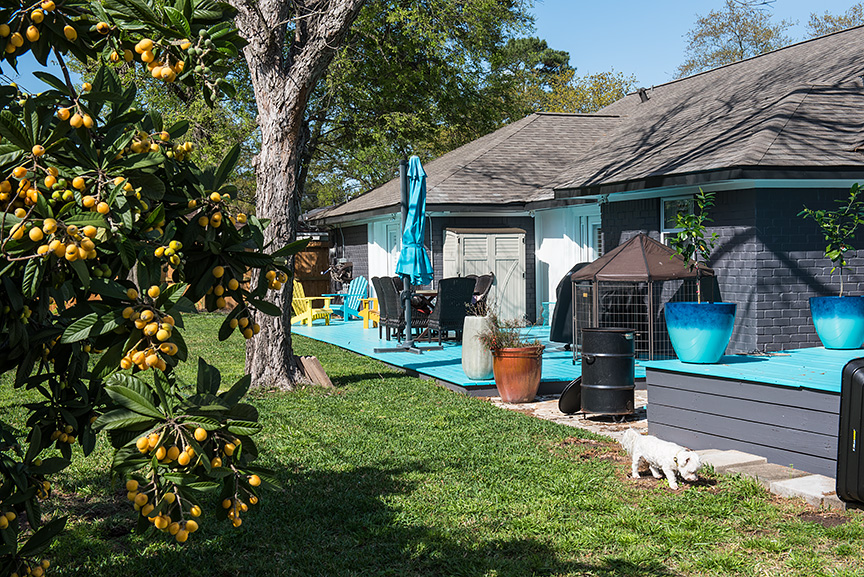
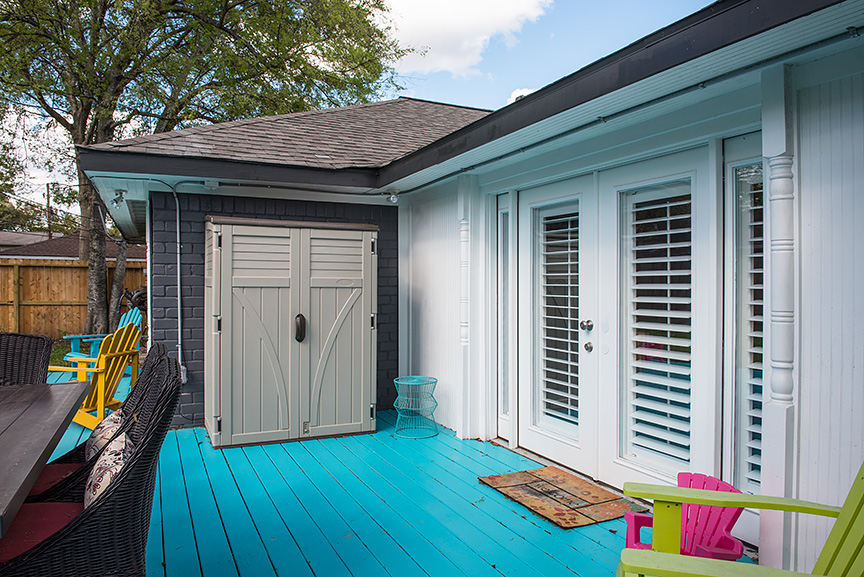
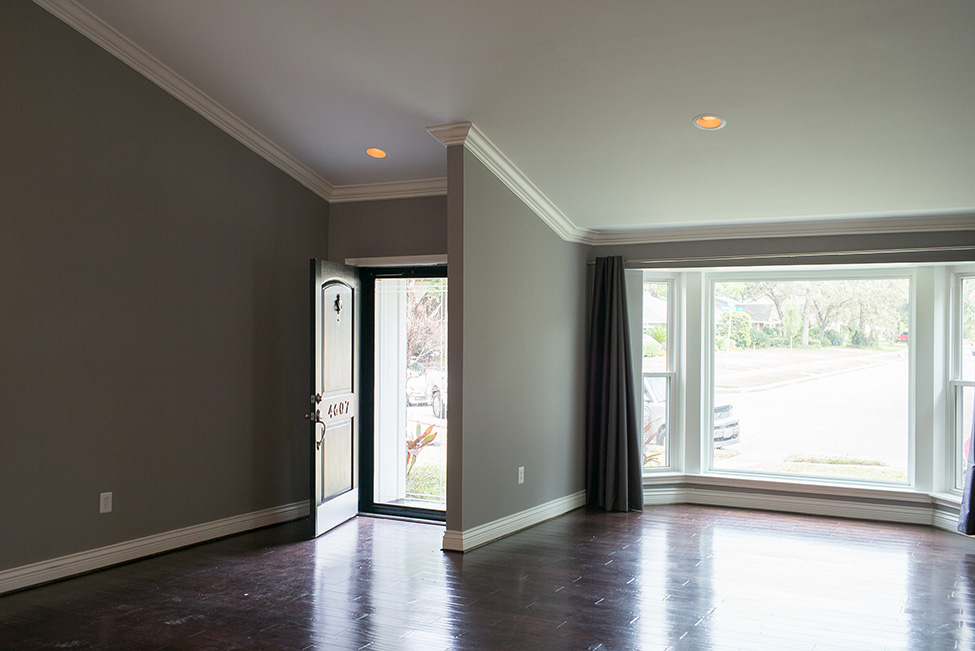
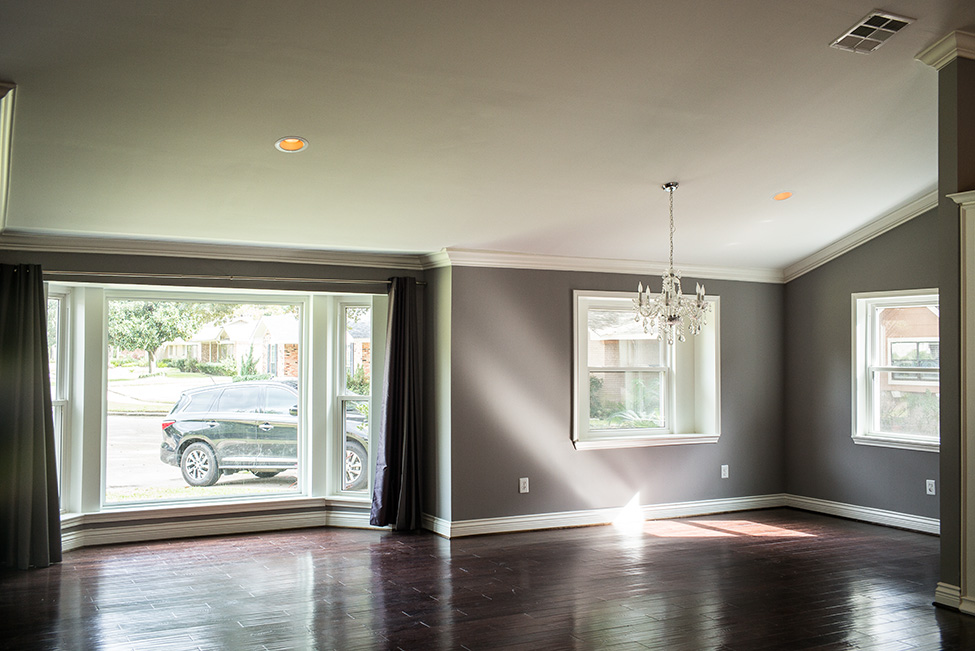
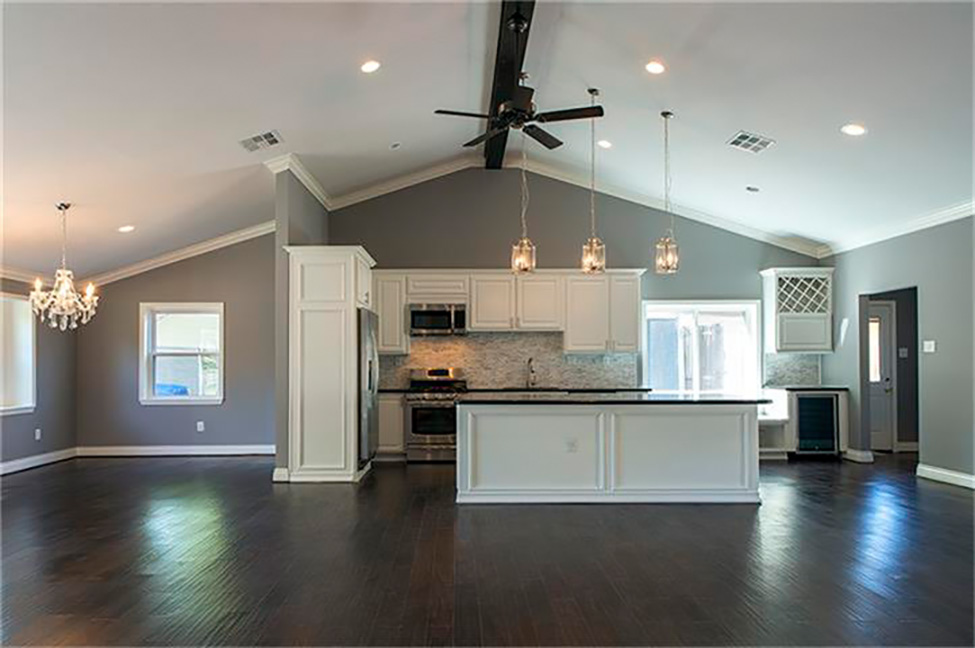
Here's a few pics of the house from the real estate listing which should give you somewhat of a 360 degree view of what I'm working with and the location I've chosen...

Now one of the reasons I haven't been able to start the build yet is because we had some other projects to take care of first. The big one being a complete home office build-out. The space you see in the pics with the chandelier was supposed to be the dining room, and I don't know what the space in front of the bay window was supposed to be. A second sitting area??? We needed a home office and didn't have the extra bedroom for it, so we moved the dining room to the bay window, put up a dividing wall between the two areas, built-in desks/cabinetry, and extended the kitchen cabinetry next to the refrigerator! That's all being finished up tomorrow I believe so pics coming later this week of all that.
So by now, if you've even read all of the above (I'm sure many of you have skimmed), you are probably wondering what exactly I'm doing for a tank!
Good question.
And since I don't have it yet, I'm not going to answer that!
And if I've talked to you locally, I ask that you please keep your filthy mouth shut.
What I am going to do is drop two important hints.
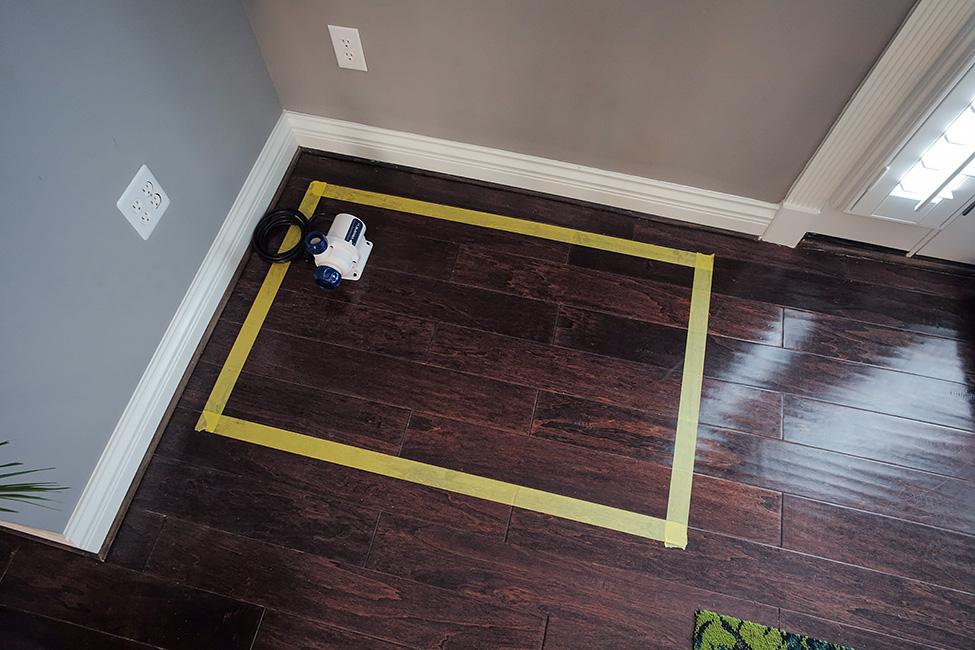
First, you can get an idea of the size with the following pic (and the one above).
My first piece of equipment arrived! Literally the heart of the whole system. An Ecotech Vectra L1.
And I mapped out the dimensions of the stand with some tape.
Second, since I sold off everything from the previous build and had a nice reserve in my paypal account... and had to downsize a bit... i'd figured I'd splurge a little on the tank. Keeping in mind the quality and beauty I mentioned earlier.
Well, I think that is as good a start as any for a build thread.
I've got more equipment arriving this week so I will post that as it comes in.
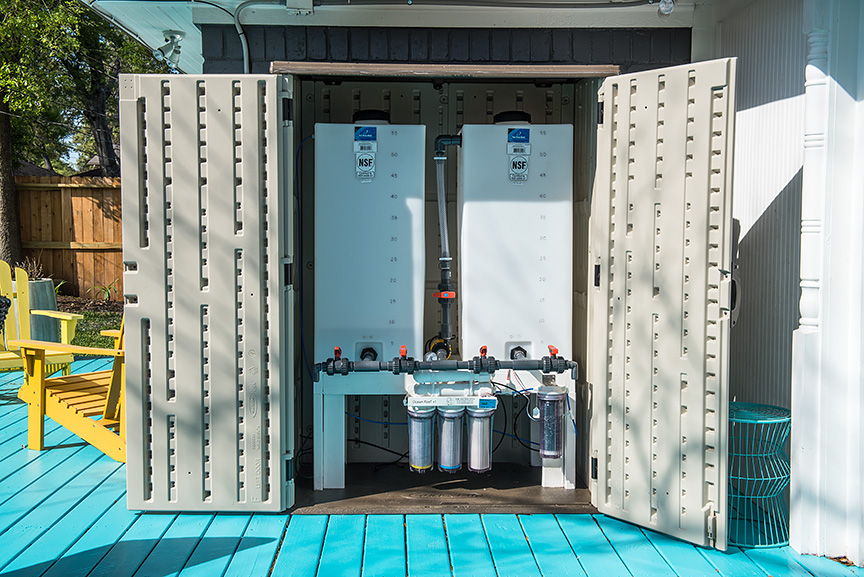
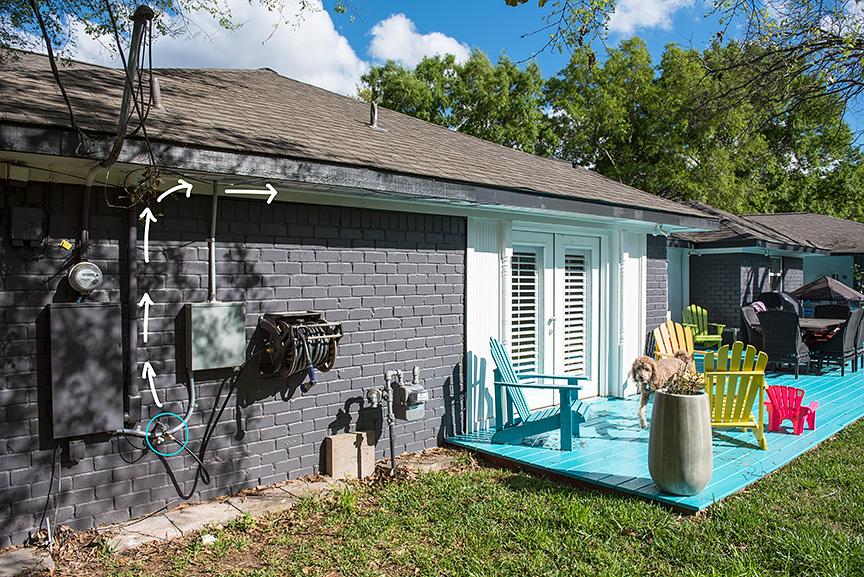
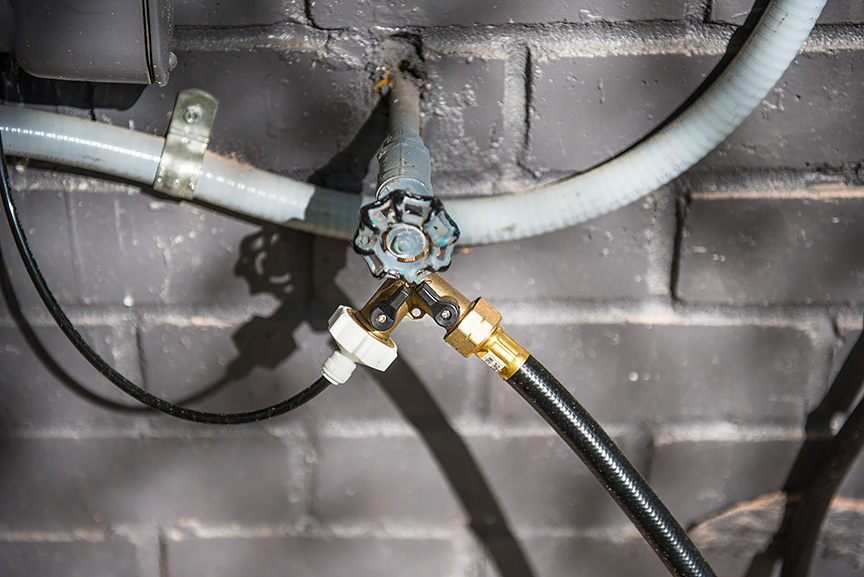
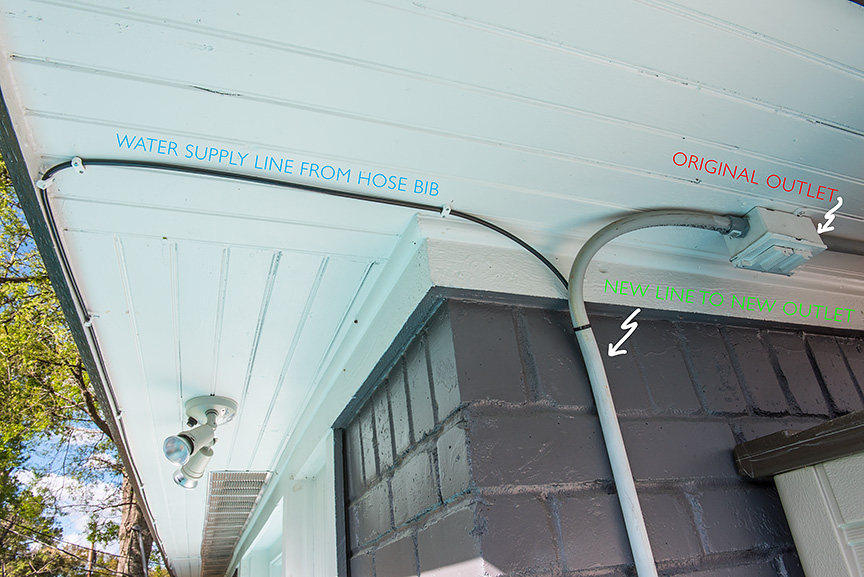
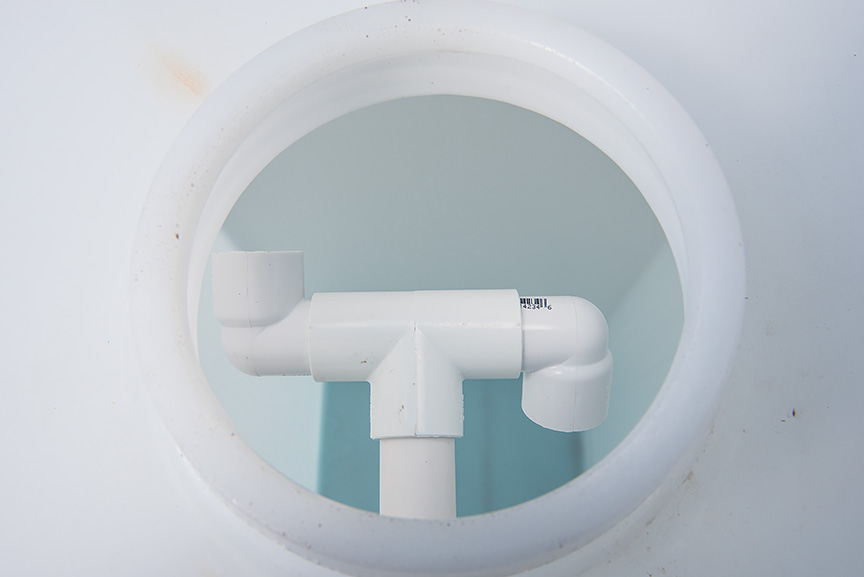
And this afternoon I will post the first big project I completed for this build... the water changing station! Which had it's own challenges. Some of you have seen it already in my nano build thread but it was really built for this system. Stay tuned!
After a few months haitus (not counting the office nano), d2mini is back in the game!
A little background for those that do not know me, or a refresher for those that do...
My first real build (after getting my feet wet in reef keeping on a couple newbie disaster tanks) was a 135g cube that ended up being nicknamed "The Ecotech Cube" due to it being a bit of a Radion poster child in their marketing.
This tank went very well for a few years but life changes and we decided to move to a larger home, out in suburbia.
The new home afforded much more space for a build, including a full blown fish room in the garage.
Then after some unfortunate scratches to the tank and some changes I wanted to make to the fishroom, Part II of this build was spawned.
https://www.reef2reef.com/threads/d2minis-200g-reeftastic-reef-part-deux.178519/
But alas, life continues to change, and we decided that suburbia wasn't the best thing for our family. So after almost 4 years, it was time for this build to come to a close and start a new chapter both in ever day life and reefing. About 4 months since tearing down the 200g and selling off most of it, it's time to begin again!
So here we are.
Where to start.... hmmmm....
Well, let's start with the title of this build!
The move back into town required two things. A little belt tightening, and the loss of a lot of space! We went from a brand new 3500 sq ft home with 3 car attached garage to a 1960's (but completely remodeled) 2500 sq ft home with detached garage. So right off the bat, 1000 sq ft LESS. Second, no garage fish room being that it is not only detached, but also has no water supply or drain system. And the third little snag is that when the house was gutted and remodeled, they created a very open floor plan. Nice to live in, but this leaves very little wall space for a large aquarium! What were they thinking?!
So not only is space a limitation in more than one way, but the location of the tank also needed a couple other considerations. One, I wanted it to be in a decent spot for enjoyment. The previous build was great, but it was outside of the main living space tucked away in the dining room. You had to go into that room to enjoy it. Second, I wanted to be able to run ATO and possibly AWC water lines from a water mixing station directly to the sump.So with limited space, I'm forced to downsize. Not only will the tank be smaller, but no separate fish room. I'm back to "roughing it" with all equipment being shoved inside the stand. Oh the hardships some of us must face.
The title of this thread is a bit of a play on words, combining the need to really pair down and focus on what is essential to my little reef, and my love of photography which is always a big part of my builds. I can compare it to my Leica M camera system, which is the ultimate in design and function, paired down to the bare essentials of photography.With this in mind as I design this build, I'm making careful choices in equipment with specific attributes in mind:
It has to be necessary. Maybe not necessary to run a reef, but necessary to run it the way I want to run it.
It has to be high quality. Buy quality once, not junk several times.
It has to be proven. Either by my own past experience or by the experience of others.
It has to make my life easier.
It has to be beautifully designed if out in the open (e.g., the tank, stand, etc)
One other important aspect of the design is that I've decided this tank will be run using the "Triton Method". Mainly because the whole concept behind it, including running a large refugium for natural filtration, aligns with my own personal reef keeping mantra. So my sump will be custom built with certain design considerations for Triton.
Now let's look at the space!
Here's a few pics of the house from the real estate listing which should give you somewhat of a 360 degree view of what I'm working with and the location I've chosen...
Now one of the reasons I haven't been able to start the build yet is because we had some other projects to take care of first. The big one being a complete home office build-out. The space you see in the pics with the chandelier was supposed to be the dining room, and I don't know what the space in front of the bay window was supposed to be. A second sitting area??? We needed a home office and didn't have the extra bedroom for it, so we moved the dining room to the bay window, put up a dividing wall between the two areas, built-in desks/cabinetry, and extended the kitchen cabinetry next to the refrigerator! That's all being finished up tomorrow I believe so pics coming later this week of all that.
So by now, if you've even read all of the above (I'm sure many of you have skimmed), you are probably wondering what exactly I'm doing for a tank!
Good question.
And since I don't have it yet, I'm not going to answer that!
And if I've talked to you locally, I ask that you please keep your filthy mouth shut.
What I am going to do is drop two important hints.
First, you can get an idea of the size with the following pic (and the one above).
My first piece of equipment arrived! Literally the heart of the whole system. An Ecotech Vectra L1.
And I mapped out the dimensions of the stand with some tape.
Second, since I sold off everything from the previous build and had a nice reserve in my paypal account... and had to downsize a bit... i'd figured I'd splurge a little on the tank. Keeping in mind the quality and beauty I mentioned earlier.
Well, I think that is as good a start as any for a build thread.
I've got more equipment arriving this week so I will post that as it comes in.
And this afternoon I will post the first big project I completed for this build... the water changing station! Which had it's own challenges. Some of you have seen it already in my nano build thread but it was really built for this system. Stay tuned!
Last edited: