I put together a little build thread of the sump I just built in case others can learn from it.
Materials list:
40B sump tank ($40)
1 piece of glass 17 3/8" x 10 1/2" The height of this piece is dependant on how much depth your skimmer requires ($14)
3 pieces of glass 17 3/8" x 9" ($42)
2 tubes of silicone - I used GE2 100% silicone from Home Depot ($13)
caulk gun ($15)
tri square ($5)
masking tape ($2)
sharpie ($1)
roll of paper towels ($1)
glass cleaner ($1)
Total: $133
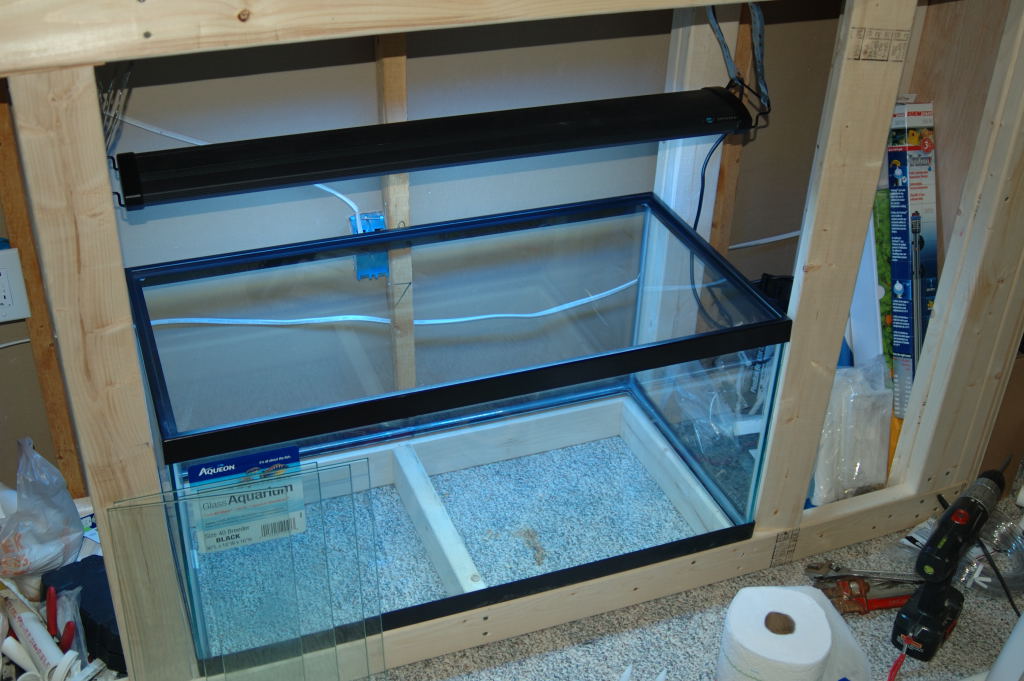
I built my sump using a 40 Breeder tank that I picked up at Petco's $1/gallon sale.
First thing is to find a place where you have good access and good light to work on the sump.
Materials

I had my glass cut and fully polished on all sides.

I built my tank in place since I had good light and access
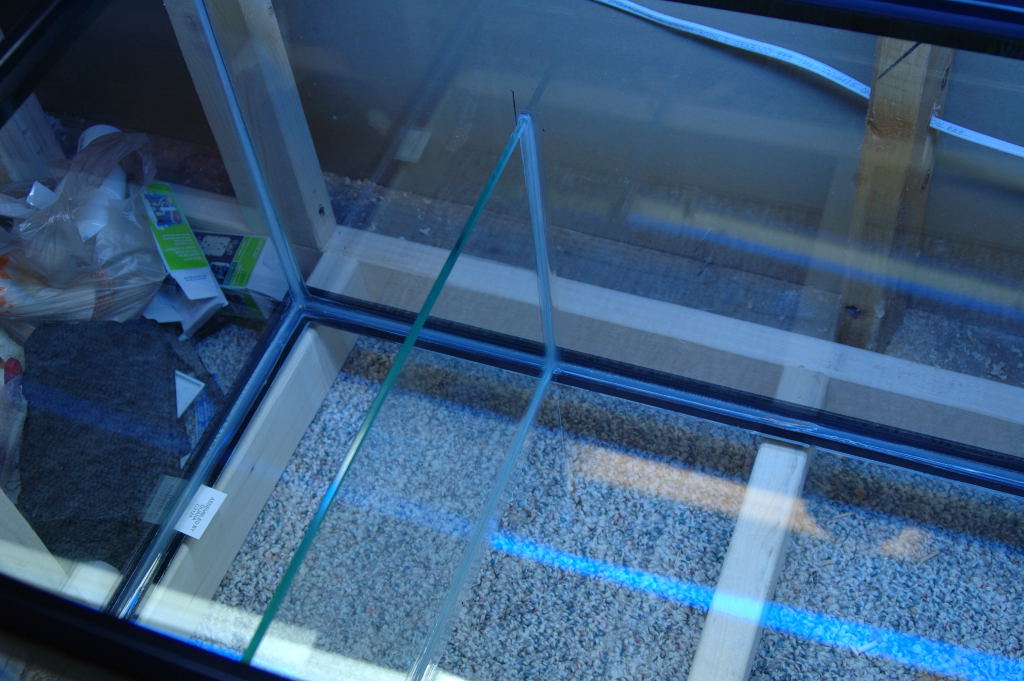
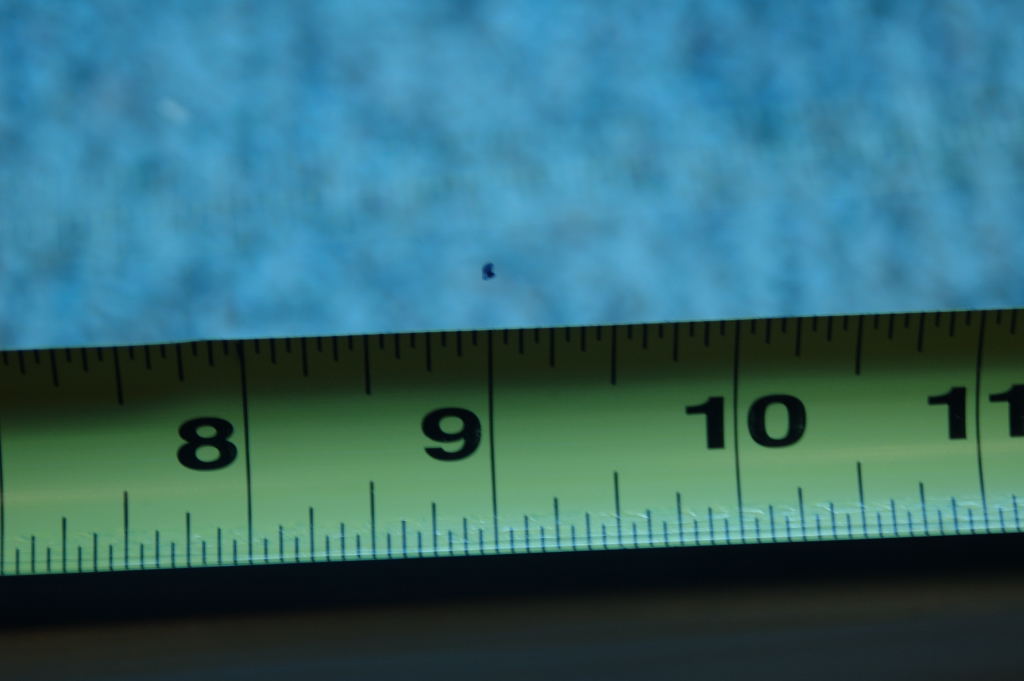
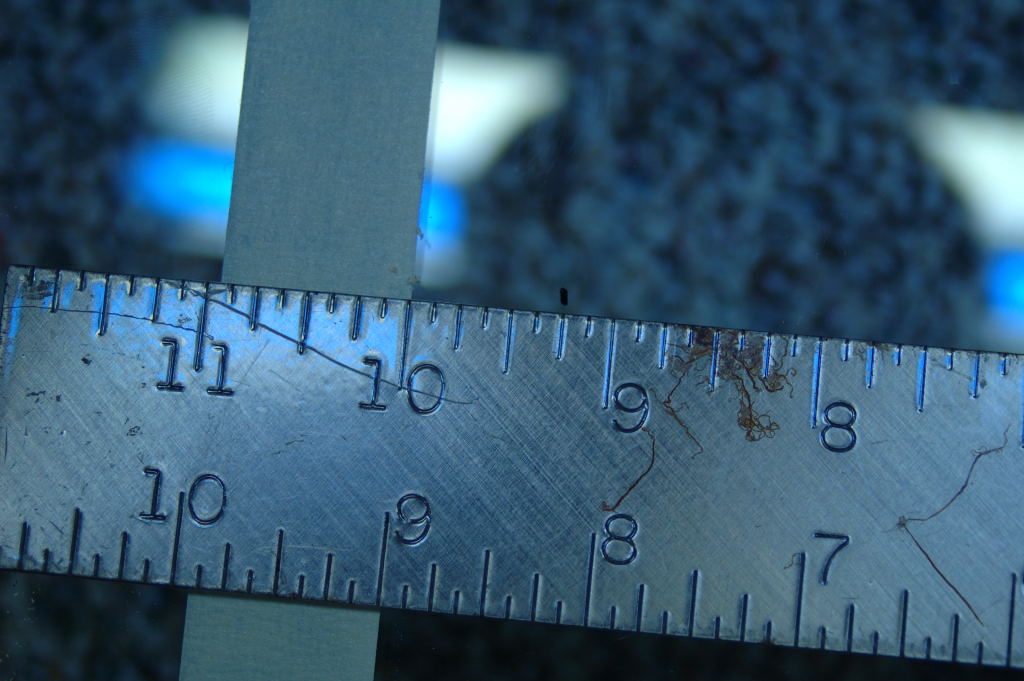
First measure to see how wide to make your first chamber. This will house your skimmer and where your overflows will empty. I placed my skimmer in the tank and made it about an inch wider at 9".
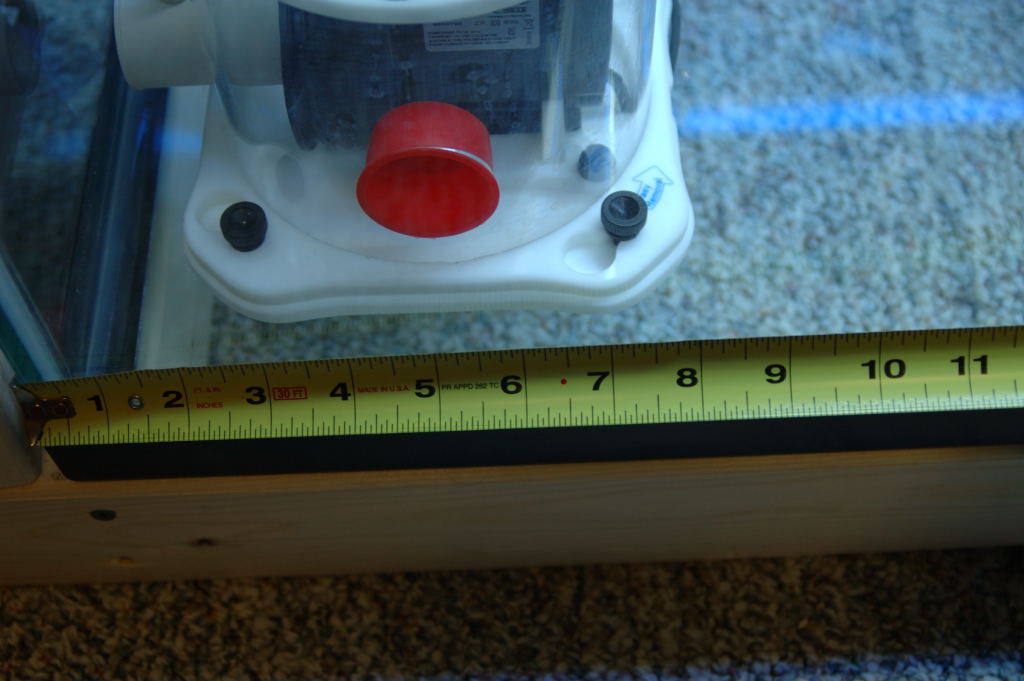
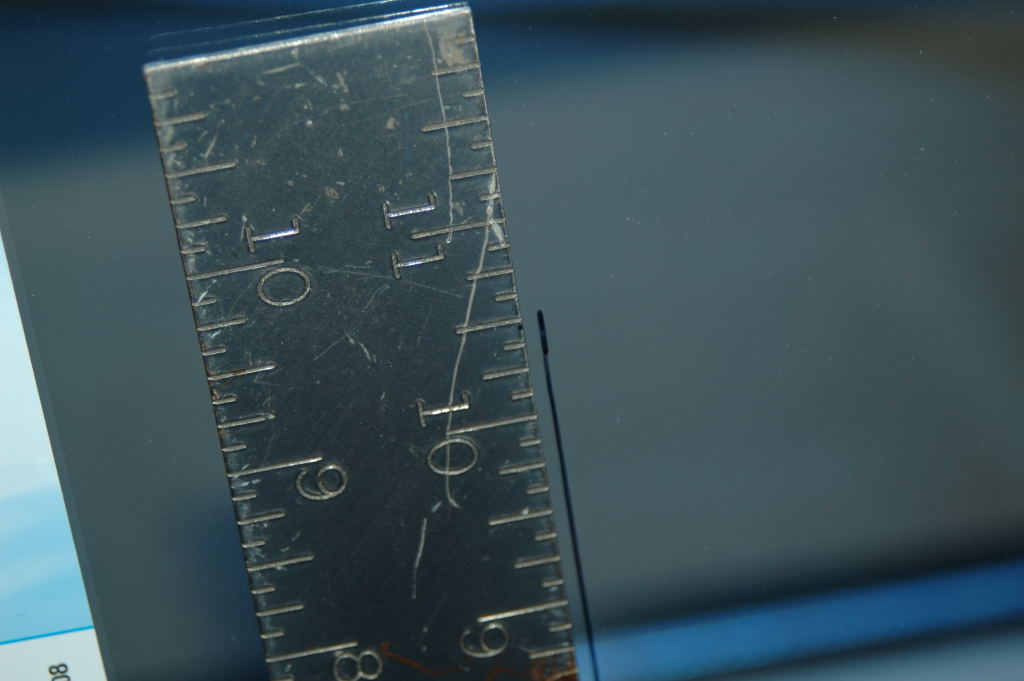
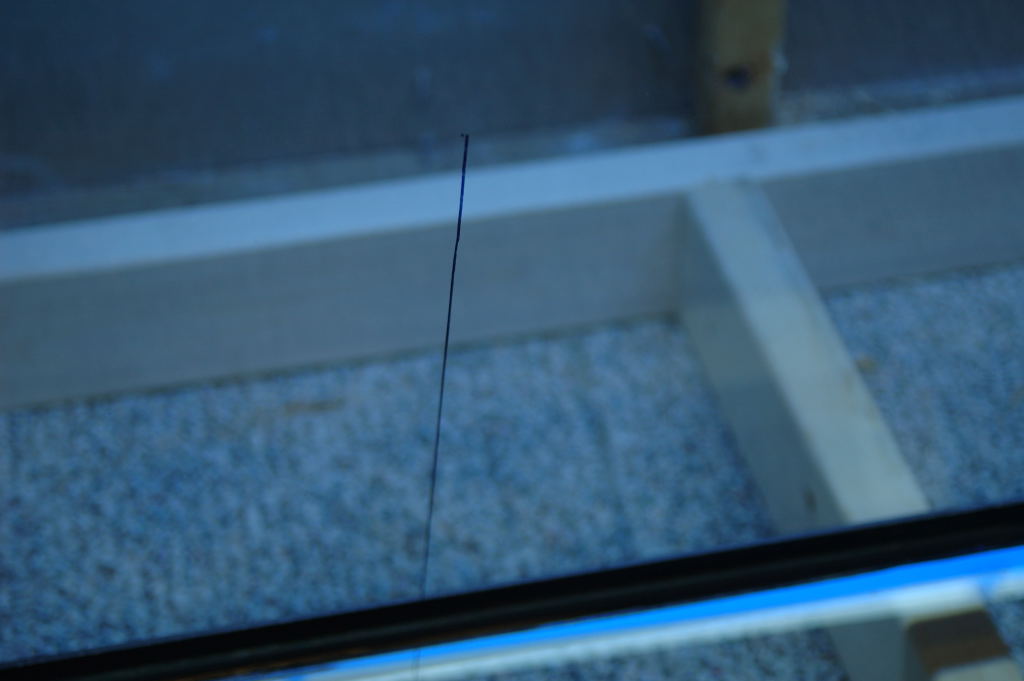
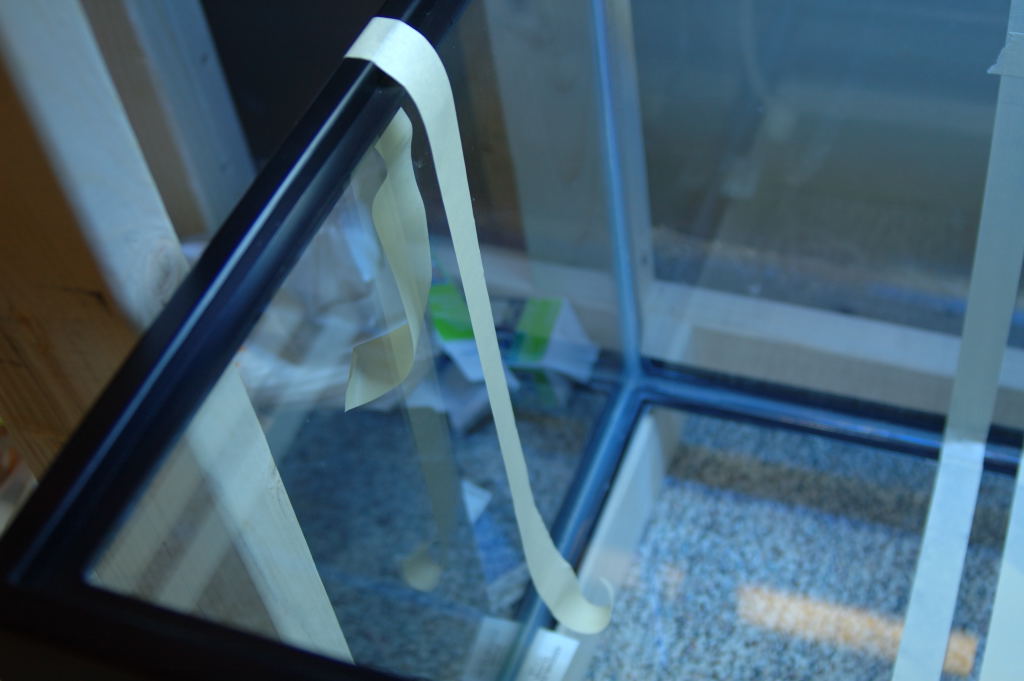
Make a small mark with the sharpie on the outside of the tank - sharpie will come off with the glass cleaner later.
Use your tri-square to draw a line up to the top of where the glass will go.

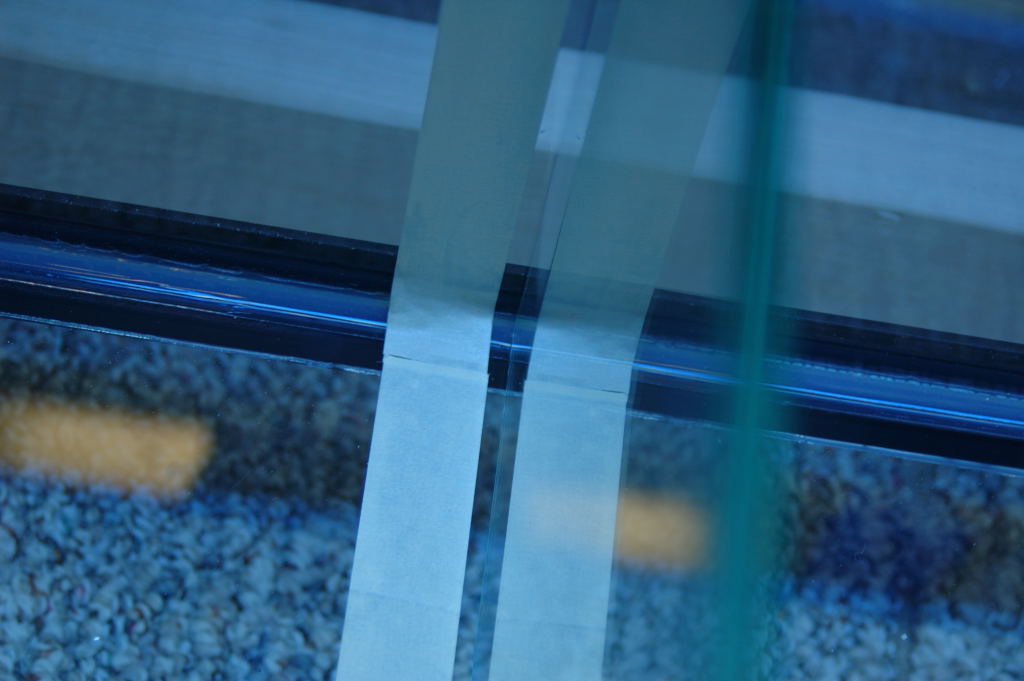
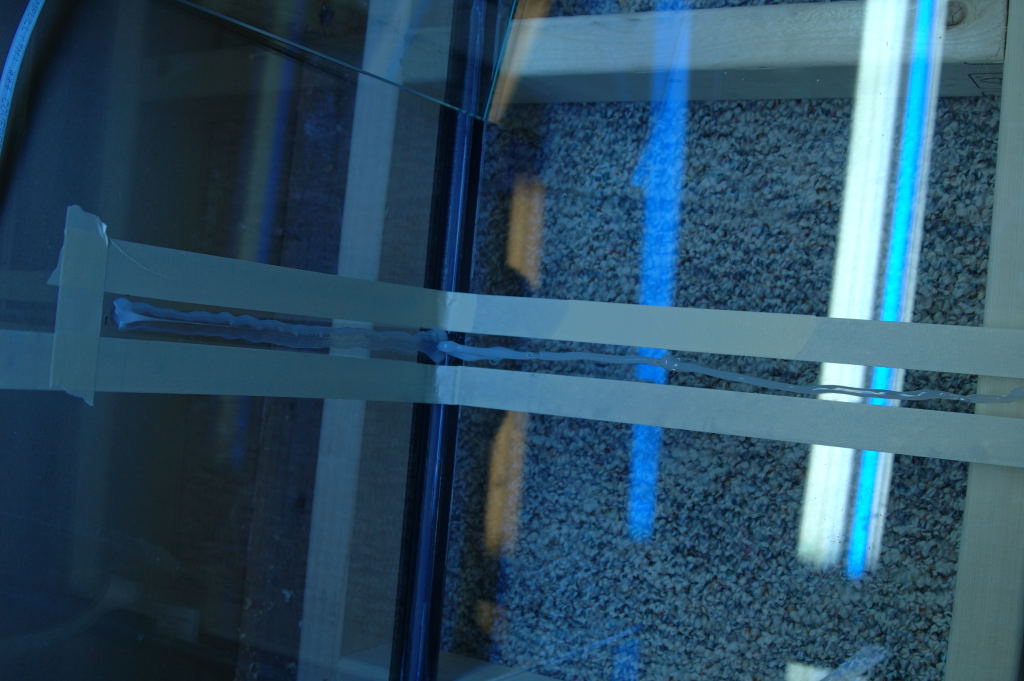
Now we will make the guide lines for the glass and silicone using masking tape. The tape is used as a guide and to make clean lines. I used the thickness of the glass (1/4" x 3 ) for the width of the gap between the tape lines. This gives you room for the glass pane and caulk lines on both sides.
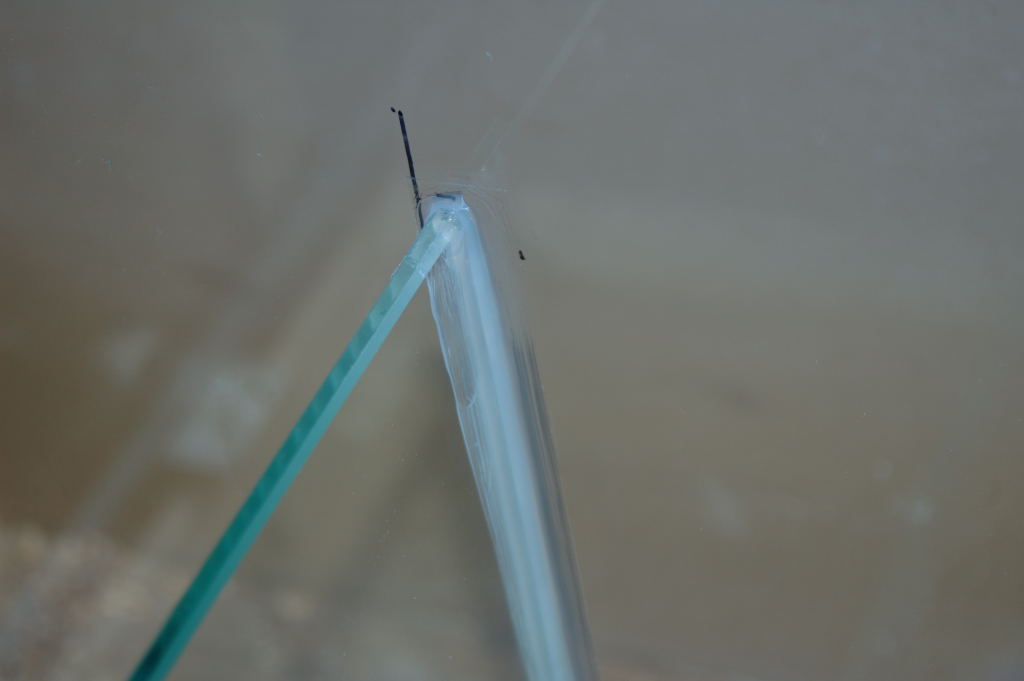
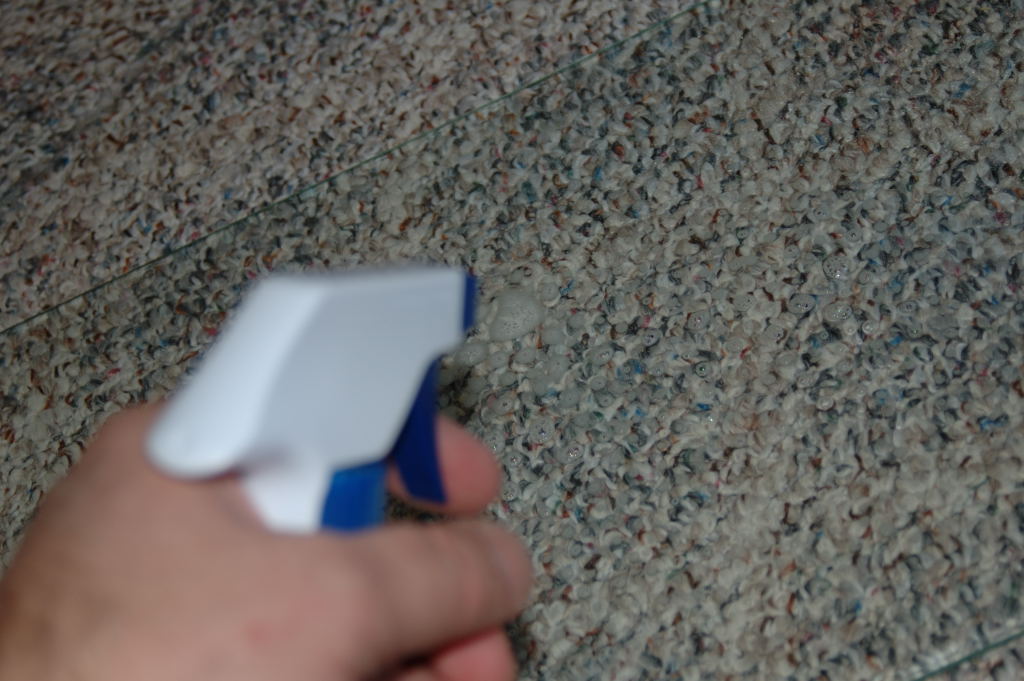
Clean your glass very well on both sides. Any grease will inhibit the silicone from sticking. Once clean, handle the glass only from the top side that will not have any silicone on it.
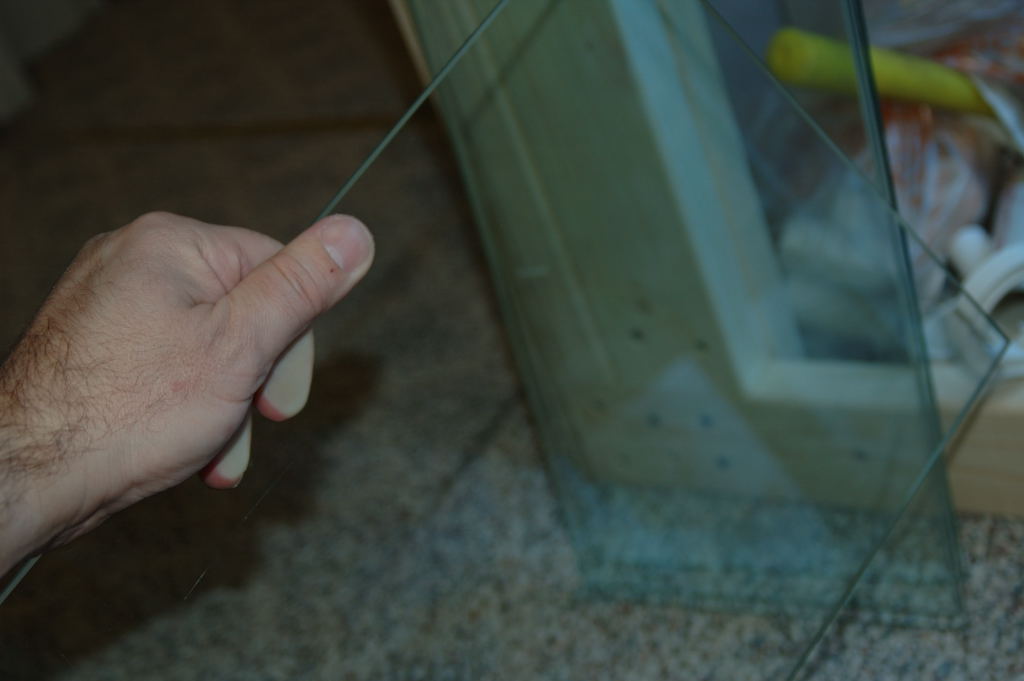
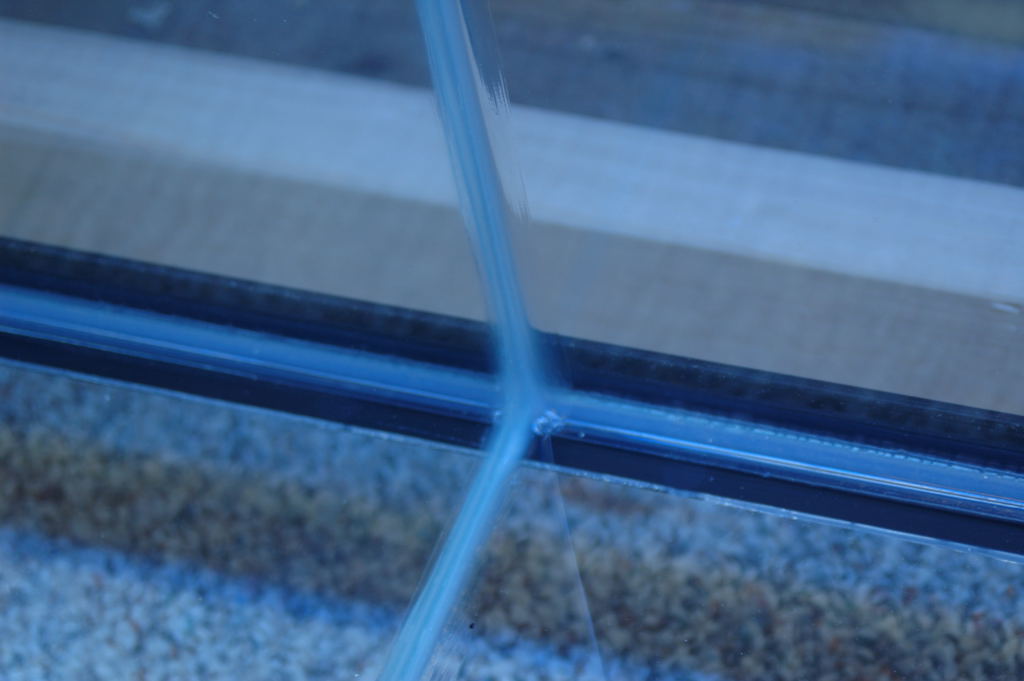
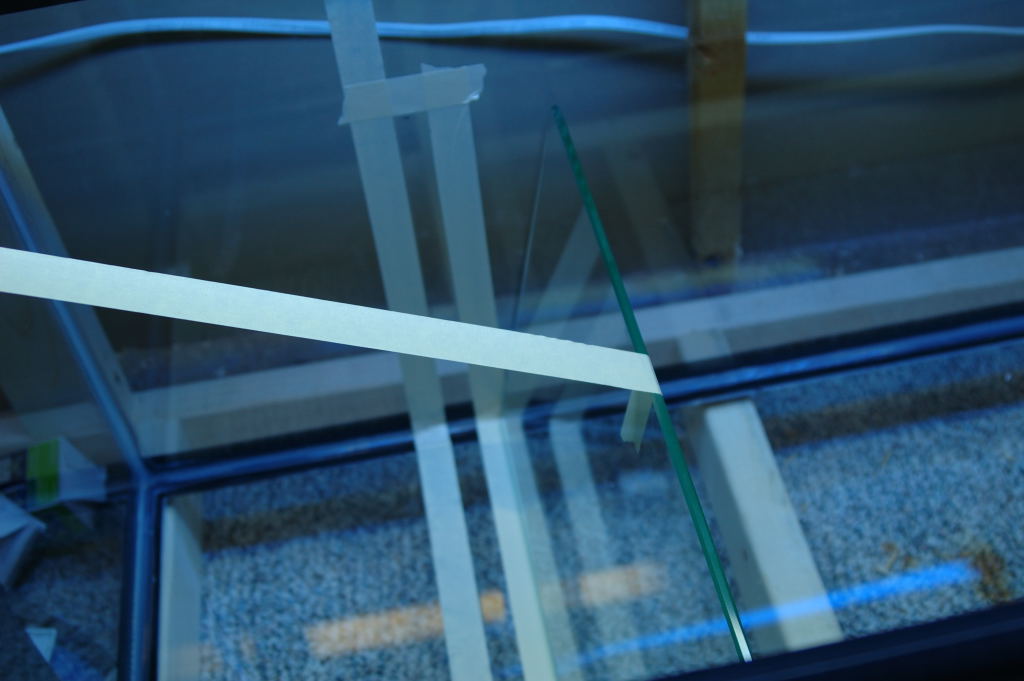
If you have your glass cut at the right width, it will rest on the silicone used in the tank construction and make the perfect gap below the pane for the silicone bead!
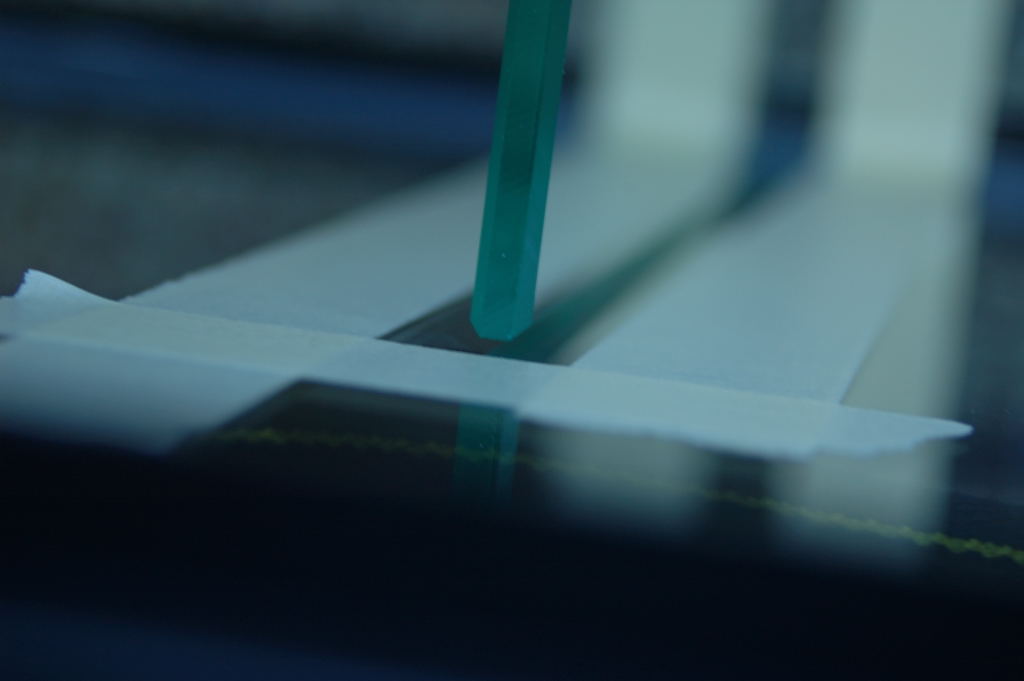
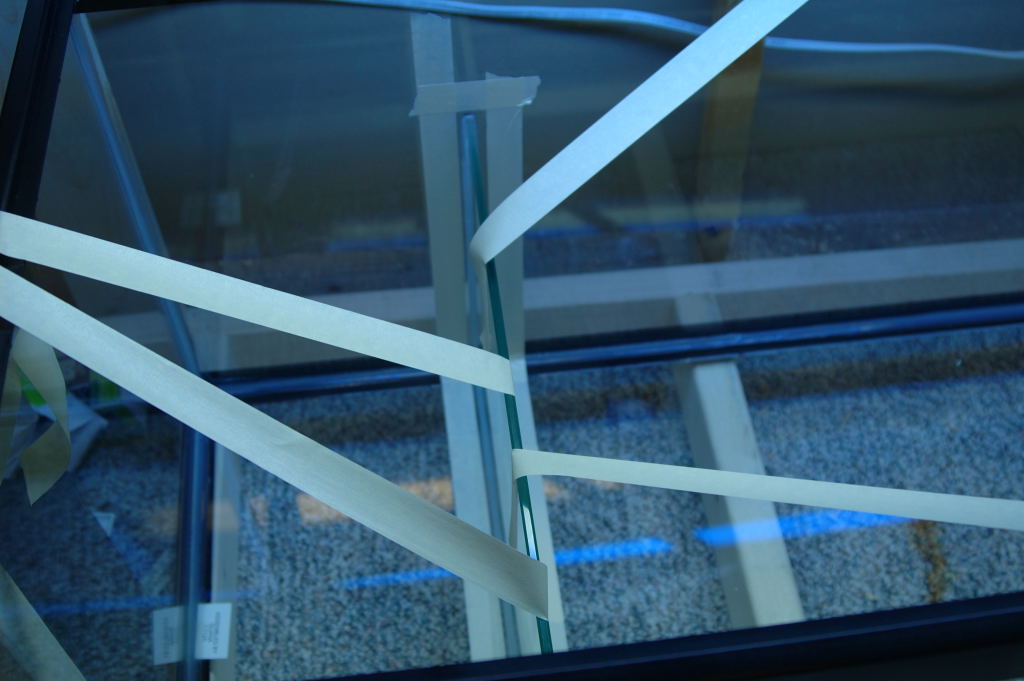
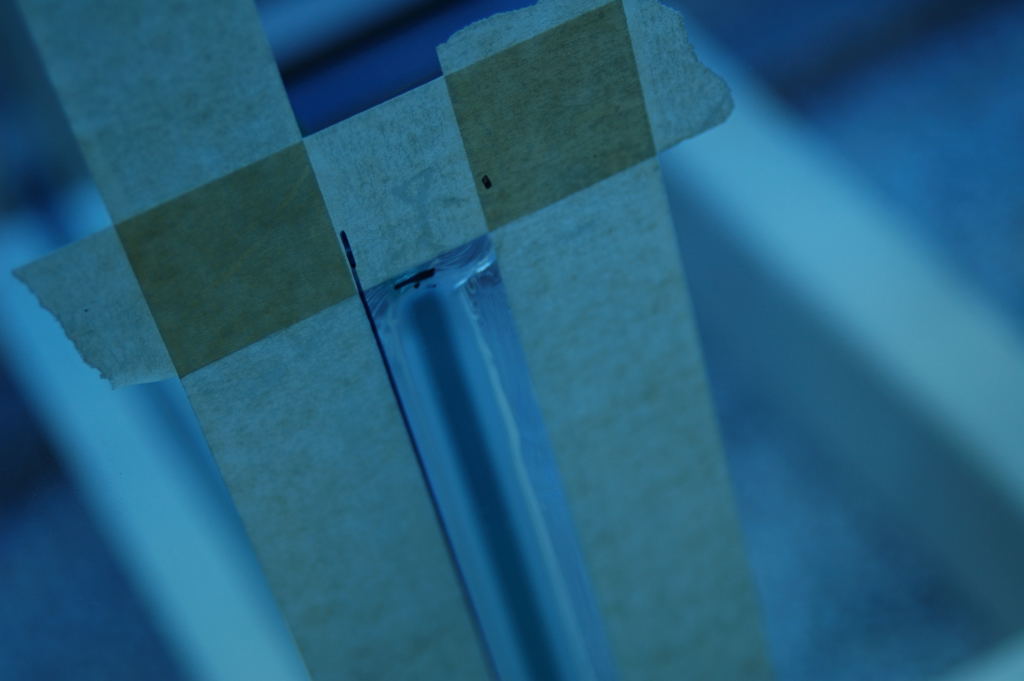
Test fit your glass and add a piece of tape to the top with the same relative gap size for a bead of silicone.
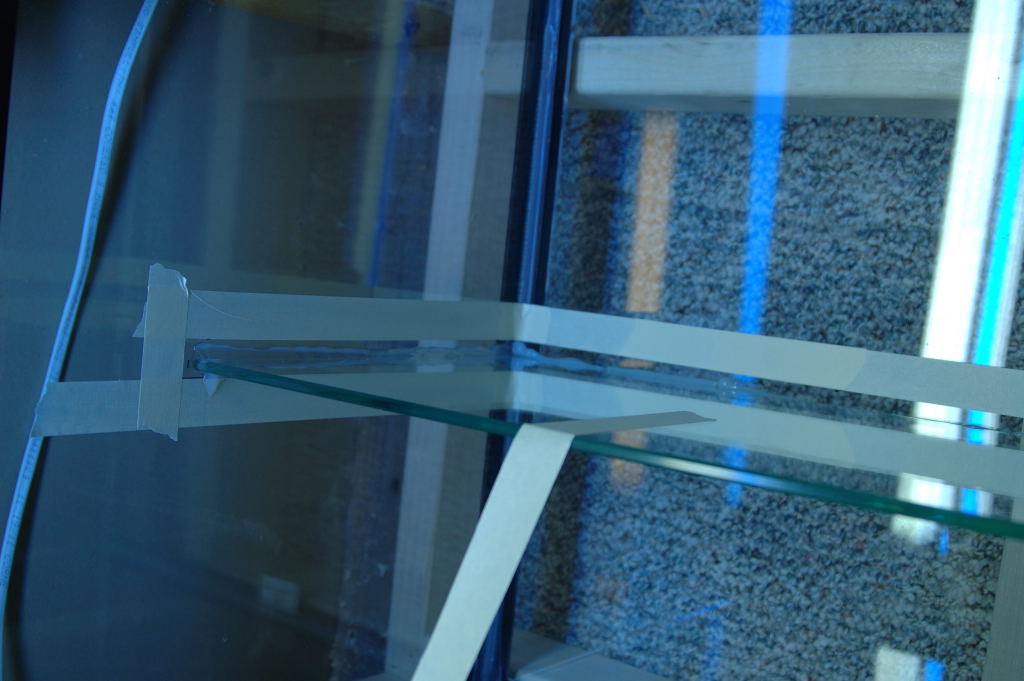
Pre-stage masking tape to hold your pane of glass in place after you silicone it. I added the first piece to hold it in place before I started caulking.
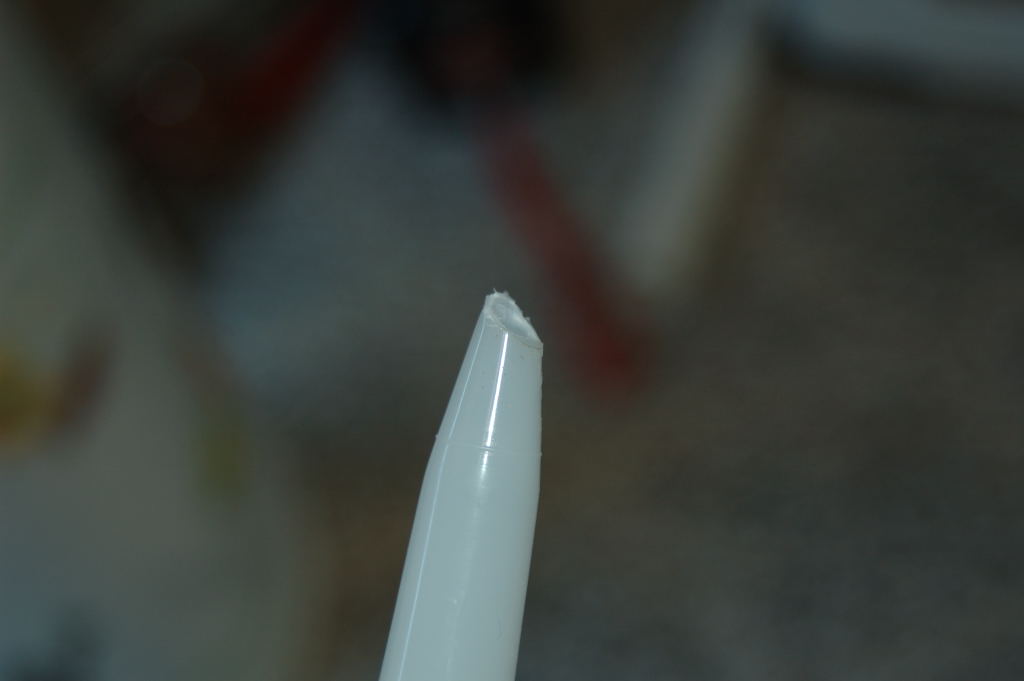
Cut your silicone tube tip at a 45 degree angle. Don't forget to puncture the silicone tube with a nail. Insert a long nail in the tube after you make the 45 degree cut.
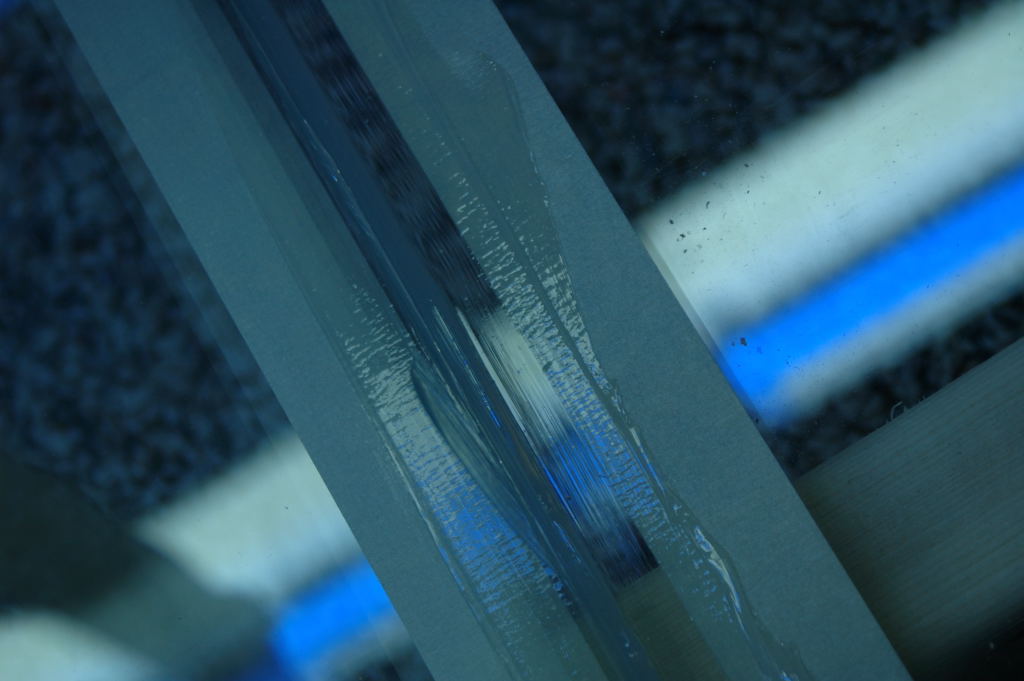
Lay down a bead between your masking tape guide lines. You may not have enough room to get the caulk gun in between the pane of glass and the tank wall. I had this problem with my return section. I squirted out a small pile of caulk into a few payers of paper towels and hand applied the caulk to the glass. This method is a little messier but the end result is the same. When you are working on the bubble trap you will need to use a wooden dowel, long spoon or some other narrow smoothing device to apply the silicone between the panes of glass where your hand can't reach. Again, these pieces don't need to be water tight anyway, just attached.
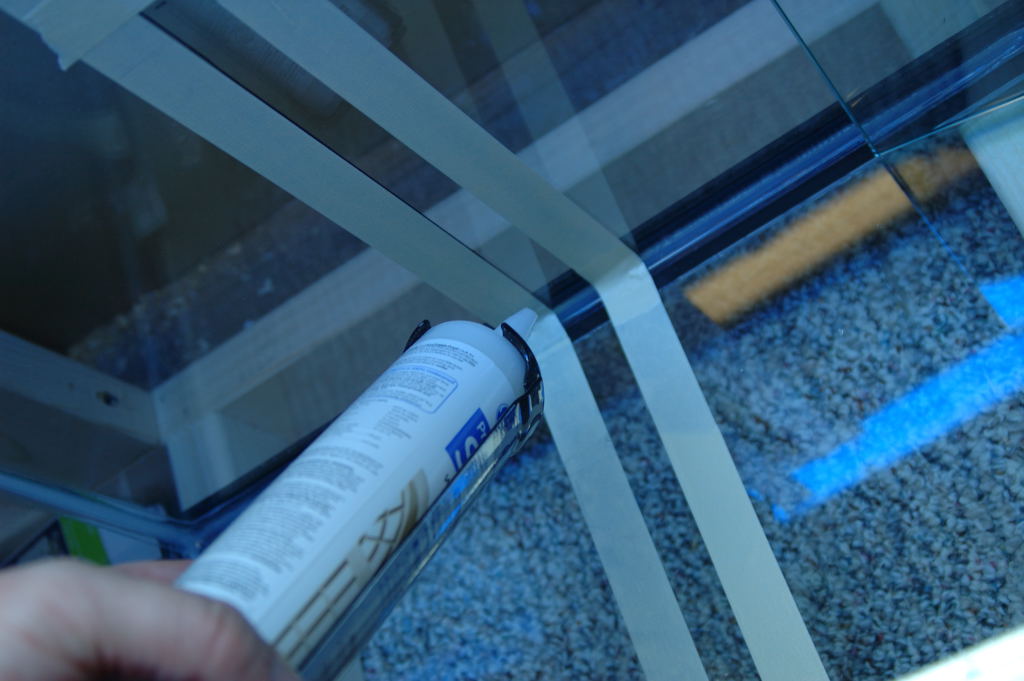
Place your glass pane and put on the piece of pre-staged masking tape to hold it. You may need a piece on both sides to prevent it from falling over.
Materials list:
40B sump tank ($40)
1 piece of glass 17 3/8" x 10 1/2" The height of this piece is dependant on how much depth your skimmer requires ($14)
3 pieces of glass 17 3/8" x 9" ($42)
2 tubes of silicone - I used GE2 100% silicone from Home Depot ($13)
caulk gun ($15)
tri square ($5)
masking tape ($2)
sharpie ($1)
roll of paper towels ($1)
glass cleaner ($1)
Total: $133
I built my sump using a 40 Breeder tank that I picked up at Petco's $1/gallon sale.
First thing is to find a place where you have good access and good light to work on the sump.
Materials
I had my glass cut and fully polished on all sides.
I built my tank in place since I had good light and access
First measure to see how wide to make your first chamber. This will house your skimmer and where your overflows will empty. I placed my skimmer in the tank and made it about an inch wider at 9".
Make a small mark with the sharpie on the outside of the tank - sharpie will come off with the glass cleaner later.
Use your tri-square to draw a line up to the top of where the glass will go.
Now we will make the guide lines for the glass and silicone using masking tape. The tape is used as a guide and to make clean lines. I used the thickness of the glass (1/4" x 3 ) for the width of the gap between the tape lines. This gives you room for the glass pane and caulk lines on both sides.
Clean your glass very well on both sides. Any grease will inhibit the silicone from sticking. Once clean, handle the glass only from the top side that will not have any silicone on it.
If you have your glass cut at the right width, it will rest on the silicone used in the tank construction and make the perfect gap below the pane for the silicone bead!
Test fit your glass and add a piece of tape to the top with the same relative gap size for a bead of silicone.
Pre-stage masking tape to hold your pane of glass in place after you silicone it. I added the first piece to hold it in place before I started caulking.
Cut your silicone tube tip at a 45 degree angle. Don't forget to puncture the silicone tube with a nail. Insert a long nail in the tube after you make the 45 degree cut.
Lay down a bead between your masking tape guide lines. You may not have enough room to get the caulk gun in between the pane of glass and the tank wall. I had this problem with my return section. I squirted out a small pile of caulk into a few payers of paper towels and hand applied the caulk to the glass. This method is a little messier but the end result is the same. When you are working on the bubble trap you will need to use a wooden dowel, long spoon or some other narrow smoothing device to apply the silicone between the panes of glass where your hand can't reach. Again, these pieces don't need to be water tight anyway, just attached.
Place your glass pane and put on the piece of pre-staged masking tape to hold it. You may need a piece on both sides to prevent it from falling over.