240 Galón Start

Abraham

Community Member
View Badges
Joined
Jan 15, 2014
Messages
35
Reaction score
9
Location
Mexico
Rating - 0%
0   0   0
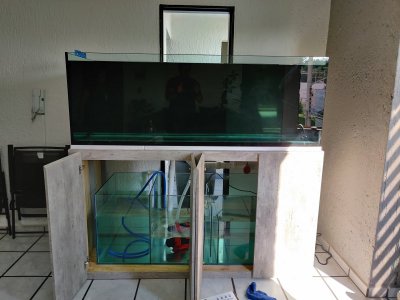
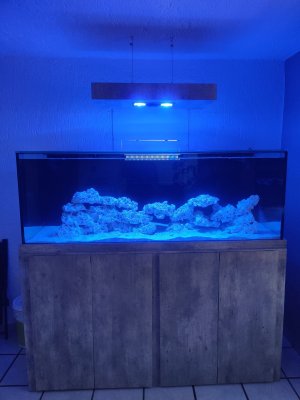
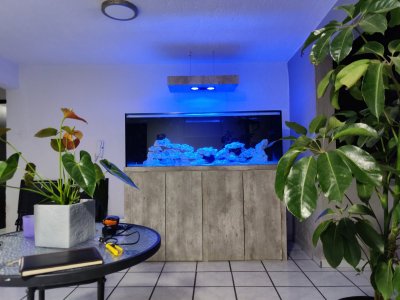
Hey guys I'm starting my tank it's a funny and horror story.

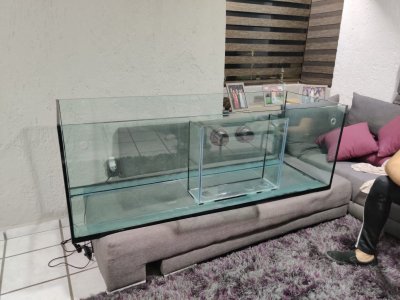
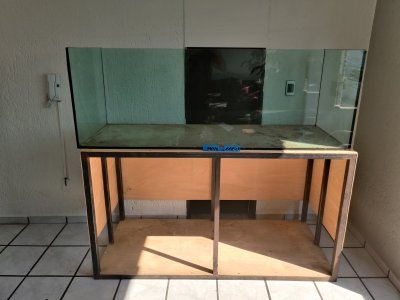
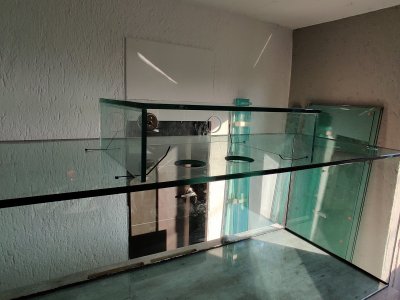
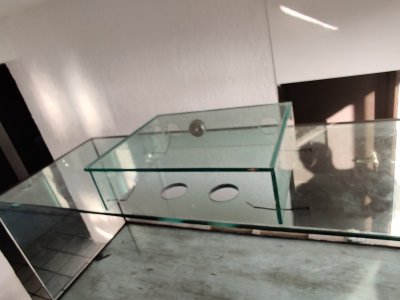
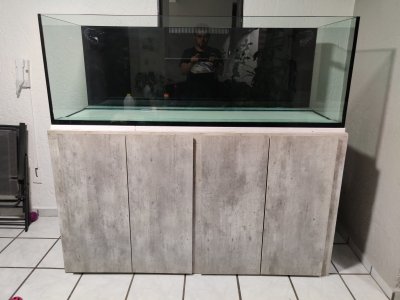
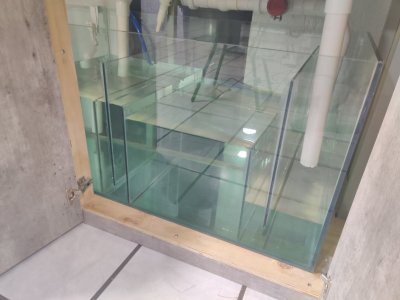
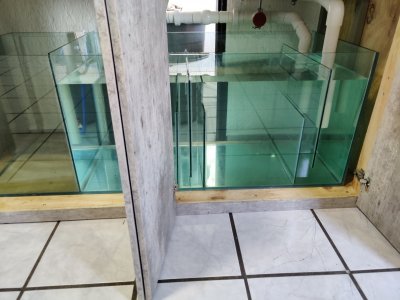
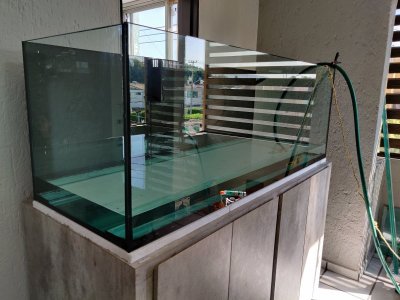
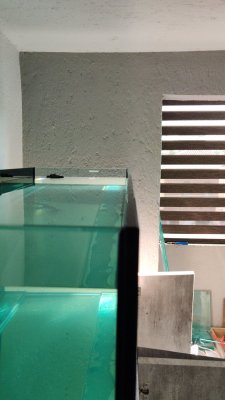
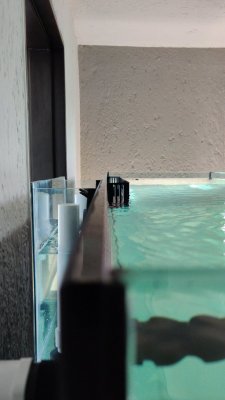
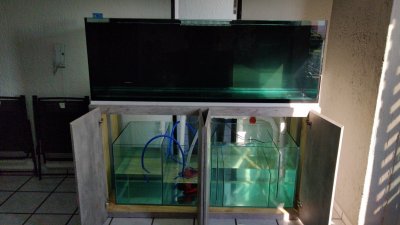
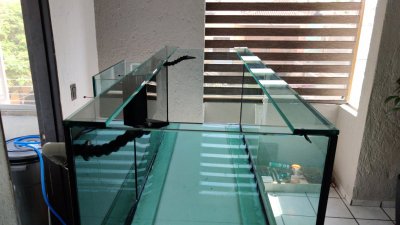
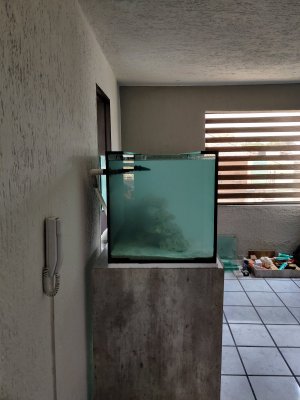
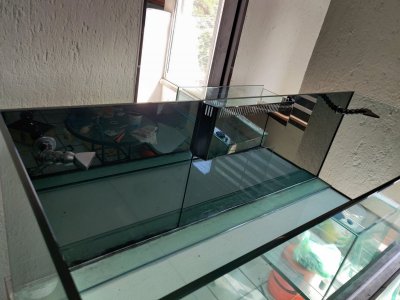
Everything begun wit a great deal, a guy selling his new tank on internet of course I had the idea to start a new project so... Why not... Haha first pictures when I pick up the tank was late night and couldn't see it properly.

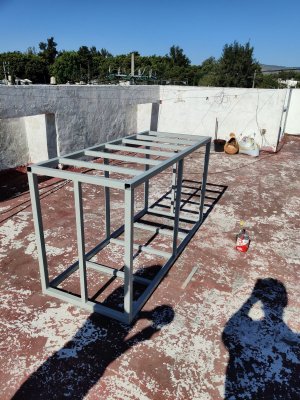
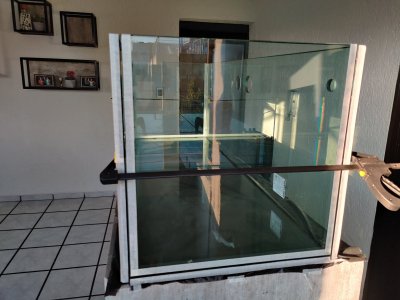
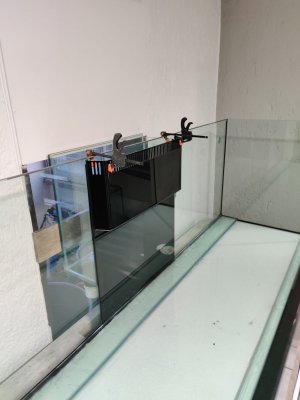
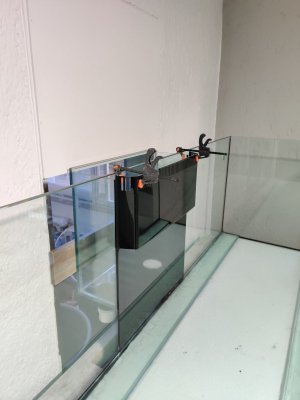
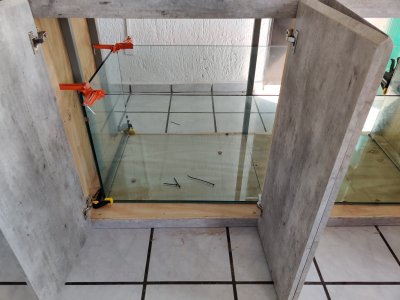
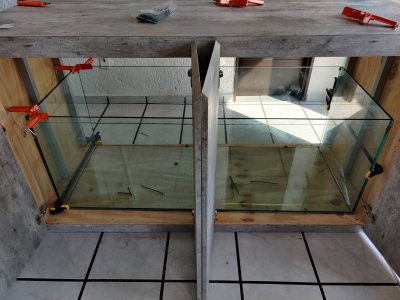
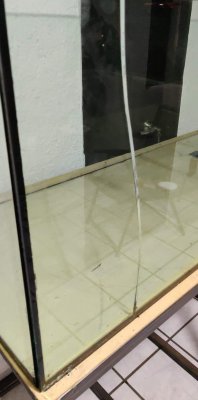
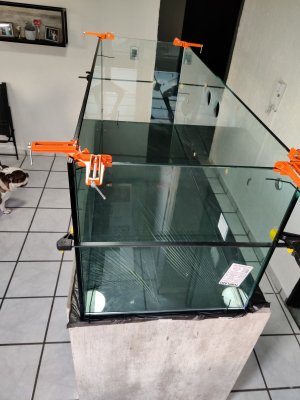
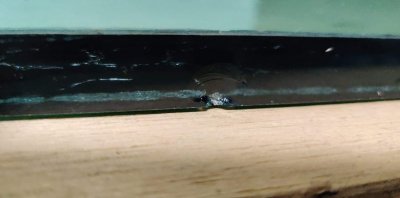
The base was hand made not the best, the tank wasnt sealed properly some parts was touched glass with glass and some edges was damaged with small cracks due to the wood bolts.

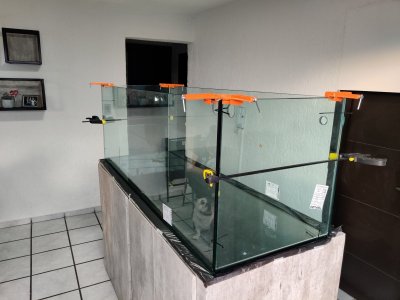
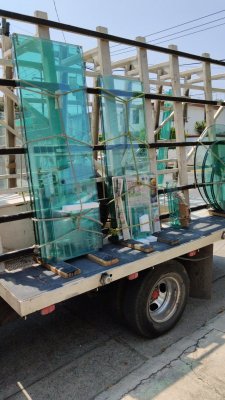
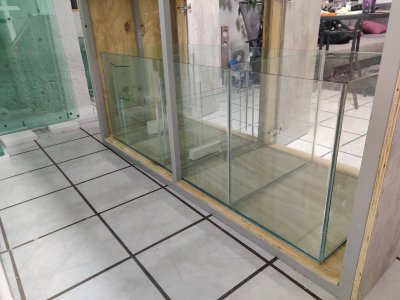
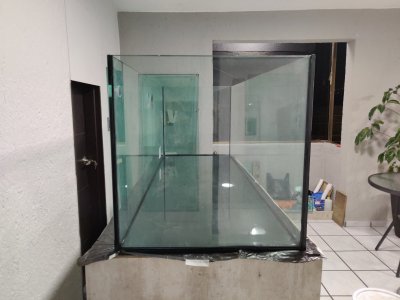
So I decided to remove all the glass ( I broke one on the process) and send them to repair. Meanwhile I decided ok.... if I use the same glass probably I won't be able to sleep again. I order all new with the edge polished.

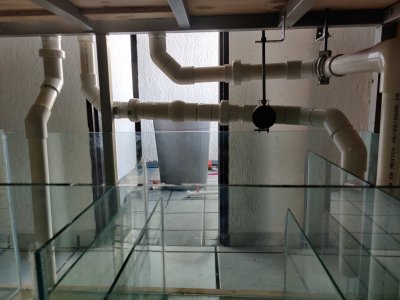
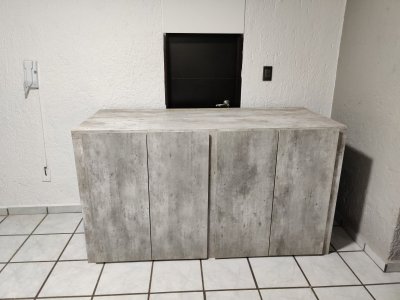
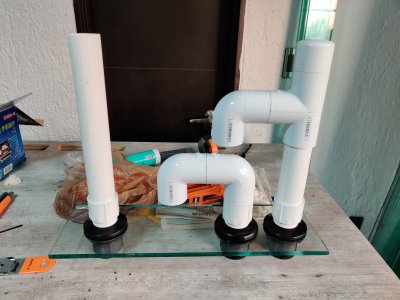
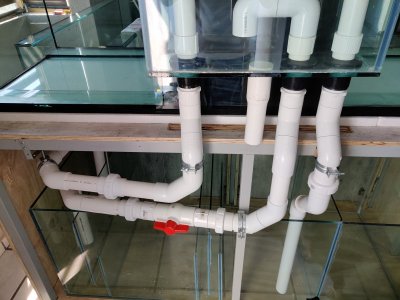
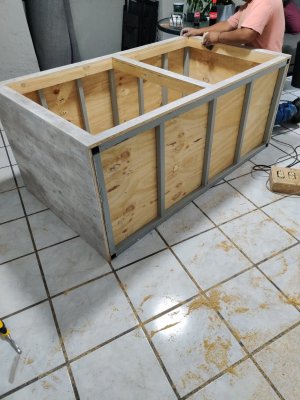
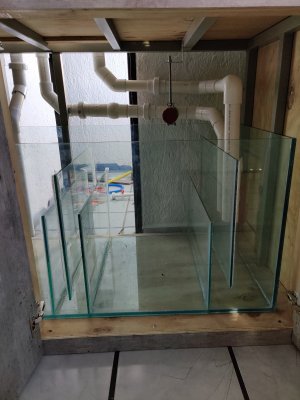
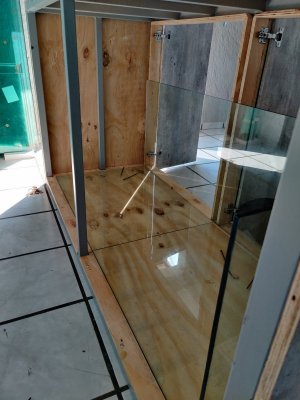
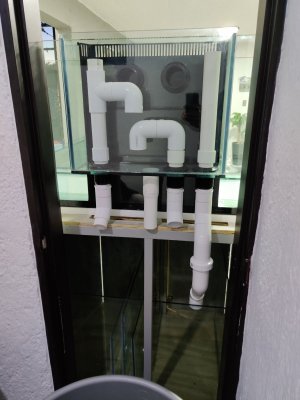
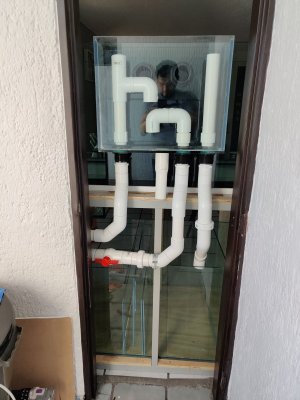
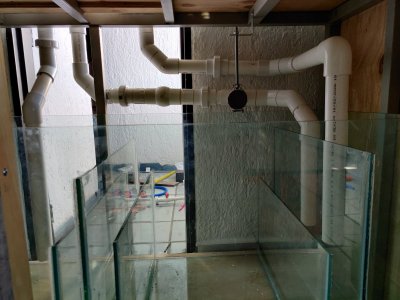
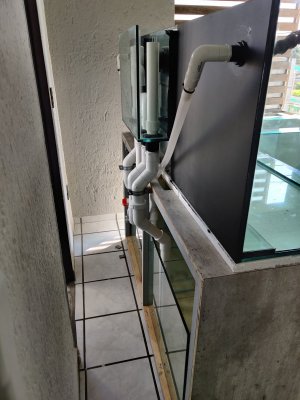
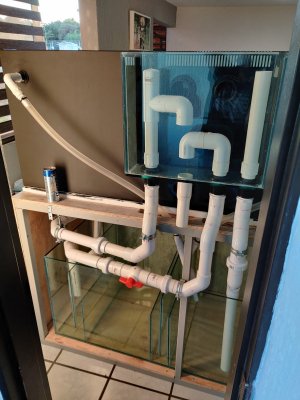
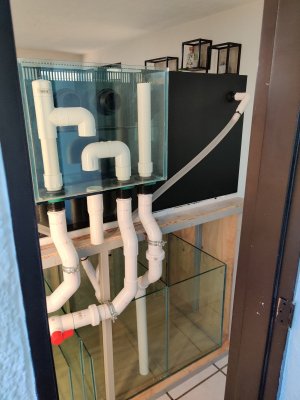
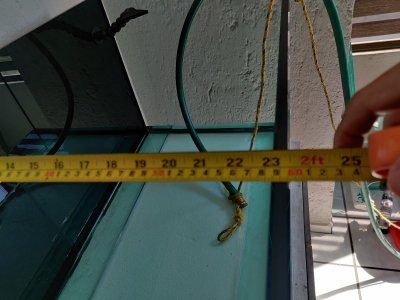
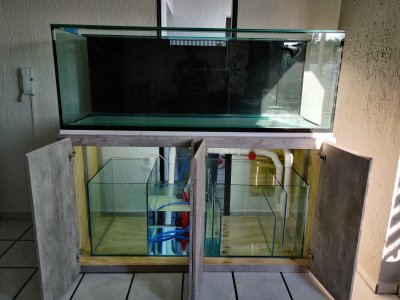
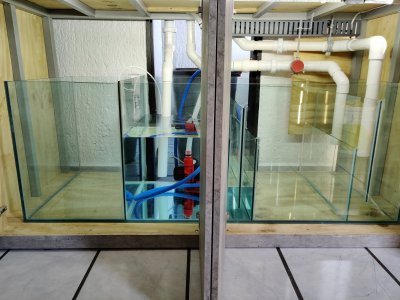
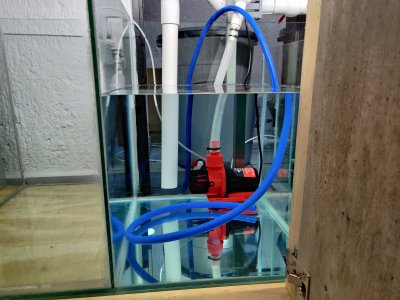
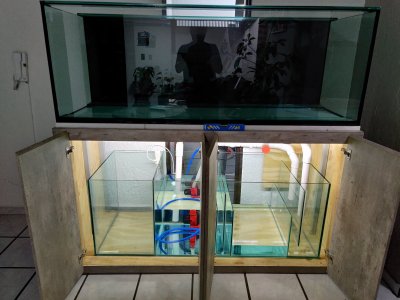
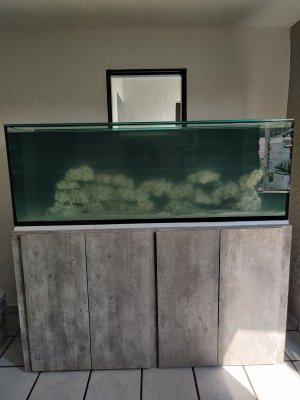
Hands to work.... Primary anticorrosive paint to the iron base, hired a carpenter to work with the furniture. the tank is 67x24x24inch designed the sump the overflow bean animal. I used 1.1/2 " for overflows and 3/4 for return pump. the return pump is 3200 gal ( currently I will be runing about 240 gal but with a possible expansion to 315 gal). In case of reactors or more equipment needed.

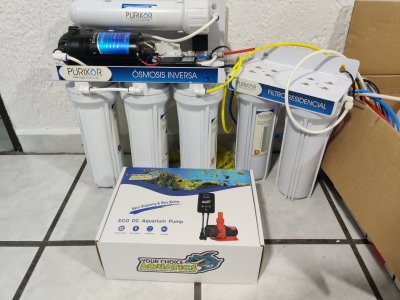
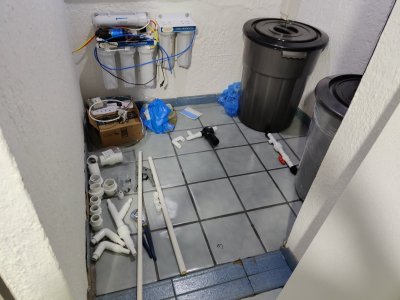
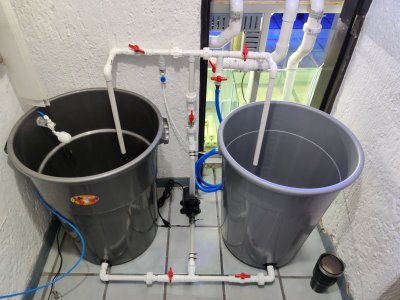
Plumbing is under construction, RO/DI ready to start with BRS resin. Almost done the plumbing

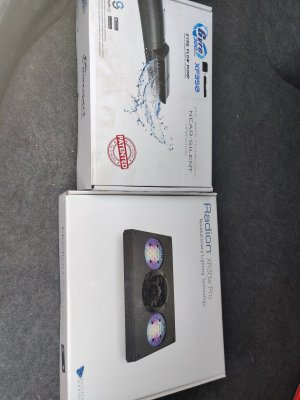
The tank will be mix sps dominated I'm planning to add mp40 for circulation, lighting 2 radion 30, Skimmer probably bubble magus curve 9 elite (open for options). Or SRO3000

I'm open for opinions :) regards from Mexico.

Sorry if the pictures aren't in order.
received_747725875965214.jpeg IMG_20200318_200038.jpg IMG_20200301_094747.jpg IMG_20200416_182048.jpg IMG_20200312_212249.jpg IMG_20200314_184339.jpg IMG_20200408_211046.jpg IMG_20200319_182649.jpg IMG_20200316_182044.jpg IMG_20200410_201240.jpg IMG_20200416_165714.jpg IMG_20200410_201130.jpg IMG_20200313_161518.jpg IMG-20200313-WA0013.jpeg IMG_20200318_195002.jpg IMG_20200312_195724.jpg IMG_20200415_183302.jpg IMG_20200217_154111.jpg IMG_20200313_161515.jpg IMG_20200319_221940.jpg IMG_20200402_205421.jpg IMG_20200320_174524.jpg received_132154741439417.jpeg IMG_20200313_155128.jpg IMG_20200413_203521.jpg IMG_20200320_174535.jpg IMG_20200316_182050.jpg IMG_20200415_173423.jpg IMG_20200415_183257.jpg
 

Fourstars

Valuable Member
View Badges
Joined
Jun 3, 2016
Messages
1,033
Reaction score
1,483
Location
West
Rating - 0%
0   0   0
looks like a great start! Looks like a lot of work building from scratch.
 
OP
OP
A

Abraham

Community Member
View Badges
Joined
Jan 15, 2014
Messages
35
Reaction score
9
Location
Mexico
Rating - 0%
0   0   0
Update.
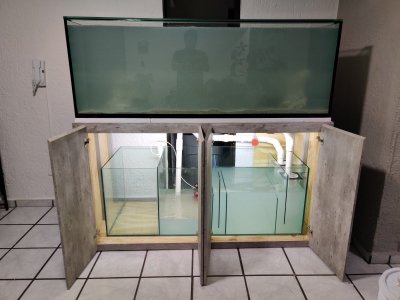
Plumbing it's finished and glued, background of the tank painted black and return lines added, now it's ready to leak test for a week tank and sump.

After that runing the system to check any posible leak on the overflow, pipes or return lines.

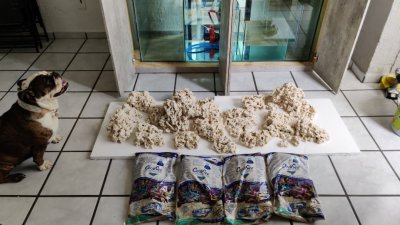
Meanwhile acuascape will be started. Not sure yet to use Marco rocks, aqua forest or staxx

IMG_20200419_170825.jpg IMG_20200419_194035.jpg IMG_20200419_194039.jpg IMG_20200420_004820.jpg IMG_20200419_170816.jpg
 
Last edited:
OP
OP
A

Abraham

Community Member
View Badges
Joined
Jan 15, 2014
Messages
35
Reaction score
9
Location
Mexico
Rating - 0%
0   0   0
Hey guys small update, I have been busy to post.

Plumbing it's finished, I left a future connection for a manifold in case of I require reactors or uv use and skip a pump.

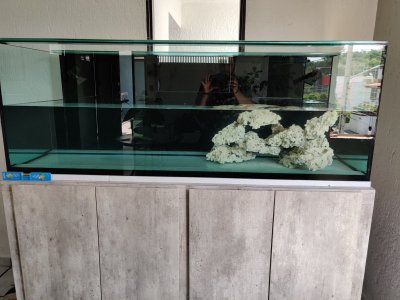
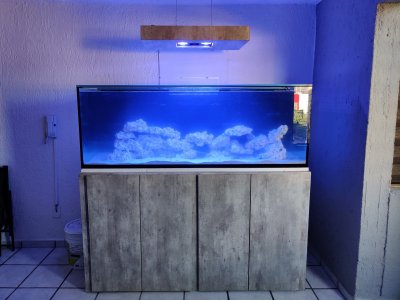
Watter leak successfully witout any problem, just got a bowing deflection in the centers of the tank my wish was tu run the tank rimless but that wasn't an option anymore, 2 braces added & Rock, sand added filled the tank WITH 100% RO/DI water and AquaForest salt and here we go cycling.

Added gyre 350 for Watter movement (works pretty good) possible to add a second in future, and radion xr30 pro G4 just 1 for the moment. Since I'm start to growth the sps population 2nd will be added

2 clowns added to star feeding the bacteria, dossed 2 bottles of DrTim.

IMG_20200421_001609.jpg IMG_20200421_084513.jpg IMG_20200421_170303.jpg IMG_20200421_170157.jpg IMG_20200421_174754.jpg IMG-20200421-WA0035.jpeg IMG-20200421-WA0038.jpeg IMG-20200421-WA0042.jpeg IMG-20200422-WA0019.jpeg IMG_20200424_183840.jpg IMG_20200424_183844.jpg IMG_20200424_210312.jpg IMG_20200424_210323.jpg IMG_1587839018970.jpg IMG_20200426_155003.jpg IMG_20200426_233310.jpg IMG_20200427_125632.jpg IMG_20200428_133307.jpg IMG_20200427_165126.jpg IMG_20200429_082221.jpg IMG_20200502_110149.jpg
 
OP
OP
A

Abraham

Community Member
View Badges
Joined
Jan 15, 2014
Messages
35
Reaction score
9
Location
Mexico
Rating - 0%
0   0   0
And finally behind the tank small auto fill station and salt preparation has built. To keep the RO/DI Watter wit flow to maintain the pH

IMG_20200502_215942.jpg IMG_20200503_225338.jpg
 

jrlg

Active Member
View Badges
Joined
Aug 4, 2018
Messages
165
Reaction score
157
Location
Laveen
Rating - 0%
0   0   0
Hey guys I'm starting my tank it's a funny and horror story.

Everything begun wit a great deal, a guy selling his new tank on internet of course I had the idea to start a new project so... Why not... Haha first pictures when I pick up the tank was late night and couldn't see it properly.

The base was hand made not the best
Same story for me, online used tank purchase with a hand made stand, the tank is in great shape but new fiberglass tank and just redid the storage area, only thing I got from the purchase was the tank and sump......
 
OP
OP
A

Abraham

Community Member
View Badges
Joined
Jan 15, 2014
Messages
35
Reaction score
9
Location
Mexico
Rating - 0%
0   0   0
Same story for me, online used tank purchase with a hand made stand, the tank is in great shape but new fiberglass tank and just redid the storage area, only thing I got from the purchase was the tank and sump......

And how are you doing rite now?
 

jrlg

Active Member
View Badges
Joined
Aug 4, 2018
Messages
165
Reaction score
157
Location
Laveen
Rating - 0%
0   0   0
still a work in progress but went from this
offer up.jpg

no access to the side panels, just there for looks and countertop
stand 3.jpg

stand at the shop it was $$$$$$$
tank (3).jpg

the old stand and boxes were made of 2x4 and 4x4s, the new are a fiberglass stand and side boxes made out off plywood and added 6 inches to both sides, will install a cabinet door on the front to hide the ATO container and shelves
tank (1).jpg
tank (2).jpg

my control side, it will have an exterior cabinet door like the other side to hide the controls but added the hinge to have access to the wires behind, its this weekends project to clean it up.
So behind schedule but coming along
 

Looking back to your reefing roots: Did you start with Instant Ocean salt?

  • I started with Instant Ocean salt.

    Votes: 101 77.1%
  • I did not start with Instant Ocean salt, but I have used it at some point.

    Votes: 11 8.4%
  • I did not start with Instant Ocean salt and have not used it.

    Votes: 17 13.0%
  • Other.
    Votes: 2 1.5%
Back
Top