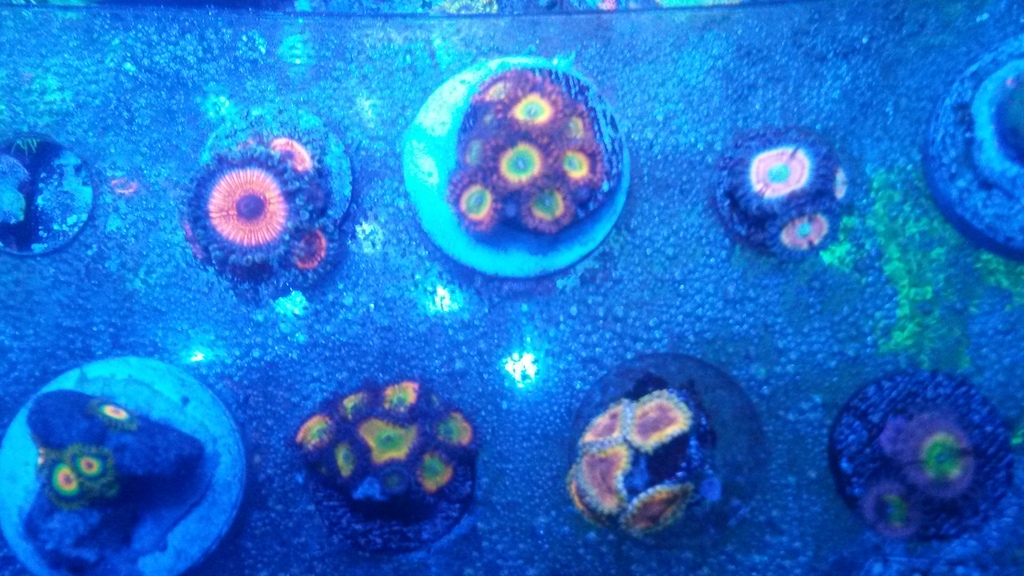
265g upgrade! From a 120g

reefjunkieken

Community Member
View Badges
Joined
May 14, 2014
Messages
67
Reaction score
39
Location
United States
Rating - 0%
0   0   0
So I recently decided to remodel my kitchen witch meant that I had to move my 120g mixed reef.

So I decided that rather than move it i was going to upgrade to a larger and better planned out setup. That's what lead me to purchase my brand new 265g (84"×24"×30") that I got an excellent deal on that I just couldn't pass on. Thus began the planning process. .. I'd like to share some pics with you guys and I really hope you enjoy as much as I have.
 
OP
OP
reefjunkieken

reefjunkieken

Community Member
View Badges
Joined
May 14, 2014
Messages
67
Reaction score
39
Location
United States
Rating - 0%
0   0   0
Let me start by introducing you to the beast...

This is the 265g. Both tank and stand are brand new.my next step was to plan out the sump and plumbing...
 
OP
OP
reefjunkieken

reefjunkieken

Community Member
View Badges
Joined
May 14, 2014
Messages
67
Reaction score
39
Location
United States
Rating - 0%
0   0   0

Here is my design for my sump. Drawn to scale based on the size of a 75g. Skimmer dimensions are slightly off but that's fine with me. After drawing up these plans I basically scrapped them because I decided to use my 40g breeder sump and just redesign that. This is the 40g breeder that I built for a friend before he decided to sell everything.


And here is the finished product. After I stripped down the baffles and reconfigured them I build a drain chamber that overflows onto my filter sock tray then into my skimmer chamber (18"×18") that is just the right size for my skimmer. Then to reactor section and to return. Very basic but it's all I need. Also as you can tell I painted the sides, back, and trim white
 

revhtree

Owner Administrator
View Badges
Joined
May 8, 2006
Messages
47,823
Reaction score
87,636
Rating - 100%
1   0   0
Cool! Following!
 
OP
OP
reefjunkieken

reefjunkieken

Community Member
View Badges
Joined
May 14, 2014
Messages
67
Reaction score
39
Location
United States
Rating - 0%
0   0   0
Finished the sump and tricked out my current usa 40w uv sterilizer.

My next step was to seal the bottom of my stand to create a watertight spill tray to contain any possible spills. Also painted it white and the back of the tank black.
Now it's time to plumb...

Uv is installed behind stand for access and also angled to allow it to drain when maintenance is necessary.


Well that's done and it took allllll day!
 
OP
OP
reefjunkieken

reefjunkieken

Community Member
View Badges
Joined
May 14, 2014
Messages
67
Reaction score
39
Location
United States
Rating - 0%
0   0   0
I acquired some more live rock that was covered in green mushrooms

Built a canopy to match the stand.


Installed front set of t5 and mounts for SB LED fixtures. Running 3x 165w full spectrum led and 8x 36" t5 (4 in front and 4 in back)
 
OP
OP
reefjunkieken

reefjunkieken

Community Member
View Badges
Joined
May 14, 2014
Messages
67
Reaction score
39
Location
United States
Rating - 0%
0   0   0
Hard to see what I'm doing but I'm doing it lol

After almost 15 hr process (12pm Friday to 245am Saturday) of switching everything over, aquascaping, acclimation of fish and corals, and waiting for the tank to clear up a bit... this is what I have....
 

revhtree

Owner Administrator
View Badges
Joined
May 8, 2006
Messages
47,823
Reaction score
87,636
Rating - 100%
1   0   0
Very nice and looking great!
 

Reefing threads: Do you wear gear from reef brands?

  • I wear reef gear everywhere.

    Votes: 47 16.8%
  • I wear reef gear primarily at fish events and my LFS.

    Votes: 18 6.5%
  • I wear reef gear primarily for water changes and tank maintenance.

    Votes: 1 0.4%
  • I wear reef gear primarily to relax where I live.

    Votes: 35 12.5%
  • I don’t wear gear from reef brands.

    Votes: 159 57.0%
  • Other.

    Votes: 19 6.8%
Back
Top