270 gallon tall remodel

ryewalk84

Community Member
View Badges
Joined
Mar 24, 2016
Messages
97
Reaction score
37
Location
Colorado
Rating - 0%
0   0   0
I upgraded tanks in December of 2019 and I have been neglecting it for quite awhile. I moved everything from my 125 to it, made sure I wasn’t crushing corals and that is pretty much where it ended. Things a growing and quite happy but it’s time to get it looking good. I welcome you to the remodel of the 270 tall tank.

Equipment/specs-
Tank- 270 gallons 72x24x36, bean animal internal overflow. Not a fan of how much room it takes up.
Sump- 42x18x18
Skimmer- reef octopus sss-6000int
Return- jebao 12000
Flow- 4 tunze 6105s and 2 gyre 230s
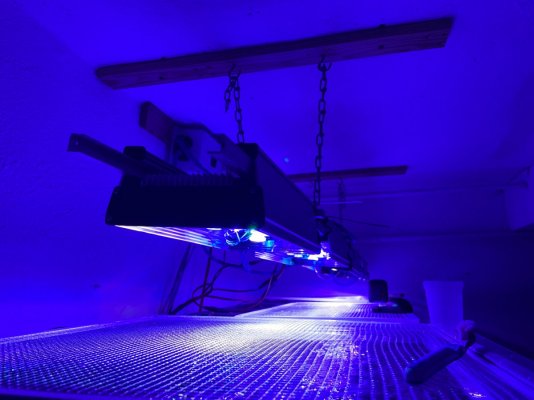
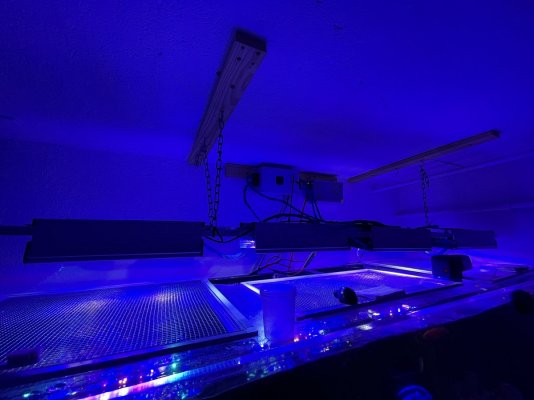
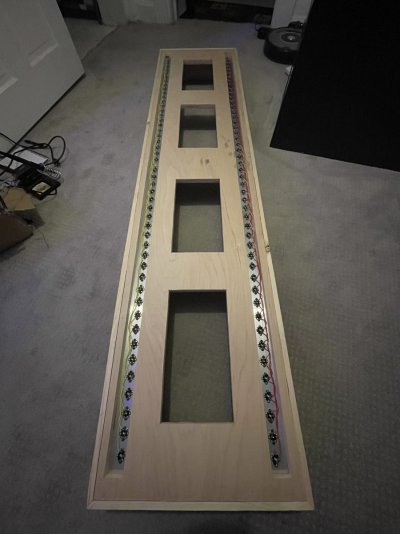
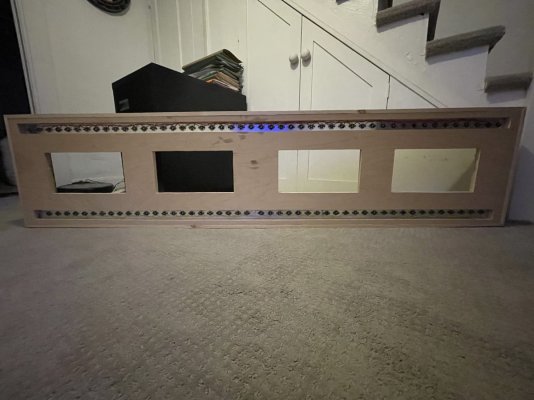
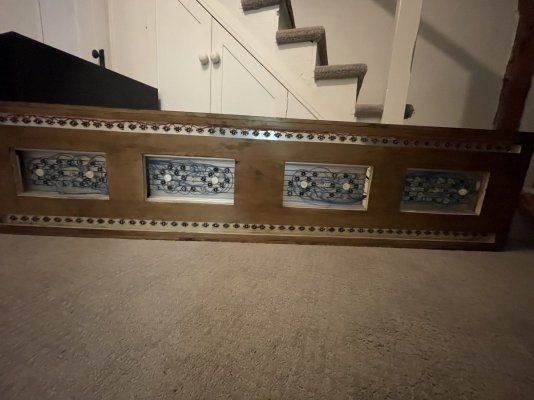
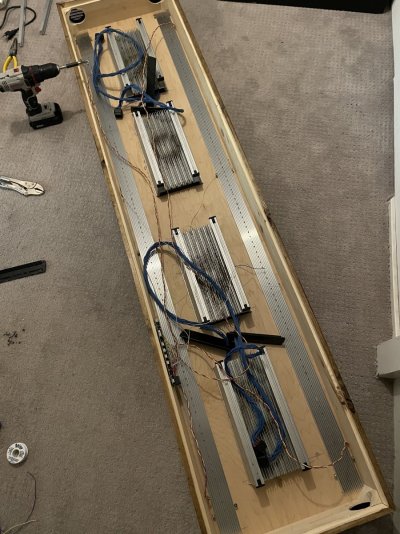
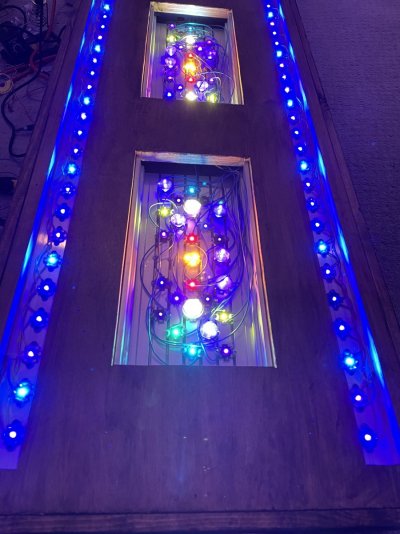
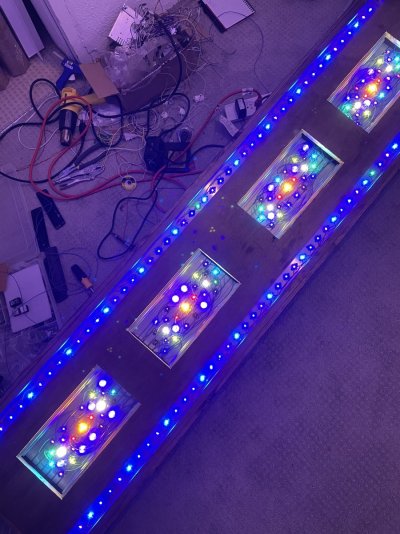
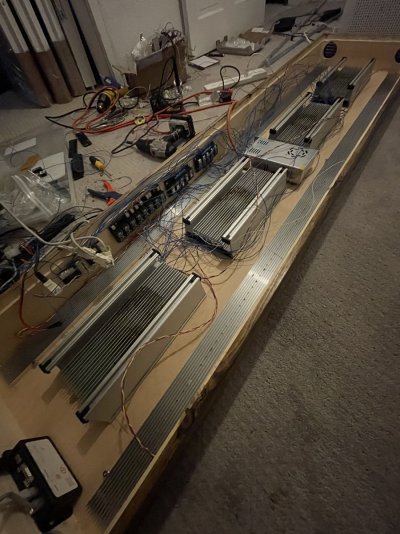
Lighting- DIY LED

Flash back to November 24th 2019, the tank finally makes it inside.

ED108D98-1966-47B9-9E33-0958AF66A717.jpeg
 
OP
OP
R

ryewalk84

Community Member
View Badges
Joined
Mar 24, 2016
Messages
97
Reaction score
37
Location
Colorado
Rating - 0%
0   0   0
Looking back at pictures, the official move date was November 29, 2019.
Here is the day of the move.
The 125 gallon tank everything came from
975E751B-DA42-4062-9D40-952CF188F053.jpeg

Filling of the tank and the first rocks to make there way over.
6ED76754-9FD6-4D52-B614-3B5A6439B2B2.jpeg
0FFF1602-5C47-4DD5-95B7-F96F3D02A00E.jpeg
D8091AB9-452D-441C-B9EA-5CB8022CABBE.jpeg

And the tank is finally full!
335D30A6-9EFF-4892-B05C-E50B08159DDC.jpeg
 
OP
OP
R

ryewalk84

Community Member
View Badges
Joined
Mar 24, 2016
Messages
97
Reaction score
37
Location
Colorado
Rating - 0%
0   0   0
Flash forward to present day. The tank has been doing quite well. Everything is growing and it has been staying quite stable. I did have a large coral tip over while I was gone and it bleached but it’s bouncing back quickly. You can see all of the polyps still on the bleached part and it’s slowly regaining its zooxanthellae.
4C9BA58C-C0D5-40A4-AC9A-BFE6E85AD6DA.jpeg
4646AA21-91FA-4B11-84AD-4838C5C3BD15.jpeg
 
OP
OP
R

ryewalk84

Community Member
View Badges
Joined
Mar 24, 2016
Messages
97
Reaction score
37
Location
Colorado
Rating - 0%
0   0   0
Changes since last November. I have added a kamoer x4 doser for alk, calcium, magnesium and I started dosing acropower in February. I have been struggling to keep any amount of phosphates or nitrates in the tank. I can’t say for sure if it helps but I am getting some phosphates now. I also added a DIY Kalk doser to the top off system. My tank is in the basement and air exchange is awful. I was typically running around 7.8 ph and wanted a way to help keep it up. I took a two little fishies 550 and plumbed my top off through it. It sits on a beaker/lab stirrer and keeps everything saturated with kalk. My ph now runs around 8-8.1 and during the day will climb up to 8.2-8.3
7C7A26DD-A391-4318-B907-4294F92D17DE.jpeg
 
OP
OP
R

ryewalk84

Community Member
View Badges
Joined
Mar 24, 2016
Messages
97
Reaction score
37
Location
Colorado
Rating - 0%
0   0   0
Future plans-

Build a skin for the stand to hide all of the equipment

I would like to add to the LED fixture and create some spots to light an area on the sand bed for Clams

Current project is to redo the rock. I ordered 100 lbs of caribsea moani dry rock. My plan is to construct 2 large structures. I will build one and put that it. Work on placing corals onto it and let it get established and then do the same for the second structure. I will be using masteremaco n 427 and masteremaco acryl 660 along with acrylic rods to hold the structures together. I found a place that carries it locally and picked it up yesterday.

Since I have so much height to work with my goal is to build structures that put most of the coral in the 12-24 height of the tank. Then keep the bottom open for swim through sand hiding places for fish.
Here are my preliminary designs for the scape.
B6914EDF-357D-4074-AE7C-048425A16FC2.jpeg
F33073FA-F488-499E-9433-F27BC4A86DB2.jpeg
328B53EA-31BC-43DE-B8FB-20AF8E4D5082.jpeg
BA535DE6-EDAB-4D37-8578-7A108DC51A94.jpeg
 

Daniel@R2R

Living the Reef Life
View Badges
Joined
Nov 18, 2012
Messages
37,507
Reaction score
63,952
Location
Fontana, California
Rating - 100%
1   0   0
Following along!!
 
OP
OP
R

ryewalk84

Community Member
View Badges
Joined
Mar 24, 2016
Messages
97
Reaction score
37
Location
Colorado
Rating - 0%
0   0   0
Well I’ve started messing around with cementing the rocks together and it’s not going as nicely as I had hoped. I’m not sure if I’m just not using enough cement or have the mixture of cement to water wrong. I’m making sure it’s all wet and dry enough that I can form a soft ball out of it. All of the joints that I’ve made so far are setting up fine and I’m leaving them for 24 hours but when I go to do the next rock they snap apart. Does anyone have any input or recommendations? Here is what I’ve done so far. Well had done until I broke a bunch apart again.
169FD416-2A5F-463B-9FEE-C6B3D76859AE.jpeg
 
OP
OP
R

ryewalk84

Community Member
View Badges
Joined
Mar 24, 2016
Messages
97
Reaction score
37
Location
Colorado
Rating - 0%
0   0   0
It took a lot of trial and error but I think I have my concrete mix figured out. Another key is to mortar together and resist the urge to touch anything. It’s been slow moving and I am adding about 1 piece of rock a day so that everything can set 100% before another piece is added. Things are coming together on the first structure.
C2FC6853-D825-4F4D-8293-8E480A4FB5A6.jpeg
4CFE3941-7FB4-4AB8-9479-36946DC121EE.jpeg
776E6289-FDB8-44FA-BECE-AC4FC20125B0.jpeg
 
OP
OP
R

ryewalk84

Community Member
View Badges
Joined
Mar 24, 2016
Messages
97
Reaction score
37
Location
Colorado
Rating - 0%
0   0   0
I’ve put my rock work on hold due to a bit of a tank crash and deciding to move the tank in the future. In the mean time I’ve switched to cleaning up my lighting. I’ve been wanting to take my ugly lighting setup and make it more appealing. I’m finally starting to make some progress so I thought I would share. I’m creating a housing to hold my 4 units and adding two violet, royal blue and blue strips. Once I finish wiring the strips, I’m going to upgrade a few leds in the main units, add in the power supplies, apex VDMs, fans and vents. When all is said and done there will be 1 chord to power it and 1 USB port to control all the dimming channels. End goal- cleaner, quieter and more par if I want it.
 

Attachments

  • BED0C7C0-9FC0-4B21-A757-B7F6141855A4.jpeg
    BED0C7C0-9FC0-4B21-A757-B7F6141855A4.jpeg
    137.3 KB · Views: 12
  • B3DE93FE-6B42-46A9-908B-7C50088047BC.jpeg
    B3DE93FE-6B42-46A9-908B-7C50088047BC.jpeg
    138.2 KB · Views: 13
  • C7CC7DA8-392C-4D40-9040-FA4447961F55.jpeg
    C7CC7DA8-392C-4D40-9040-FA4447961F55.jpeg
    136.3 KB · Views: 12
  • 14396269-7493-43DC-96F7-A7699178C4BA.jpeg
    14396269-7493-43DC-96F7-A7699178C4BA.jpeg
    151 KB · Views: 21
OP
OP
R

ryewalk84

Community Member
View Badges
Joined
Mar 24, 2016
Messages
97
Reaction score
37
Location
Colorado
Rating - 0%
0   0   0
I’ve been building a case to hold my lighting over the last few weeks and made some good progress this weekend on reworking everything. My next steps are to clean up and shorten the wiring throughout, add the fans into the top and replace/swap some old LEDs and individual bulbs that have failed.
 

Attachments

  • 4F3FA569-88D3-4845-AE85-7E442AF591F4.jpeg
    4F3FA569-88D3-4845-AE85-7E442AF591F4.jpeg
    155 KB · Views: 15
  • FDD41F0F-7701-4EA4-B8C8-8389E4128B18.jpeg
    FDD41F0F-7701-4EA4-B8C8-8389E4128B18.jpeg
    290.1 KB · Views: 13
  • 7F86F685-3D12-4161-8A16-2034F9CCFB7F.jpeg
    7F86F685-3D12-4161-8A16-2034F9CCFB7F.jpeg
    176.1 KB · Views: 19
  • 9BCA724E-0F6E-4C6F-8C37-3C46C478BA2F.jpeg
    9BCA724E-0F6E-4C6F-8C37-3C46C478BA2F.jpeg
    243.6 KB · Views: 11
  • A82D568F-8223-4EEC-BD78-409C6B41ECED.jpeg
    A82D568F-8223-4EEC-BD78-409C6B41ECED.jpeg
    235.4 KB · Views: 14
Back
Top