gReetings, R2R!
I've been in the aquarium hobby on and off since high school in the '80s, cichlids mostly. About 5 years ago I finally had enough "disposable" income and job stability to get into saltwater.
I've currently been running a 46 gallon bowfront set on a steel stand with my own custom made cabinet surround that I can completely remove:
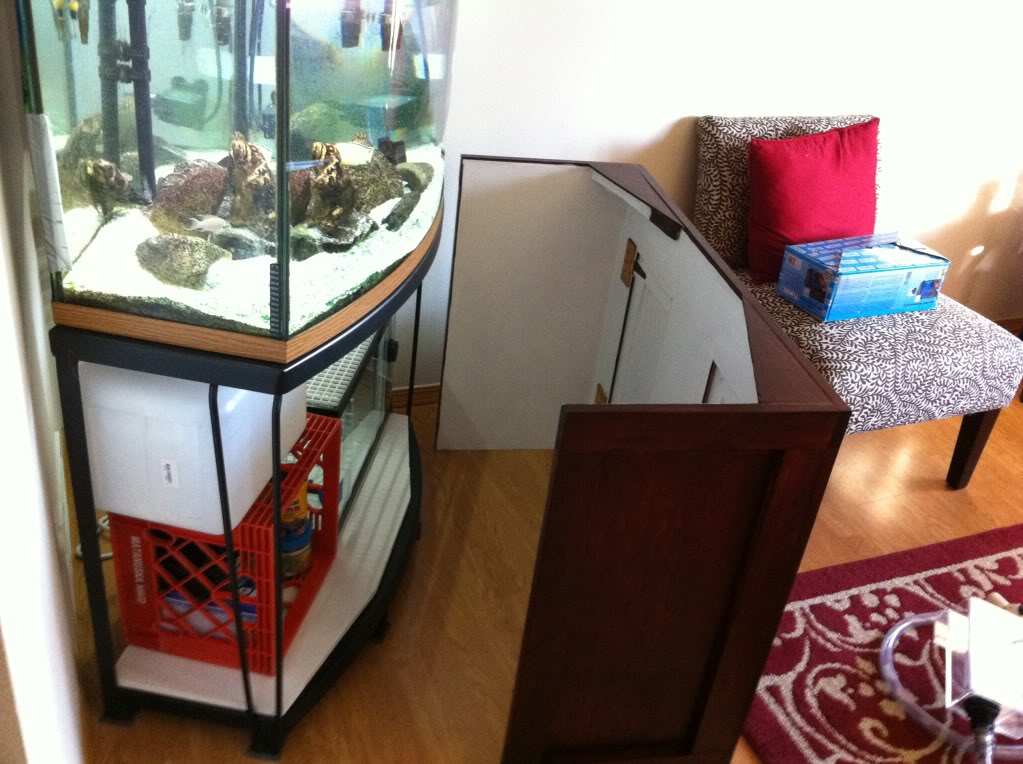

It's evolved much over the last 5 years. I've learned a lot, tweaked a bunch, and am ready for an upgrade!
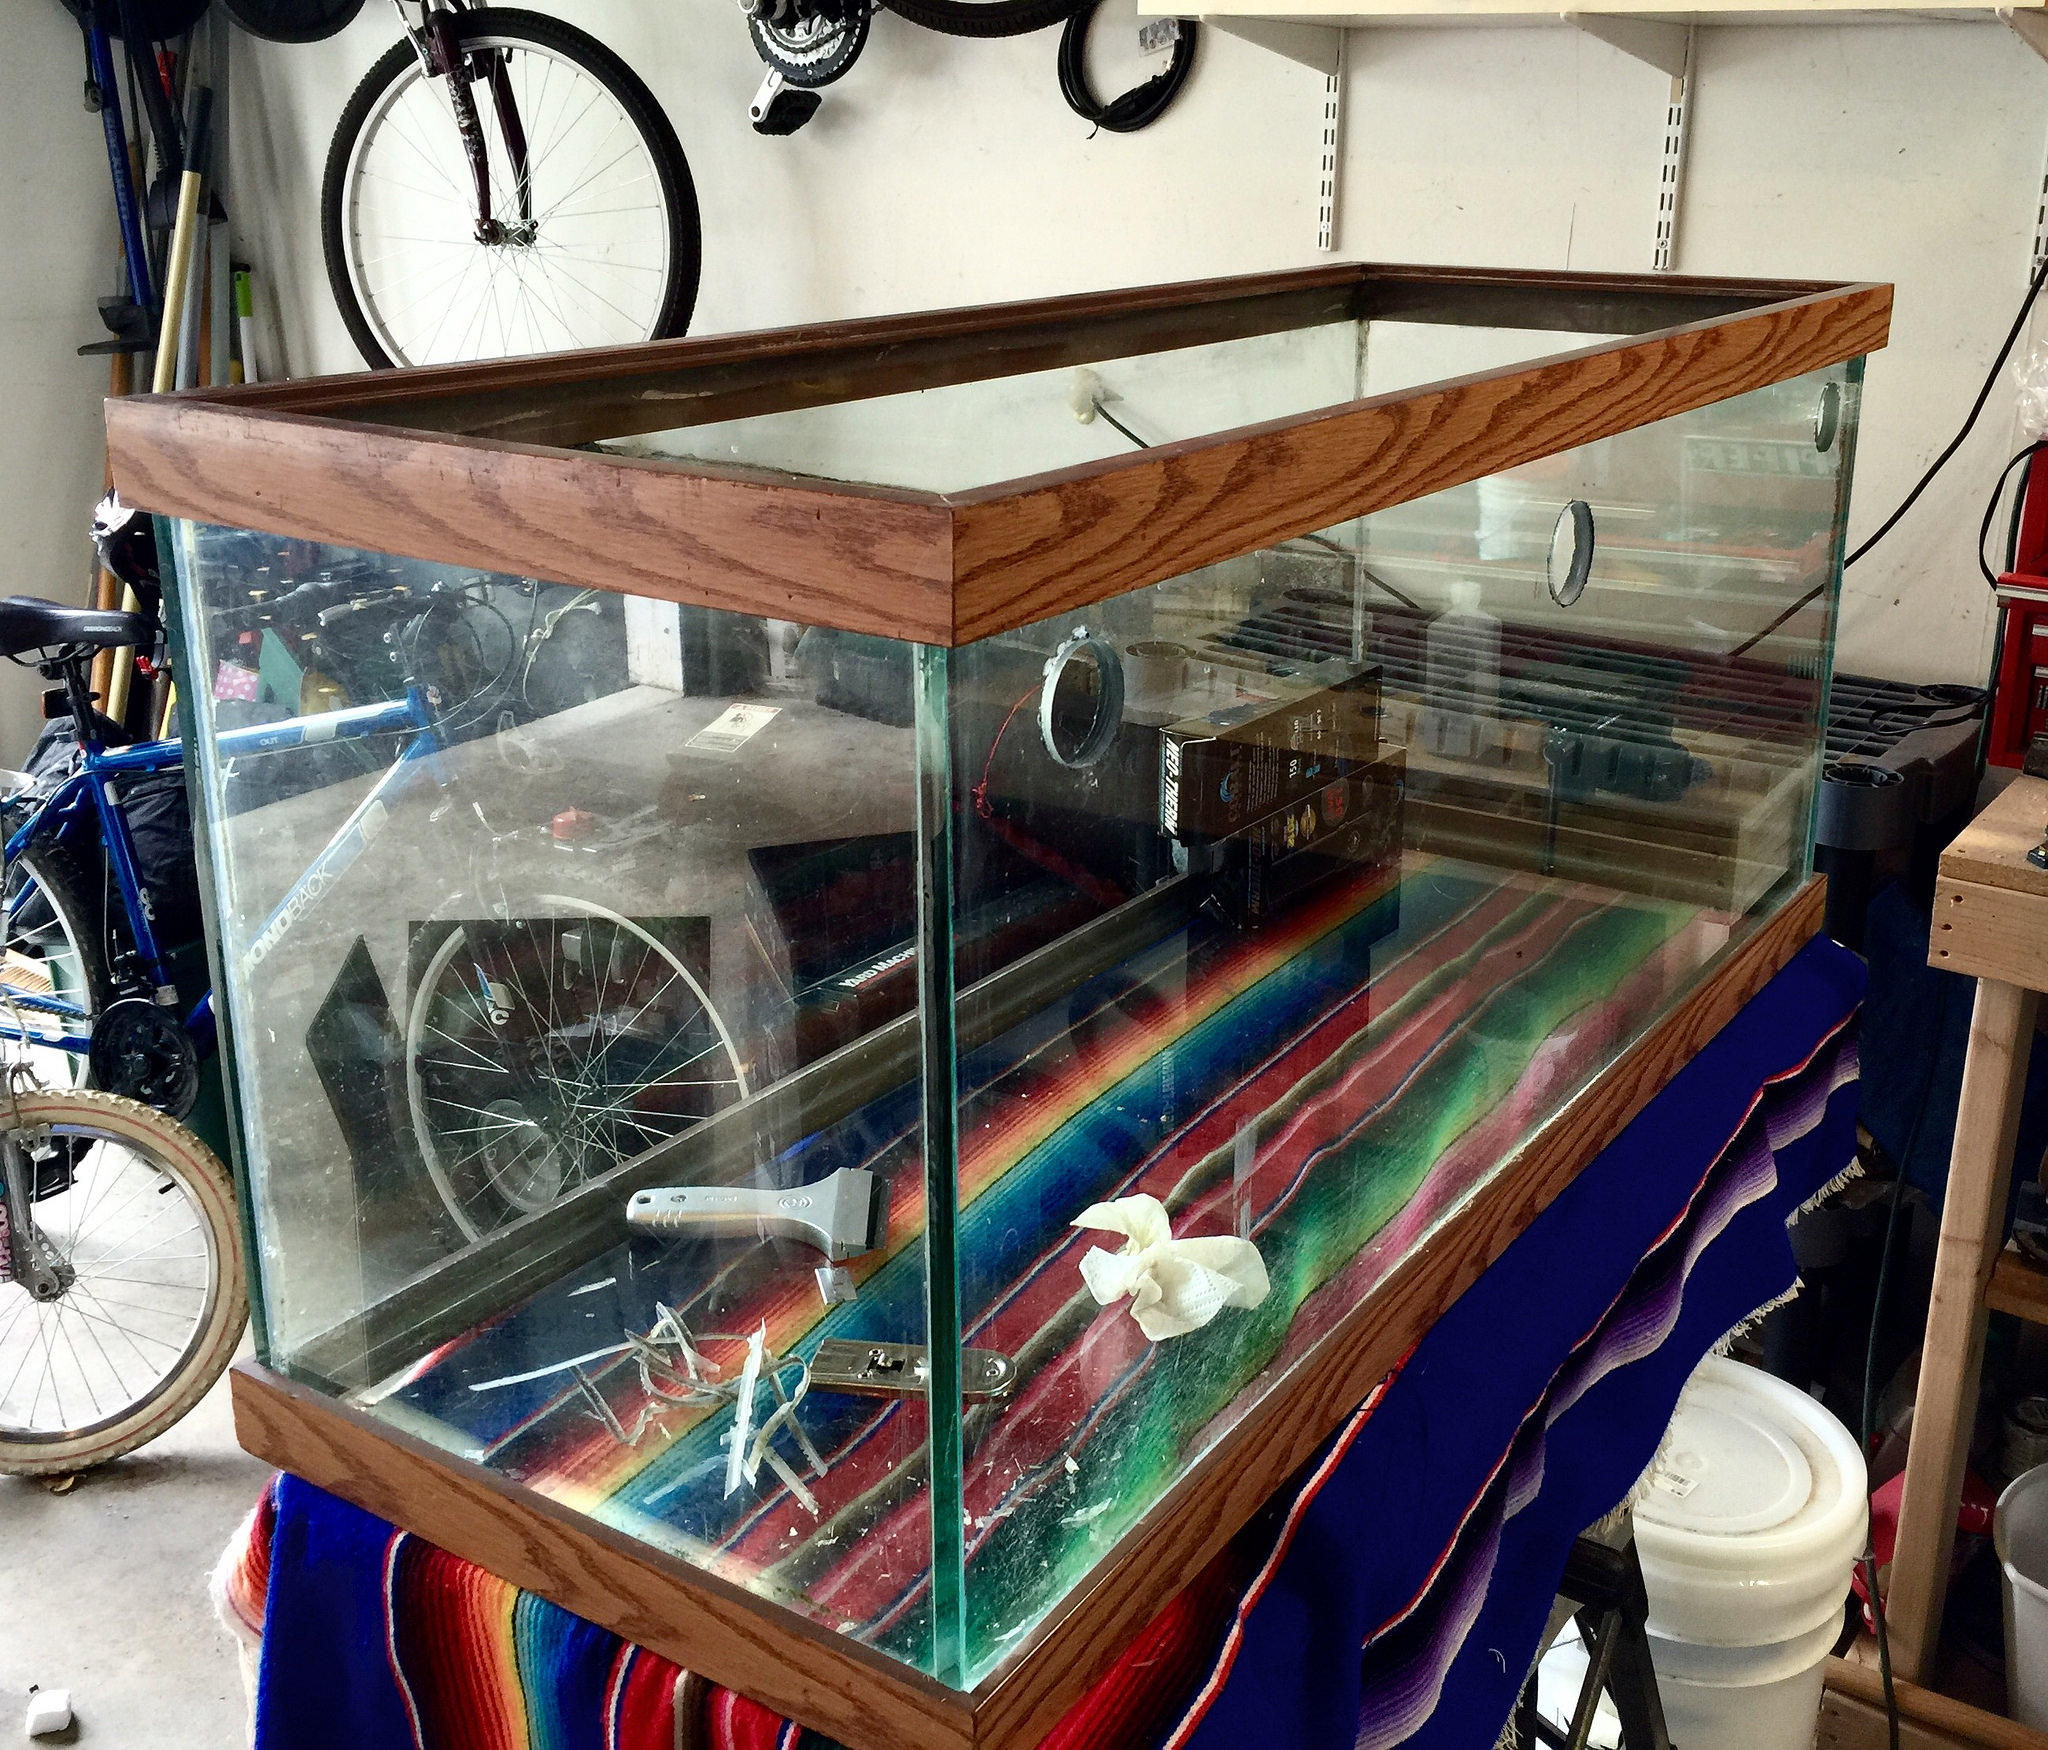
Last summer I got a great deal on a 75 gallon aquarium. Over the last 6 months I've been collecting information, pieces and parts.
Here's the plan:
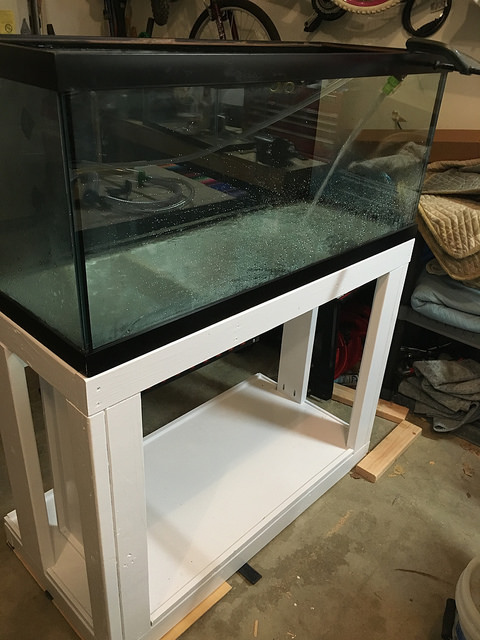
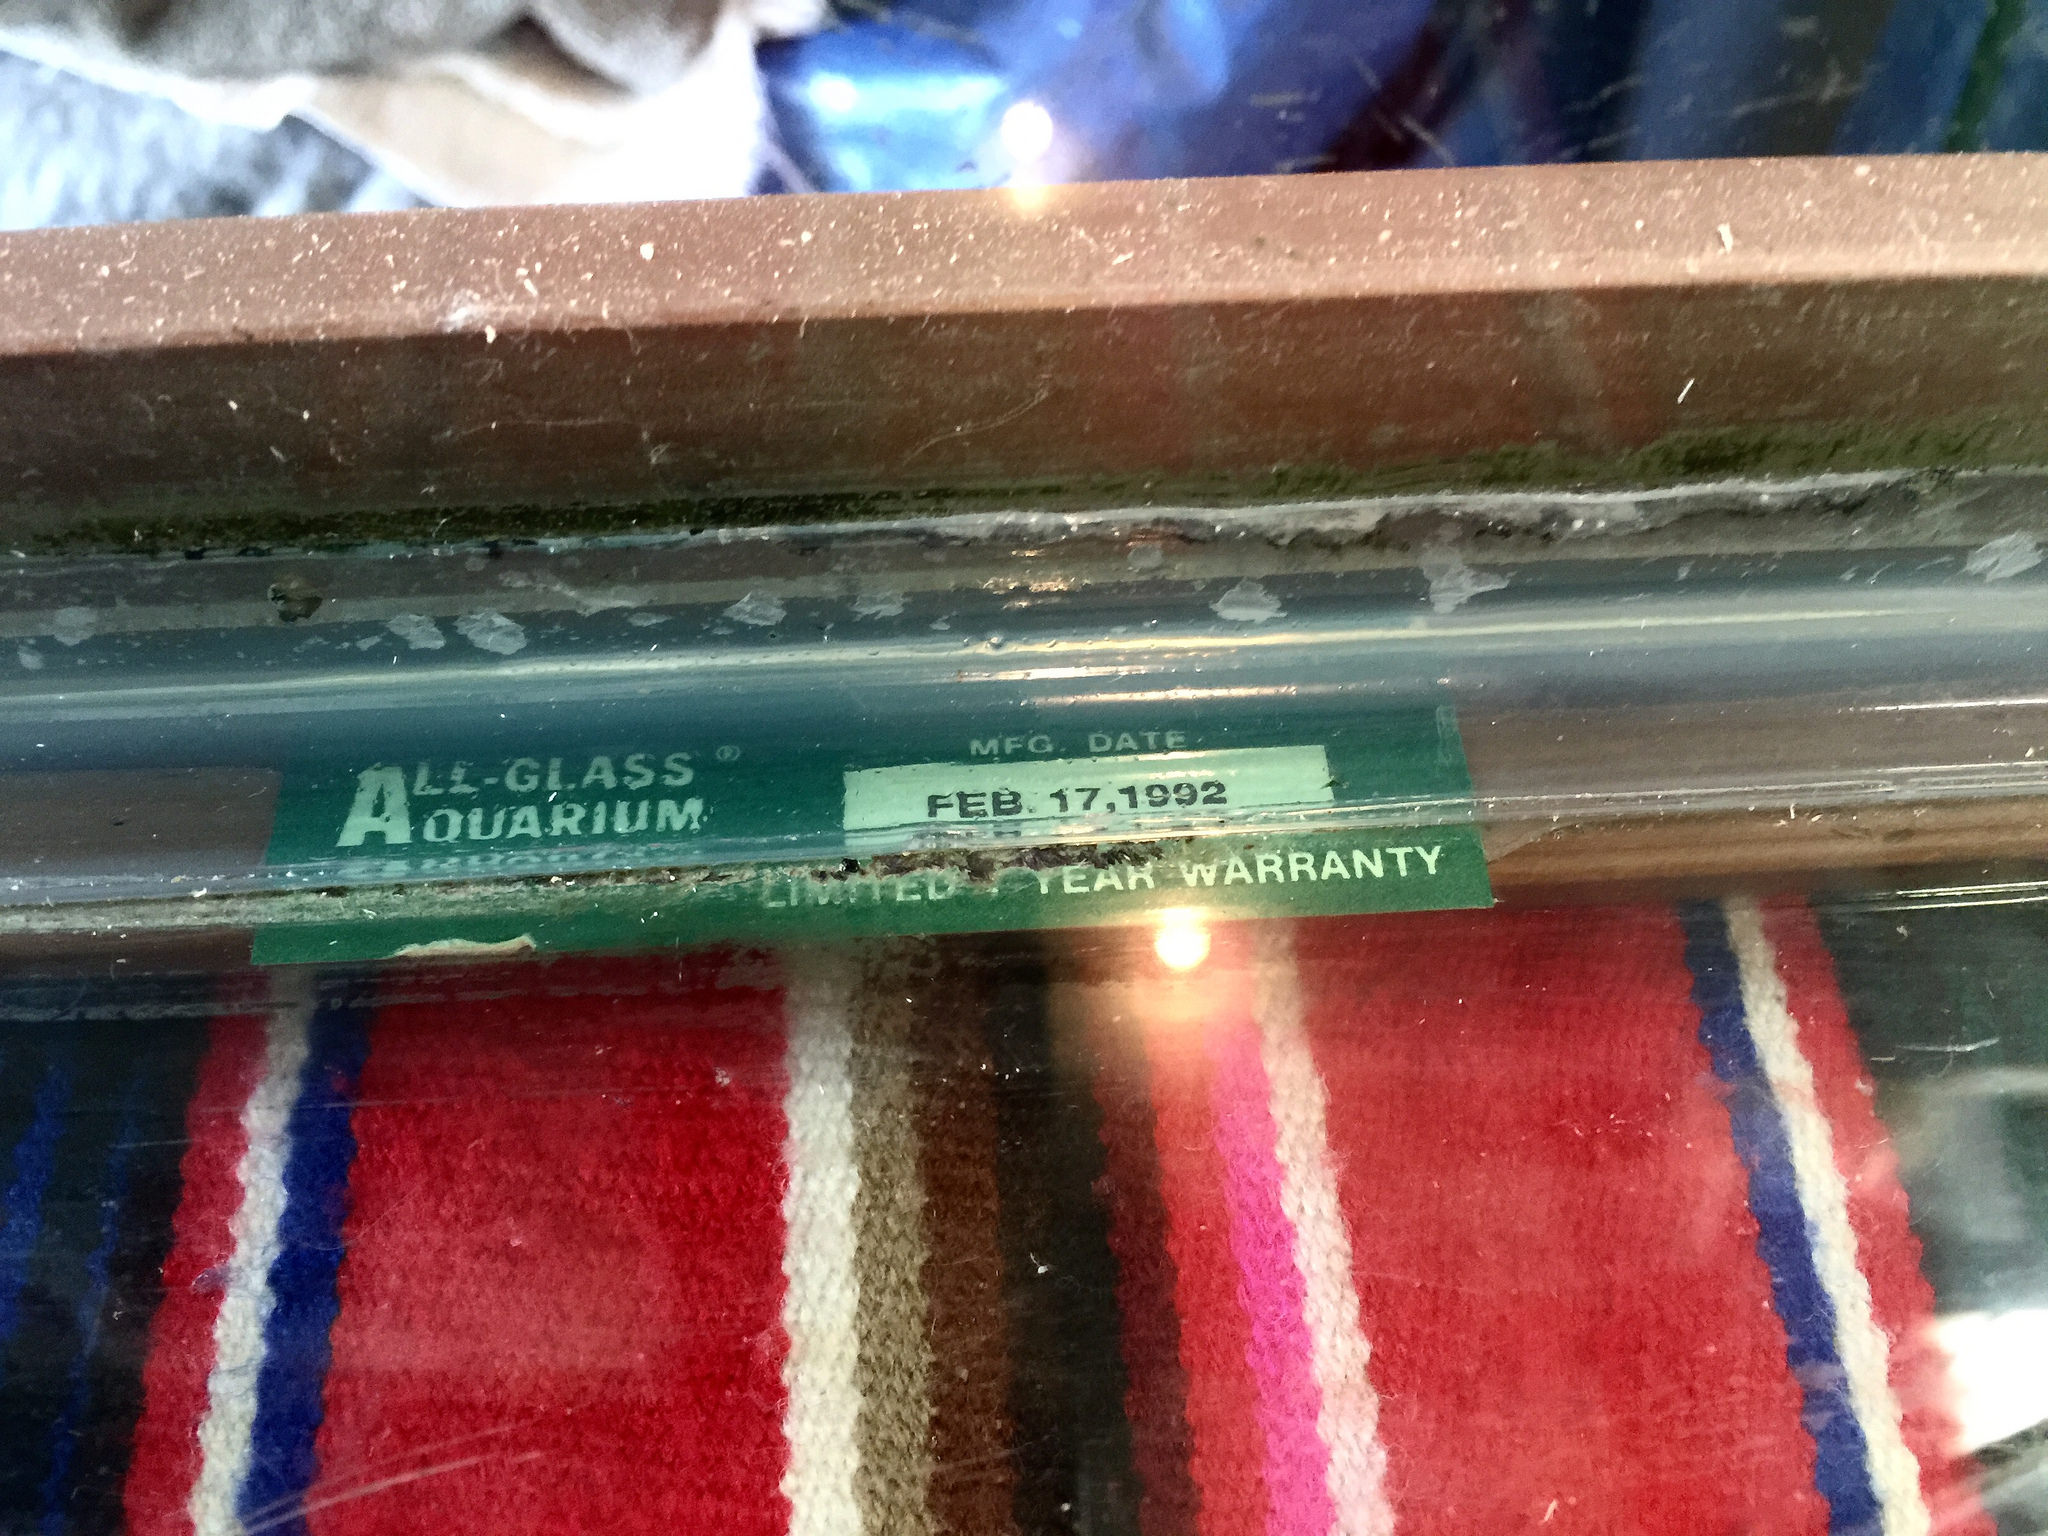
75 Gallon Aquarium (it's a beast! 1/2" glass, no center brace)
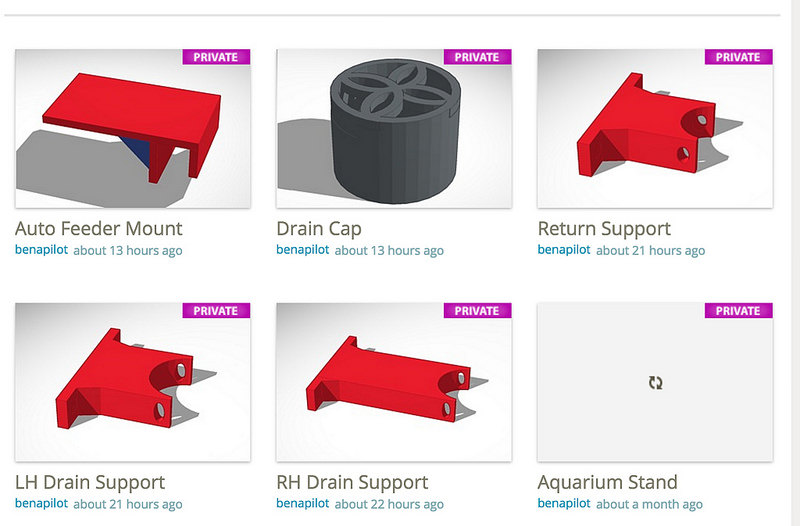
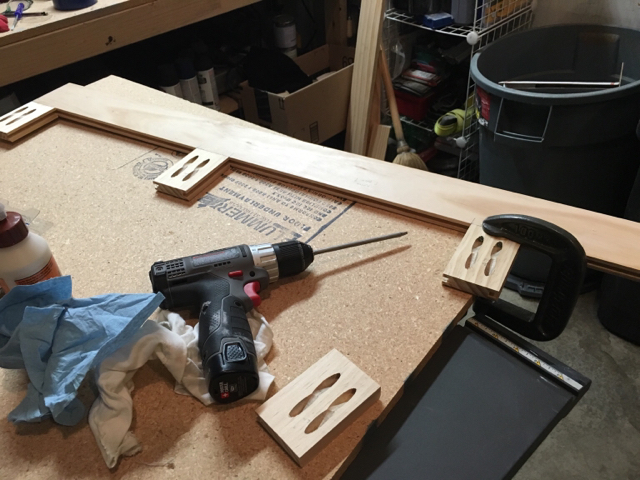
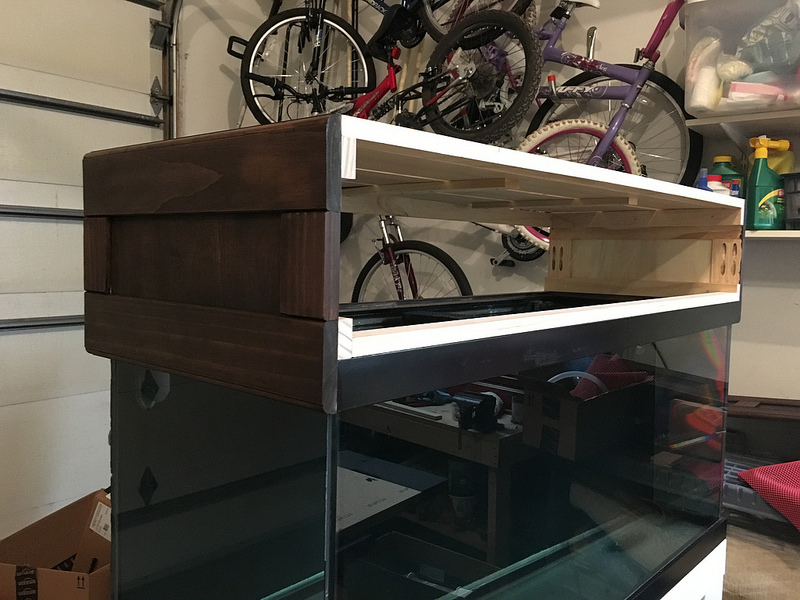
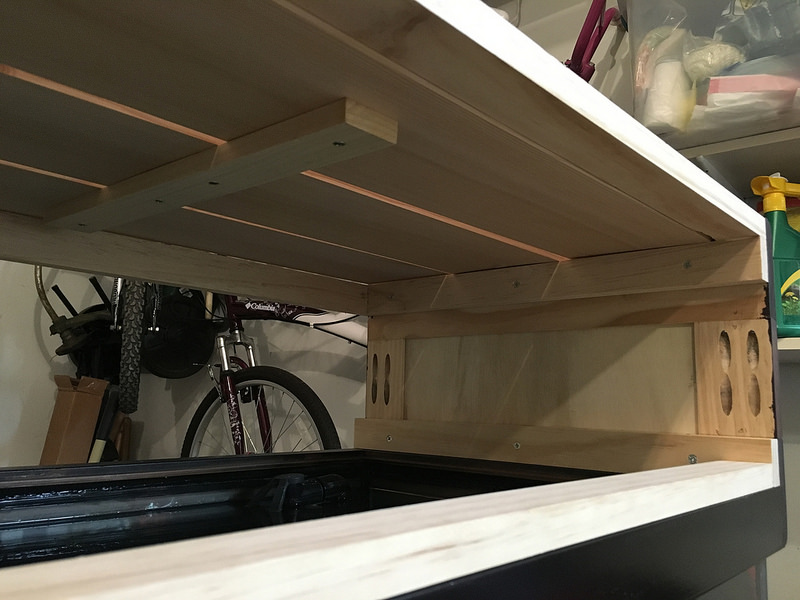
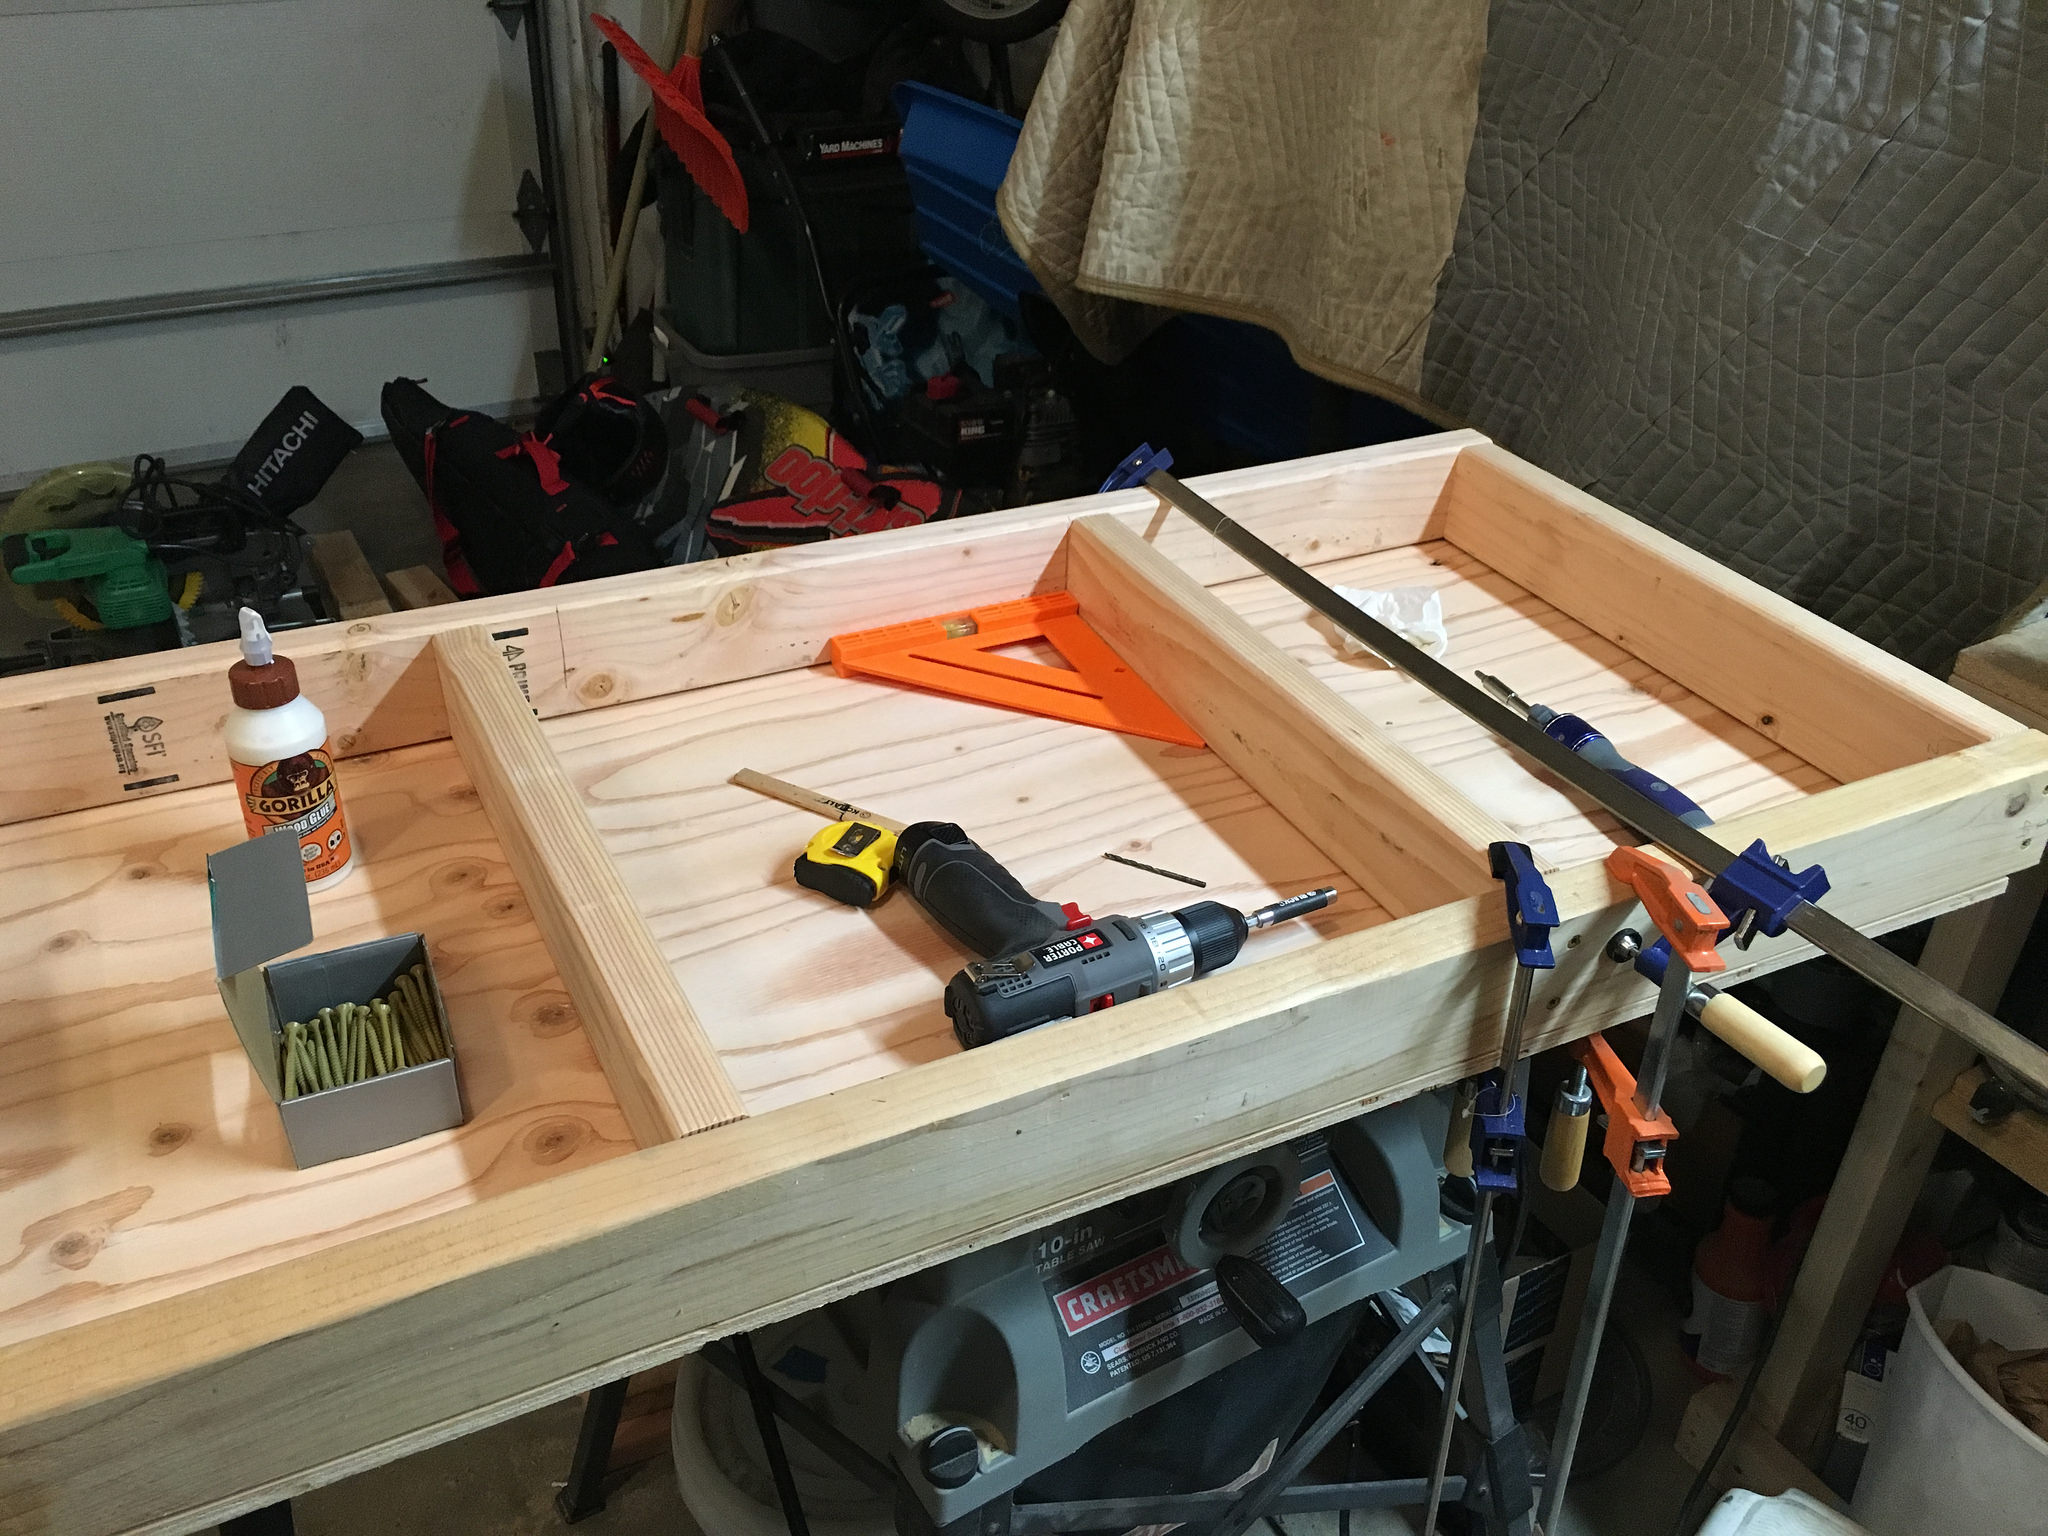
DIY wood stand with removeable front and side panels
DIY canopy
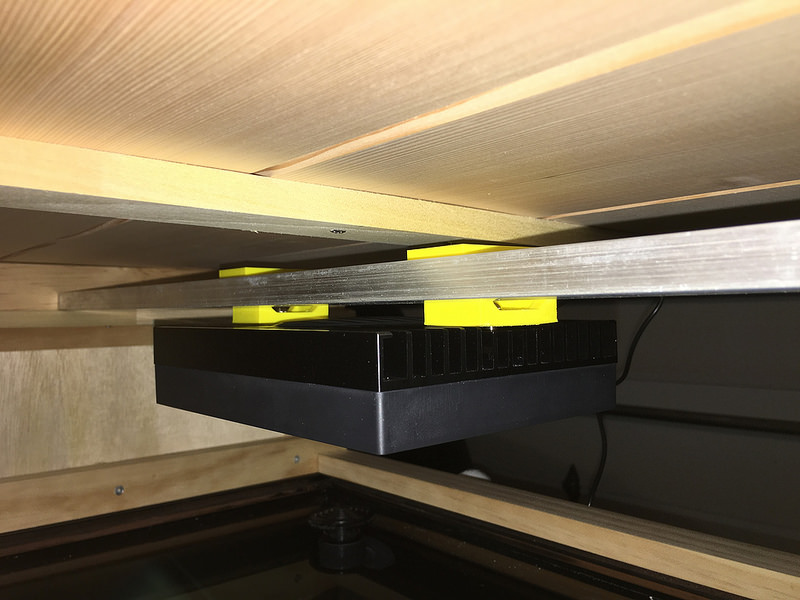
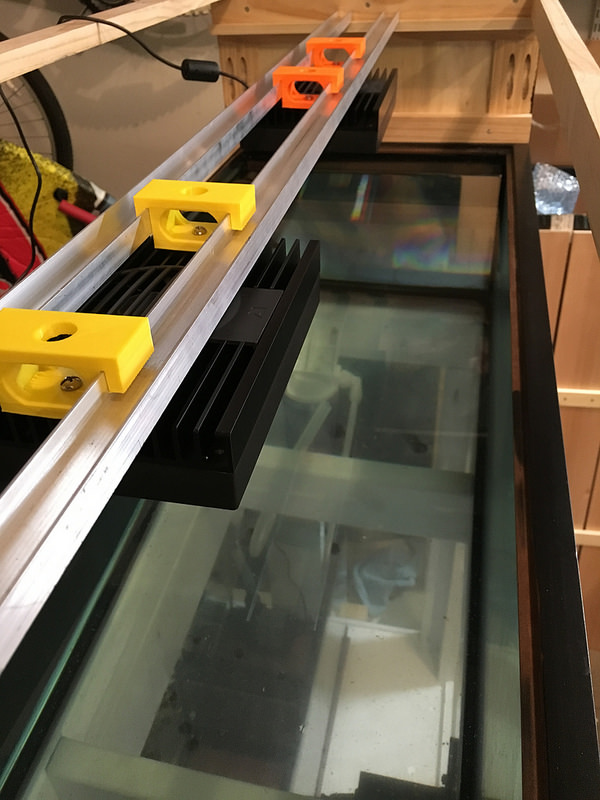
2x Hydra 26 (possible 2x 36"-48" T-5 supplememnts)
2x Jebao RW-4
Gyre 130
H2Overflow
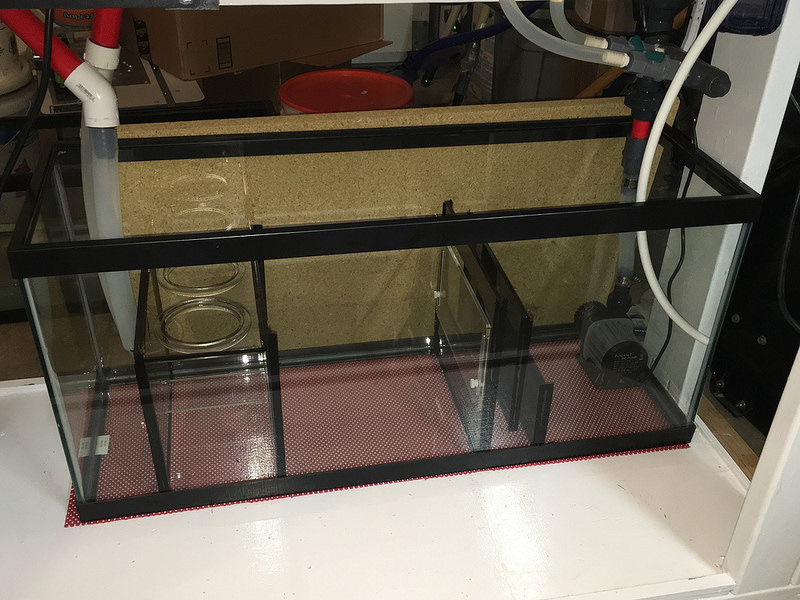
20 Gallon long sump using
Vertex Omega 130 protein skimmer
BRS Carbon/GFO reactor running the two mixed
UV Sterilizer
Tom's Aqualifter for kalk ATO from two 5 gallon jugs plumbed in parallel
Digital Aquatics Archon controller
Auto water change system using two SpectraPure pumps
Tampa Bay Saltwater live rock and sand
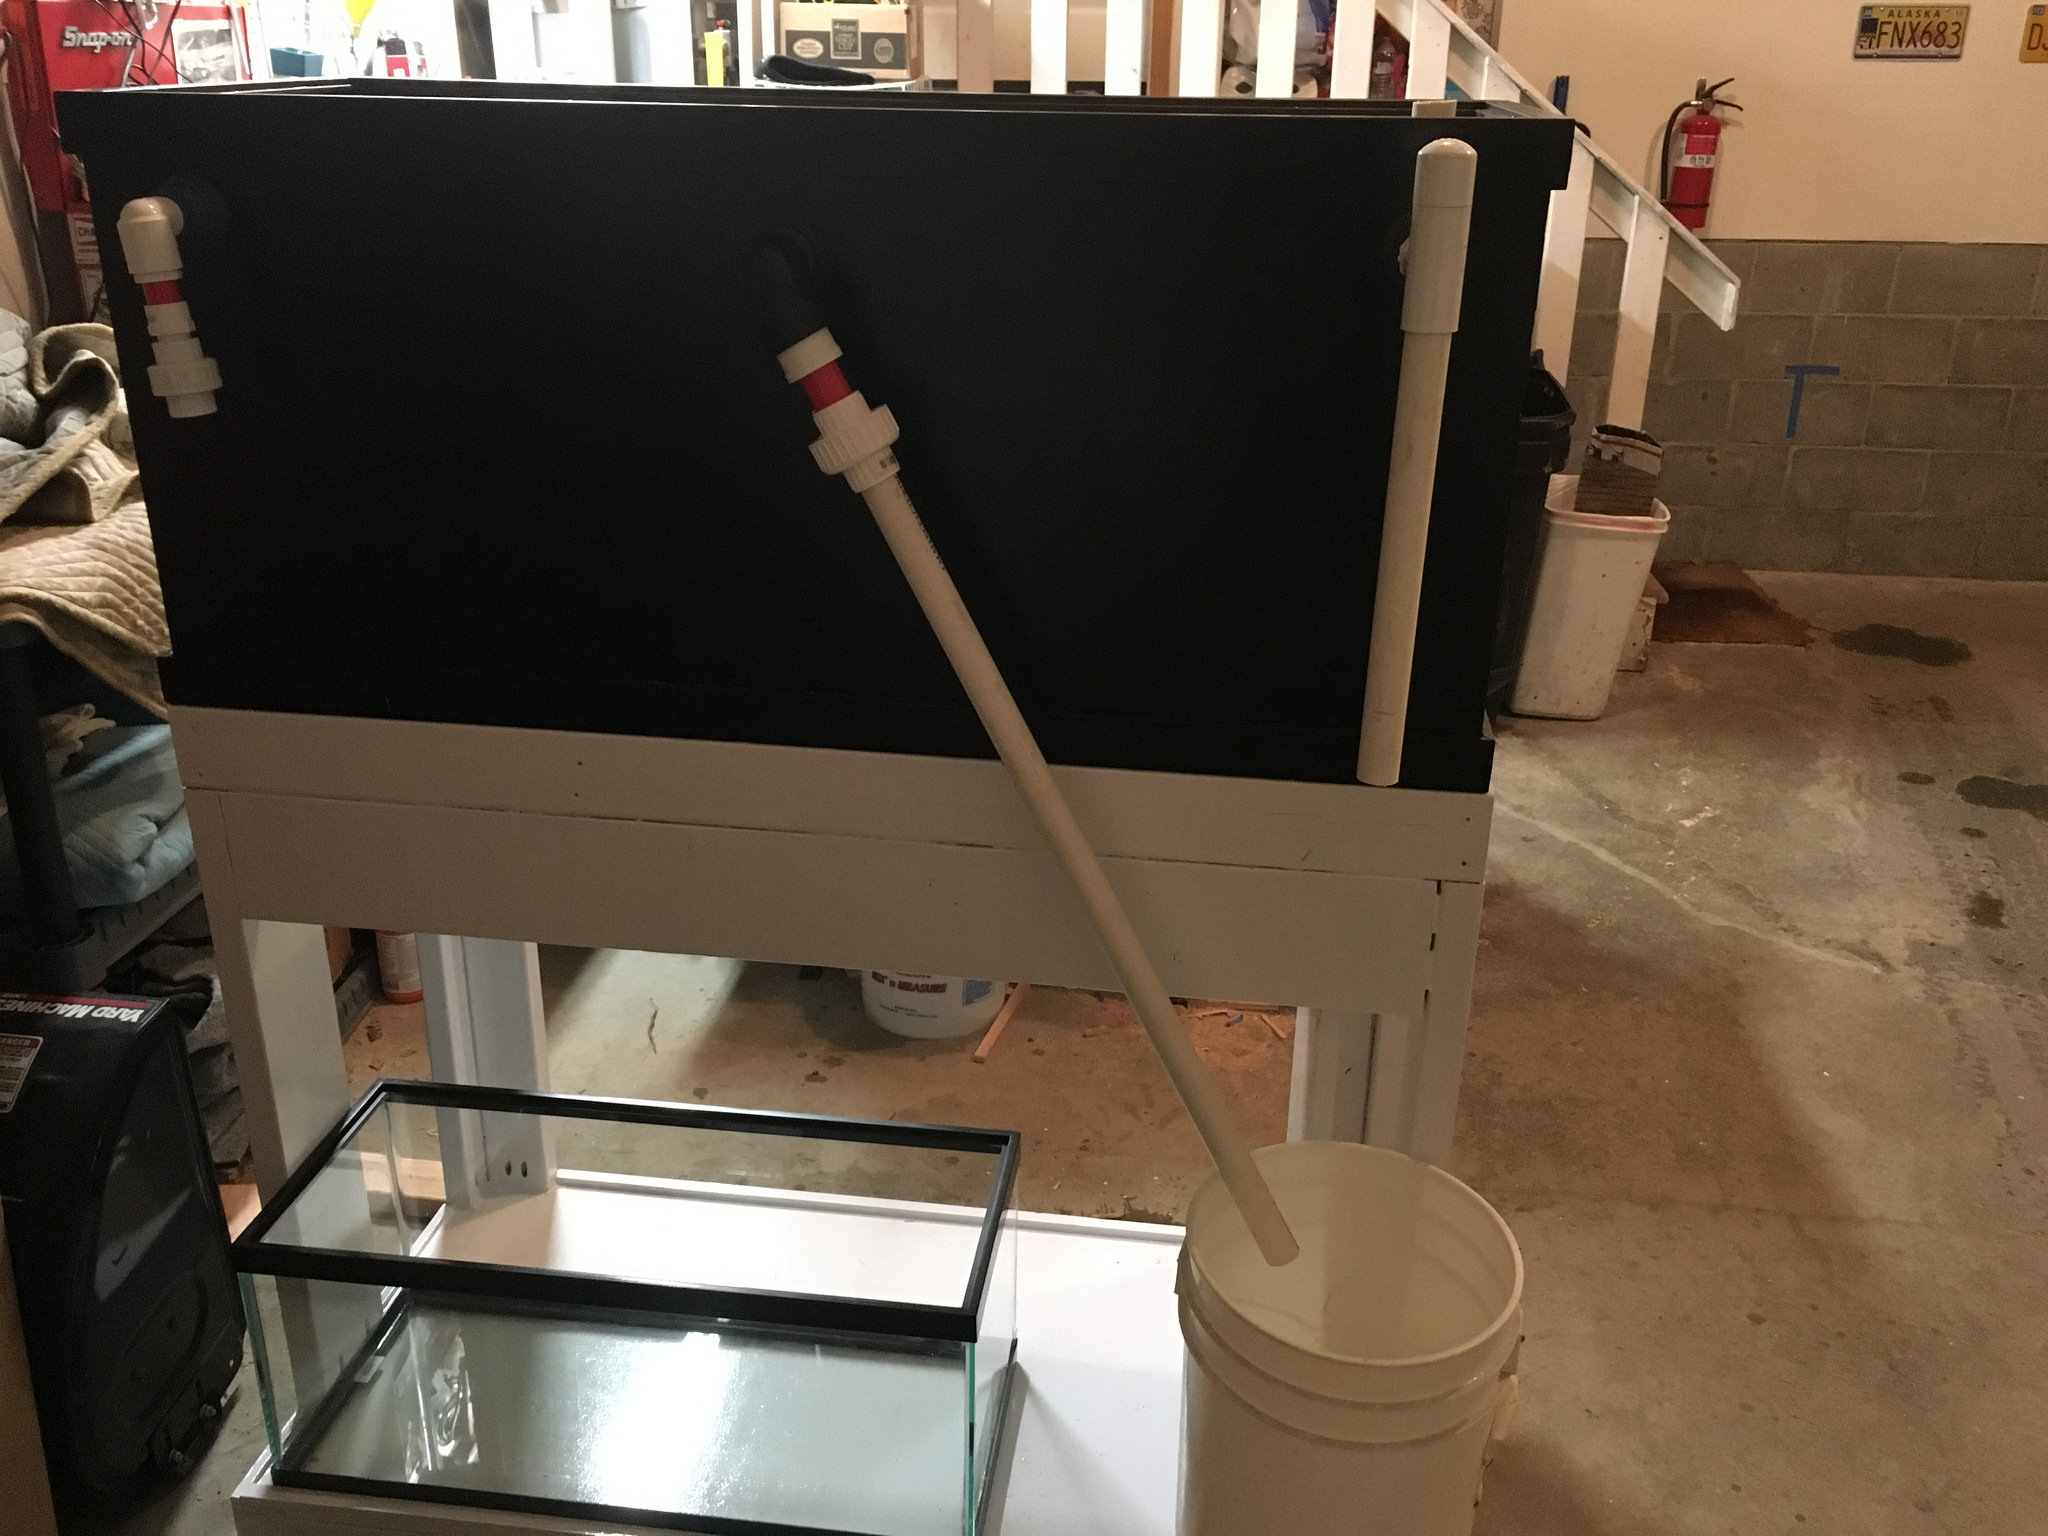
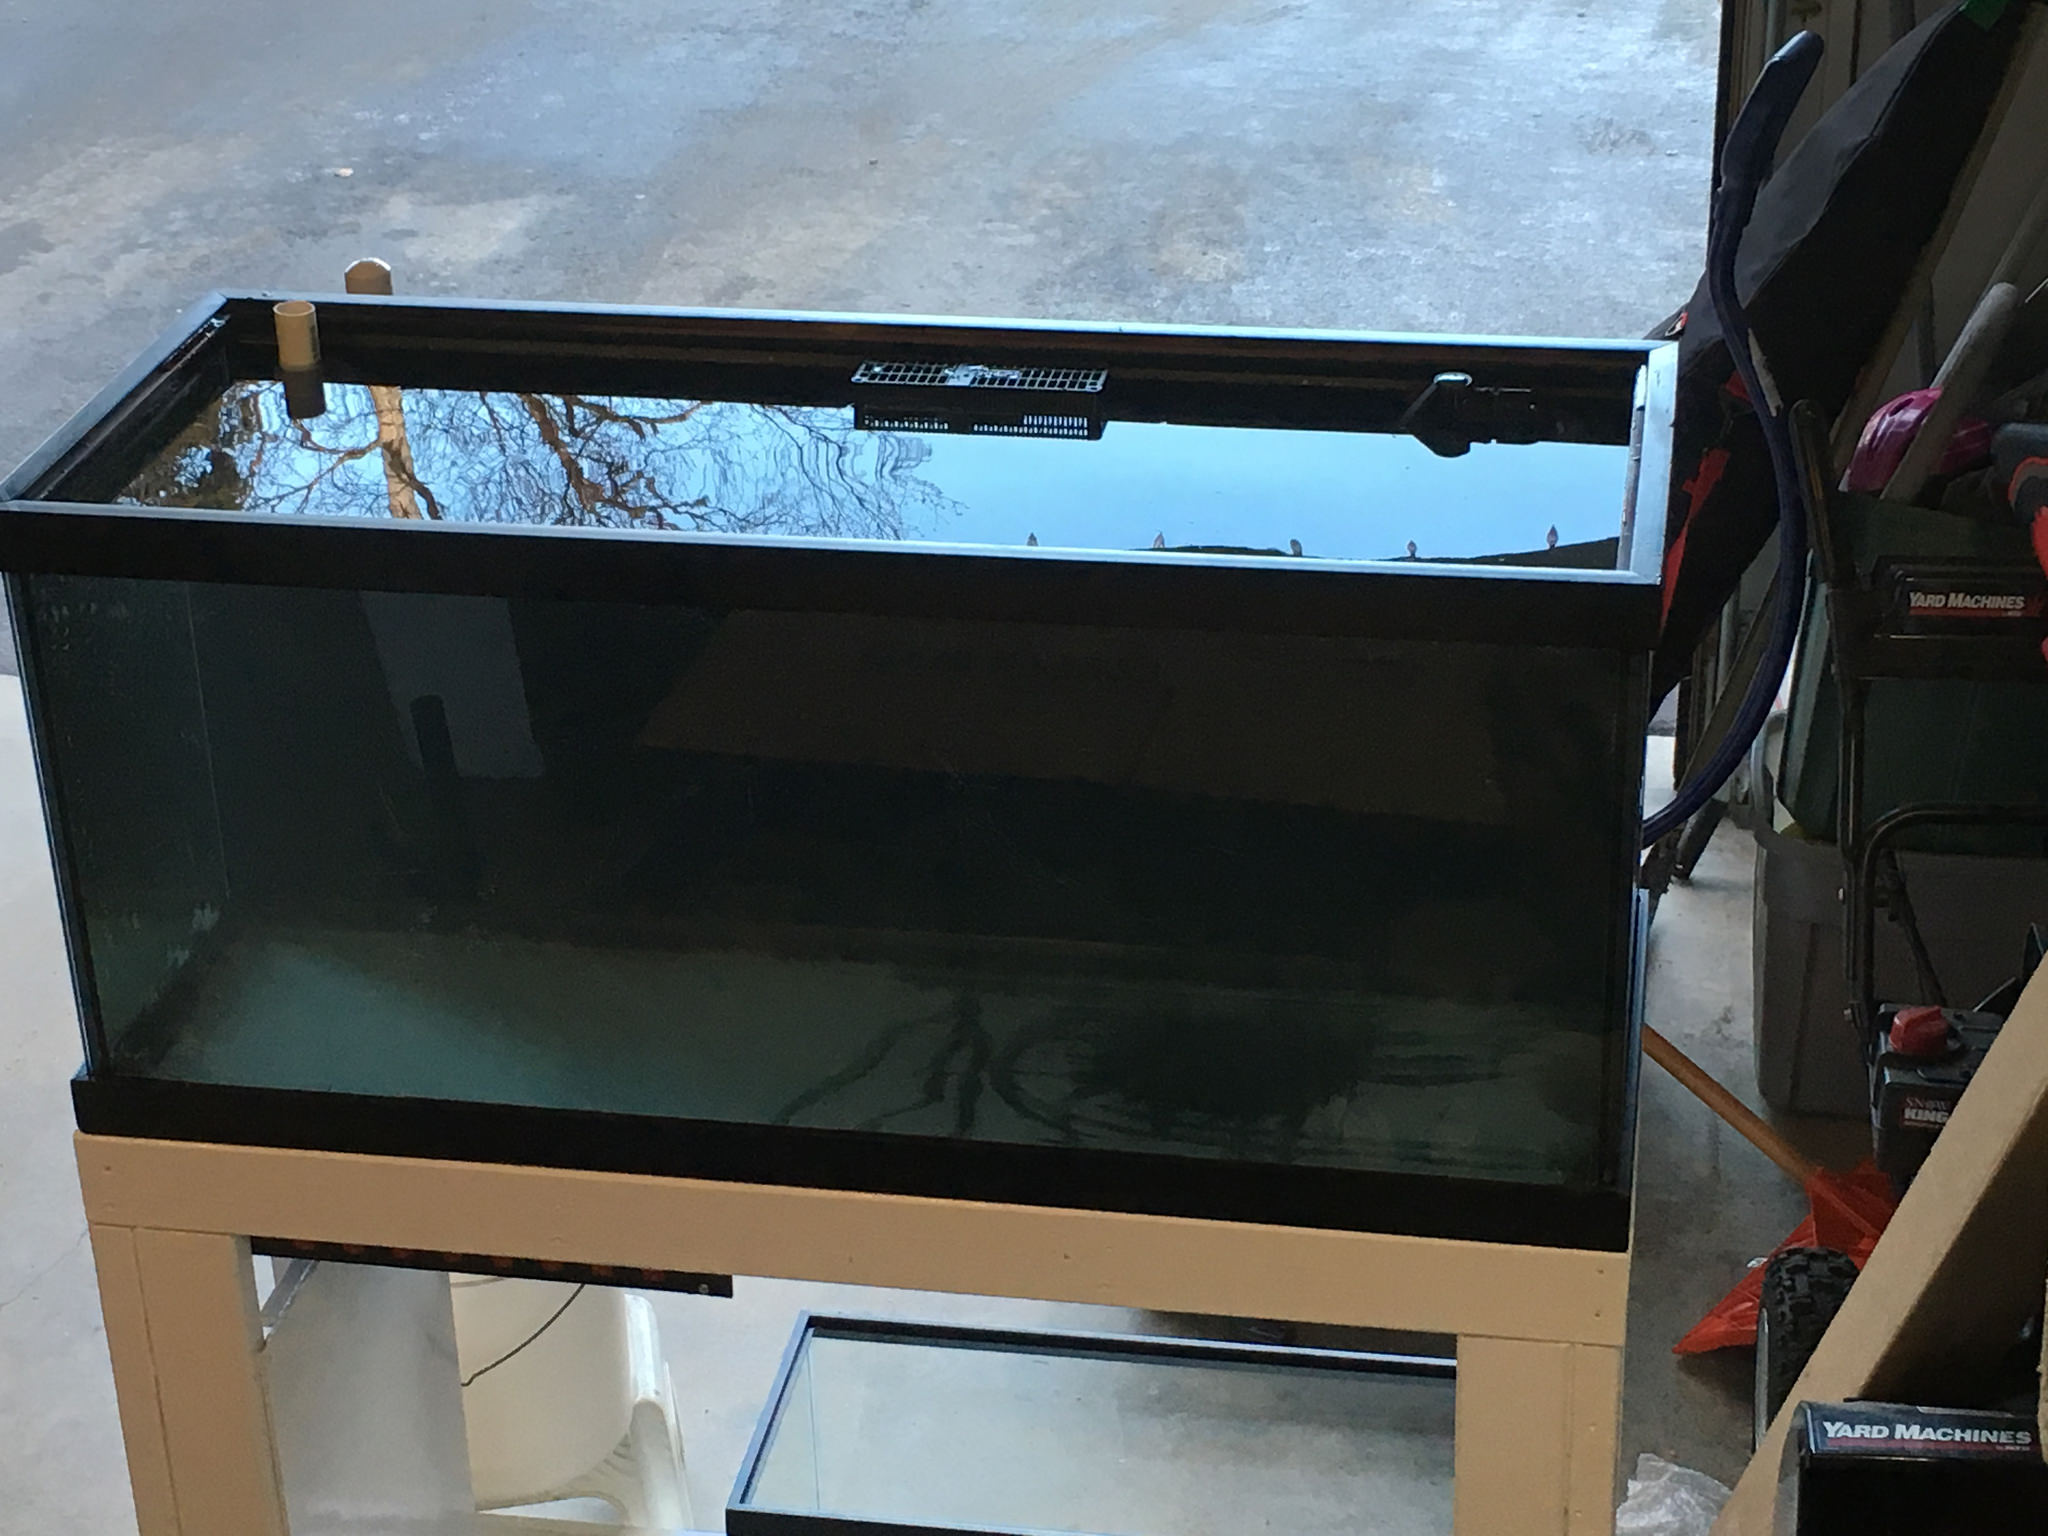
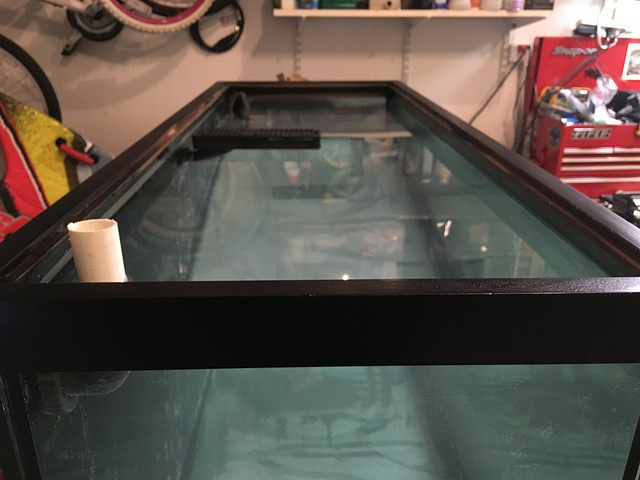
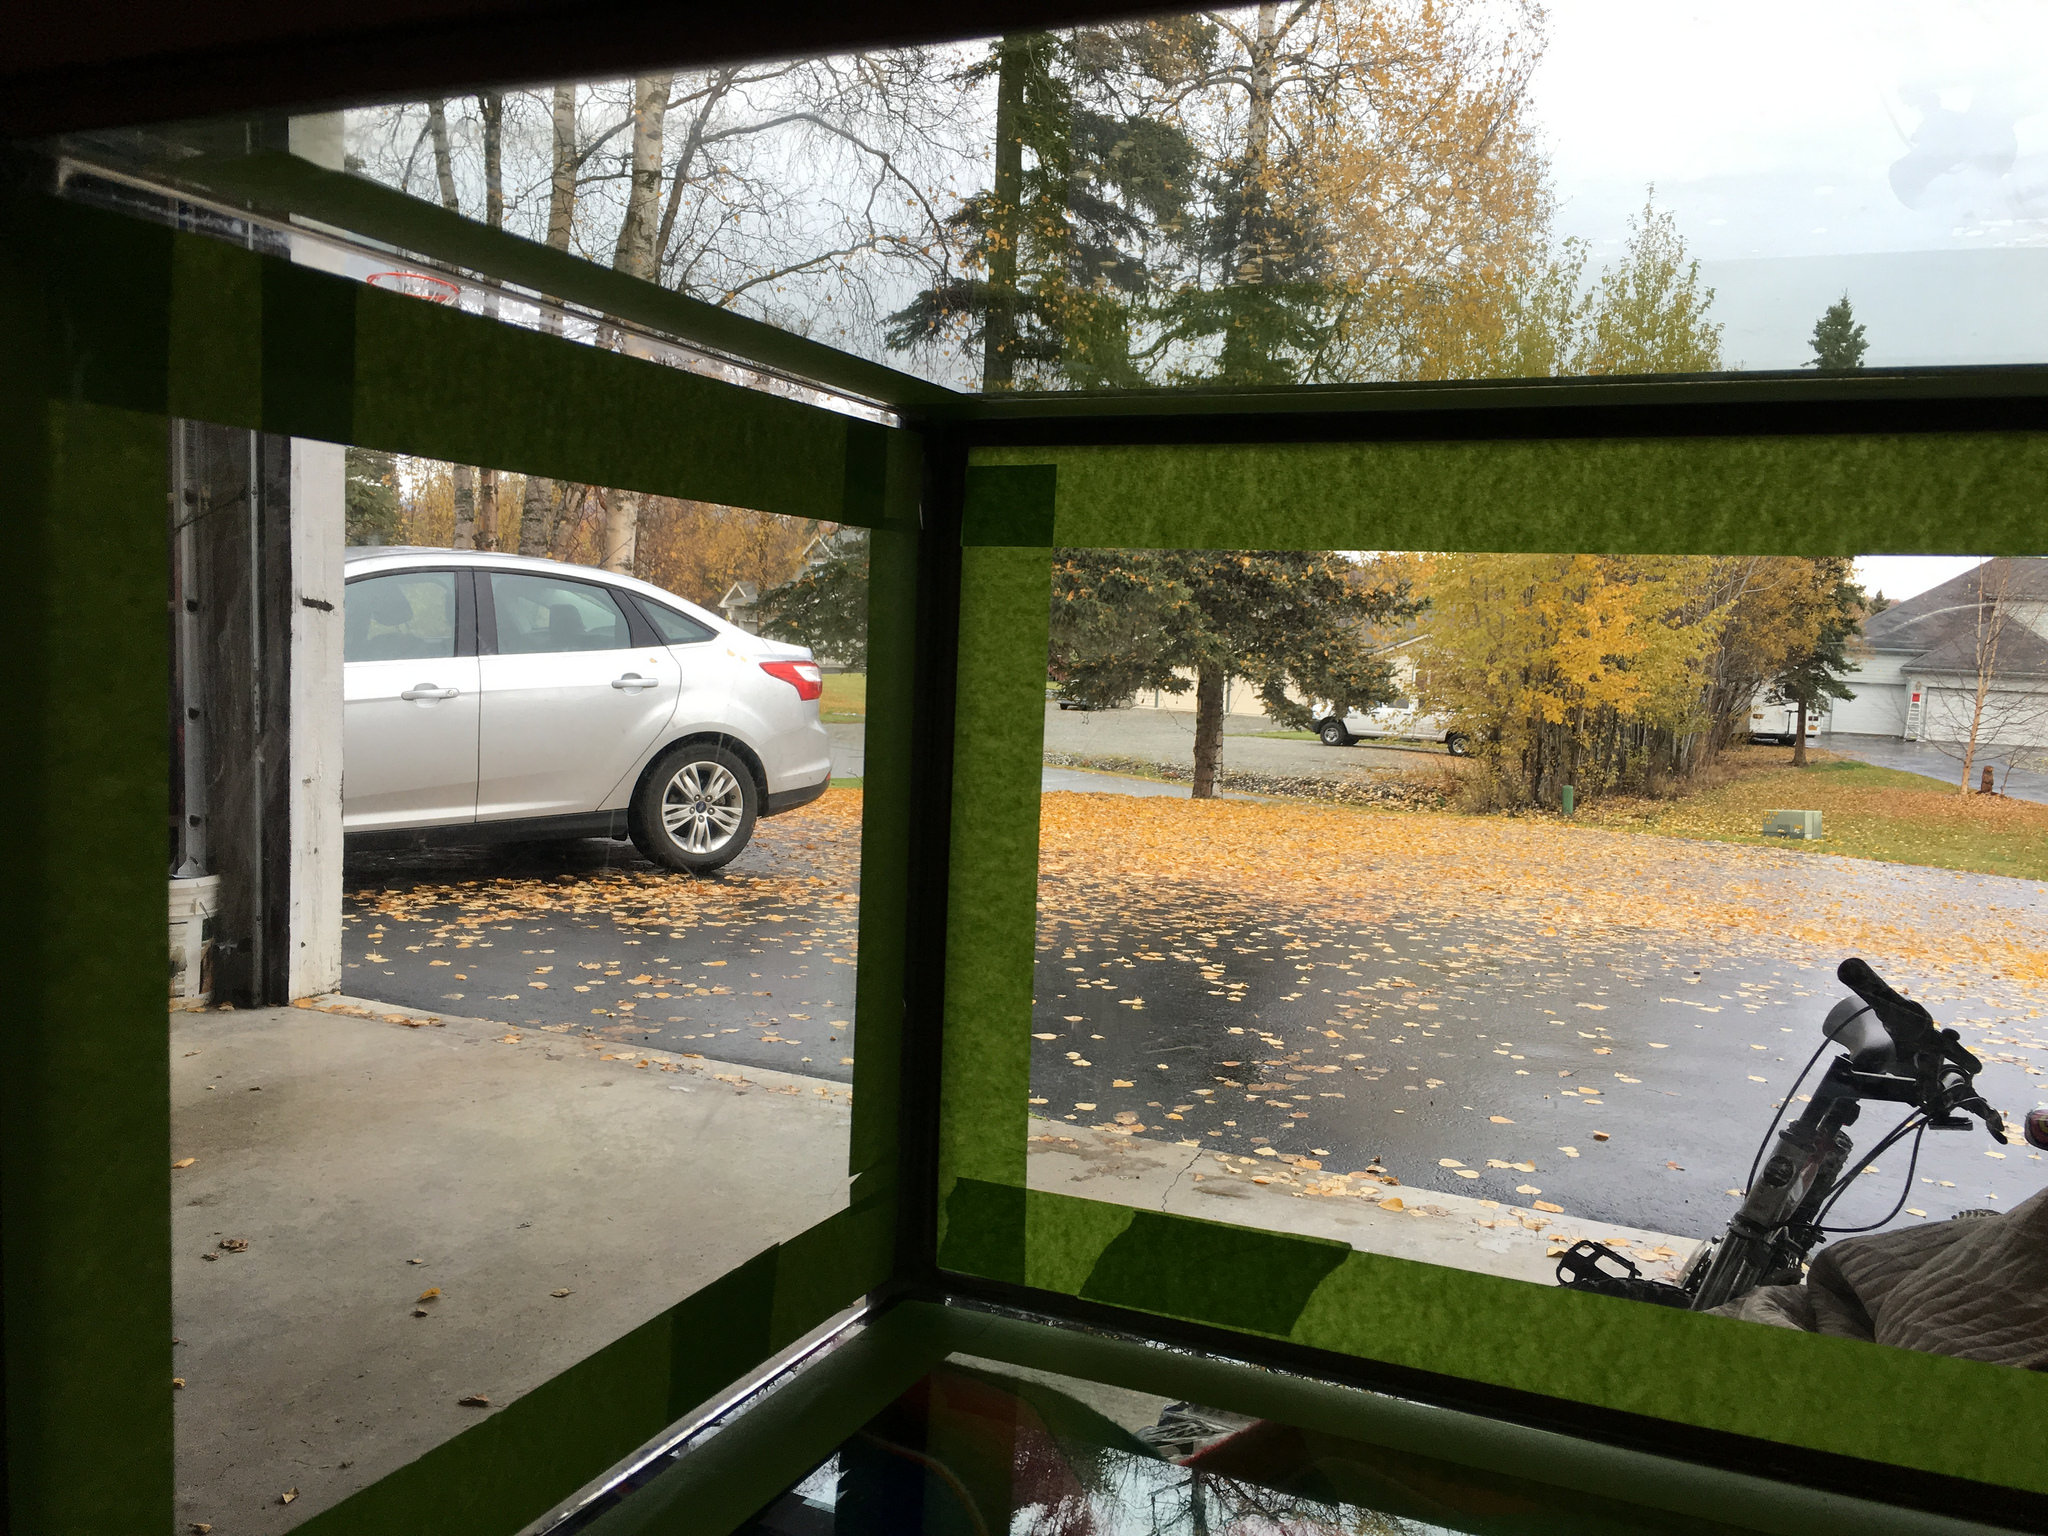
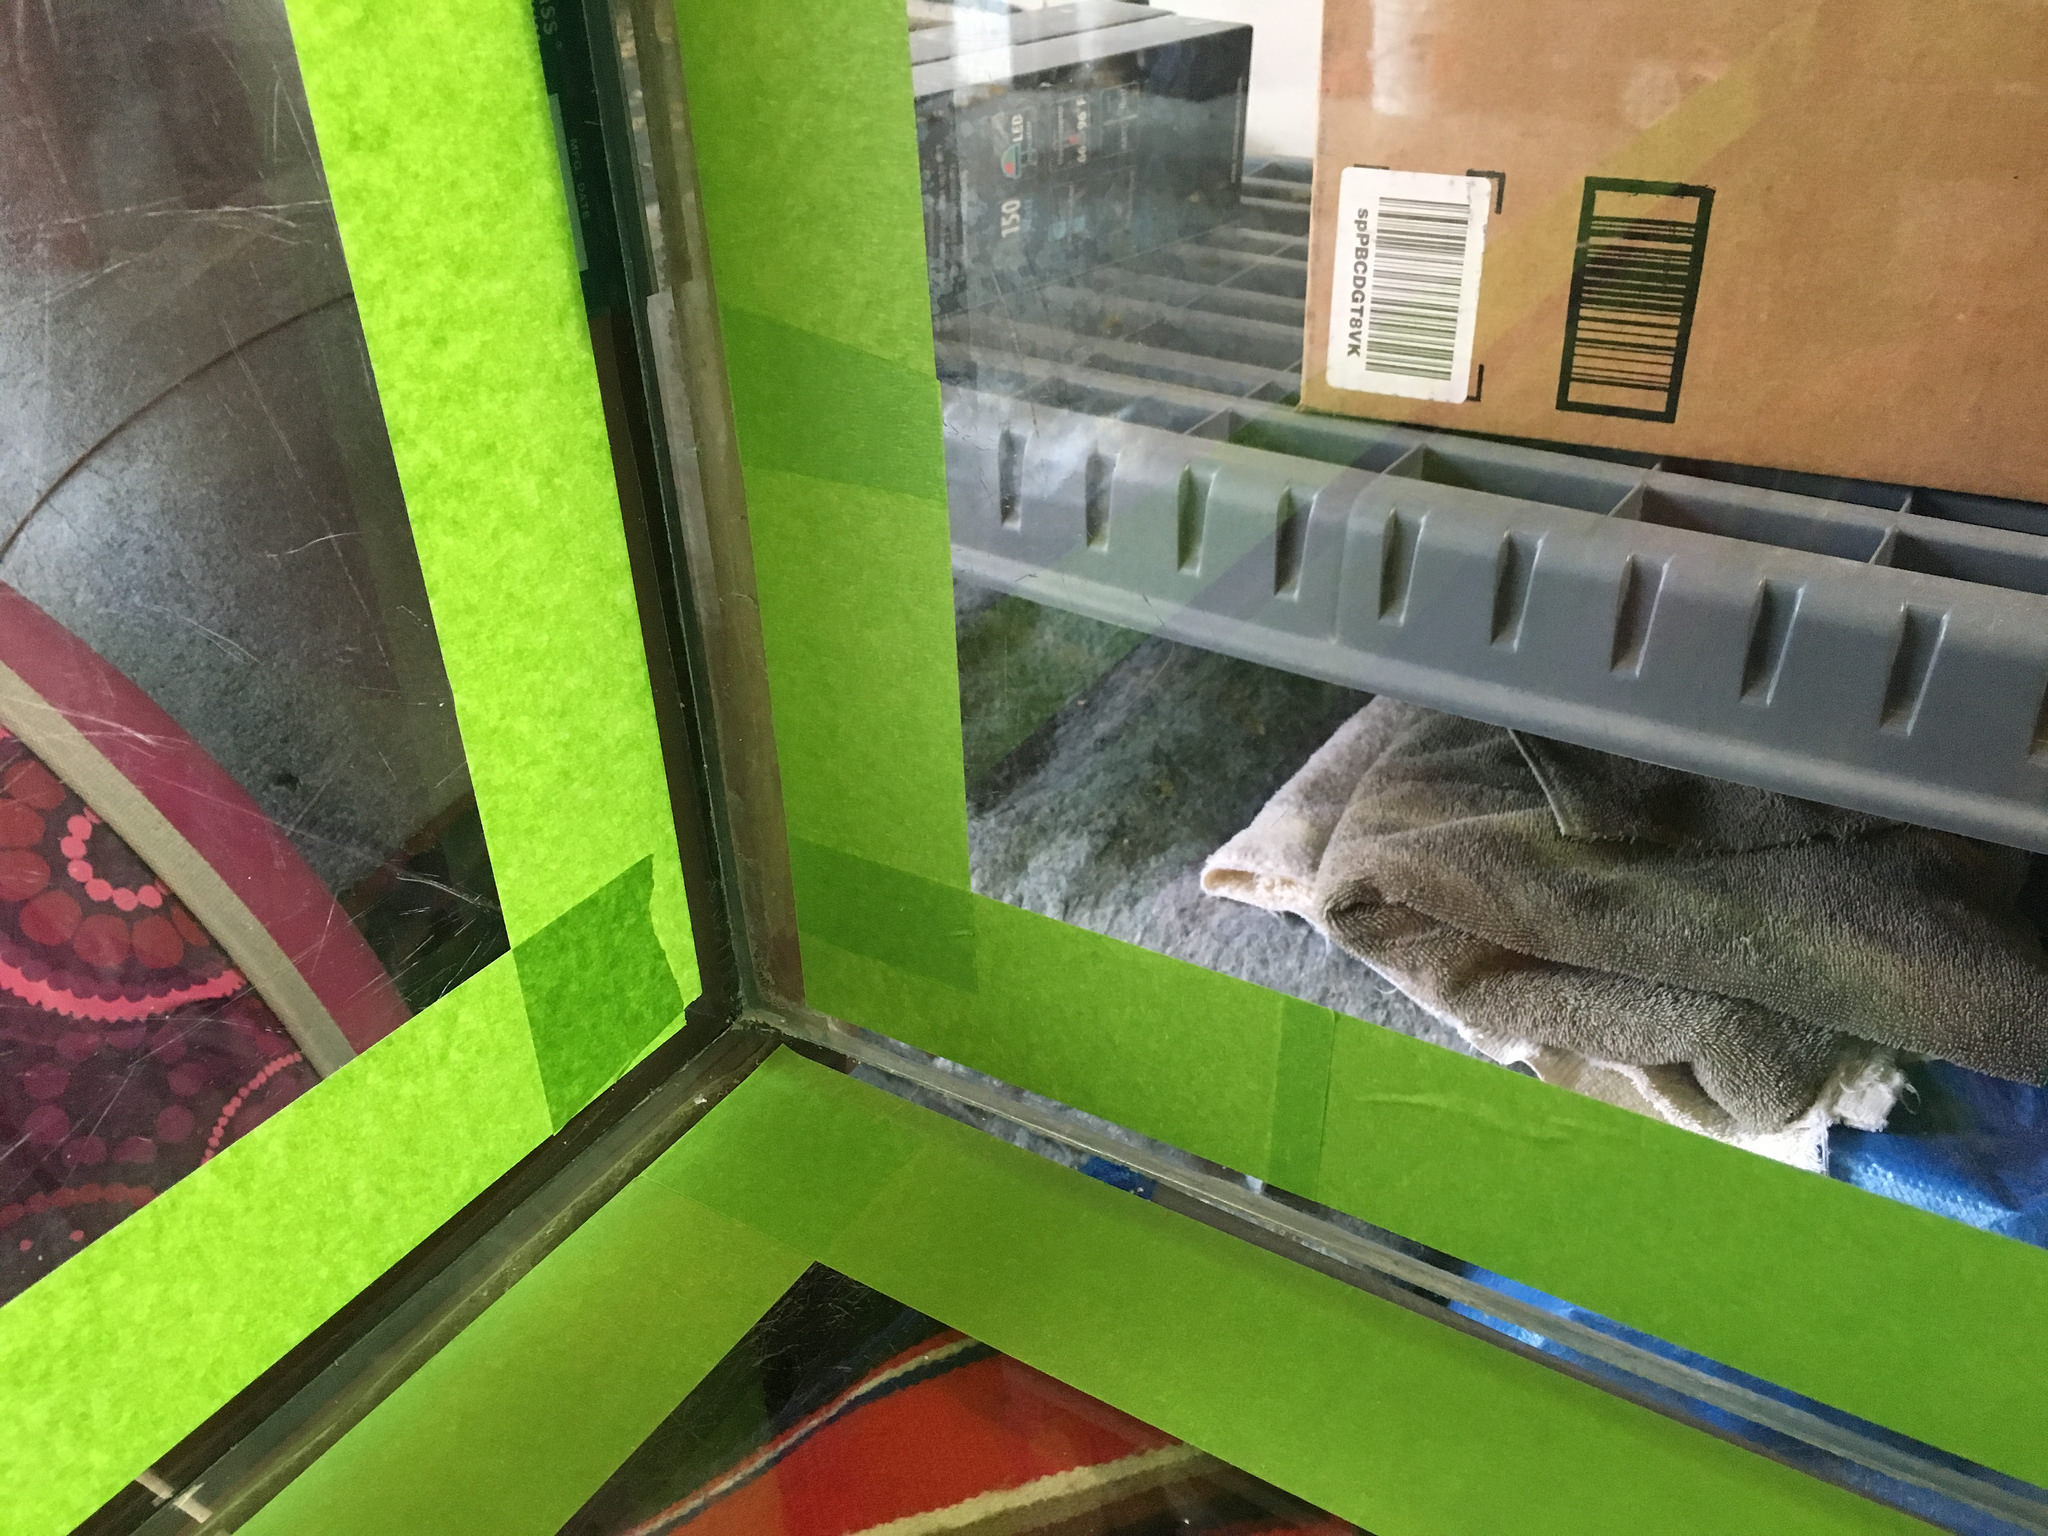
Next up.... preparing the tank.
I've been in the aquarium hobby on and off since high school in the '80s, cichlids mostly. About 5 years ago I finally had enough "disposable" income and job stability to get into saltwater.
I've currently been running a 46 gallon bowfront set on a steel stand with my own custom made cabinet surround that I can completely remove:

It's evolved much over the last 5 years. I've learned a lot, tweaked a bunch, and am ready for an upgrade!
Last summer I got a great deal on a 75 gallon aquarium. Over the last 6 months I've been collecting information, pieces and parts.
Here's the plan:
75 Gallon Aquarium (it's a beast! 1/2" glass, no center brace)
DIY wood stand with removeable front and side panels
DIY canopy
2x Hydra 26 (possible 2x 36"-48" T-5 supplememnts)
2x Jebao RW-4
Gyre 130
H2Overflow
20 Gallon long sump using
Vertex Omega 130 protein skimmer
BRS Carbon/GFO reactor running the two mixed
UV Sterilizer
Tom's Aqualifter for kalk ATO from two 5 gallon jugs plumbed in parallel
Digital Aquatics Archon controller
Auto water change system using two SpectraPure pumps
Tampa Bay Saltwater live rock and sand
Next up.... preparing the tank.


 75 Gallon Aquarium Build
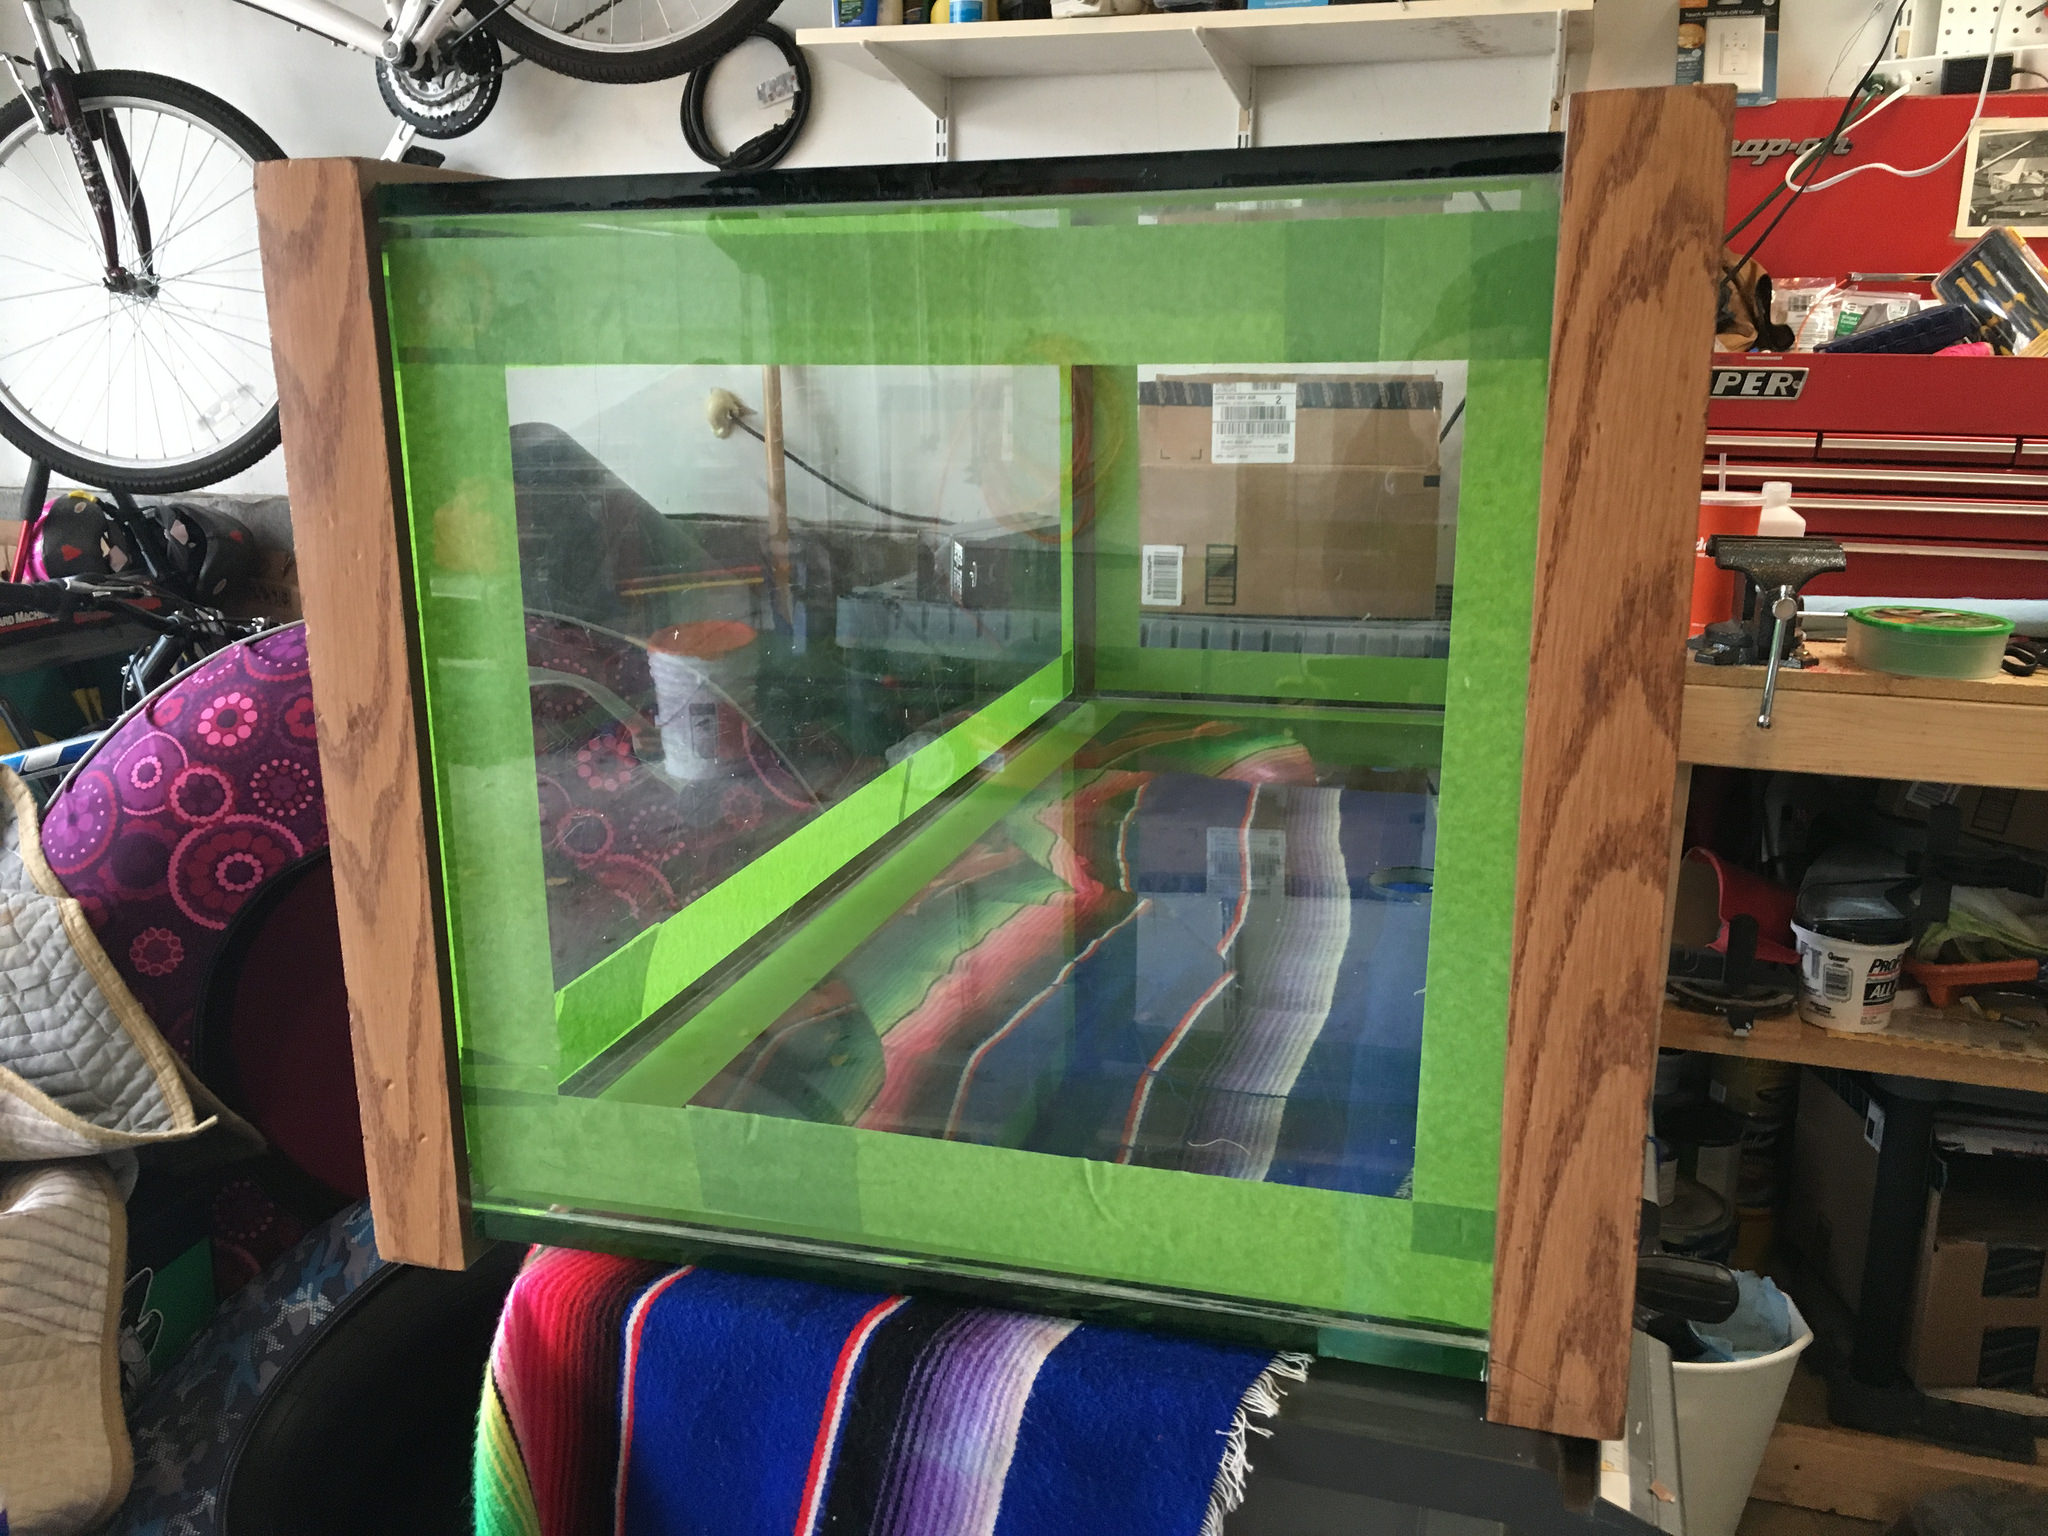 75 Gallon Aquarium Build
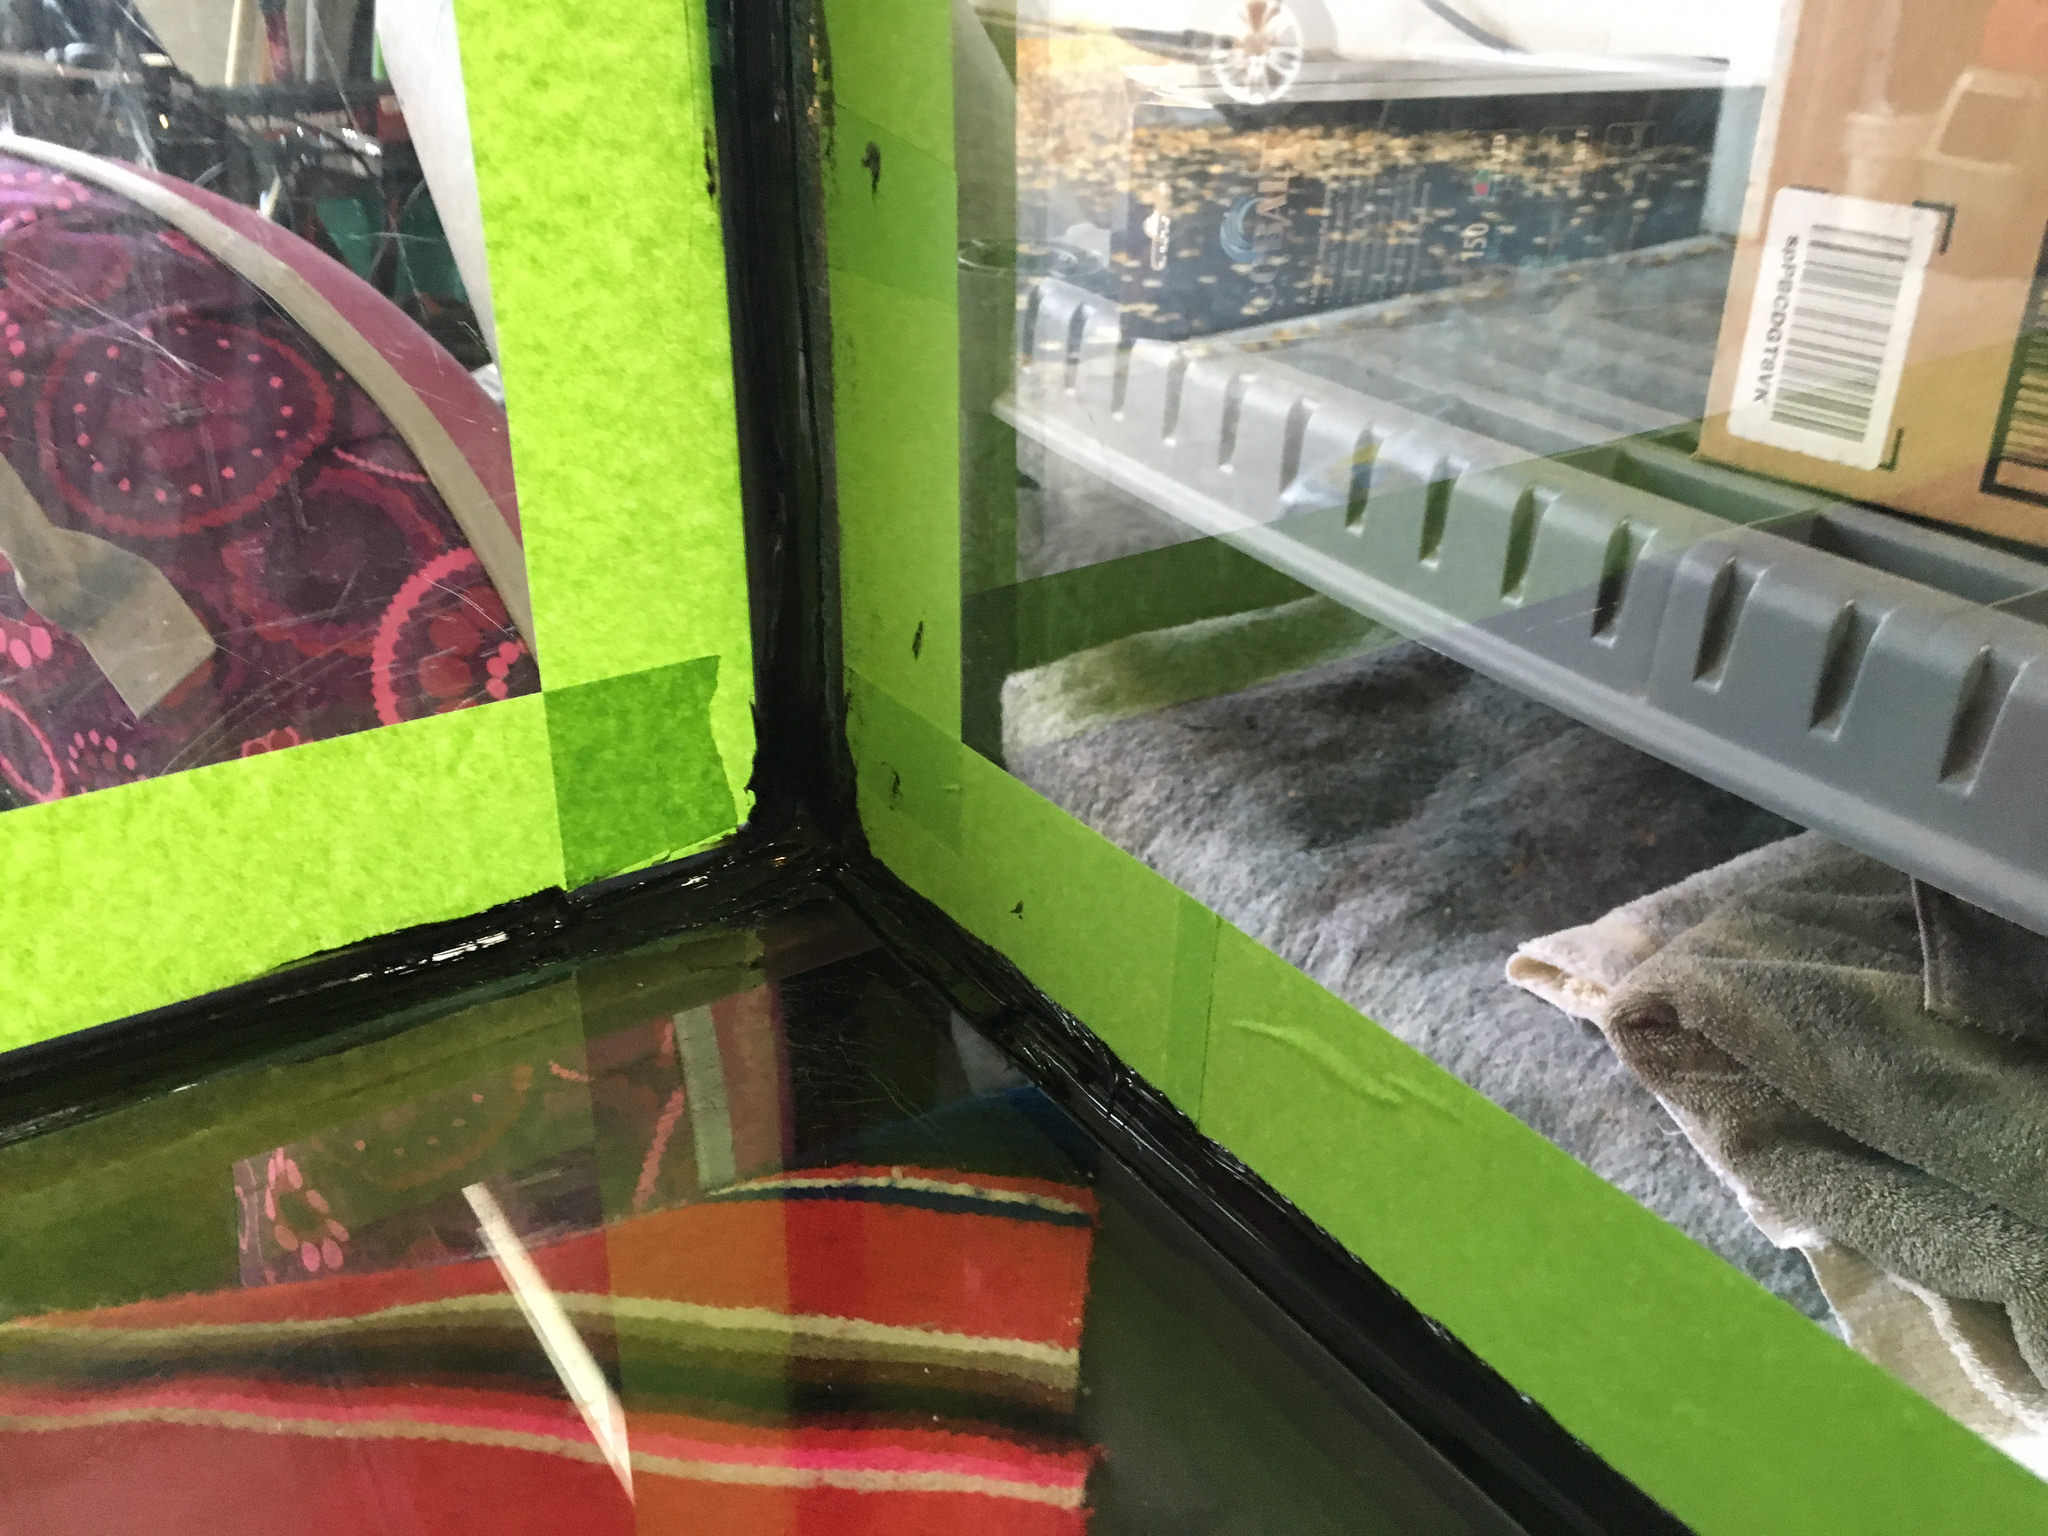 75 Gallon Aquarium Build
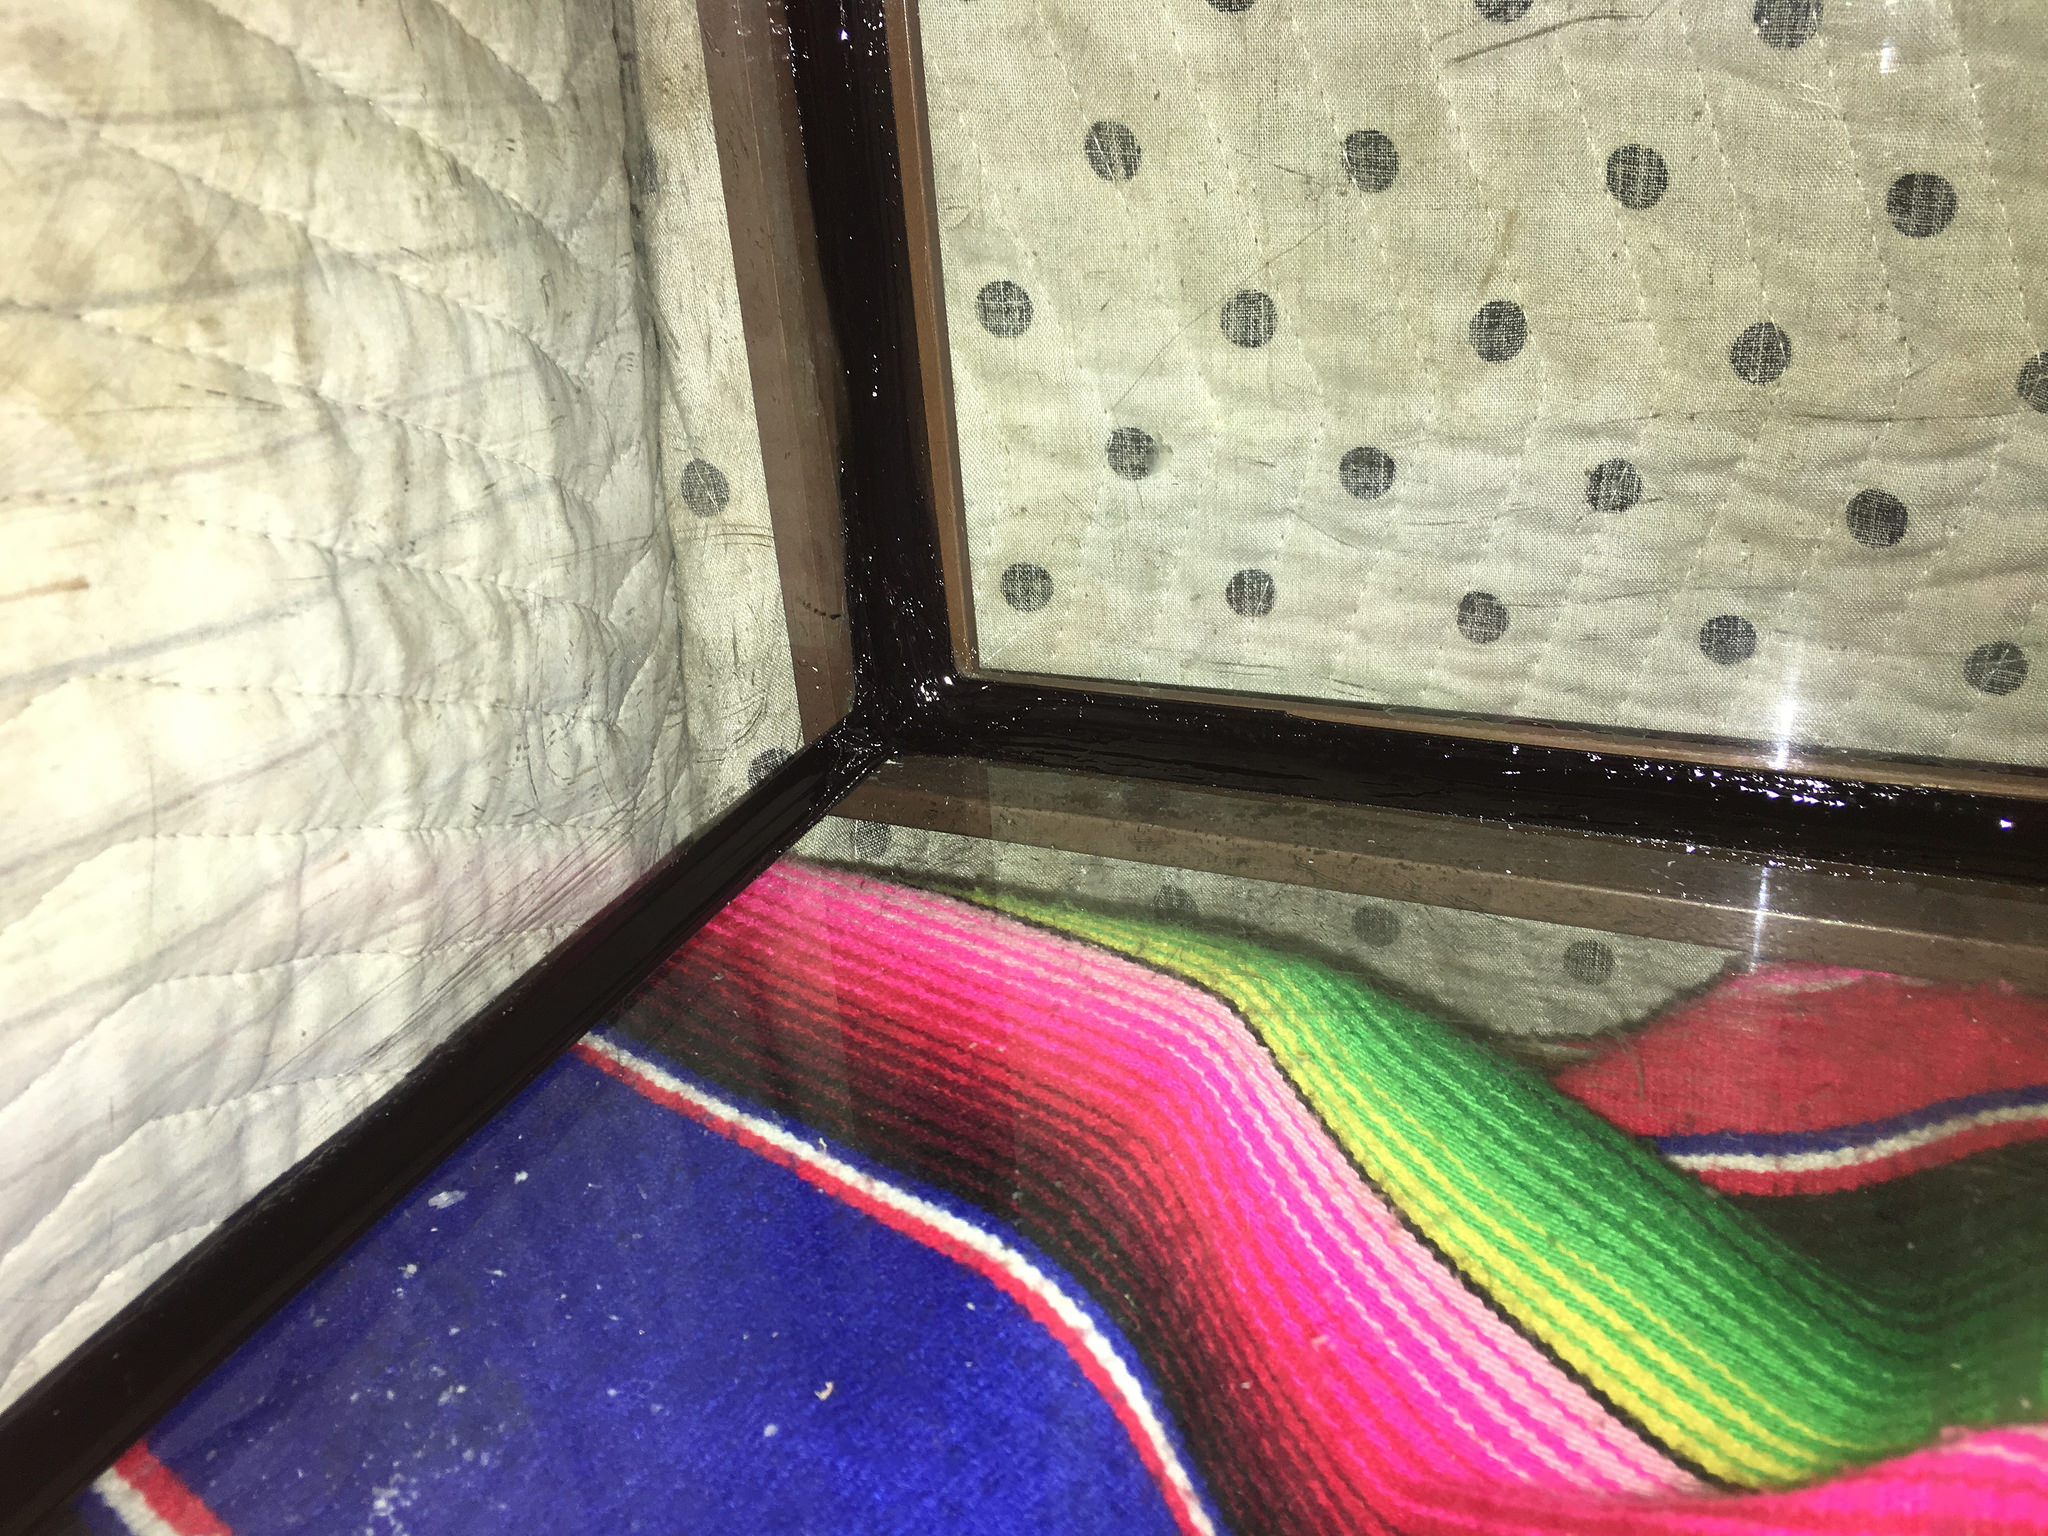 75 Gallon Aquarium Build
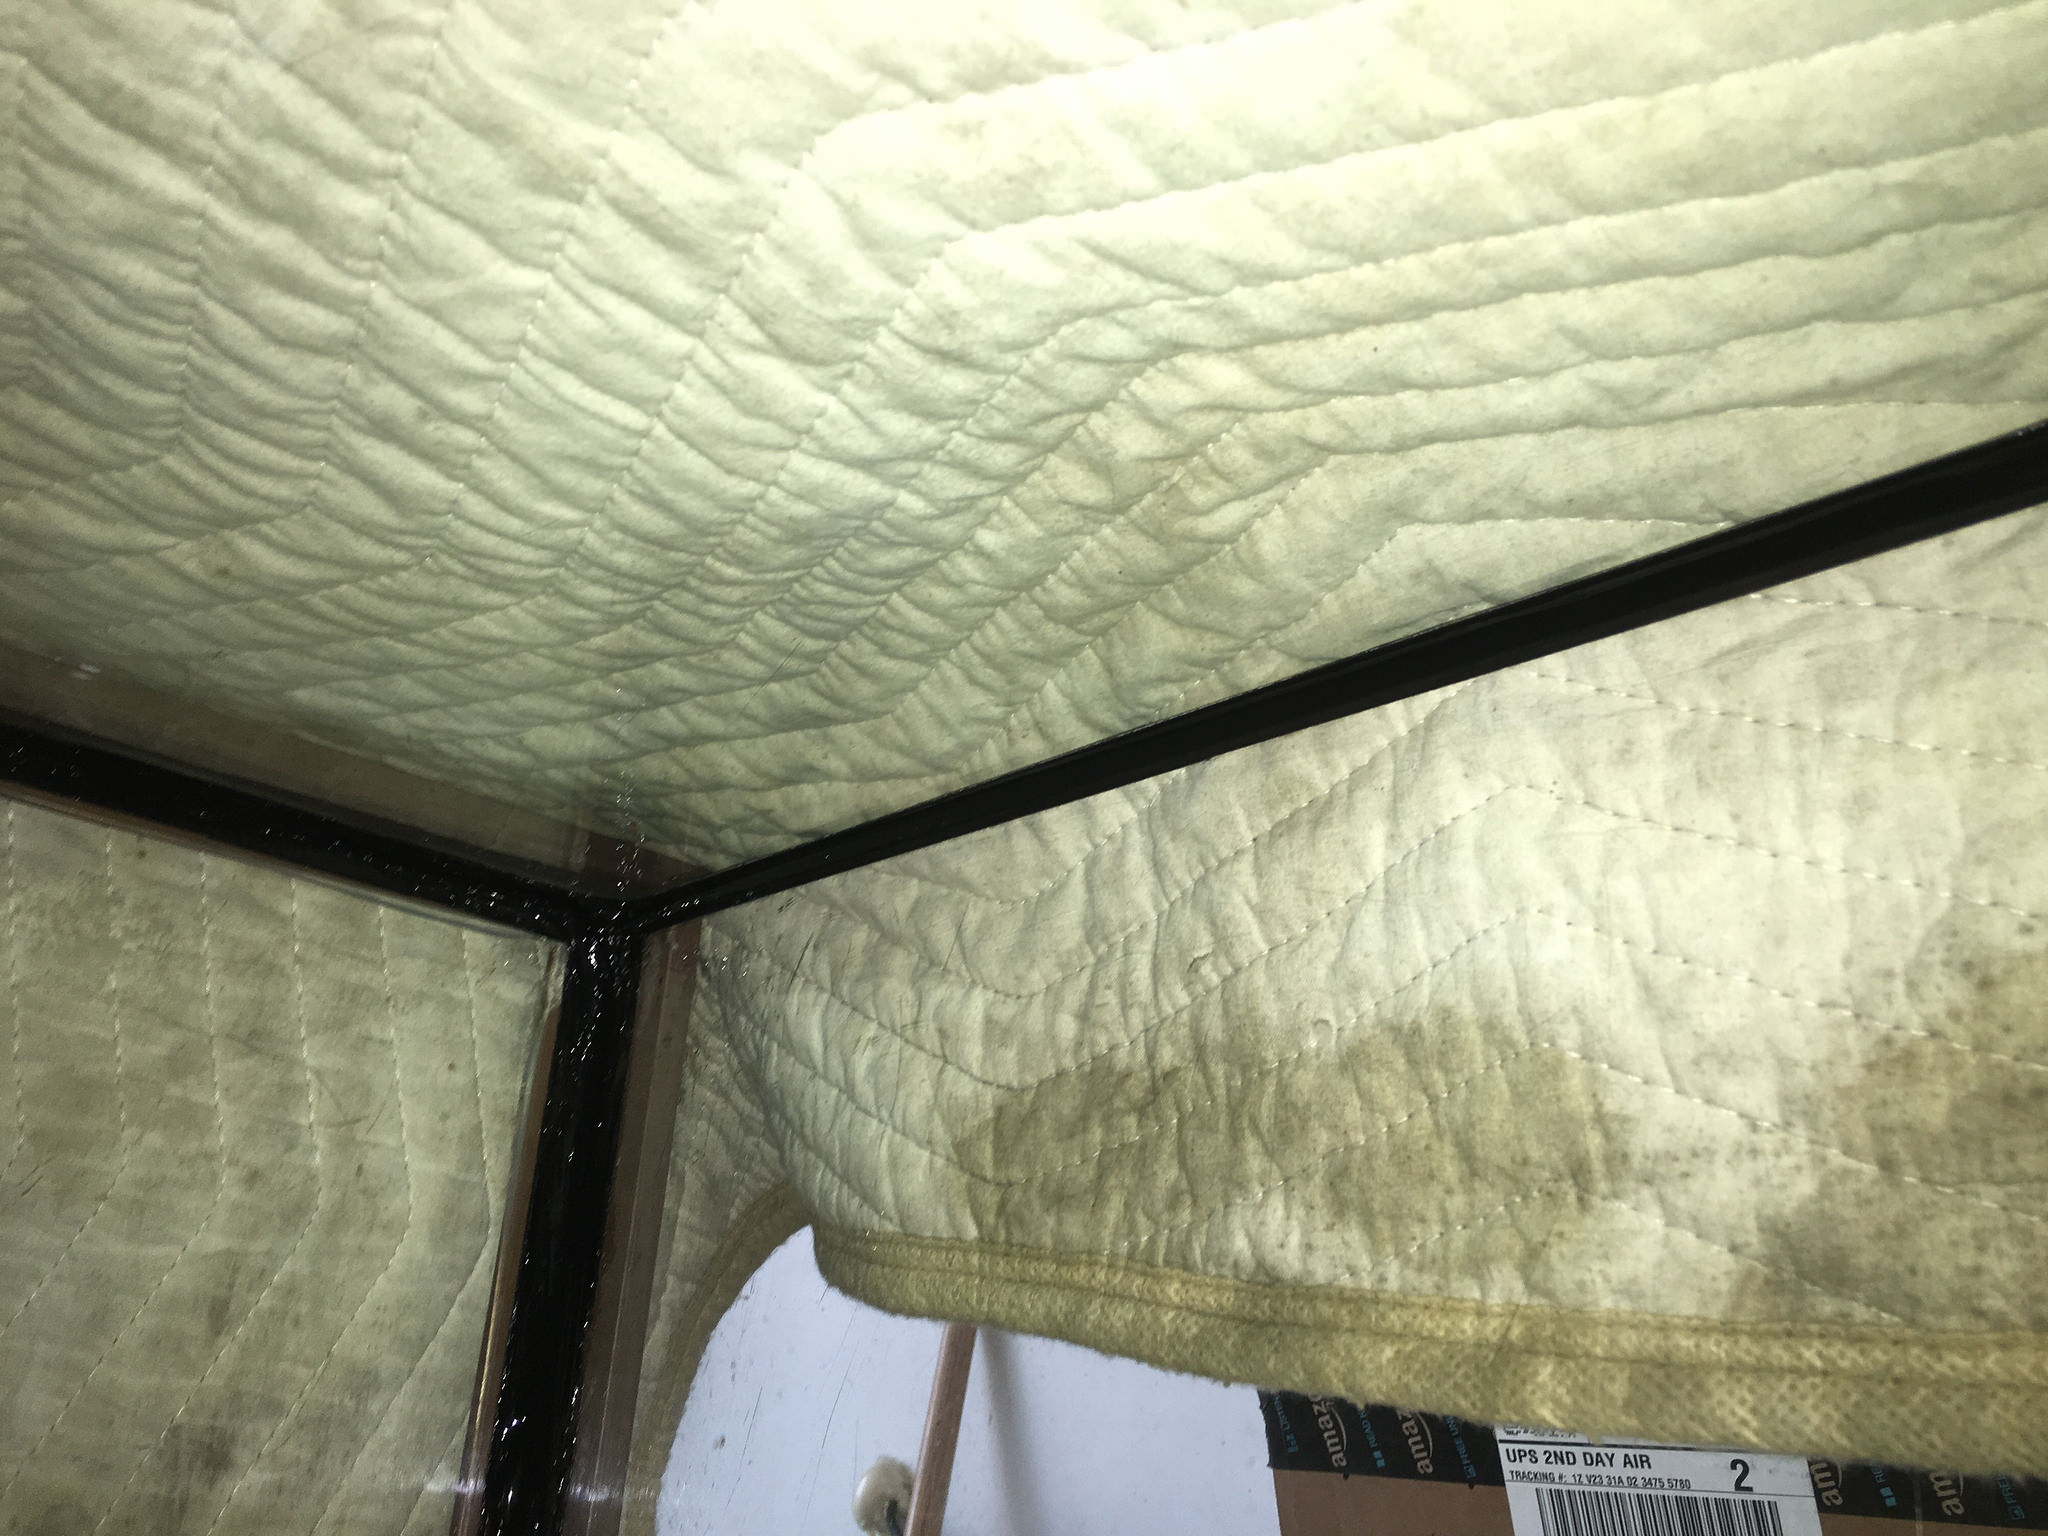 75 Gallon Aquarium Build
 75 Gallon Aquarium Build
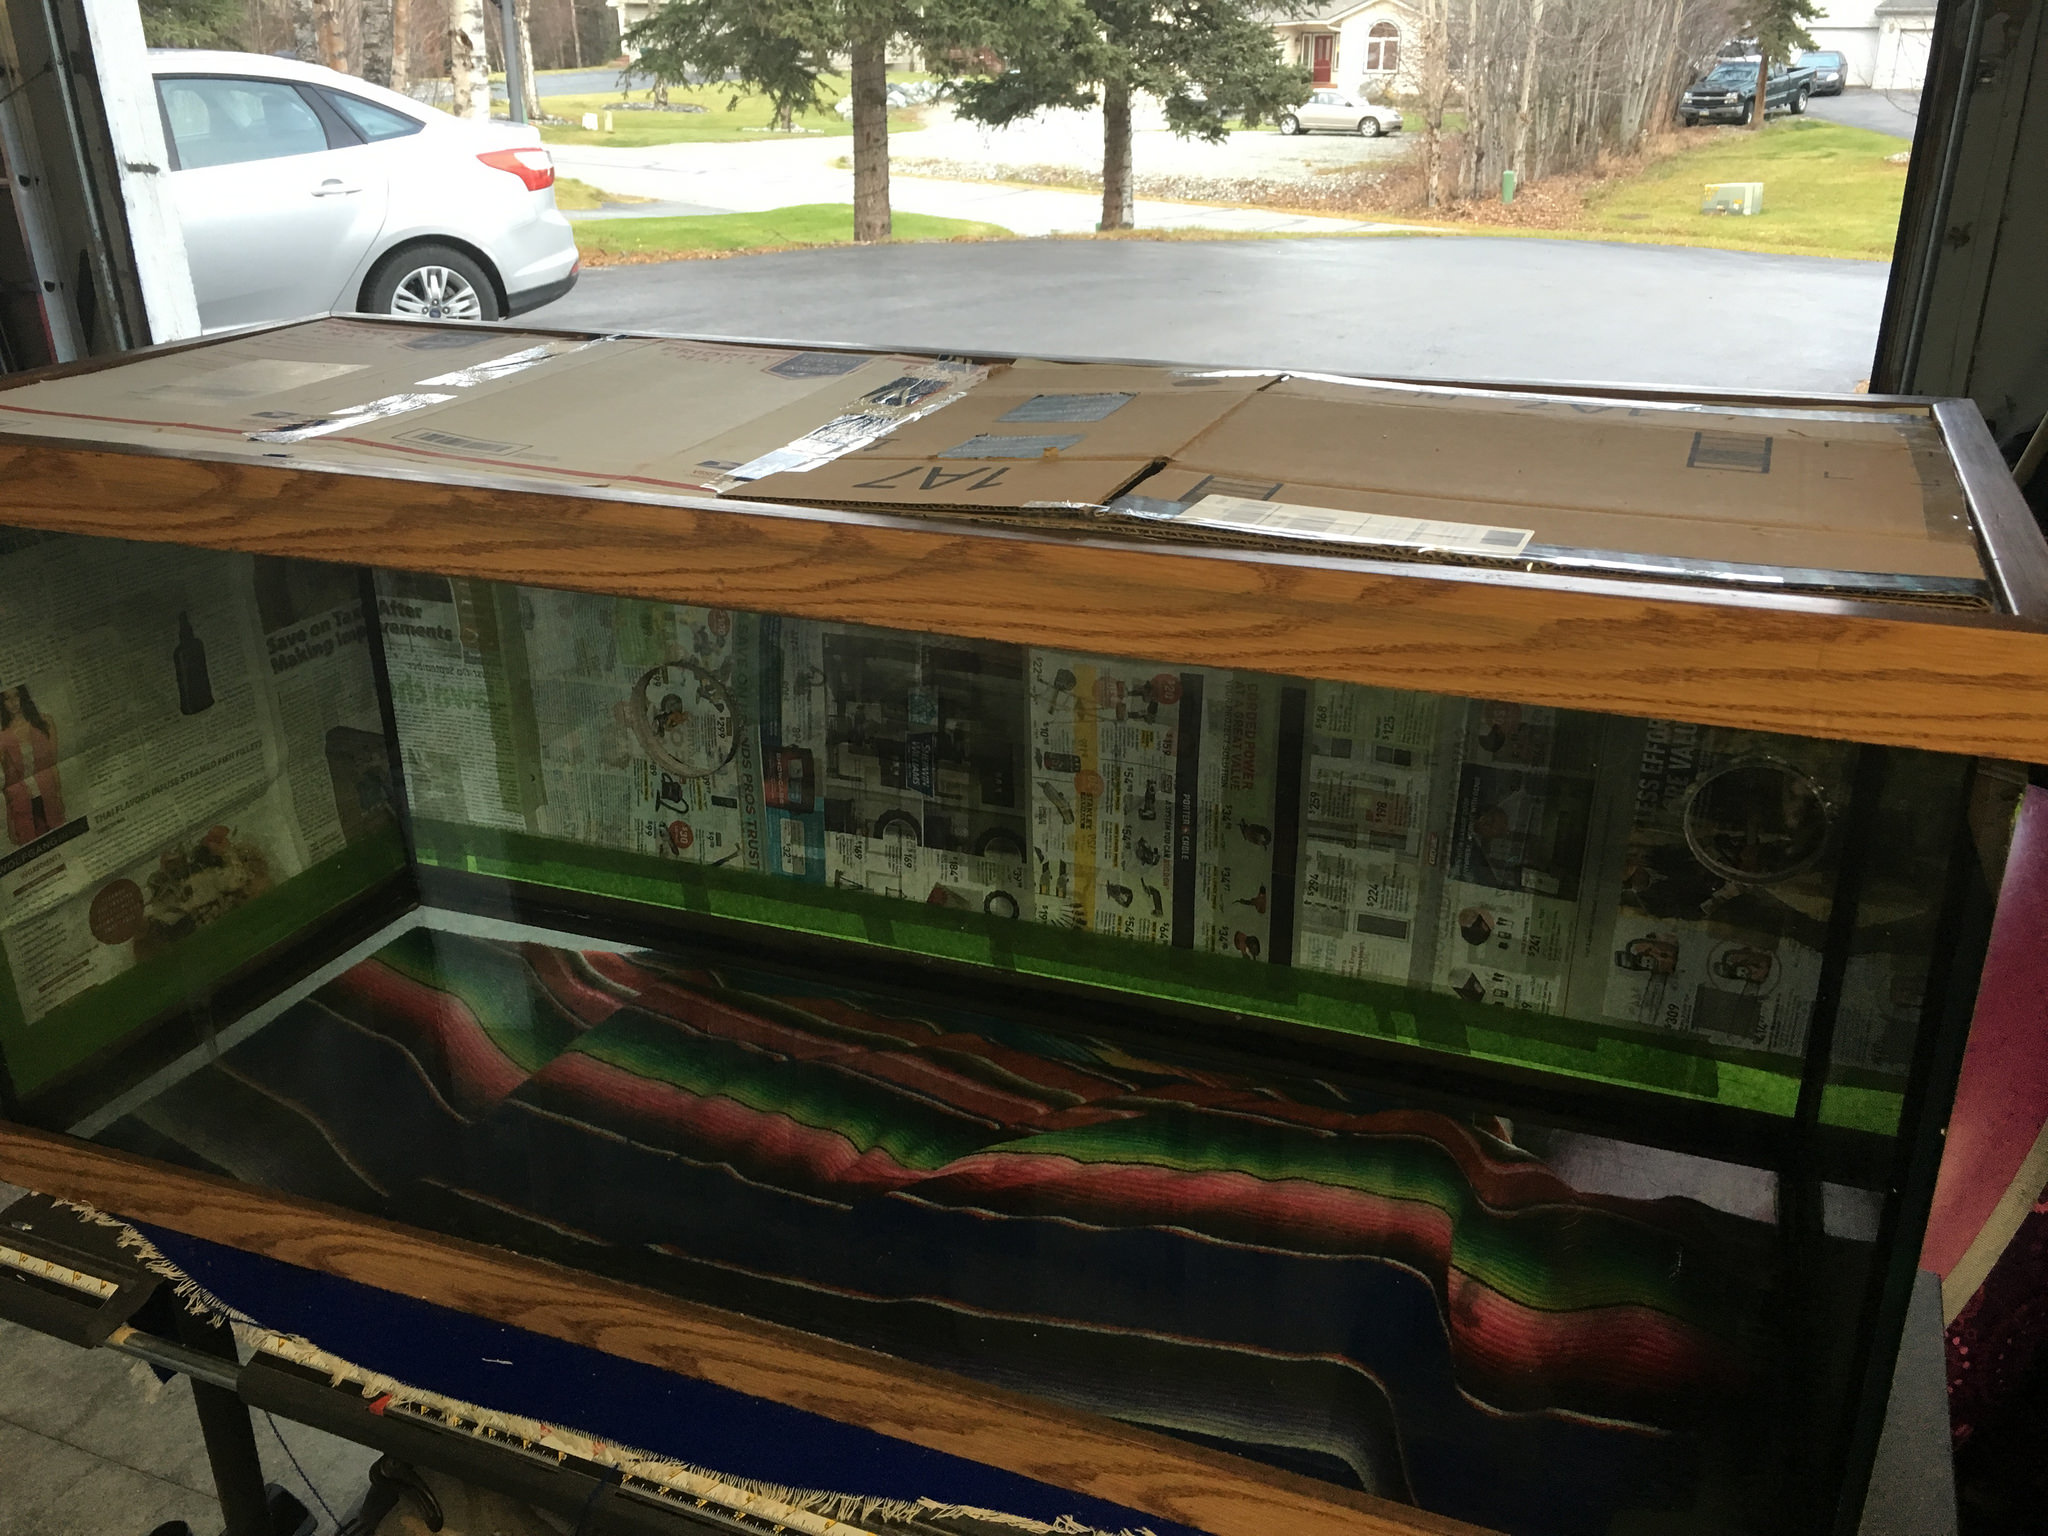 75 Gallon Aquarium Build
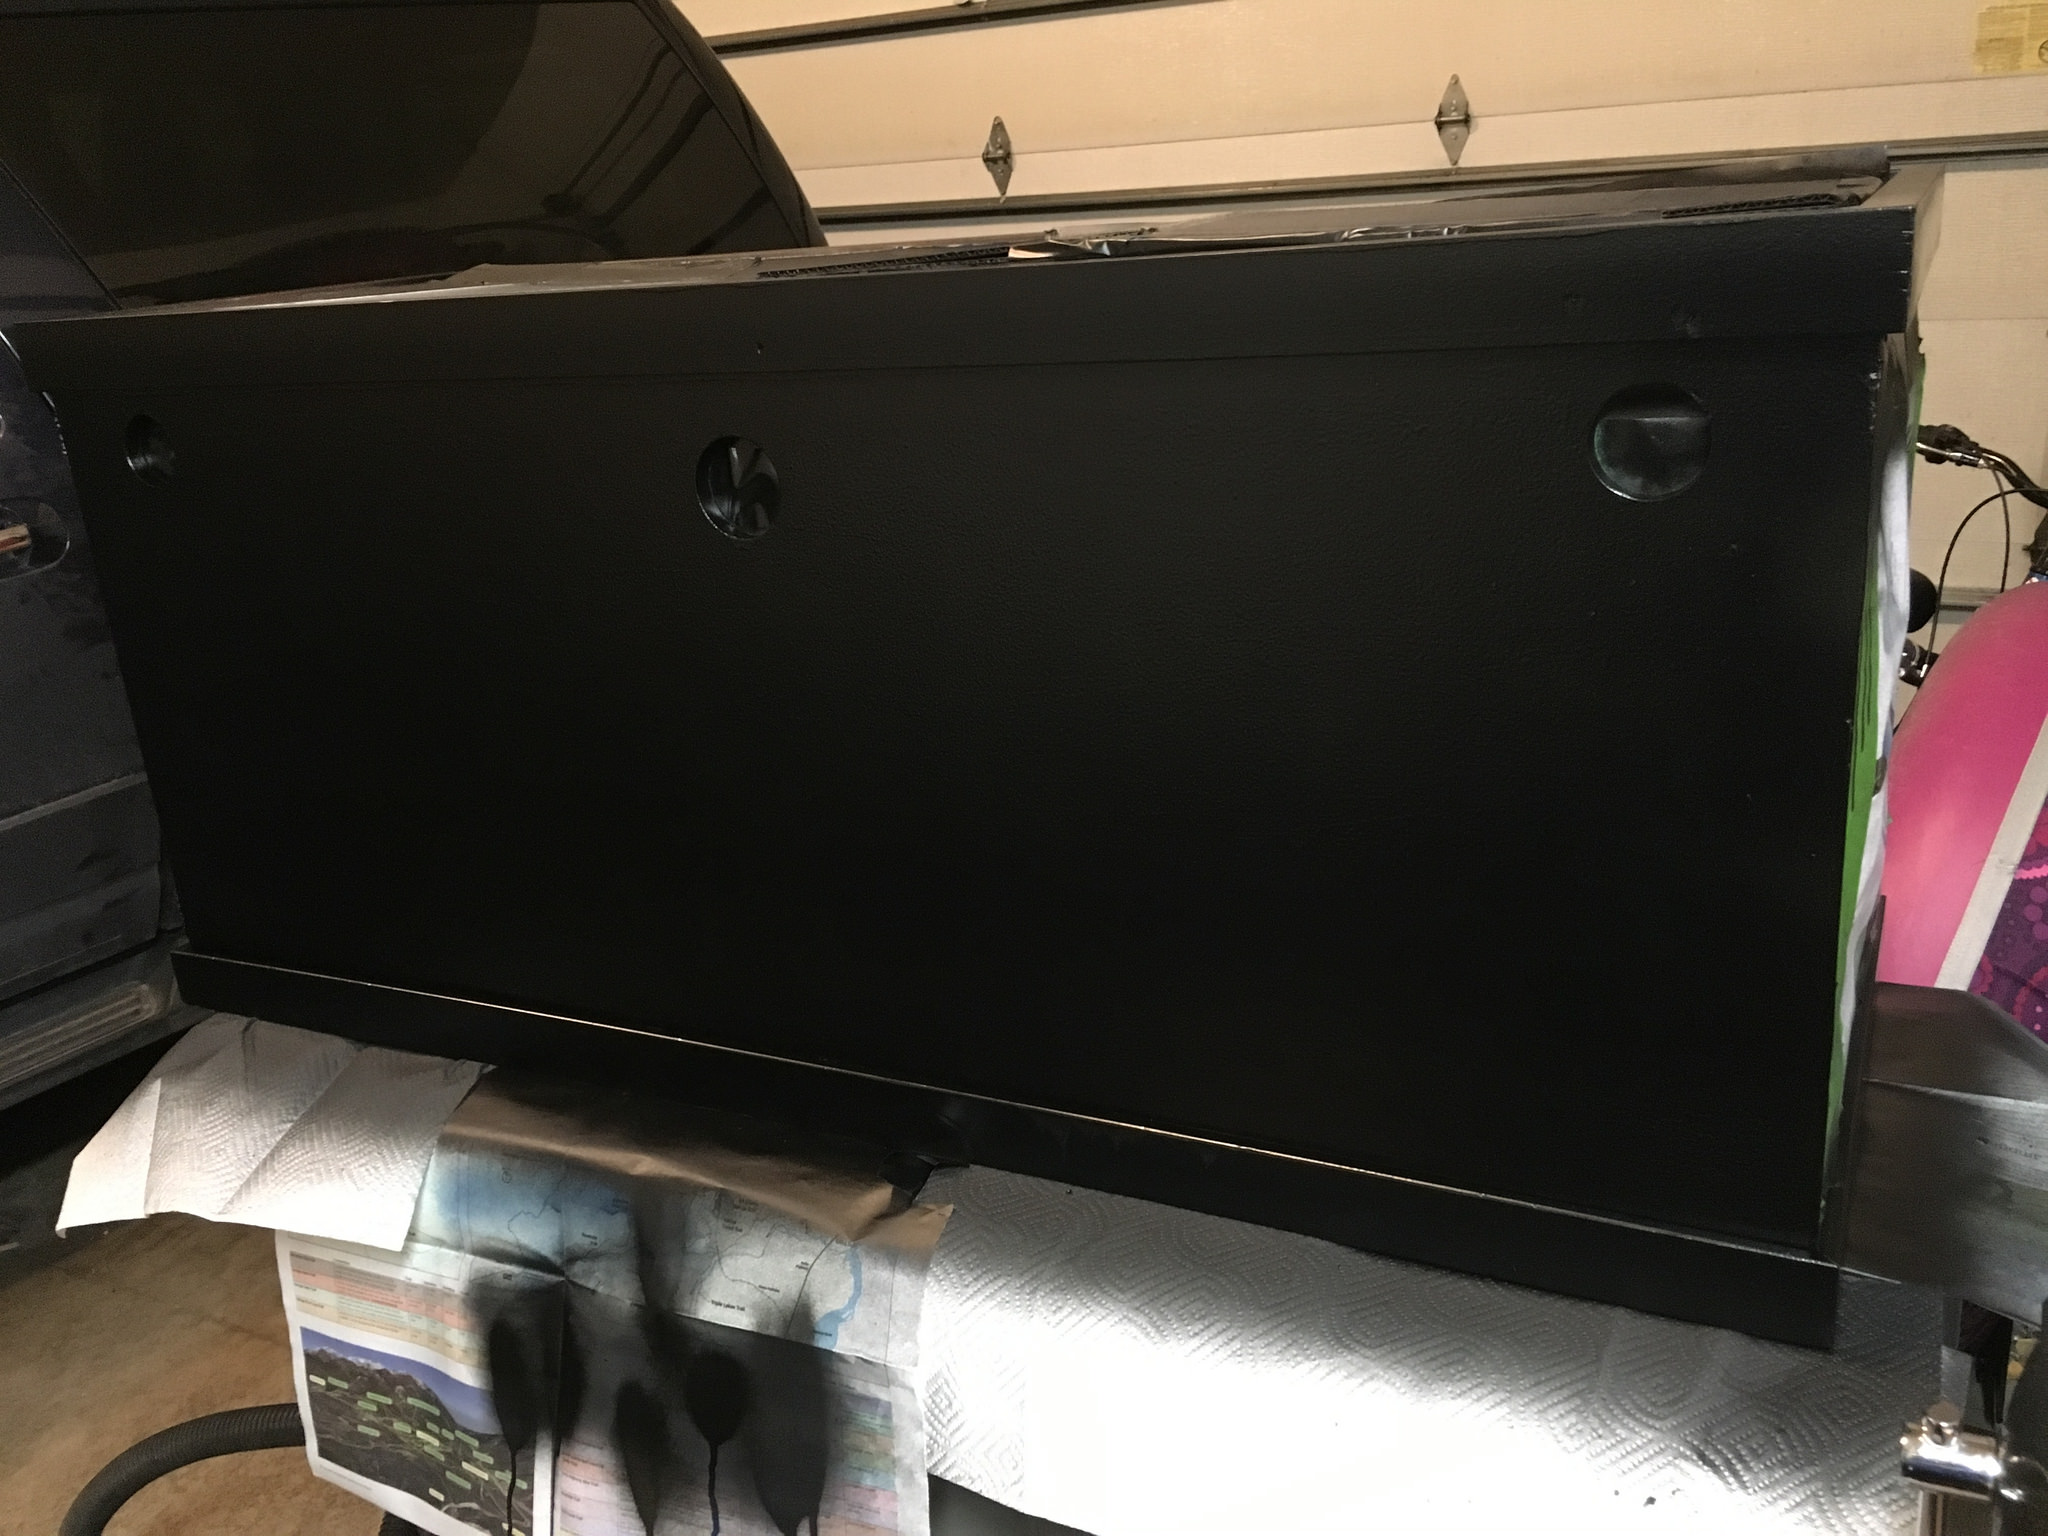 75 Gallon Aquarium Build
 75 Gallon Aquarium Build
 Untitled
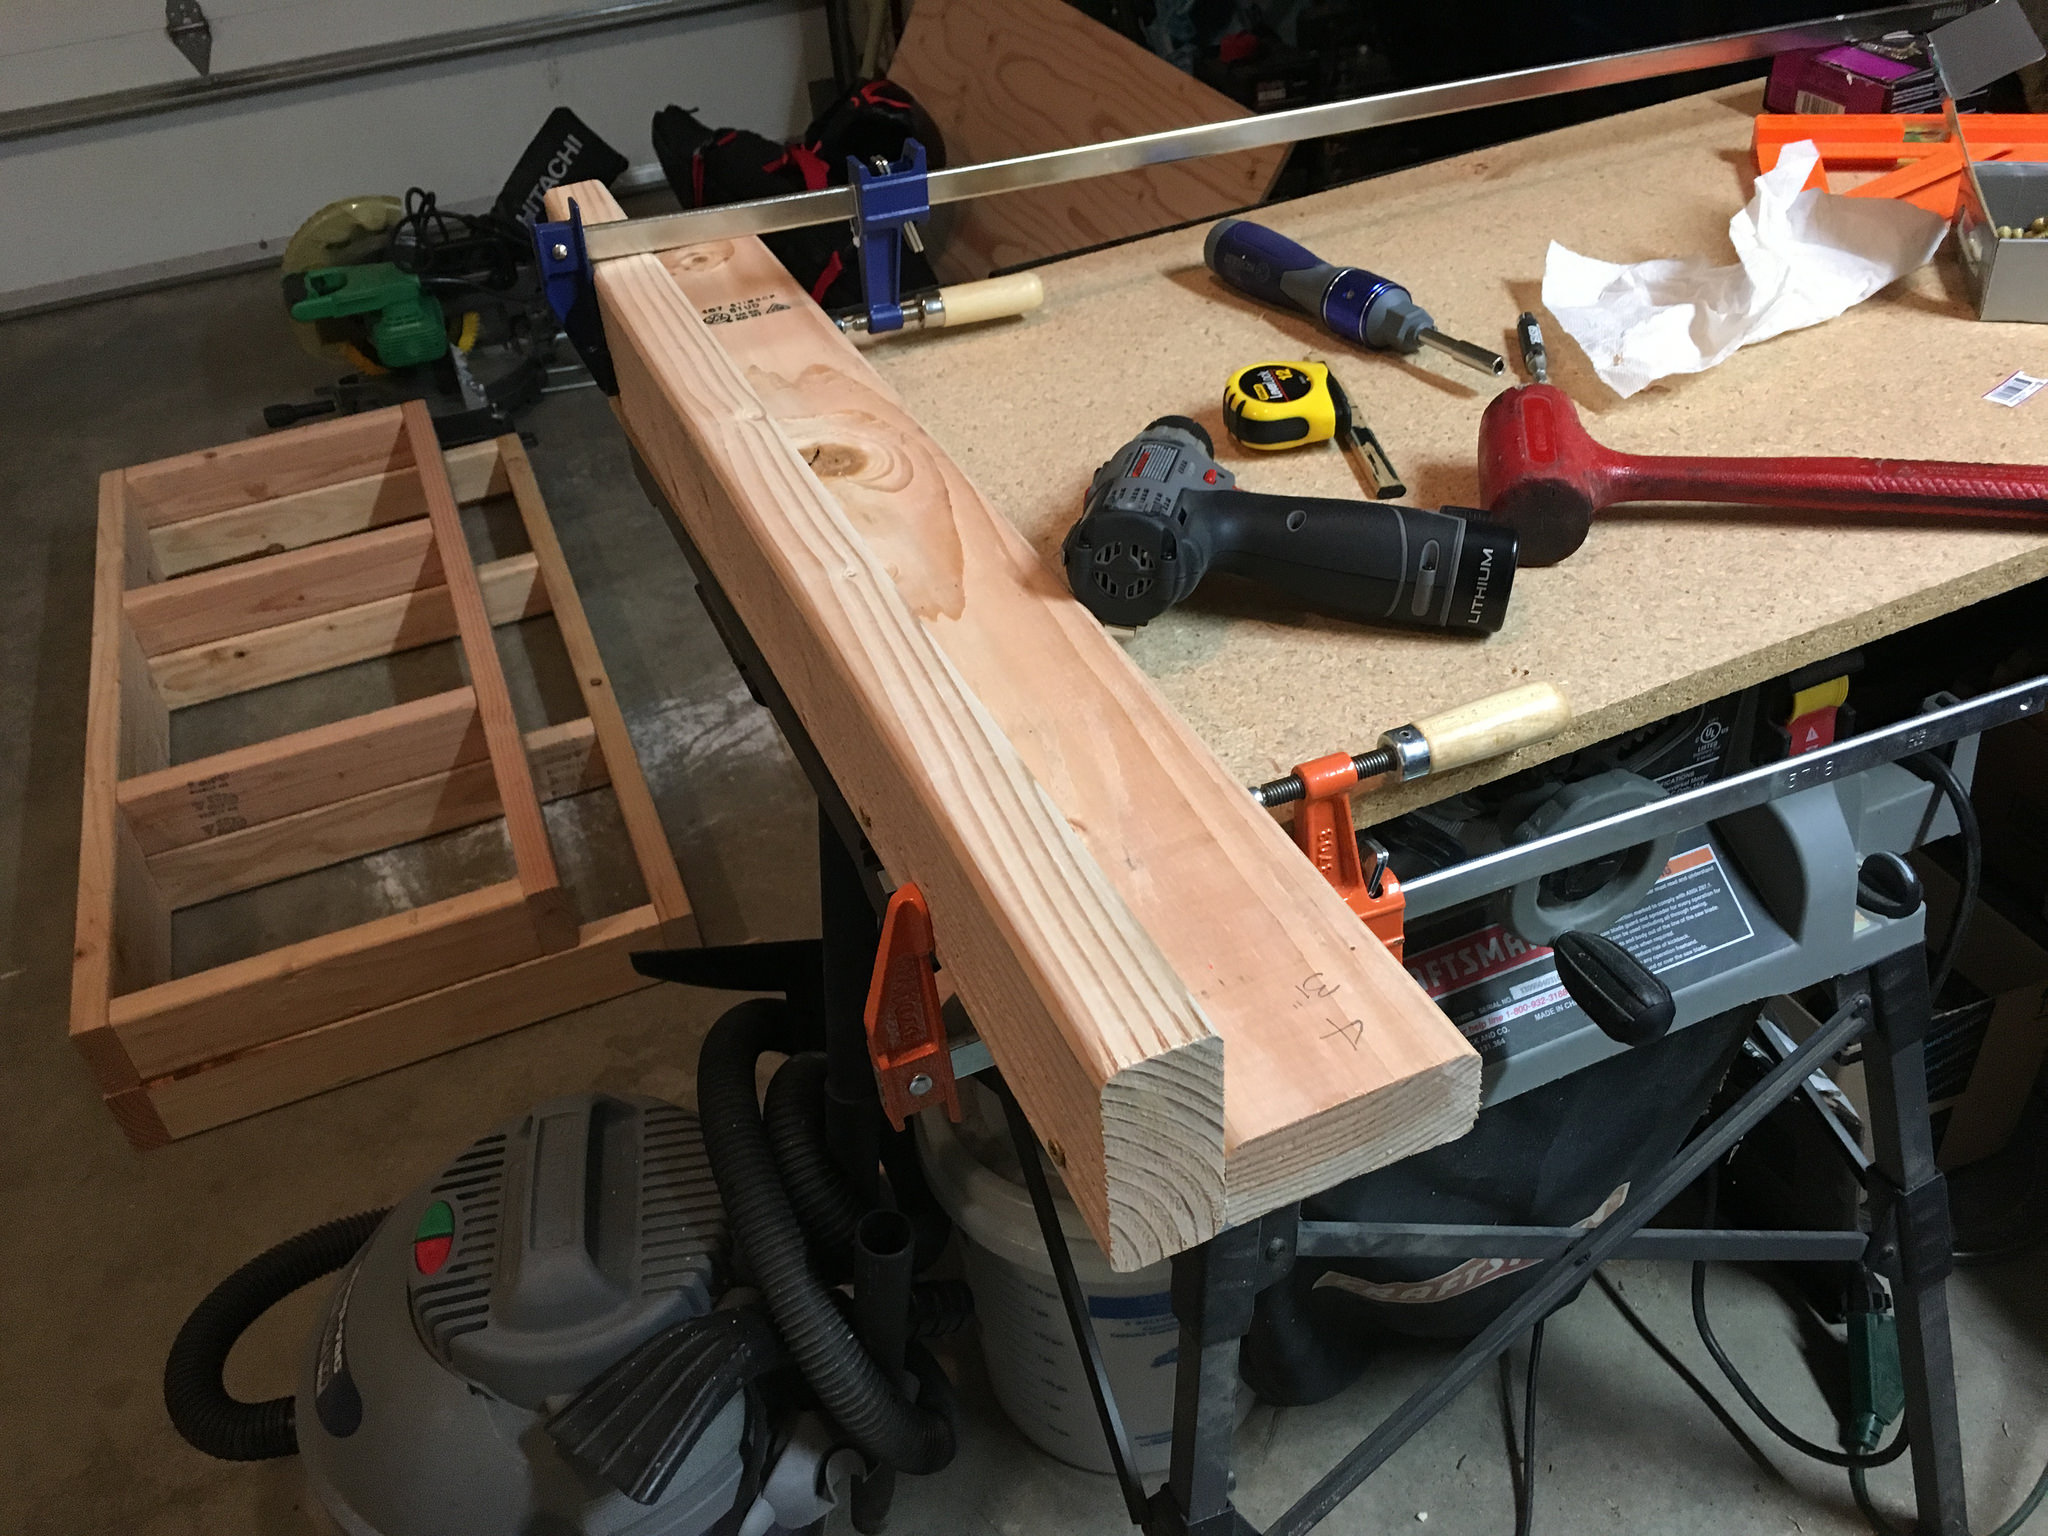 Untitled
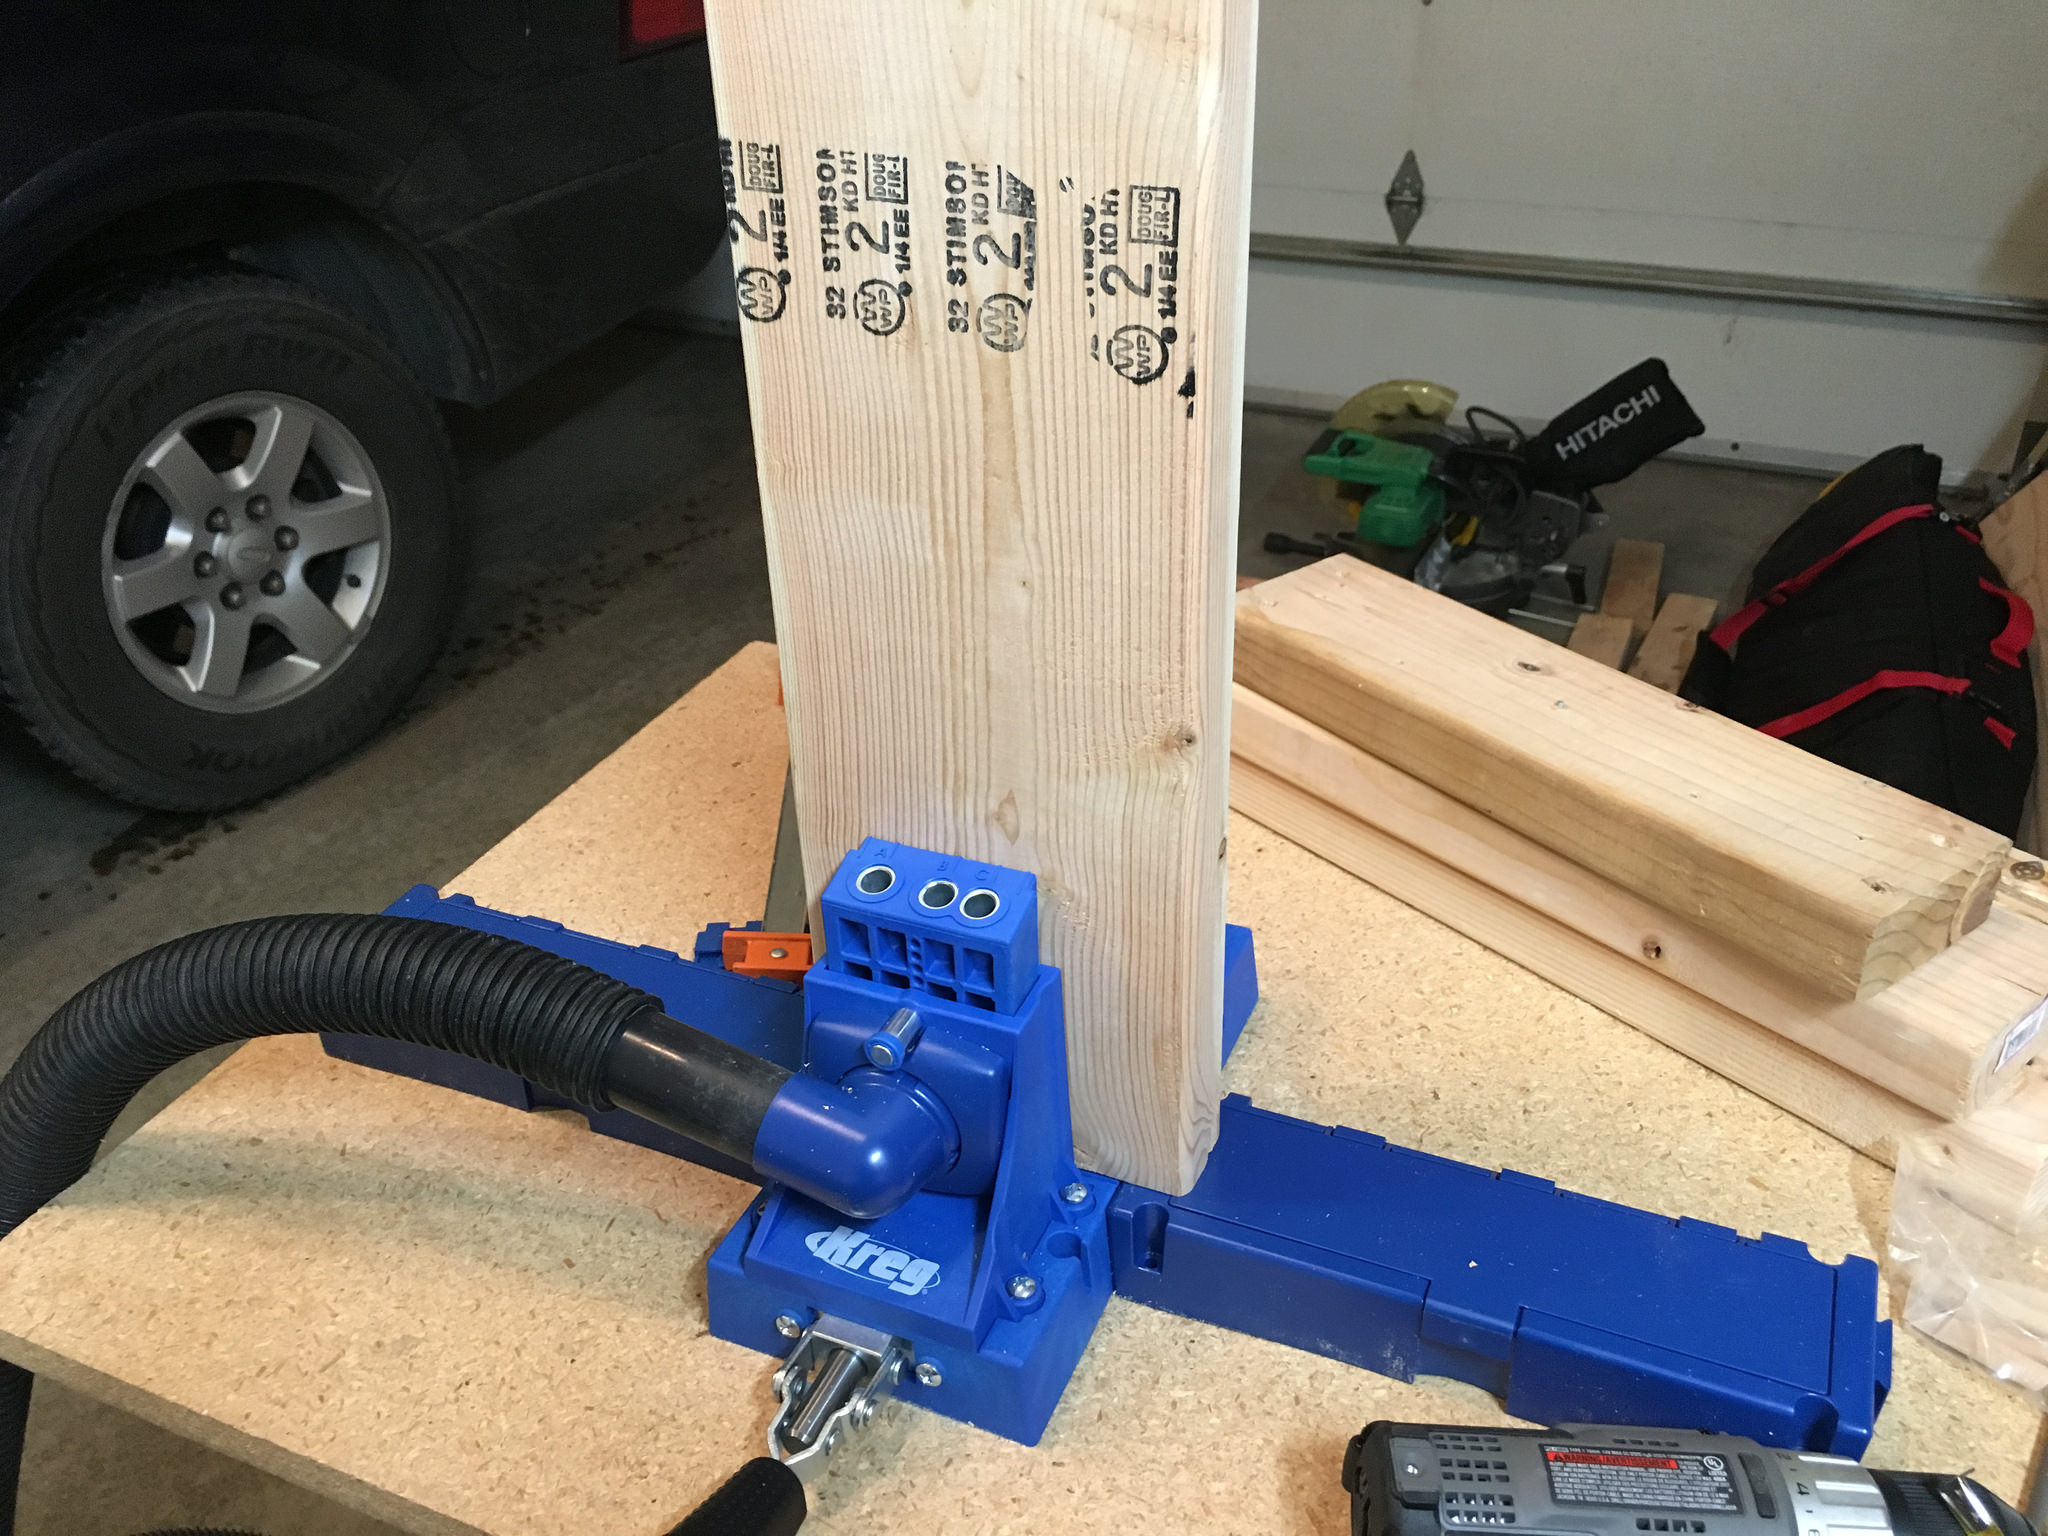 Untitled
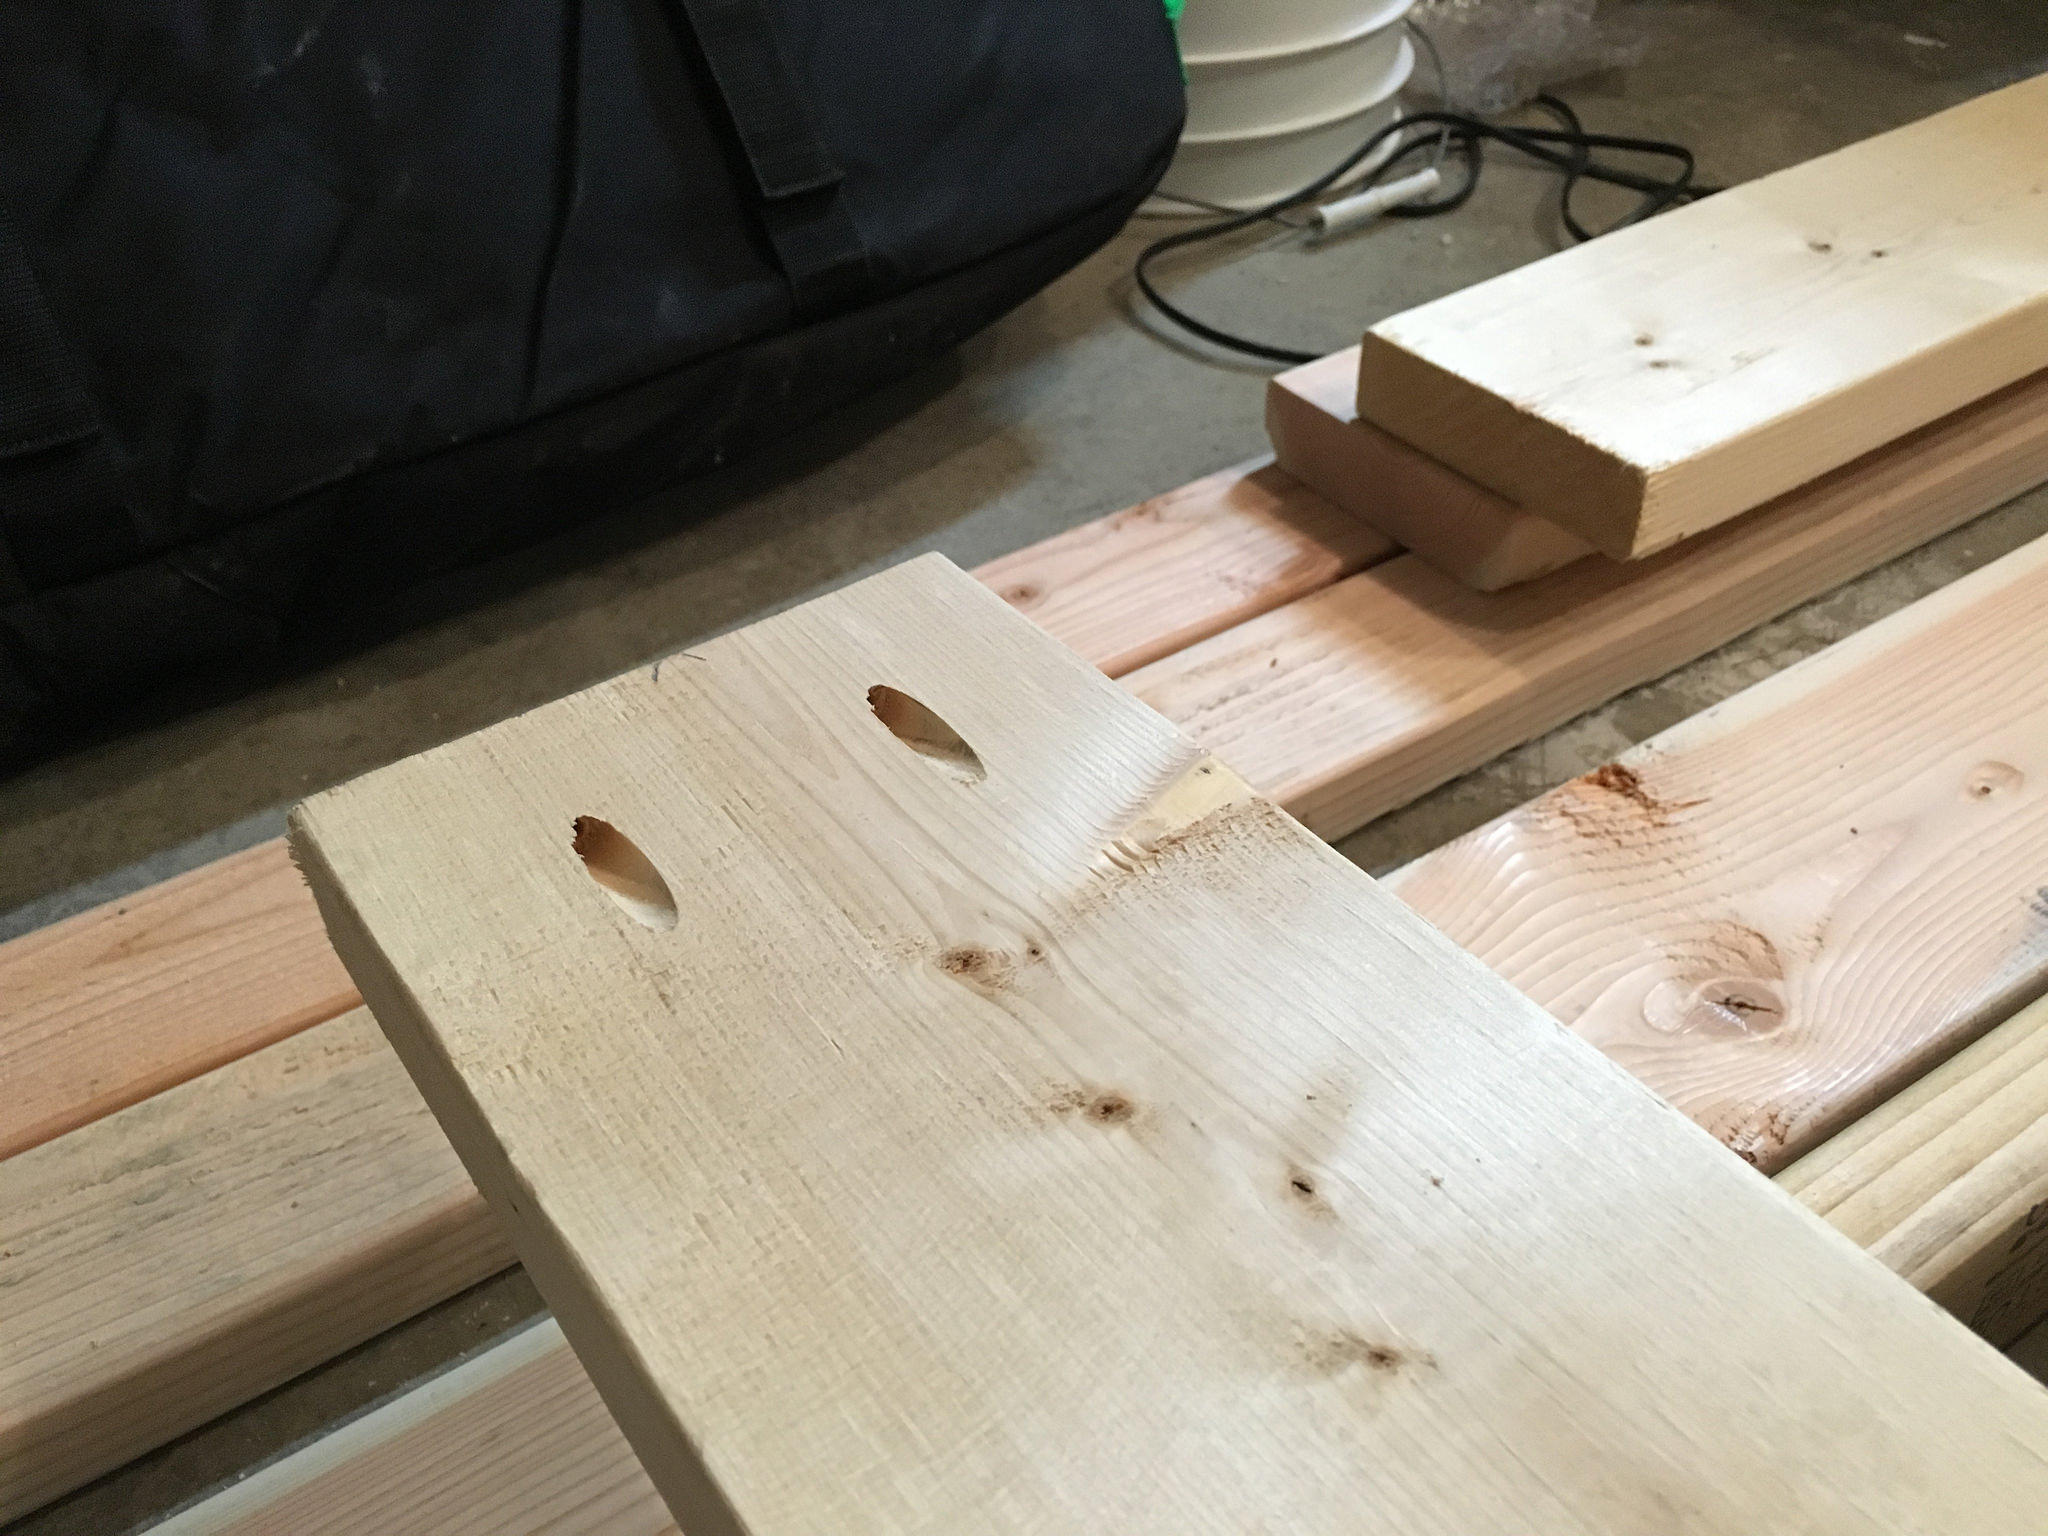 Untitled
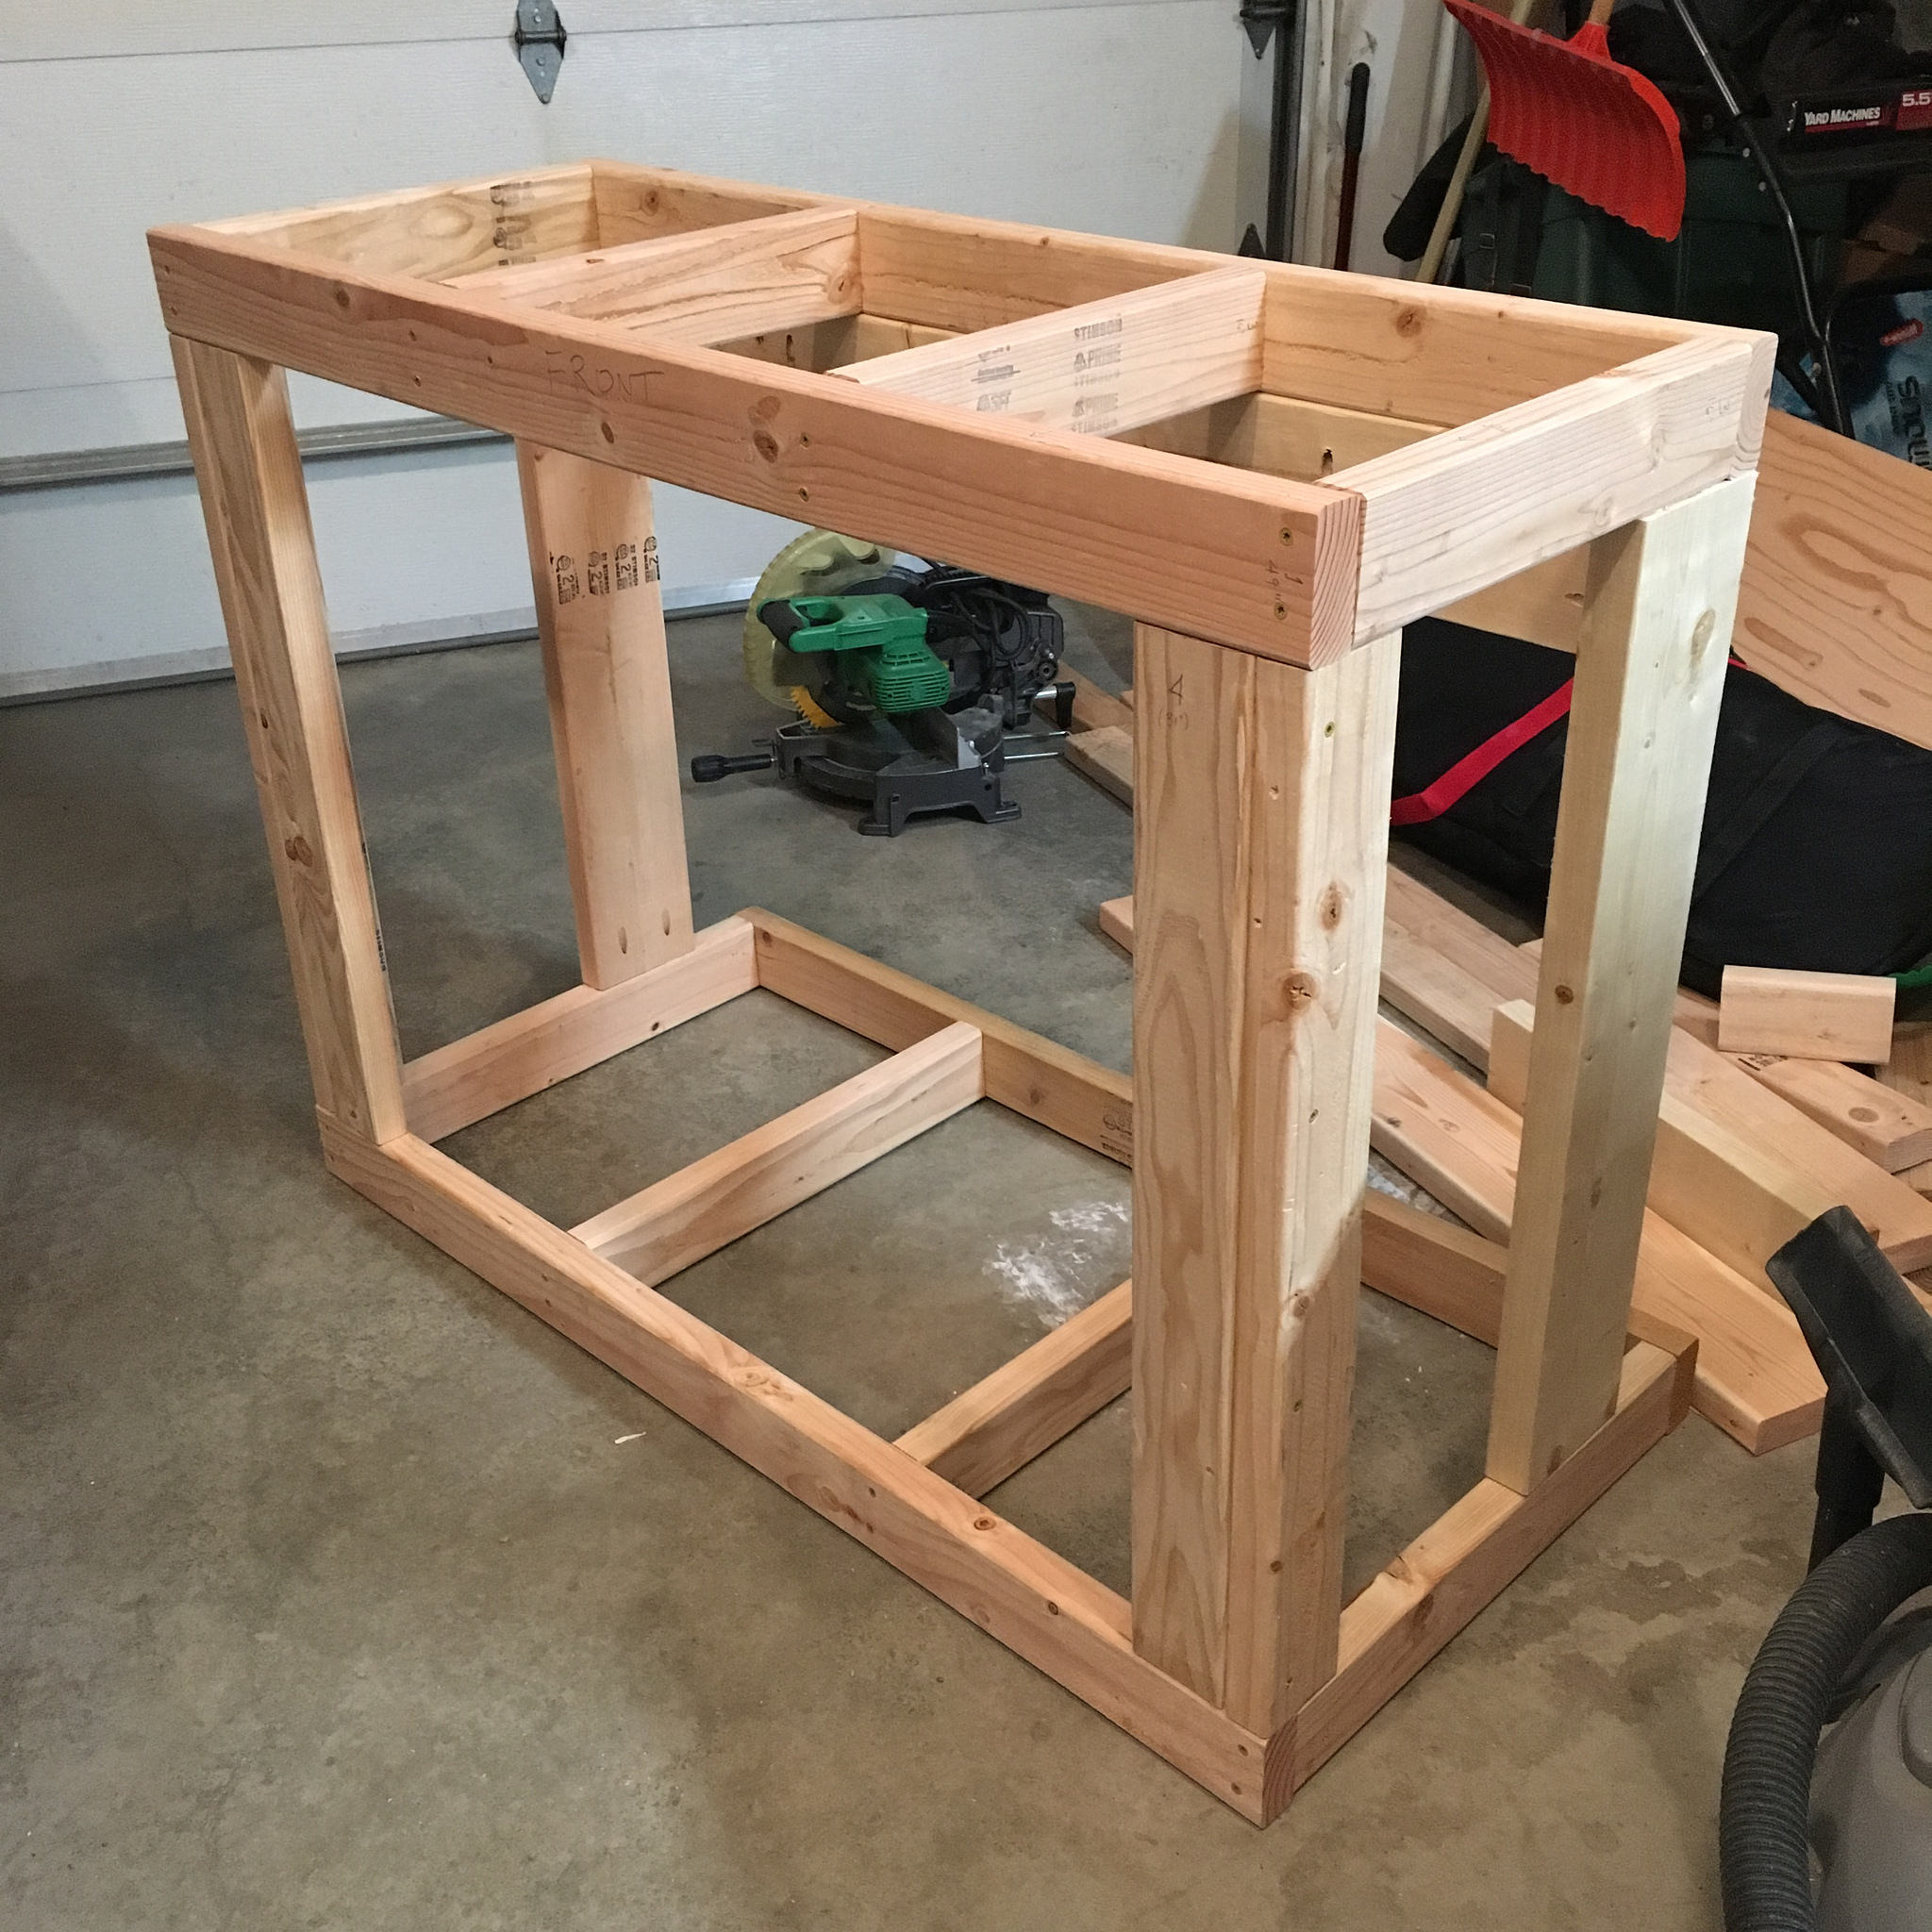 Untitled
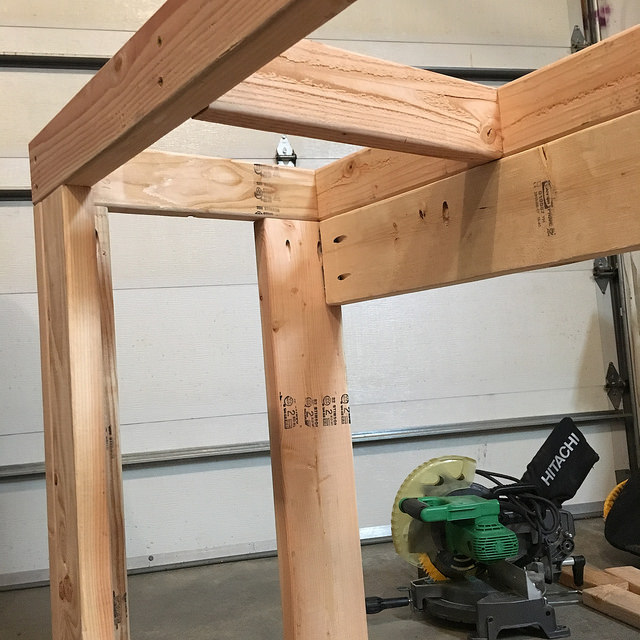 Untitled
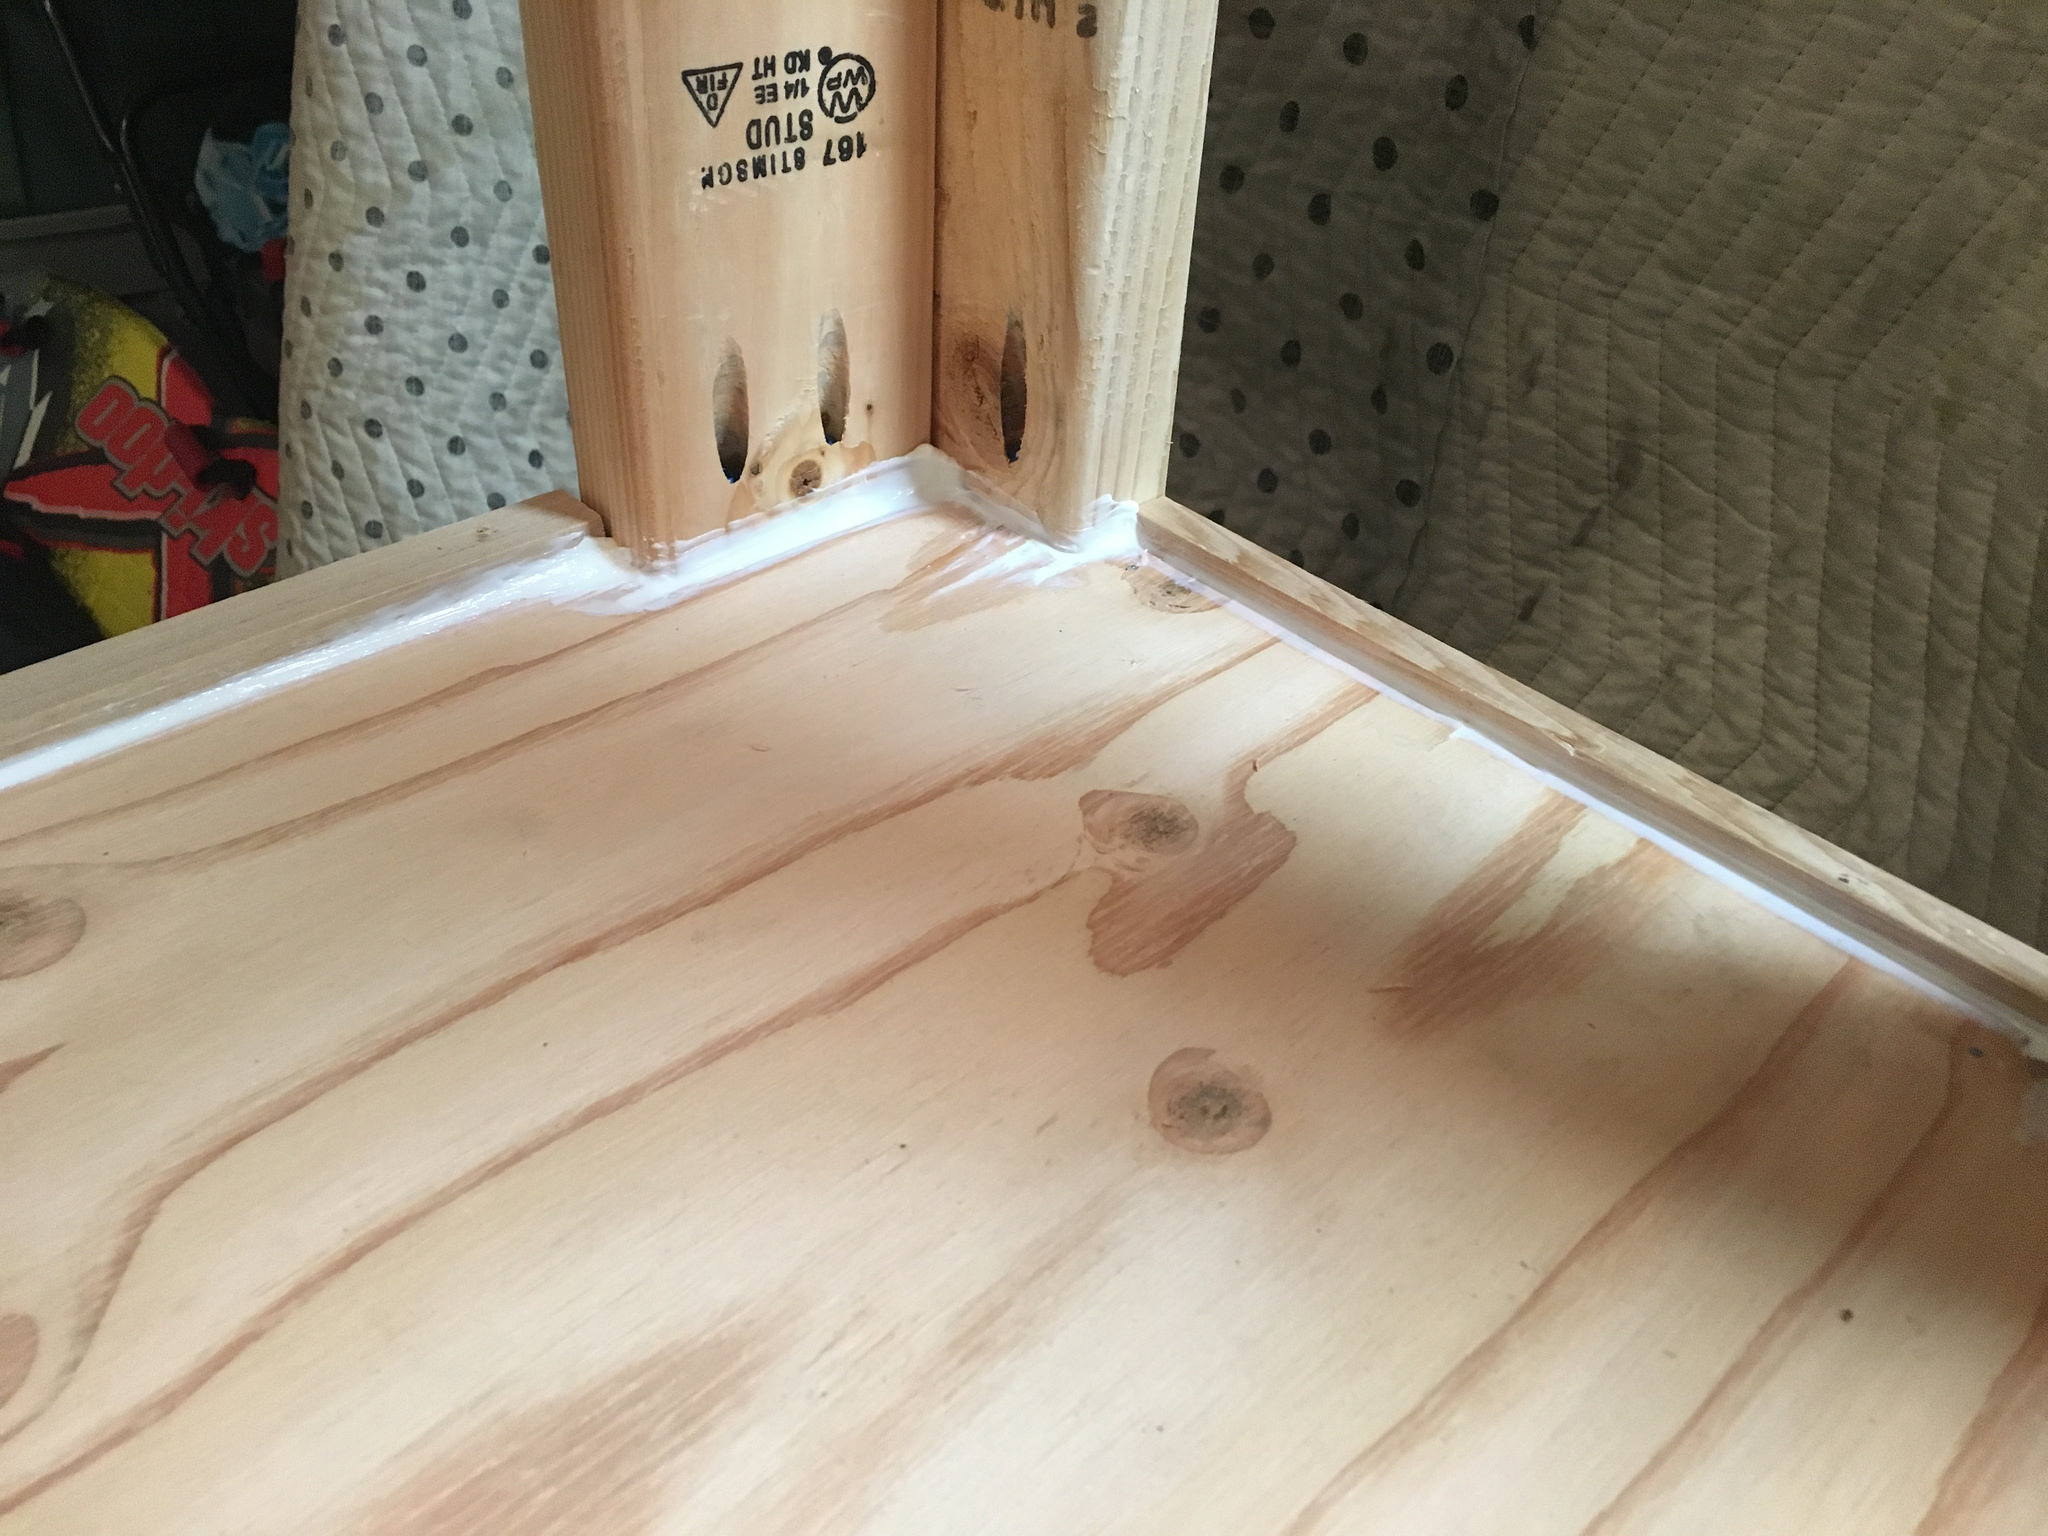 Untitled
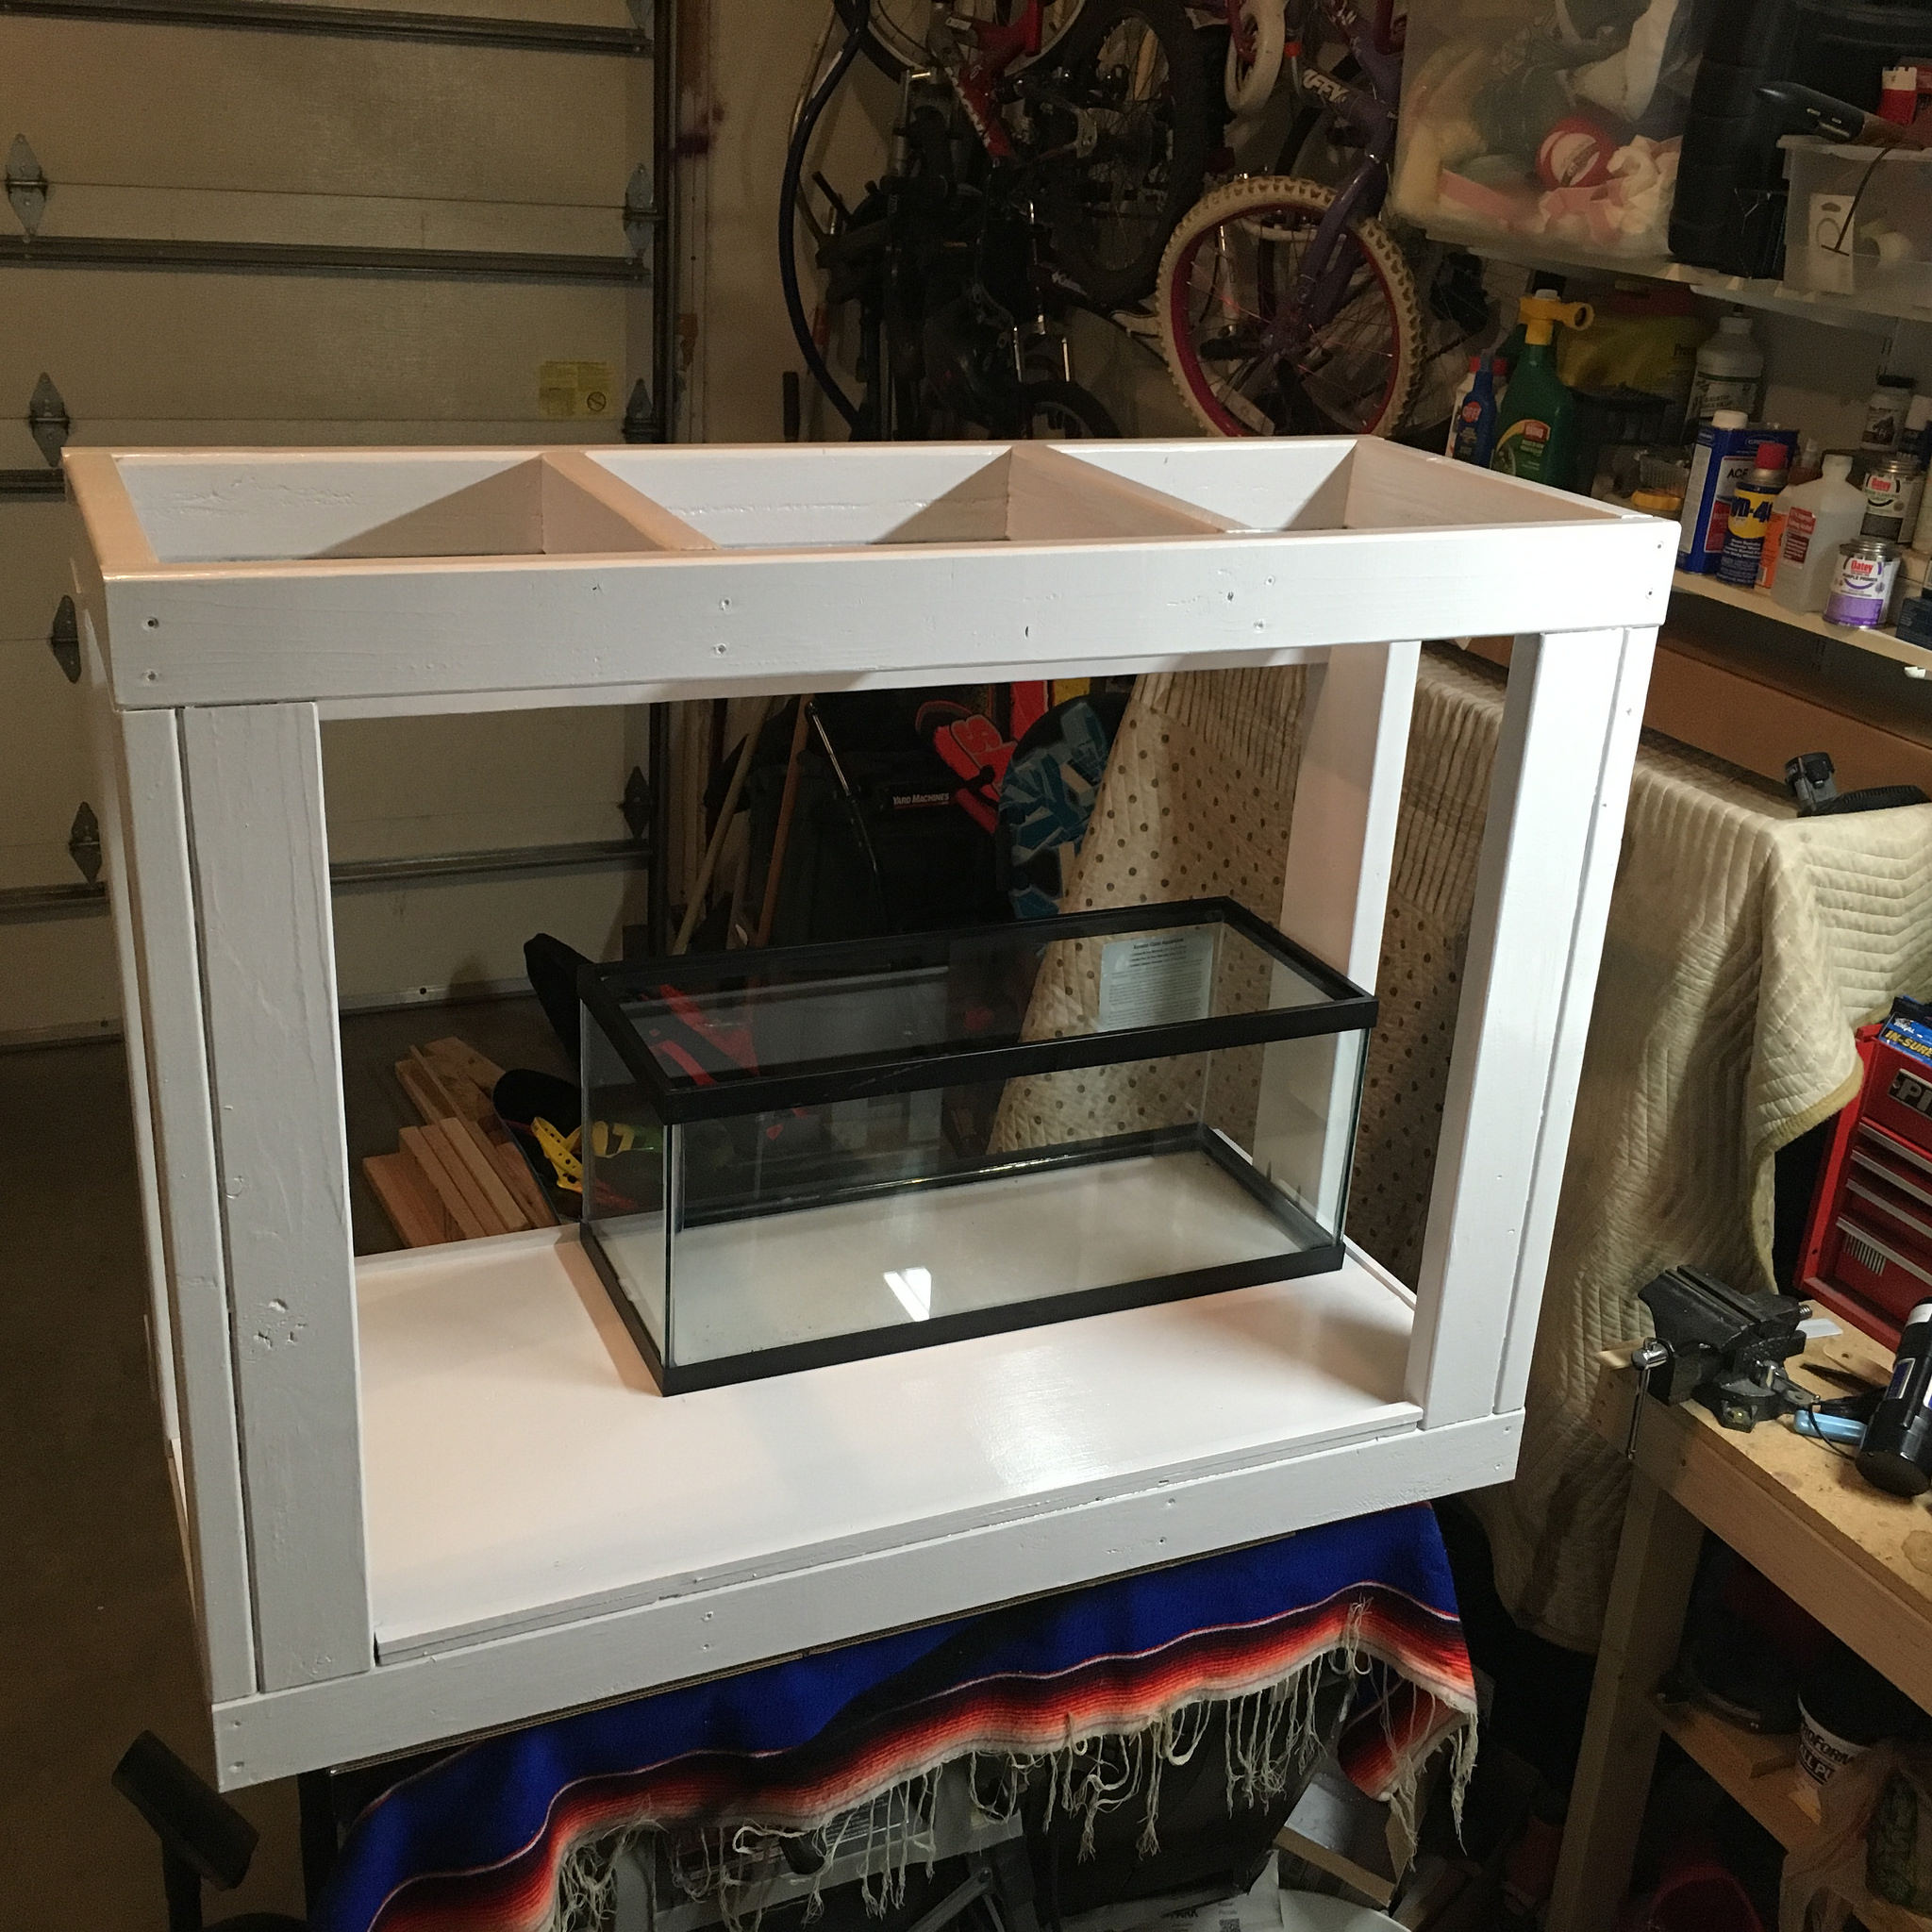 Untitled
 Untitled
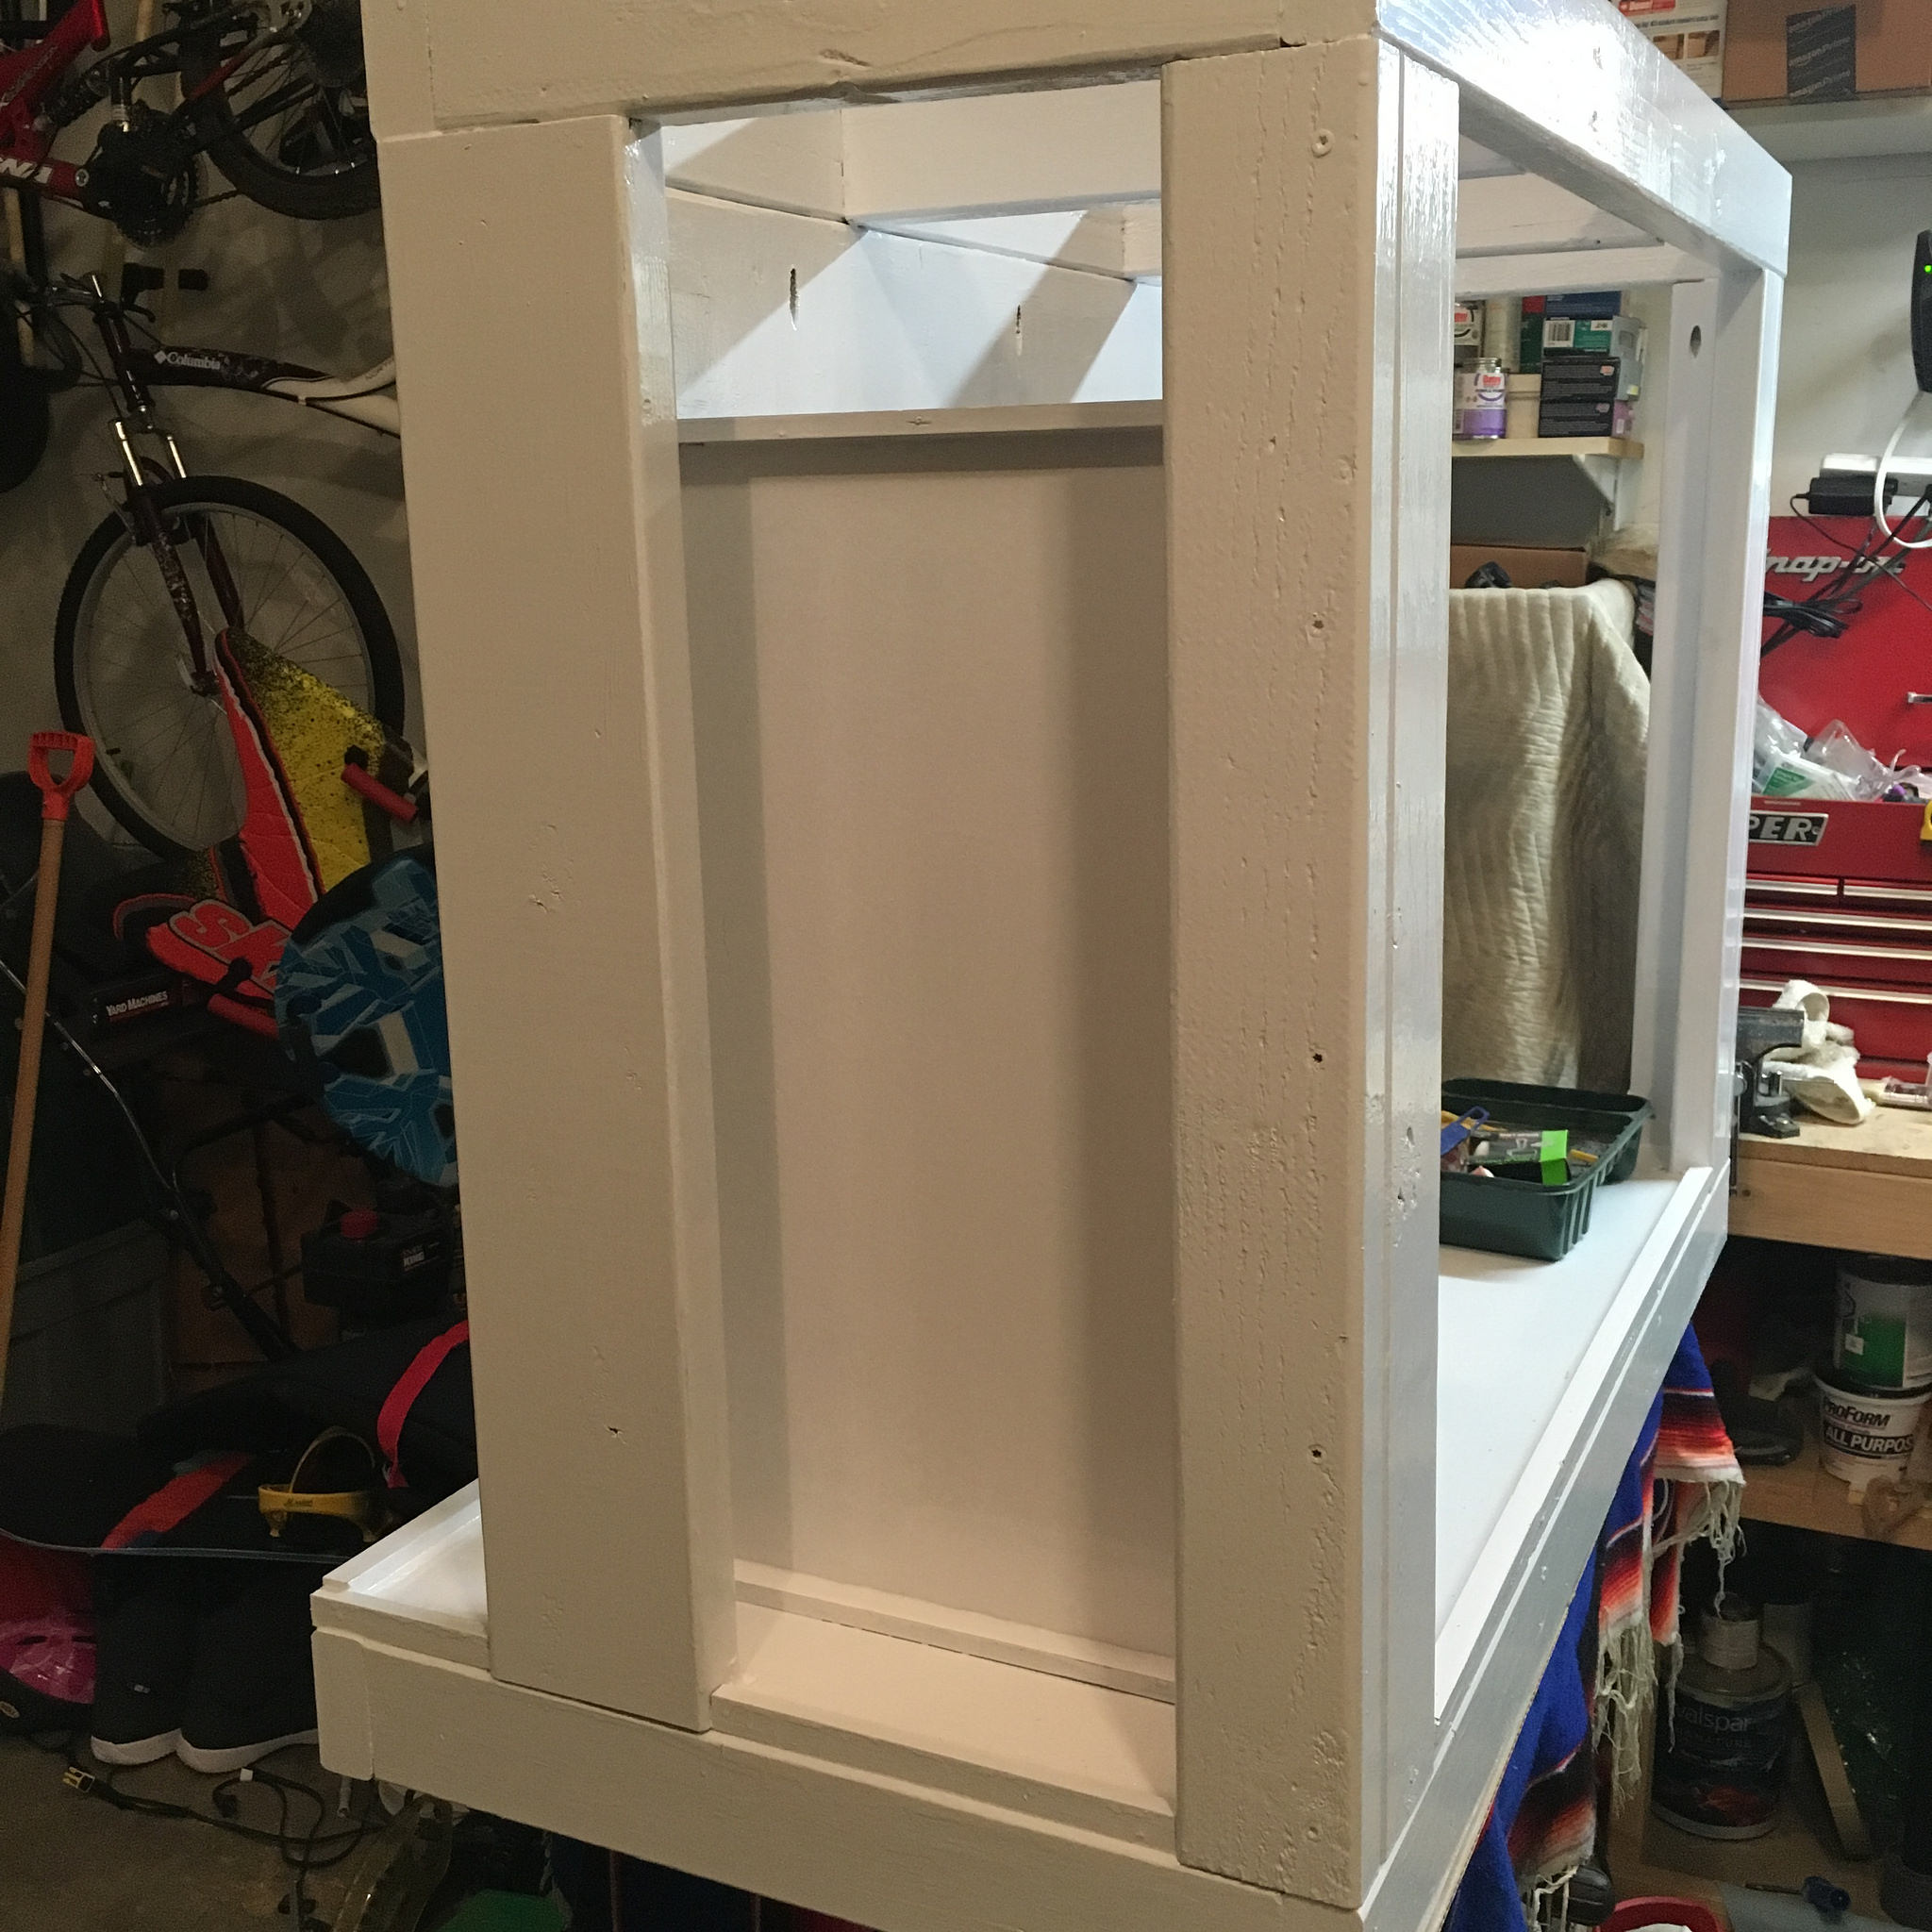 Untitled
 Untitled
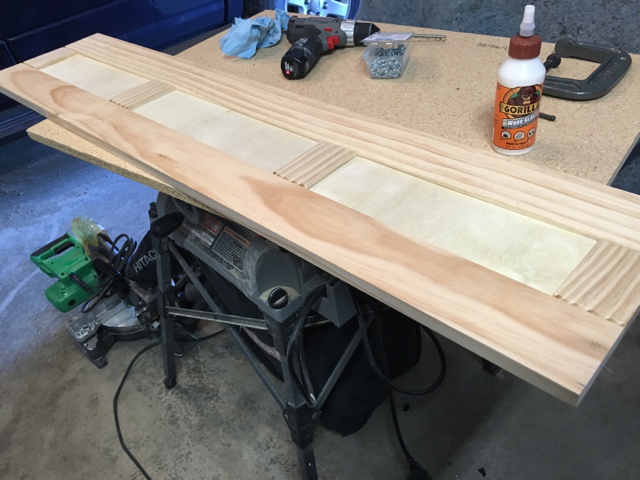
 Plywood and shims (garage floors are NOT level!)