I'm back with another build!
Finally got moved to a new location where my family and I should be be able to call home for at least a few years and feeling the itch to pull the trigger on a new project! The wife is really thrilled!!
A little history about myself and experience in the Reefing hobby. I've had numerous setups off and on between moving around the Midwest 12 times in 12 years. Spent more money on this hobby than I care to total up!! But it's what WE love to do! I've had all sorts of aquariums from Pico's and Nanos to all the way up to 280g. The first thing you will notice is I've had a love for Cubes and Odd sized and Shapes. I really cannot stand to have a setup that is "common". I really like a setup that stands out just as much empty as it does filled.
Some of things i will be keeping in mind for this current build:
-----Automation, Automation, Automation! -----
-There was 1 item I did not sell when I parted away my last setup was my APEX. My plans will be to take as much of the "hassle" out of the hobby as possible! I love the ability to pull my phone out of my pocket anywhere I might be to check on my tank, make adjustments, and verify parameters. I plan to fully utilize everything the Apex has to offer all the way down to daily Automatic Water Changes, Dosing, Adjusting settings on ALL equipment, and hopefully if it's ever released testing of parameters on the fly via the new not yet released "Trident"! The longer I've been in the hobby, I have found the less I spend working on the tank the more I enjoy it!
-----Buy the right equipment from the Start!-----
- I have wasted too much money on "bargain" deals or impulse buys. With this setup, I plan to have an equipment list from the start and stick to it. I have had some very nice successful reefs with less than "Great" equipment, but I'll be honest, I'm a serious equipment junky! I'm constantly looking to upgrade or kicking myself for not spending the money on better quality products.
-----Leave it along and let it grow!!-----
-Over the years I have noticed the less that I put my hands in the tank, the more successful my reef is. I plan to integrate multiple frag tanks to provide myself with ample room to get my "frag fix" on. I started this with my previous set up by simply taking a frag of each colony that i placed in my display (especially zoas) and allow the colony piece to be fixed to my rock work and grow. Setups prior to that, my display always looked like a frag tank with egg crate and frag racks inside the tank and I never left it alone to grow. I want a display that impresses guests rather than confuses them. Lol
Lastly, before I get on with the details of the new build, I'll leave you with some pics of previous setups and details:
40g custom acrylic cube 24x24x16T:
-This was my first attempt at a reef.
-I learned a lot with this build --like don't put 3 purple tangs in a 24g.
-I also fell in love with Zoas and Palys and was able to propagate them like crazy! I believe this was mainly due to no skimmer, regular water changes, and MH lights.
-Yes, you will see I learned another valuable lesson like 3 purple tangs can NOT co-exist in a 40g tank nor should even 1 be placed in a 40g tank.
80g Oceanic semi cube 36x30x18T:
-My 2nd attempt at a reef was a uniquely shaped Oceanic tank.
-More area to work with, but i missed the rimless open top
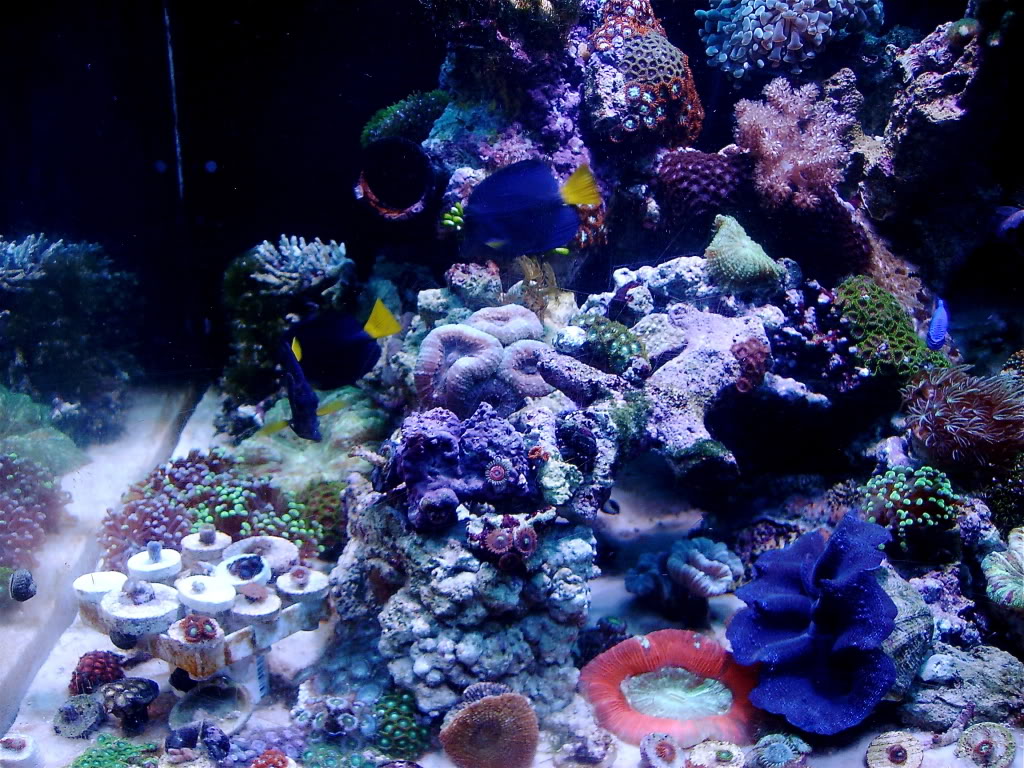
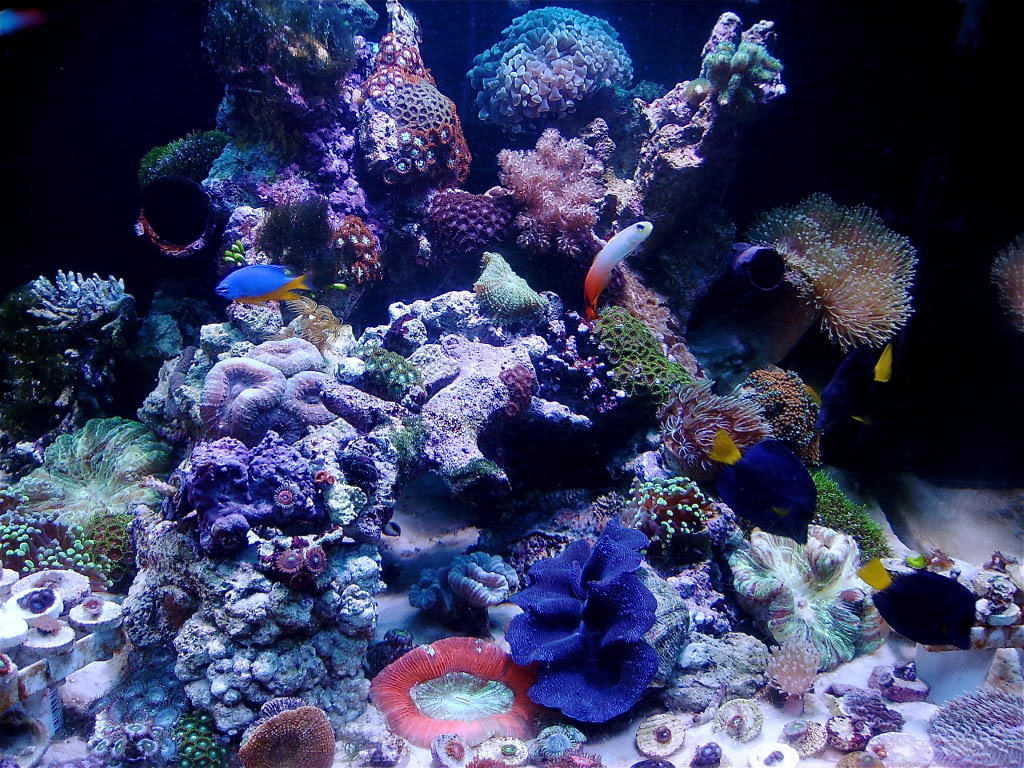
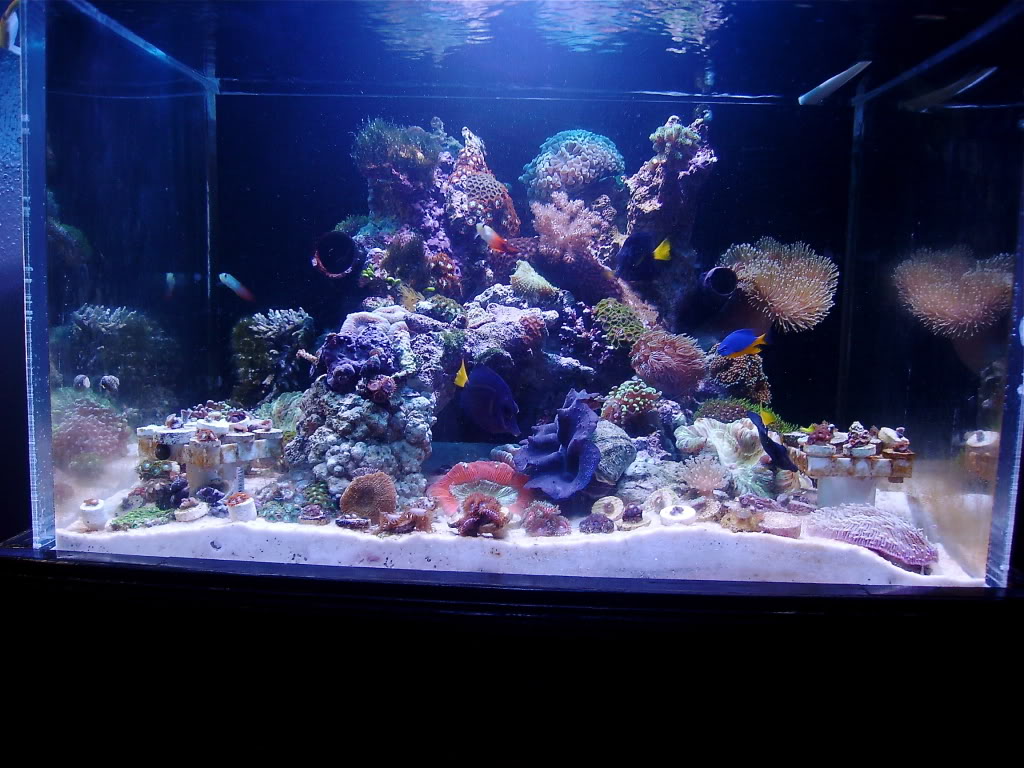
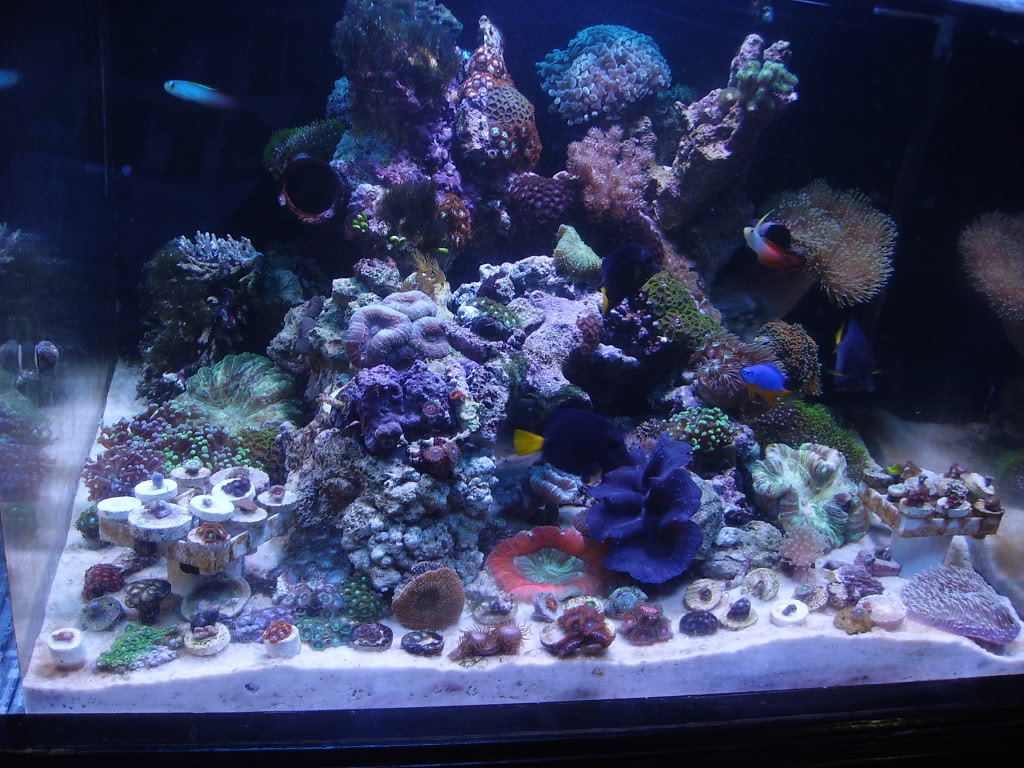
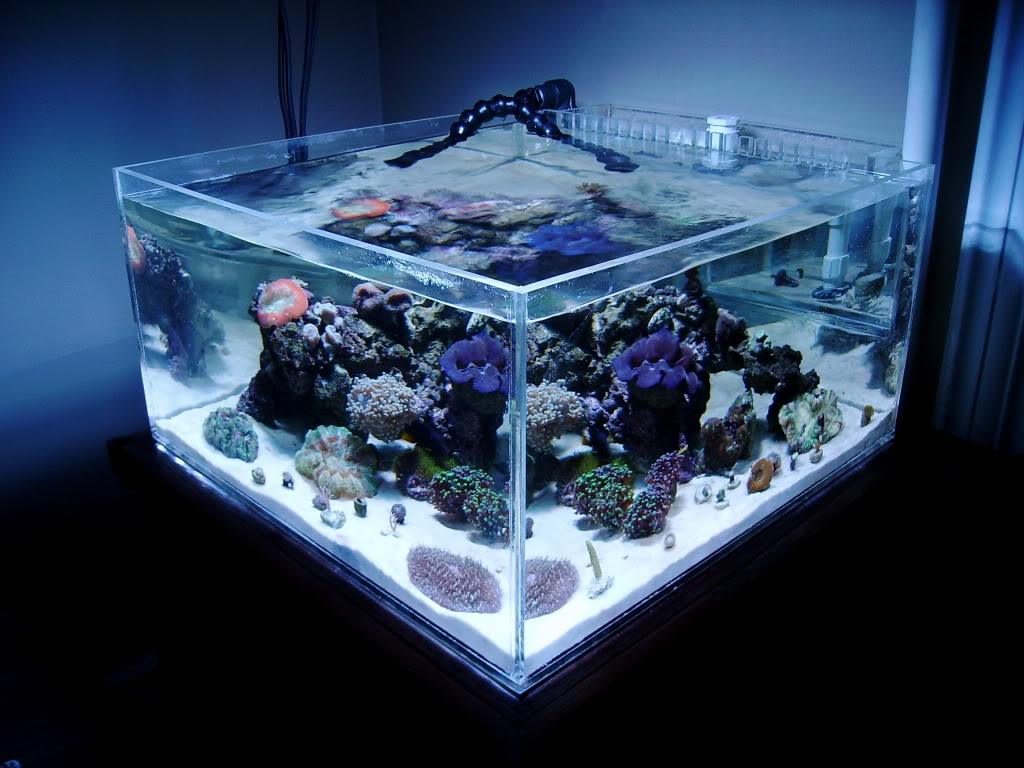
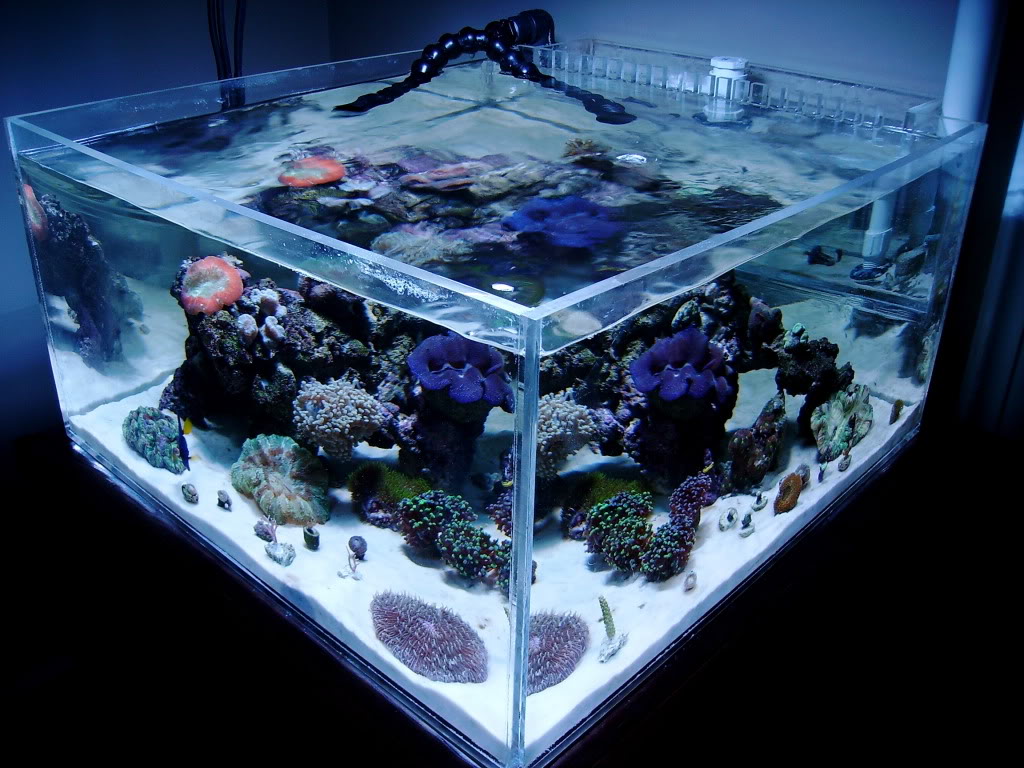
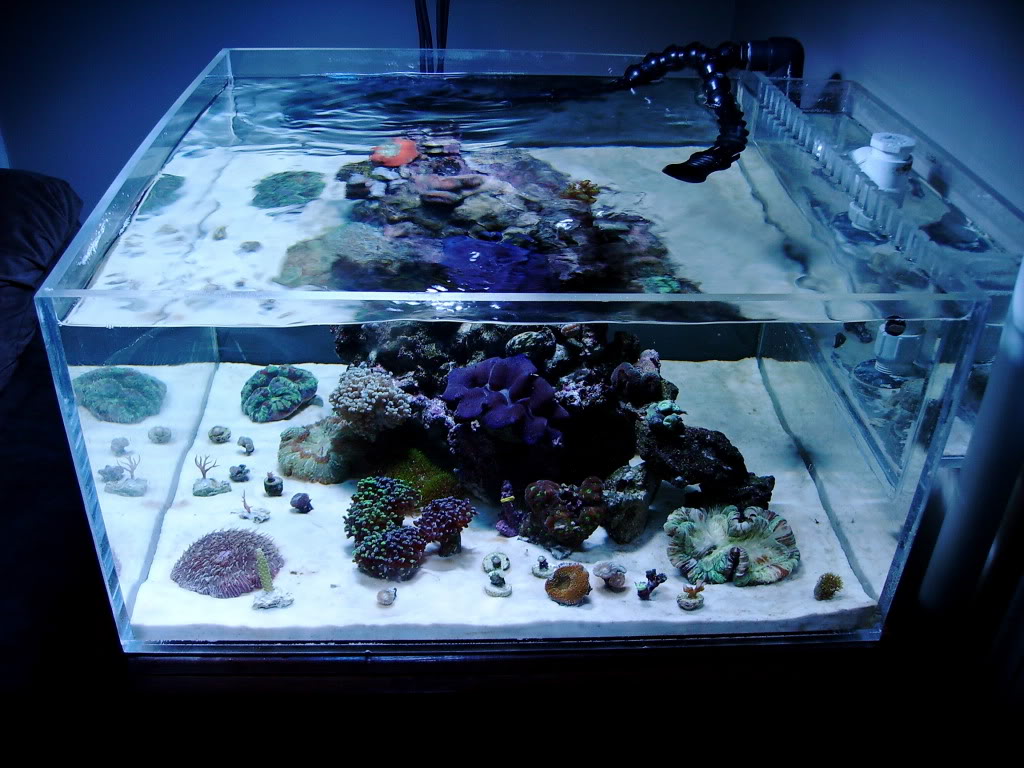
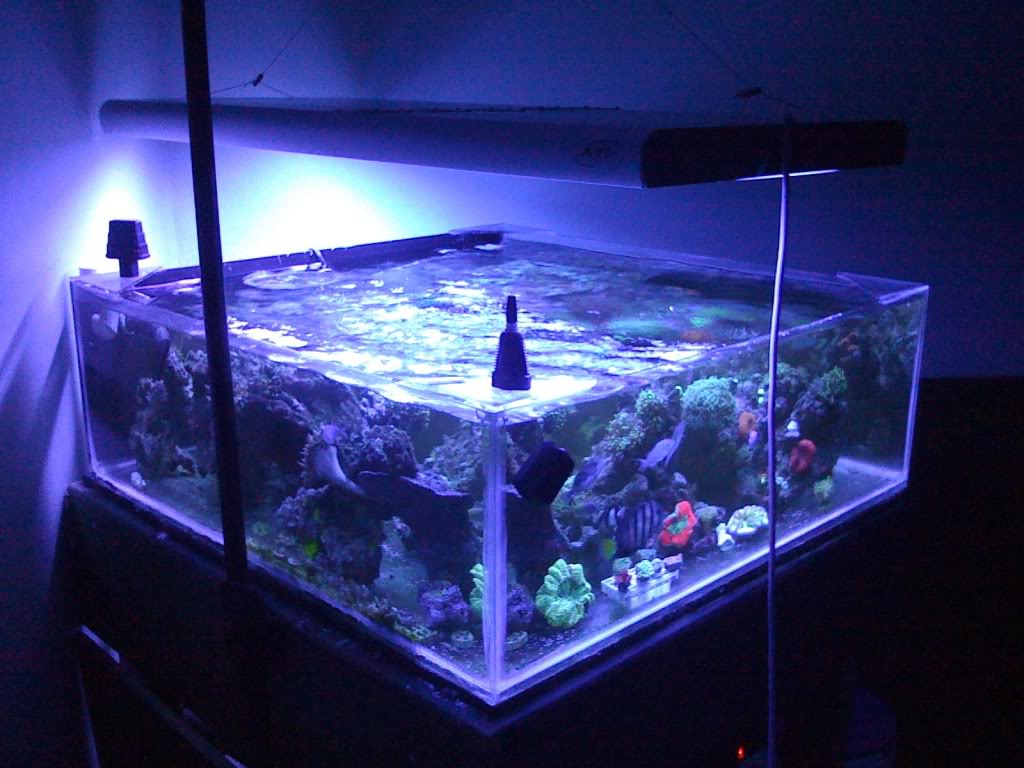
30g custom acrylic cube 24x24x12T:
-Simple yet very satisfying! Loved the shallow reef look, and all of the LPS really made this setup pop!
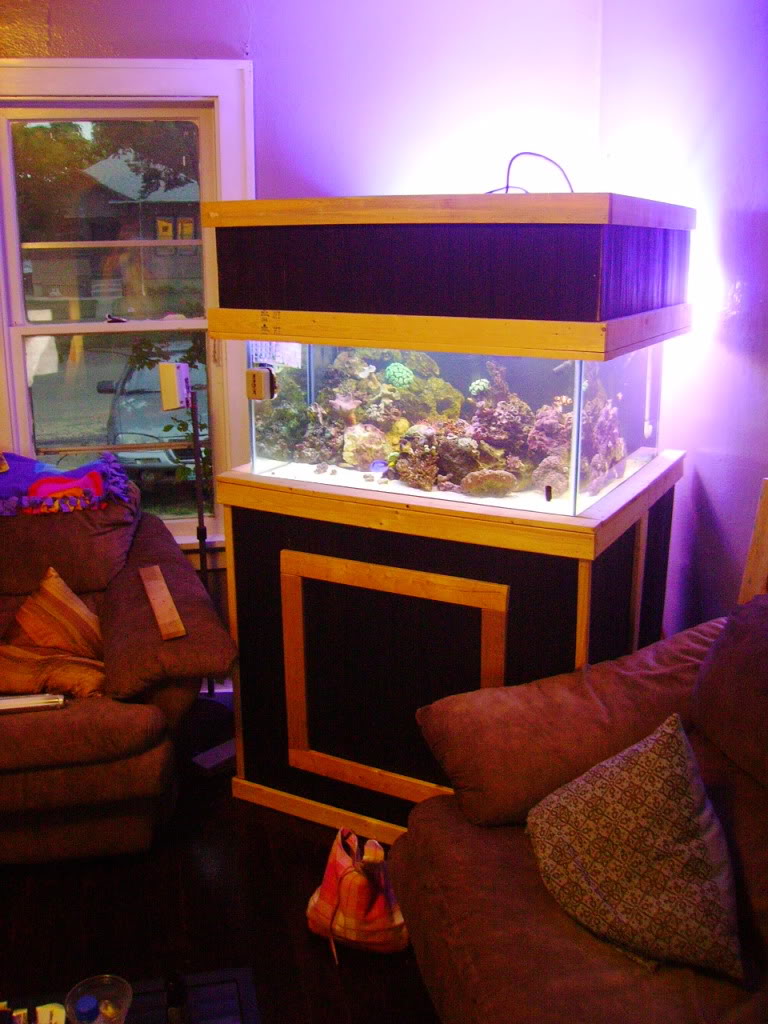
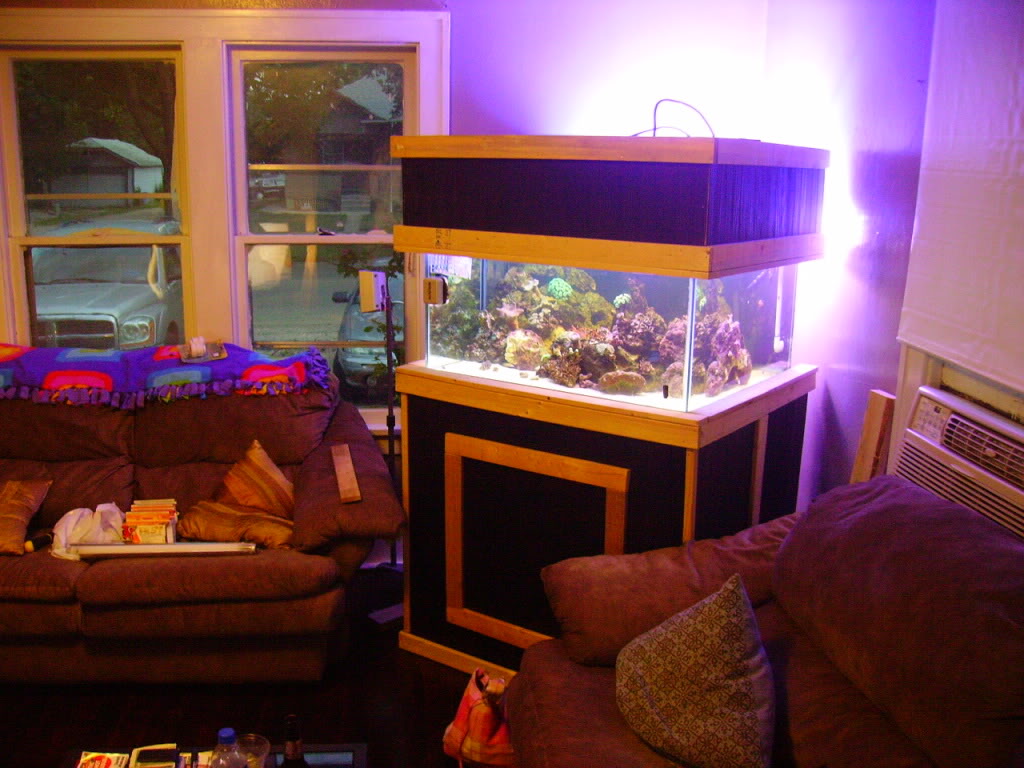
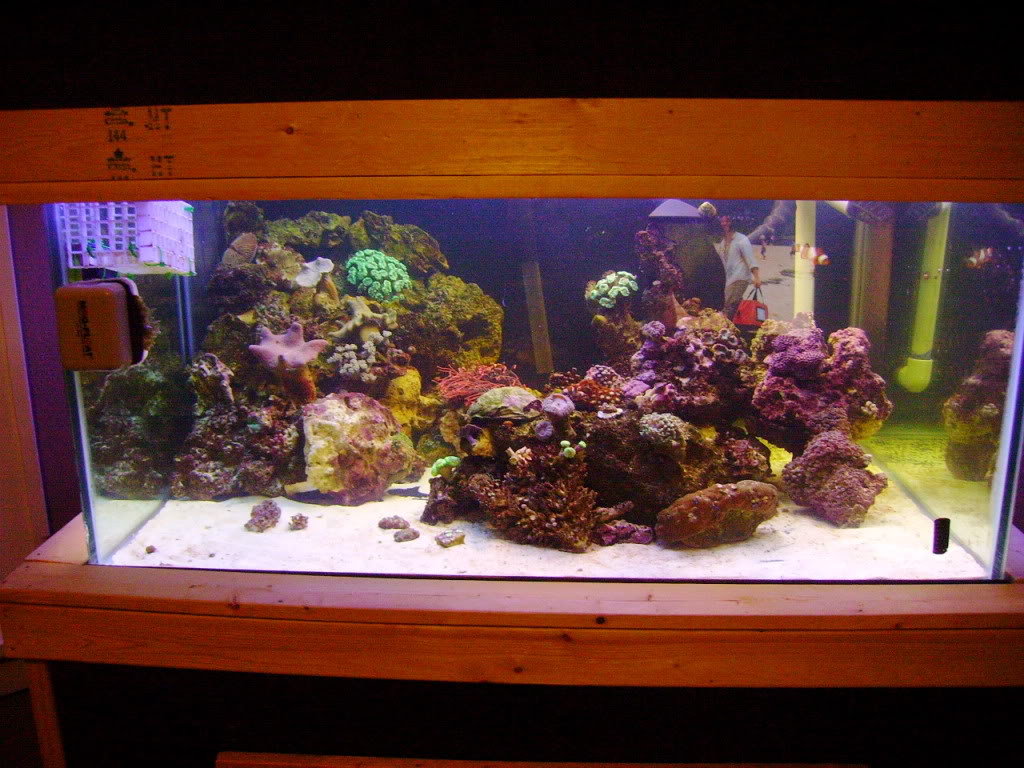
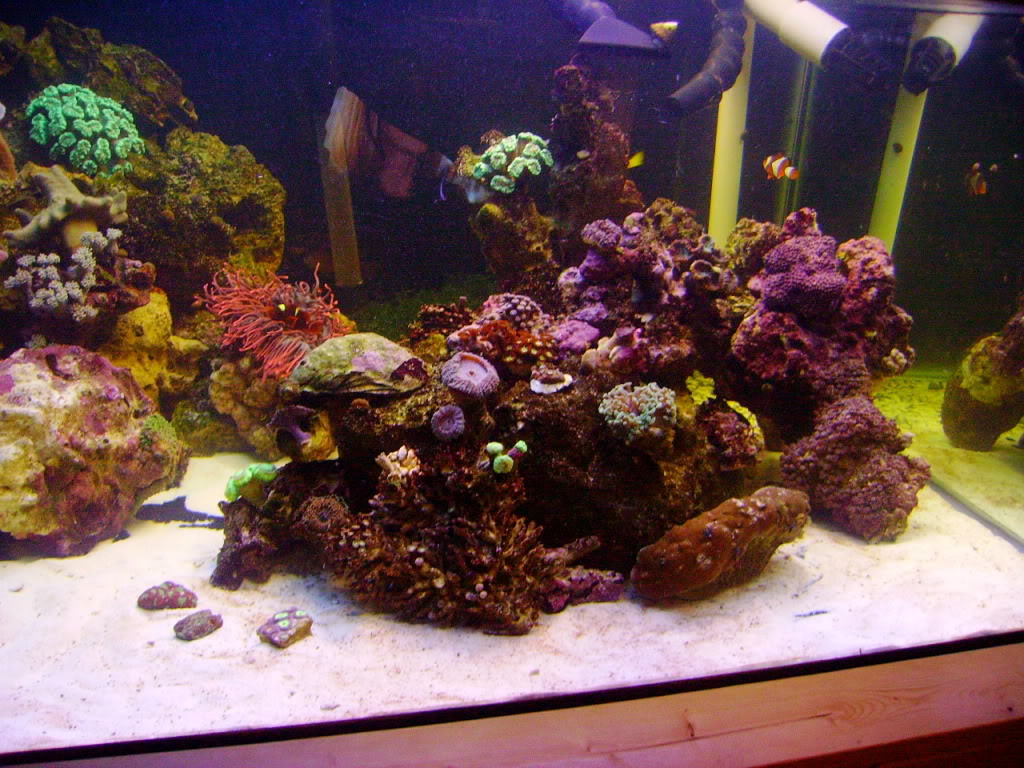
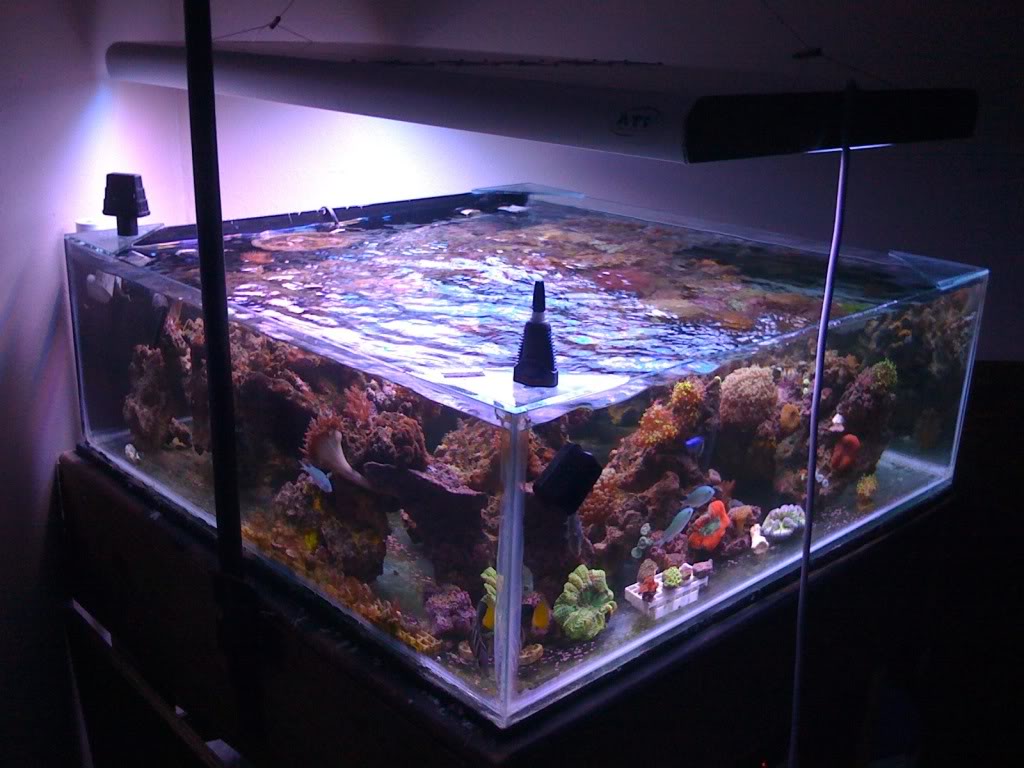
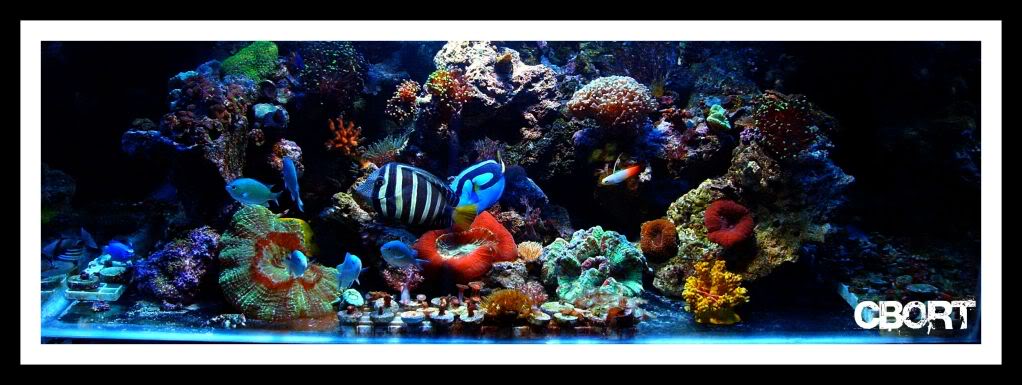
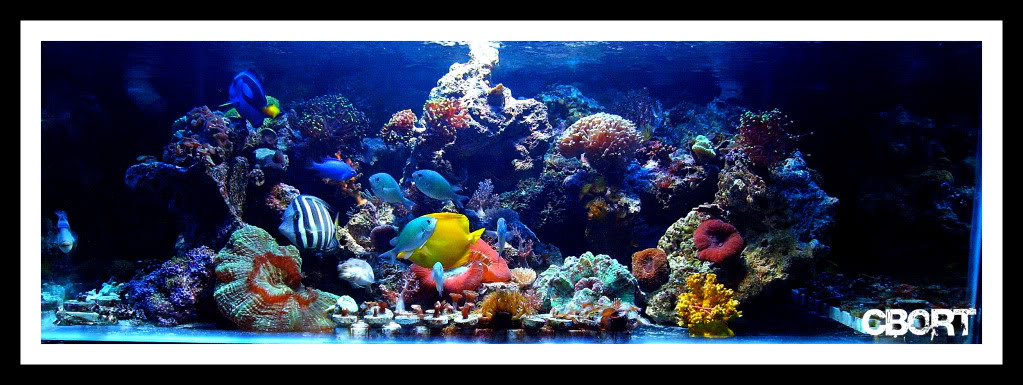
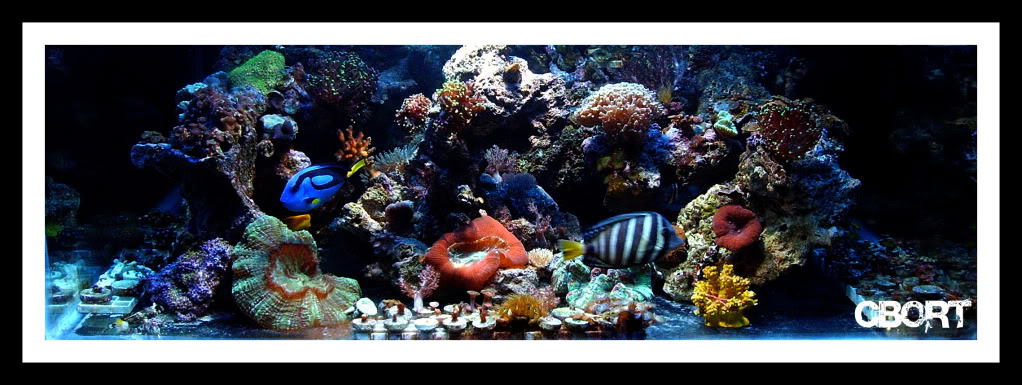
57g custom shallow cube 36x36x12T:
-This build was crazy. I had just purchased an entire live stock collection from another hobbyist, purchased a new project and found out that we were to move within a few days. So needless to say, I threw this one together over night and it ended up being one of my most enjoyable "viewing tanks" to date. So much movement, lots of colors, and the layout of our living room at the time made it easy to sit back and enjoy it. It was not the prettiest setup due to being temporary, but my wife tolerated it while we took our time to purchase our new home.
280g custom Ultimate cube 48x48x28T:
-Out of all my builds, this was my greatest disappointment. This was not due to lack of effort, but rather focusing on my career, training and no time to complete this build. So unfortunately, I simply only achieved filling it with water and tore it all apart in order to downsize.
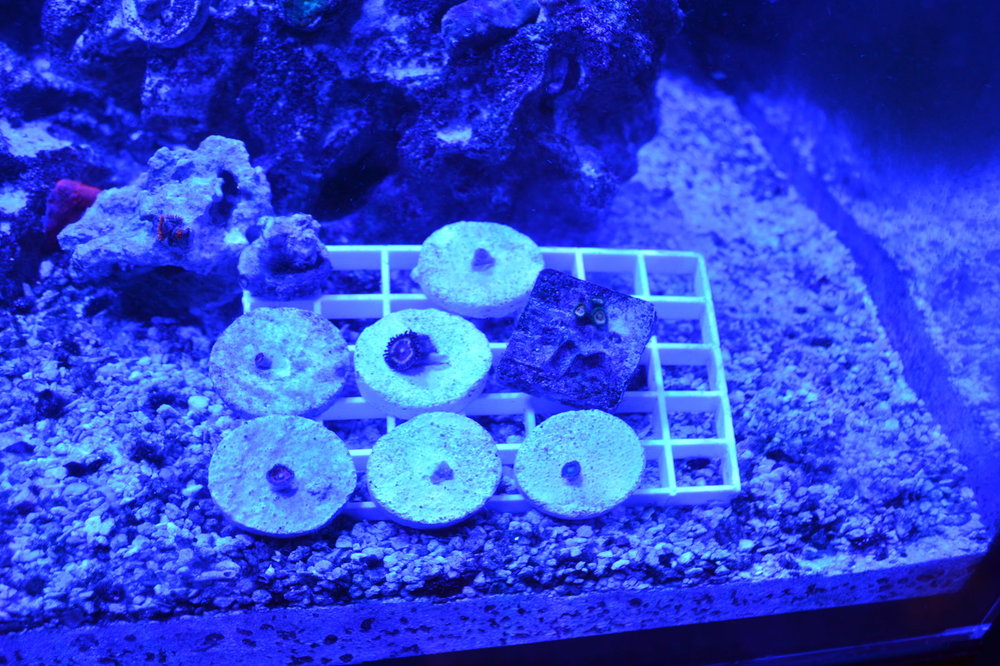
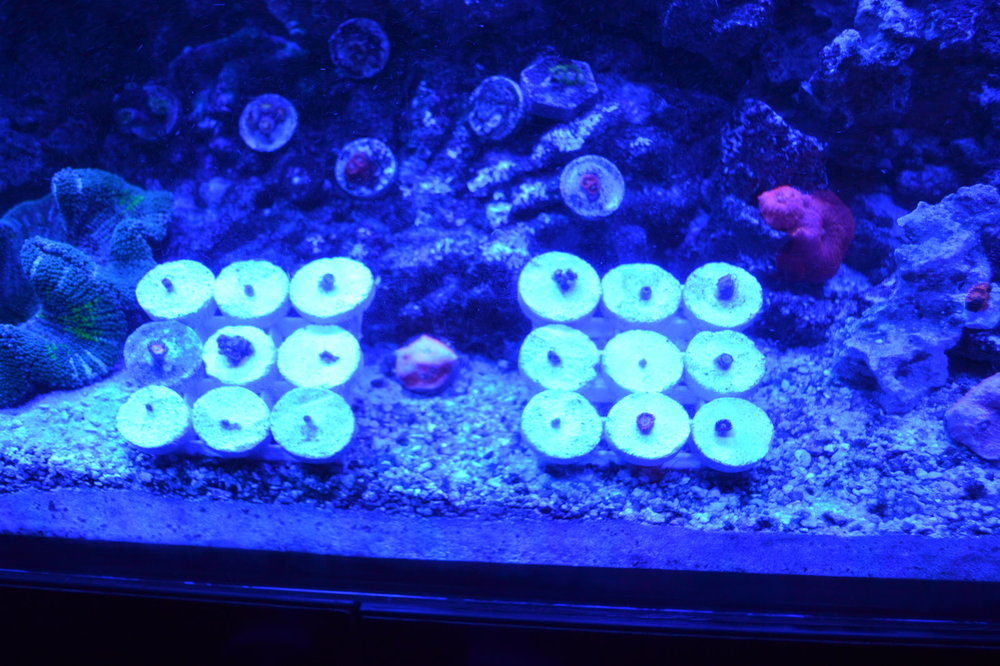
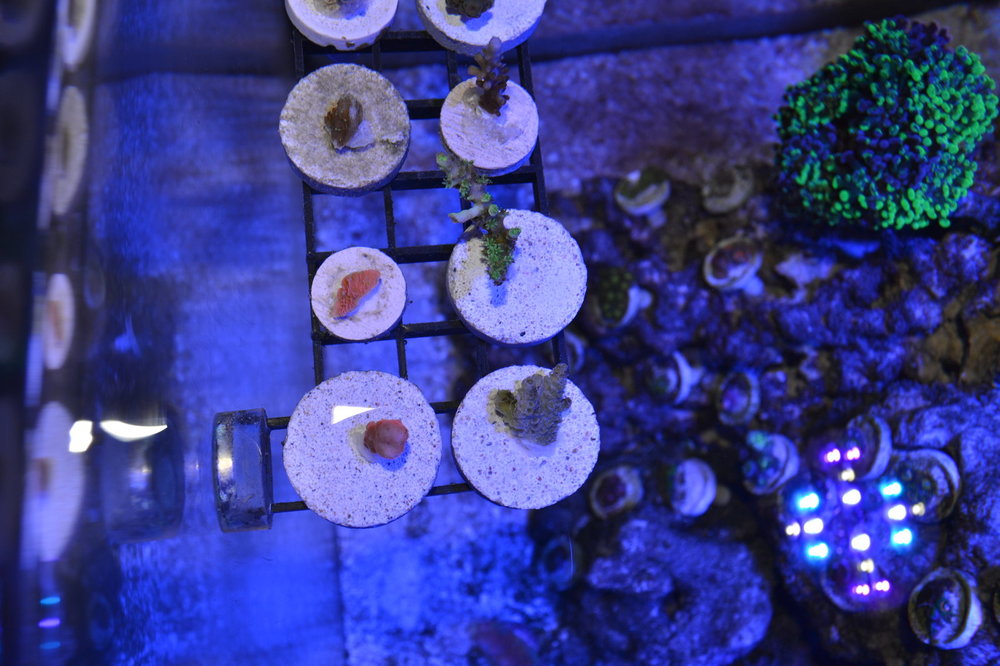
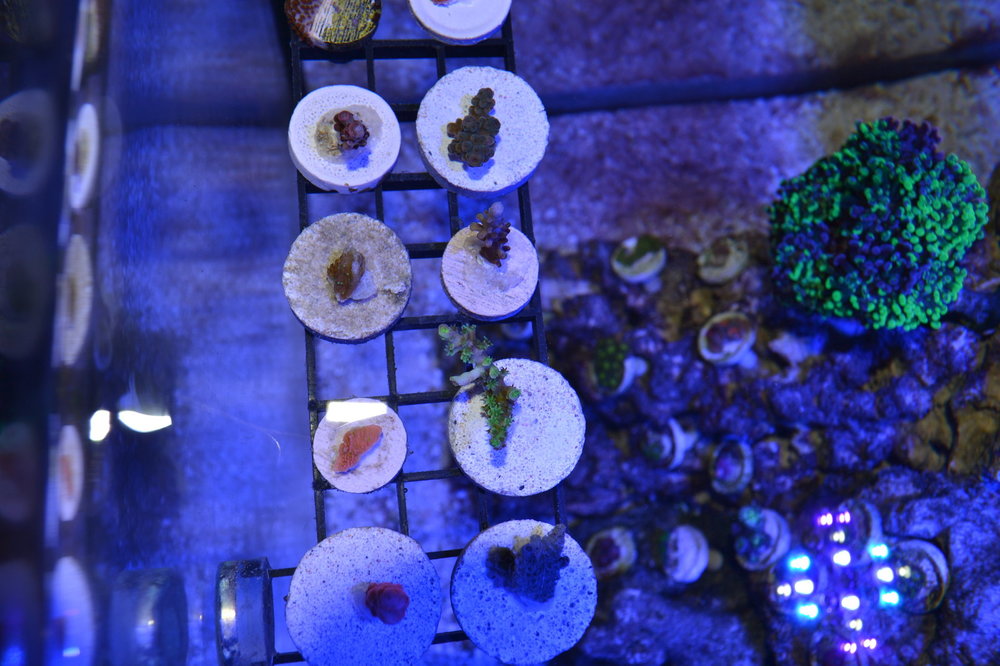
-I did get the Frag tank up and running and was able to collect some nice pieces while the build took place. So it was not all for nothing in the end.
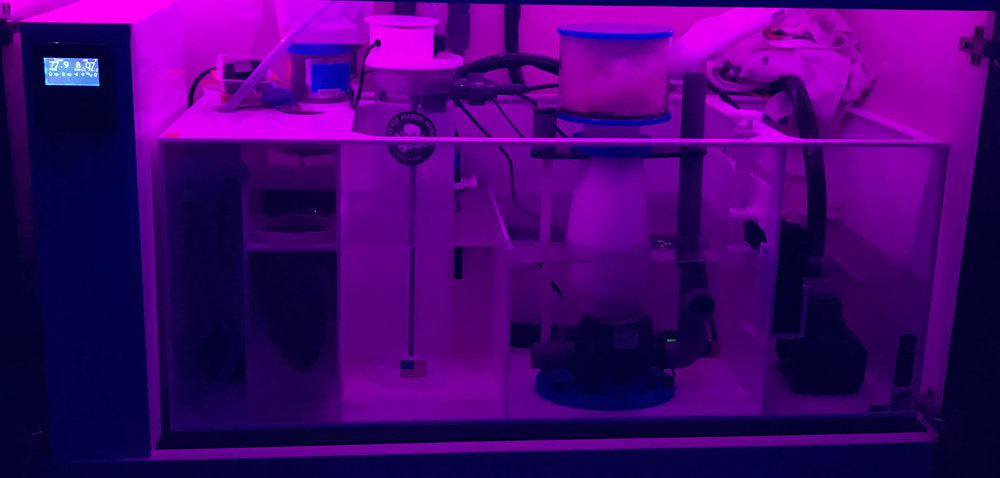
-This build was my first opportunity to have a "fish room" that housed my frag tank, sump, water filtration, and was amazing!!


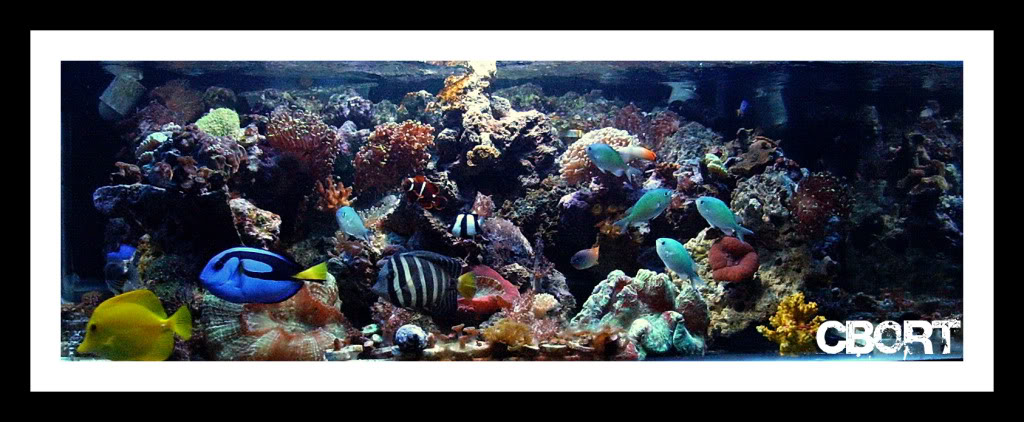
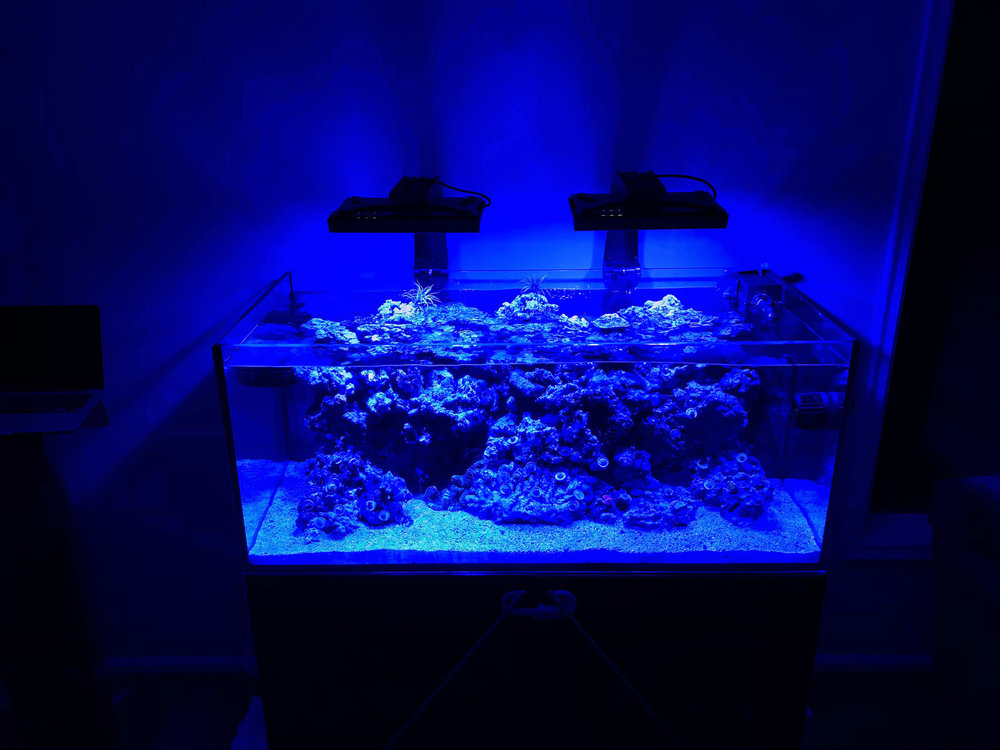
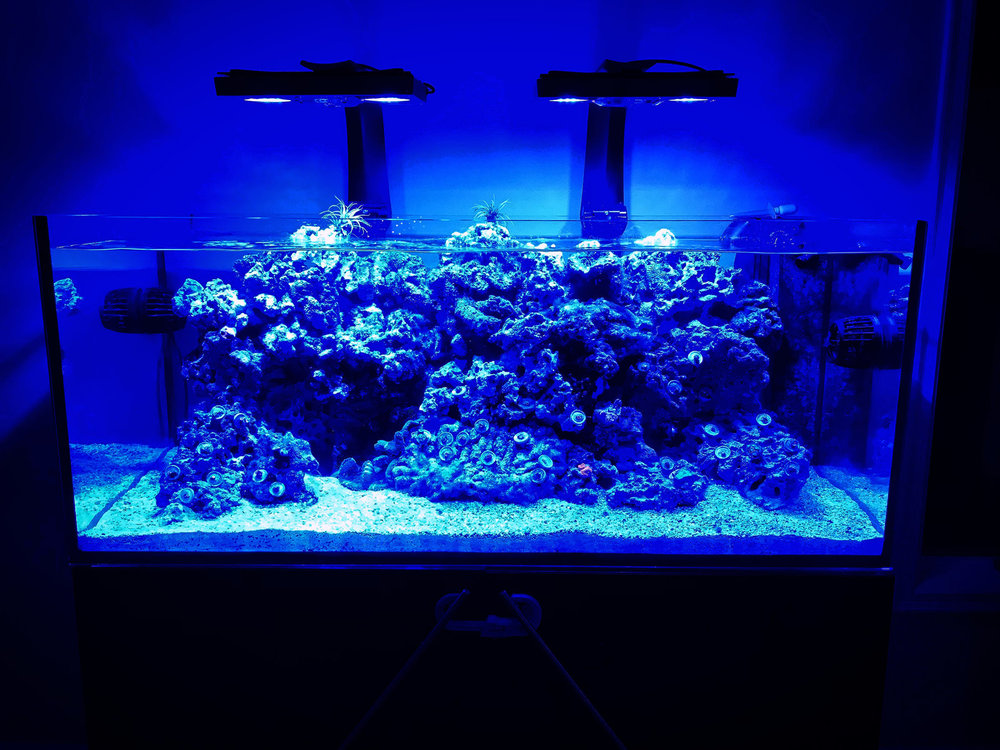
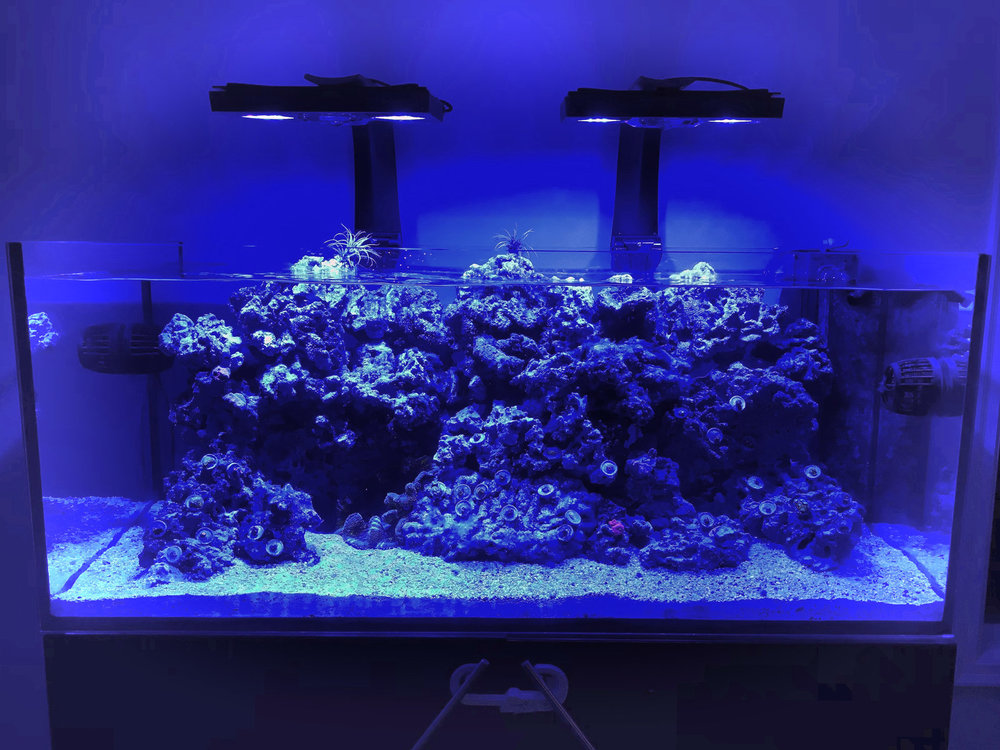
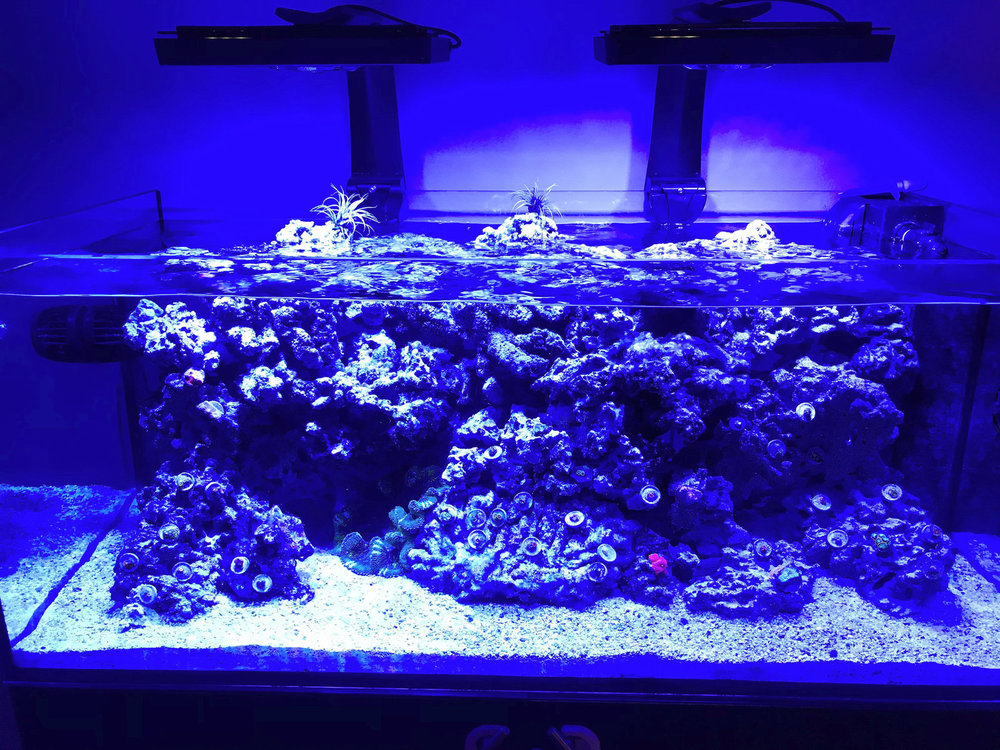
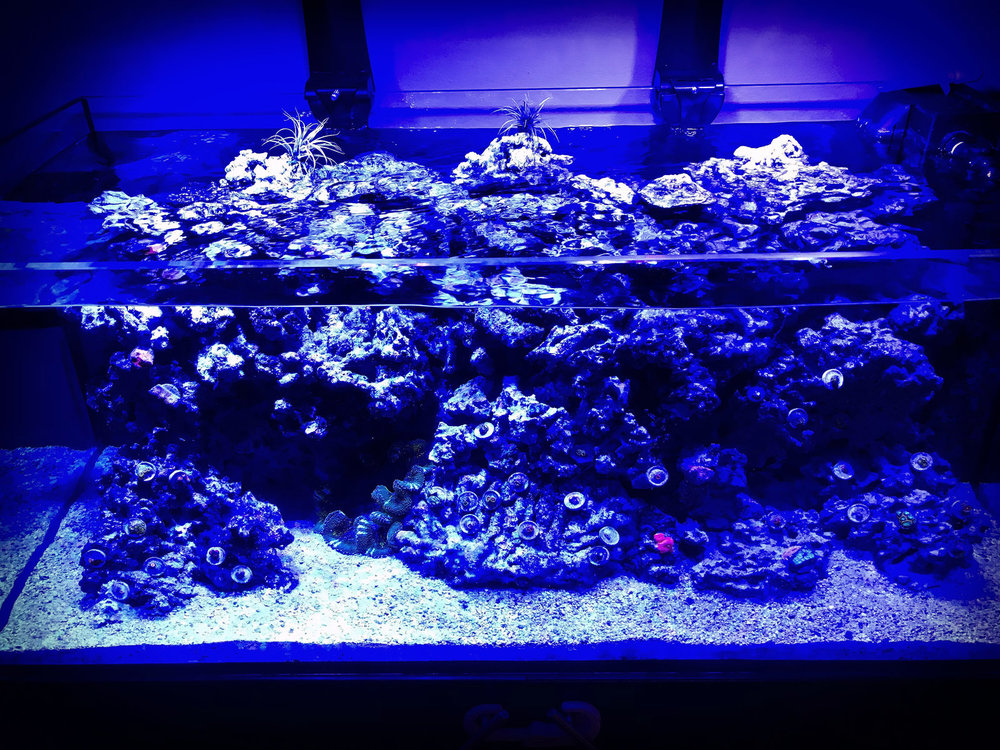
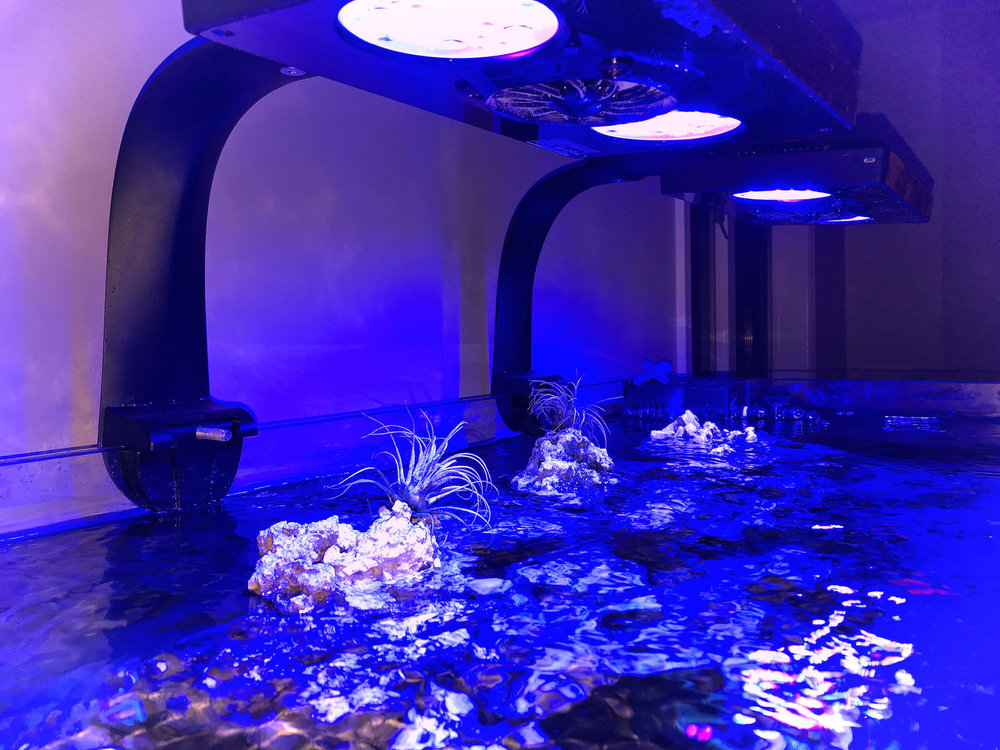
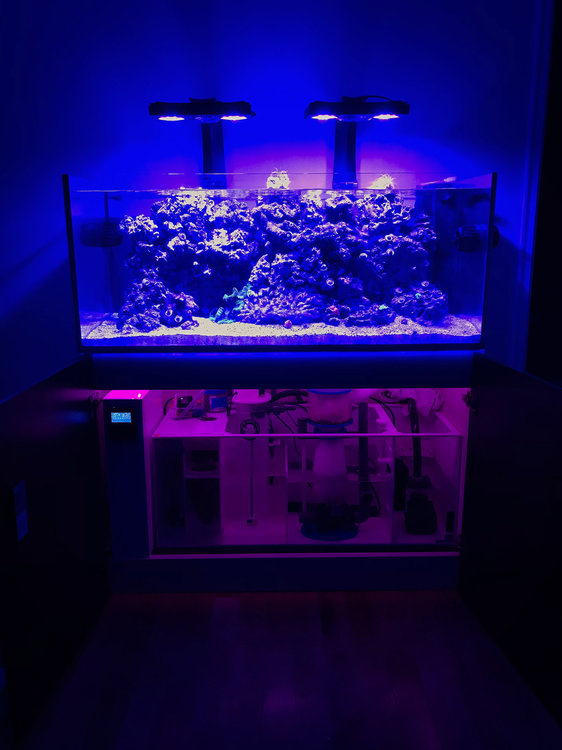
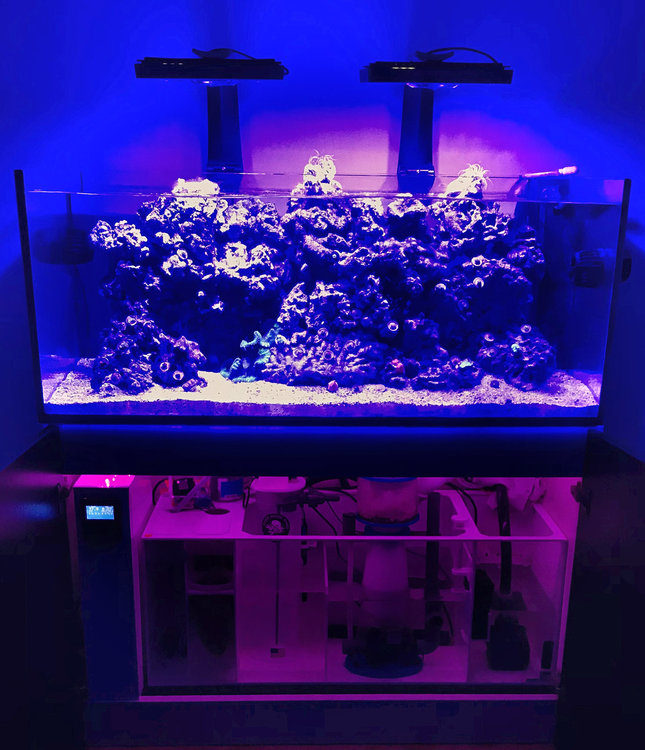
43g Rimless Miracles Reef 30x24x14T:
-This set up was amazing! Lots of high end equipment and it was loaded to the gills with super bright LPS, SPS and zoas. It had a lot of potential!
-This is the one that got away. Yet again, I had to move for another promotion and I tore it down and ended up selling it all off.


Finally got moved to a new location where my family and I should be be able to call home for at least a few years and feeling the itch to pull the trigger on a new project! The wife is really thrilled!!
A little history about myself and experience in the Reefing hobby. I've had numerous setups off and on between moving around the Midwest 12 times in 12 years. Spent more money on this hobby than I care to total up!! But it's what WE love to do! I've had all sorts of aquariums from Pico's and Nanos to all the way up to 280g. The first thing you will notice is I've had a love for Cubes and Odd sized and Shapes. I really cannot stand to have a setup that is "common". I really like a setup that stands out just as much empty as it does filled.
Some of things i will be keeping in mind for this current build:
-----Automation, Automation, Automation! -----
-There was 1 item I did not sell when I parted away my last setup was my APEX. My plans will be to take as much of the "hassle" out of the hobby as possible! I love the ability to pull my phone out of my pocket anywhere I might be to check on my tank, make adjustments, and verify parameters. I plan to fully utilize everything the Apex has to offer all the way down to daily Automatic Water Changes, Dosing, Adjusting settings on ALL equipment, and hopefully if it's ever released testing of parameters on the fly via the new not yet released "Trident"! The longer I've been in the hobby, I have found the less I spend working on the tank the more I enjoy it!
-----Buy the right equipment from the Start!-----
- I have wasted too much money on "bargain" deals or impulse buys. With this setup, I plan to have an equipment list from the start and stick to it. I have had some very nice successful reefs with less than "Great" equipment, but I'll be honest, I'm a serious equipment junky! I'm constantly looking to upgrade or kicking myself for not spending the money on better quality products.
-----Leave it along and let it grow!!-----
-Over the years I have noticed the less that I put my hands in the tank, the more successful my reef is. I plan to integrate multiple frag tanks to provide myself with ample room to get my "frag fix" on. I started this with my previous set up by simply taking a frag of each colony that i placed in my display (especially zoas) and allow the colony piece to be fixed to my rock work and grow. Setups prior to that, my display always looked like a frag tank with egg crate and frag racks inside the tank and I never left it alone to grow. I want a display that impresses guests rather than confuses them. Lol
Lastly, before I get on with the details of the new build, I'll leave you with some pics of previous setups and details:
40g custom acrylic cube 24x24x16T:
-This was my first attempt at a reef.
-I learned a lot with this build --like don't put 3 purple tangs in a 24g.
-I also fell in love with Zoas and Palys and was able to propagate them like crazy! I believe this was mainly due to no skimmer, regular water changes, and MH lights.
-Yes, you will see I learned another valuable lesson like 3 purple tangs can NOT co-exist in a 40g tank nor should even 1 be placed in a 40g tank.
80g Oceanic semi cube 36x30x18T:
-My 2nd attempt at a reef was a uniquely shaped Oceanic tank.
-More area to work with, but i missed the rimless open top
30g custom acrylic cube 24x24x12T:
-Simple yet very satisfying! Loved the shallow reef look, and all of the LPS really made this setup pop!
57g custom shallow cube 36x36x12T:
-This build was crazy. I had just purchased an entire live stock collection from another hobbyist, purchased a new project and found out that we were to move within a few days. So needless to say, I threw this one together over night and it ended up being one of my most enjoyable "viewing tanks" to date. So much movement, lots of colors, and the layout of our living room at the time made it easy to sit back and enjoy it. It was not the prettiest setup due to being temporary, but my wife tolerated it while we took our time to purchase our new home.
280g custom Ultimate cube 48x48x28T:
-Out of all my builds, this was my greatest disappointment. This was not due to lack of effort, but rather focusing on my career, training and no time to complete this build. So unfortunately, I simply only achieved filling it with water and tore it all apart in order to downsize.
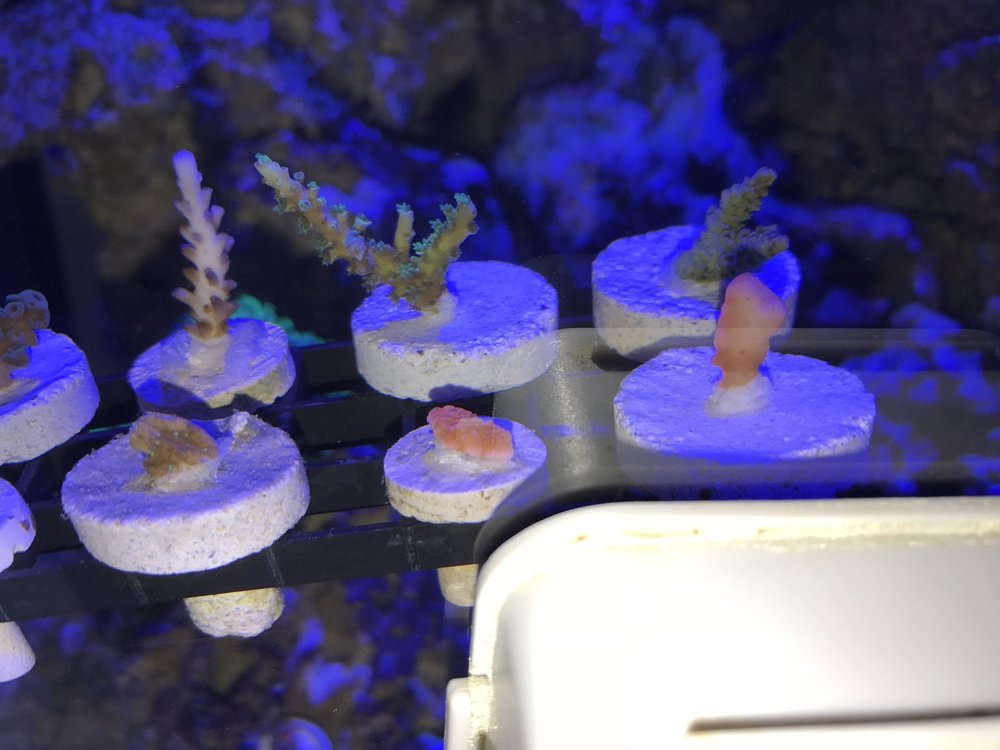
-I did get the Frag tank up and running and was able to collect some nice pieces while the build took place. So it was not all for nothing in the end.
-This build was my first opportunity to have a "fish room" that housed my frag tank, sump, water filtration, and was amazing!!
43g Rimless Miracles Reef 30x24x14T:
-This set up was amazing! Lots of high end equipment and it was loaded to the gills with super bright LPS, SPS and zoas. It had a lot of potential!
-This is the one that got away. Yet again, I had to move for another promotion and I tore it down and ended up selling it all off.


")