Hi all,
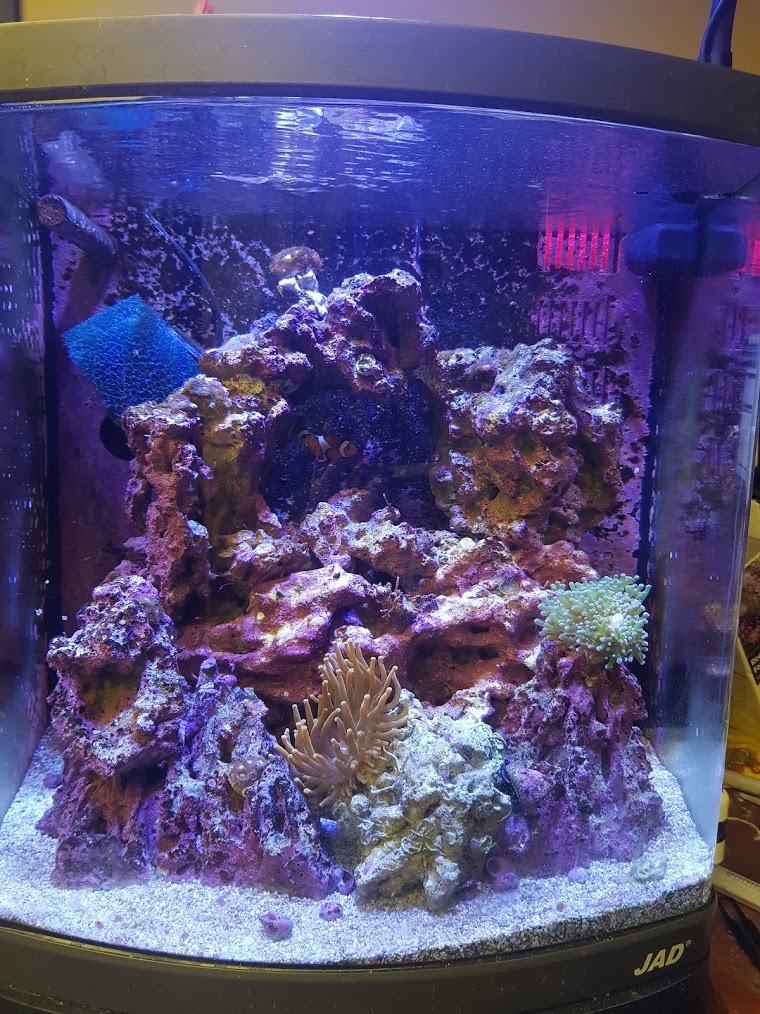
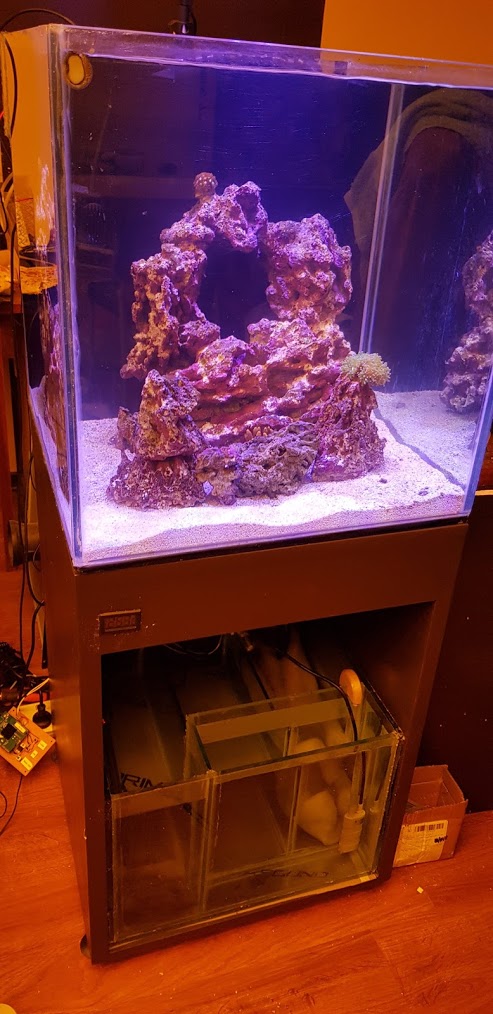
I have had a reef tank since about August '17. A Boyu TL-450H AIO 65L/16G system to get my feet wet. CFLs in the lid, 4 chambers, with a simple protein skimmer, heater, return pump.
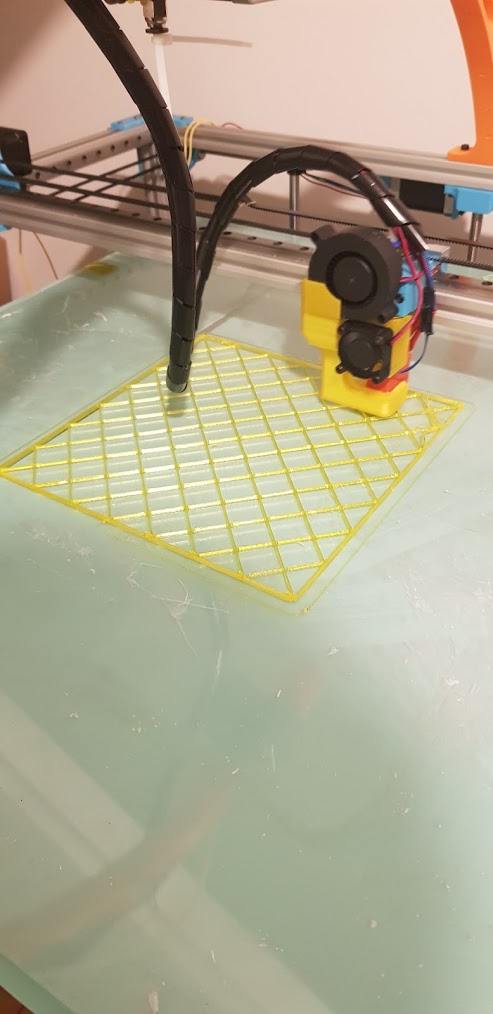
The stand was poop, so built it a cabinet, and over time I have removed the CFL hood and replaced it with an AI Prime HD. Added a DIY Arduino controlled ATO (basically has Tunze Osmalotor features). A Peltier & Fan cooler system, LED lights for a tiny fuge in the inflow chamber. With various 3D printed parts to make them fit. Some Pictures:
Excuse the mess,

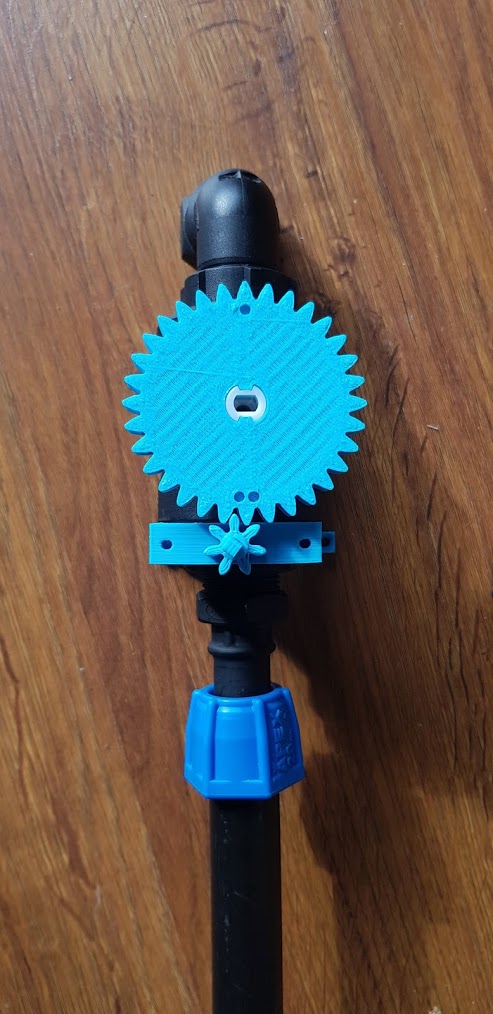
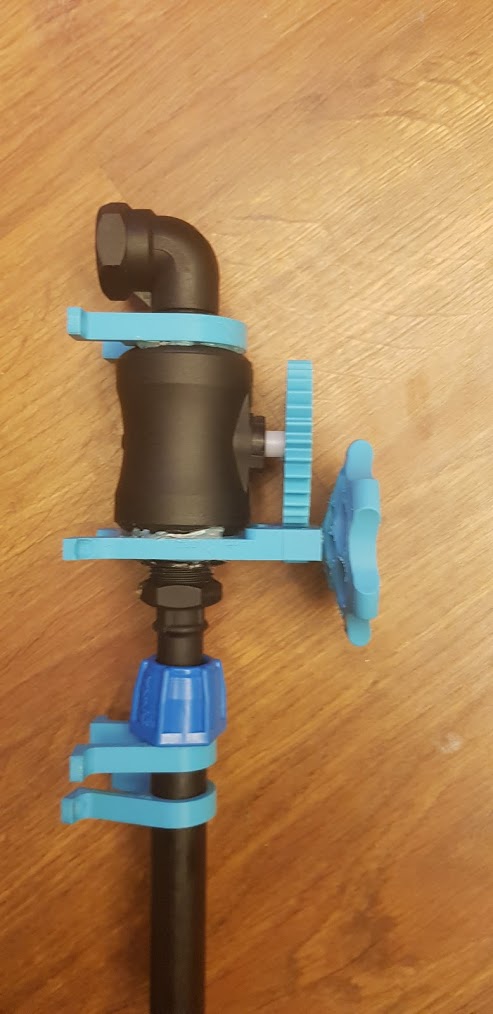
ATO Stuff:


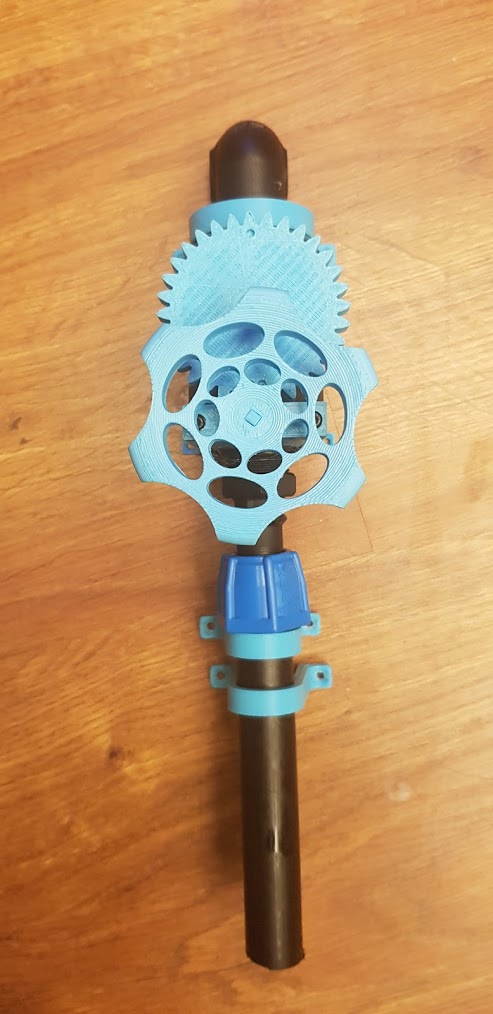
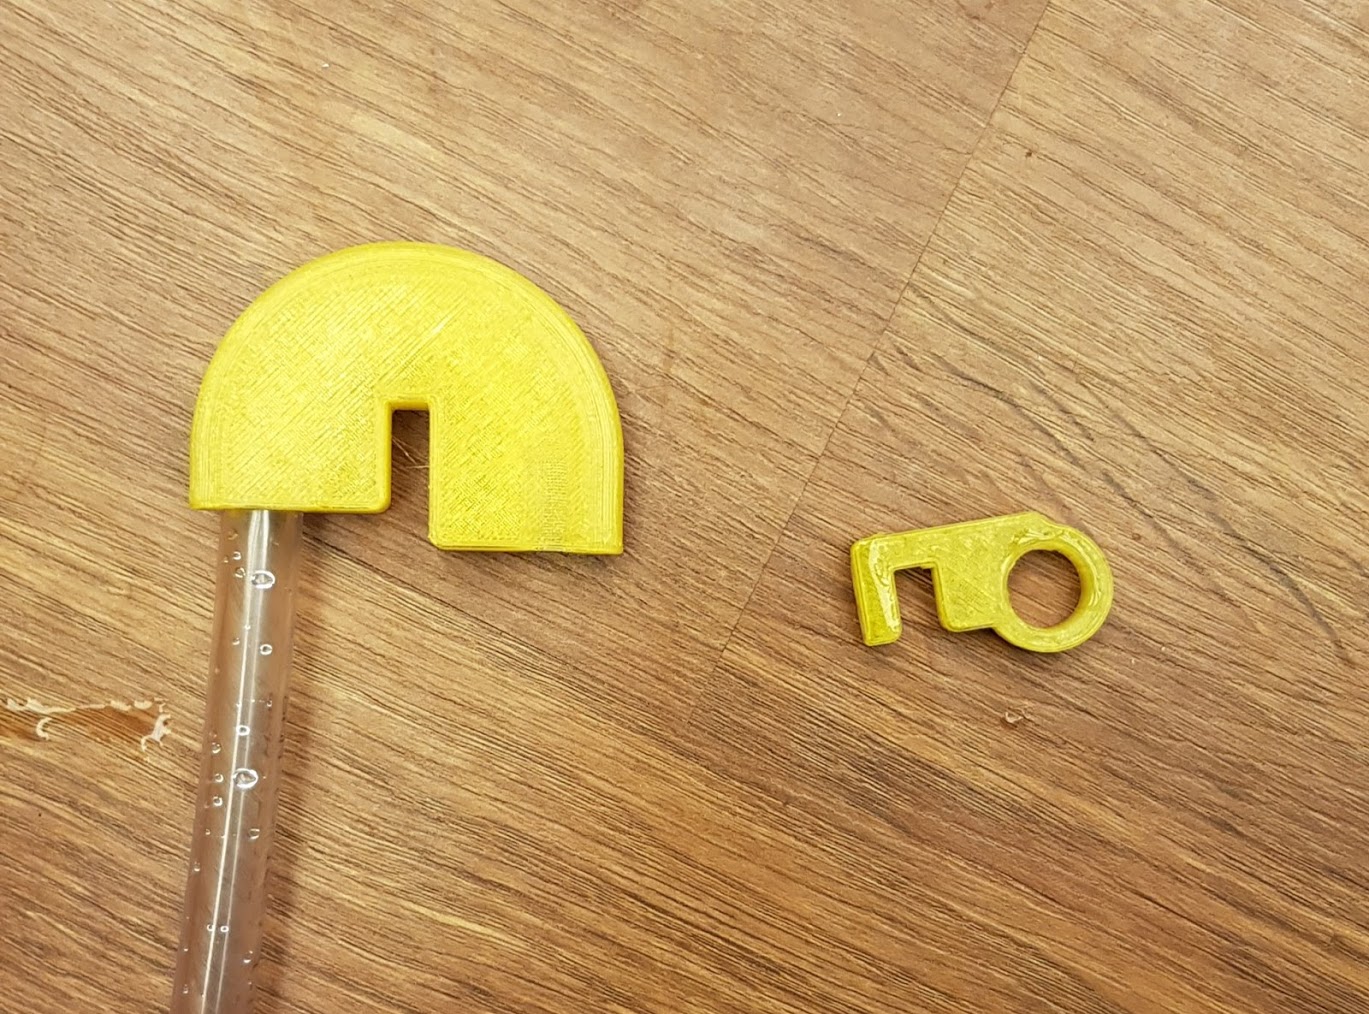
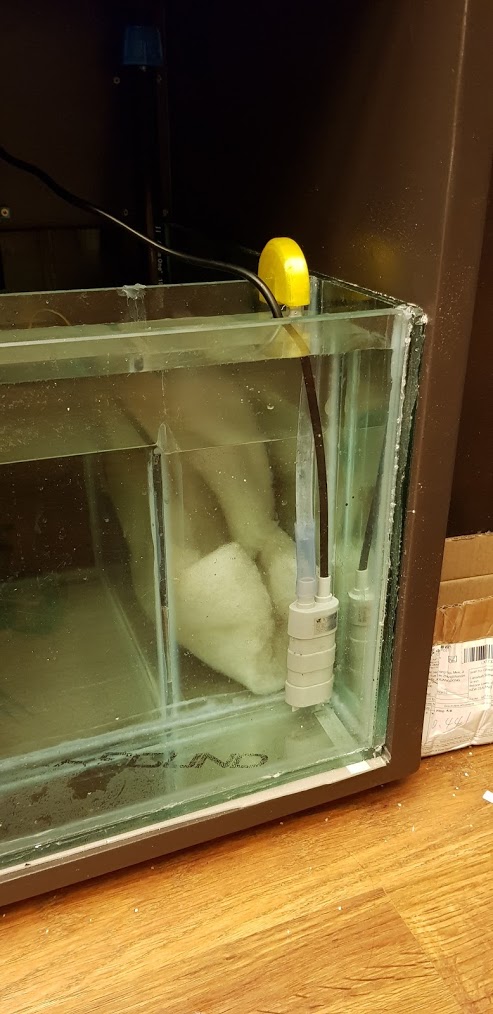
Tiny Fuge Light:

The tank is stocked with 2 Ocellaris Clowns, 2 Dwarf Hermits, 1 Astraea Snail, 1 Small Blonde BTA.
Corals: Some Zoas, Frogspawn, Candy Cane. A lonely hitch hiking mushroom, and some encrusting anthelia like thing.
This will basically be the same stocking in the new tank, with a few more hermits and snails. I live in New Zealand, and you do not want to know how expensive livestock is here, or anything in the hobby. My other tank is a 90G/300L freshwater, but the cost of making that a reef is just too eye watering.
Volume being a strange creature, I realised I could squeeze in a 50cm/24" ish tank, and it basically not take up any more floorspace, but get almost double the water volume. Also add a sump to get more swim space back, and more water volume again.
So browsing trademe (New Zealand's ebay, autotrader, real estate, jobs market website). Someone was selling some old 50cm cube discuss breeder tanks, and a couple of other tanks. In all due to damage to one of them I got them for $90 NZD ($65 USD).
The damaged cube I would break down into the sump and overflow box. Reseal the tanks while I am at it. My spouse had a beast of an old computer desk from the CRT days to cannibalise into making a cabinet.
Into Fusion 360 I went to design up what I wanted:

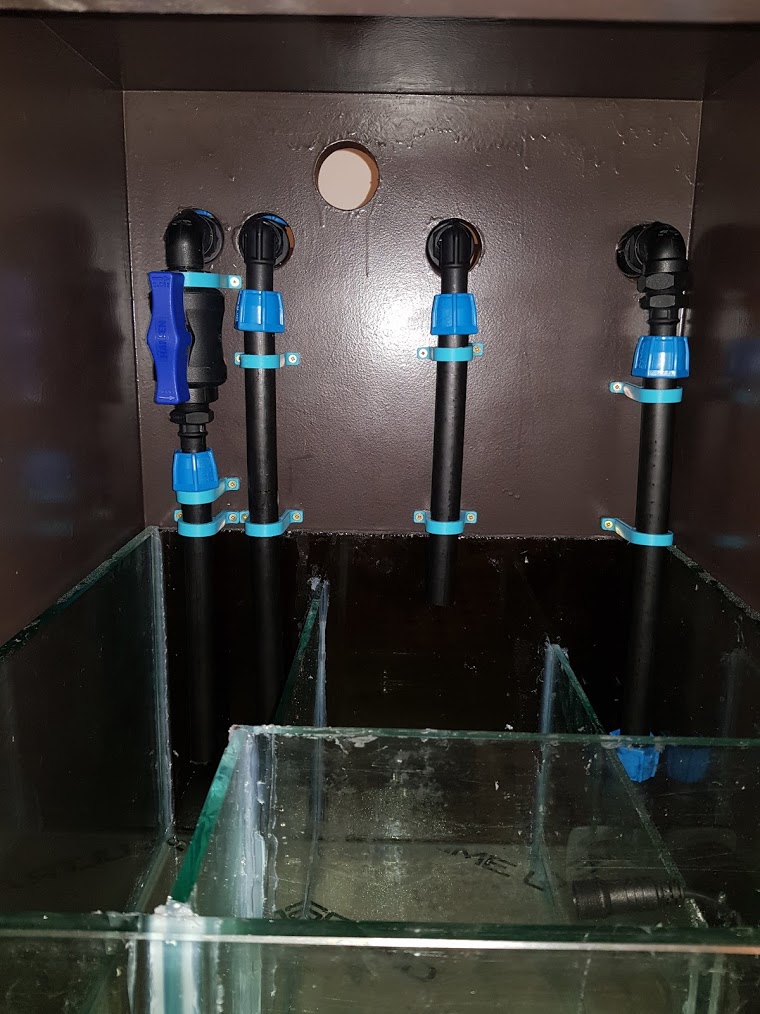
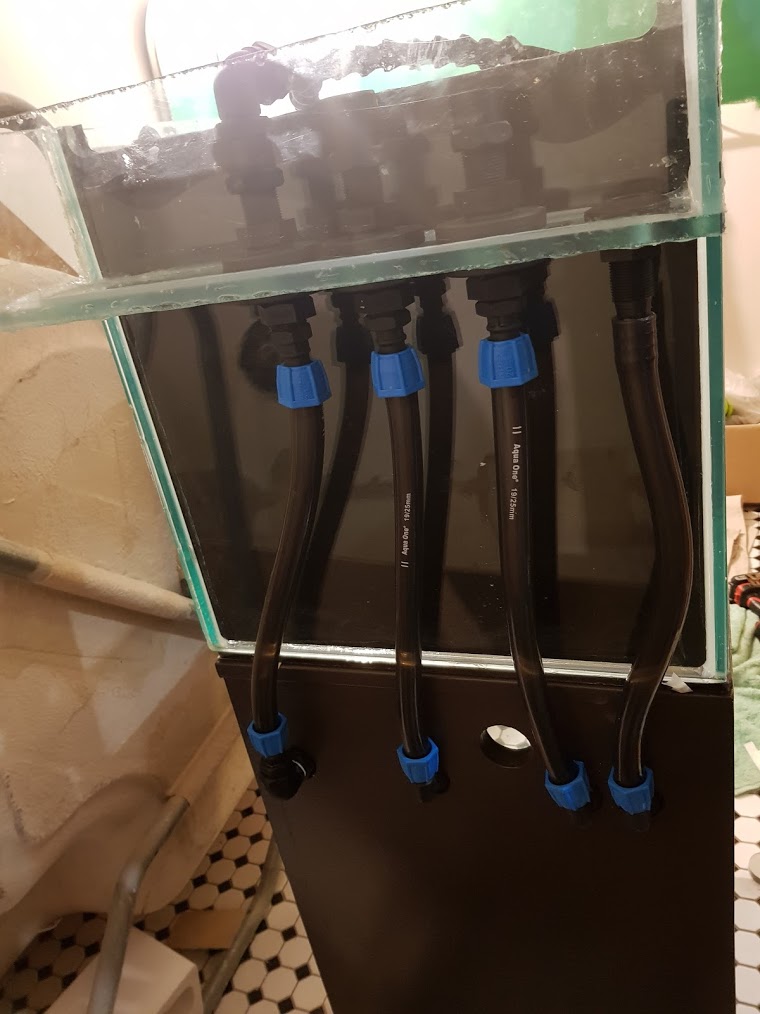
I think I am just about there. The sump contains, a skimmer, media reactor, return pump, heater, a front ATO reservoir. Above it squeezing in my peltier tank cooler and dosing pumps and containers. My current tank just eats alk, so would be nice to get that dosing automatically.

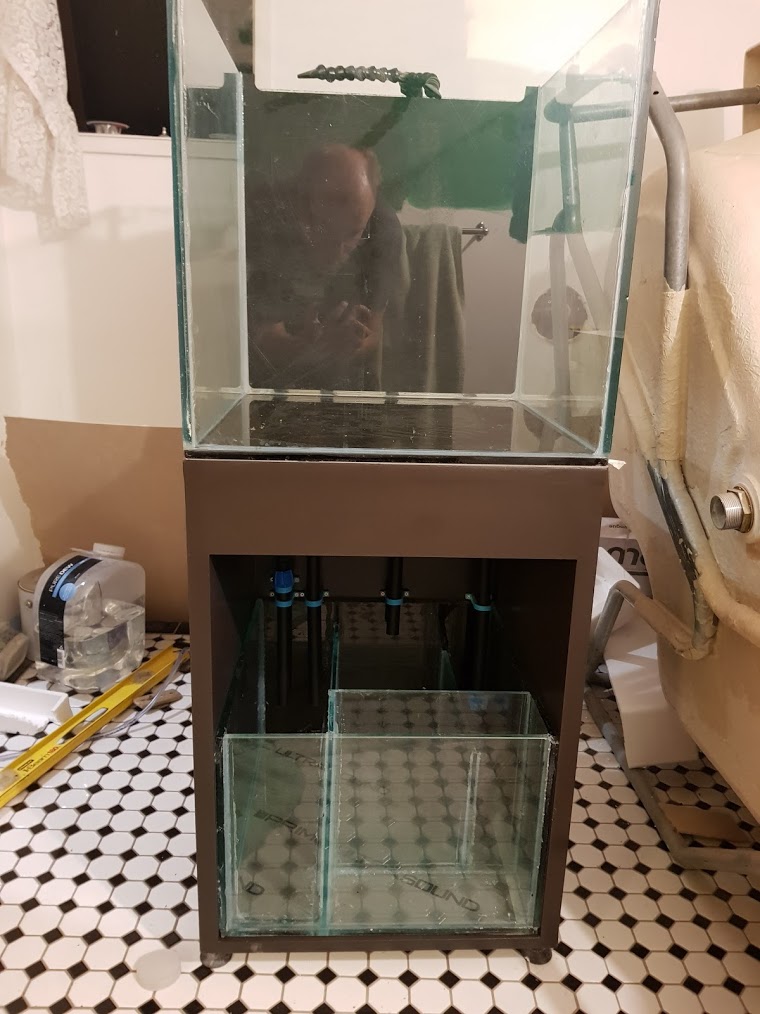
My progress in the physical world so far.
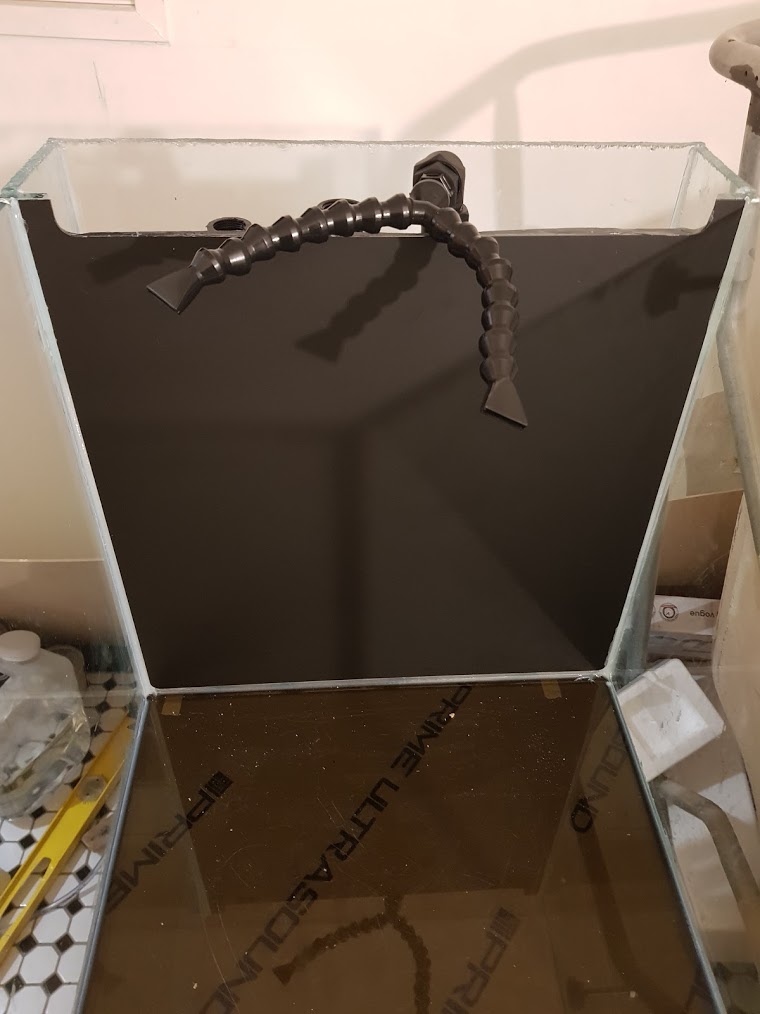
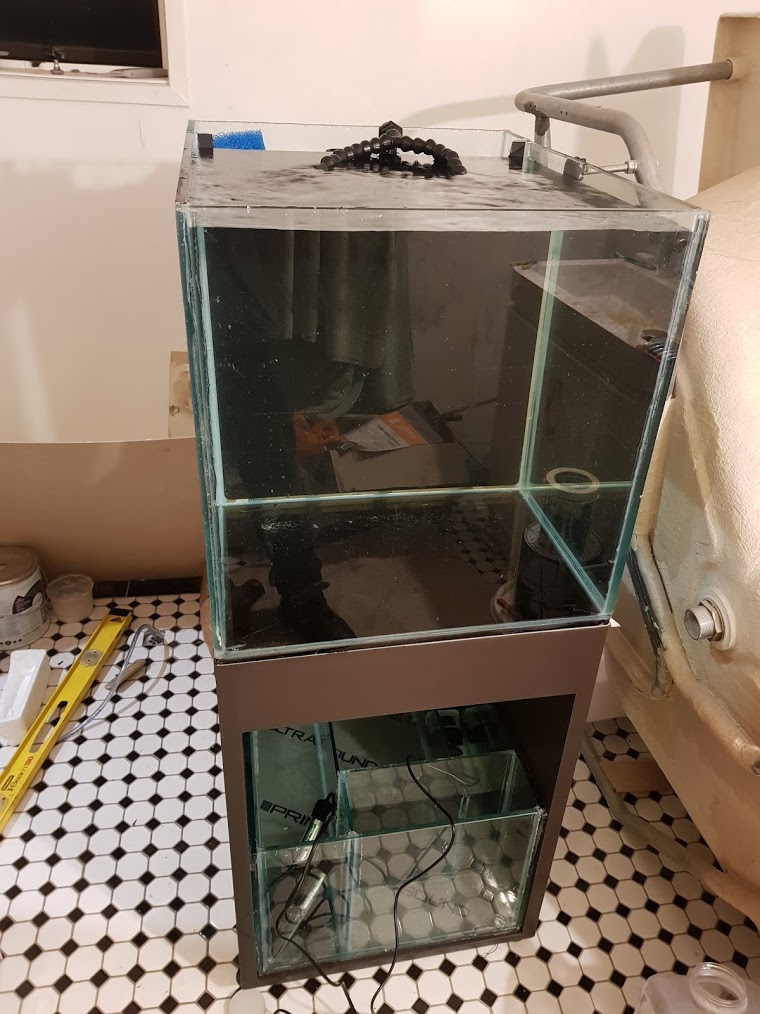
DT Tank, with coast to coast overflow:

Cabinet with 2 coats of primer:

Sump tank glass cut (stand for a river tank creeping into shot).

Probably more reading than anyone can bear with reading. So I will fill in when I make some more progress. I am going to take my time with this to both spread the cost, and do it neat and nice.
I have had a reef tank since about August '17. A Boyu TL-450H AIO 65L/16G system to get my feet wet. CFLs in the lid, 4 chambers, with a simple protein skimmer, heater, return pump.
The stand was poop, so built it a cabinet, and over time I have removed the CFL hood and replaced it with an AI Prime HD. Added a DIY Arduino controlled ATO (basically has Tunze Osmalotor features). A Peltier & Fan cooler system, LED lights for a tiny fuge in the inflow chamber. With various 3D printed parts to make them fit. Some Pictures:
Excuse the mess,
ATO Stuff:
Tiny Fuge Light:
The tank is stocked with 2 Ocellaris Clowns, 2 Dwarf Hermits, 1 Astraea Snail, 1 Small Blonde BTA.
Corals: Some Zoas, Frogspawn, Candy Cane. A lonely hitch hiking mushroom, and some encrusting anthelia like thing.
This will basically be the same stocking in the new tank, with a few more hermits and snails. I live in New Zealand, and you do not want to know how expensive livestock is here, or anything in the hobby. My other tank is a 90G/300L freshwater, but the cost of making that a reef is just too eye watering.
Volume being a strange creature, I realised I could squeeze in a 50cm/24" ish tank, and it basically not take up any more floorspace, but get almost double the water volume. Also add a sump to get more swim space back, and more water volume again.
So browsing trademe (New Zealand's ebay, autotrader, real estate, jobs market website). Someone was selling some old 50cm cube discuss breeder tanks, and a couple of other tanks. In all due to damage to one of them I got them for $90 NZD ($65 USD).
The damaged cube I would break down into the sump and overflow box. Reseal the tanks while I am at it. My spouse had a beast of an old computer desk from the CRT days to cannibalise into making a cabinet.
Into Fusion 360 I went to design up what I wanted:
I think I am just about there. The sump contains, a skimmer, media reactor, return pump, heater, a front ATO reservoir. Above it squeezing in my peltier tank cooler and dosing pumps and containers. My current tank just eats alk, so would be nice to get that dosing automatically.
My progress in the physical world so far.
DT Tank, with coast to coast overflow:
Cabinet with 2 coats of primer:
Sump tank glass cut (stand for a river tank creeping into shot).
Probably more reading than anyone can bear with reading. So I will fill in when I make some more progress. I am going to take my time with this to both spread the cost, and do it neat and nice.


")