- Joined
- Sep 11, 2018
- Messages
- 166
- Reaction score
- 163
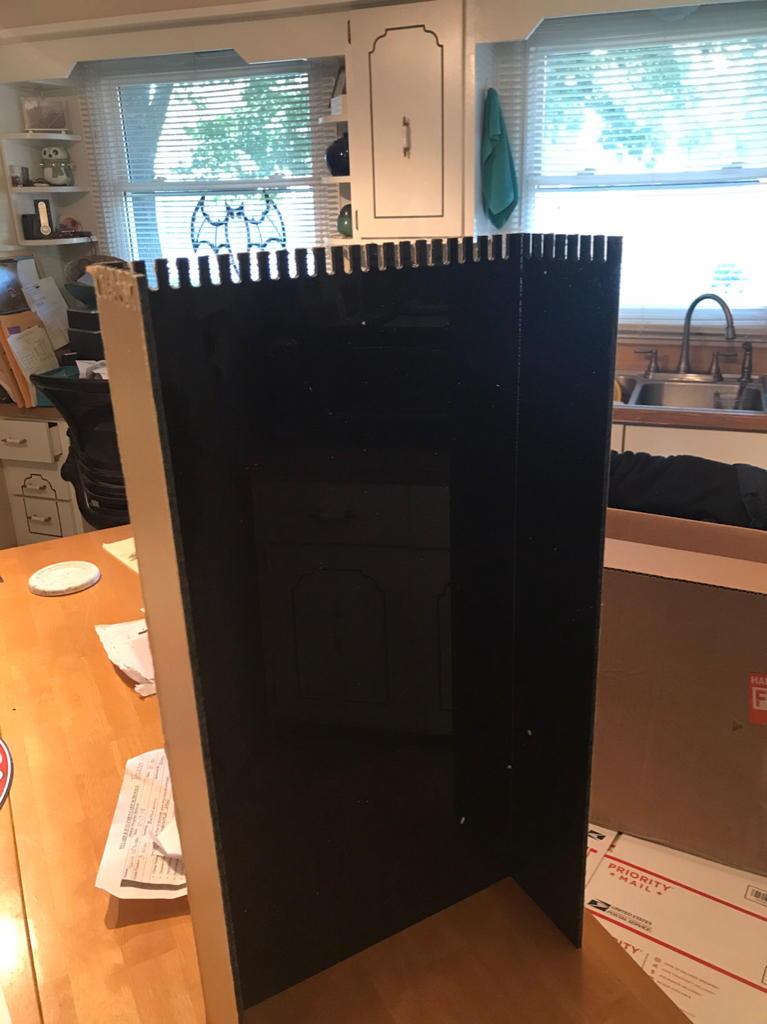
So I am working on a 55gallon hex (posted in builds) but have come to designing the overflow. Tank is drilled from the bottom so it will need to be a tall box. In a mock up I have it measured and 23 1/4” tall ( to allow for small gap between box and tank top), 12 “ wide and will be 4” deep
Here is a shot from the back.
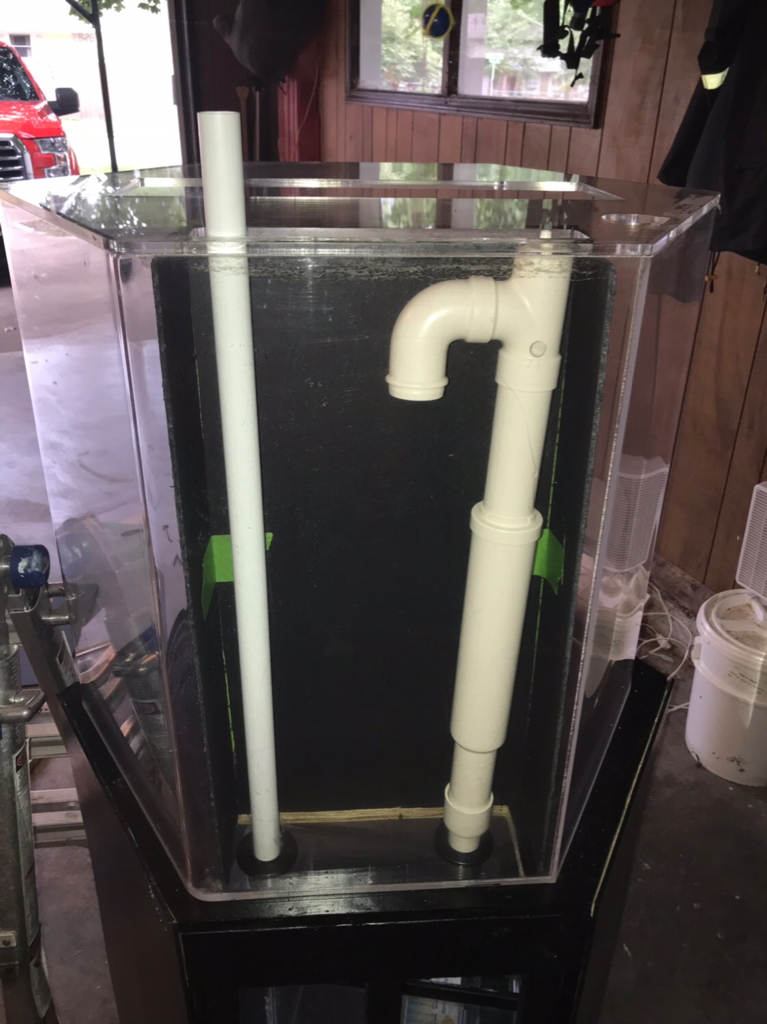
The top
And side

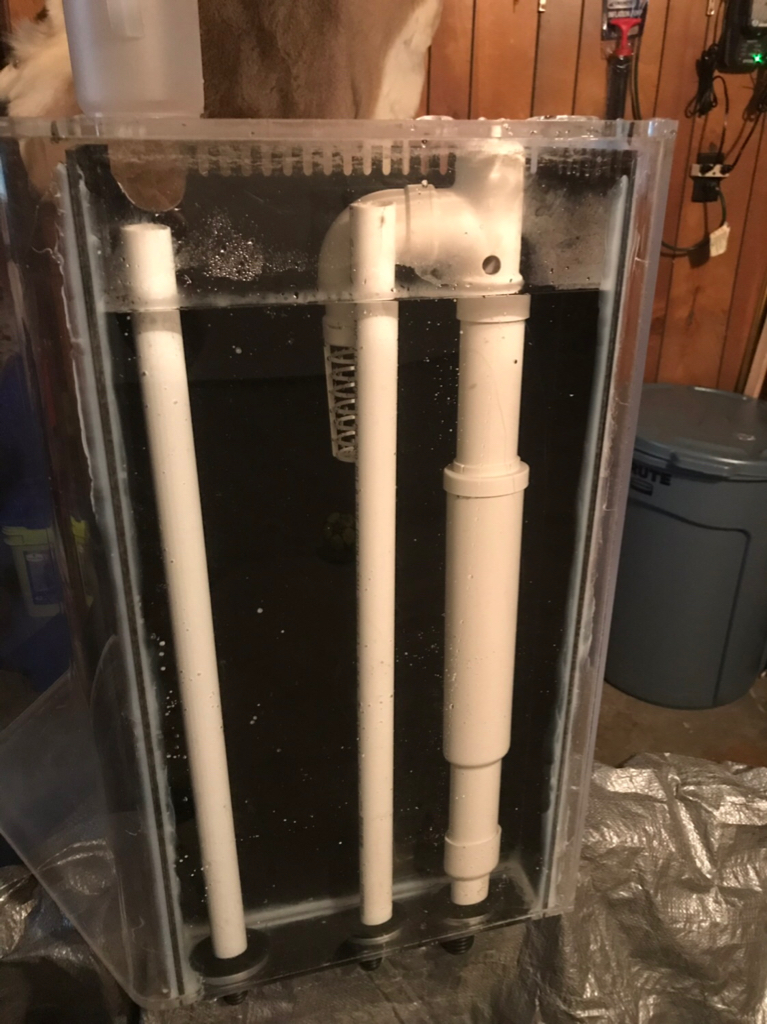
The drain line height is adjustable and I would like the water level inside the tank to be no more that 1/2 to 1” below the top.
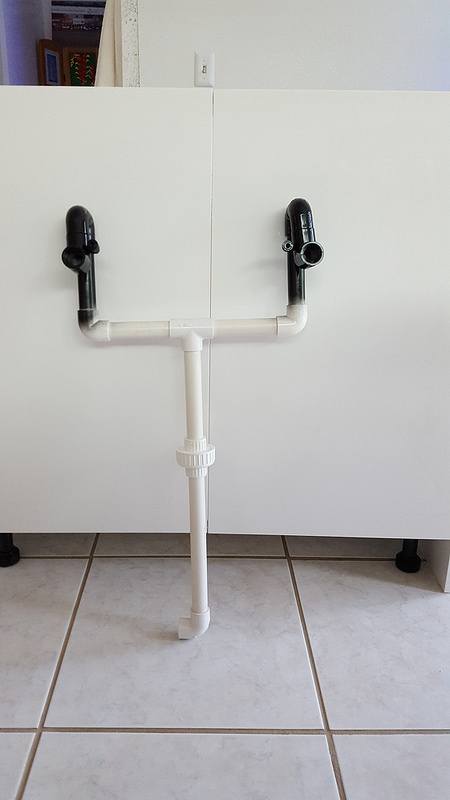
I am running a Quiet One 4000 pump that will have 4.5’ of height from the sump up to the return. Estimating rate at ~650gph.
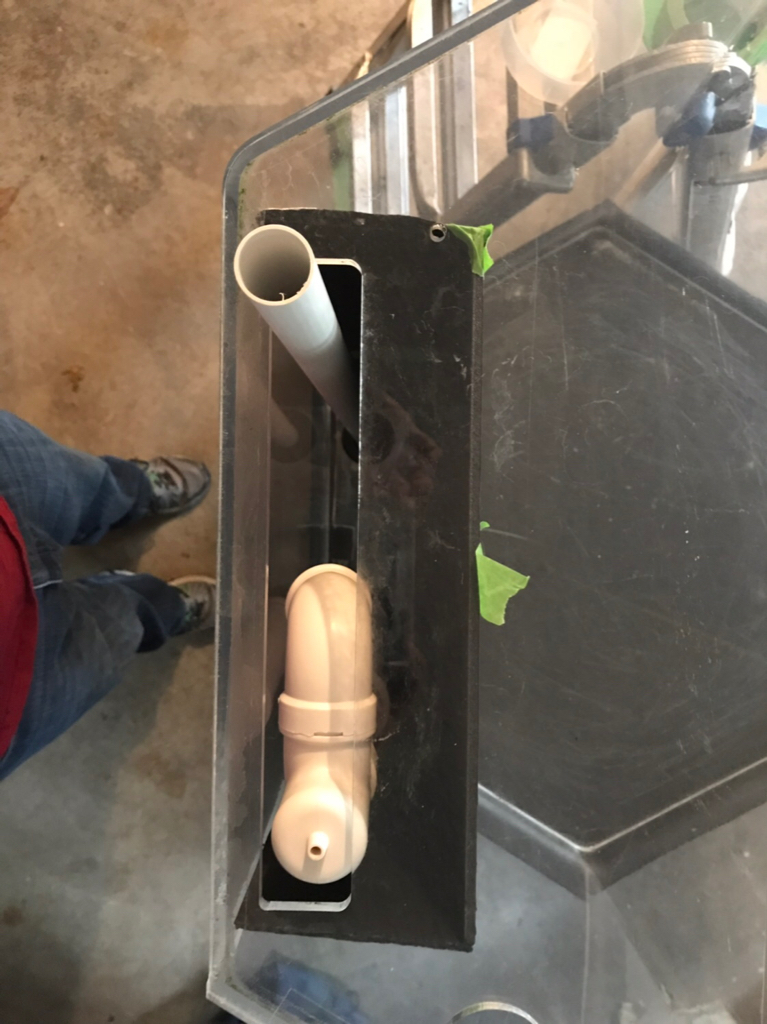
I am trying to figure out how many teeth to make on the overflow. How wide to make them and how deep?
Am I overthinking this or can I just cut a bunch of 1/4” slots around the three sides and call it good. It will only flow what the pump can push so all I worry about is not having the “minimum” number of teeth. Hence also the gap over the top.
Would I just cut the teeth to the depth of the lowest water level I want (I.e. 1”)?
Thanks for the help.
Here is a shot from the back.
The top
And side
The drain line height is adjustable and I would like the water level inside the tank to be no more that 1/2 to 1” below the top.
I am running a Quiet One 4000 pump that will have 4.5’ of height from the sump up to the return. Estimating rate at ~650gph.
I am trying to figure out how many teeth to make on the overflow. How wide to make them and how deep?
Am I overthinking this or can I just cut a bunch of 1/4” slots around the three sides and call it good. It will only flow what the pump can push so all I worry about is not having the “minimum” number of teeth. Hence also the gap over the top.
Would I just cut the teeth to the depth of the lowest water level I want (I.e. 1”)?
Thanks for the help.


 20180717_110021
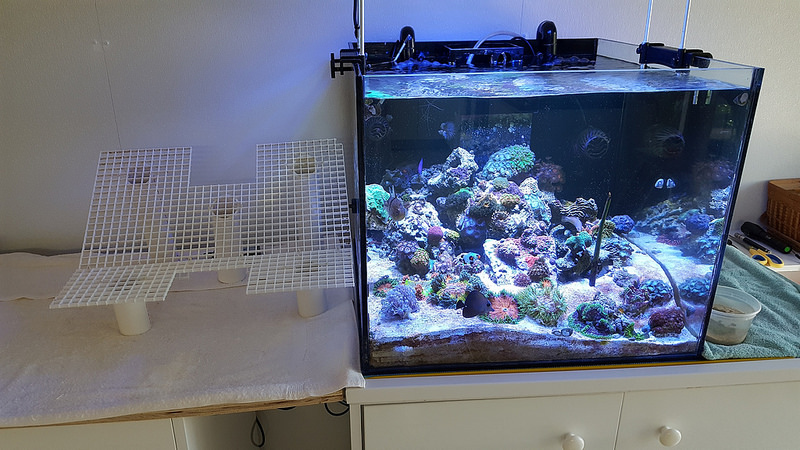 20180904_133514_resized