Thank you bumblebee, grumpy and rng for the kind words.
Grumpy, believe me, you don’t want to see the tank. This tank was set up at Christmas time when my adult son, moving from Rhode Island to South Carolina, unexpectantly showed up at my door dumping off two buckets of rock with corals and anemones from knocking down his tank. He wanted to put this aptasis, hair algae and cyanobacteria infested stuff into my tank (90 gallon), and I said no. So the option was to quickly fill this empty JBJ28 I had, and get it running. The tank was filled with water and the rock thrown into the tank….no sand or anything else. I’ve spent the last month killing hair algae and 50+ aptasis. The corals and anemones were in rough shape, with only xenia, one ricordia a few mushrooms and a lobo surviving, along with two MaxiMini anemones. The one maximini was all white, and has since started to color back up.
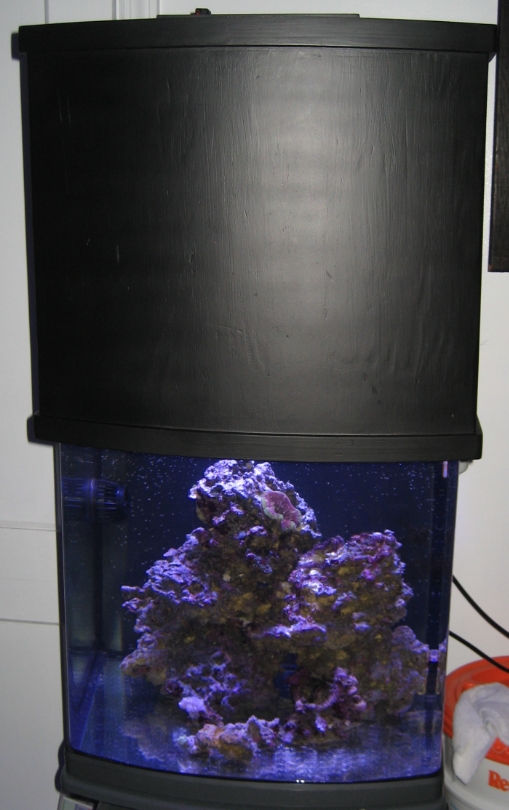
The other issue is that I only have a point-n-shot camera. I tried taking pictures, and they looked washed out, not capturing the colors of the lights. The best looking picture I took (but still not indicative of the true colors), was the first one, where the flash was still on.
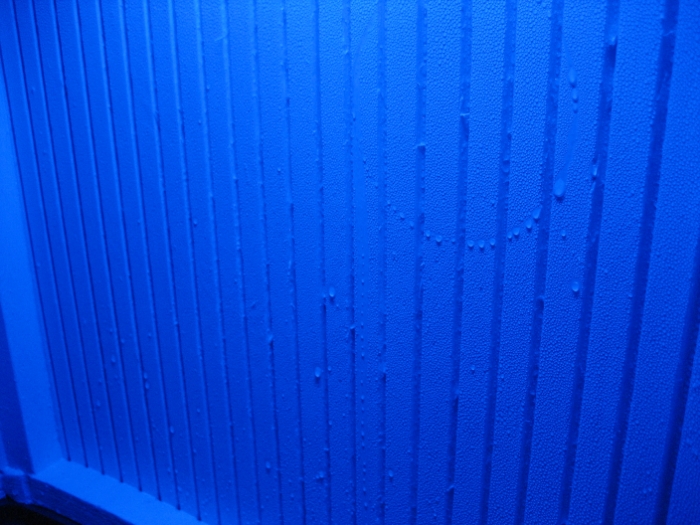
Now back to this build, which seems to be never-ending. A fellow reefer told me I’d have this problem, and he was right…..condensation. It was OK when the lights were on, because I think the slight amount of heat coming off the lights kept it at bay. But after one night, with lights out, this is what I found on the front wood:
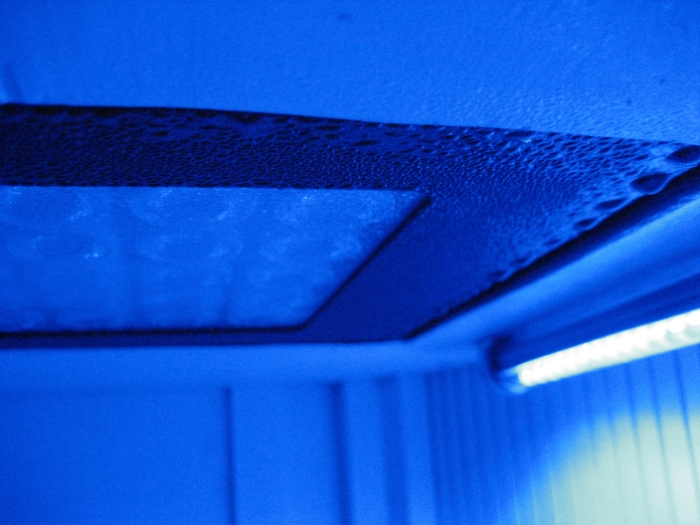
And the light was actually dripping condensation:
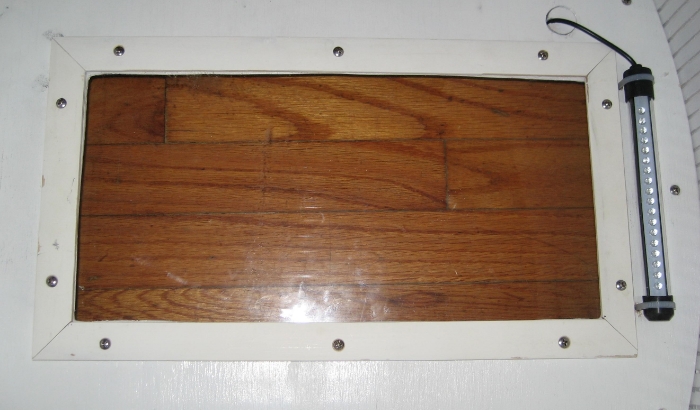
So the plan now is to cover the hole with a piece of ¼” plexiglass.
And here is the plexiglass cover held in place by a frame. I originally said ¼ inch, but it’s actually 1/8” plexiglass.
I remain having a slight bit of concern over the amount of condensation on the inside of the canopy. Just have to keep an eye on it. At least the light will remain dry now. :clap2:
I left my top and back open hoping I wouldn't have a condensation problem. I don't think my wife will like all the light leaking out from the open canopy. I may have to close it in also. Great build, if you get board throw another together for my 20 tall. :-)
I was wondering about ventilation... i know you dont want to but you can always cut a hole in the back the canopy and add a fan with a vent hole. Or even two fans one to push air in and one to draw air out. I would put one up high and one down low to maximize air circulation through the canopy. But either way let us know how you tackle it. Good luck.
Even though I closed this up to minimize evaporation, I’m now going to have to open it up some, and find a balance between condensation and evaporation. I’m first going to try a passive approach and see want that does. The condensation is so bad it’s dripping off the bottom of the doors.
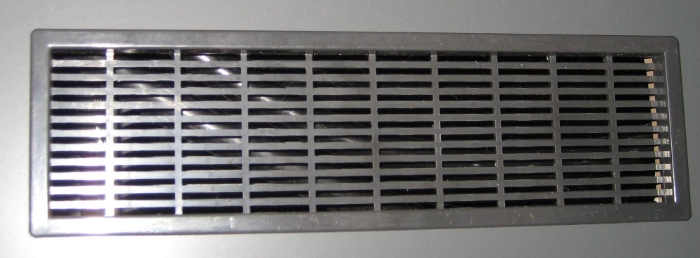
Since I’m building a new stand and getting rid of the original JBJ stand, I might try using the grates in that stand:
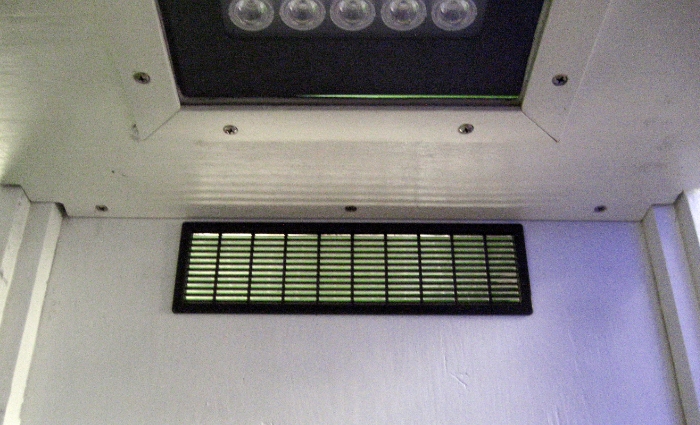
So here’s the first shot at handling the excess condensation. I did use one of the grates in the current JBJ stand to vent the canopy. I cut into the upper back panel and applied a small amount of silicone. I’m going to try this passive approach first to see if this cuts down the condensation.
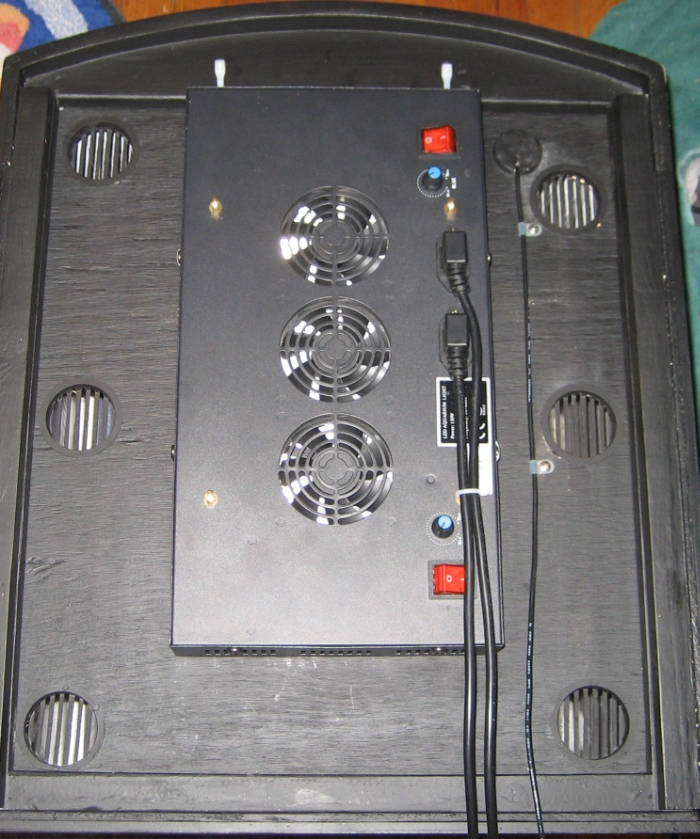
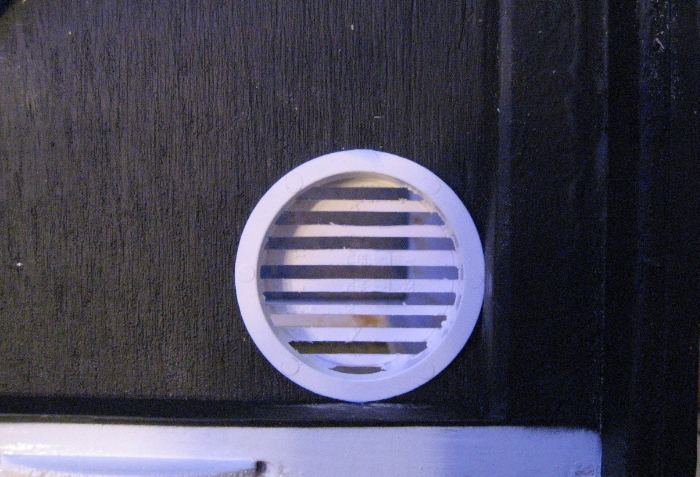
The one rear vent wasn’t enough. So six more vents were added to the top of the canopy. At first four, but that wasn’t enough, so two more were added:
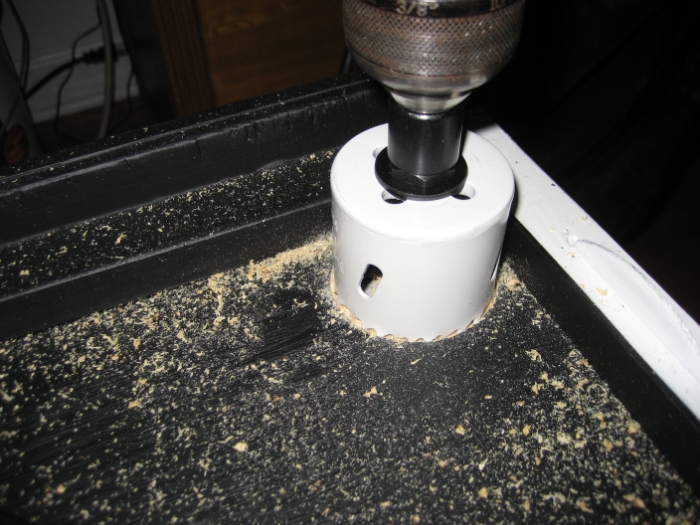
The way this was done was to first drill holes in the canopy top using a two inch hole saw. The hole was slightly enlarged using a rasp.
The idea was to then fill these holes with plastic knock-out test caps ($0.25/each at HD)…..
……that were cut with groves to allow ventilation.
This was easier said than done. Here is how I did this and the difficulties I had.
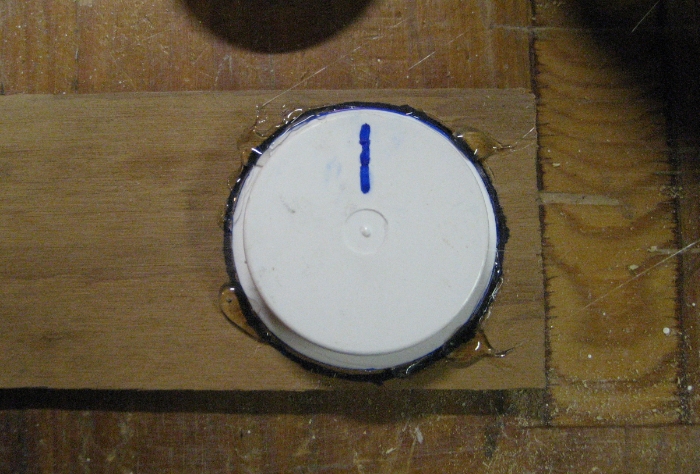
First the cap was marked where the tab was on the top of the cap. I wanted to make sure this tab was in line with the saw blade so that it would be cut off. The cap was then hot glued to a piece of scrap plywood.
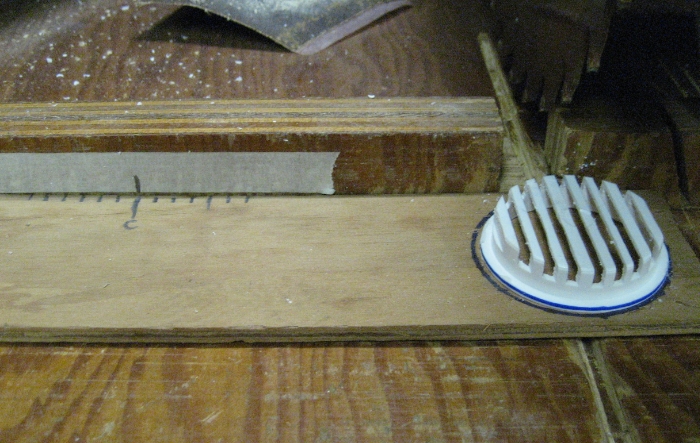
On the left side of the scrap plywood, ¼ inch marks were made. The saw blade has a kerf of approximately 1/8 inch, so spacing ever ¼ inch should leave approximately 1/8 inch of plastic. A piece of tape was applied to the back rest of the saw table and a reference line was applied. So now the plywood can be moved in ¼ inch increments to this reference line to make the cuts in the cap.
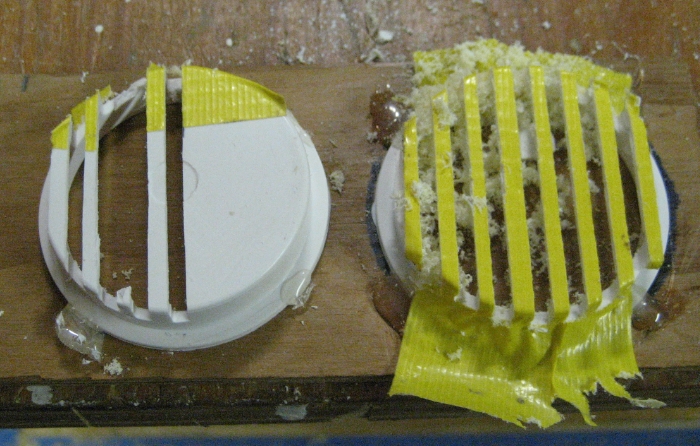
Now for the problems: No matter how slow, or how deep, or shallow the cuts, the cap would get torn apart by the saw blade. I first tried duct tape on the front edge of the cap, and finally covering the whole cap with duct tape. This helped in only keeping the cap from total self-destruction. I was still breaking one or more connections of the plastic to the edge of the cap, but the tape was now holding them from getting totally torn off. Of the nine caps I ended up cutting, three were total losses, and only one was cut that was perfect. The rest had one of more breaks that were fixed with a drop of frag glue. Here are two caps, one where I was first experimenting taping just the front edge and the other were I taped the entire top of the cap.
The caps were then taped and painted with flat black paint. If this doesn’t resolve the excess moisture problem, the next step is to remove the top altogether.
wow !!! that is awesome! that is honestly probably the best crafted canopy i have seen since i have gotten into saltwater, only about a year, that i nice. i literally only have acess to the most basic of tools and am also very low on funds. I almost have my canopy complete it will hold 4 48in blue atinics, 2 175 watt metal halides and a 48in blue/white led strip. I ran into the issue of not thinking ahead and forgot to leave a place for my overflow box, what a brain fart.. I am going to cut that out tomorrow and mount all of my lights but the led strip, I am still waiting for it to come in and if needed touch up the black satin poly in one. Thank you very much for sharing that with me. I appreciate it and I will definitely watch any other projects you post. Thanks!
Thanks again Grumpy, and JR you’re way to kind…..if only you could see my use of wood filler…..I buy it in the largest container HD sells. If you’re interested, HERE’s the link to the stand I’m in the process of building that will match this canopy……still in progress.
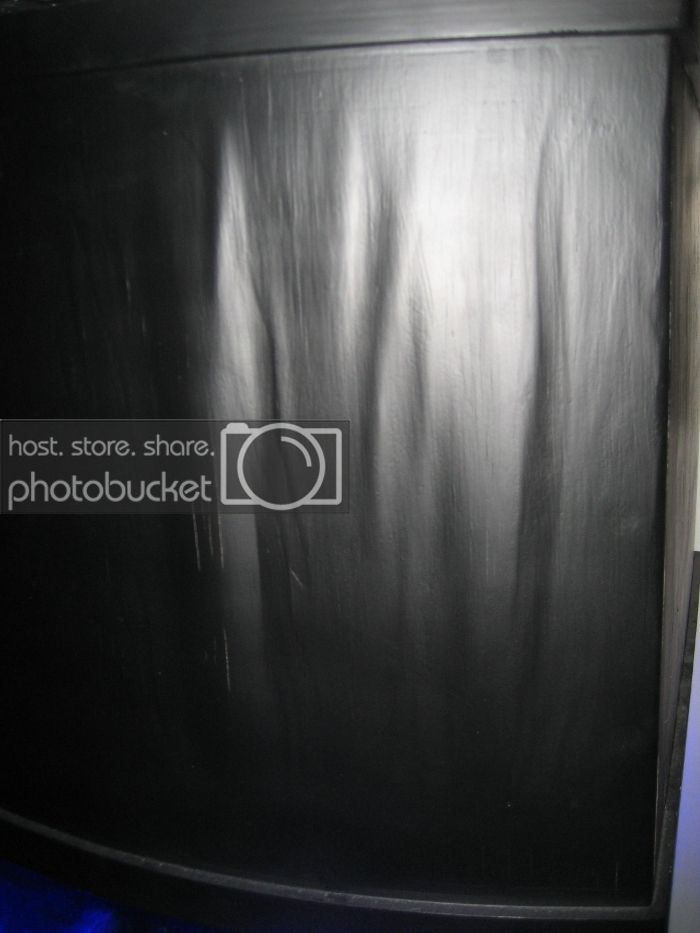
This started showing up about a month ago…..the front arced piece of plywood on my DIY nanocanopy was “blistering.” To put it another way, the plywood was failing by the exterior piece of ply bulging outward. Here’s a pic:
Now when I built this I used “re-claimed” exterior plywood. This was clearly labeled as exterior plywood, but it was 50+ years old. Although old, I wasn’t expecting this to fail. I’m PO’ed!!!
This is going to be a major headache to rip apart and fix. It’s not like I’m sitting at home twiddling my thumbs! (although that's what my wife thinks i do during the day.)